It’s Justine and welcome to a new tutorial featuring the beautiful dies from Birch Press Designs. Today I am using several of the new products from Birch press to create some beautiful Christmas cards.
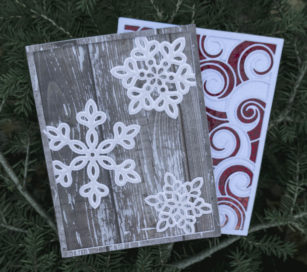
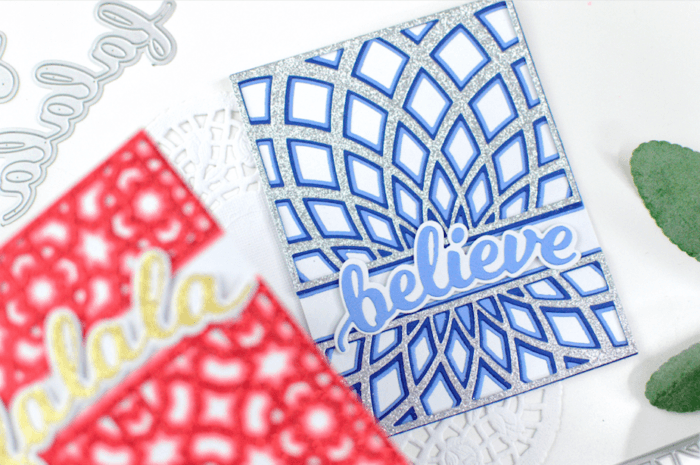
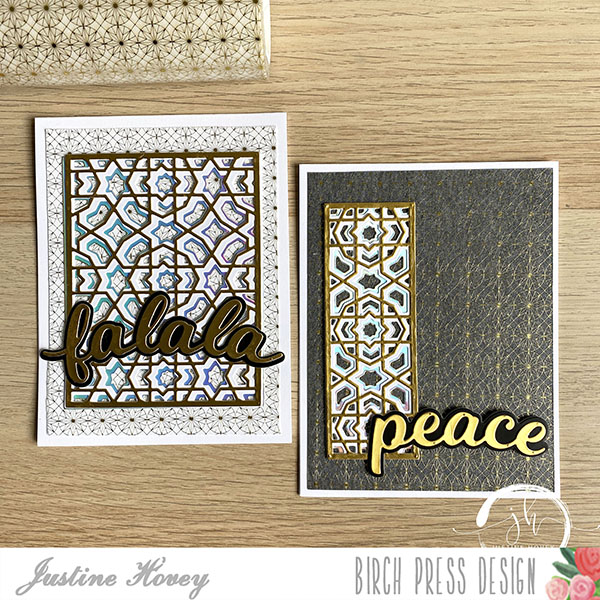
I absolutely adore full size washi tape and one of the ways I enjoy using it most is to use it instead of patterned paper. I used the Birch Press Shimmer Burst washi to make this pretty background. I tried it on white and black cardstock and you can see the results below.
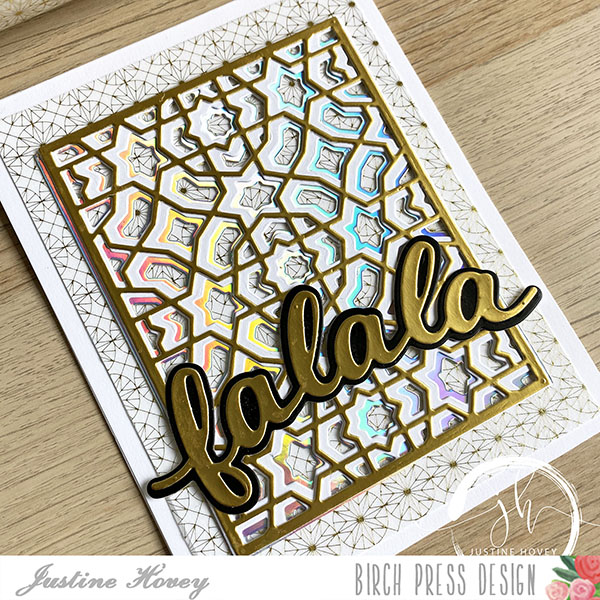
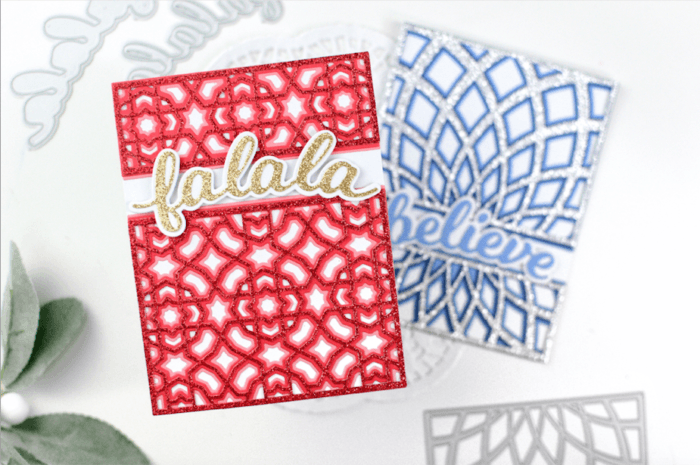
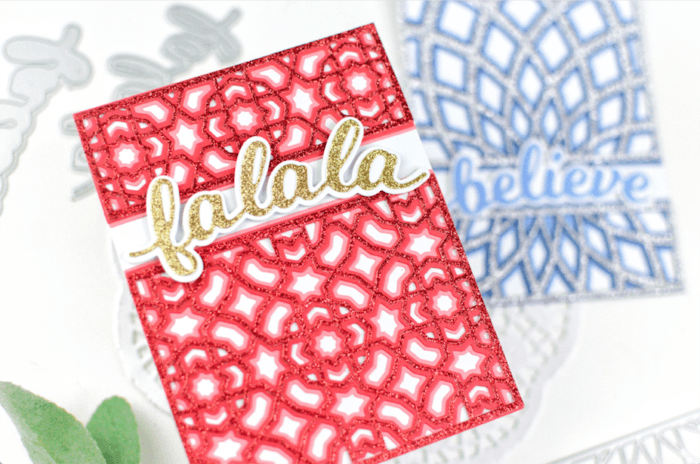
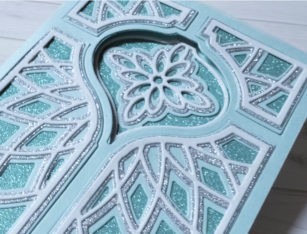
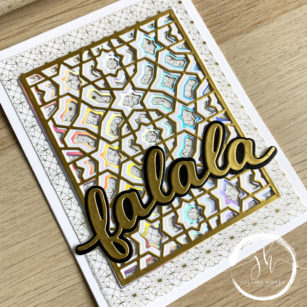
For the background, I built up some additional layers using the Grandiose Bevel Dies and then built more layers using the fun Fa La La sentiment dies.
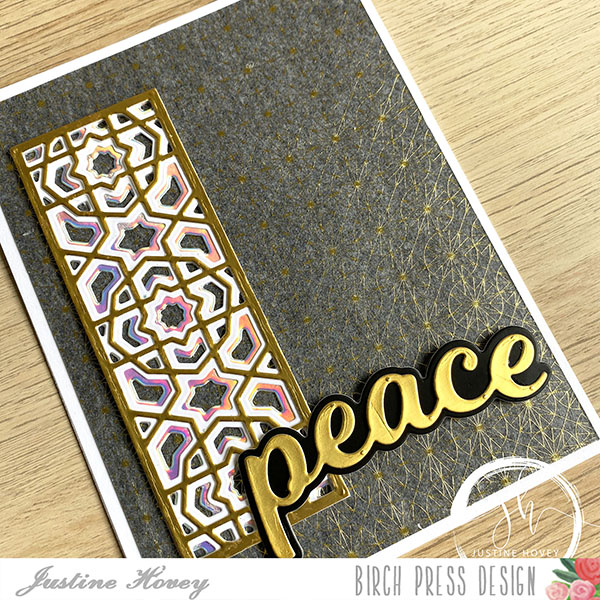
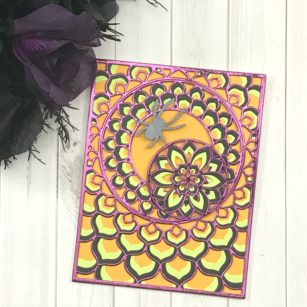
This is a similar card, this time I used the Mini Grandiose Bevel dies and the peace sentiment. The major different is that the washi tape is used on black cardstock.
Supplies