Category: Allison Frazier

  • Vintage Hugs | by Allison Frazier

    Vintage Hugs | by Allison Frazier

    Hello, Birch Press friends. I am excited to be back on the blog today sharing this bold card featuring some new products! There are some great new word dies that just came out, and I chose one of my favorite sentiments of all time – hugs.
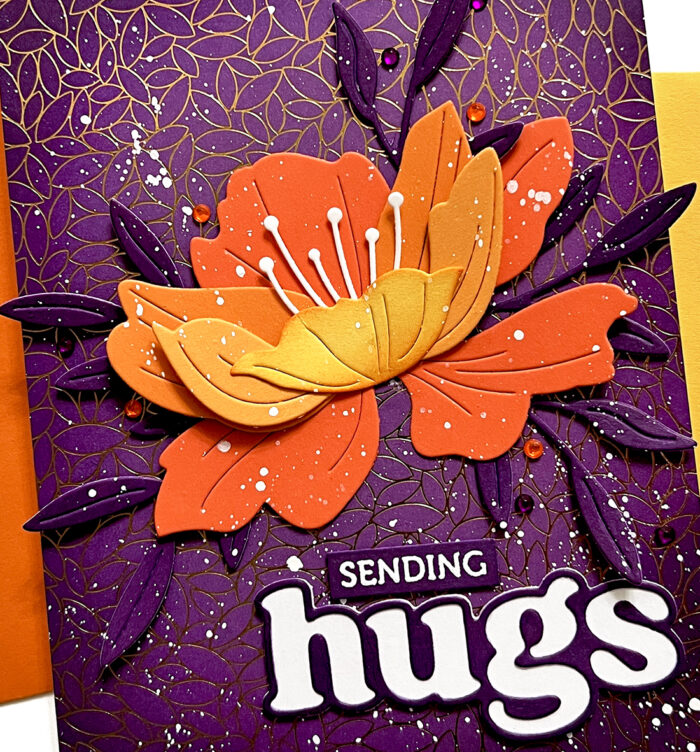
    I really was in the mood for a different and bold color palette, and the new Glimmering Gladiola paper pack from Memory Box was just what I needed as a jumping-off point. I chose some purple paper with a gold foil leaf design as my background. I took some darker purple ink and blended that around the edges of the panel before glueing it onto an A2 card base.
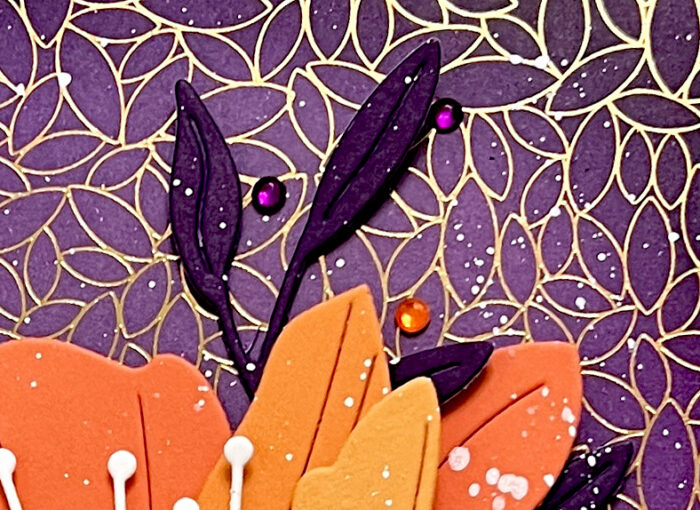
    Next, I used the new Sunrise Cardstock pack to pick four different colors of orange/yellow to create the layers for the Perky Bloom. This flower is so easy to assemble, and I love it in these colors! Instead of choosing large leaves to complement the flower, I chose some smaller leaves from the Tiny Tuft Flowers and Leaves die set. I cut these out of purple card stock and adhered them to the card base underneath the flower.

    The Big Hugs Vintage Sentiment is fun because you can assemble it in different ways. For my card today, I used the base layer die to cut purple card stock. I then took that base layer and die cut it with the detail layer die in order to create the purple outline. Finally, I glued that outline onto a white base layer. I stamped the subsentiment “sending” with VersaMark ink onto purple cardstock and then heat embossed it with white embossing powder. I splattered the card with white paint before adhering both of the sentiments with liquid glue.
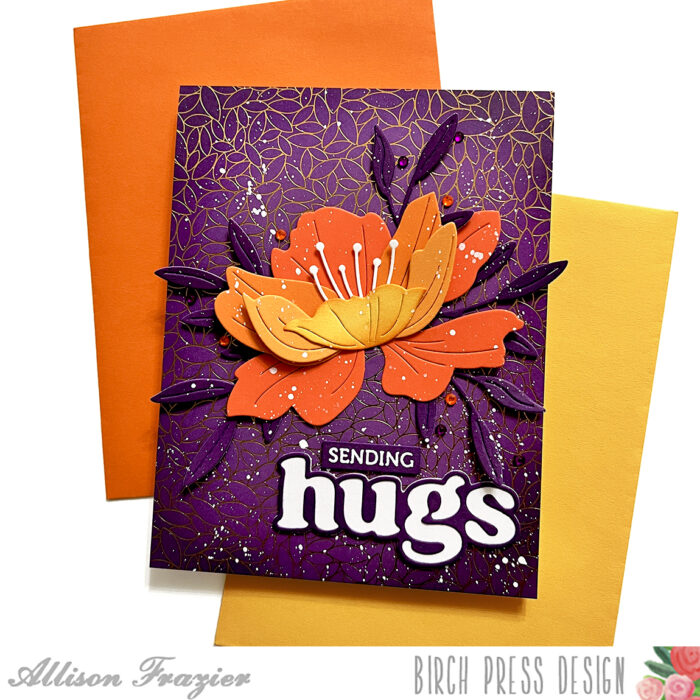
    To finish the card, I added some purple and orange fairy jewels around the design. I hope this card brings a smile to your face! Thank you so much for joining us today.


    Supplies


    Supplies

  • Patterned Wiegela Leaves | by Allison Frazier

    Patterned Wiegela Leaves | by Allison Frazier

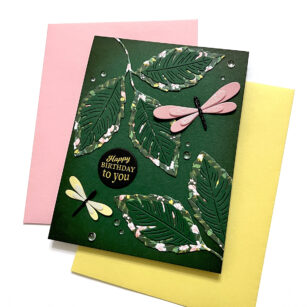
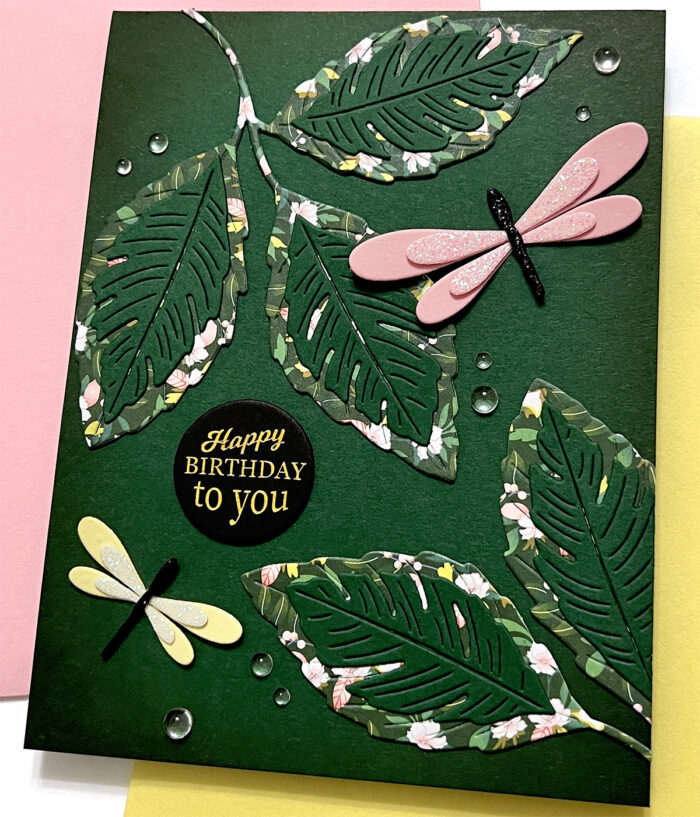
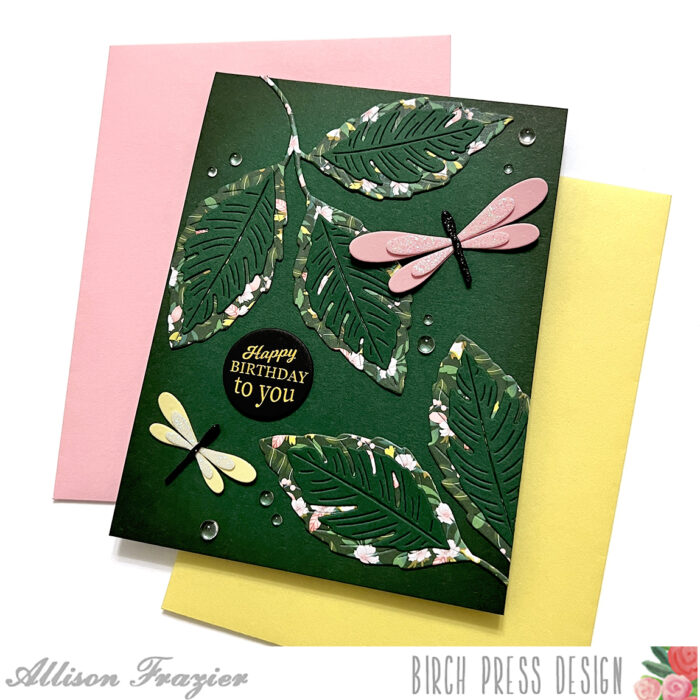
    Hello, Birch Press friends! I am excited to be back on the blog today sharing the new Wiegela Leaf Contour Layers set. My card also features some new goodies from Memory Box!

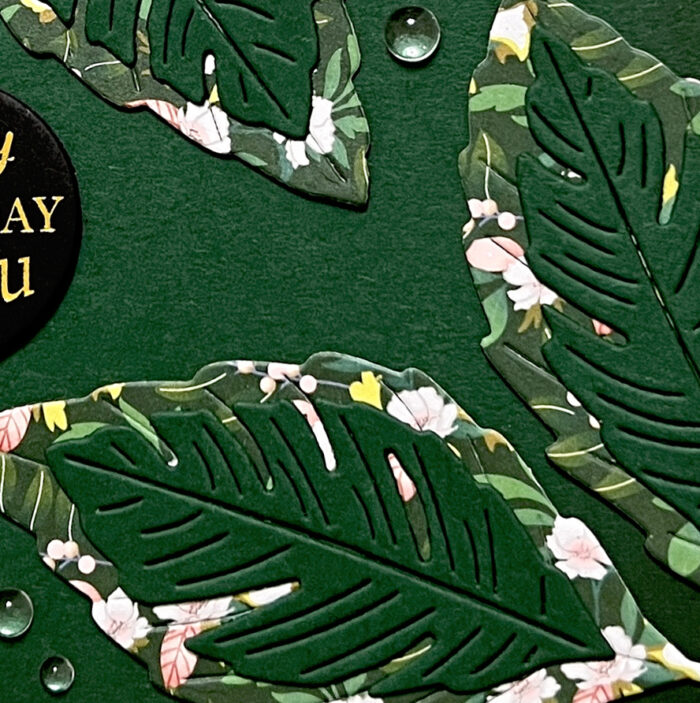
    I started my card by choosing some dark green paper for my card panel. I blended some black ink around the edges and corners of the panel and glued it to an A2 card base. I used the same color paper for the top layer of the Wiegela leaves. For the bottom layer of the leaves, I used a patterned paper from the new Anemone Grove paper pack from Memory Box. I cut the leaves out twice, assembled them and adhered them to the card with liquid glue. I cut the excess off of the leaves on the right side of the card.

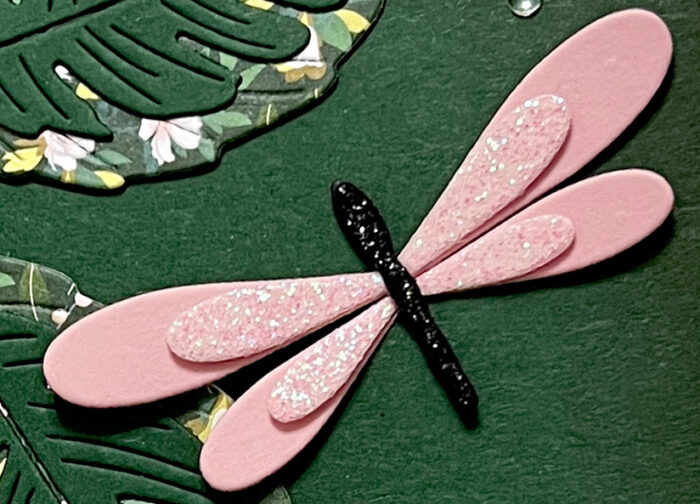
    I pulled the Simple Dragonfly Contour Layers set from my stash and created two dragonflies, one in pink and one in yellow. I used glitter paper for the top layer of each dragonfly. I also used black glitter paper for the bodies.

    For the sentiment I used one of the new greeting tabs from Memory Box. These are so fun, and you won’t find an easier and faster way to add a sentiment to your cards! These are gold foiled and they’re rather thick, kind of like chip board.

    To finish the card, I added some fairy drops around the design. I hope this card brings a smile to your face! Thank you so much for joining us today.


    Supplies


    Supplies


  • Easter Crocus | by Allison Frazier

    Easter Crocus | by Allison Frazier

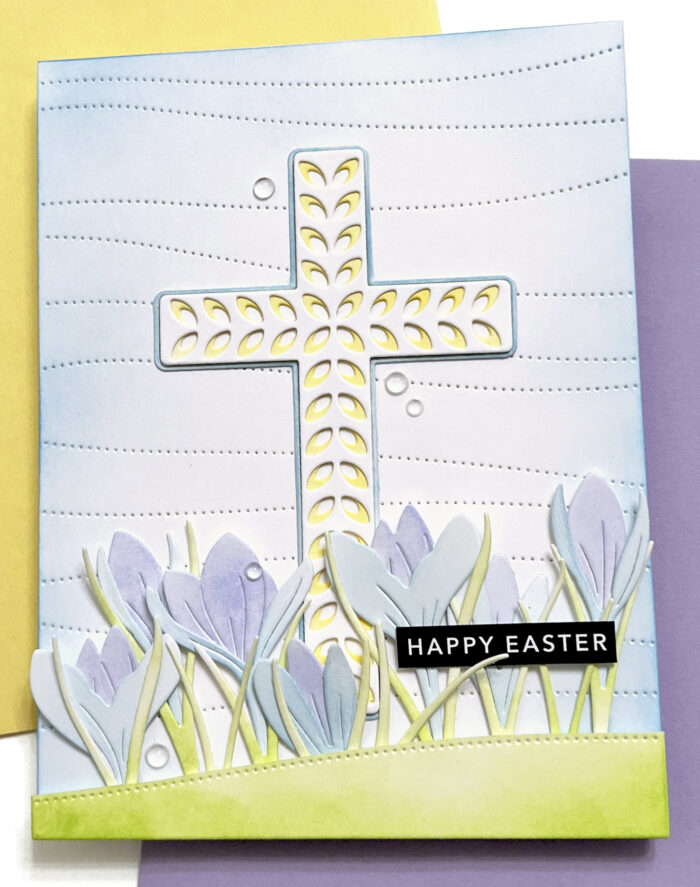
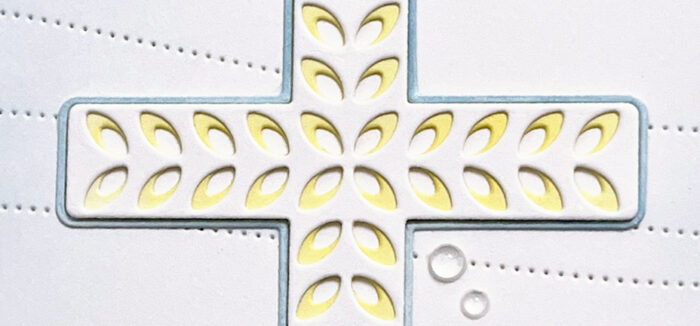
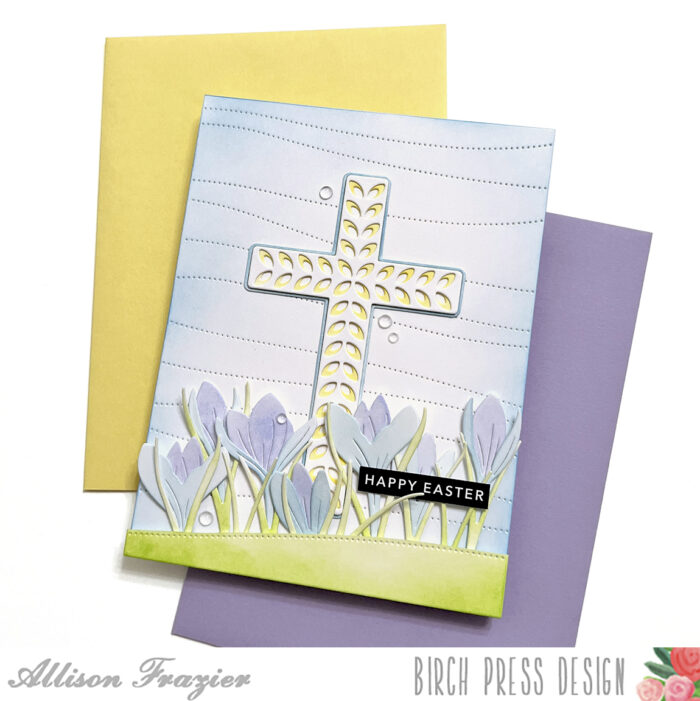
    Hello, Birch Press friends! I am excited to be back on the blog today sharing the new Floral Cross Layer Set. This is a beautiful set of three layering dies, which also includes small florals. I decided to change things up by using a different floral set – the Sprouting Crocus Contour Layers.

    I started by die cutting all of the pieces from both die sets from white card stock. I also used the Pinpoint Contour Plate with a piece of white card stock for the background. I inked up the edges of this background with light blue Distress Ink. I then inked up the floral die cuts with Distress Inks. For the Cross, I inked up the middle layer with yellow ink and the outline layer with light blue ink.

    I started assembling the card by glueing the solid cross layer onto the card panel. I then glued the thin blue outline layer around the cross. It’s better to glue the solid piece first because the outline layer is very delicate. I then glued the other two layers of the cross on top.

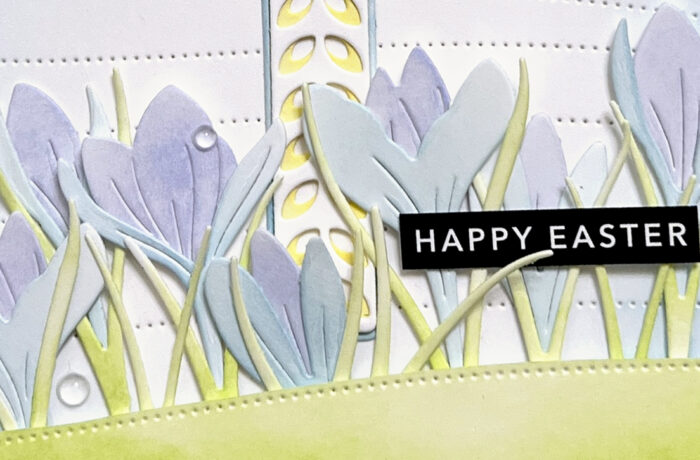
    I cut a small piece of card stock with the lower portion of the Pinpoint Contour Plate and I fussy cut just above the pierced curve. After coloring this piece with green Distress Ink, I added it to the bottom of the card with foam tape. I then tucked the various Crocus flowers under this little grassy hill that I created.

    To finish the card, I added a sentiment from my stash and a small sprinkling of fairy drops. I hope this card brings a smile to your face! Thank you so much for joining us today.


    Supplies


    Supplies


  • Shimmery Birthday | by Allison Frazier

    Shimmery Birthday | by Allison Frazier

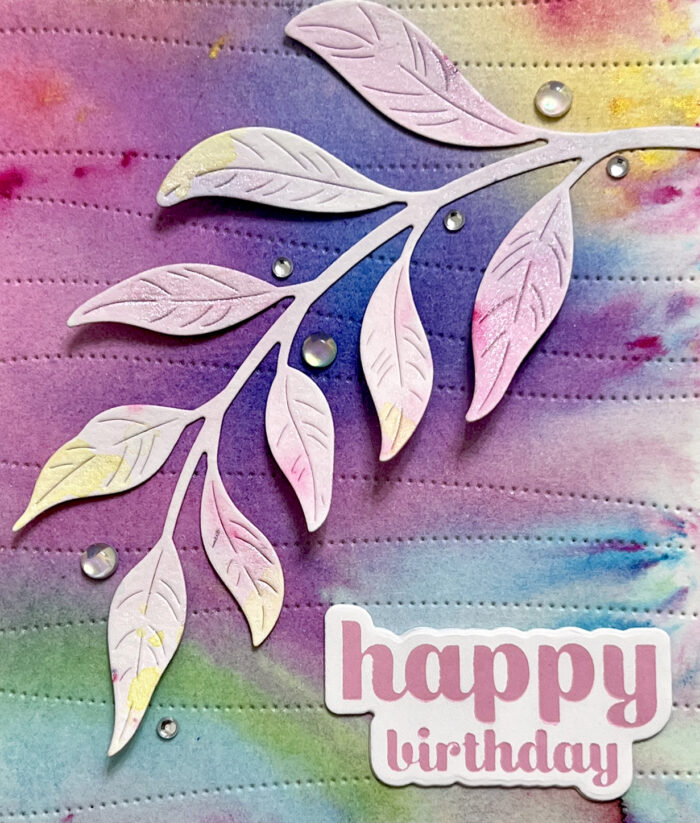
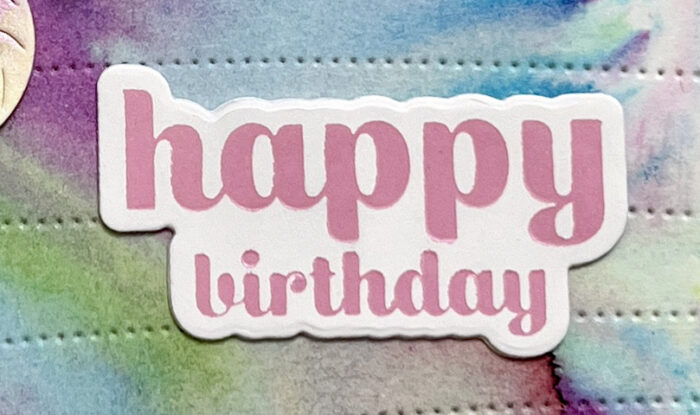
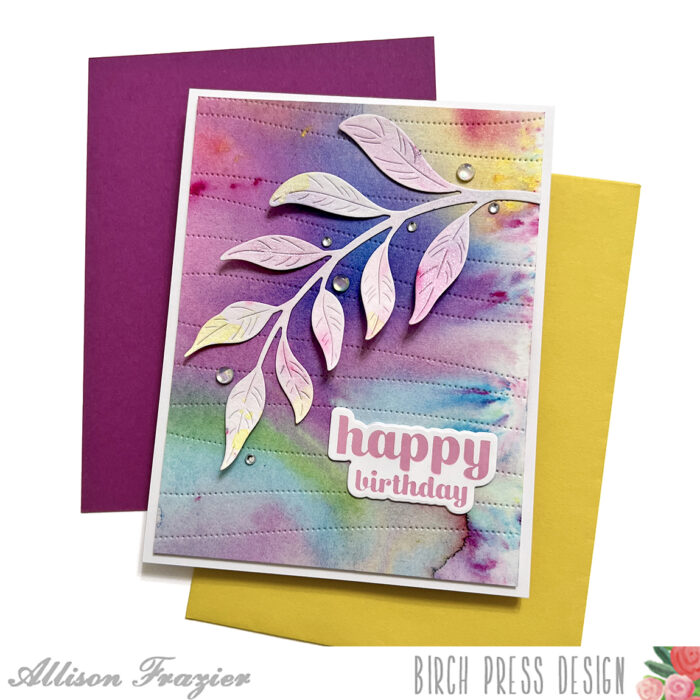
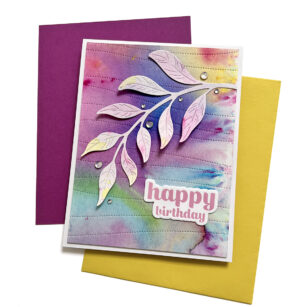
    Hello, Birch Press friends! I am excited to be back on the blog today. I have been busy lately making some backgrounds with shimmer powders and decided to use one today. What better way to show off a new hot foil plate, right? This happy birthday sentiment is from the new Sugar Script Sentiments 2 hot foil plate and die set. I have always been such a huge fan of the Sugar Script sentiments, and I love how they’re now available as hot foil plates!

    I started with one of the shimmery backgrounds that I made recently. This panel is the result of several colors of shimmer powders and lots of water spritzing! I cut the panel with the Pinpoint Contour Plate and then trimmed it down even more to be 4″ x 5.25″. I put some thin foam tape on the back of the panel and adhered it to an A2 card base.

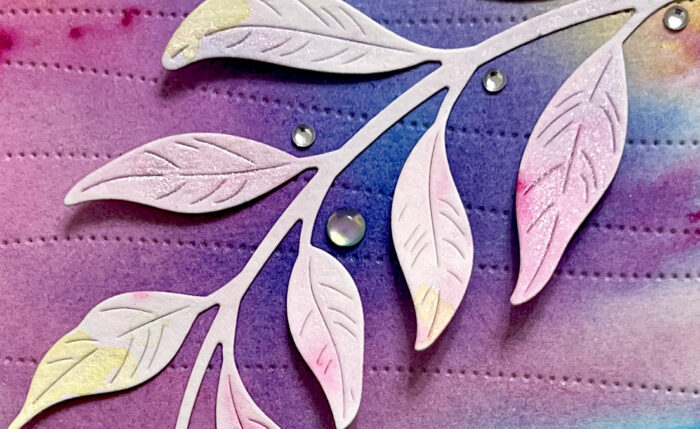
    I used the Curved Leaf Branch die to cut some watercolor paper, and then I used some pink and yellow shimmer powders to lightly color the branch. I adhered this to the panel with liquid glue, making sure not to adhere the actual leaves down. I love the dimension this creates!

    I hot foiled the sentiment onto white card stock using pink satin hot foil, and I love how it came out! I love satin/matte hot foil, but don’t be fooled – it still has shimmer to it when the light hits it!

    To finish the card, I scattered some fairy crystals and drops around the branch. I hope this card brings a smile to your face! Thank you so much for joining us today.


    Supplies


    Supplies


  • Forest Canopy Shaker | by Allison Frazier

    Forest Canopy Shaker | by Allison Frazier

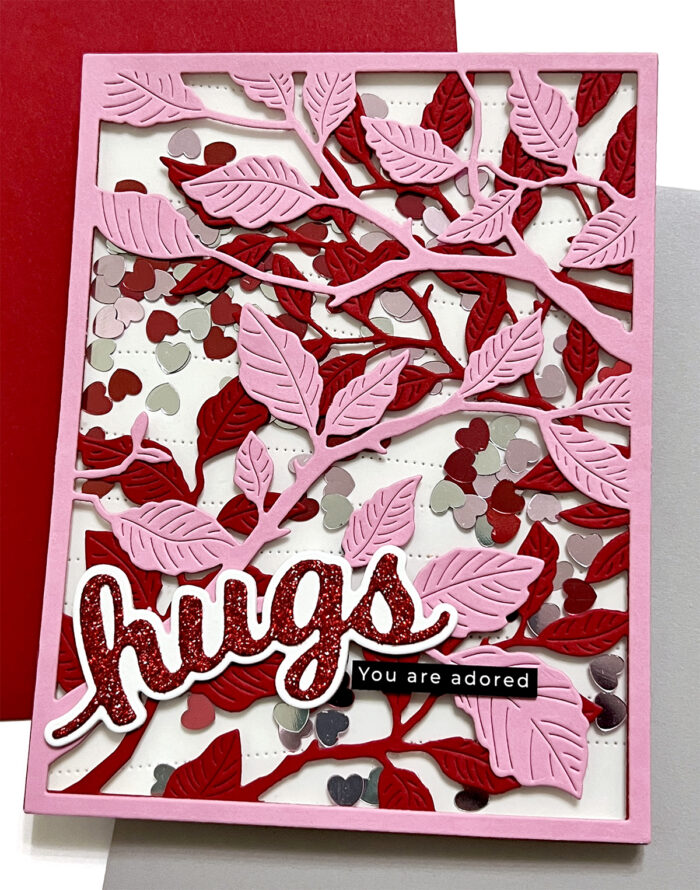
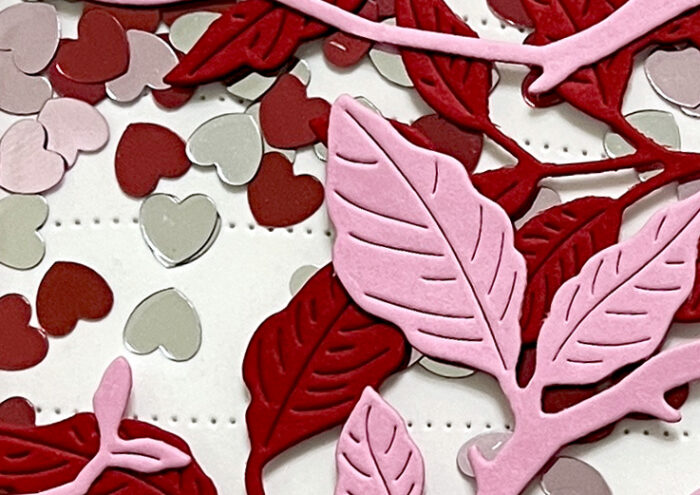
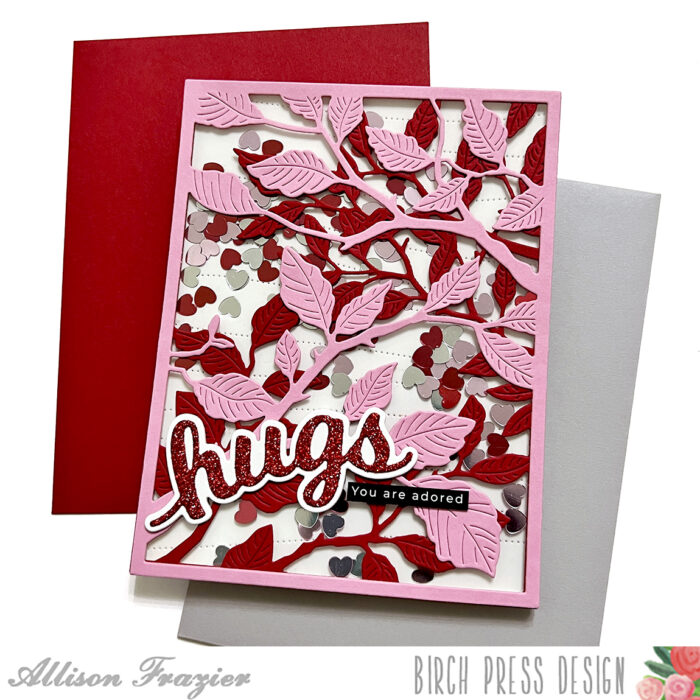
    Hello, Birch Press friends. I am excited to be on the blog today sharing this fun shaker card. I have been wanting to make a shaker card with the Forest Canopy Layer Set for awhile. When I ran across this heart-shaped confetti in my stash recently, I knew that it was finally time!

    This shaker card was really quite easy to put together. I started by die cutting my back panel with the Pinpoint Contour Plate. I set that aside and proceeded to die cut my two Forest Canopy layers. I cut a piece of pink card stock with Layer B, and I cut a piece of red card stock with Layer C. I did not use Layer A.

    I cut a piece of acetate to 4.25″x5.5″ and glued that to the back of the red layer. I trimmed the pieces off of the branches on the pink layer that hold berries, since I did not want to include berries on this card. I then glued the pink layer on top of the red layer.

    I trimmed foam tape into thin strips so that I could hide them under the thin frame that is created by the Forest Canopy layers. The one piece of advice that I have for cutting your foam tape into thin strips is to have a good pair of scissors that have a non-stick coating. I placed these foam tape strips directly onto the acetate layer. I then put my heart shaped confetti into the “well” that is created by the foam tape. Since this confetti is completely flat, I did not need to double up my foam tape. Once my confetti was in, I peeled off the release tape and added my white back panel to seal up the shaker. I then glued this onto an A2 card base.

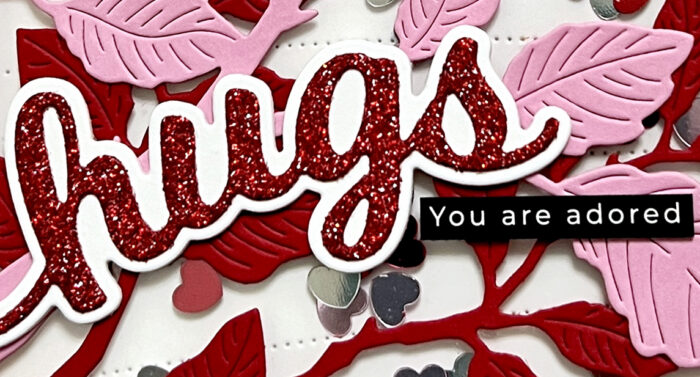
    I used the Hugs Honey Script die set for my main sentiment. I cut the detail layer from red glitter card stock. To finish the card, I added a simple sub-sentiment strip from my stash. That’s it for my card today. I hope it brings a smile to your face. Take a look in your stash for dies to make a non-traditional shaker! Thank you so much for joining us today.


    Supplies


  • Peeking Flower Tags | by Allison Frazier

    Peeking Flower Tags | by Allison Frazier

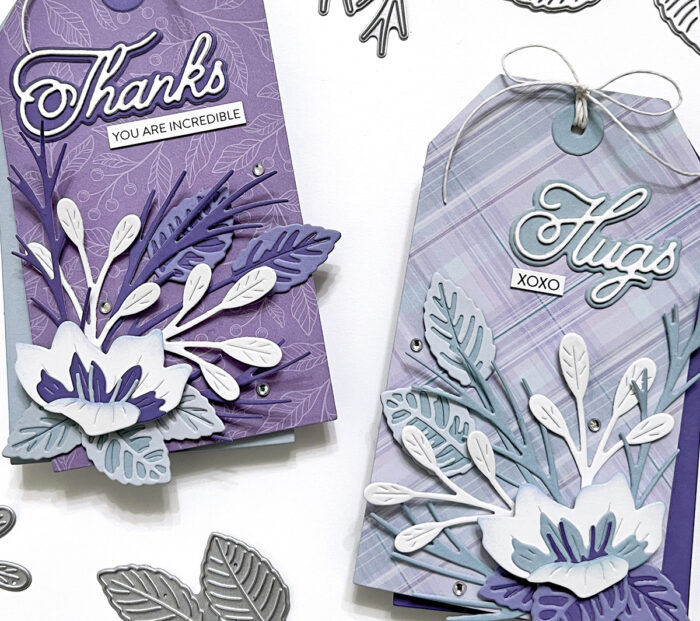
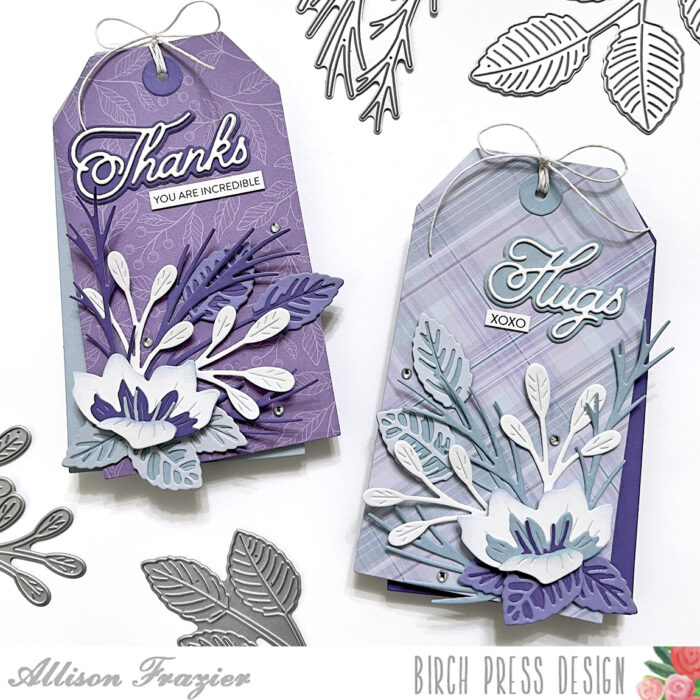
    Hello, Birch Press friends. Today, I am sharing two tags that both feature the beautiful new Peeking Flower and Leaves Contour Layers set. But rather than use the leaves from that set, I used the new Rose Leaves set! I love how all of the floral Contour Layers sets can be mixed and matched together. You’ll see that there are some other sets mixed in there, as well!

    My inspiration for these tags came from the gorgeous new Anemone Plaid and Anemone Grove paper pads from Memory Box. I chose a pattern from each pad and used a basic die from my stash to cut the tags. From there, I chose a few coordinating blue and purple card stocks to cut the other elements.

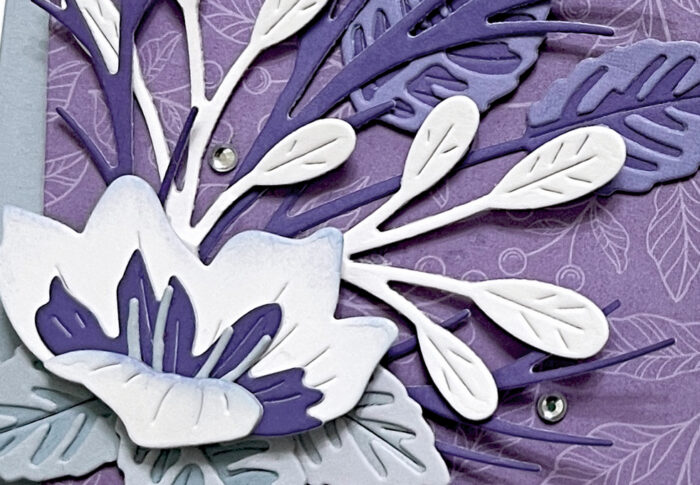
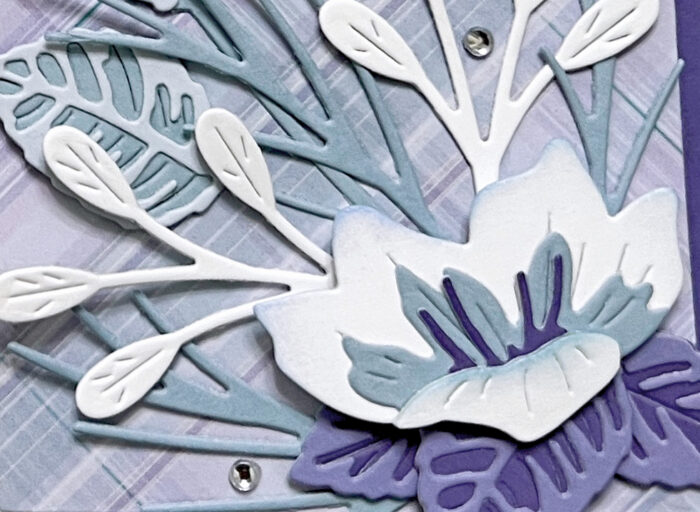
    For the Peeking Flower on each tag, I chose white for the front and back pieces. I just added a little bit of shading at the top of those with some coordinating ink. I also cut the Oval Leaf Branches from white card stock. Otherwise, I used the blues and purples for the leaves and inside flower details. Assembling was easy, as I just used liquid glue and adhered the elements from the bottom up.

    I chose the Handwritten Hugs and Handwritten Thanks dies for the main sentiments on the tags. I think that the beautiful script font on these dies goes perfectly with florals! The small sentiments came from my stash. Before tying a string through the tags, I added a solid tag behind each one. I also added a few clear jewels around the flowers.

    You may notice that I made these tags as mirror images of each other, or at least I tried! I hope they bring a smile to your face. Thank you so much for joining us today.


    Supplies


    Supplies


  • Gentle Flowers | by Allison Frazier

    Gentle Flowers | by Allison Frazier

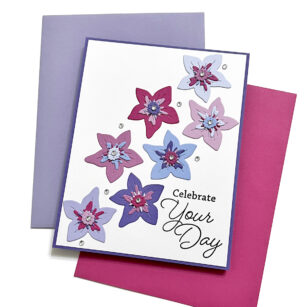
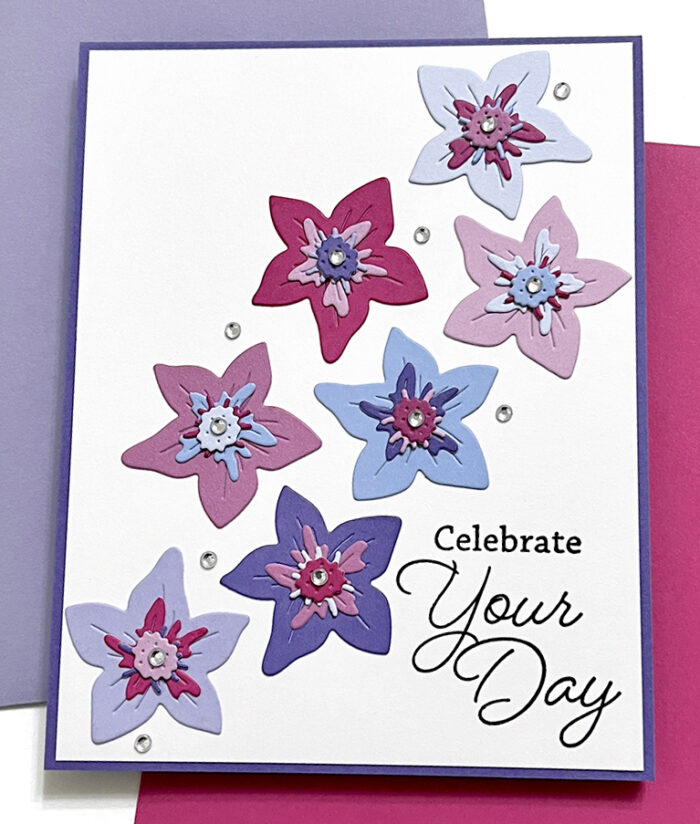
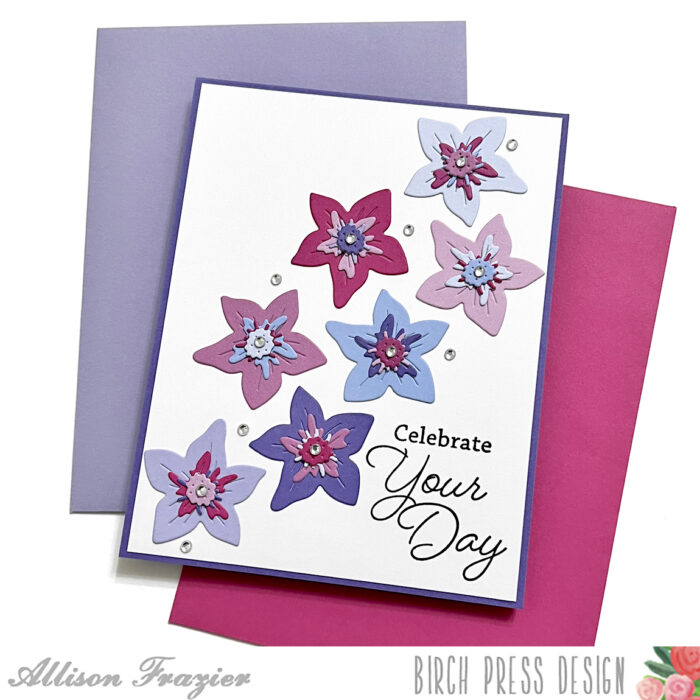
    Hello, Birch Press friends. It’s always exciting when there are new products to play with, and that’s exactly what I’m doing today! I am featuring the new Gentle Flower and Leaves Contour Layers set. I love this sweet little flower, and I decided to make it the star of the show.

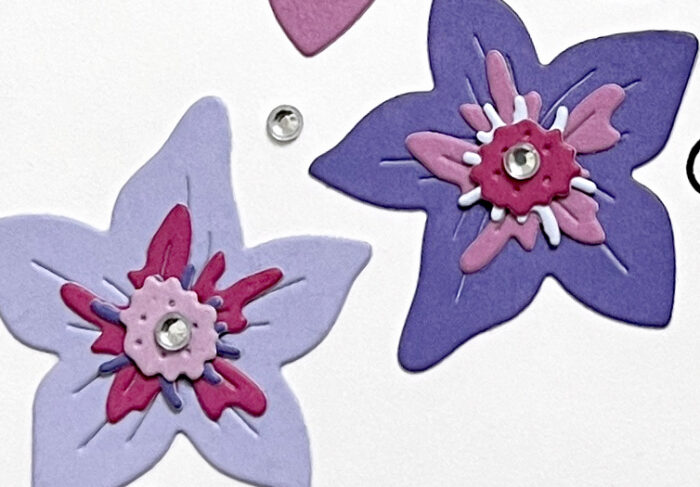
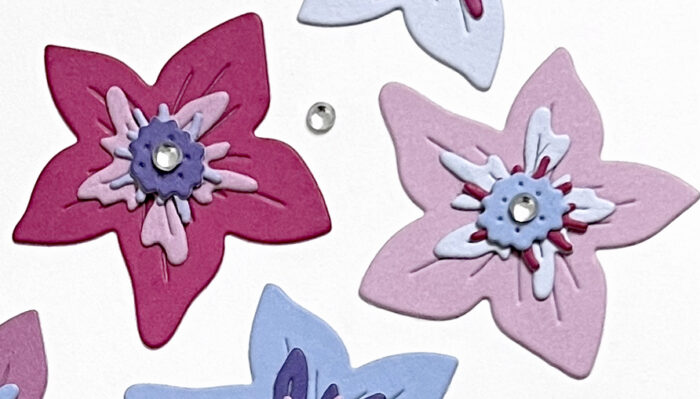
    I first cut the flower die out of eight different colors of card stock. The die cuts all of the layers of the flower, so I was able to mix and match all of the layers and colors to come up with the various flowers that you see. I only used seven of the flowers on my card, since odd numbers work better for design.

    The fun thing about this flower is that you don’t have to use all of the layers. It even looks sweet with nothing on it at all! I just had fun mixing all the colors up, so I wanted to use all of the layers.

    I knew I wanted to arrange my flowers on the diagonal, so I found a sentiment that would tuck perfectly in the lower corner. The sentiment comes from the Friends and Family Stamp Set. I stamped it with black pigment ink onto my white card panel and then glued the panel to a dark purple A2 card base.

    After glueing my flowers to the card base, I added some clear fairy jewels, both to the centers of the flowers and around the flowers. And that is it for my card today. I hope it brings a smile to your face. Thank you so much for joining us today.


    Supplies


    Supplies


  • Winter Thank You | by Allison Frazier

    Winter Thank You | by Allison Frazier

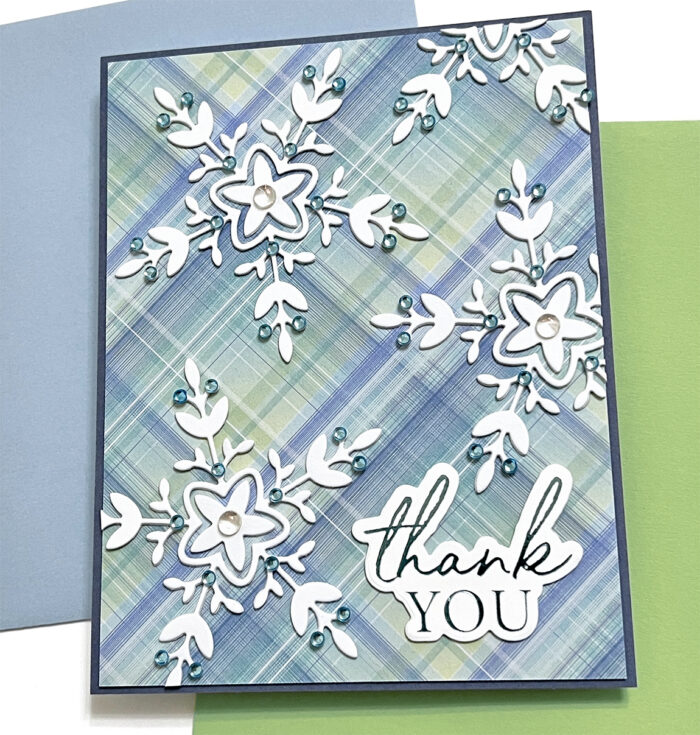
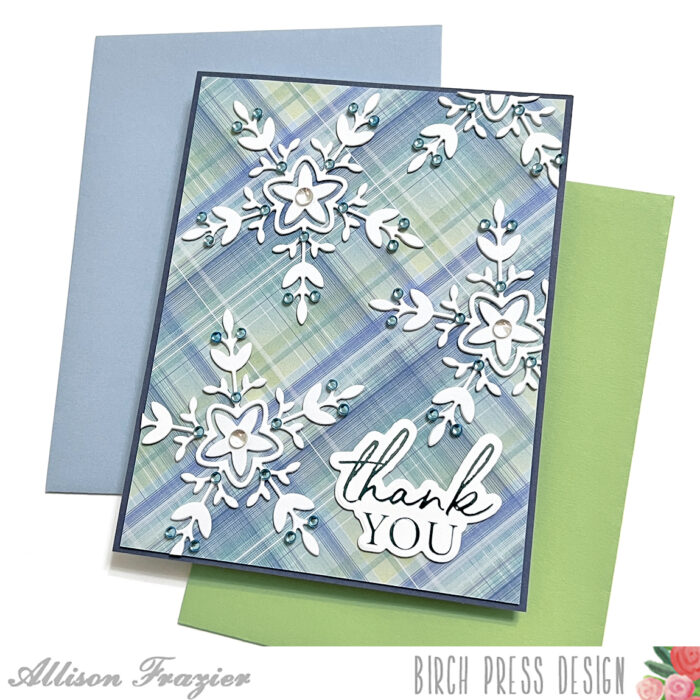
    Hello, Birch Press friends! I hope you all had a wonderful Christmas and have been enjoying the holiday season. I admit that I am always sad to see the holiday card making come to an end. But just because the holidays are over doesn’t mean that you have to put your winter-themed supplies away. Snowflakes are still great for winter birthdays, winter greetings, or in the case of my card today, a post-holiday thank you card. I am featuring the Piped Icing Star die set today, and I am just using the detail die from that set as a snowflake.

    I started by choosing a background for my card. I love plaid for the holidays, but since I am not necessarily going for a holiday card, I reached for an older pad of Memory Box paper – the Madras Plaid Blue and Violet paper pad. This has some fun plaids that make me think more of spring, but this particular piece of paper also says winter to me. I mounted this piece of paper onto a dark, muted purple piece of card stock and then glued that to an A2 card base.

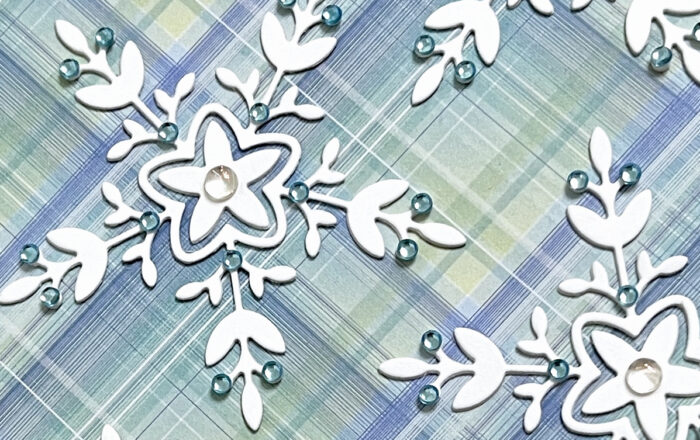
    I then cut the detail die from the Piped Icing Star set out of white card stock eight times. This is so I could glue two of the “snowflakes” together for dimension, for a total of four snowflakes. As you can see from the card, I used almost three full snowflakes and a portion of the fourth up in the right corner. After glueing my snowflakes to my card panel, I just snipped off the excess that hung over the panel.

    I hot foiled the Thank You Noted Script sentiment with light blue foil and cut it out with the matching die. I glued that to my panel, and I love how the points of the snowflakes complement the shape of this sentiment. Once I was done gluing my die cut elements, I added light blue jewels to each of the snowflakes. I also added a larger, clear crystal to the middle of each snowflake. The addition of these embellishments really kicks things up a notch, don’t you think?

    That is it for my card today. I hope it puts a smile on your face. Thank you so much for joining us today.


    Supplies


    Supplies


  • Holiday Hugs | by Allison Frazier

    Holiday Hugs | by Allison Frazier

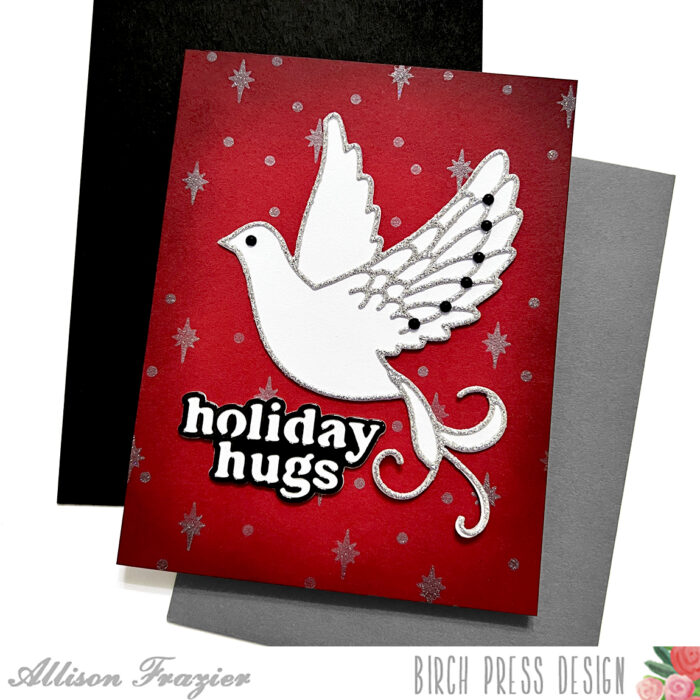
    Hello, Birch Press friends! I am still in full holiday mode and was in the mood for a bit of sparkle. I reached for the Adornment Dove and the new Starlight Snow stencil from Memory Box to make this card.

    I started with a red panel of card stock and some silver paste. I took a sponge applicator and pounced the silver paste through the stencil. If you ever want to apply paste without adding too much dimension, I highly recommend this method! Pouncing also helps ensure that the paste doesn’t go underneath the stencil. Once I was finished with the paste, I set my panel aside to dry.

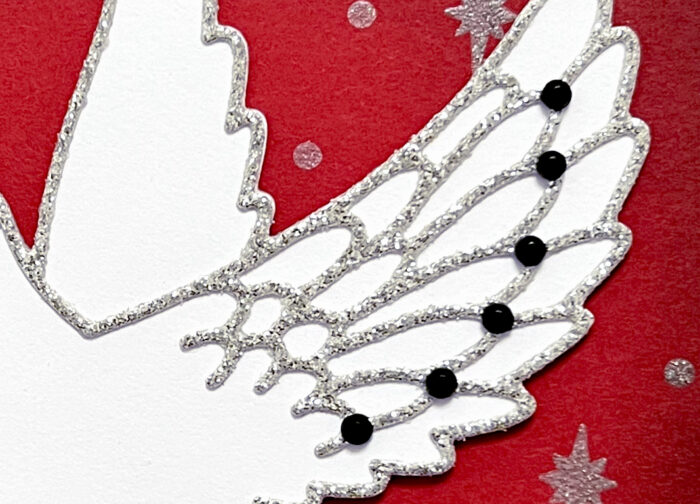
    I cut the base layer of the dove from white card stock (twice) and the detail layer from silver glitter card stock. I then adhered the layers together. This dove is so beautiful! I did decide to add some small black fairy jewels to part of the wing. I also used one to make an eye. I prepared my sentiment, using the new Holiday Hugs Vintage Sentiment. The top detail layer is black glossy card stock.

    Before adhering my red, stenciled panel to my A2 card base, I inked up the edges with some black ink in order to create a bit of a glow in the middle. I adhered my dove and sentiment on top, and that is it for this card! I hope it puts a smile on your face. Thank you so much for joining us today.


    Supplies


    Supplies


  • Peace On Earth | by Allison Frazier

    Peace On Earth | by Allison Frazier

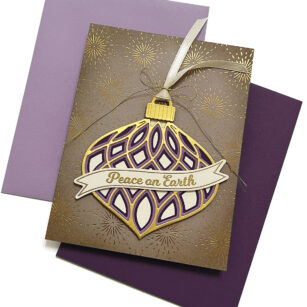
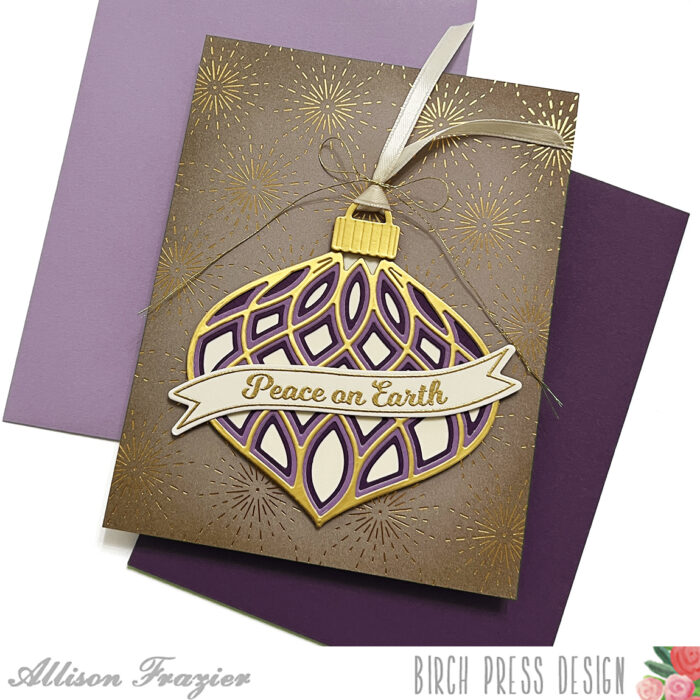
    Hello, Birch Press friends! Today, I am sharing this elegant card featuring the Revello Ornament Layer Set. This ornament would look beautiful in any color combination. I chose to go a little less traditional with my purple color scheme, and I love how it turned out.

    My initial inspiration for this card came from the new Poinsettia Garland paper pad. I chose a sheet with a foiled pattern, and I knew I wanted something shiny and beautiful to go on top. The paper is a unique color – it’s almost like a muddy gray. I cut it down to 4.25″ x 5.5″ and inked up the edges with Pumice Stone and Vintage Photo Distress Inks. The foil on the paper resists the ink. All I had to do was wipe the excess ink off of the foil with a dry cloth. I then glued this panel to an A2 card base.

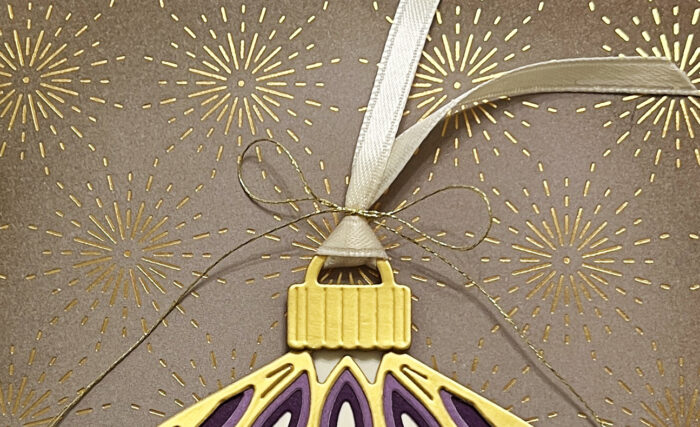
    I cut Layers B and C of the Revello Ornament from two shades of purple card stock. I cut Layer A from gold card stock, and then I glued those three layers together. I wanted a solid back for my ornament, so I took one of the dies and traced it onto cream colored card stock. After fussy cutting that out, I glued it to the back of the ornament. I then glued the ornament onto the card panel.

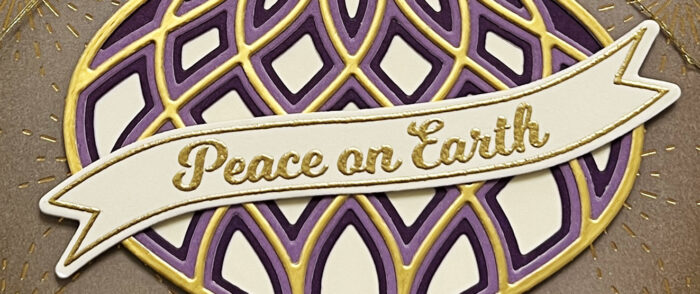
    I chose a sentiment from the Christmas Ornament and Labels stamp set and heat embossed it with gold embossing powder. I have the matching die set for these stamps, so I used the die to cut it out. I then glued that at an angle on top of the ornament. I used the ornament topper die from the Radiant Ornament Layer Set and cut that from the same gold card stock as my ornament. Before adding this on top of the ornament, I tied some ribbon and gold thread through it.

    I hope this card puts a smile on your face and inspires you to try some unique color combinations for your holiday cards. Thank you so much for joining us today.


    Supplies


    Supplies