Category: Allison Frazier

  • Piped Icing Star Cookies

    Piped Icing Star Cookies

    Hello, Birch Press Friends! Have you seen the amazing new, festive release? There are so many new dies, including snowflakes, ornaments, Santas, and more! And, there are new hot foil plates. I had to play with this fun Piped Icing Star die set because I love making cookies just like this for the holidays.
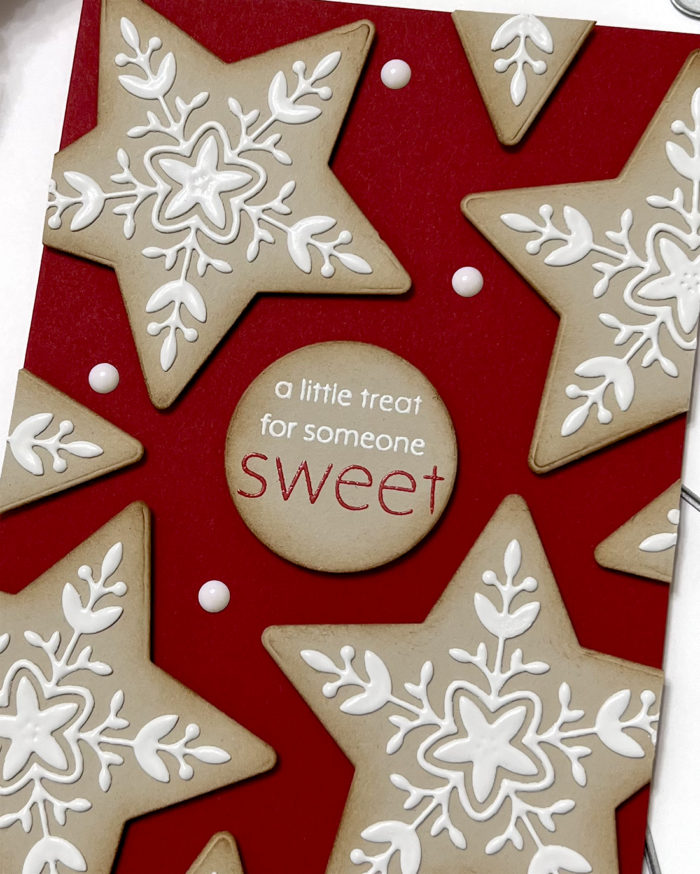
    I first created a 5″x7″ card base out of red card stock. I then cut all of my stars from beige card stock. I inked up the edges of the stars with Vintage Photo Distress Ink to mimic the browning that cookies get when they’re ready to pull out of the oven.
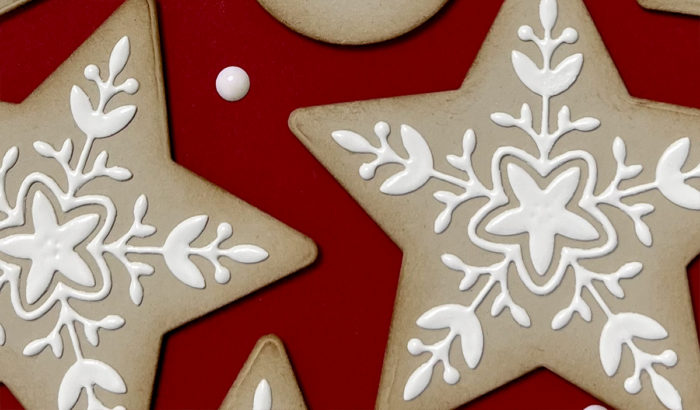
    I used the detail snowflake die to cut several pieces of white card stock. I placed each of these on a piece of copy paper and pressed VersaMark ink onto them. I then transferred them to a container of white embossing powder, made sure they were coated, and then embossed them with my heat gun. I repeated this process three times, which results in a thicker and more rounded look to the embossing powder. I then glued these to the center of the stars. It is so shiny and smooth just like real icing!
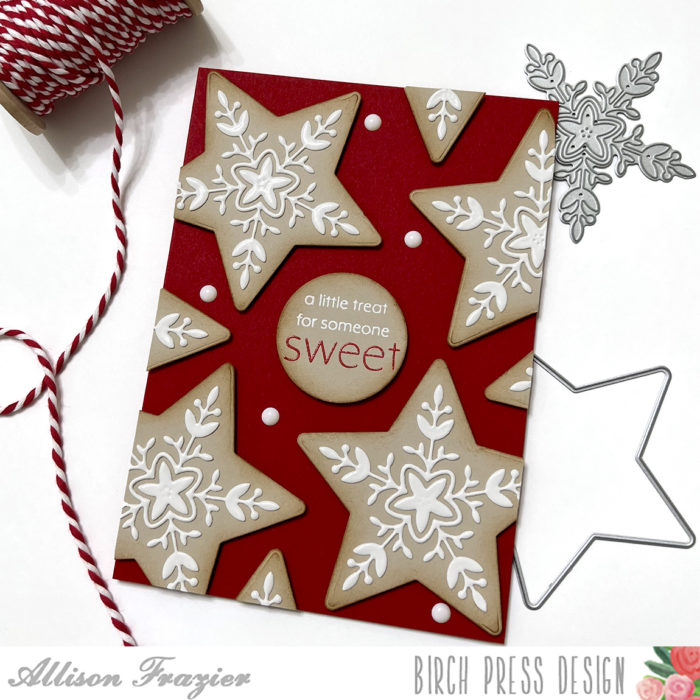
    For the sentiment, I used a retired Birch Press Design stamp set called “You Are Awesome.” I just couldn’t pass up this perfect sentiment. I heat embossed the sentiment with white and red embossing powders, cut it out with a circle die, and inked up the edges with the Vintage Photo ink to make it look like another cookie.

    After arranging all of my elements on the card, I cut off the edges where necessary and then popped them up on craft foam for dimension. I finished with some white enamel dots.

    Thank you so much for joining us today. I hope this card inspires you and brings a smile to your face!

    Wishing you a crafty day,
    Allison


    Supplies

  • Glossy and Bright Butterfly

    Glossy and Bright Butterfly

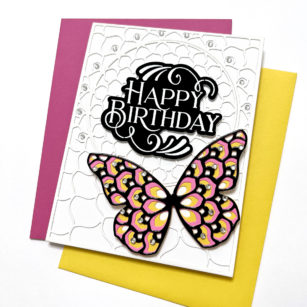
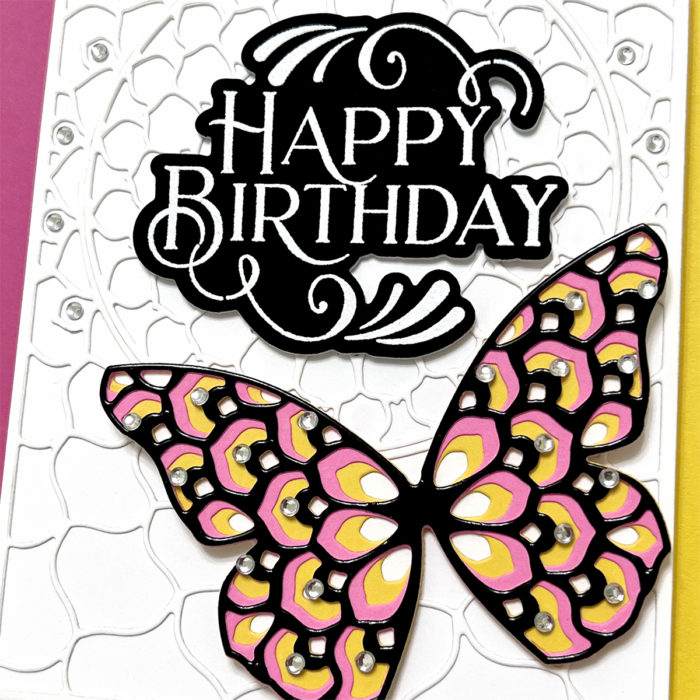
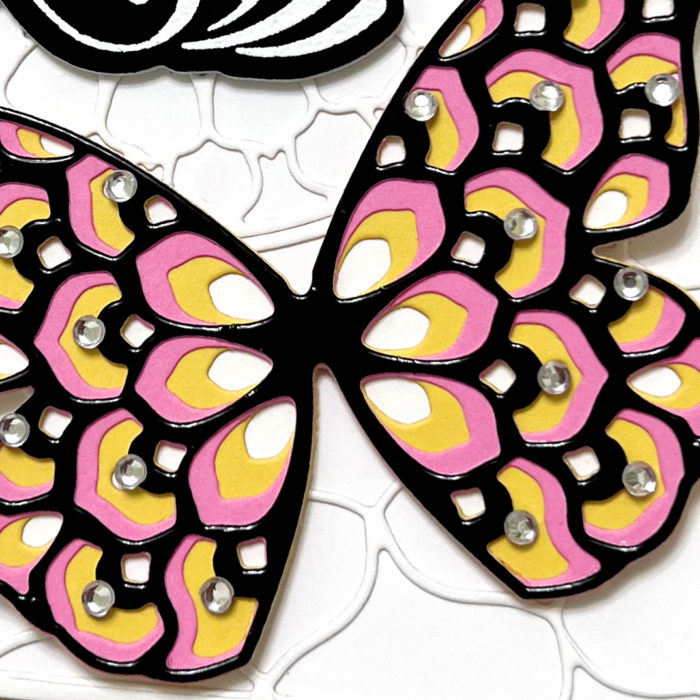
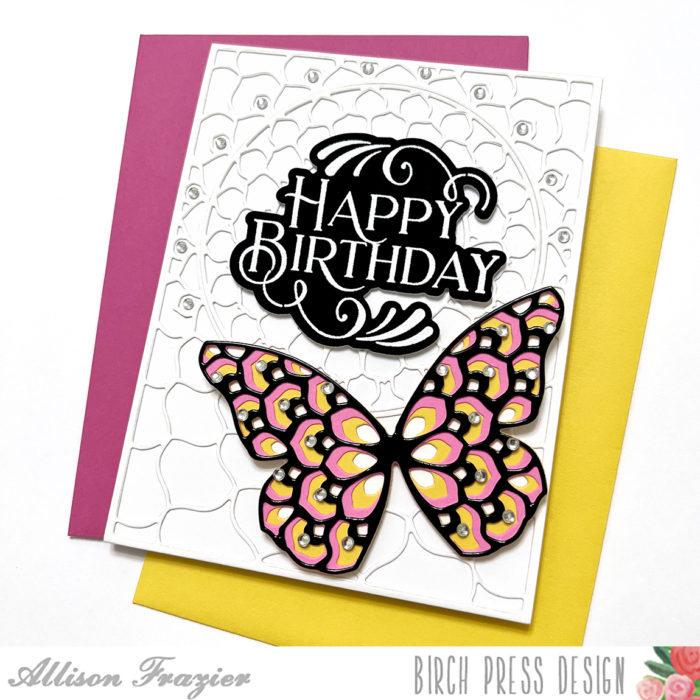
    Hello, Birch Press Friends! I have been loving glossy black card stock so much lately, and I thought it would be great for a butterfly. So today I am sharing this card featuring the Glimmer Butterfly Layer Set.

    I started by making the butterfly. I used yellow card stock for the bottom layer, pink card stock for the middle layer, and the glossy black card stock for the top layer. I adhered the layers together with liquid glue. I added some clear fairy jewels as an embellishment.

    For my background, I used Layer A from the Epiphany Plate Layer Set. I die cut it from white card stock and adhered the main outside layer to a white A2 card base. I also adhered the inner ring to the card base. I kept the small center piece to use at a later time. I never throw pieces out! I added some clear fairy jewels around the ring to accentuate the circle.

    I white heat embossed the sentiment onto black card stock and then cut it out with the matching die. I also used the die to cut two layers of white card stock and adhered those to the back of the sentiment for dimension.

    Thank you so much for joining us today. I hope this card inspires you and brings a smile to your face!

    Wishing you a crafty day,
    Allison


    Supplies


    Supplies


    Supplies


  • Wispy Fireworks

    Wispy Fireworks

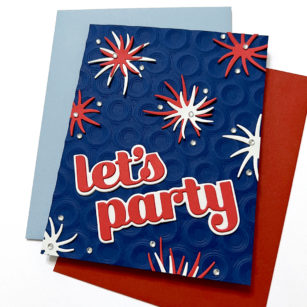
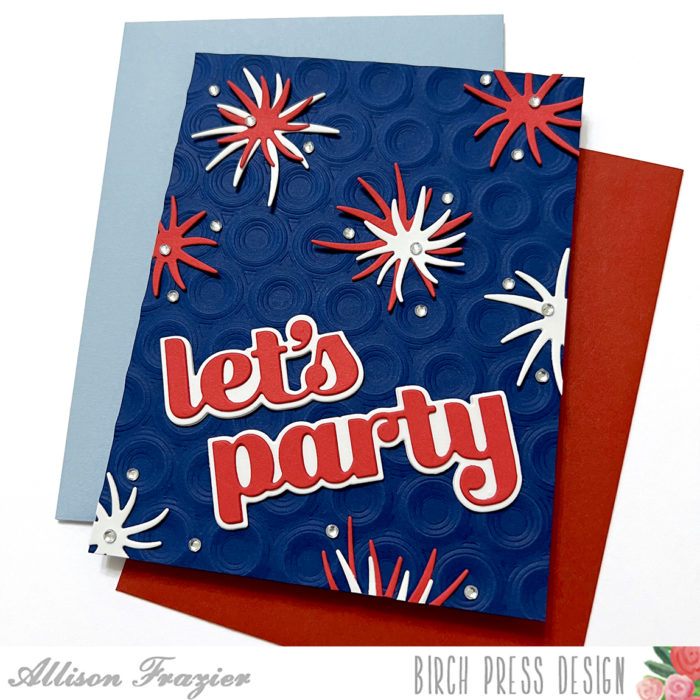
    Hello, Birch Press Friends, and Happy 4th of July! Allison here, and today I’m sharing this festive card featuring the Wispy Blooms Contour Layers die set. I love finding new ways to use my supplies, so why not make fireworks out of flowers?

    I started my card with an A2 panel of blue card stock, which I embossed with the Ringadings 3D embossing folder. I then adhered that to a blue A2 card base.

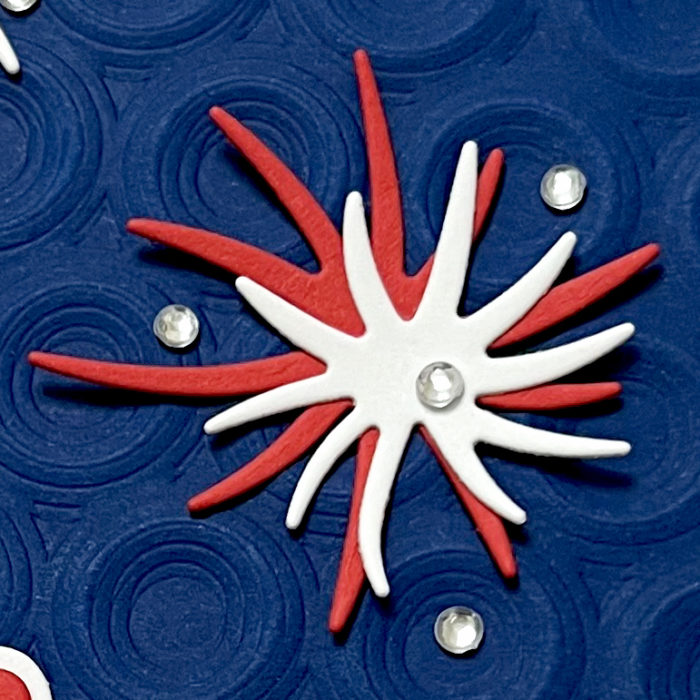
    I cut the two wispy shapes from the die set out of white and red card stock. These extra wispy shapes are not part of the layering flowers, but they might be my favorite part of the die set. I have used them before as background texture, and I think it was back then that I got this idea to make them into fireworks. I adhered these shapes around the card panel. For some of the fireworks, I layered one of the smaller pieces onto the larger one.

    For the sentiment, I used the Let’s Party Sugar Script die. I cut the shadow out of white card stock, and the words out of red card stock. I doubled up both the shadow and the word for dimension and then glued these onto the panel at an angle.

    To finish up the card, I scattered some clear fairy jewels all around the design.

    Thank you so much for joining us today. I hope this card inspires you and brings a smile to your face!

    Wishing you a crafty day,
    Allison


    Supplies


    Supplies


  • Tropical Hibiscus Friends

    Tropical Hibiscus Friends

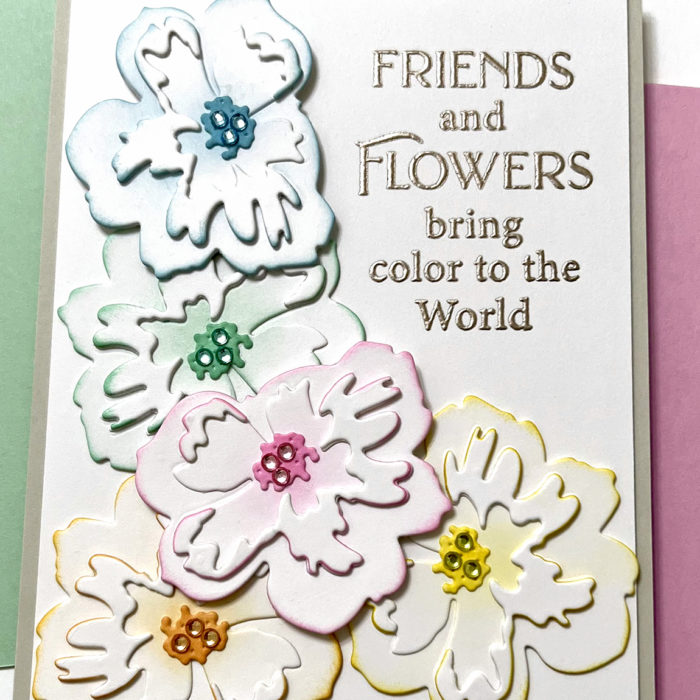
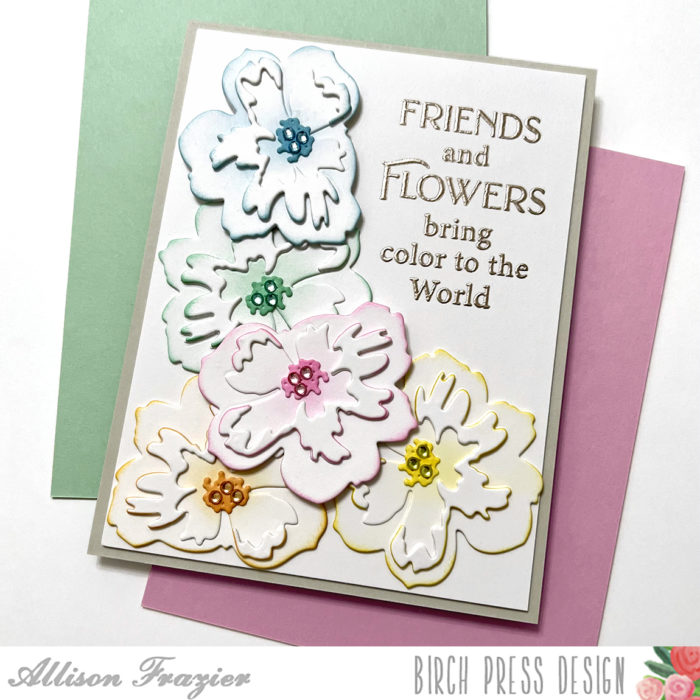
    Hello, Birch Press Friends! Allison here, and today I’m sharing a card featuring the new Tropical Hibiscus Contour Layers die set.

    I started by cutting all of the pieces of the flowers from white card stock. I then blended Distress Ink onto the pieces, but in a very subtle way. The most intense color is on the edges of the bottom piece, the outside edges of the top detail layer, and the center. My initial inspiration for this came from images of white hibiscus that I found online.

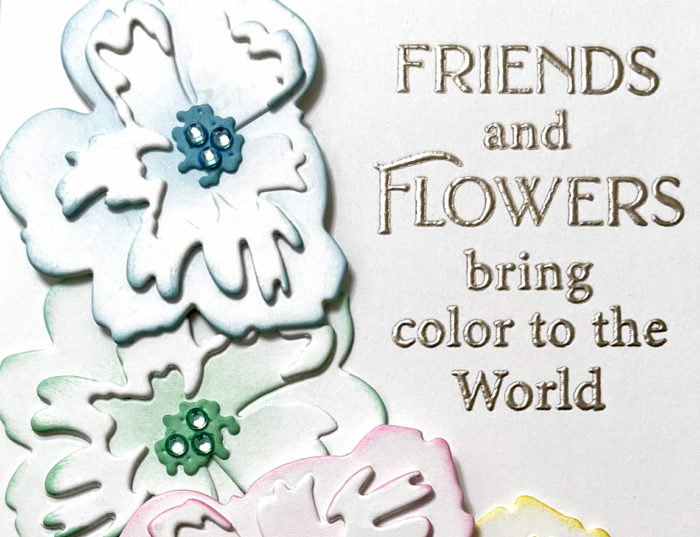
    To add dimension, I created duplicate layers of the bottom piece and the top detail pieces, before adhering all of the layers together with liquid glue. In order to determine the layout of my design, I first selected my sentiment and, before stamping it, arranged the flowers around it. Once I was happy with the layout, I removed the flowers and stamped the sentiment with VersaMark Ink. I heat embossed it with a platinum embossing powder and then repeated the process, which really gives the sentiment more of a rounded, smooth finish.

    I adhered the flowers to the stamped card panel with liquid glue, adding foam tape to the back of the pink and blue flowers. I then mounted that onto a warm gray A2 card base. As a finishing touch, I added matching Fairy Jewels to the centers of each flower. Even though these flowers don’t have a lot of color, the texture of all the layers really packs a punch.

    Thank you so much for joining us today. I hope this card inspires you and brings a smile to your face!

    Wishing you a crafty day,
    Allison


    Supplies

  • Dragonfly Hugs

    Dragonfly Hugs

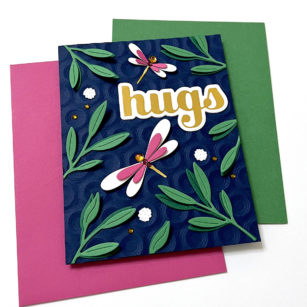
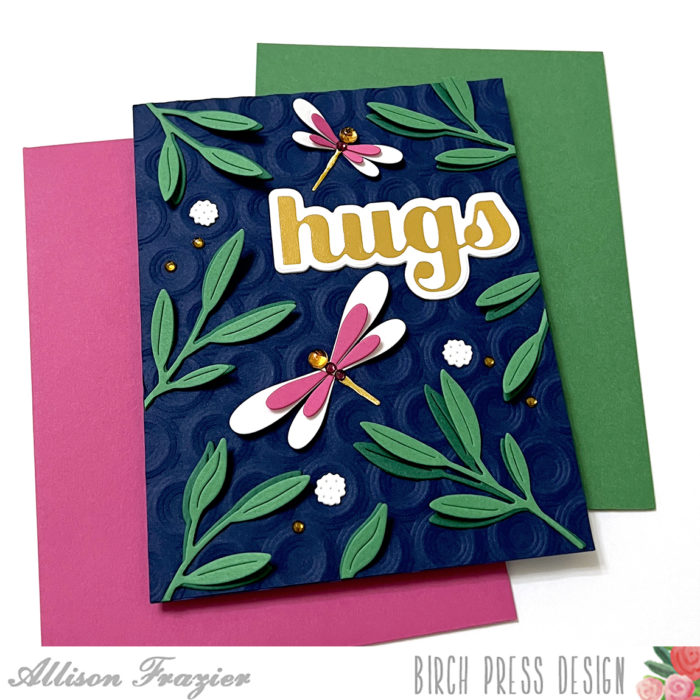
    Hello, Birch Press friends! Allison here, and today I’m sharing a card featuring some of my favorite products from the latest release.

    I started by embossing a navy panel of card stock with the Ringadings 3D embossing folder. I love the texture this embossing folder gives! I then die cut a bunch of kelly green leaves from the Tiny Tuft Flowers and Leaves Contour Layers set. I also cut the same leaves from a darker green card stock. I layered those by glueing only the thinnest part of the leaves together, while also slightly offsetting them. I glued the bottom, darker leaf to the card panel. The top layer lifts up off the card and gives great dimension.

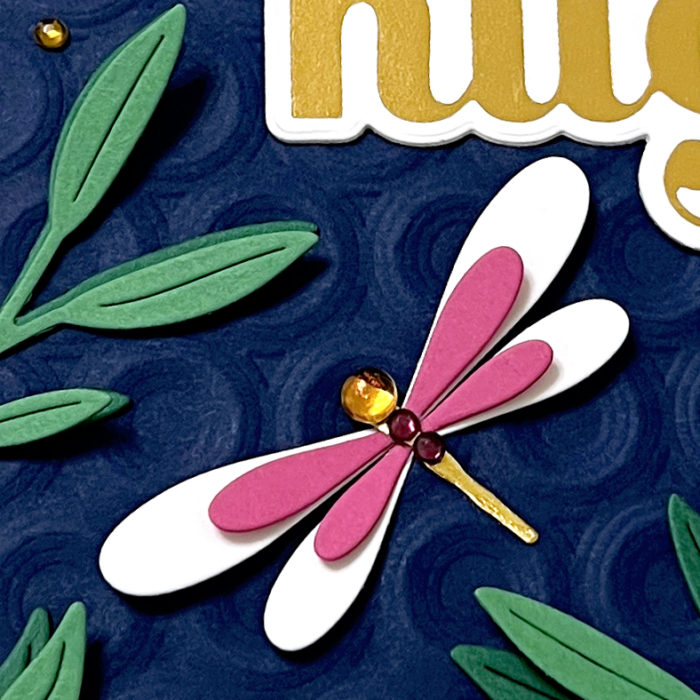
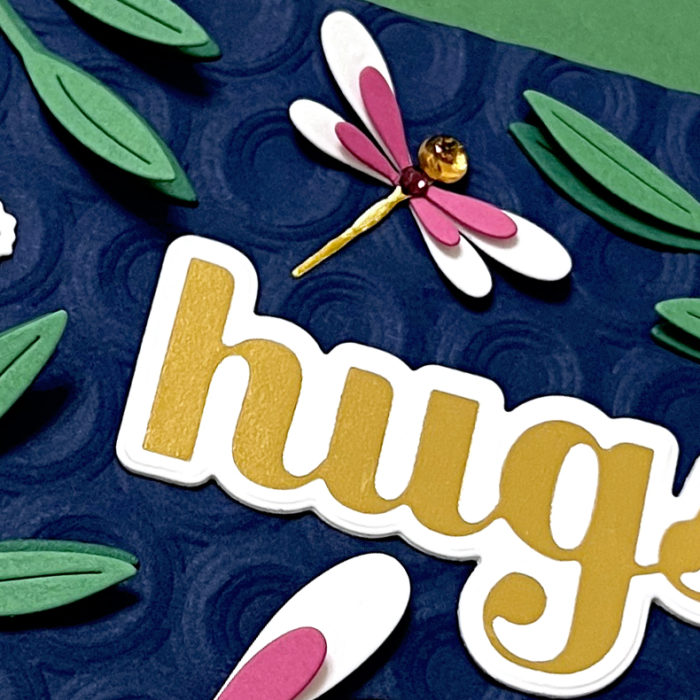
    Next, I used white and dark pink card stock to cut the wings from the new Simple Dragonfly Contour Layers set. I am in love with these dragonflies! I cut the bodies from gold metallic card stock. I adhered the layers together, only glueing them in the centers. I glued only the body to the card panel. This allows the wings to lift up off of the card, similar to the leaves.

    I added some gems to the dragonflies to give them a bit more detail. I also added some gold gems around the panel. The small, white die-cut embellishments are the centers of the flowers from the Pimpernel Contour Layers die set.

    The sentiment is the Hugs Sugar Script Hot Foil Plate. I foiled it with a brassy gold color and then cut it out with the matching die.

    Thank you so much for joining us today. I hope this card inspires you and brings a smile to your face!

    Wishing you a crafty day,
    Allison


    Supplies

  • Hot Foiled Hugs | By Allison Frazier

    Hot Foiled Hugs | By Allison Frazier

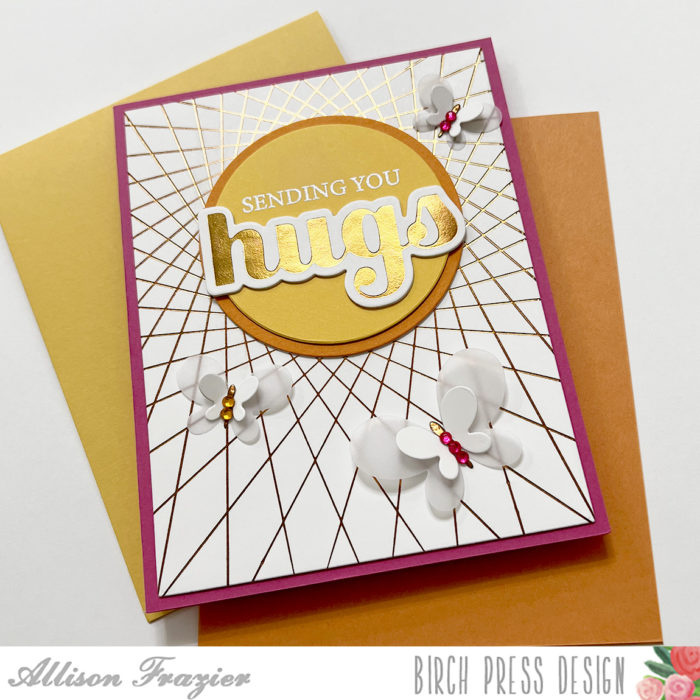
    Hello, Everyone! Look who has hot foil plates now! We are very excited to be able to show off these gorgeous plates and how hot foiling can complement the rest of the beautiful Birch Press Design products.

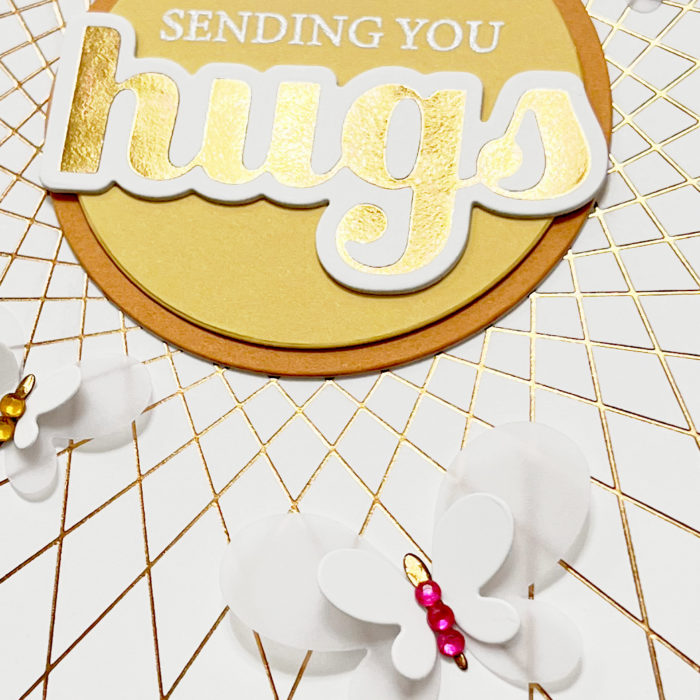
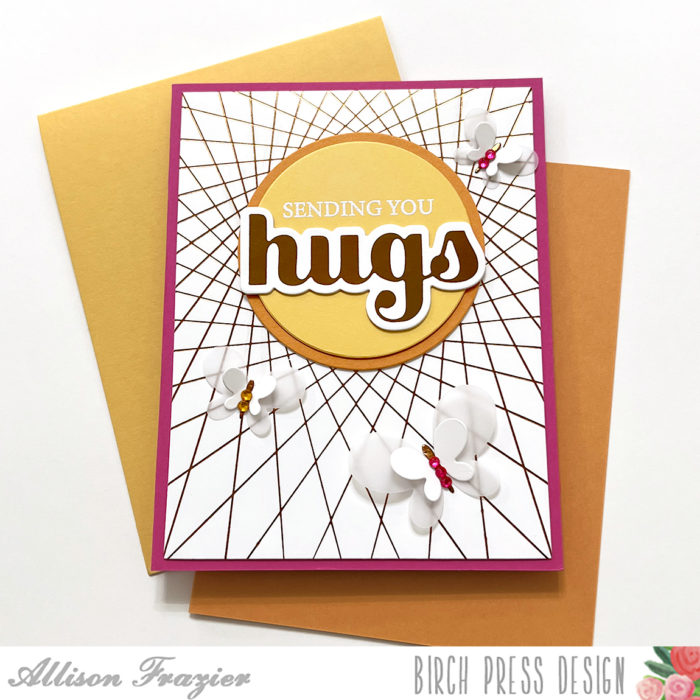
    Not only are there sugar script hot plates, but one of my favorite background dies is now available as a hot foil plate, too. And that is what I started this card with. I took a piece of smooth white card stock and hot foiled the String Art Frame plate with copper foil. This foil looks gold in the pictures, but that’s the wonderful thing about foil – it changes color and luminosity as the light hits it. The hot foiled image came out crisp and beautiful on the first try, so I set that aside.

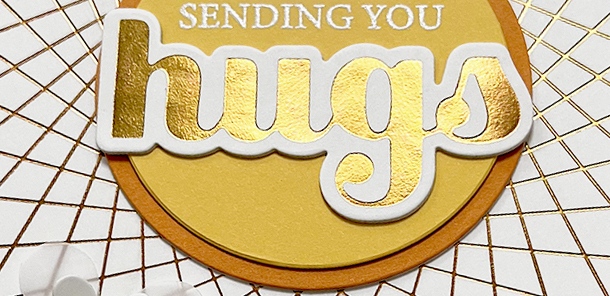
    Next, I foiled the hugs hot foil plate with the same copper foil onto the same white card stock. I cut it out with the matching die that comes with the plate. It came out gorgeous! The hugs sugar script die has always been one of the most used sentiments in my stash, and I know that this hugs hot foil plate will get just as much use.

    To ground my sentiment in the center of the string art frame, I cut two circles from yellow and orange card stock. On the smaller yellow circle, I stamped a partial sentiment from the Kind Hearts stamp set. The full sentiment is “Sending you sunshine, laughter & hugs.” In order to stamp just the “Sending you,” I masked off the rest of the stamp with washi tape, inked the stamp with VersaMark ink, removed the washi tape, and then stamped it onto the yellow circle. I then heat embossed it with white embossing powder. I assembled the two circles together, glued the hugs sentiment below the stamped sentiment, and adhered it onto my foiled panel. I then adhered the panel onto a hot pink A2 card base.

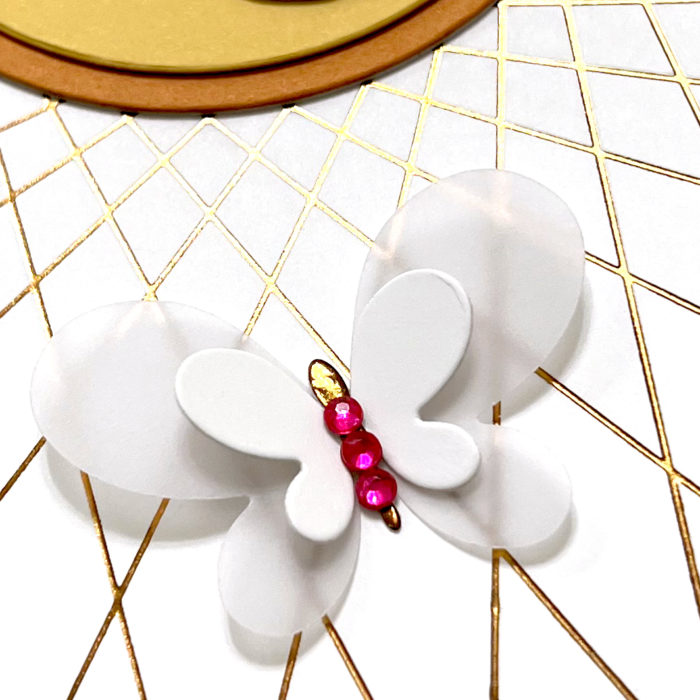
    To embellish the card, I die cut three butterflies using the Simple Butterfly Contour Layers die set. I cut the larger layers from vellum and the top layers from white card stock. The bodies of the butterflies were actually cut from the same copper hot foil that I used on the rest of the card. If you have a solid hot foil plate in your stash, you can easily create solid foiled pieces of card stock. As a final embellishment, I added colorful fairy jewels to the butterfly bodies.

    In this last photo, you can see the copper color of that foil. Again, it just depends on the lighting – the foil gives the card such a dynamic feel. I hope you’re all as excited as we are about these new hot foil plates. Thank you so much for joining us today. I hope this card brings a smile to your face!

    Wishing you a crafty day,
    Allison


    Supplies

  • Layered Floral Star | By Allison Frazier

    Layered Floral Star | By Allison Frazier

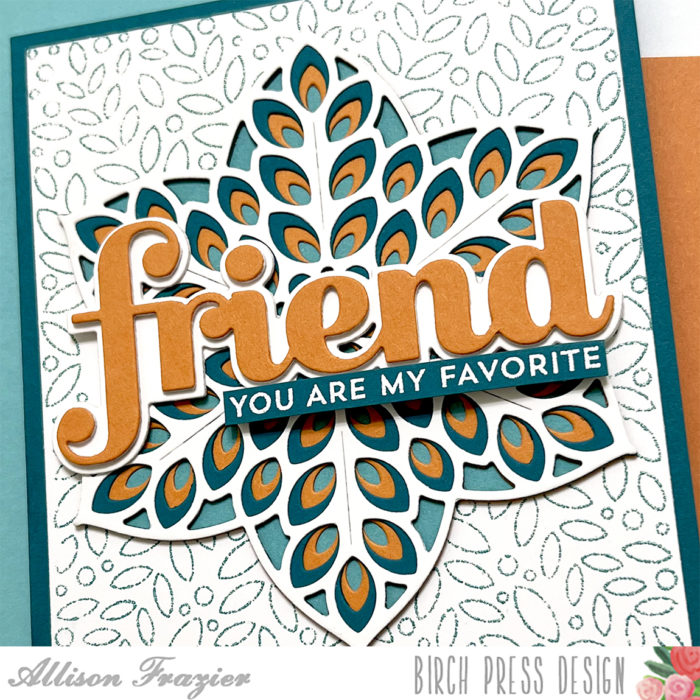
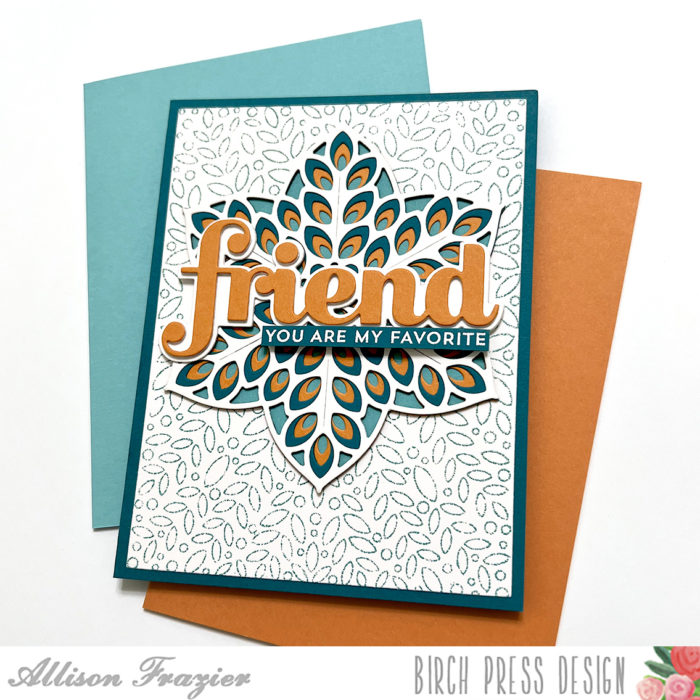
    Hello again, Friends! Today I am sharing this gorgeous layered floral star card using one of my favorite color combinations. There is just something about orange and turquoise together, right? It has to be one of the more striking complementary color combos.

    I love creating texture in the background of my cards, even if it’s not with dies. For this card, I created texture by stamping and embossing the large stamp from the Christmas Ornament and Labels set. I used a textured turquoise embossing powder – the texture gives it a more muted and imperfect look. I cut the stamped panel down to 4″ x 5.25″ and mounted it to a dark teal A2 card base.

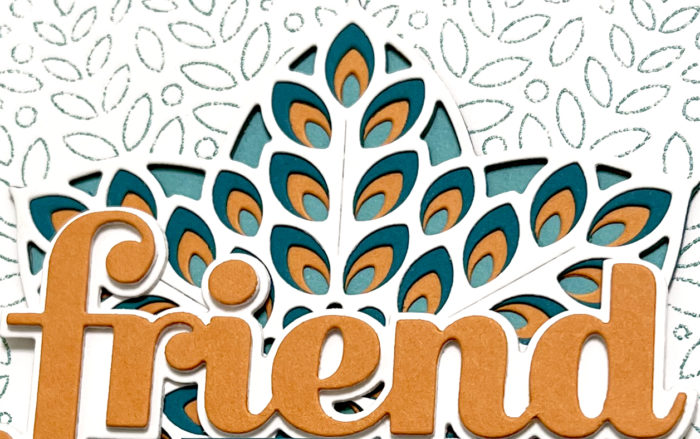
    I die cut each of the three layers from the Floral Star Layer Set, using orange paper for Layer C, dark teal for Layer B, and white for Layer A. I then traced one of the negative spaces from those die cuts onto a turquoise piece of paper and cut it with my scissors to form a solid back. I adhered the layers together with liquid glue and then adhered the entire element to the embossed panel, making sure to cover the ornament shape in the stamped image.

    Next, I die cut the “friend” shadow twice from white card stock, adhering the layers together. I die cut the friend word twice from white card stock and once from orange card stock, layered those together and adhered to the shadow. Then I placed the finished word into the middle of the floral star. The sub-sentiment is from my stash – I stamped it on the same dark teal card stock and white heat embossed it.

    This card is the perfect example of why I fell in love with Birch Press Design when I first started making cards several years ago. The layering dies and the font in their sugar script dies will always stay fresh. Fresh! Maybe that’s the word that comes to mind when I see this color combination.

    Thank you so much for joining us today. I hope this card brings a smile to your face.

    Wishing you a crafty day,
    Allison


    Supplies

  • Rainbow Berries | By Allison Frazier

    Rainbow Berries | By Allison Frazier

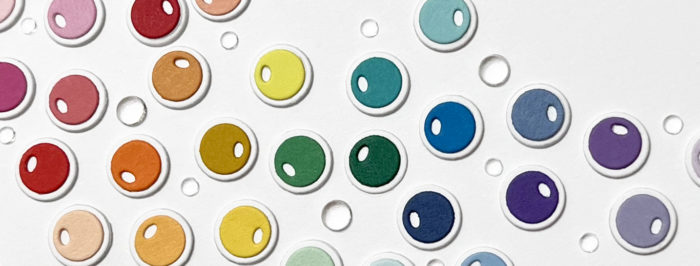
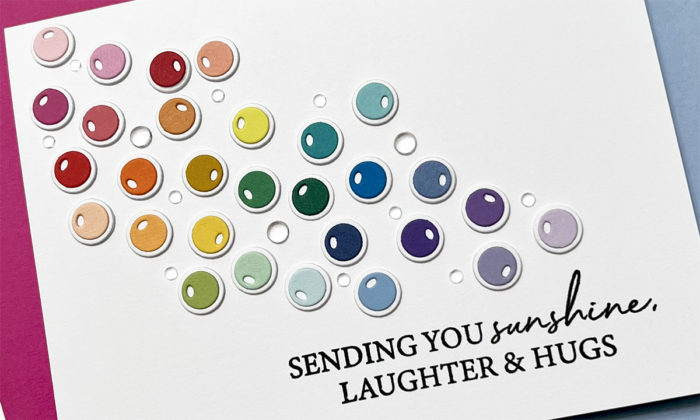
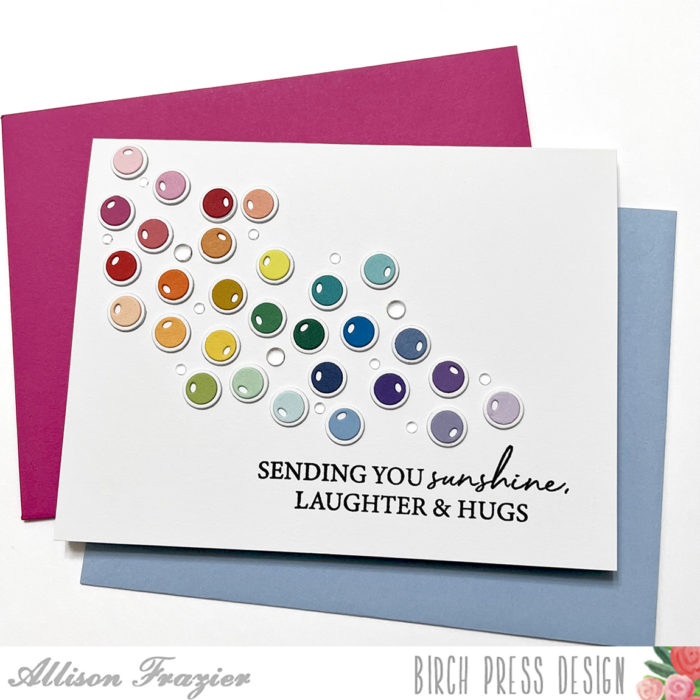
    Hello, Everyone! Today I’m sharing a colorful, cheerful card featuring the Eucalyptus Stem and Berries Contour Layers die set. As you can see, I only used one little part of that die set, but that’s sometimes all you need! I love using products in unexpected ways, and these berries end up looking like bubbles, don’t they?

    One of the best things about making this card is that I got to use a bunch of the little scraps of card stock that I refuse to throw away. Each of my berries/bubbles is a different color of card stock. I just cut really small pieces of each color and was able to cut about three different colored berries at a time with the die.

    I was going to use the other part of the berry die to cut solid white circles to go behind my berries. But, I already had a bunch of white circles that have been in my stash forever, and I was excited to finally get some use out of them! I glued the berries onto two layers of those circles. The white circles are slightly larger, and I love how they look. Before adhering them to my card base, I stamped the sentiment with black pigment ink. I think this cheery sentiment goes so well with all of the color.

    I adhered the berries/bubbles to the card with glue, trying to make the placement look random. I then added some clear drops around the circles, which I think adds to the bubble effect. I love how the card turned out. It’s very clean, yet playful.

    Thank you so much for joining us today. I hope this card brings a smile to your face.

    Wishing you a crafty day,
    Allison


    Supplies


  • Layered Triangle Slimline | By Allison Frazier

    Layered Triangle Slimline | By Allison Frazier

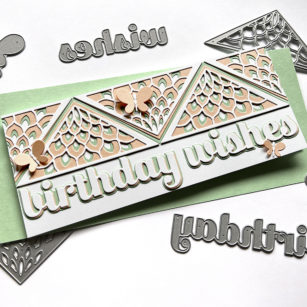
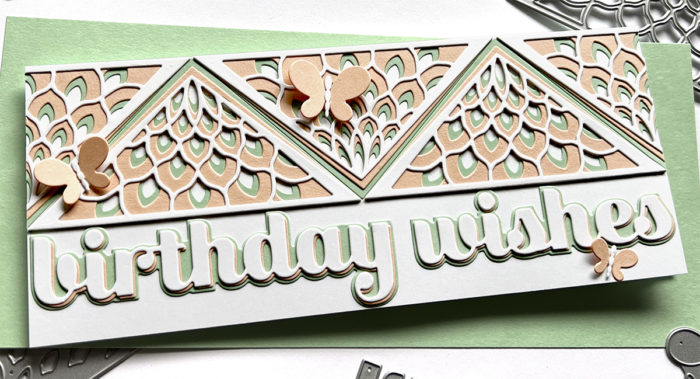
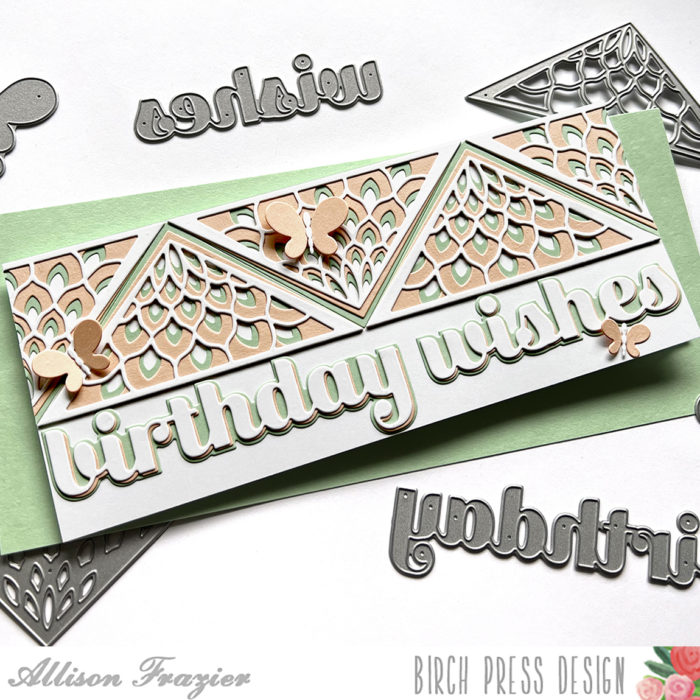
    Hello, Everyone! If any of you have wished for a birthday greeting that would stretch across a slimline card, then the Birthday Wishes Sugar Script die set is for you! I paired the greeting with the Petal Triangle Layer die set, which also fills up a slimline card when you use it in an unexpected way.

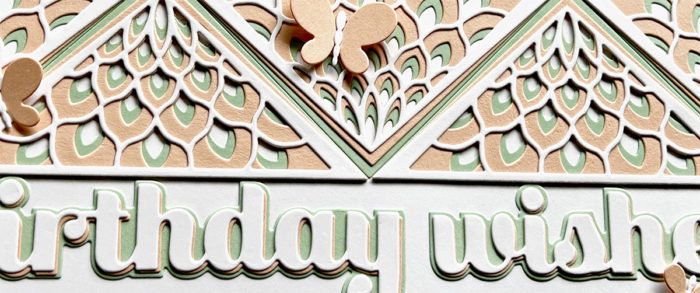
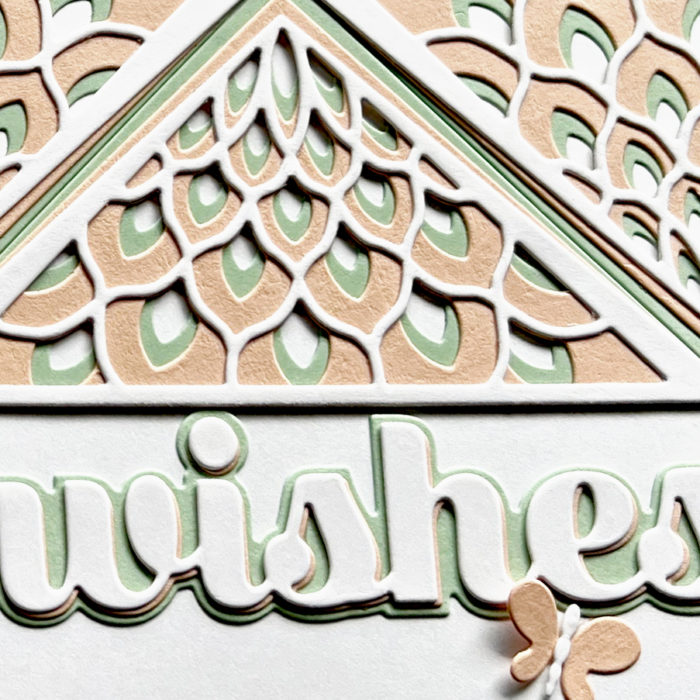
    I started off by creating my slimline card base out of white card stock – it measures 3.5″ x 8.5″. I then started die cutting my triangles. I used each of the layer dies to create four die cuts – Layer A from white card stock, Layer B from peach card stock, and Layer C from mint card stock. I assembled all of these with liquid glue to create four layered triangles. Once assembled, I cut one of the triangles in half.

    I glued the triangles across the top of my card base, flipping the orientation of each one. The triangle that I had cut in half filled in the corners of each side just perfectly. I then cut the birthday wishes greeting, using mint card stock for the shadow and both white and peach card stock for the words. I layered the white words over the peach words, creating a bit of a drop shadow effect, and then glued those onto the mint shadows. I love how this repeated the same layering as the triangles.

    To finish the card, I scattered a few peach butterflies that I made using the new Simple Butterfly Contour Layers set.

    Thank you so much for joining us today. I hope this card brings a smile to your face.

    Wishing you a crafty day,
    Allison


    Supplies


  • Vintage Pimpernels | By Allison Frazier

    Vintage Pimpernels | By Allison Frazier

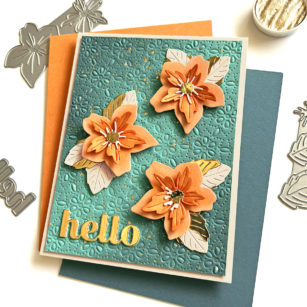
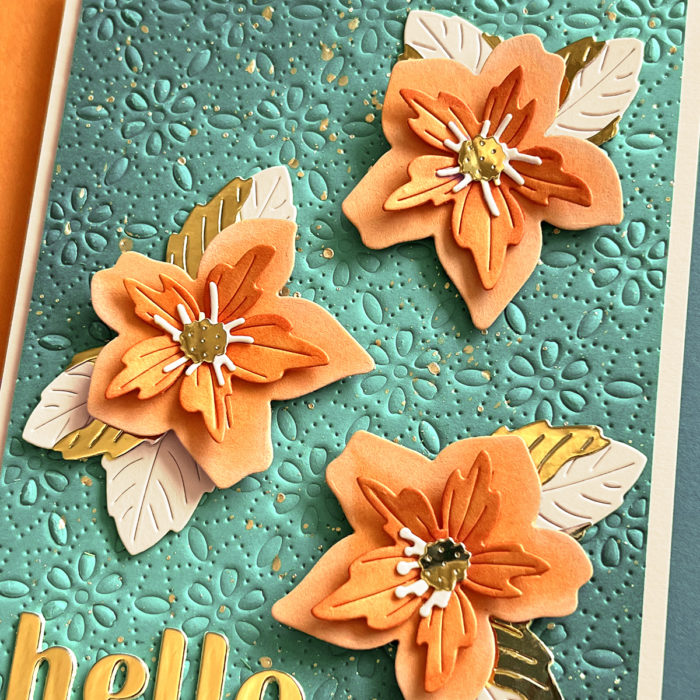
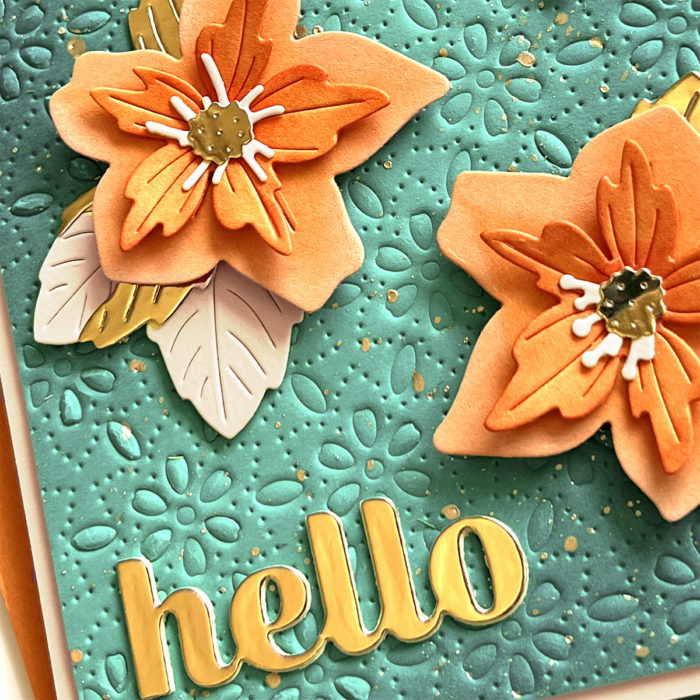
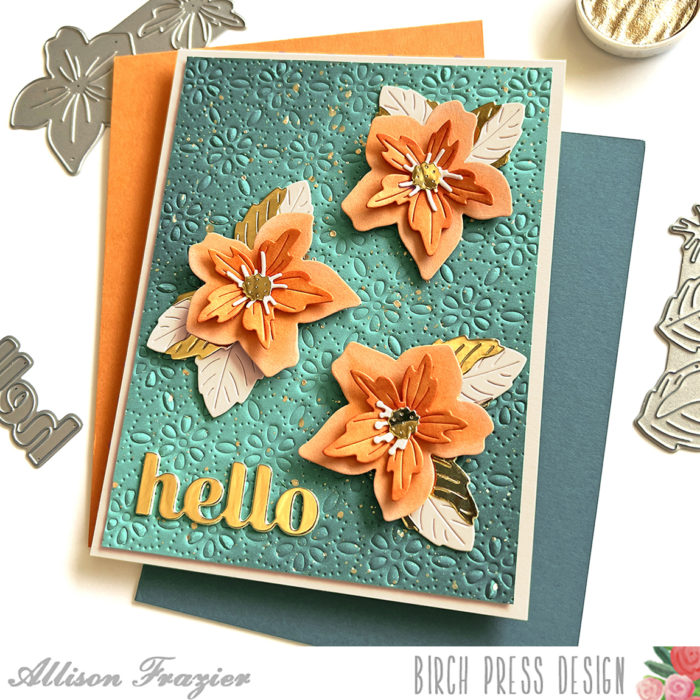
    Hello, Friends! Today I am sharing this card featuring the new Pimpernel Contour Layers die set with a vintage inspired color combination. This card is part of our current Instagram Hop! If you haven’t yet participated in the hop, click here to head over to Instagram for your chance at winning one of our new floral layering die sets. Comments close today (Tuesday) March 22 11:59 pm EST, so there is still time!

    I started my card by dry embossing the Flora Plate Layer C die onto a panel of teal card stock. I then inked up part of the panel with some darker teal ink in order to create a glow in the center. I splattered the panel with gold paint and then adhered it to a parchment colored A2 card base.

    I used the Pimpernel die to cut the two main parts of the flower from a light orange card stock. I inked the top layer with a darker orange ink and then inked the edges of the bottom layer with white pigment ink to create a bit more contrast. I used gold foil card stock for the small middle piece of the flower, the top layer of the leaves, and the “hello” sentiment. To give the flowers even more dimension, I used a stylus tool and popped them up on foam tape.

    Thank you so much for joining us today. I hope this card brings a smile to your face.

    Wishing you a crafty day,
    Allison


    Supplies