Category: Amanda Wilcox

  • Masculine Encouragement Card

    Masculine Encouragement Card

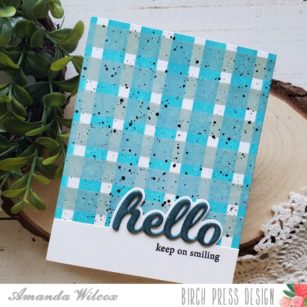
    Hello everyone. Creative Team Member Amanda with you today sharing a fun card that’s got a bit of a masculine feel. Those cards can be very difficult to create so I am excited to share this with you.

    I started with an A2 size panel and my bold stripes stencil. I used peacock feathers distress oxide ink and a blending brush and spritzed it with water.

    After not falling in love with the stripes for this design, I turned my stencil and tried adding scattered straw distress ink of a plaid look. Not a good combo…so I added stormy sky over the top of the scattered straw and loved the look it gave. (Lesson here…if you don’t like something at first, keep trying and definitely walk away for a while before you trash it. This has saved me many a time!)

    Next, I put it in my splatter box and flicked some watered down black acrylic paint all over it.

    Next, I pulled out the hello topper set and die cut it from black and the words from a gray-ish blue that matches the inks I blended with. I did not like how dark the bottom of the card was so I tried switching it out for white.

    Ahhh, much better. Next, I die cut 3 more hellos and glued them all together. I pushed them into my embossing ink pad, covered the whole word with clear embossing powder and heated it up. I added 3 layers of that for a rounded glossy look and glued the words in place.

    Last, I stamped a small sentiment from the lovely butterflies stamp set below the hello die cuts.

    I think this card has great texture and awesome colors. It would be great for anyone and you could easily change the whole look with different colors of ink.

    I hope you found some inspiration to try create something wonderful. I appreciate you sharing your time with me. Have a fabulous day.
    Supplies
  • Happy, Happy, Happy Birthday! | By Amanda Wilcox

    Happy, Happy, Happy Birthday! | By Amanda Wilcox

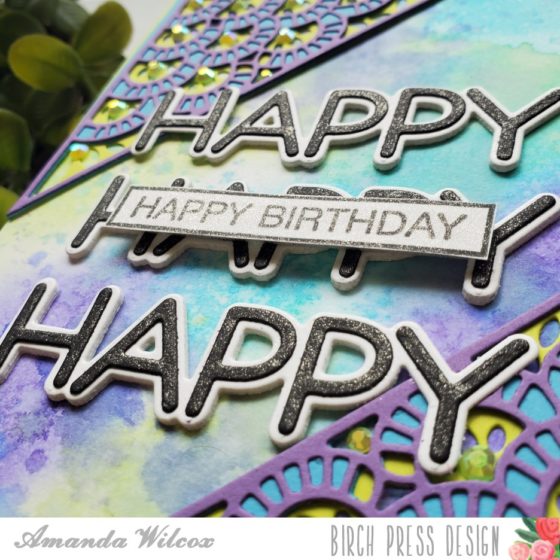
    Hello everyone. Amanda Wilcox from Twiddler’s Nook here and I’m so excited to be joining Birch Press Design Creative Team. Today I have my first card share for you. It looks a little involved but it really is simple. Let’s get started.

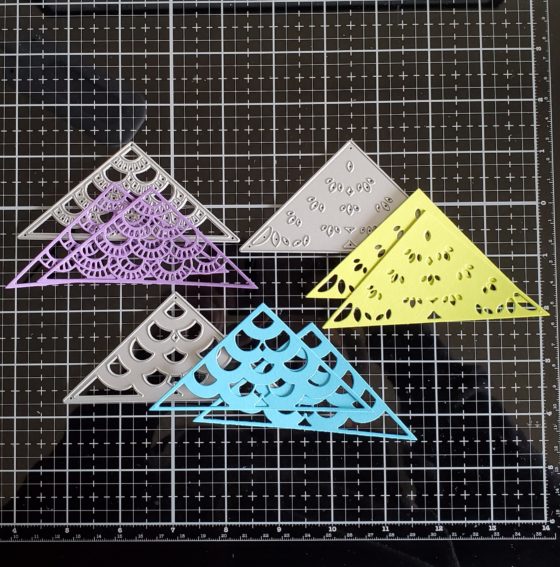
    I die cut each of the layers for the Frilly Triangle twice and glued them together.

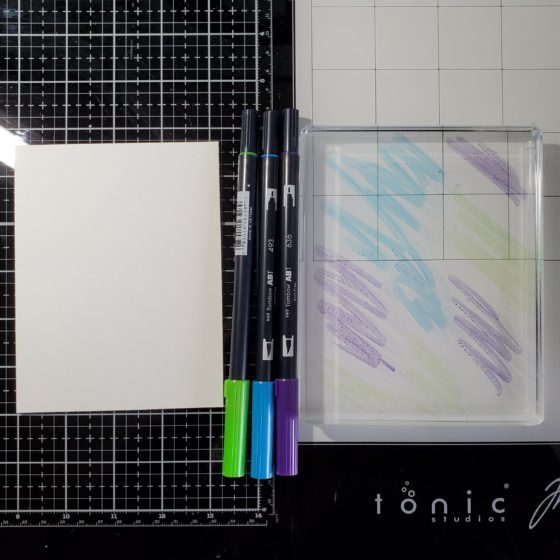
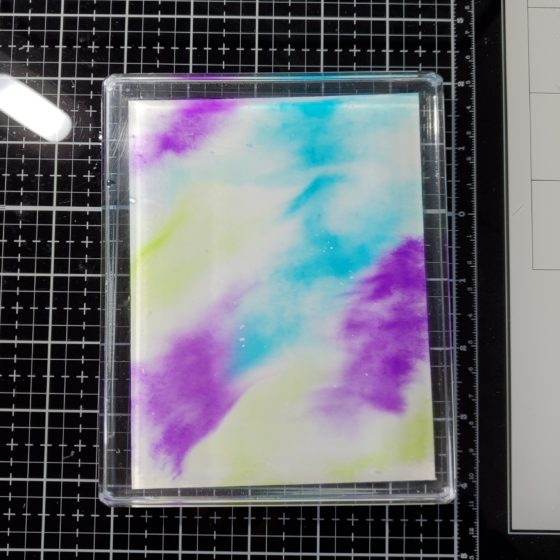
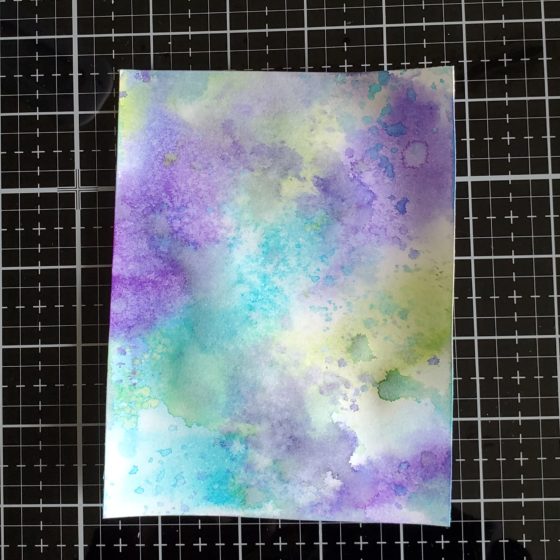
    Next, I moved on to ink smooshing my background. This is a fun technique that gives a great effect. You just color Tombow, or other water based markers, on a clear block, spritz with water and smoosh your paper on it.

    After the first round, I used a heat tool on it and smooshed it on the liquid that was still on my block for a layered effect.

    And a quick tip: If you have a laminator, run the panel through that once it’s dry to flatten it back out. It really helps.

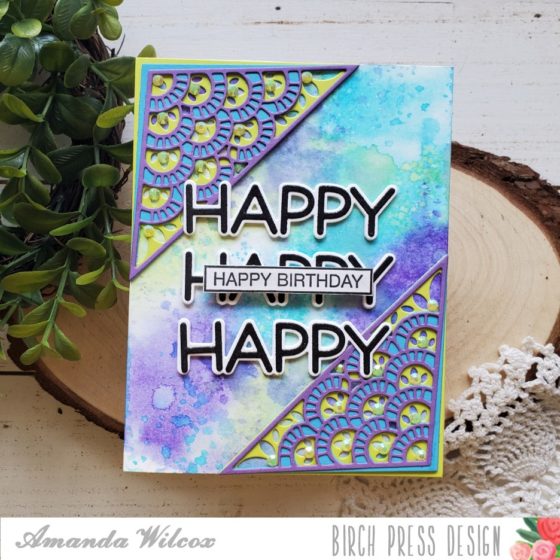
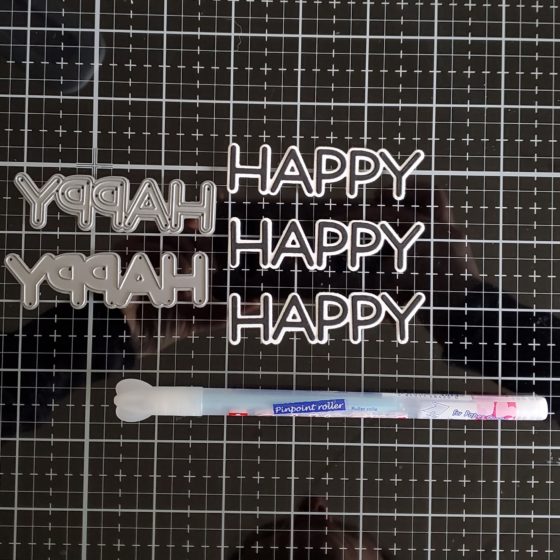
    Next, I moved on to my sentiments. I die cut the Big Lingo Happy 3 times – the shadow from white and the letters from black. I used my Quickie Glue Pen to adhere them together. This pen is great for skinny little spaces and keeping your fingers out of the glue.

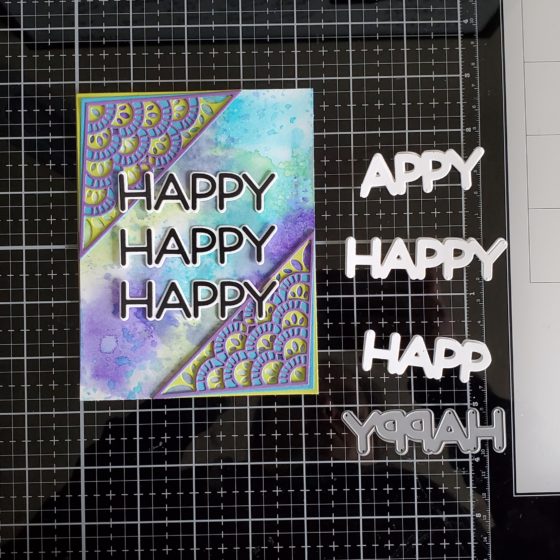
    For assembly, I adhered the smooshed panel to a card base and the frilly triangles to opposite corners. Then, I die cut the happy shadow 9 more times from white cardstock. See how the letters will overlap the triangles? We need to raise parts of the word up to meet those. So I cut the “H” off of 3, left the middle 3 alone and cut the “Y” off the last 3. Then I adhered everything together and then to my card.

    Last, I stamped the Happy Birthday sentiment from Awesome Ticker Tape Messages and cut it out. This is popped up with foam tape on the middle Happy.

    For finishing touches, I added Wink of Stella glitter brush pen to the banner sentiment and the die cut letters and some gems to both of the frilly triangles.

    I hope you enjoyed today’s card and found some inspiration to create something beautiful.

    Supplies