Category: Ardyth Percy-Robb

  • Light-Up Christmas Cards with Layering Dies | by Ardyth Percy-Robb

    Light-Up Christmas Cards with Layering Dies | by Ardyth Percy-Robb

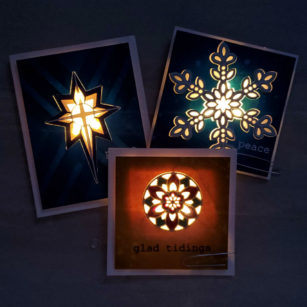
    Good morning! Ardyth here with some Christmas-in-July cards with a special light-up feature!

    All 3 cards follow the same steps:

    • create the layered die cut
    • ink blend a background panel (you can use solid cardstock if you wish)
    • cut the hole from the background panel and back it with vellum
    • glue the layered die cut in the hole
    • add the lights to the back of the panel
    • adhere to cardbase

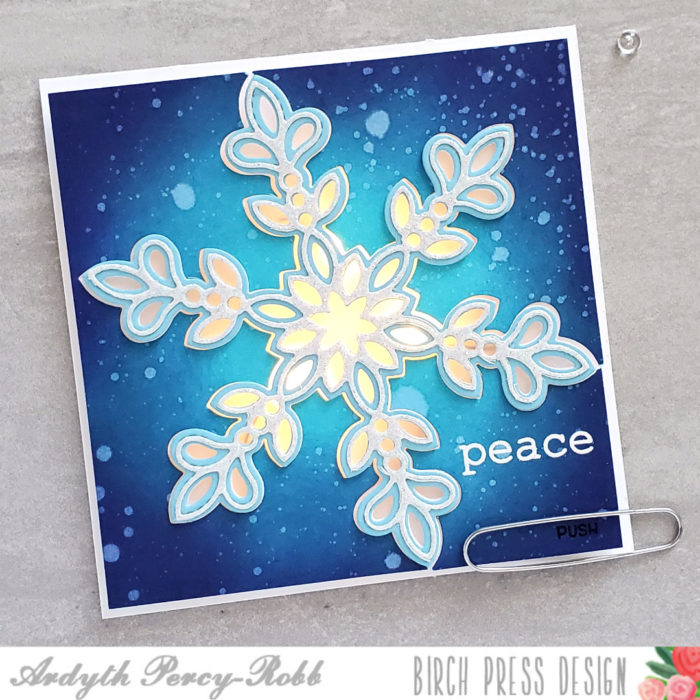
    For my first card, I used 2 layers of the Glitz Snowflake dies, A & B. I stacked up 4 of the B layer and added one Layer A on top, that had been cut with one of the glitter cardstocks from the Delicate Pastels paper pack.

    The sentiment is from the Memory Box Tidings Wreath set, embossed with white powder.

    (The paper clip is just to hold the lights on by putting pressure on the switch).
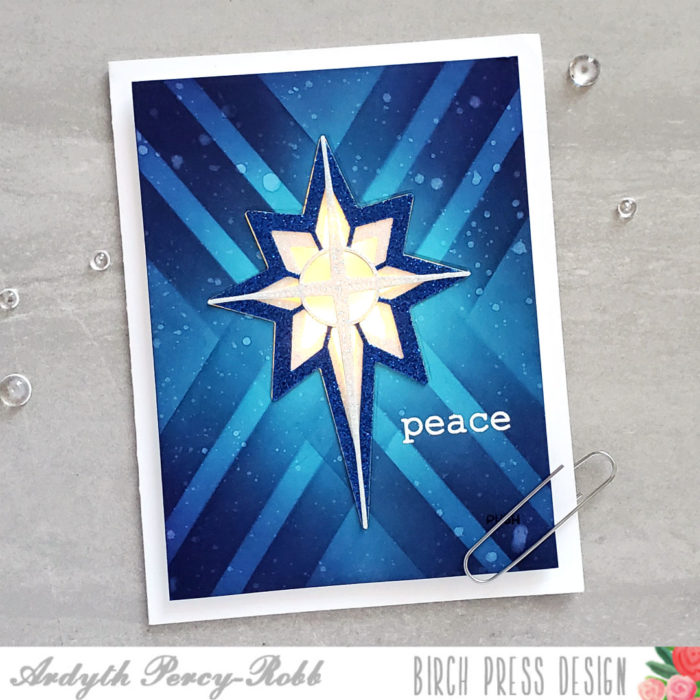
    My second card uses the Bold Stripe stencil on the background, and 3 of the layers from the Nativity Star set, cut from glitter cardstock from both the Delicate Pastels and Twinkling Jewels paper packs.
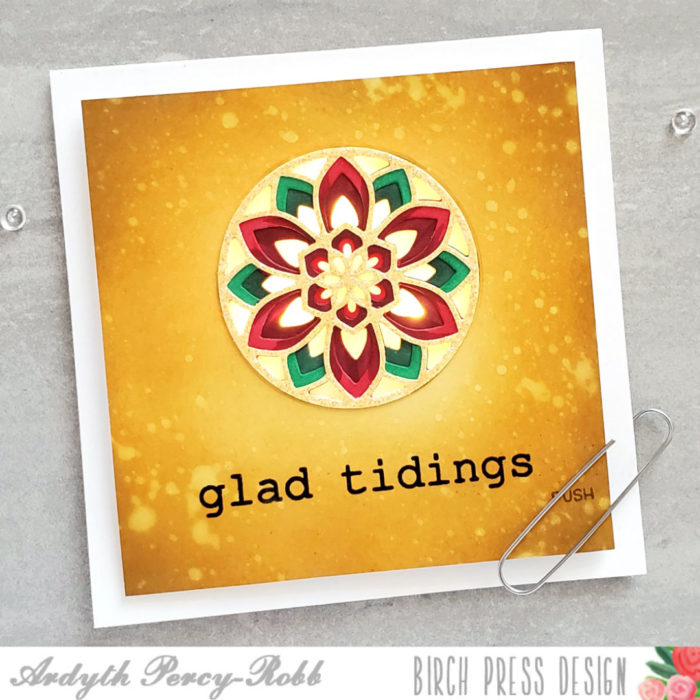
    My third card uses the centre, floral portion of the Epiphany layering set, to create a poinsettia.
    Here’s a video showing how I made these 3 very special cards:

    Supplies:


    Supplies

  • Galaxy Sky with Stencils | by Ardyth Percy-Robb

    Galaxy Sky with Stencils | by Ardyth Percy-Robb

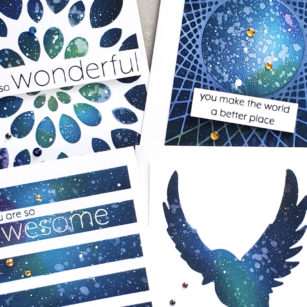
    Good morning! Ardyth here with 4 cards using the same, fun technique: creating a galaxy sky through a stencil!

    I started by adhering the most open layer of the Mandala Stencil set on a white card panel with temporary spray adhesive.

    I blended random areas of bright colours – lemon yellow, lime green and bright fuschia through the stencil, leaving most of the panel white.

    I blended a mid-blue ink over the whole panel, darker around the edges and lightening up toward the centre.

    Then I blended navy blue ink over the whole panel, again, dark around the edges and lightening up toward the centre.

    A little note about creating galaxy skies – they all look very ugly through the whole process, until the very, very end. Don’t worry if you’re not happy with it at this stage, just keep going!

    I blended black ink through the stencil, this time just at the very edge of the panel. Then, leaving the stencil on, I spritzed water and lifted up some of the colour with a paper towel.

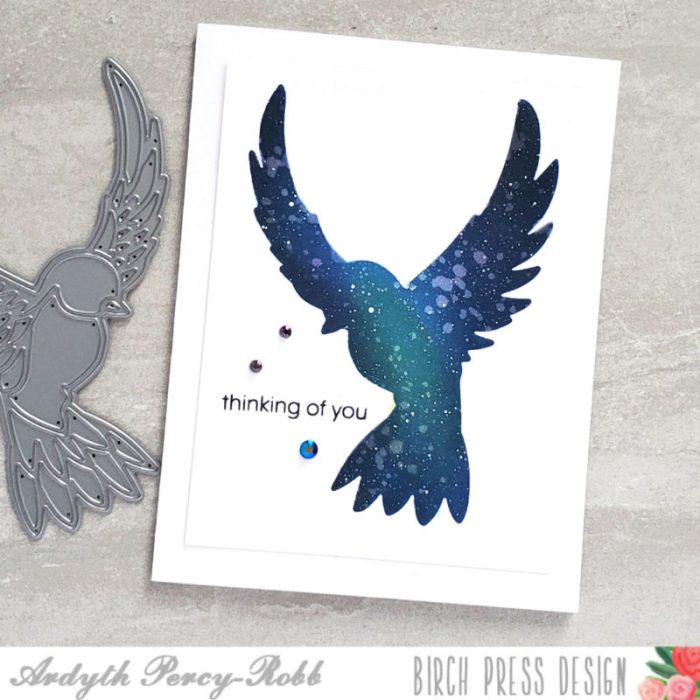
    Then, I mixed some white acrylic paint with water and tapped it over the panel to create stars (this is the point where it starts to look good!)

    As you can see, I couldn’t stop. And I didn’t just use stencils either!

    As well as the Mandala Stencil set, I used Bold Stripes Stencil, a home-made stencil created from a String Art Frame die cut, and the negative from the PoppyStamps Peaceful Dove die.

    All my sentiments came from the You Are Awesome stamp set.

    I hope you like these cards – there is a 1 minute video on our Instagram feed today showing the process in detail.

    Supplies

  • 2 for 1 Rainbow Thank You Card Design | by Ardyth Percy-Robb

    2 for 1 Rainbow Thank You Card Design | by Ardyth Percy-Robb

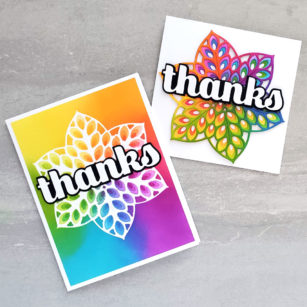
    Good morning! Ardyth here with a duo of rainbow thank you cards using the Floral Star layering set.

    I wanted to see if I could get a layered look on a flat piece of cardstock, by using the die cuts as stencils. I thought about the order of layers and ink blending for a while (and made a mistake or two) before I was successful.

    Here’s what I learned:

    1. use the top layer (the one with the biggest holes) first and blend ink very lightly.
    2. repeat with the second layer, with slightly more ink
    3. finish with the bottom layer, and go heavy with the ink.

    I love that I got a 4-layered look from the 3 die cuts – 3 different shades of colours and the white ‘on top’!

    And of course I was left with 3 pretty, blended die cuts to use on another card. As I was gluing them together, I had a simple idea to add some interest and instead of lining up the petals (yellow on yellow etc), I turned each layer so that different colours were underneath.

    Here’s a video:

    Supplies

  • 4 String Art Frame Cards | by Ardyth Percy-Robb

    4 String Art Frame Cards | by Ardyth Percy-Robb

    Hello! Ardyth here with 4 card ideas using the new String Art Frame die.

    This is a fascinating, intricate, geometric die that has a ton of possibility – I thought it would be fun to make ‘reverse’ cards by putting a coloured die on a white background and then vice versa.

    I started with two blended panels in oranges, along with two white panels. I put a sticky adhesive sheet on one orange panel and one white panel, and ran them through my die cutting machine with the die. Then I placed each one on its corresponding background. I finished these cards with stacked up sentiments using the Sugar Script Celebrate die.

    Then I thought about ways that you can use this die to get different looks!

    Again, I started with two ink blended and two white panels, this time in limes and aquas. These panels were cut to 4 inch squares, so they were smaller than the die cut dimensions and didn’t include the frame portion of the cut.

    Then I tried a double-die cutting method – once I had the white String Art Frame die cut adhered to the blue panel, I cut it again with a circle die. I popped it up in the centre of the card for added dimension.

    I hope that I’ve shown you just the beginning of all the things you can do with this die! Here’s a video showing how I made these four cards:

    Supplies
  • 4 Cards with Mod Alphabet Stamps & Dies and Giveaway! | by Ardyth Percy-Robb

    4 Cards with Mod Alphabet Stamps & Dies and Giveaway! | by Ardyth Percy-Robb

    Good morning! It’s Ardyth here with 4 ideas for using the new Mod Alphabet Stamps & Dies!

    The stamp set has regular and outline letters and the die set has matching sets for both letter styles, making layering fun and easy!

    I created a blended plaid background using the Bold Stripes stencil and this helped guide the placement of my letters. My little sentiment comes from the You Are Awesome stamp set.

    For this card, I used the new Twinkling Jewels Glitter Pad and cut LOTS of ‘fat’ and ‘skinny’ o’s. My sentiment is from Lingo Thanks stamp set along with the coordinating die.

    Cutting all those O’s also gave me lots of dots from the O centres, which I used to create another card! This sentiment is also from You Are Awesome, along with the Big Lingo Type Happy die.

    Finally, I used the O stamps to create a similar pattern, and added colour by stamping the regular O inside the outline O. My sentiment was created with the regular THANKS letters!

    Here’s a video showing how all these cards came together:

    We will be having giveaways on our Instagram Account March 21-29, 2020.

    One comment will be chosen at random from each of the Instagram posts during the blog blitz. Only one prize per person per giveaway. We use a random number generator to select winners from comments. You have until midnight US EST April 1 to leave a comment on each and every Instagram post that you want to enter. Winners will be announced on the Instagram posts on April 3. For a chance to win the Mod Alphabet Clear Stamp and Die set:

    1.) Follow Birch Press Design on Instagram

    2.) Double Tap (LIKE) the post with this giveaway

    3.) Tag A Friend in the comments Good luck! And thanks for joining us!

    Supplies

  • Petal Burst Rainbow Cards | by Ardyth Percy-Robb

    Petal Burst Rainbow Cards | by Ardyth Percy-Robb

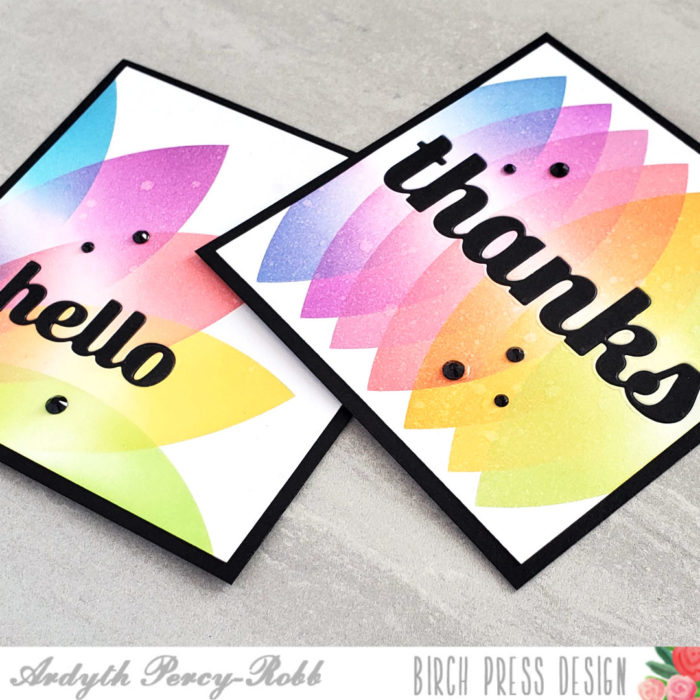
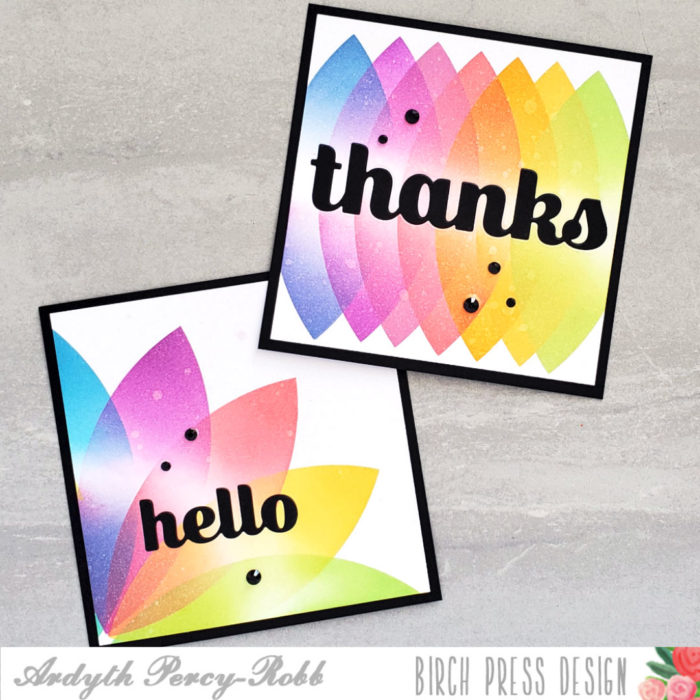
    Good morning! It’s Ardyth here with my first post and today I have two rainbow-blended cards using the Petal Burst stencil.

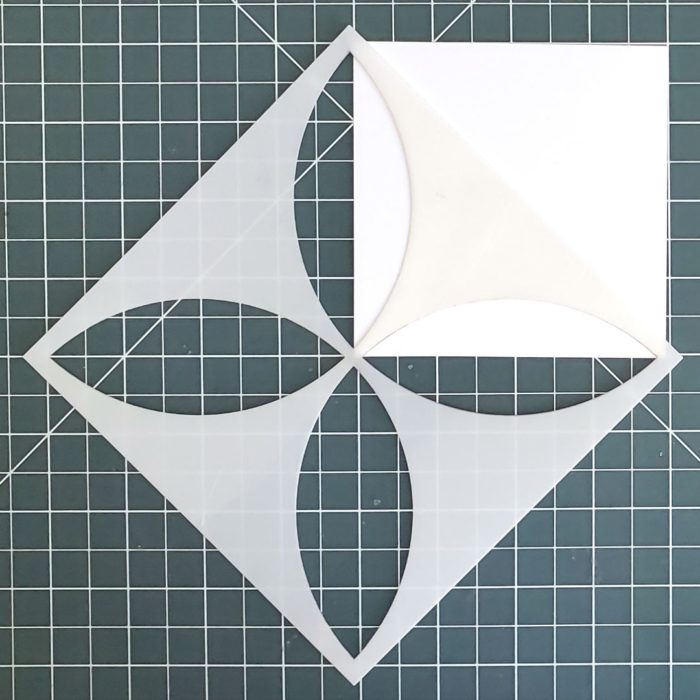
    I love the classic shape of the petals on this stencil, but it’s really too big to use the whole thing on an A2 card front, so I got a little inventive.

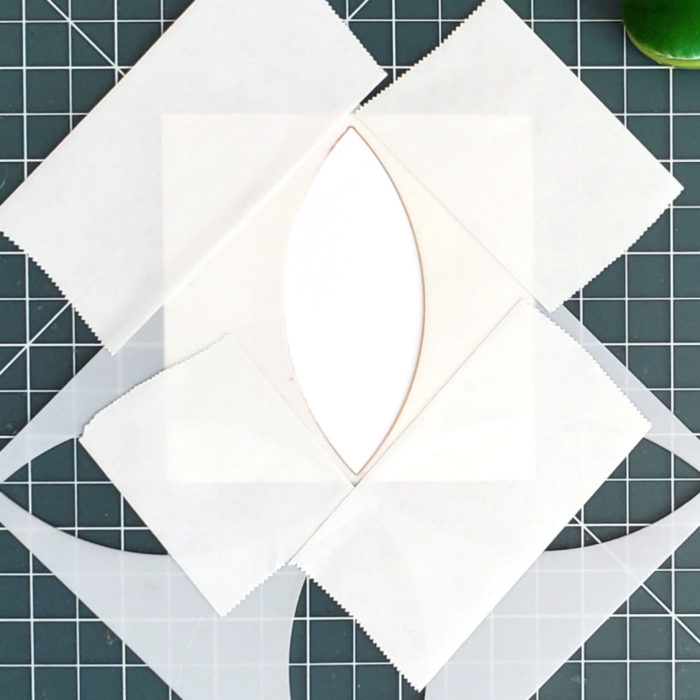
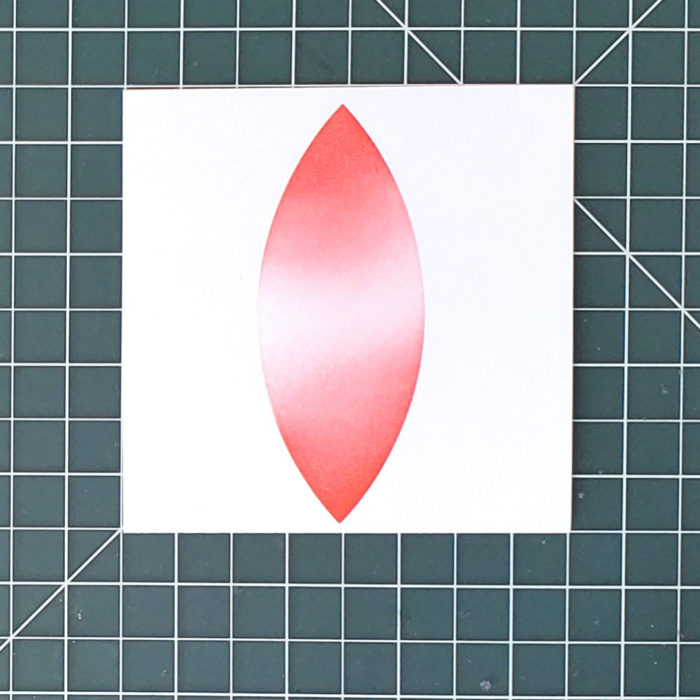
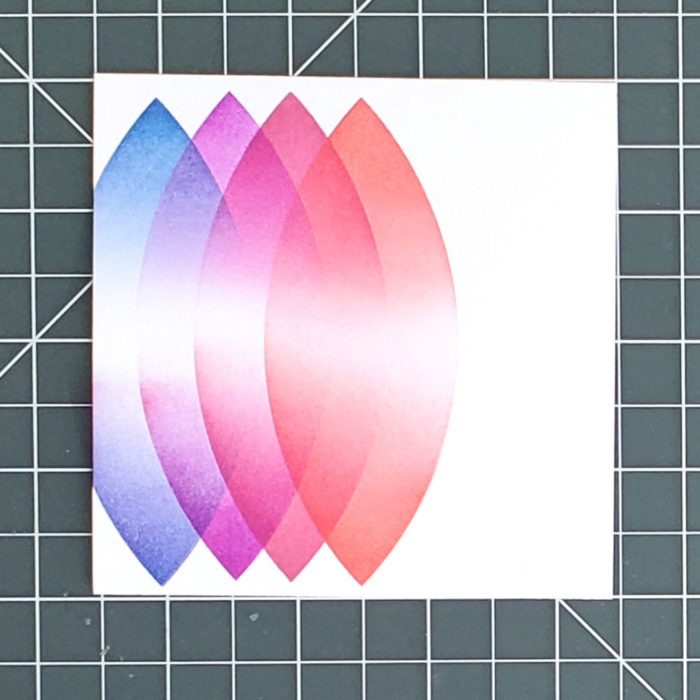
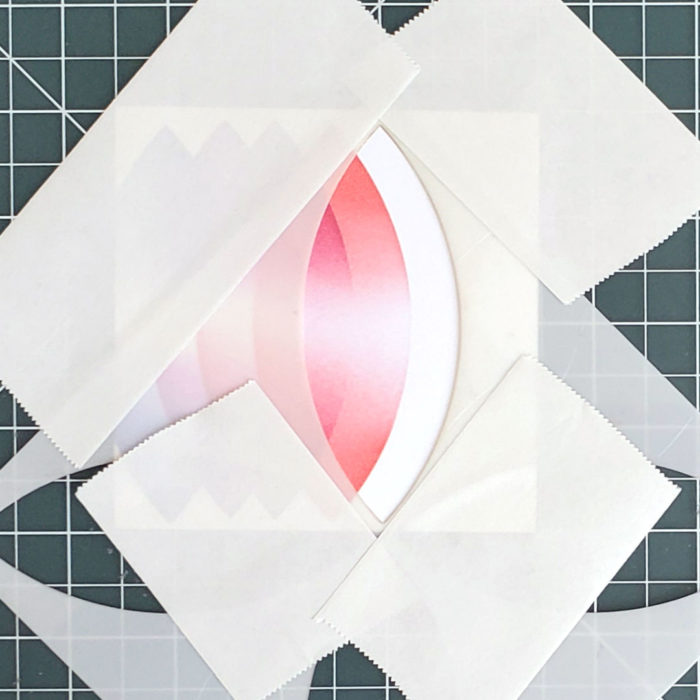
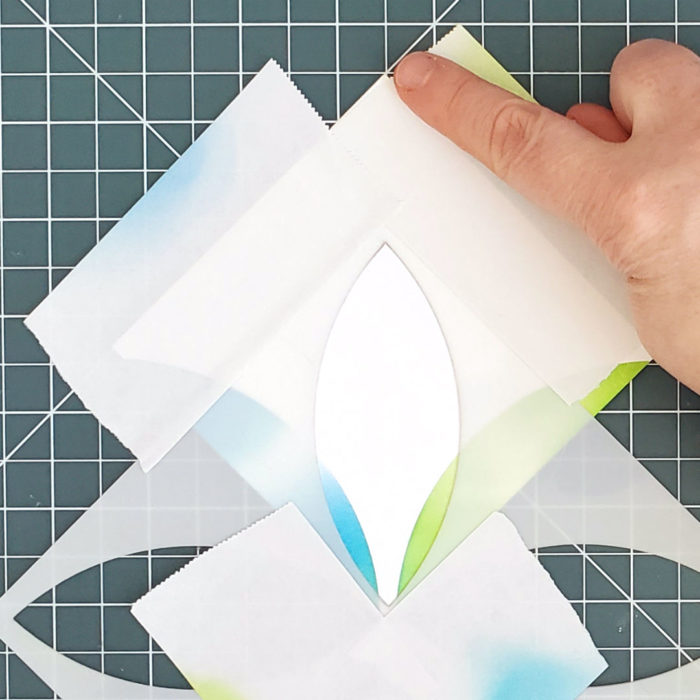
    I started by isolating one of the petals with masks and blending ink through it.

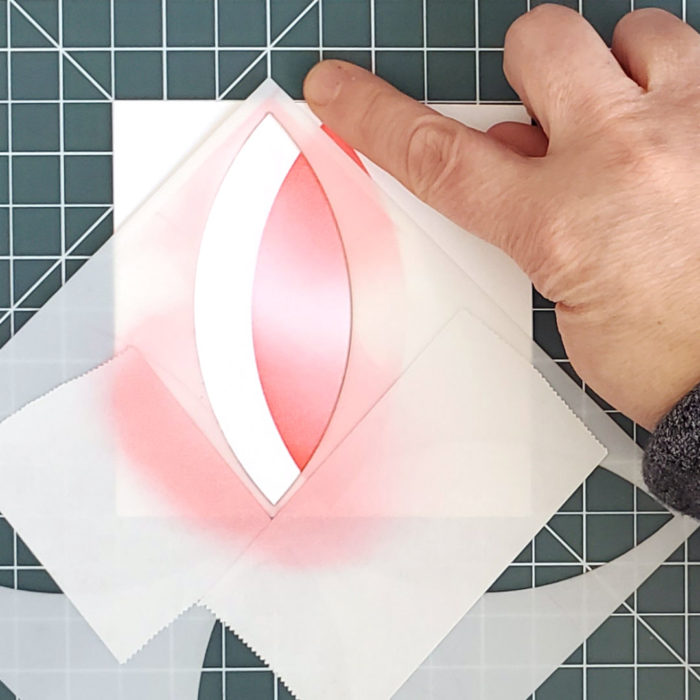
    Then I moved the stencil 1/2 inch to the side and blending the next colour. I used the markings on my grid work surface to make the measuring easy!

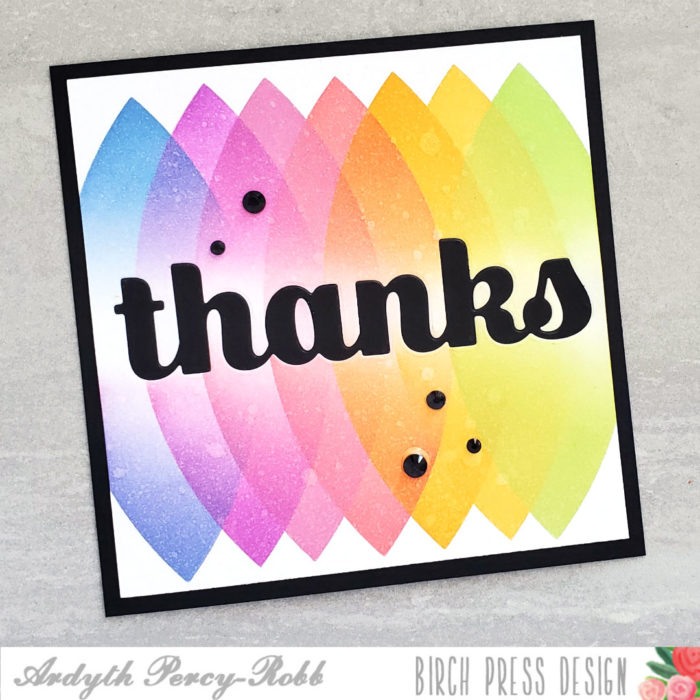
    I blended the inks heavier on the pointy ends and lighter in the centres. And when I had worked my way to the left edge, I lifted the stencil (used new masks to avoid ink contamination) and worked to the right. I spritzed the panel with shimmer spray when it was finished.

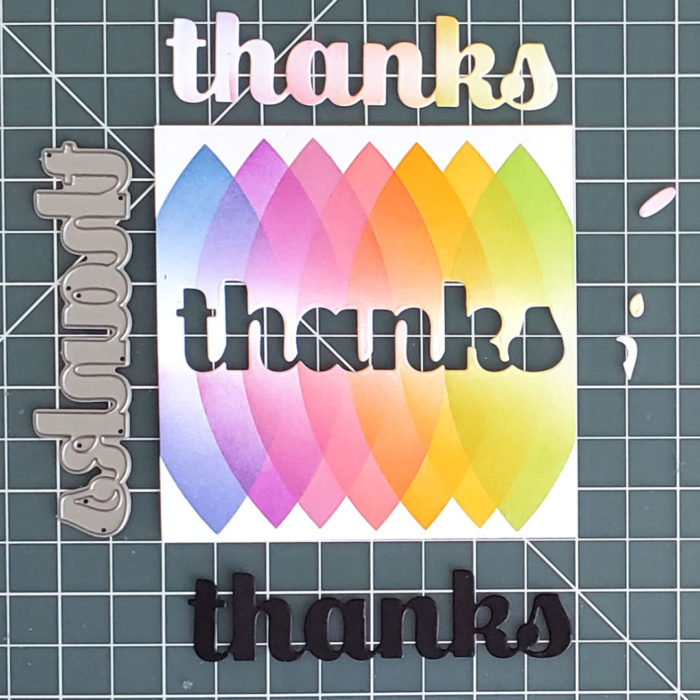
    For my sentiment, I used the centre portion of the Big Thanks Sugar Script die, and I cut it in black cardstock and also from the centre of my panel (and I kept the letter centres!)

    I adhered the panel to a black 4.25×4.25 inch cardbase and inlaid the black sentiment along with the letter centres. I finished it with some black jewels for sparkle!

    I love the ‘glow’ around my sentiment, that resulted by keeping the centres of the panels lighter in colour.

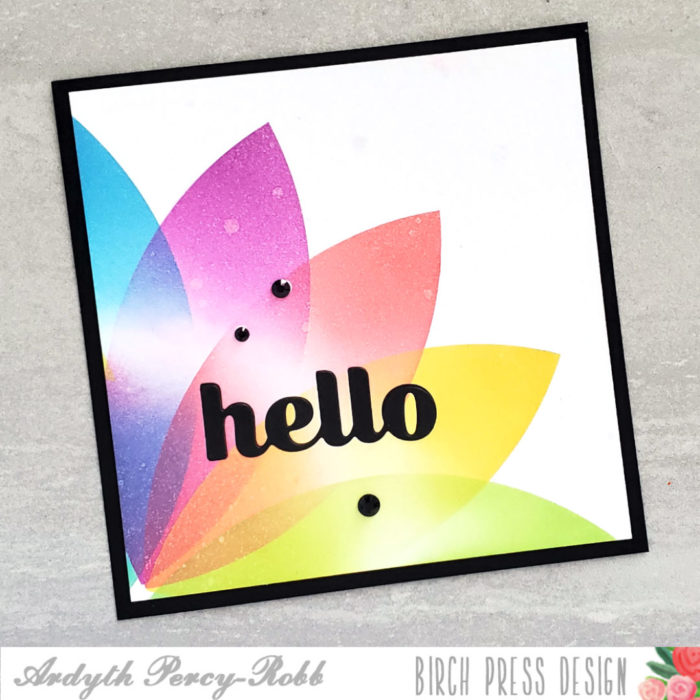
    Next, I lined the centre of the stencil up with the lower left corner of my panel. I blended ink through the 12:00 and 3:00 petals.

    Then I isolated one petal with masks and filled in the rest of the petals, again using the markings on my worksurface for guidance.

    I finished this one in the same way as the first – but this time with the Hello Sugar Script die.

    I hope you’ve enjoyed seeing how easy it was to create these two bright, happy cards!

    Supplies