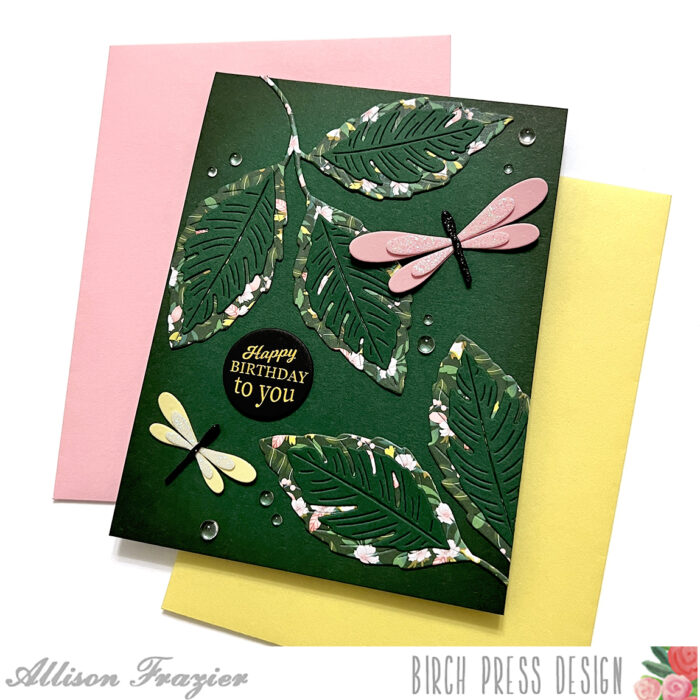
Hello everyone! Rosemary here on the blog today with a birthday card featuring the new Block Print Little Bird. Let’s have a look at what I created.
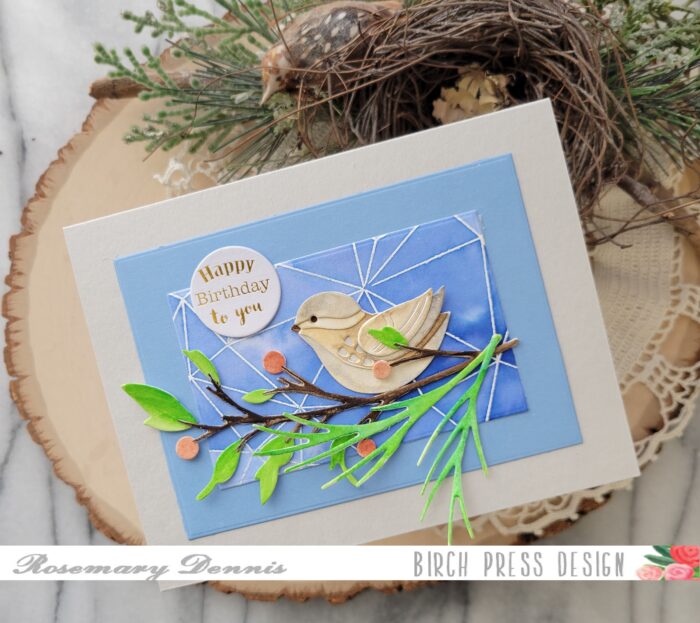
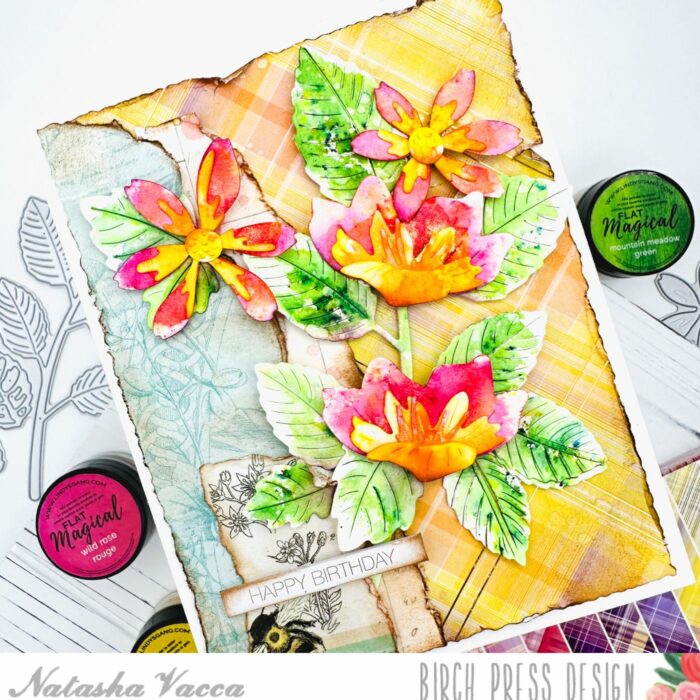
When I saw the new collection of Block Print birds I was so excited! I just love them and can see so many possibilities. For today’s card I decided to create a little wren. Besides papercrafting I enjoy cross-stitching and one of my favorite fabrics to stitch on is 32 count Lugana in the color Wren. So that was my starting point for my little “wren”. I die cut water color cardstock using the Little Bird die, as well as the Hillside Branch and Bramble Contour Layers die set. I then colored each of the pieces with various watercolors.

My coloring is very simple, but I did spend more time on the bird in an effort to achieve variation in the colors on the bird. Once I was done I set everything aside to dry.
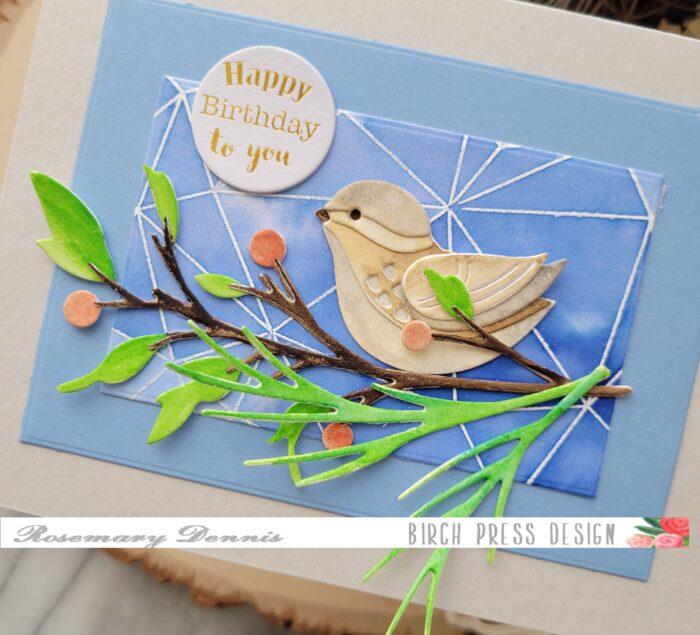
I pulled out the watercolor panels I had created months ago using the Crystal Lingo stamp set. I had two different blue panels, one dark and one light. I went with the lighter version and die cut it down with a Memory Box A2 Rectangle Frames die. I found a complimentary piece of blue cardstock in the Memory Box Lagoon solid core cardstock pack and die cut it with a larger A2 Rectangle Frames die. The two rectangled were then layered together.
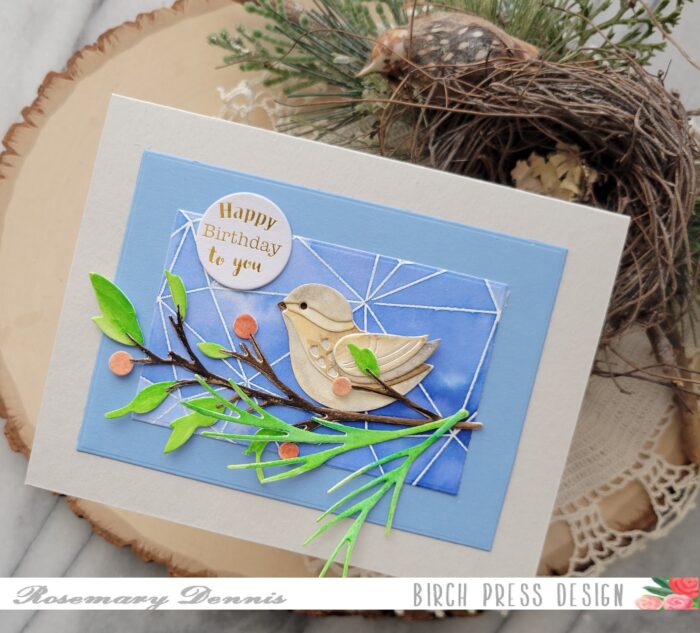
With all my pieces dry I adhered everything together using liquid adhesive and then determined how I would arrange all the pieces on my panels. I used liquid adhesive to adhere everything and then added my panels to a light gray cardstock card base.

I finished the card with a Memory Box Birthday Greetings Tab. I really love how my sweet little “wren” turned out. I can see creating other types of birds with the Block Print Little Bird die set. Thanks for stopping by and I hope you have a wonderful day!

Supplies