Category: Block Print

  • Sweet Bird Duo by Rosemary Dennis

    Sweet Bird Duo
    by Rosemary Dennis

    Hello and happy March everyone! Rosemary here on the blog today with a sweet birthday card that I think just says “spring”! I used the new Block Print Bird Duo, Block Print Mod Branches and Elegant Birthday Sentiments for my card. Let’s have a look at what I made.
    This card is similar to the card I posted at the end of February in that I die cut white cardstock and then blended on the ink. But this time I decided to use Memory Box white woodgrain cardstock for all my die cutting to give the the birds and branch a little bit more interest.

    To do the blending on these small pieces I love to use my Waffle Flower 0+ blending brushes. You can see them in the photo. Inking tiny pieces with them is a breeze!

    I decided to keep a relatively cohesive color scheme to keep things simple and allow me to complete the card rather quickly. I used two shades of green ink for the leaves, stem and parts of the bird. Then I threw blue, yellow and a little bit of red for the berries into the mix.

    Here I have the branch mostly completed. Below are all the pieces of the birds inked up and ready to be assembled.

    I love dimension on my cards, but with the cost of postage being so high now days I often refrain from using foam squares. In order to obtain some dimension without adding thickness I will often not completely glue down pieces. For example, the leaves are only glued down at the base of the stem and the wings of the birds at the top. That way I can lift up the pieces and give the illusion of dimension.

    Once everything was assembled I die cut another piece of white woodgrain cardstock with a medium sized rectangle and adhered that to a bright green cardstock base with double sided tape. I then adhered the branch (which was a little tricky, lol) and the birds using glue. I finished with the sentiment that was stamped and die cut with the matching die.

    I hope you enjoyed today’s card. Thanks for stopping by and have a lovely day!

  • Tropical Birthday Greetingsby Toni M Maddox

    Tropical Birthday Greetings
    by Toni M Maddox

    Hello, my friends! Toni here today sharing a birthday card for any bird lovers in your life. Who am I kidding? This is perfect for anyone with a birthday!

    I used the Pinpoint Contour Plate on the pale blue card front then sponged it with a darker blue Catherine Pooler ink (aquatini?).

    Setting the panel aside to dry after spattering it with a bit of water, I die cut the Abundant Branch and blossoms from Memory Box cardstock.

    I particularly enjoyed assembling the  Block Print Perched Tropical Bird where I used Memory Box cardstock sponged with Catherine Pooler ink for shading.

    My final step was to emboss and diecut the Elegant Birthday Sentiments. Such a great font, isn’t it?

    I hope you enjoyed today’s card and have a great rest of your week!

    Feel free to visit my blog, Frankie Helps Craft, for a full list of supplies used and to check out my other creations.

  • Birthday Greetingsby Rosemary Dennis

    Birthday Greetings
    by Rosemary Dennis

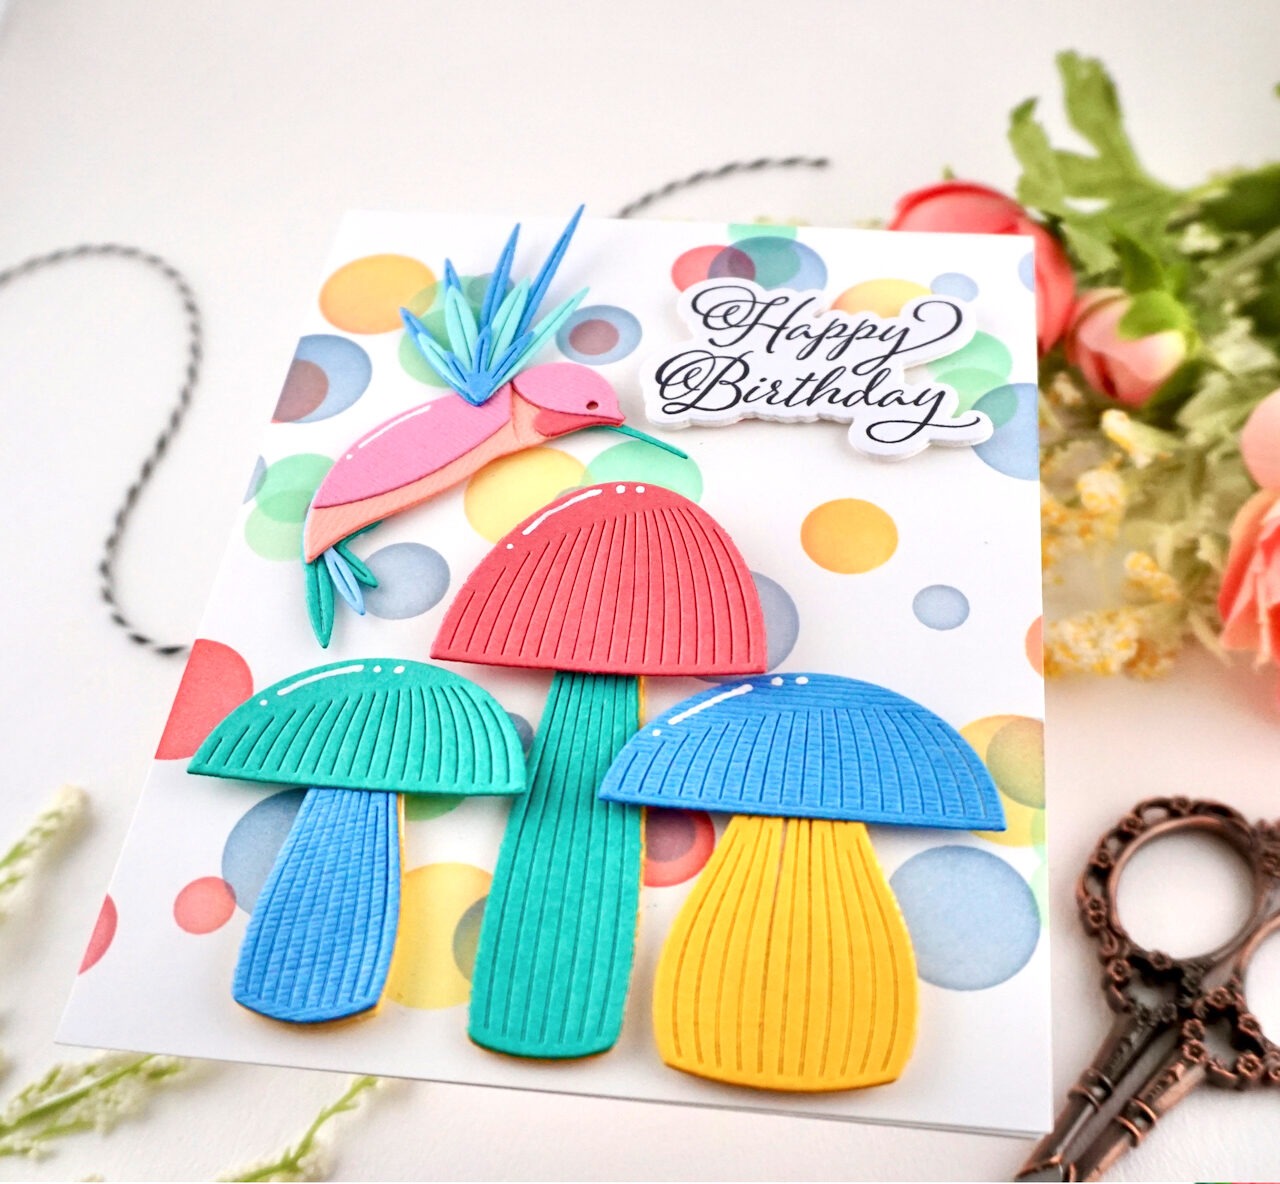
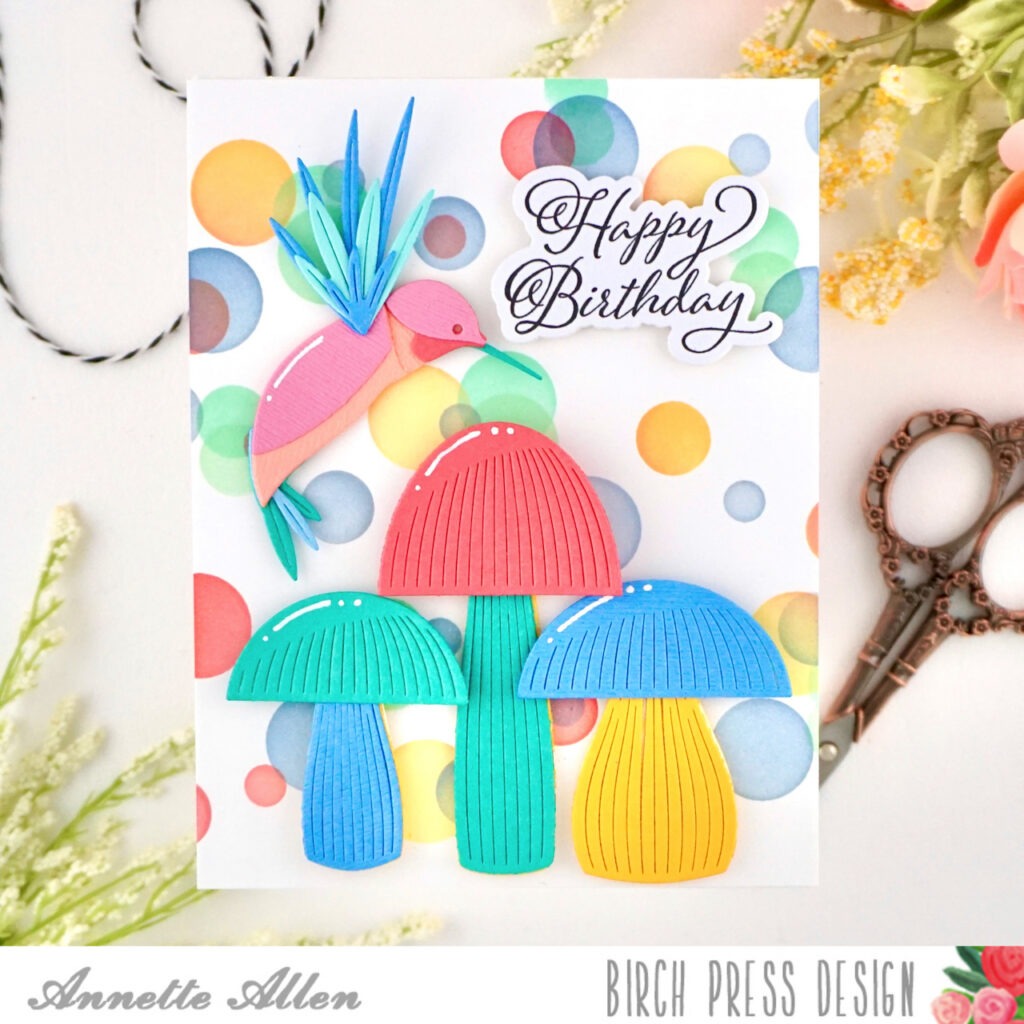
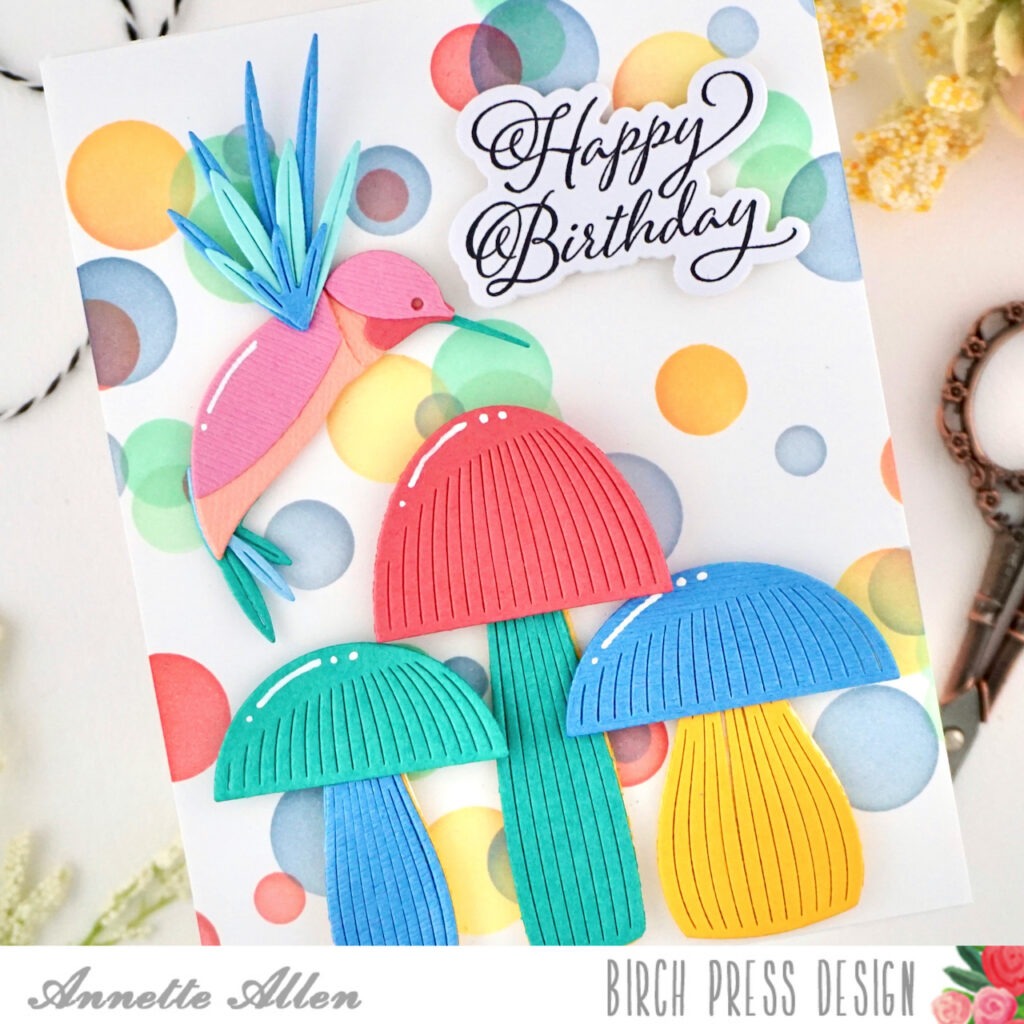
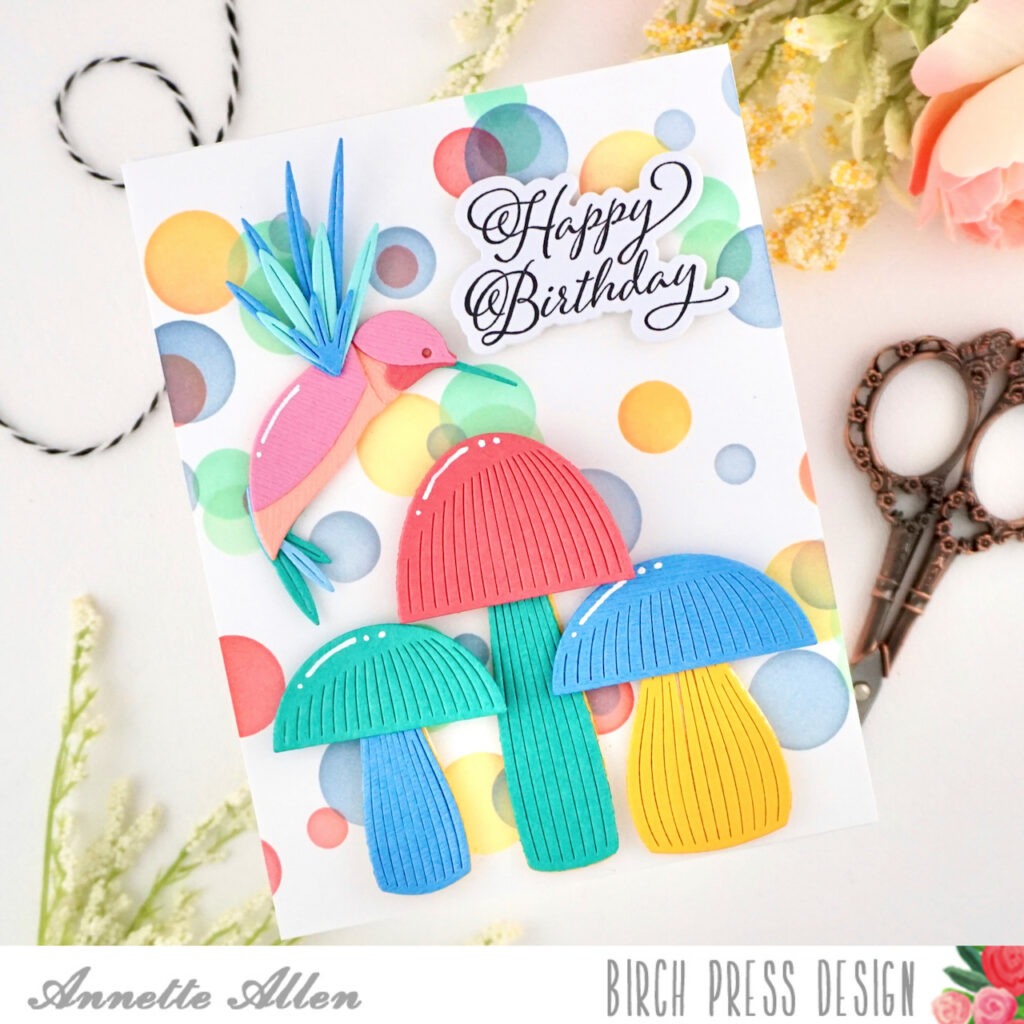
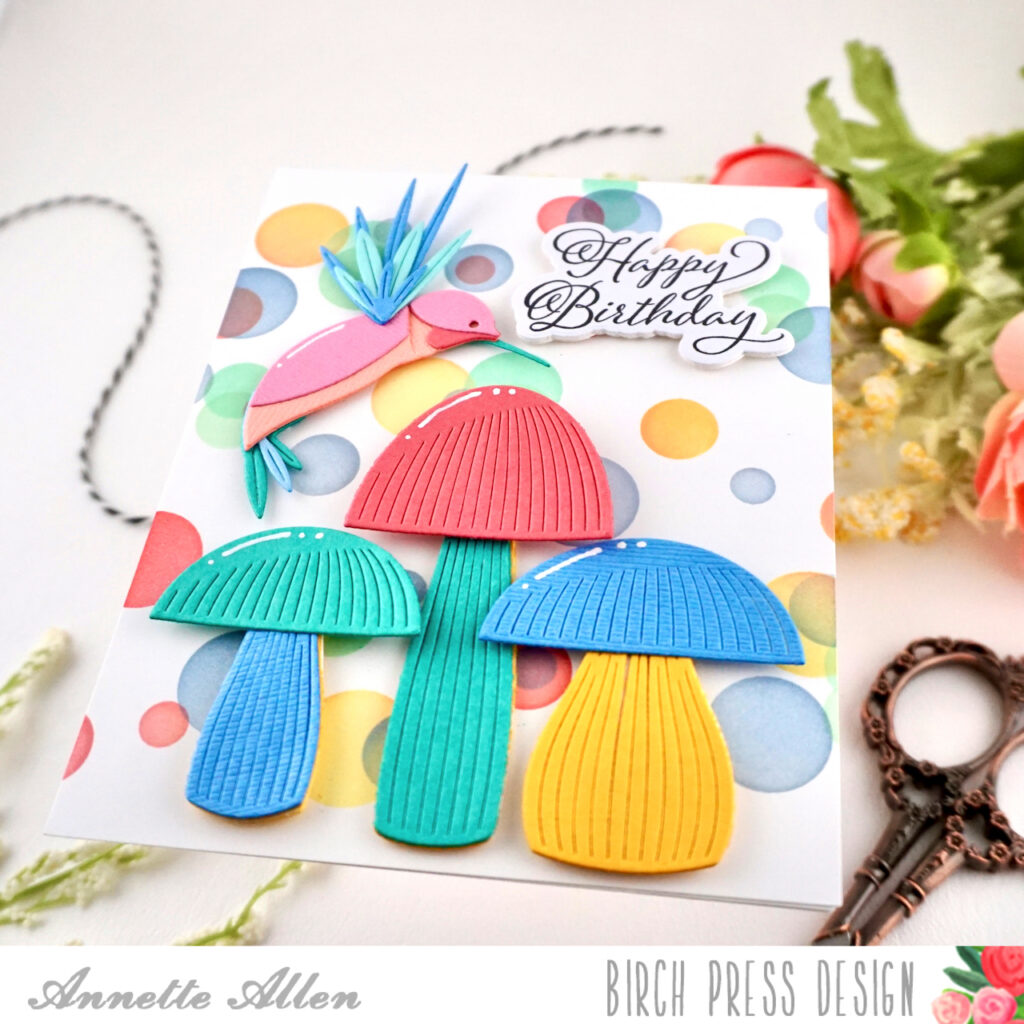
    Hello everyone! February is winding down and I am starting to think of spring even though we really haven’t had much of a winter here in the Pacific Northwest. While there are lots of pretty dies in the newest Birch Press Design release the beautiful Soaring Hummingbird and Daisy Flower dies from the Block Print line caught my eye and I just had to use them first. Let’s look at what I created.

    I love the other hummingbird die set from Birch Press Design (Block Print Hummingbird) and so was delighted to see this new hummingbird die. I started by die cutting all the hummingbird pieces from white cardstock. Initially I was just going to use them to help me determine how the bird went together, but then I decided to use distress oxide ink color the pieces instead of diecutting from colored cardstock which was my original idea. I used small blending brushes to color all the pieces.

    In the photo you can see some of the inks I used as well as the inkblended pieces.

    I die cut the daisies and centers from white cardstock as well. You will need two die cuts per flower to create the daisies on my card. I think it would be fun to die cut a third flower to create an even fuller daisy – like a gerber daisiy. In this photo you can see the small blending brush I used to color the die cuts. My blending isn’t perfect because in real life flowers are perfect, either!

    The bird and the flowers were assembled using liquid adhesive and then set aside to dry.

    Then I die cut the stems and leaves added the inkblending and added the leaves to the tall stem. I die cut white cardstock using a Memory Box Curved Cap Pinpoint Layers die and then layered that onto light gray cardstock that I die cut with a rectangle die.

    Now it was time to layer on all elements. I used liquid adhesive to adhere everything to the card front except for the hummingbird. For him I used a combination of liquid adhesive and foam squares. I stamped the greeting from the Elegant Birthday Sentiments stamp set with black ink and die cut it with the matching die. The die was used to die cut two more layers that were adhered behind the stamped sentiment and then adhered to the card with liquid adhesive.

    I really love how this card turned out. It will be going to my sweet mom who will be turning 89 at the end of April. I hope she loves it too!

  • Geometric Floral Birthday Wishes by Toni M Maddox 

    Geometric Floral Birthday Wishes
    by Toni M Maddox 

    Hello, friends! Toni here with you today sharing a modern birthday card with lots of edgy edges.

    Firstly, I stamped the Elegant Birthday Sentiment then embossed the front panel using Memory Box Open Studio EF1016. It features a lovely geometric pattern that complemented the  Block Print Mod Branches perfectly.

    In addition to the Mod Branches, I added blossoms from the Abundant Branch die set for a pop of color and to add softness.

    I hope you enjoyed today’s card and have a great rest of your week!

    Feel free to visit my blog, Frankie Helps Craft, for a full list of supplies used and to check out my other creations.

  • Lovebirdsby Christina Rannow

    Lovebirds
    by Christina Rannow

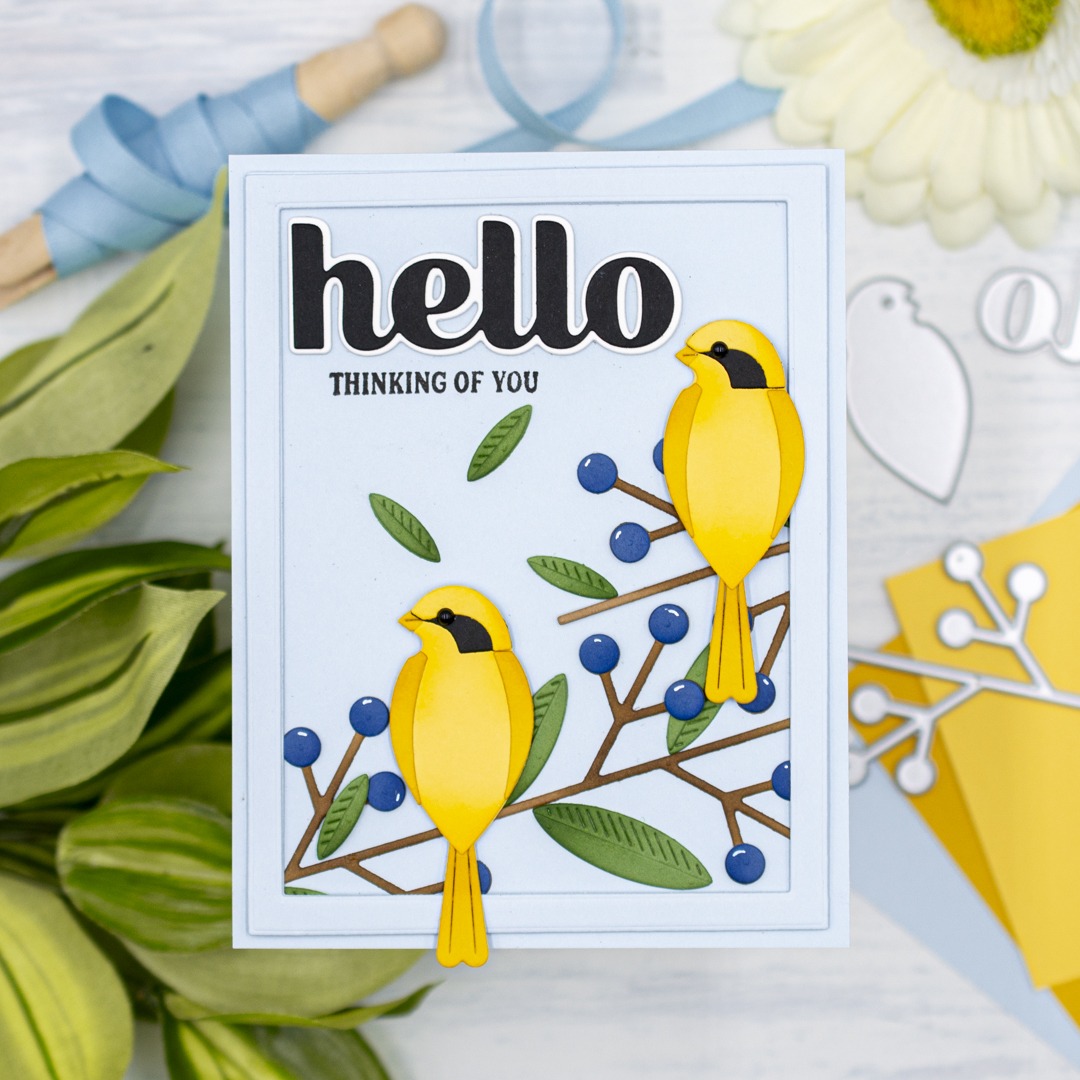
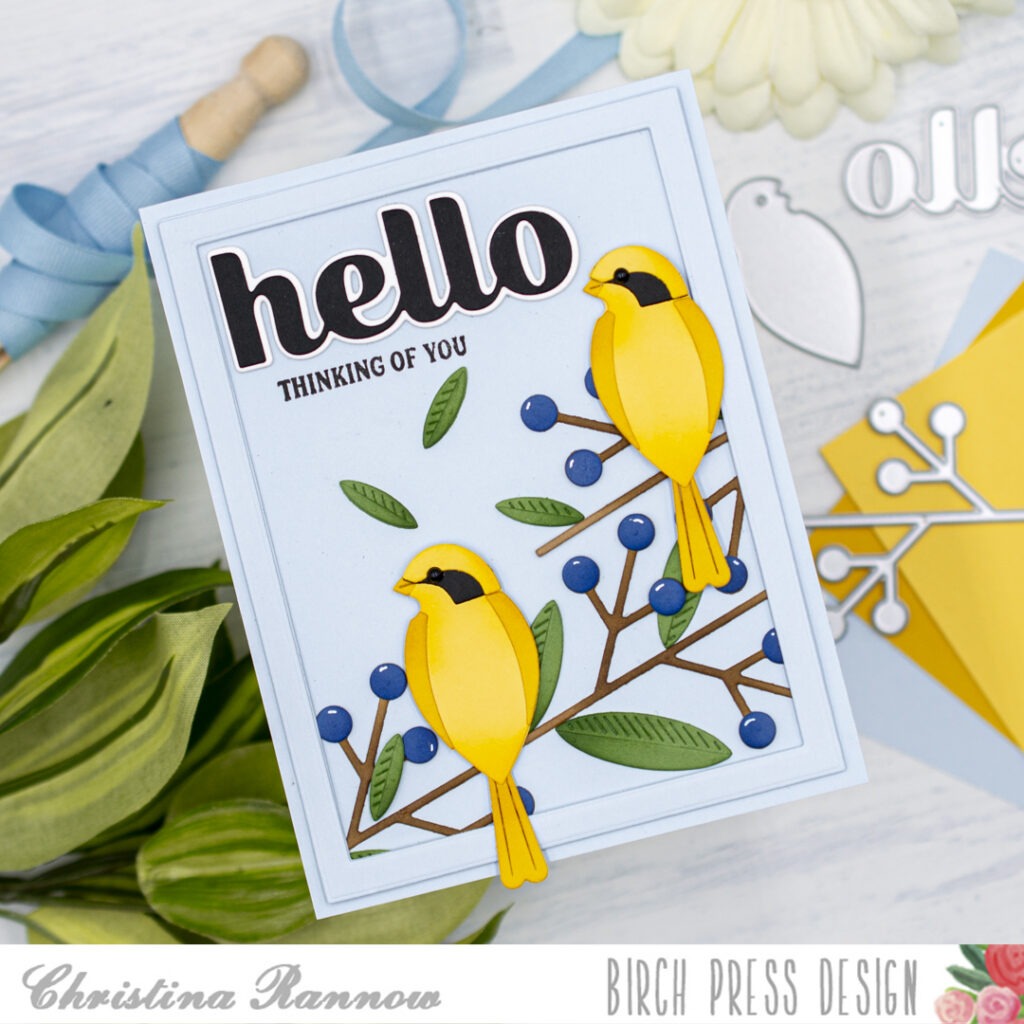
    Hi friends! Christina here to share a charming Valentine’s-themed card featuring the sweetest pair of lovebirds. These cuties are part of the latest release and are from the Block Print Bird Duo die set, and since we are coming up on Valentine’s Day, I decided to make them pink and red lovebirds. I have them perched on a branch and framed by a simple heart die-cut from the background panel. Let’s take a look at how this lovely card design came together!

    My first step was to die-cut the components for the sweet little birds. I used red and two shades of pink cardstock for the main body pieces and a khaki color for the beak. I assembled the birds using glue for most of the pieces but used thin foam squares for the wings. I die-cut the eyes twice from dark gray cardstock and stacked them for a little dimension before gluing them in place. 

    Next I die-cut the pieces for the Abundant Branch from green and brown cardstock and then assembled the branch using glue. 

    With most of the elements completed, I moved on to the background panel. I used the heart from the Block Print Garden Heart set to die-cut the shape from the center of a white A2 cardstock panel. Then I lightly inked the center of another A2 white cardstock panel with Tumbled Glass Distress Ink before layering the heart panel on top. This created a heart-shaped window for the lovebirds to be perched against. 

    My last steps were to bring everything together and add a sentiment. First, I attached the branch across the panel near the bottom of the heart. Then, using thin foam squares, I attached the bird duo so they were perched on top of the branch. Next, I heat-embossed a sentiment from the Poppy Stamps Sentimental Banners on red cardstock with white embossing powder and die-cut it using a small wavy banner die. I added the banner to my card front along with some small red heart die cuts that I got from the Poppy Stamps Hearts Shining Arch die set. 

    Thank you so much for checking out my Valentine’s Day card design with the sweetest pair of lovebirds that I created using the new Block Print Bird Duo die set. See you again soon!

  • Blue Heron Hello by Toni M Maddox

    Blue Heron Hello
    by Toni M Maddox

    Happy New Year, my friends! Toni here with an Asian-inspired any occasion card.

    To create the medallion, I used the Arista Layer Set.

    Notice how I used vellum for the first layer to make a subtle contrast to the texture base layer.

    Next, I constructed the Block Print Majestic Heron using a shimmer cardstock in ombre shades of blue. I love that sparkle!

    I used the same cardstock for the Hello Scripted sentiment.

    I hope you enjoyed today’s card and have a great rest of your week!

    Feel free to visit my blog, Frankie Helps Craft, for a full list of supplies used and to check out my other creations.

    Supplies

  • Polar Bear Birthday | by Rosemary Dennis

    Polar Bear Birthday | by Rosemary Dennis

    Happy the day after Christmas (or Boxing Day if you are British Commonwealth!)! I hope everyone had a lovely celebration with family and/or friends. Today I have a birthday card to share that combines three products from the BPD holiday release and one from the new release. Let’s have a look at what I created.

    The Birch Press Design holiday/winter release included the fun little die set called Block Prink Hats and Scarves. I knew I wanted to pair this die set up with one (or more) of the fun Block Print animals in the holiday/winter release. For my card I obviously chose the Block Print Polar Bear.

    Because we are now past Christmas I made the little hat and scraf using light and dark teal cardstocks. The polar bear was die cut from white and a soft white cardstock for just a tiny bit of contrast. I used black glossy cardstock for the nose and eyes. The glossy black cardstock and teal cardstock are from Memory Box. After adhering the hat together I added some glossy accents to the band and little pompom and then poured on Rock Candy glitter.

    Once the glitter was set I assembled my little polar bear using liquid adhesive and set him aside to dry. Then I worked on my background. For that I used the Block Print Forest Scene die set. I diecut the trees from Memory Box green cardstock. I did have to trim out one of the trees because it is attached to the hill. I then die cut the scene from white cardstock and a patterned paper with snowflakes. I inlaid the patterned paper into the white cardstock panel and secured the back with lots of scotch tape.

    I placed the panel in my stamping tool, positioned my bear where I wanted him to be and then stamped a sentiment from the brand new Plain and Simple Birthday Greetings using black ink. I then made a card base from white cardstock and secured the panel to the card base with double sided tape.

    Before securing the trees and polar bear to the panel I added glossy accents to the trees and then poured on Rock Candy glitter. I love me some Rock Candy glitter, lol! Once the trees were dry I completed the card by adding the trees and the polar bear. Here is a close up showing all the fun glitter.

    I just love this fun little polar bear with his jaunty hat and scarf and I hope you do, too! Thanks for stopping by and have a very happy new year! See you in 2026!


    Supplies


  • Christmas Cardinal Tags | by Christina Rannow

    Christmas Cardinal Tags | by Christina Rannow

    Hi friends! I’m excited to share my first Christmas tags of the season with you featuring the Block Print Winter Cardinal. I combined this handsome cardinal with plenty of holiday greenery, an embossed background, and a sentiment that is the perfect fit. Let’s get started on these handmade tags while we still have time!

    I started with two kraft cardstock tags that measure 2.5 x 3.5 inches. I embossed each tag with a snowflake pattern using an embossing folder and then lightly swiped a white pigment ink pad over the tags, letting the ink pad highlight the embossed areas. 

    Next I die-cut the layering pieces for the cardinals and the pieces for the Christmas greenery, including the berries, a holly leaf, and two pine sprigs for each tag. I used two shades of red cardstock for the cardinals and the berries and two shades of green for the Christmas greenery. Then I assembled the layering pieces for the cardinals, secured each piece with glue, and then added a tiny white highlight to the eyes. 

    To assemble the tags, I arranged the greenery first, gluing each piece in place, and then tucked the cardinals and the berries into the greenery, attaching them with thin foam squares. With the cardinals and greenery in place, I lightly spattered the tags with thinned white gouache paint for a snowy effect.

    To finish up the tags, I added the die-cut sentiment and a few small die-cut snowflakes. Before looping a ribbon through the tag topper, I layered another tag, this one die-cut from green cardstock, behind the cardinal tag to be used for writing a personal message or the recipient’s name. 

    And we finished in plenty of time to adorn some gifts with these beautiful Christmas Cardinal tags! Merry Christmas, friends!


    Supplies


  • Cozy Winter Bear | by Toni M Maddox

    Cozy Winter Bear | by Toni M Maddox

    Are you staying cozy this season, my friends? Toni here and I’m loving the cold weather (from inside by the fire cuddling with my cat, of course). For today’s card, we have a winter scene.

    First, the Pinpoint Contour Plate sponged in blue and spattered with water and Copic Opaque White reminds me of a blustery day.

    On top of that I added a couple of Wavy Hillsides and Block Print Evergreen Trees.

    But, the Block Print Polar Bear, disguised as a brown bear, is all ready for winter dressed warmly in his Block Print Hats and Scarves.

    You know my love of pink so I had to match his winter accessories to the Warm Wishes Dapper Script sentiment.

    Feel free to visit my blog, Frankie Helps Craft, for a full list of supplies used and to check out my other creations.

    I hope you enjoyed today’s card and have a great rest of your week!

    Supplies

  • Rainbow Snowman | by Crystal Komara

    Rainbow Snowman | by Crystal Komara

    Hello friends! It’s hard to believe we are only 9 days away from Christmas, so I hope you’ve got all your holiday cards in the mail by now! This is Design Team member Crystal Komara here with you today featuring a fun and vibrant card using the Block Print Edge Snowman.

    The base of this A2 sized card is made from 110 lb. Neenah Solar White Smooth cardstock. I pulled a pre-made rainbow alcohol ink background from my stash of alcohol ink backgrounds (such as time saver!) and used it as the first use layer of the card. Using the Block Print Edge Snowman, I die cut the snowman from white cardstock and his carrot nose from orange cardstock. The scarf was die cut from a magenta pink cardstock.

    I die cut the Bright Snowflakes dies from white cardstock and adhered the snowflakes to the card using liquid adhesive. Lastly, using the Warm Wishes Vintage Sentiment dies, I die cut the sentiment from black and white cardstock. I adhered the sentiment to the card using 3M foam adhesive for added dimension.

    I LOOOOVE how this card came out, it just really makes me smile. And, I think rainbow colors make cold and snowy winters seem much less dark and well. . . cold.

    Thanks for visiting and have a wonderfully creative day!