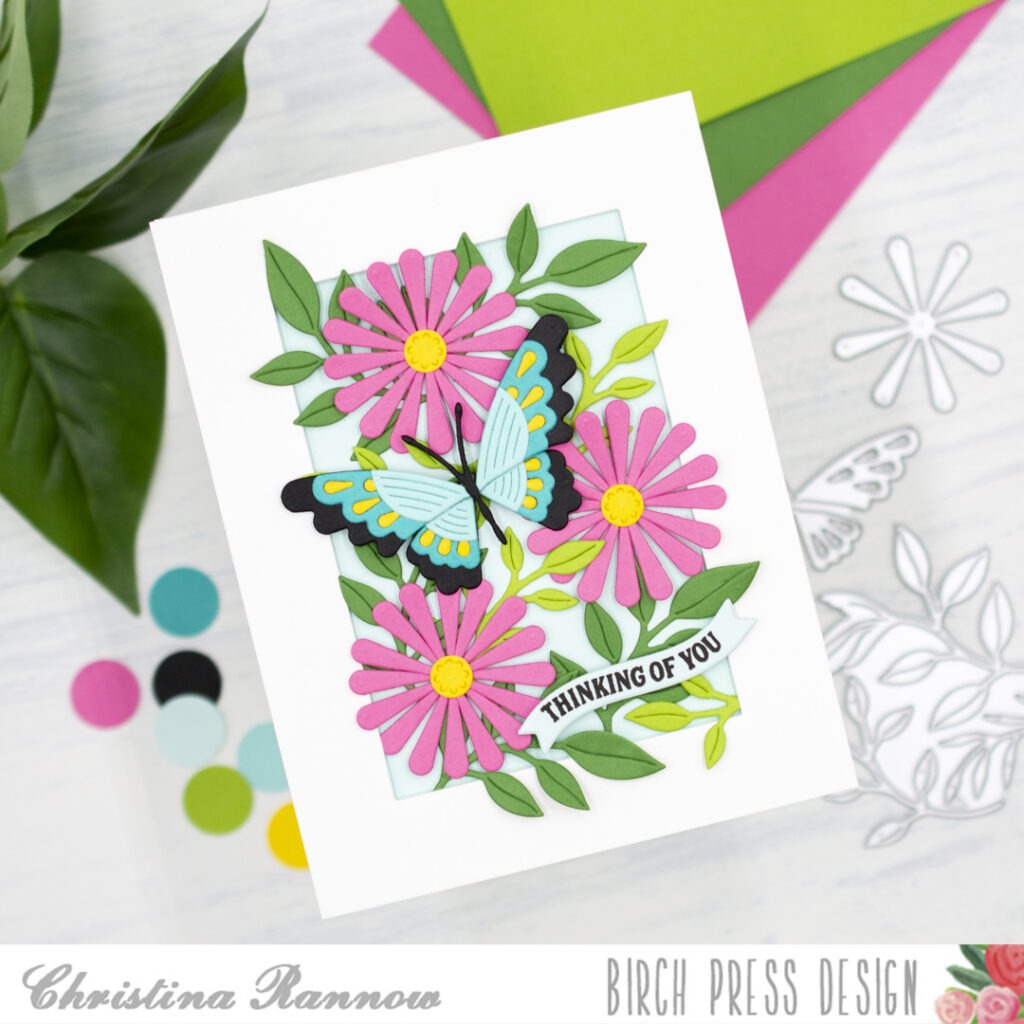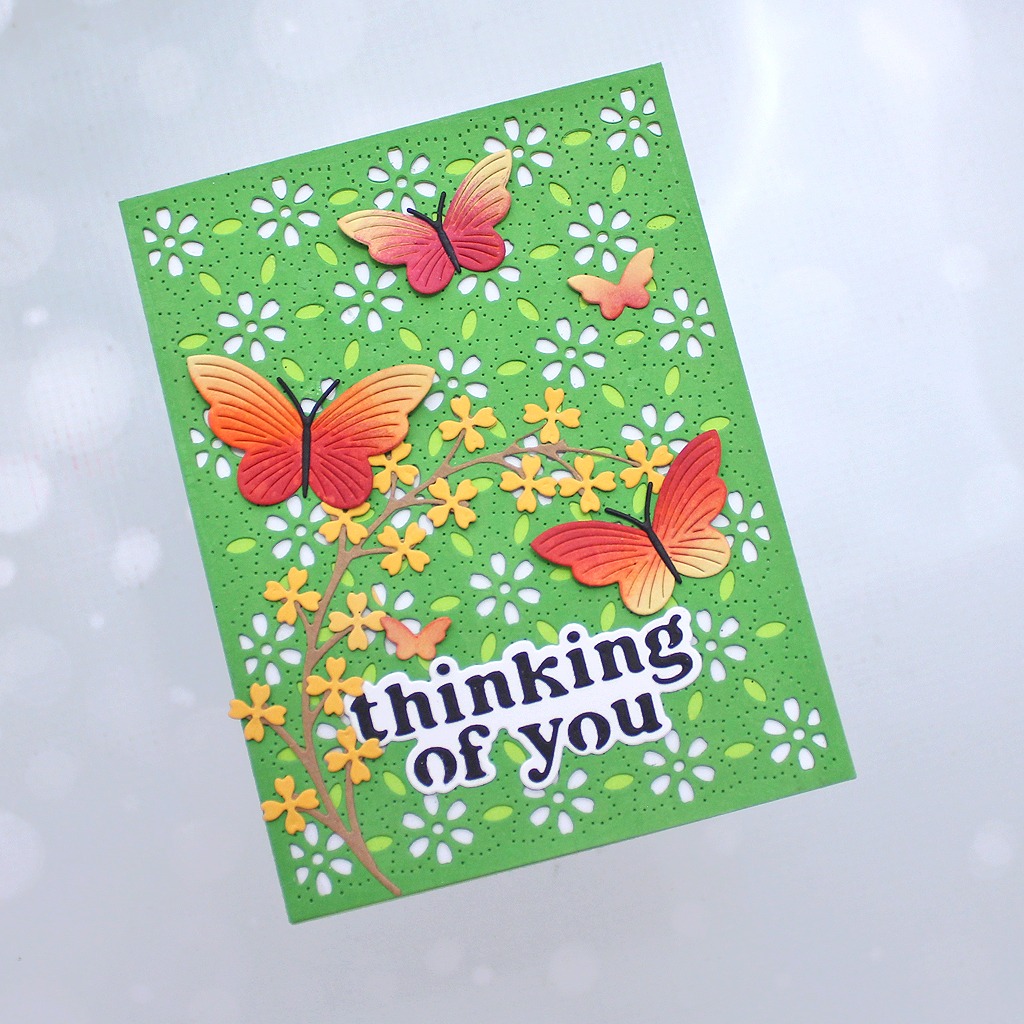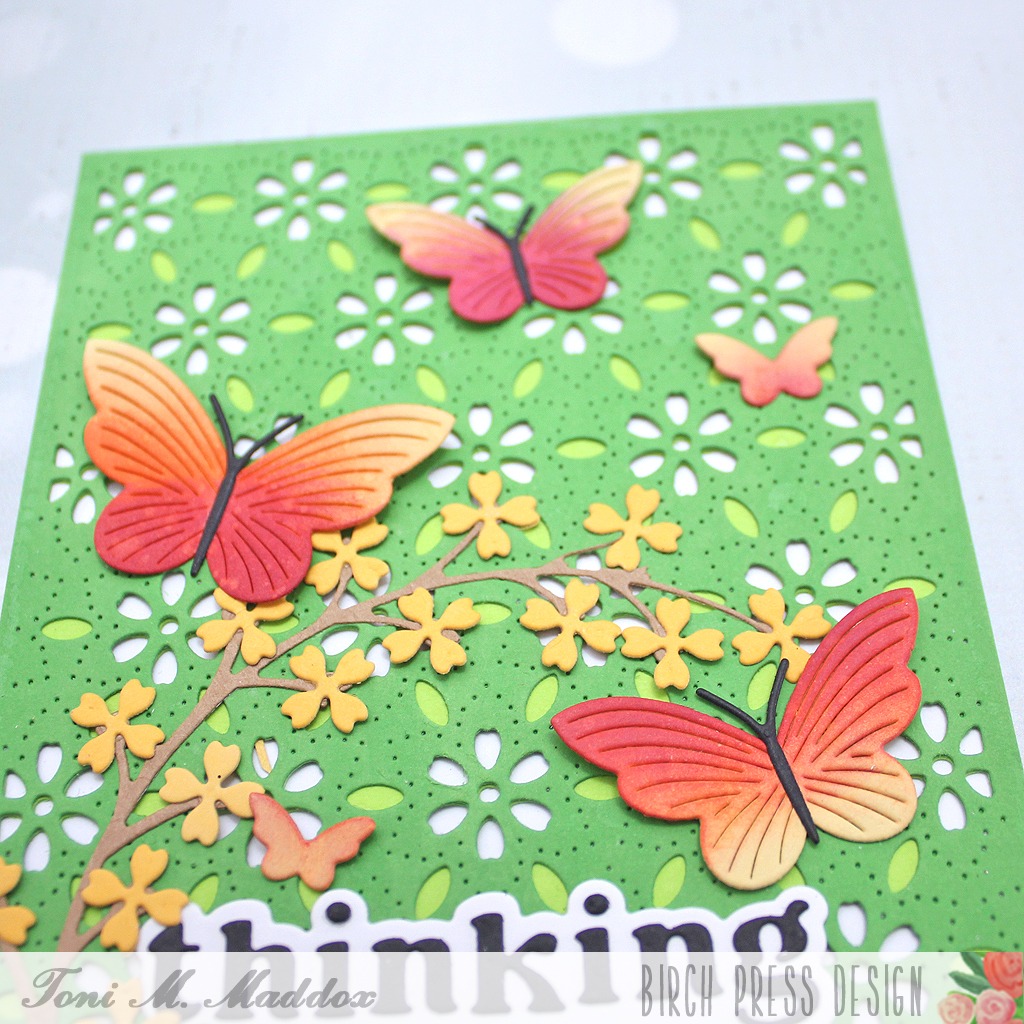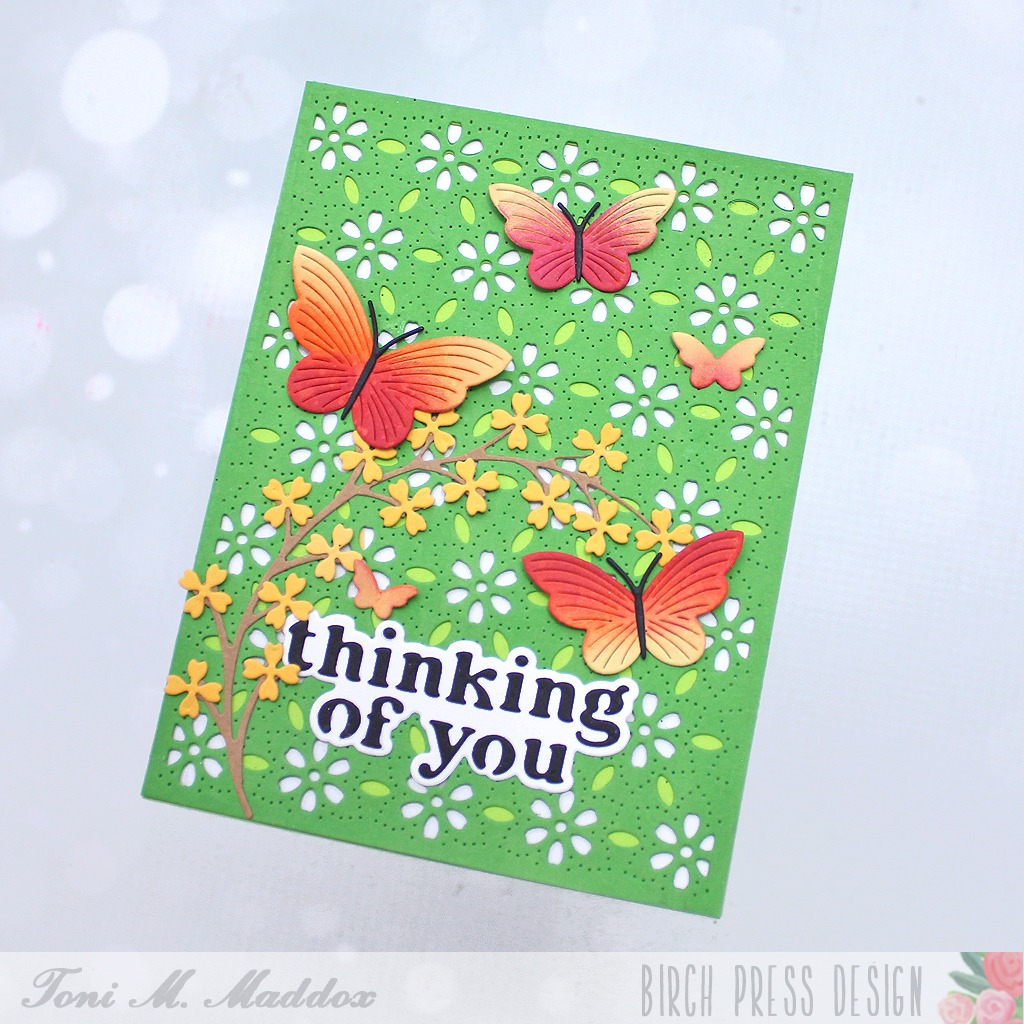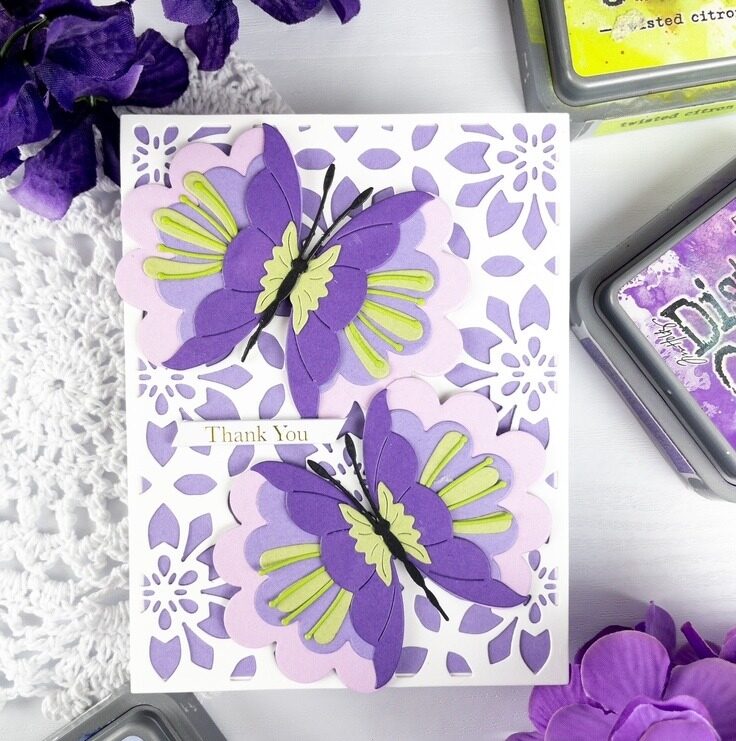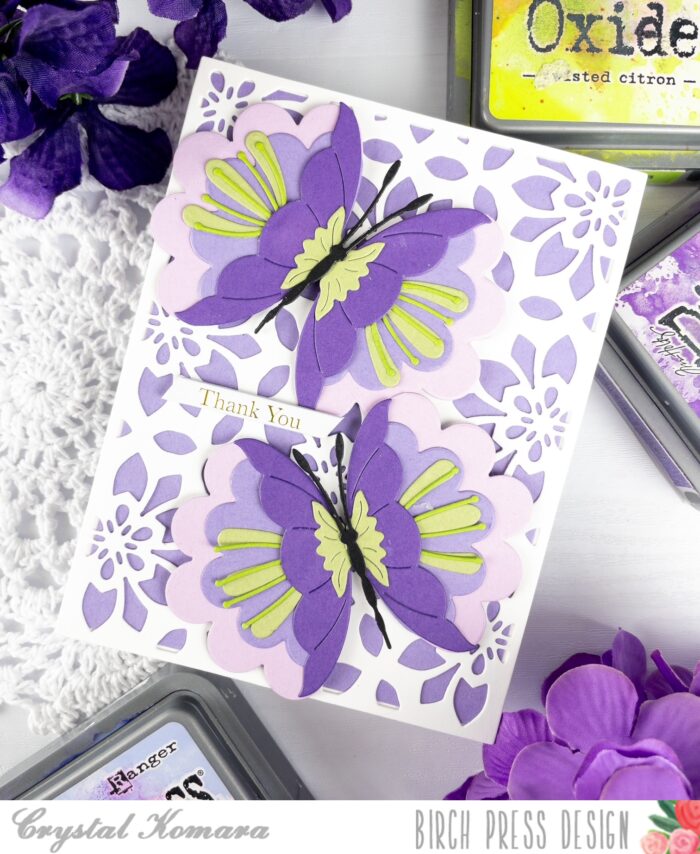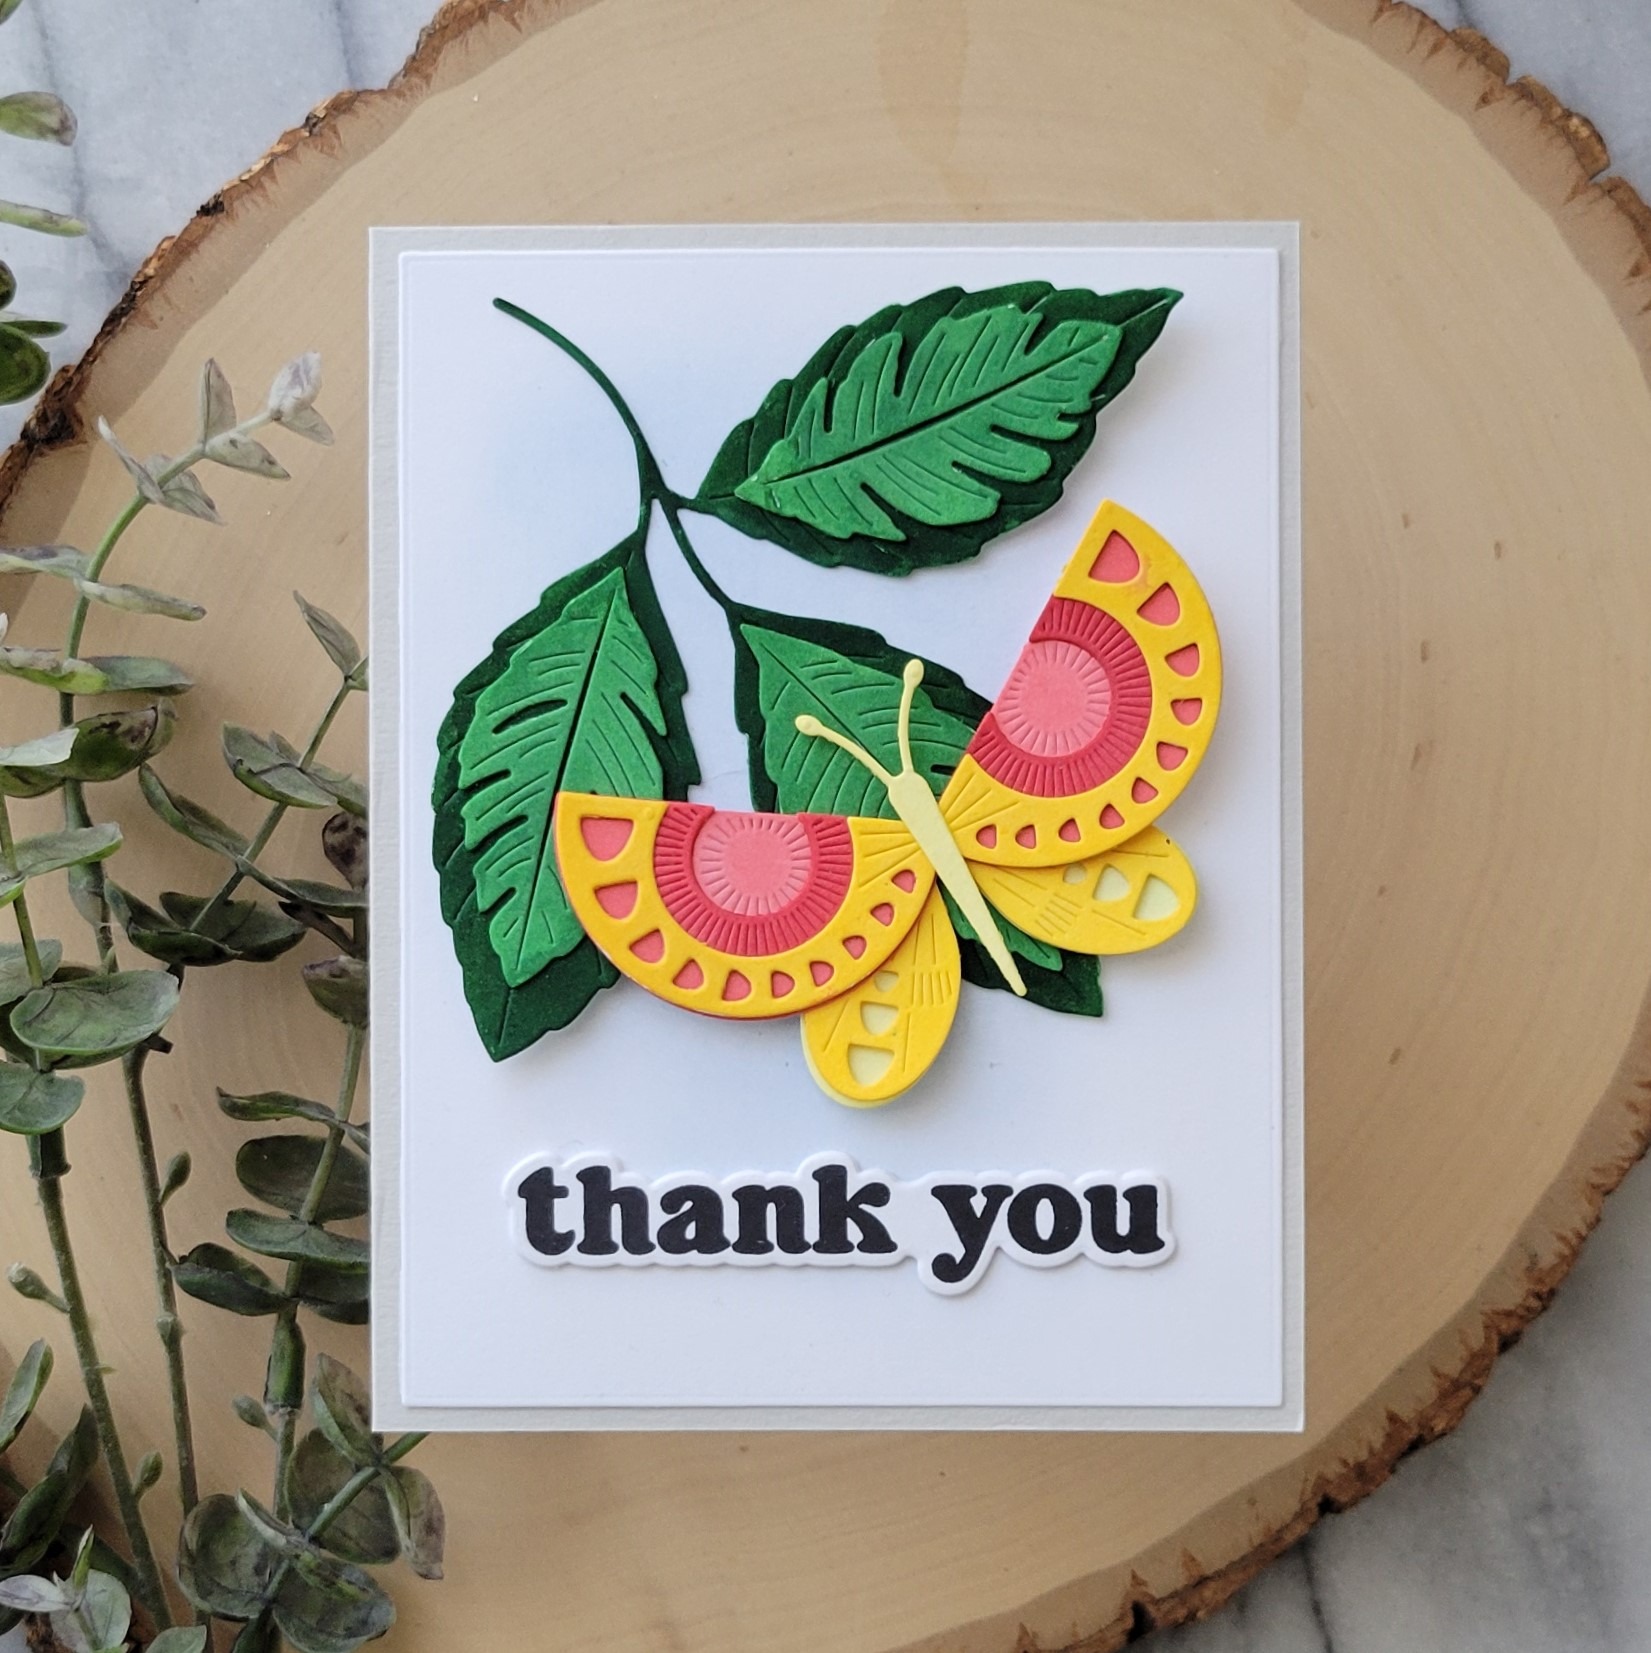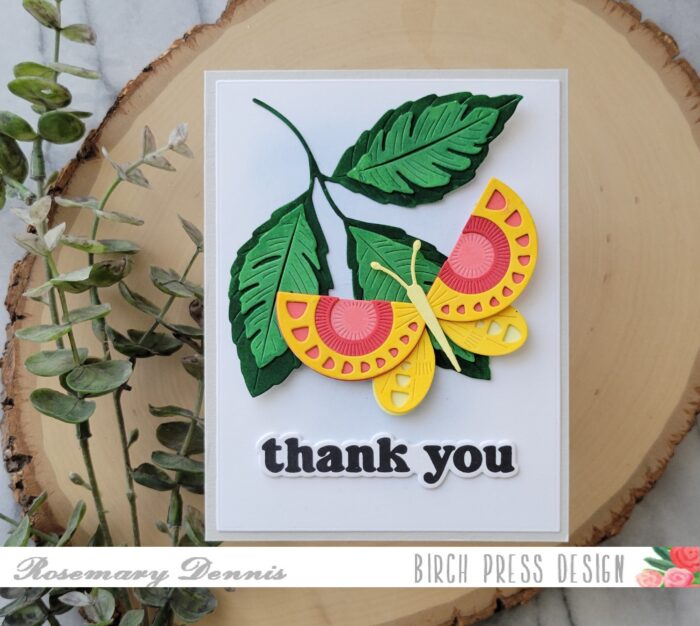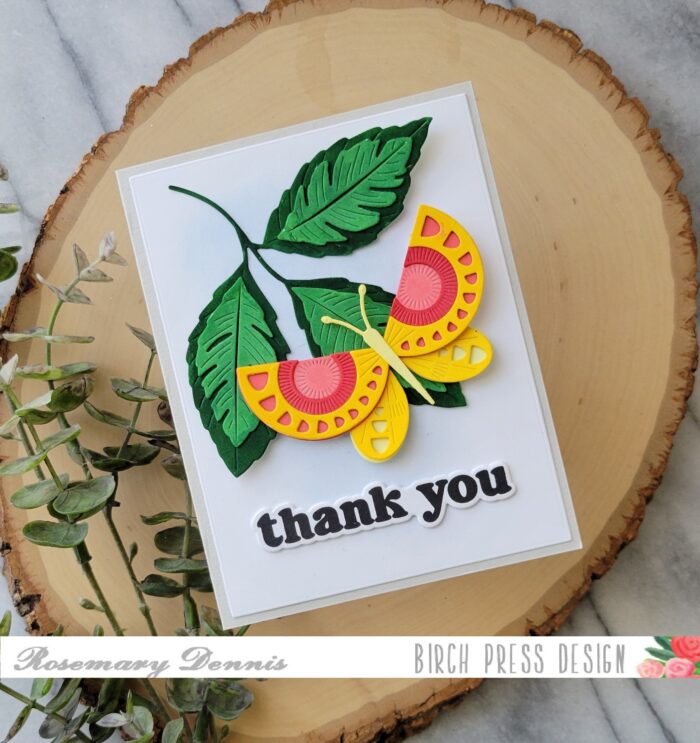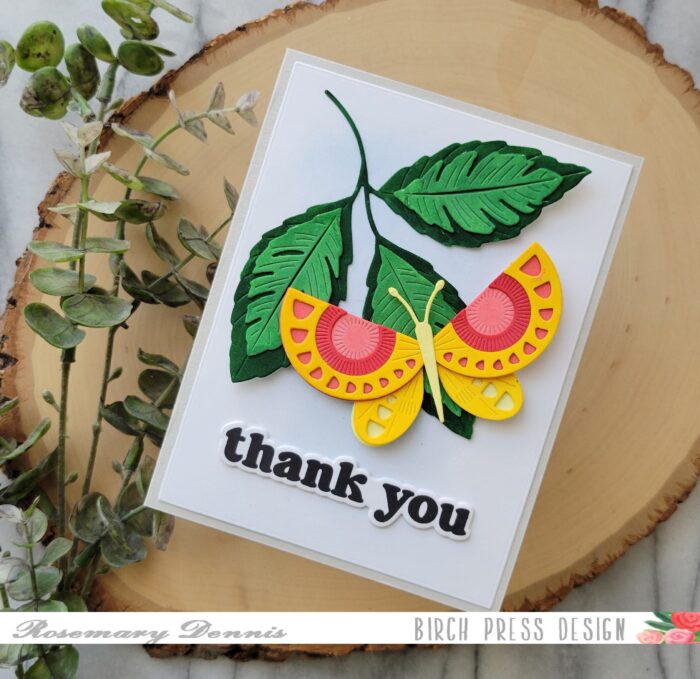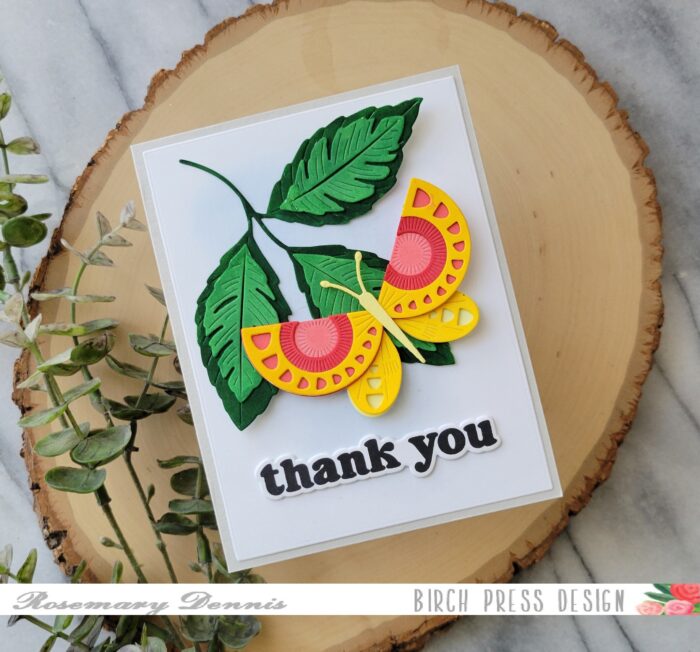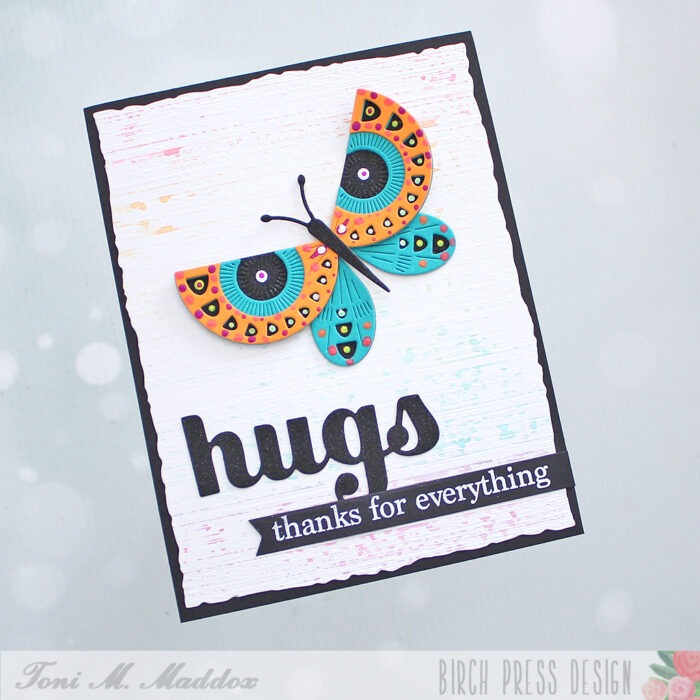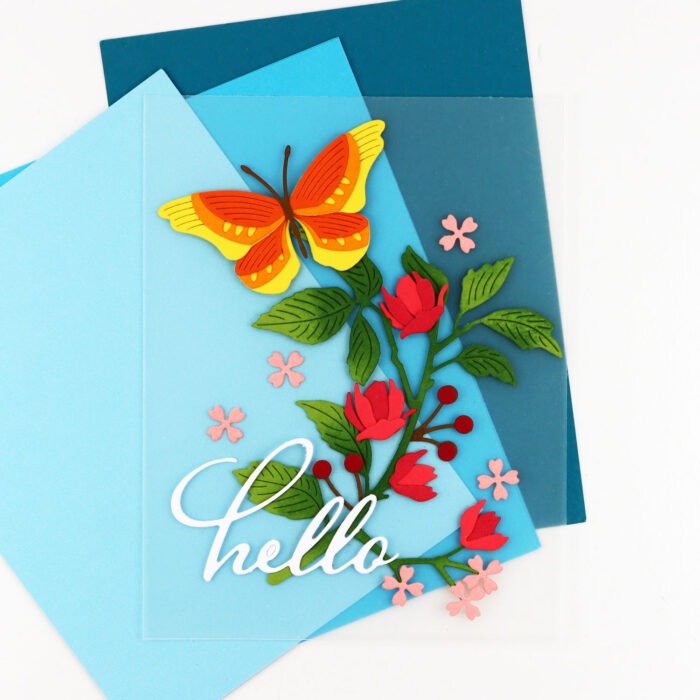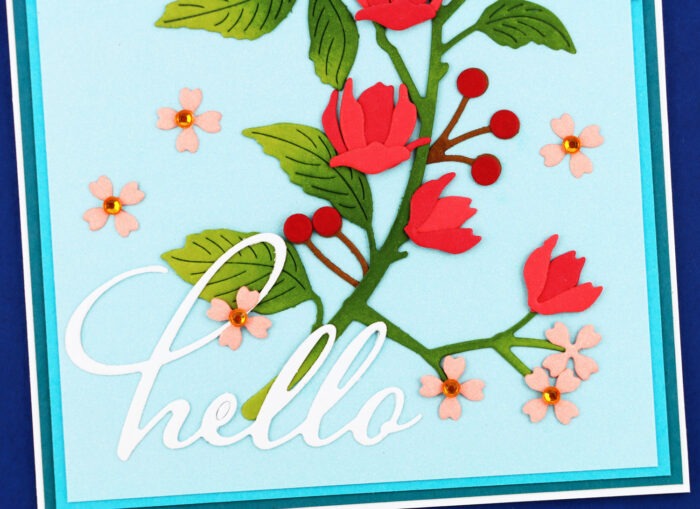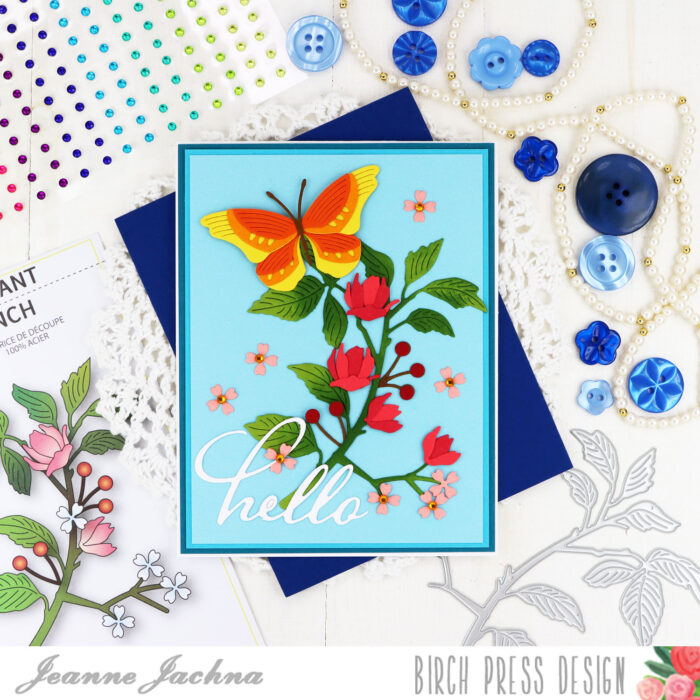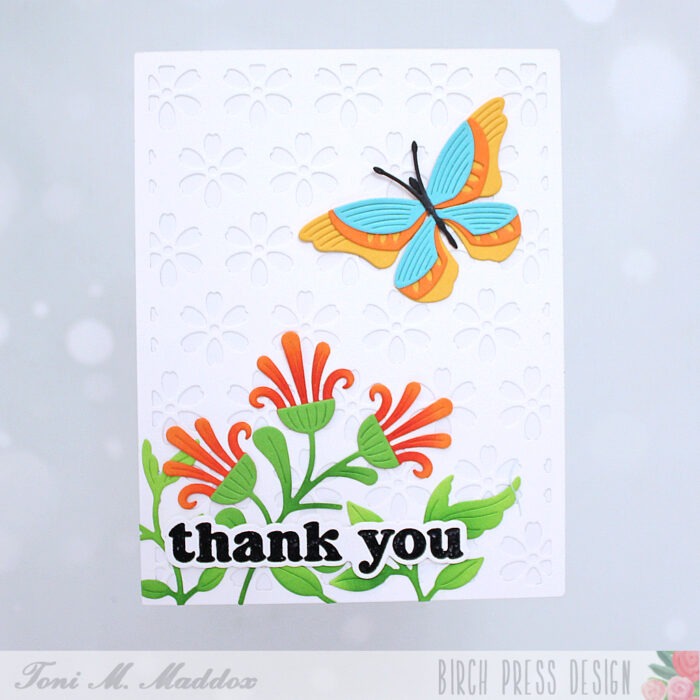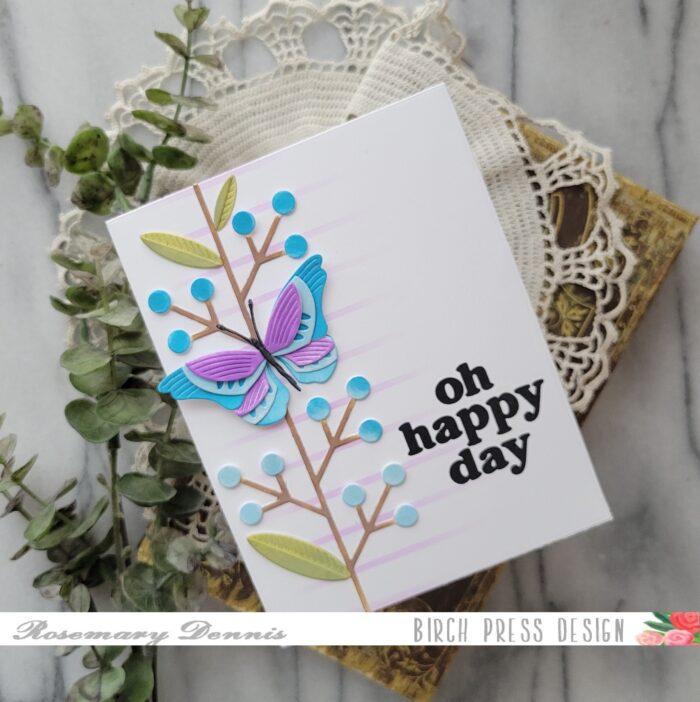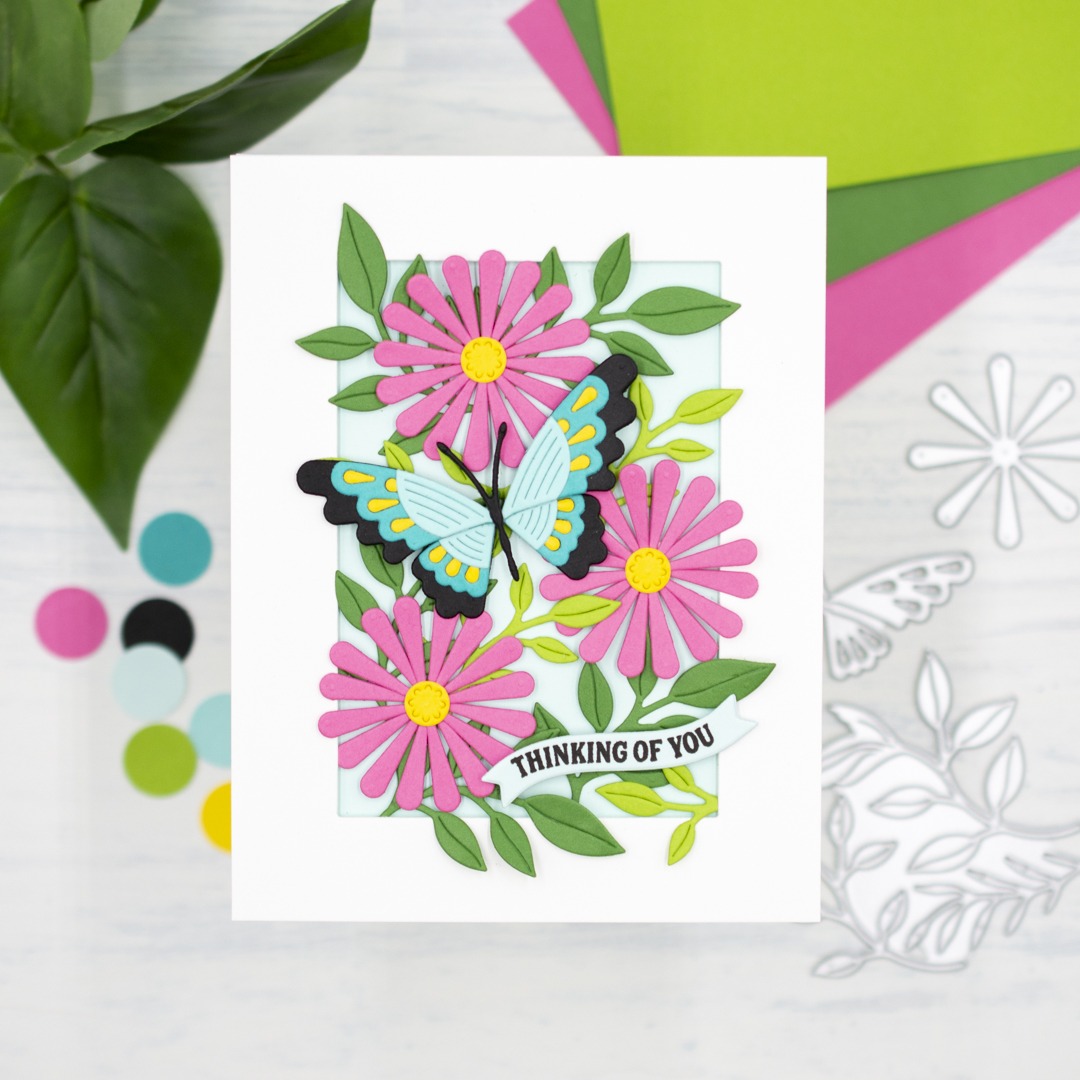
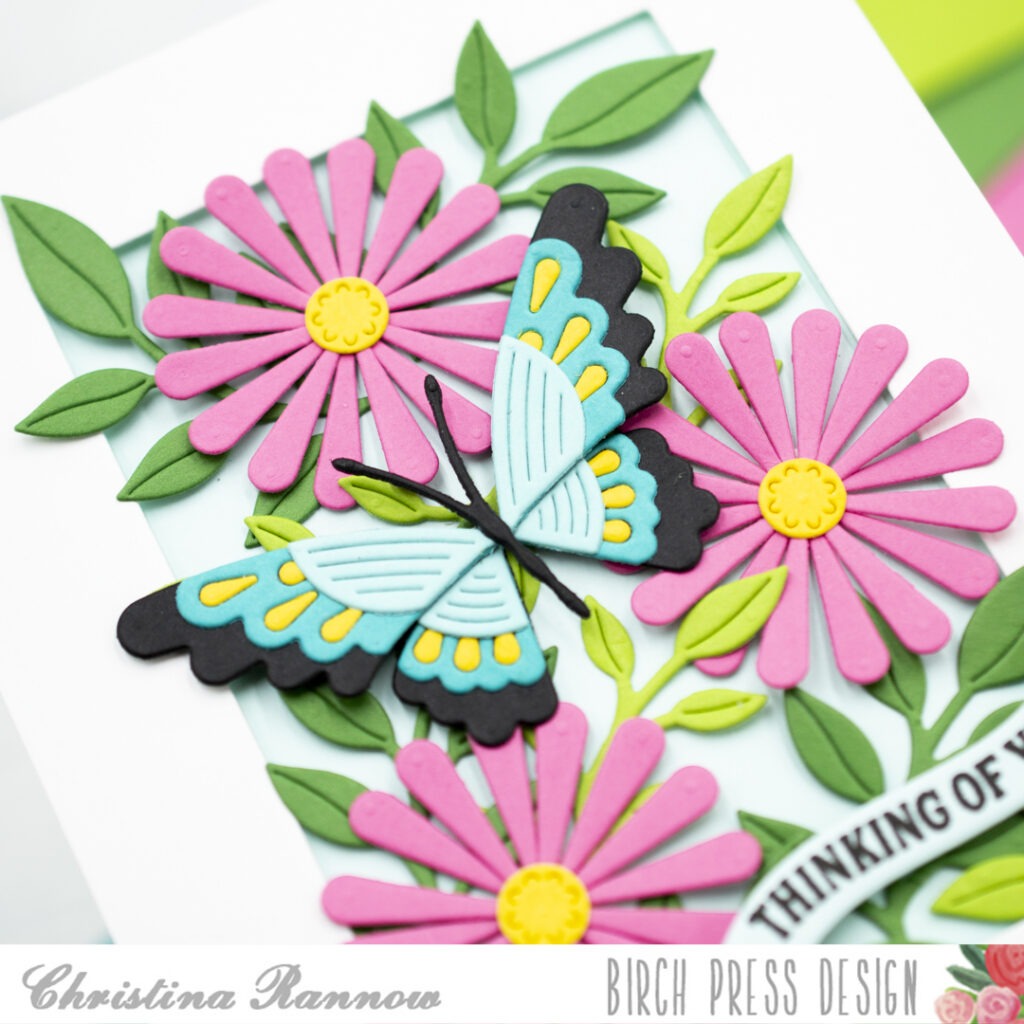
Hello, Christina here! Summer has arrived, and there’s an abundance of inspiration in our gardens right now. Flowers are in full bloom and butterflies are fluttering about, the perfect combination for a lovely “Thinking of You” card. To create this garden snapshot, I paired the Daisy Flower dies with the Scallop Butterfly dies inside a wide frame and tucked in plenty of greenery. This card design is all die-cutting except the stamped sentiment, so it comes together easily. Let’s get started!
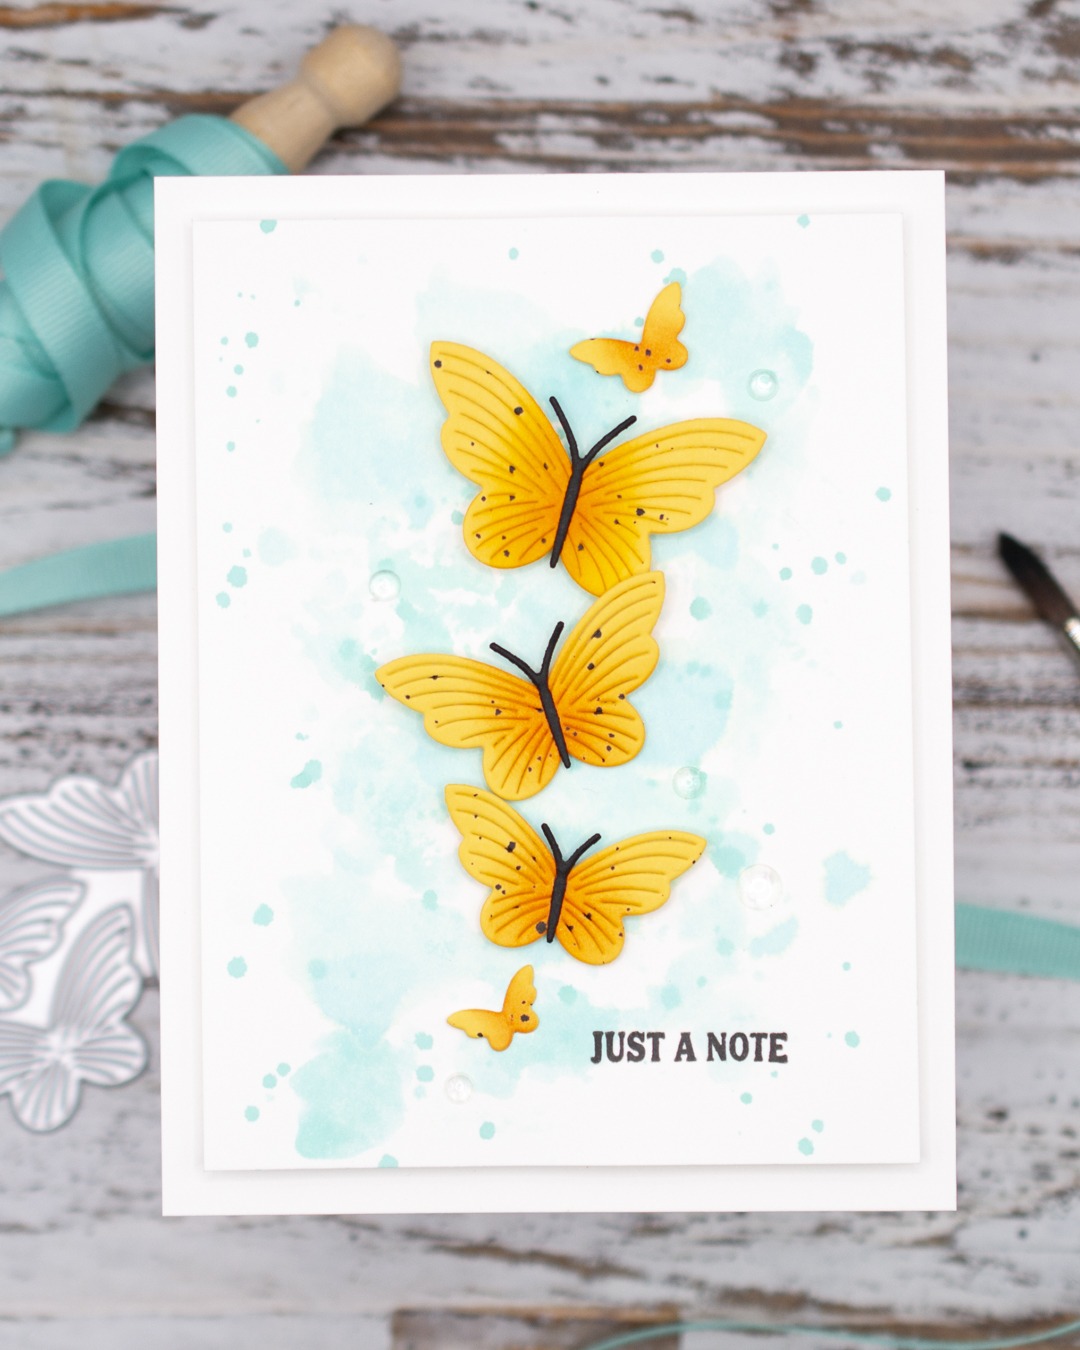
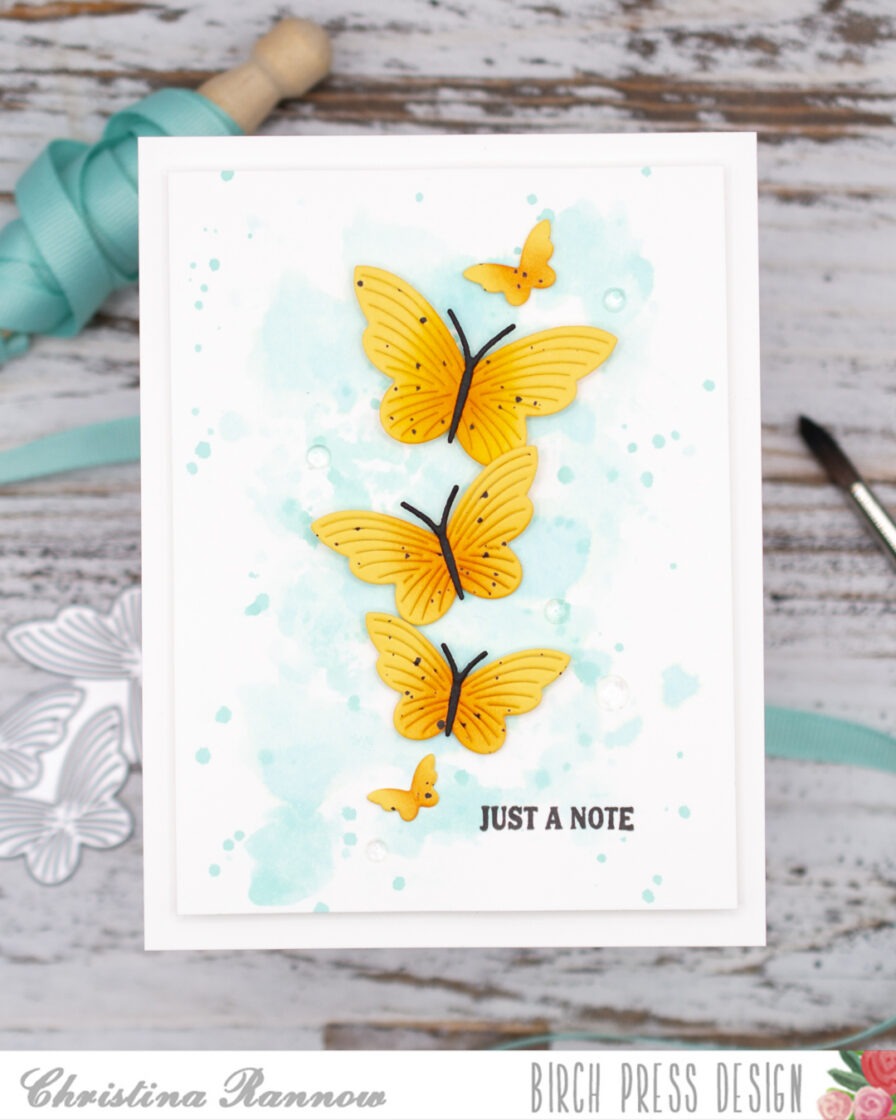
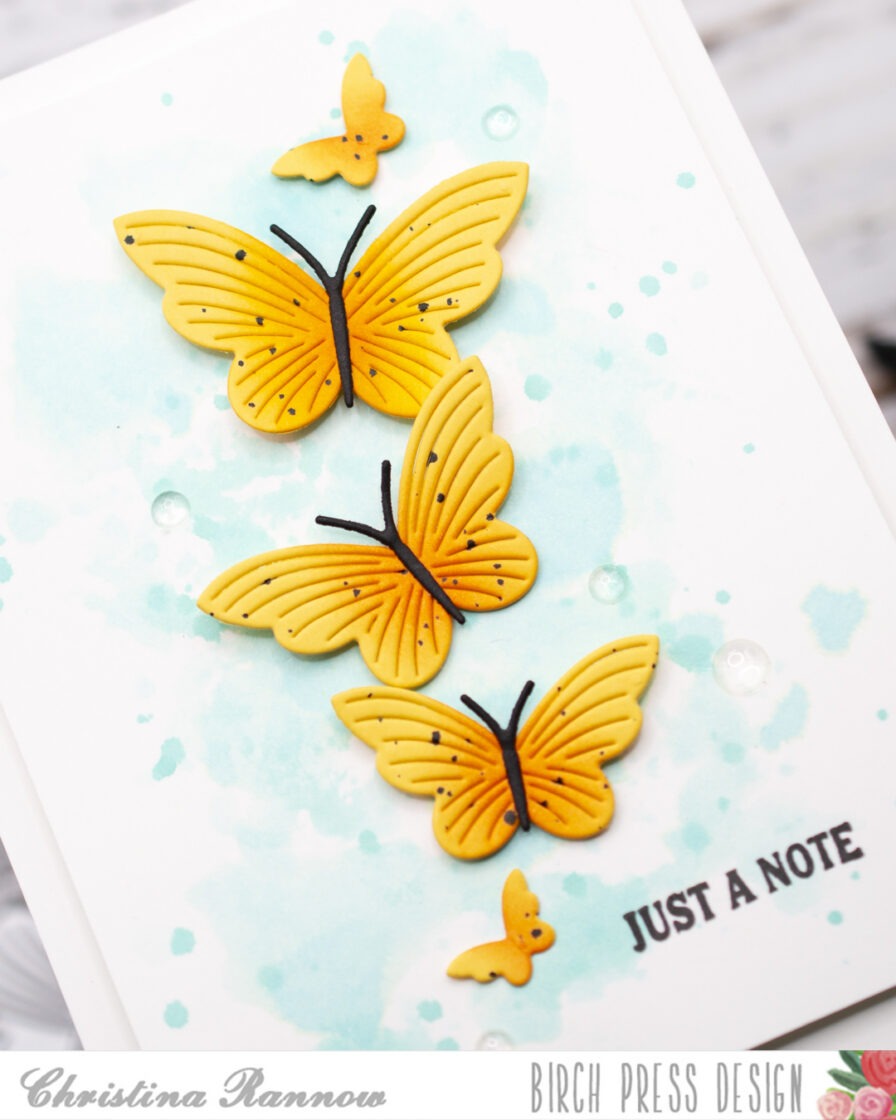
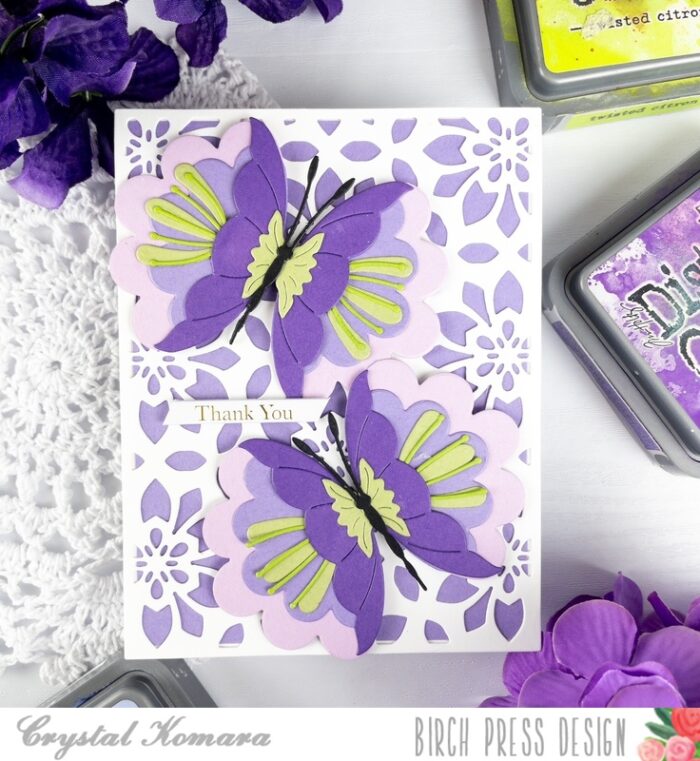
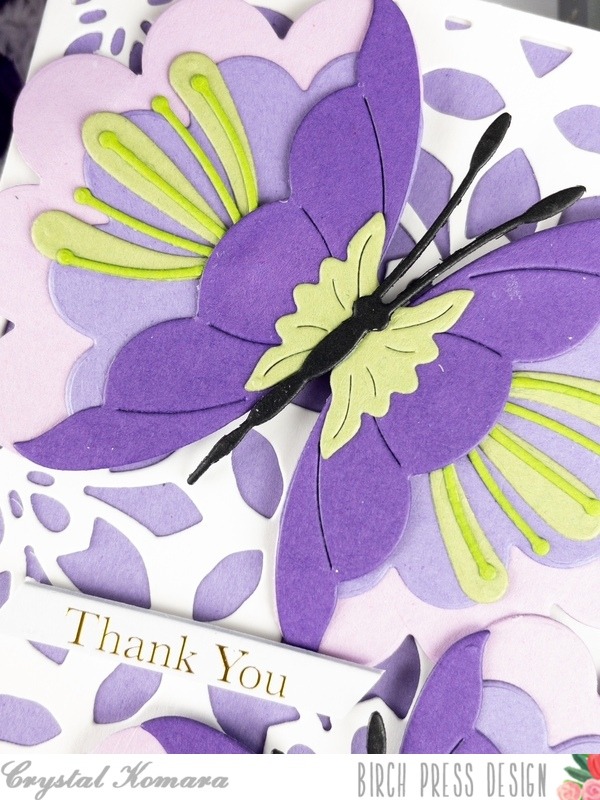
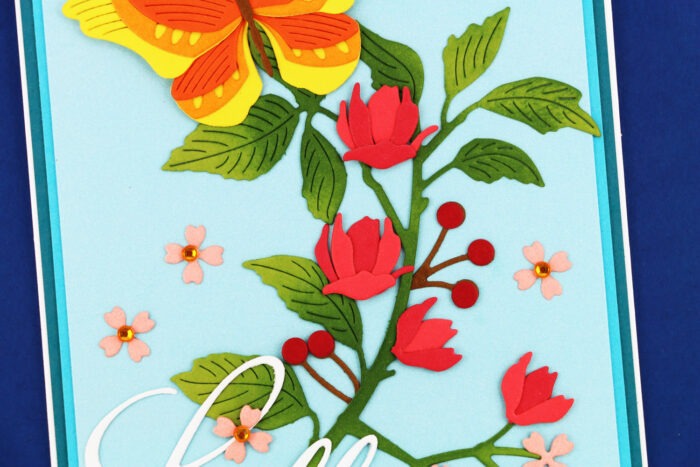
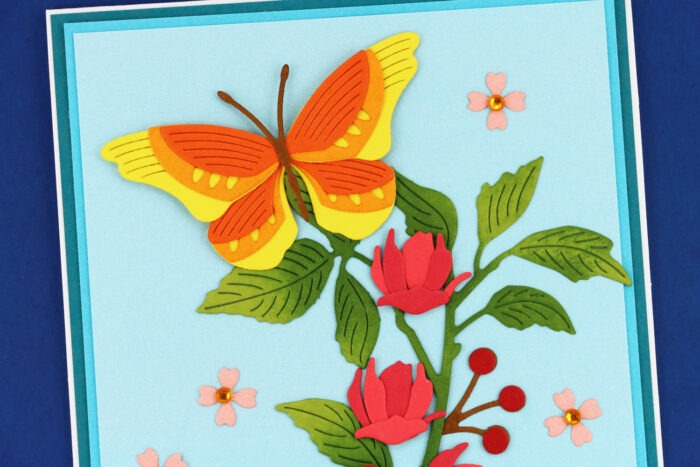
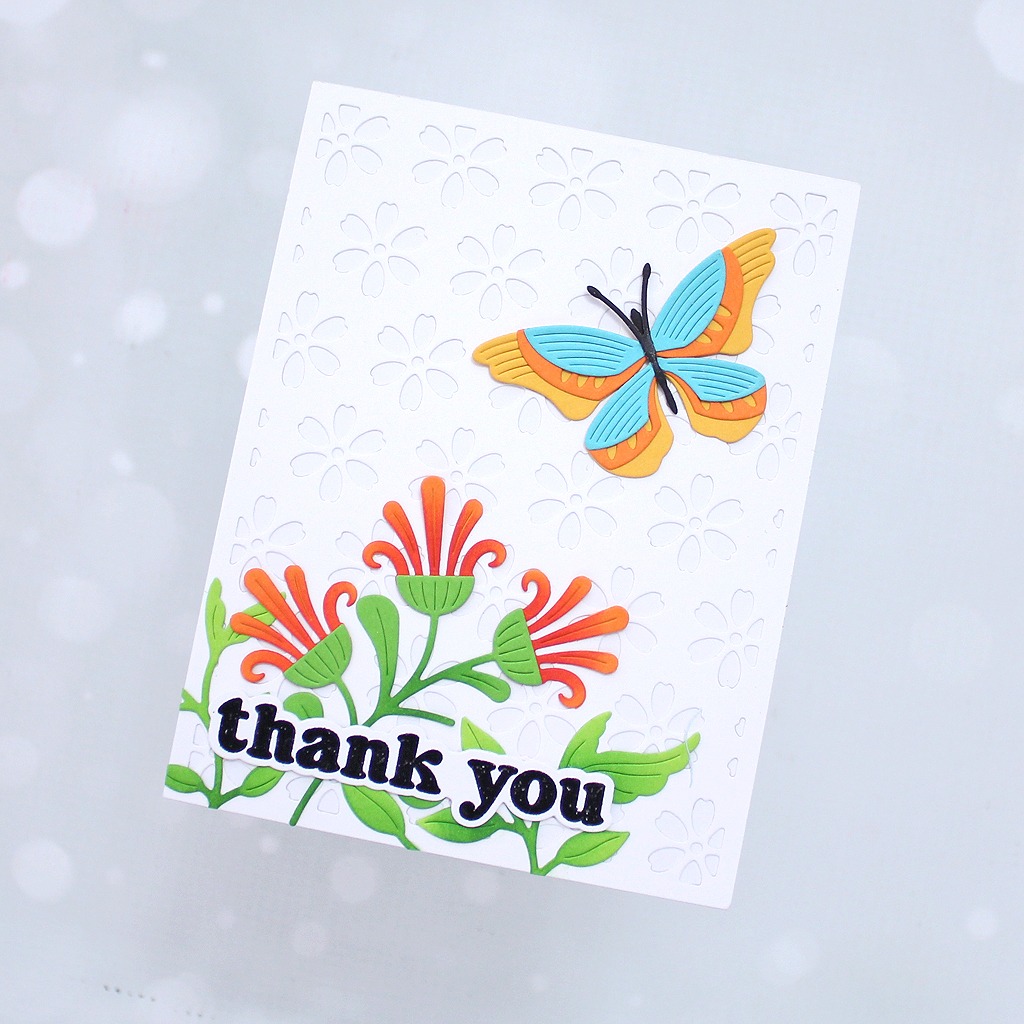
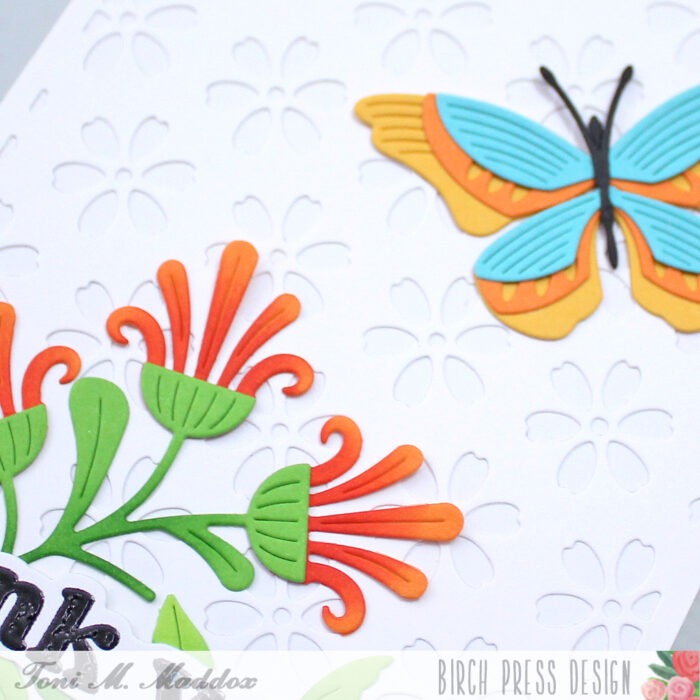
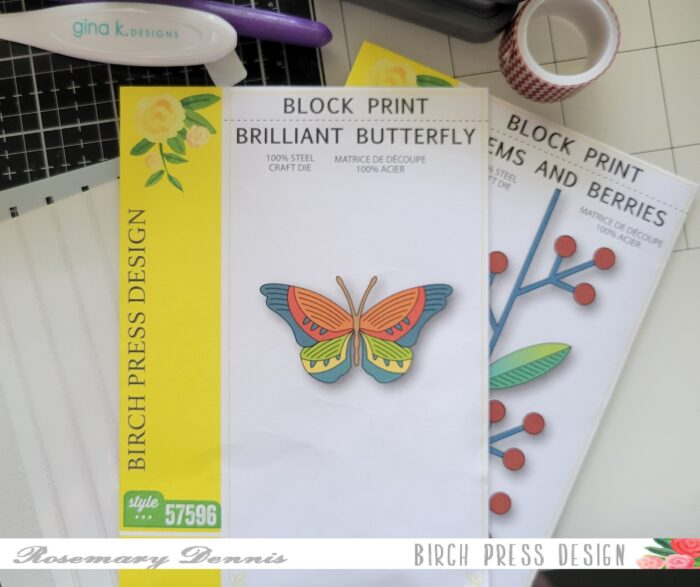
My first step was to die-cut the elements for my design from colored cardstock and assemble them. I chose fuchsia and yellow for the daisies and turquoise, black, and yellow for the butterfly. For the greenery, I chose two shades of green.
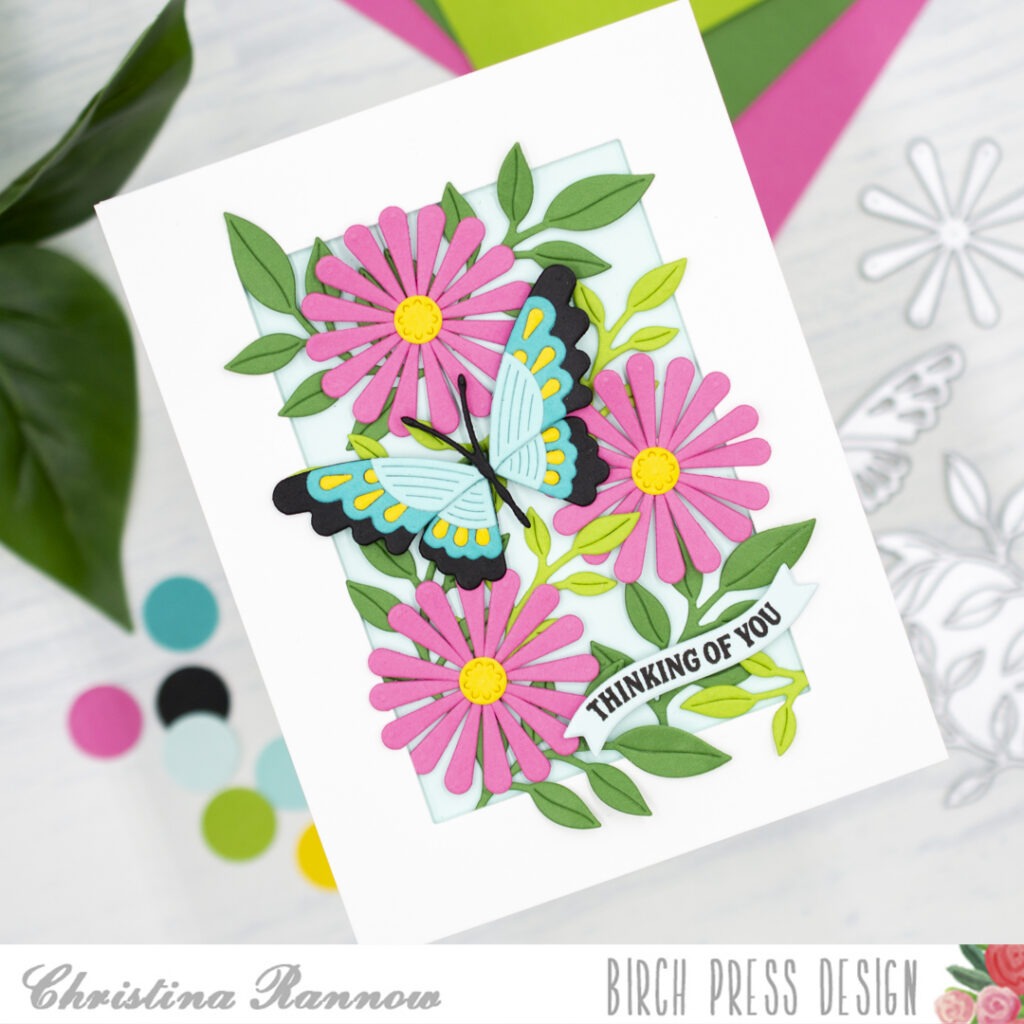
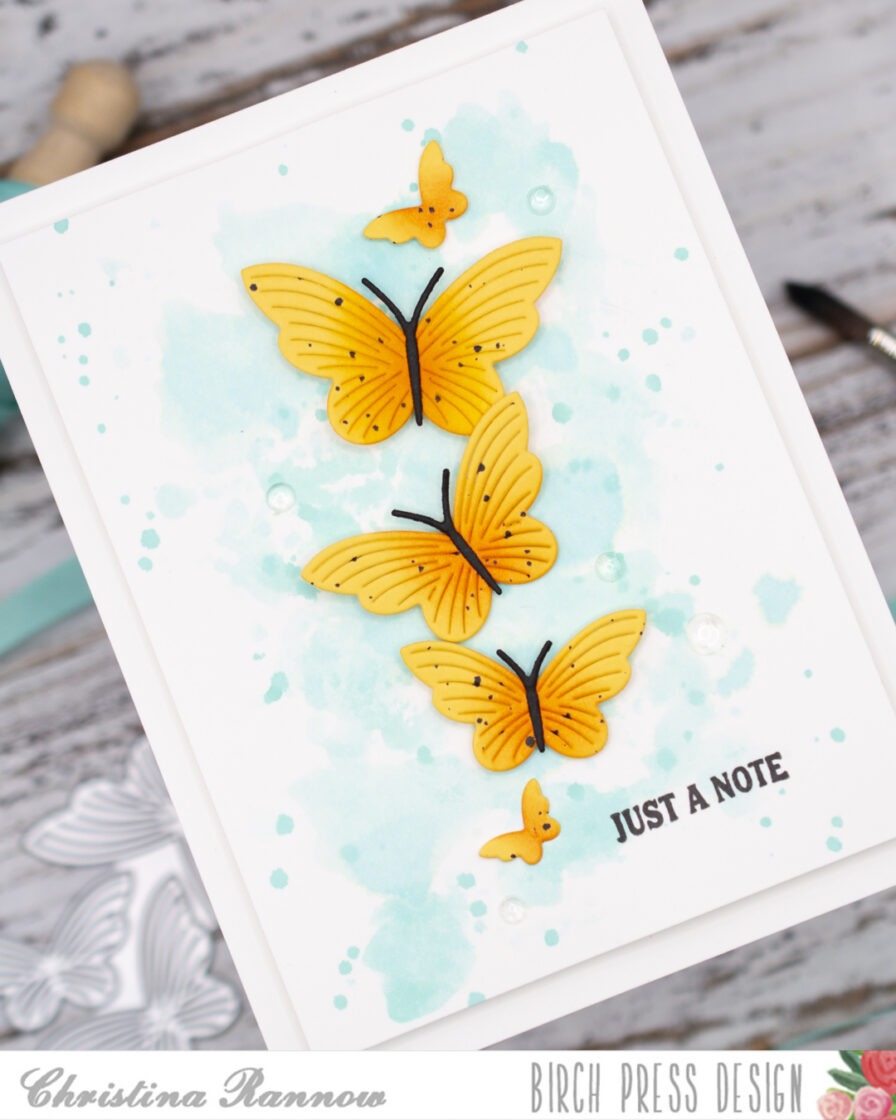
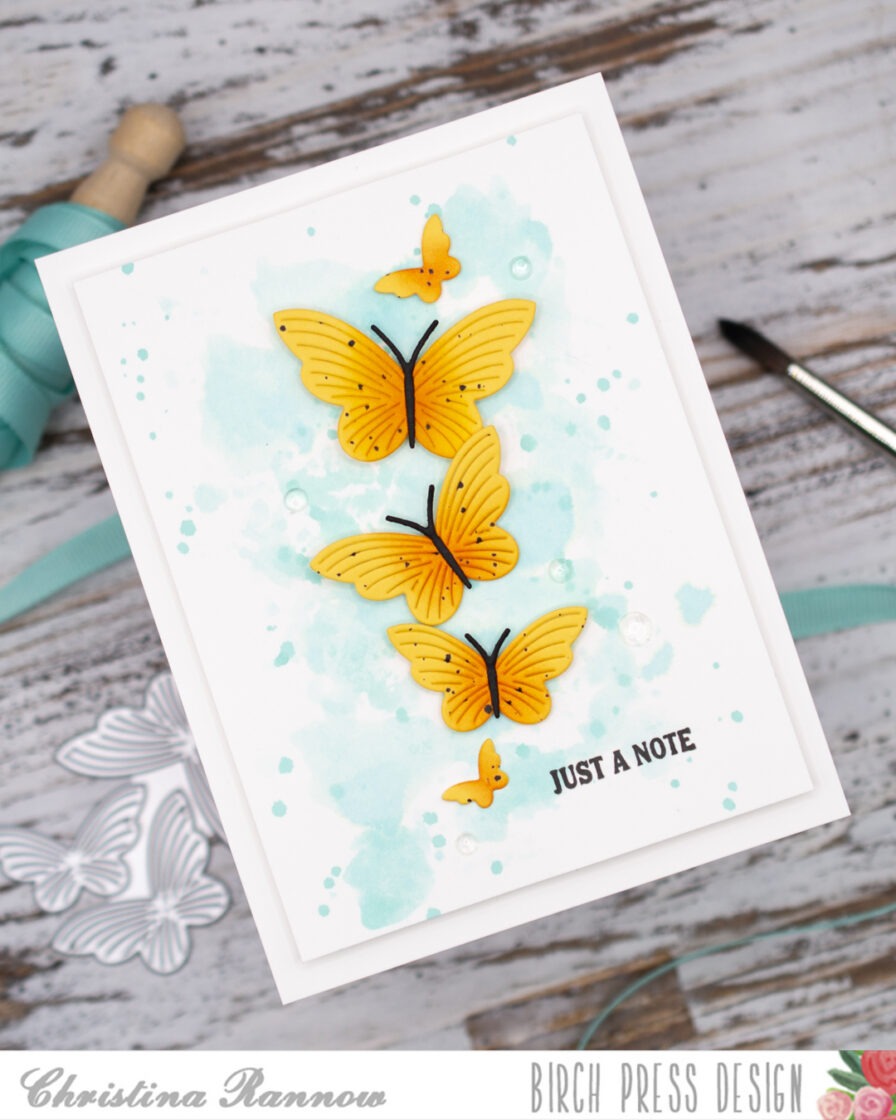
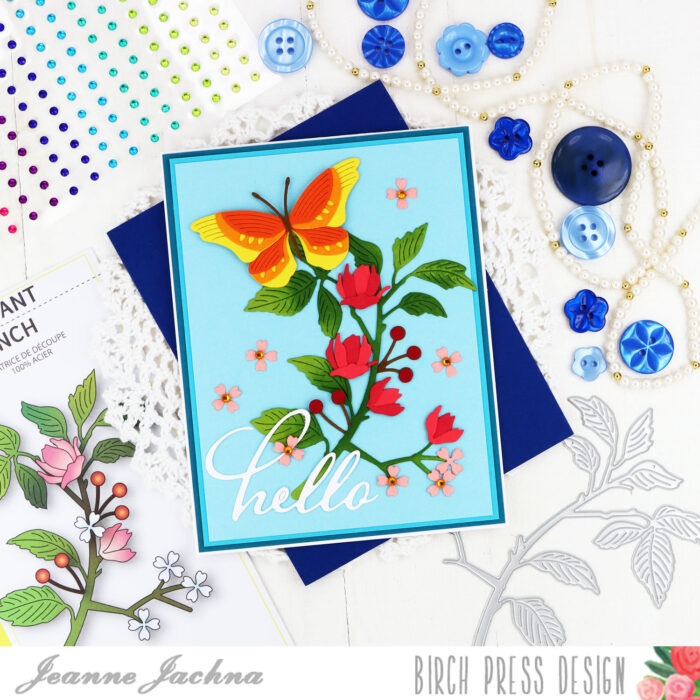
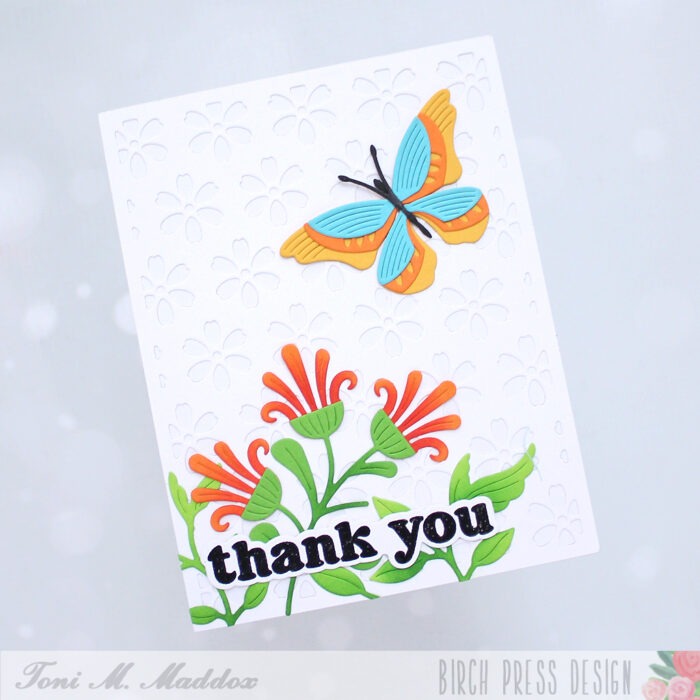
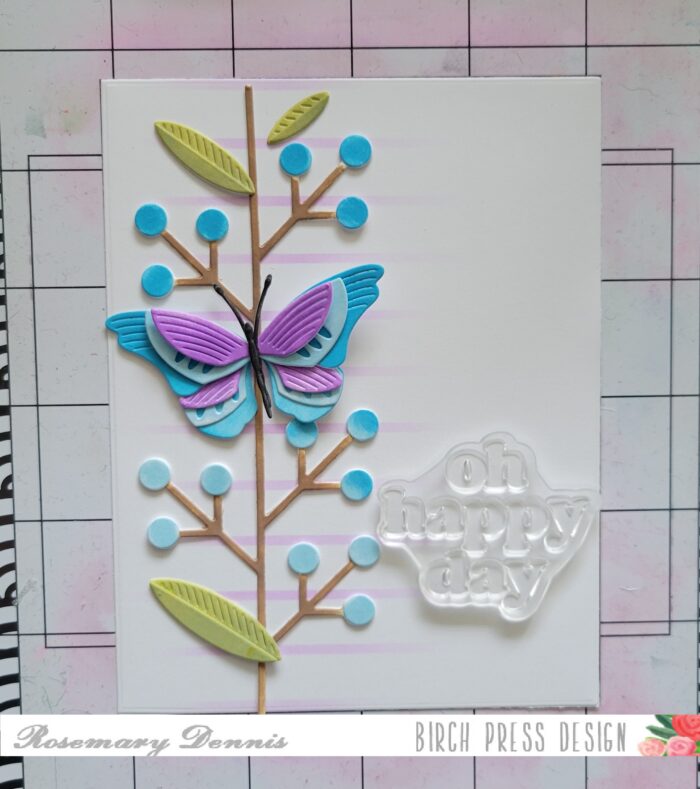
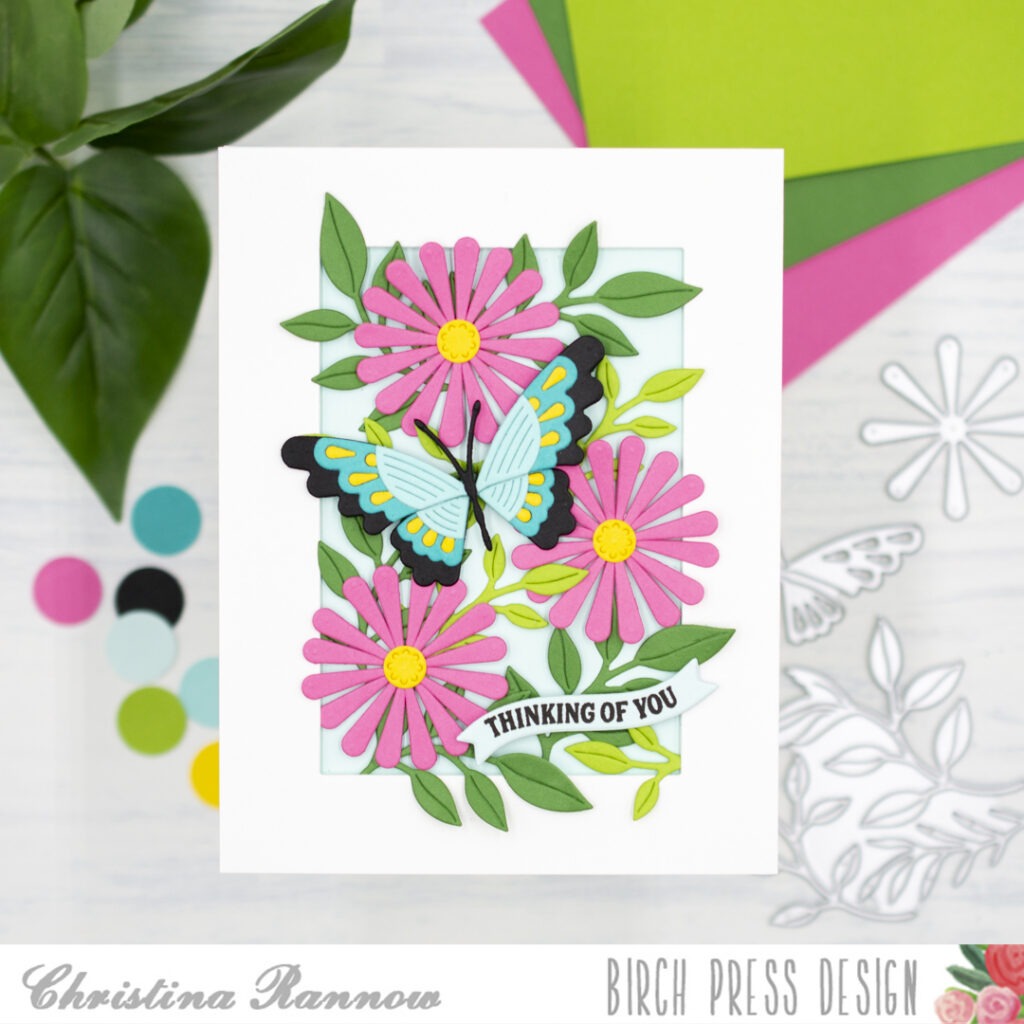
Next, I die cut a wide frame from a white cardstock panel using a basic rectangle die. Then, I popped the frame up on a soft blue cardstock panel using thin foam squares. With the frame panel complete, I started to arrange my die-cut elements within the frame. Once I was happy with the layout, I attached them with either liquid glue or, for added dimension, small foam squares. I let some of the elements overhang the frame so it looked like the scene was popping out towards you.
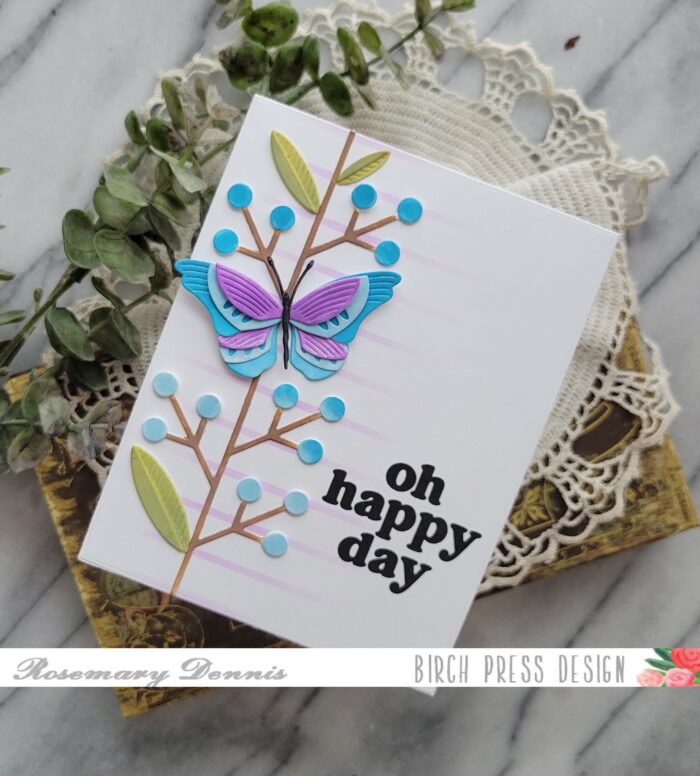
My final steps were to add a stamped sentiment banner and attach my card front to a top-fold card base.
Thank you so much for reading about my summer garden-inspired card design featuring the Daisy Flower and Scallop Butterfly die sets. See you again soon!