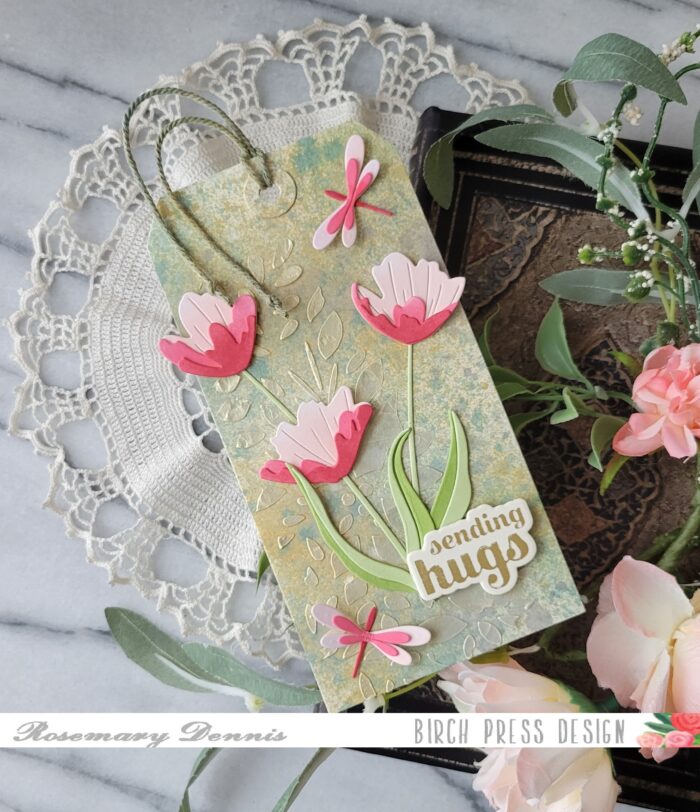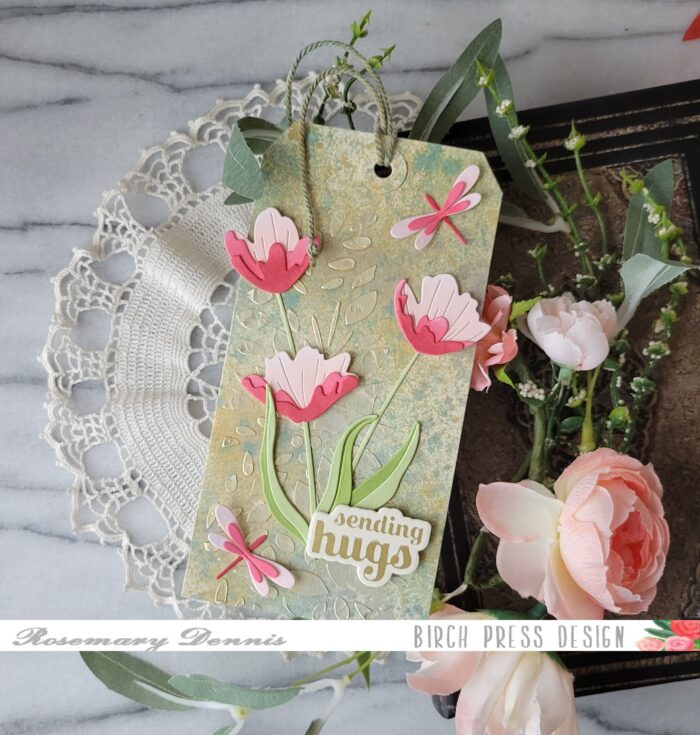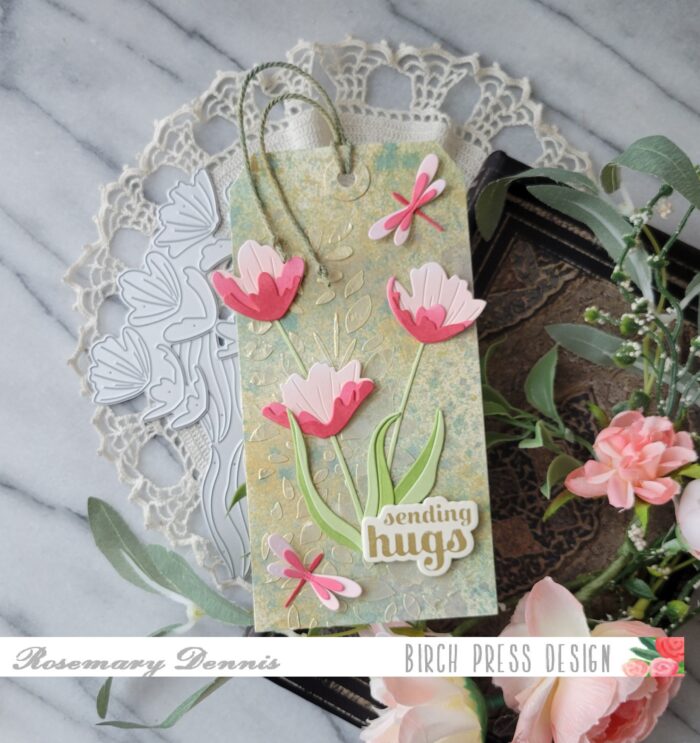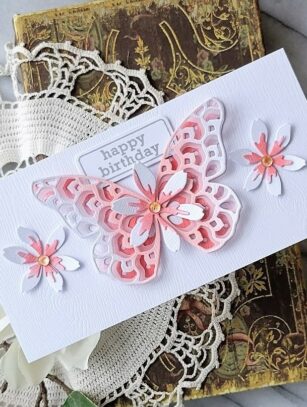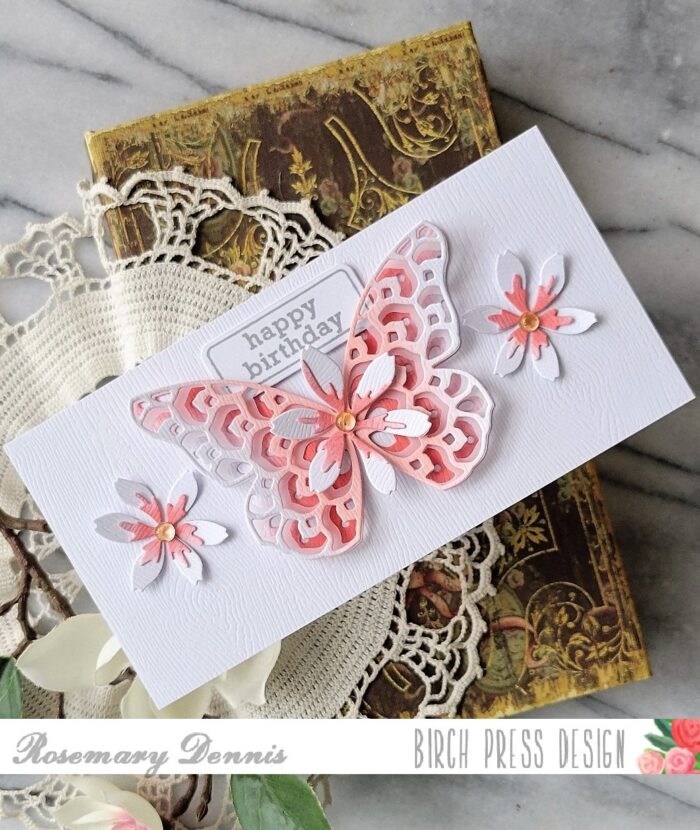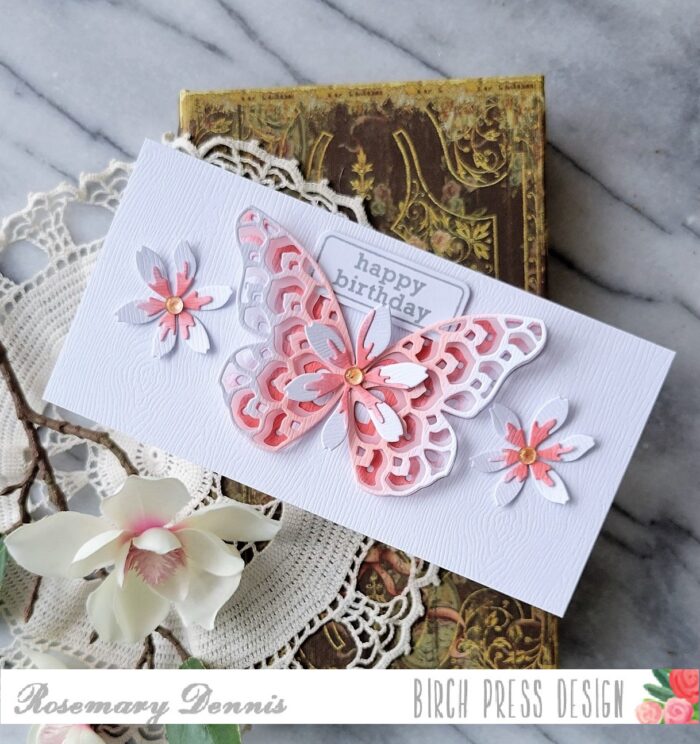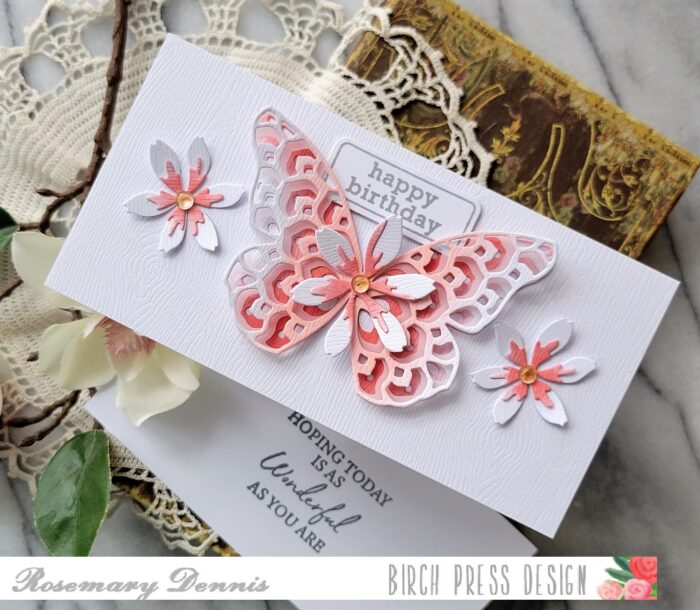
Hello everyone! Rosemary here today with a sweet monochromatic card that I had so much fun creating! I used lots and lots of different Birch Press Design products, as well as some products from Birch Press Design’s companion company, Memory Box. Let’s have a look at what I made.
I recently did a little bit of organizing of my Birch Press Design products and as I went through them several items I hadn’t used in a while (or maybe I hadn’t even used them yet!) kind of popped to the forefront as items I could use to make the card for today’s post. I started with the Big Hugs Sugar Script die set and the Perky Bloom Contour Layers die set. Then I started looking through all my Memory Box cardstock pads and realized that I had not used the pad called Blush. Now that I had my starting point things really got going!
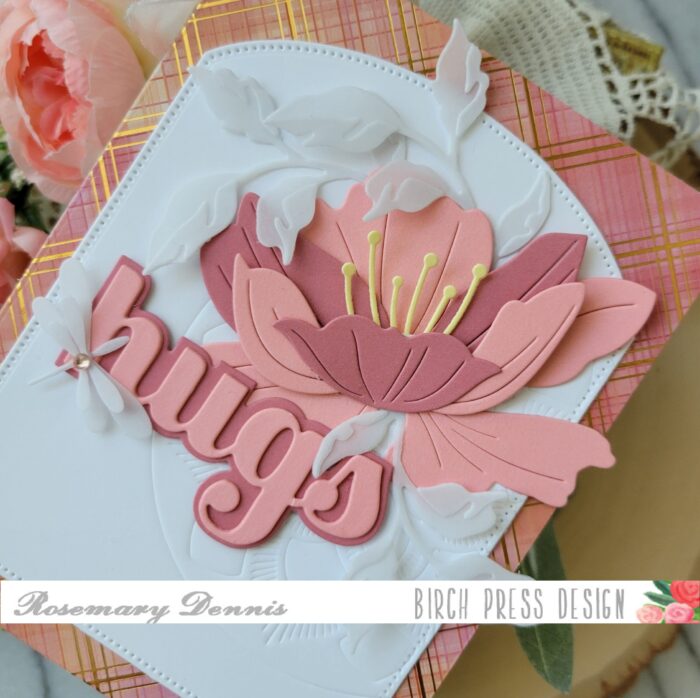
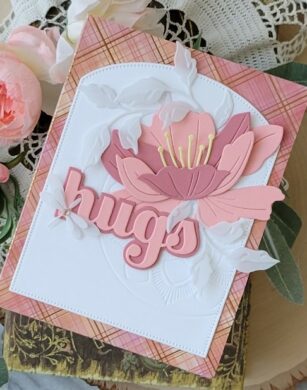
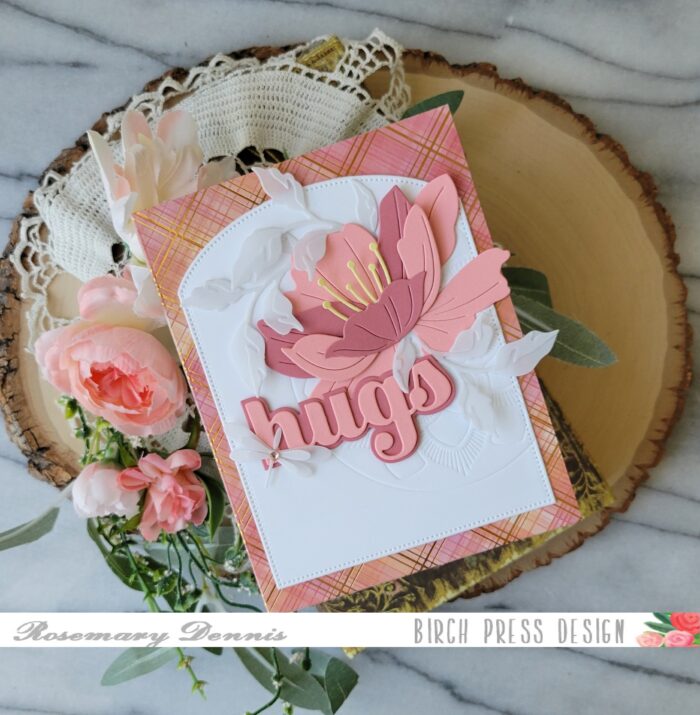
I went with a light coral pink and a dark coral pink from the Blush pad. I die cut all the pieces from the Perky Bloom from both sheets and then alternated the colors. This resulted in two flowers. I decided to go with the one that has the light coral pink bottom layer for this card. I had a previously die cut stamen piece that I had cut from yellow cardstock. I like the little pop of yellow. I also die cut the Big Hugs from the sheets. Since I had used the light coral pink for the first layer of the flower I decided to use the dark coral pink for the shadow layer of my sentiment.
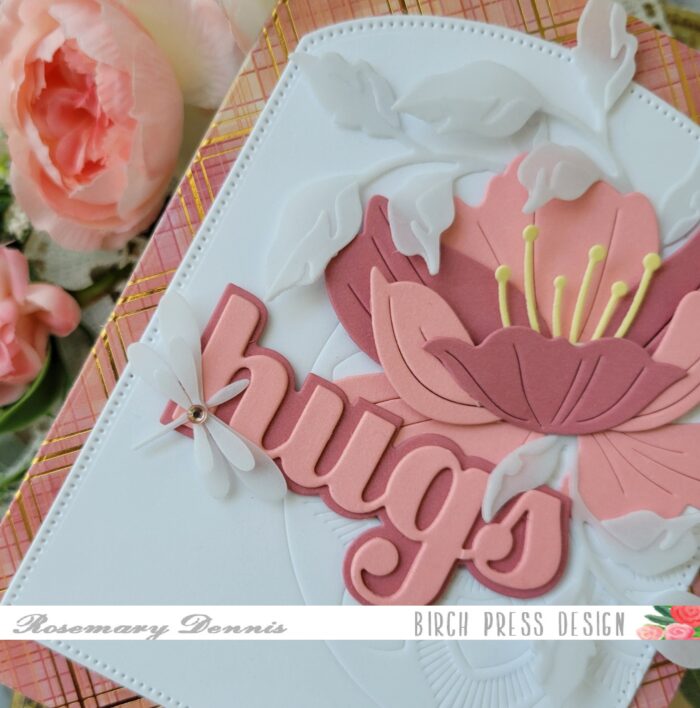
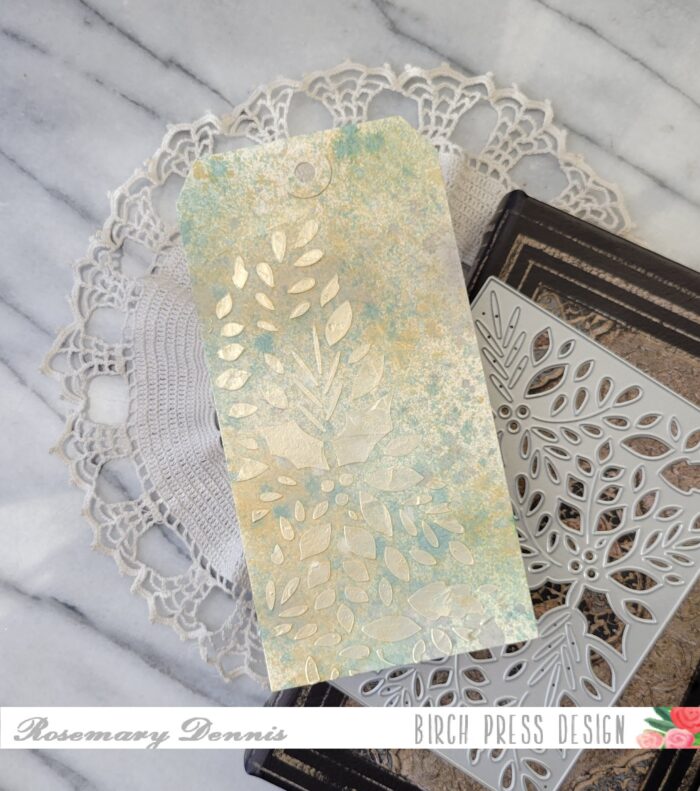
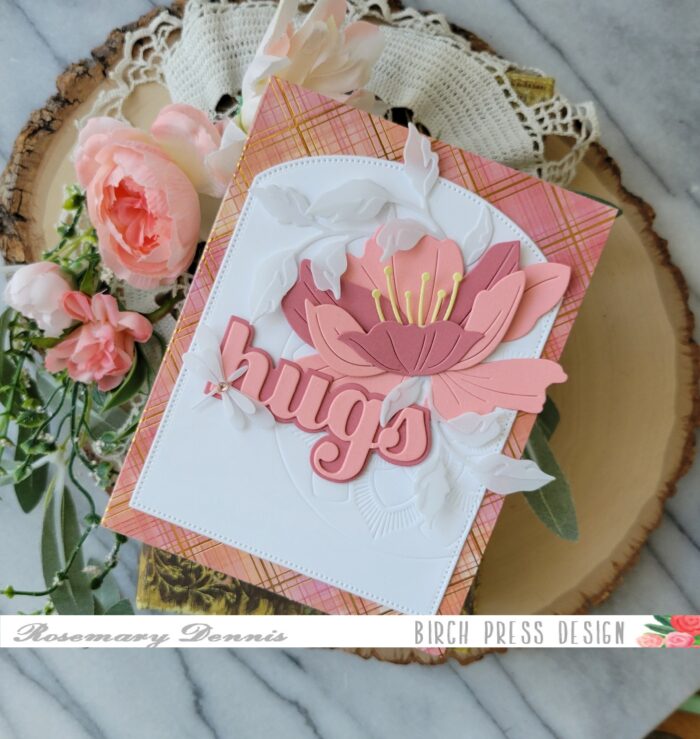
When I layered the flower I used a combination of liquid adhesive and thin foam squares to give the various petals additional lift. Once I had the flower finished my creative juices really got flowing! I decided to die cut a piece of paper from the Memory Box Gladiola Plaid 6×6 pad to cover the front of my card base. I went with a piece that has a hint of yellow in it to tie in the yellow stamen in the flower. Then I die cut white cardstock using a Curved Cap Pinpoint Layers die. At this point I decided that I wanted to add some texture to the white panel so I looked through my background layering dies and landed on the Arista Layer B die. I love the detailing in this layer of the die set. So I embossed it using my die cutting maching. I offset the die to the right side of the panel for additional interest.
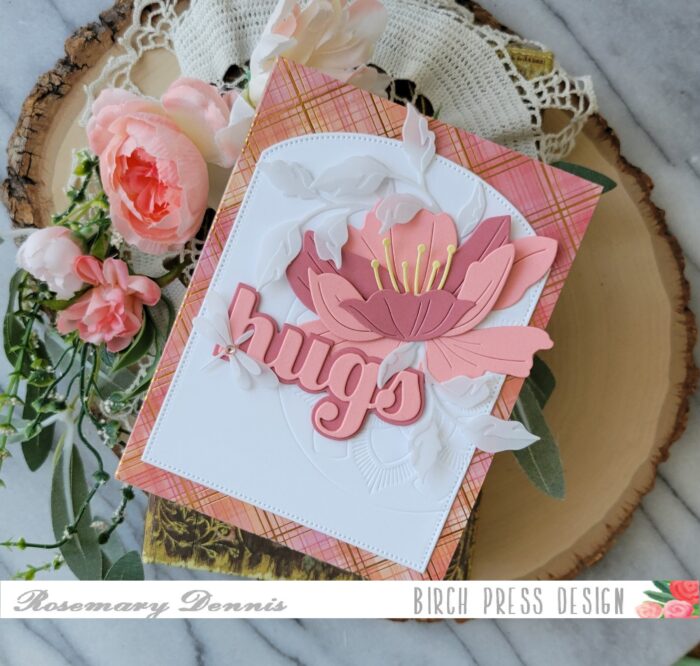
I layered this panel on the card front using thin foam squares. I liked the look of the flower on top of the embossed image, but I wanted even more texture! So I pulled out the Fuddle Leaf Branches die set and die cut the smaller branch and layering pieces from thick vellum. The layering pieces were adhered with liquid adhesive. Then I arranged the flower and the little branches on the white embossed panel.
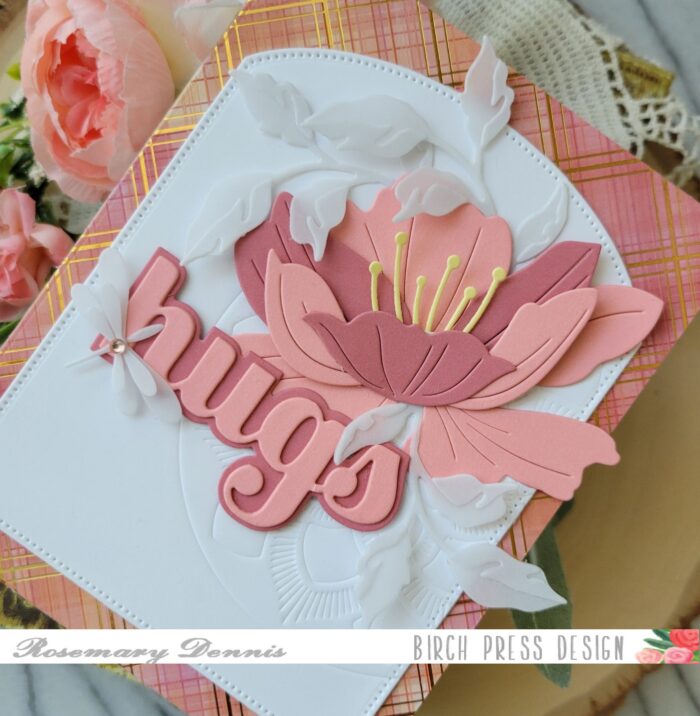
At this point I thought I was finished, but nope, lol! I wanted to add one more thing! A sweet little vellum dragonfly! I used the smaller dragonfly from the Simple Dragonfly Contour Layers die set and cut all the pieces from the heavy weight vellum I used for the little leafy branches. A tiny coral jewel was added to the body for the final touch!
I absolutely love how this card turned out. I started with a simple idea and just let my creativity go! It is so fun to do that and something I need to do more often. I hope you enjoyed today’s card. Thanks for stopping by!

Supplies