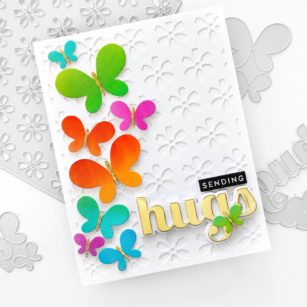
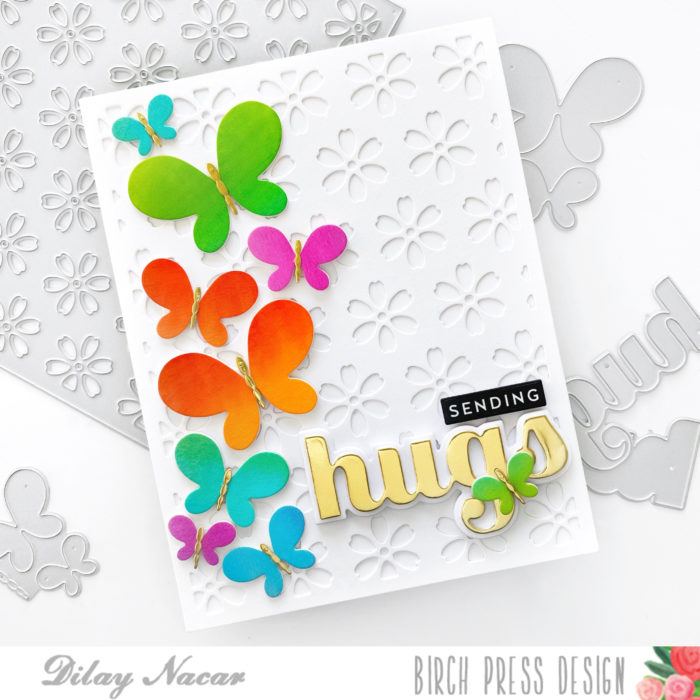
Happy Friday, crafty friends! Dee here today sharing a fun and vibrant card featuring the brand new Simple Butterfly Contour Layers dies!
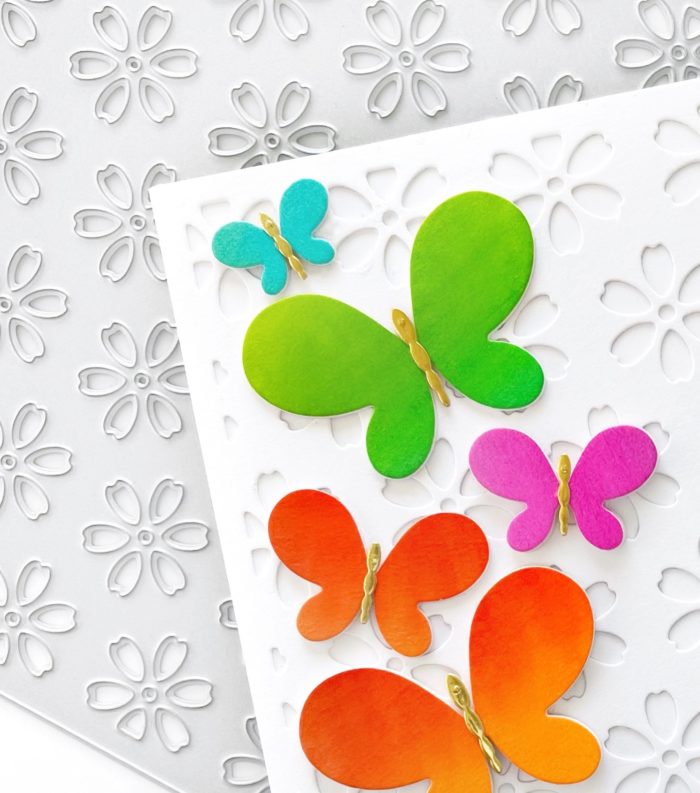
I began with a piece of watercolor paper and applied a few of my favorite colors using watercolor brush markers. Once dry, I die cut each of the butterflies multiple times (and the antennas in gold) and adhered them together.
Next, I die cut layer B of the Flora Plate Layer Set and adhered it onto an A2-sized white card base, then adhered each of the butterflies onto the card panel.
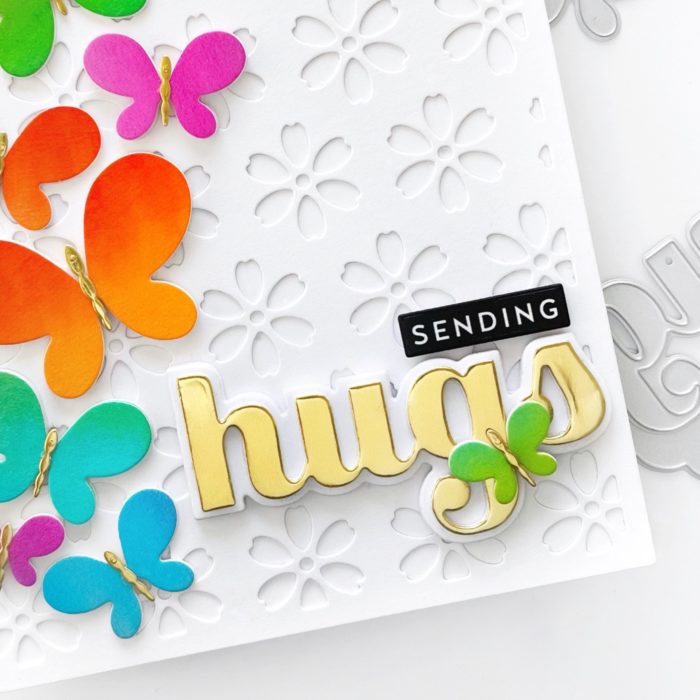
I cut the Big Sugar Script Hugs die in gold and the shadow in white and adhered it to the bottom corner. I used a sub-sentiment from my stash and adhered it above the ‘hugs’, and since I had one little butterfly left, I decided to add that on top!
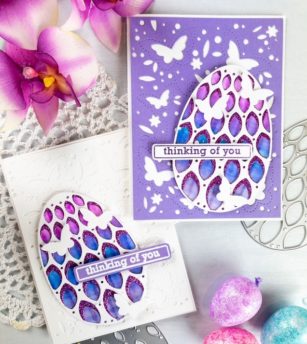
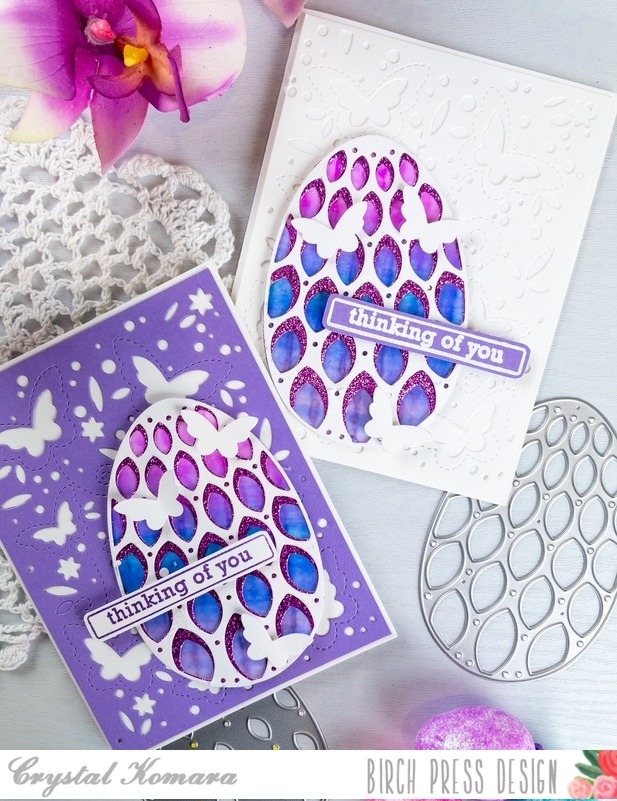
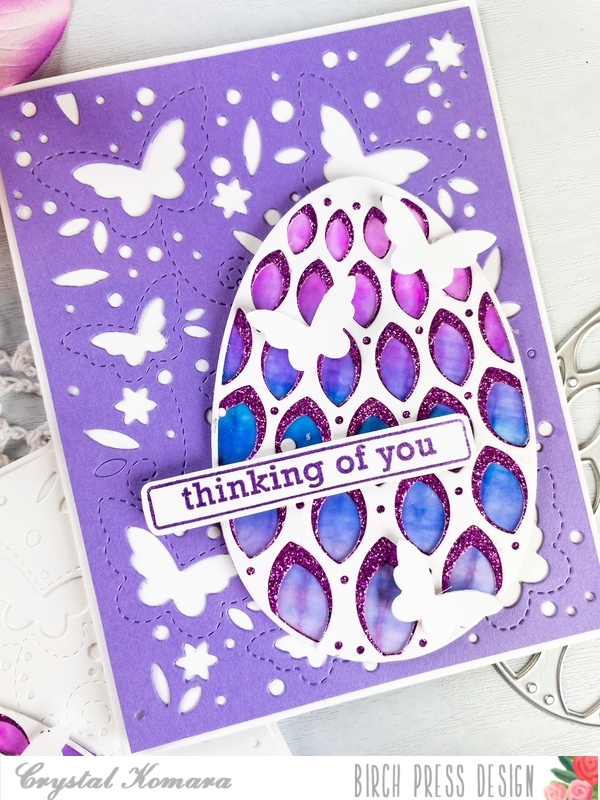
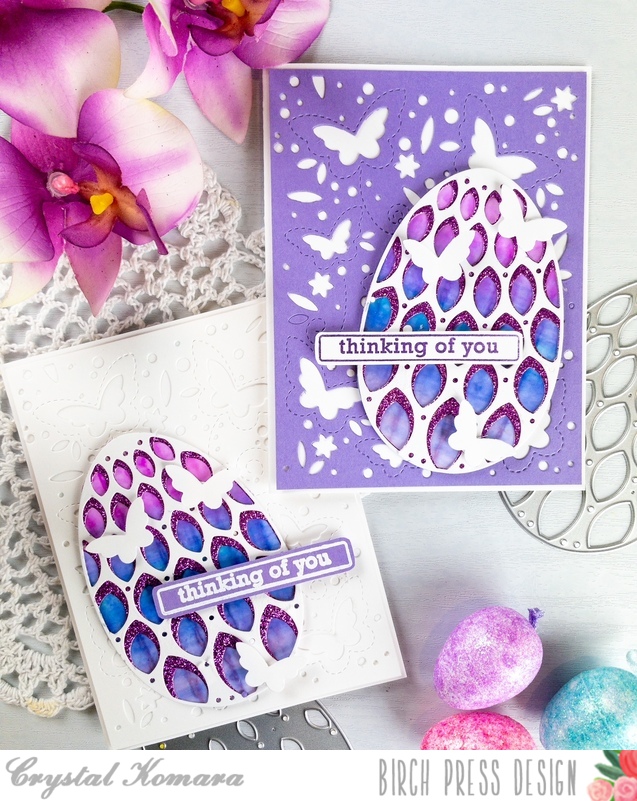
Hello crafty readers! This is Design Team member Crystal Komara here with you today. Today I’m sharing two cards made using my favorite spring themed die from Birch Press Design called the Petal Egg Layer Set. There are just so many color combinations that could be used to create the perfect Easter card using these beautiful layering dies.
Card details:
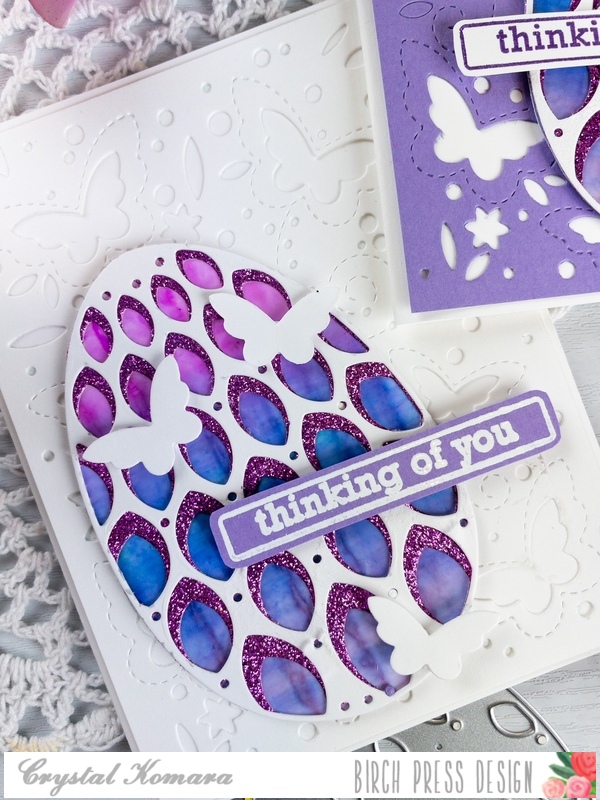
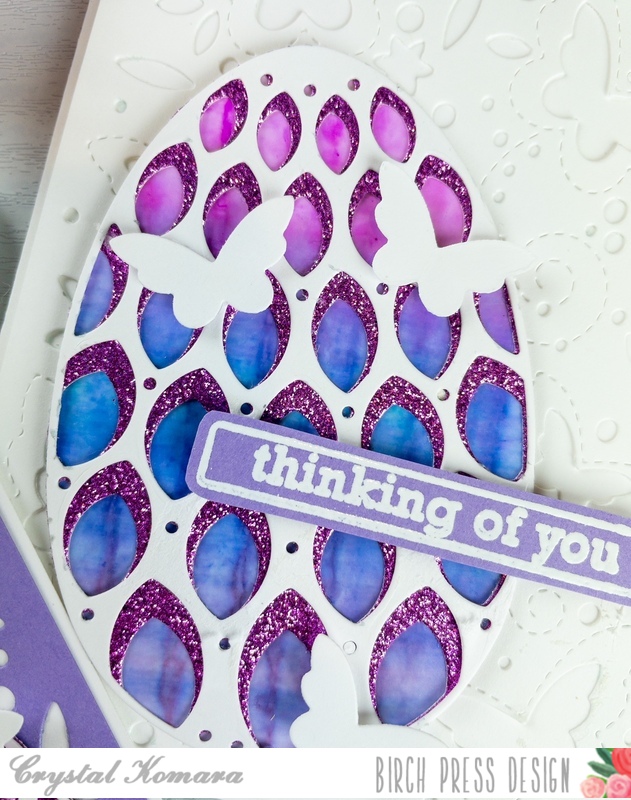
The base of this A2 sized card is made from 80 lb. Neenah Solar White Smooth cardstock. Using Layer Plate C of the Butterfly Garden Layering Plate, I die cut the first layer from white cardstock. I saved some of the extra butterflies off to the side (to use as added 3D pieces at the end). Using the Petal Egg Layering Set, I die cut Layer B from purple glitter cardstock (from the Twinkling Jewel 6 x 6″ glitter pad) and Layer A from white cardstock. I created a background using blue and purple alcohol inks on Yupo paper. Once this dried, I fussy cut the shape of the egg to fit it behind the egg as the third or base layer.
I stamped the sentiment “thinking of you” from the Contempo Greetings stamp set in Versamark ink on a piece of purple Vibrant Violet cardstock. I heat embossed the sentiment with white embossing powder and then used the coordinating Contempo Greetings die to die cut it out. I adhered the greeting to the front of the egg using 3M foam adhesive. Lastly, I added a couple white butterflies (from the background) to add more texture.
I created a second card using the same instructions (as above), but I simply changed out the background mat to a purple cardstock from the Vibrant Violet paper pack.
I hope you have enjoyed these Easter inspired cards. Thank you for visiting and have a wonderfully creative day!
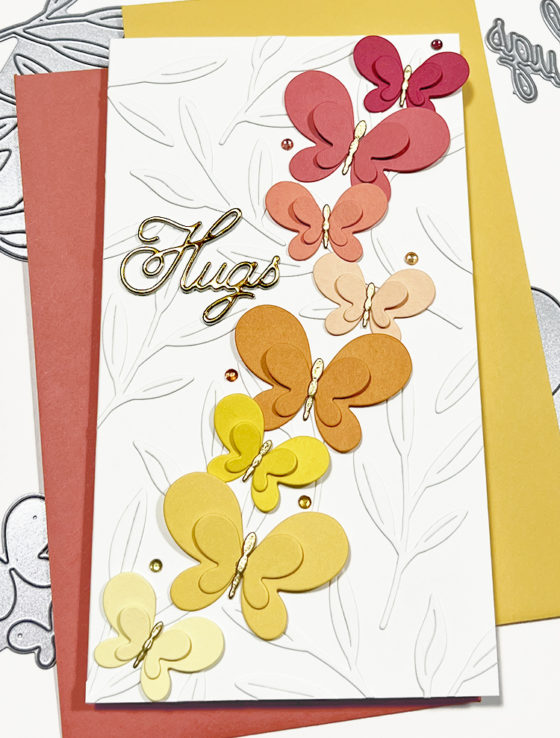
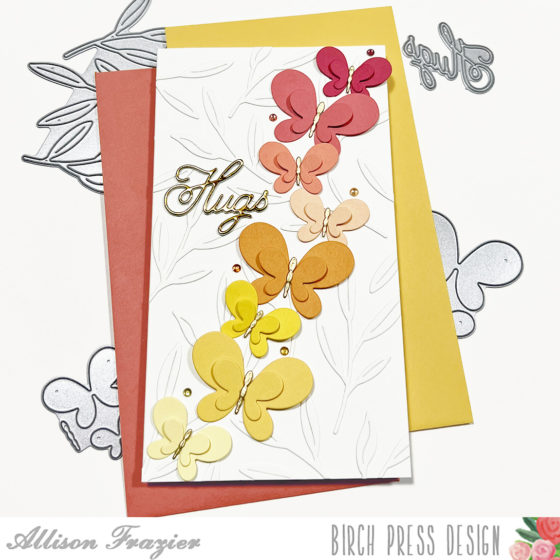
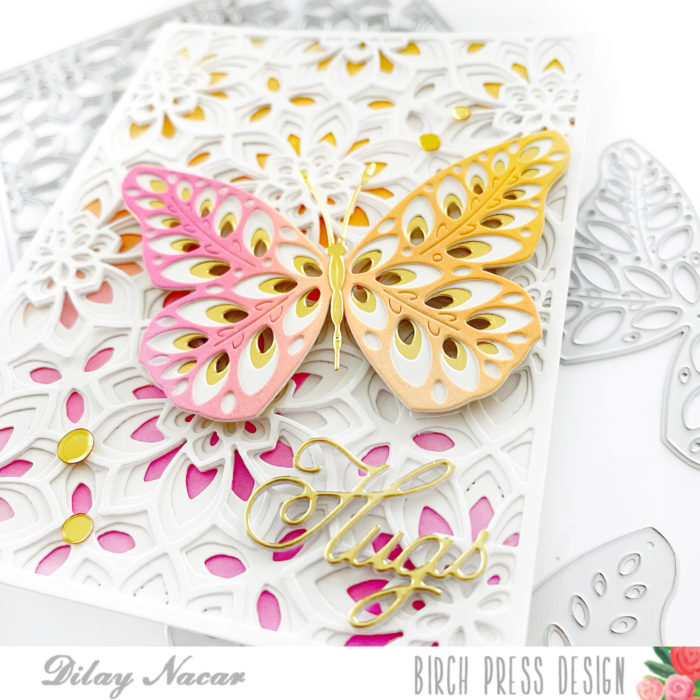
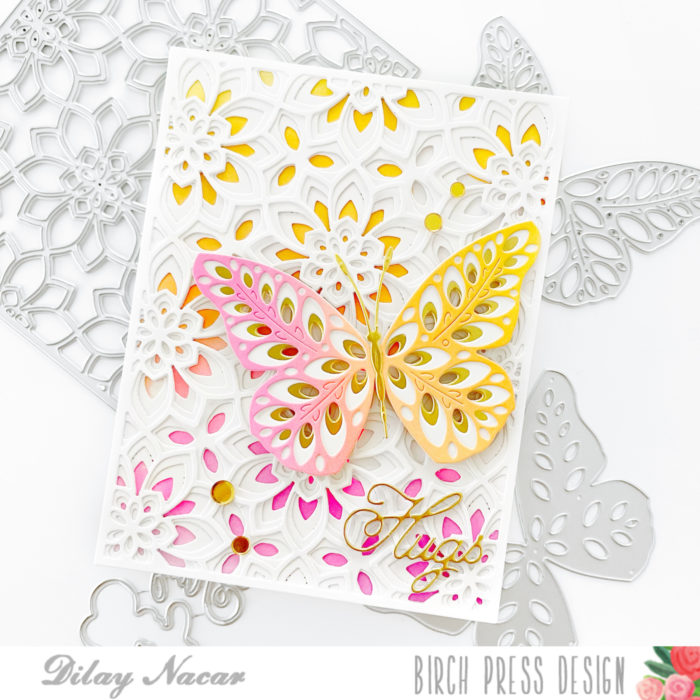
Hello, Everyone! Today, I am sharing more inspiration from the new Floral Contour Layers release. I made a mini slimline card featuring two of the new die sets – the Simple Butterfly Contour Layers and the Tiny Tuft Flowers and Leaves Contour Layers.
I started by creating a white card base that measures 3.5″ x 6.25″. I used the leaves die from the Tiny Tuft Flowers and Leaves Contour Layers set to cut a bunch of leaves from the same white card stock. I then arranged these leaves on my card base and adhered them with liquid glue. I love the texture that these leaves give – it’s almost like creating your own background die.
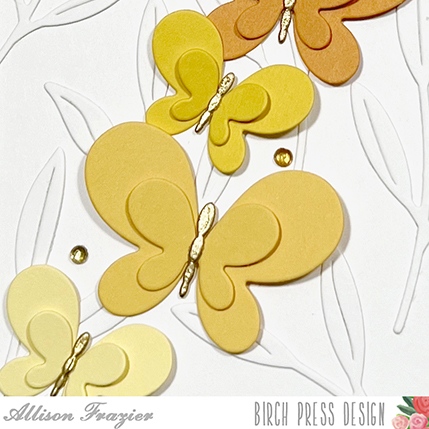
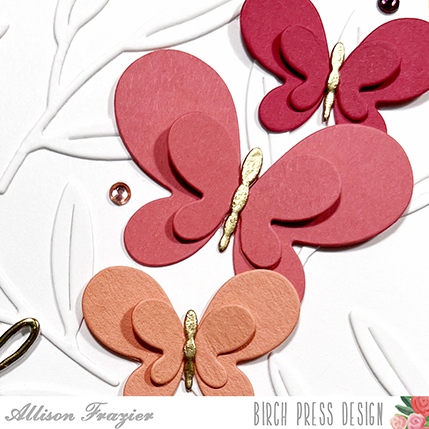
Next, I started die cutting my butterflies. I chose to stick to a warm palette, so I used different shades of yellow, pink and orange card stock. I adhered the smaller parts of the butterflies to the larger parts, making sure to only put glue in the center, so that the sides could lift up for dimension.
The small, delicate bodies of each butterfly were the same color as the rest of the butterfly, but I wanted them all to be gold. So, rather than use the dies to cut more bodies out of gold card stock, I just used the bodies that I had. I took a piece of Post-it tape (washi tape would also work) and taped the very ends of it to a piece of paper so that the adhesive side of the tape was facing out. I then put all of the butterfly bodies onto the adhesive, inked them up with VersaMark ink and heat embossed them with gold embossing powder. Once embossed, I was able to just pull the bodies off of the Post-it tape and glue them onto the butterflies. This was the easiest way for me to emboss all of those delicate die cuts.
I arranged all of my butterflies onto the card base and then glued them down when I was happy with the placement. Again, I only applied glue in the very centers so that the butterfly wings could lift up and look dimensional. For the sentiment, I used the Handwritten Hugs die and some gold foil card stock. To give it dimension, I stacked the gold Hugs onto two more layers that I had cut out of white card stock. After adhering that to my card, I finished by scattering some tiny Fairy Jewels around the butterflies in coordinating colors.
I love the simplicity and dimension of these butterflies! I hope my card brought a smile to your face today. Thank you so much for joining us.
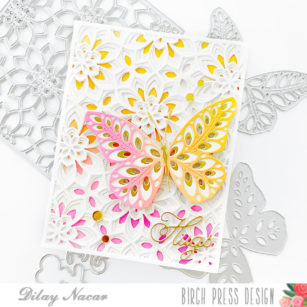
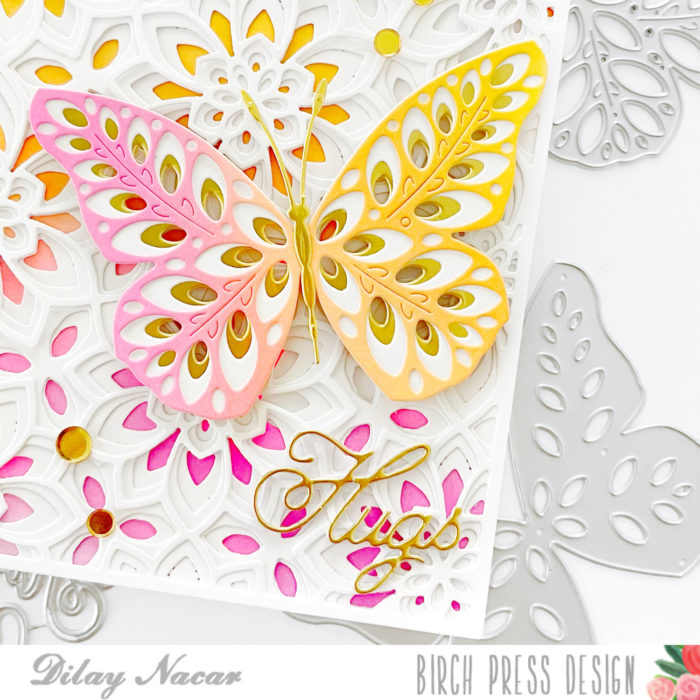
Hi friends and welcome back! Dee here today sharing a card featuring the Viola and Eloquent layered dies that I combined with a simple ink blending combo for pops of color!
To begin, I first cut the Viola Plate dies (layers a, b, and c) in white, then stacked and adhered them together. Next, I watered colored two A2-panels in yellow, To begin, I cut the Viola dies (layers a, b, and c) in white, then stacked and adhered them together.
Next, I watered-colored two A2-panels in yellow, orange, and pink, adhering one panel behind the Viola layers and die cutting the other panel with layer a of the Eloquent butterfly set. I then die cut layers b and c of the Eloquent set in gold and white, then adhered the three layers together.
I then die cut layer b and c of the Eloquent set in gold and white then adhered the three layers together. To finish the butterfly, I die cut the body of the butterfly from the Butterfly Basics set in gold and adhered it to the center.
Once the layers were complete, I adhered the butterfly to the front with foam adhesive. To finish, I die cut the sentiment from the Handwritten Hugs in gold, added gold embellishments, and mounted the panel onto an A2-sized card base.
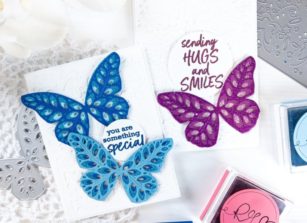
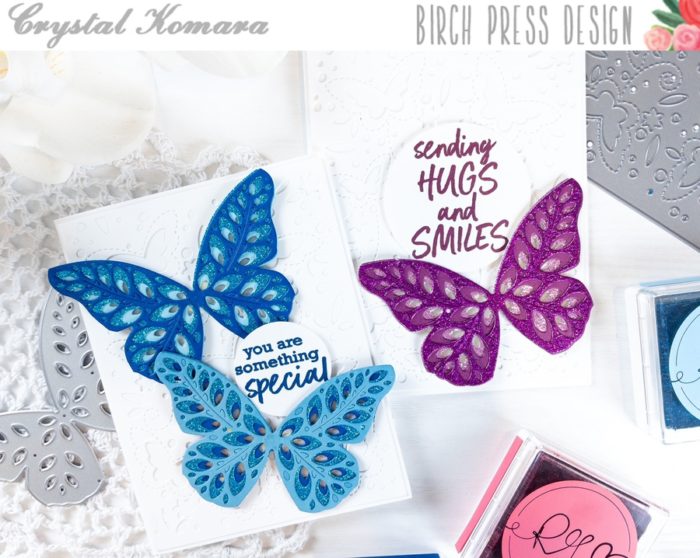
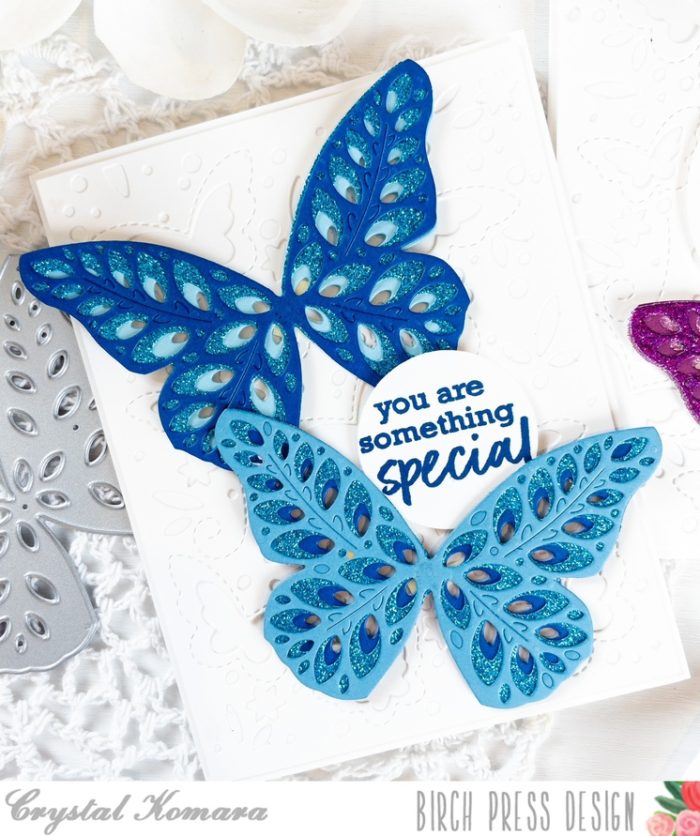
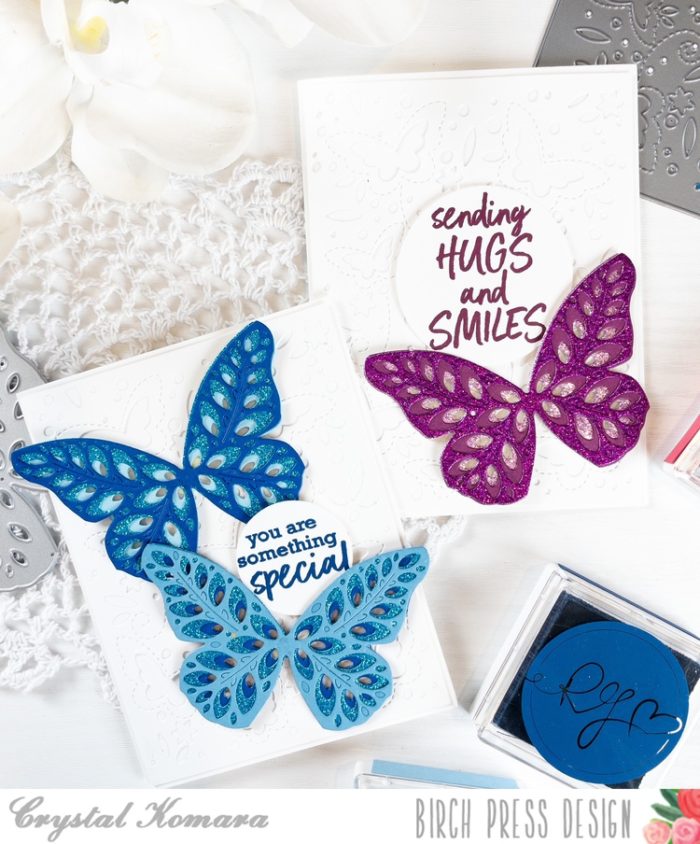
Hello friends! This is Crystal Komara here with you today sharing another way to use the beautiful Eloquent Butterfly dies. I am SOOOoo in love with this latest release from Birch Press Design featuring a variety of unique layering butterflies because the options are truly endless when you combine layers and colors. Today I chose to use a monochromatic blue and a monochromatic purple color scheme for my cards, but you could choose yellows, reds, oranges or the list goes on for an entirely different look.
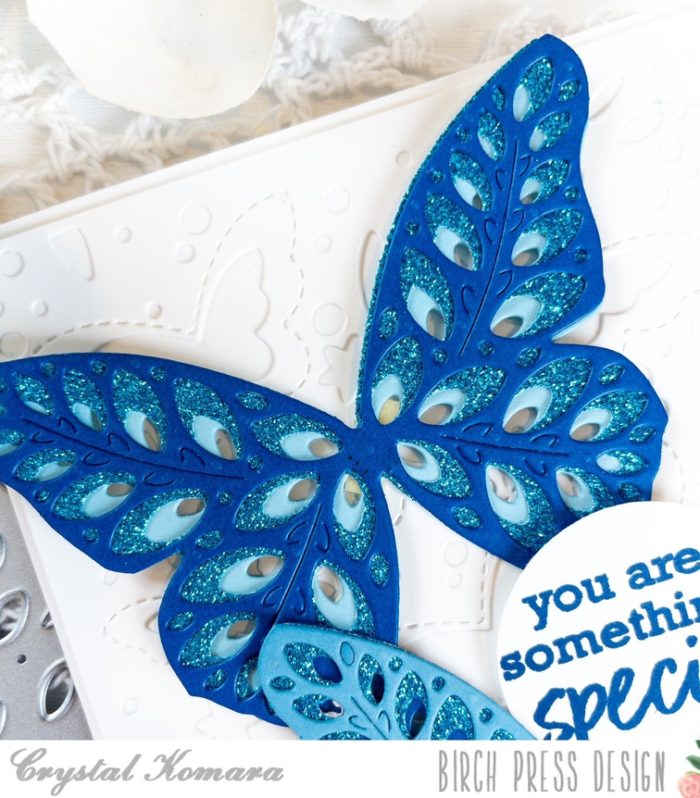
For this first A2 sized card, I used 80 lb. Neenah Solar White Smooth cardstock as my card base. This is my go-to white cardstock for e-v-e-r-y-t-h-i-n-g! I use it for my card bases, distress oxide inks, Copic coloring and die cutting. It is one of the only white cardstocks you will need. For the first layer, I die cut the Butterfly Garden Layer C from white cardstock and adhered it directly to the card base. I used the Eloquent Butterfly dies and die cut Layer C, Layer B and Layer A using cardstock from the Ocean Blue 6″ x 6″ paper pack and the Frosted Glitter Twinkling 6″ x 6″ pad.
I layered the butterflies together using LineCo ph neutral bookbinding glue, which is my favorite liquid adhesive. Once the layers of the butterflies were adhered together I used 3M foam adhesive to add the butterflies to the card. Using blue ink, I stamped the sentiment from the Brush Sentiments stamp set on white cardstock and punched it out with a 2″ circle punch. I adhered the sentiment circle to the card using 3M foam adhesive.
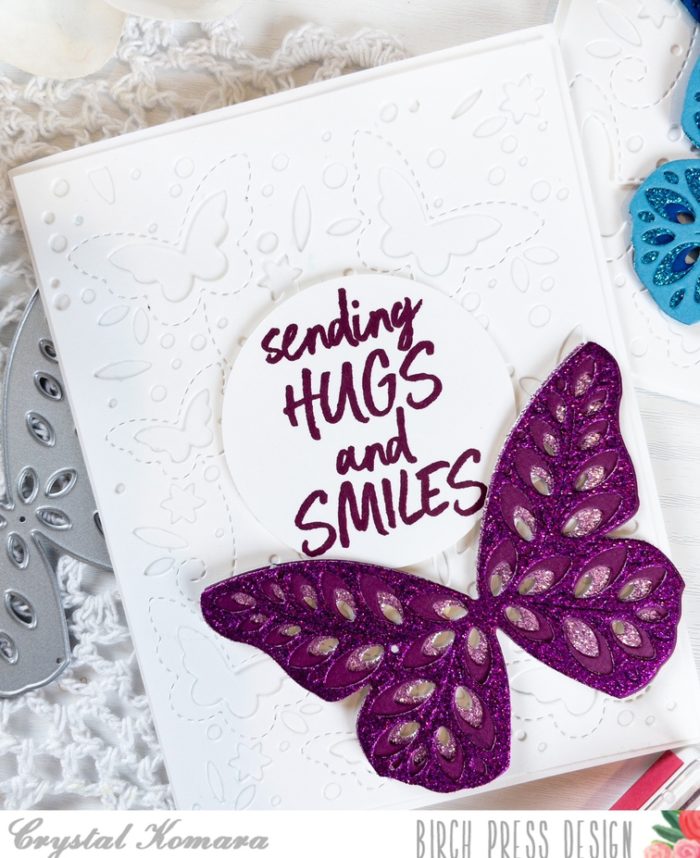
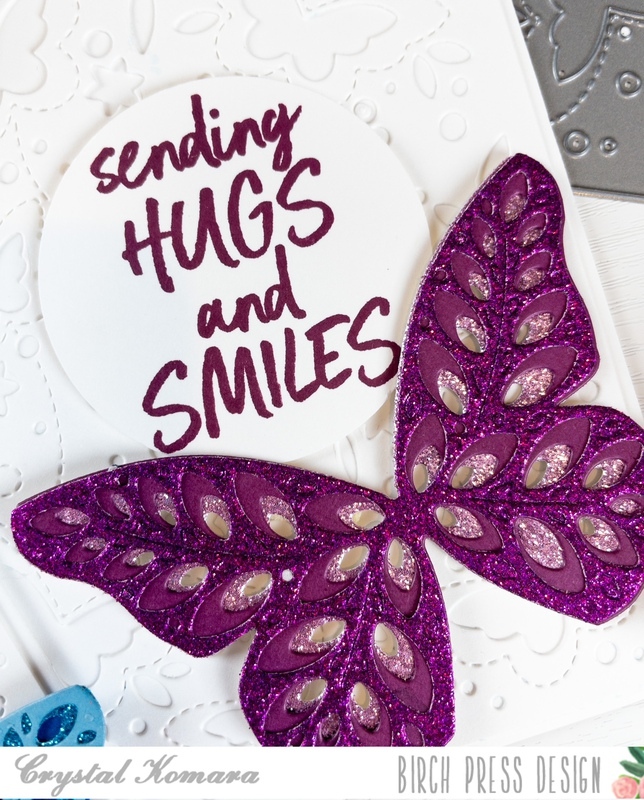
For this second A2 sized card, I used the same 80 lb. Neenah Solar White Smooth cardstock for my base. I also die cut the Butterfly Garden Layering Plate C from white cardstock and adhered that directly to the base of the card. I die cut the Layer A, Layer B and Layer C of the Eloquent Butterfly dies using the Berry Red 6″ x 6″ paper pack and the Twinkling Jewel Glitter pad.
I stamped the sentiment from the Brushed Sentiments stamp set in raspberry ink on white cardstock and punched it out with a 3″ circle. I adhered the sentiment and butterfly to the card using 3M foam adhesive for added dimension.
The Design Team has been WOW’ing you with amazing samples from this butterfly themed release and I hope today’s cards continue to inspire you. Thank you for visiting and have a wonderfully creative day!
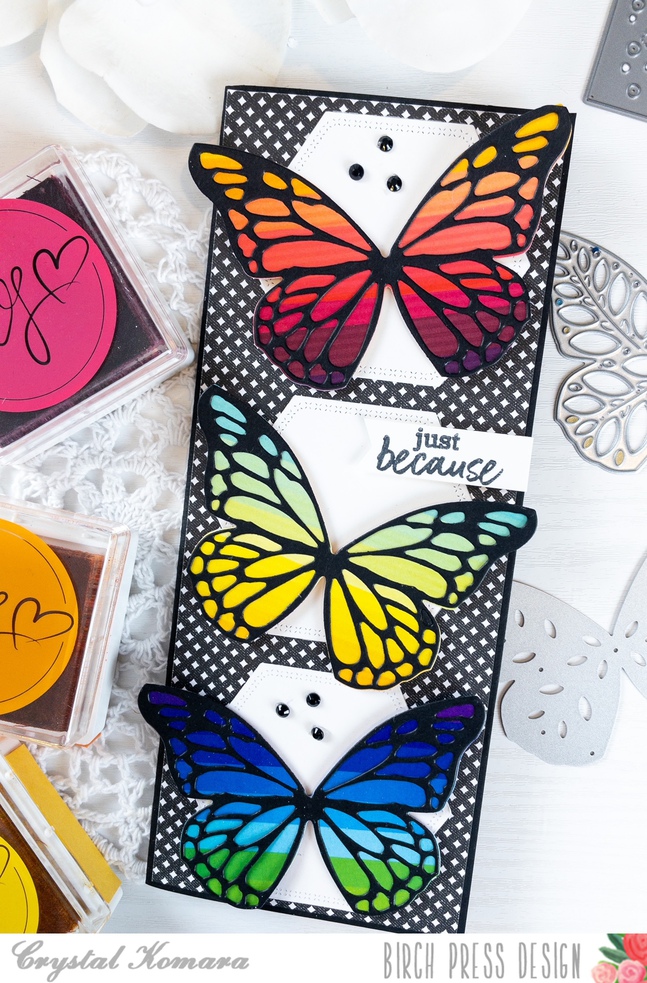
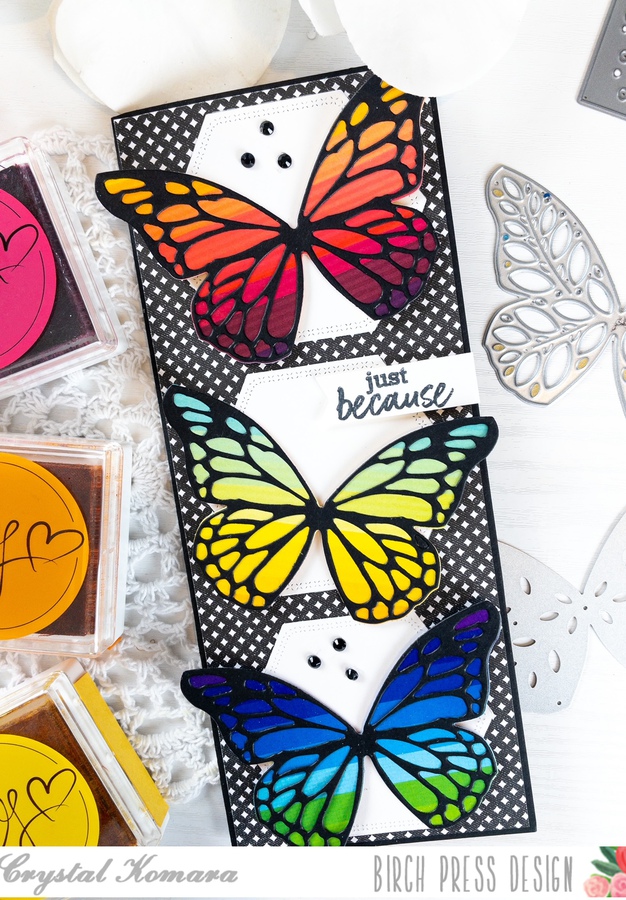
Hello readers and happy Monday! I hope you all had a nice weekend. This is Crystal Komara here with you today sharing a slimline card using the beautiful new Butterfly Basics dies. I am absolutely in love with this latest release from Birch Press Design featuring a variety of layering butterflies like the Eloquent Butterfly and the Glimmer Butterfly, so I envision lots of butterfly themed cards in my future!
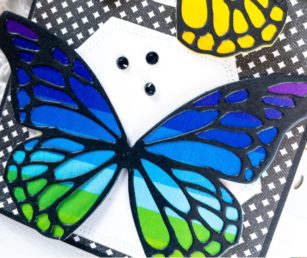
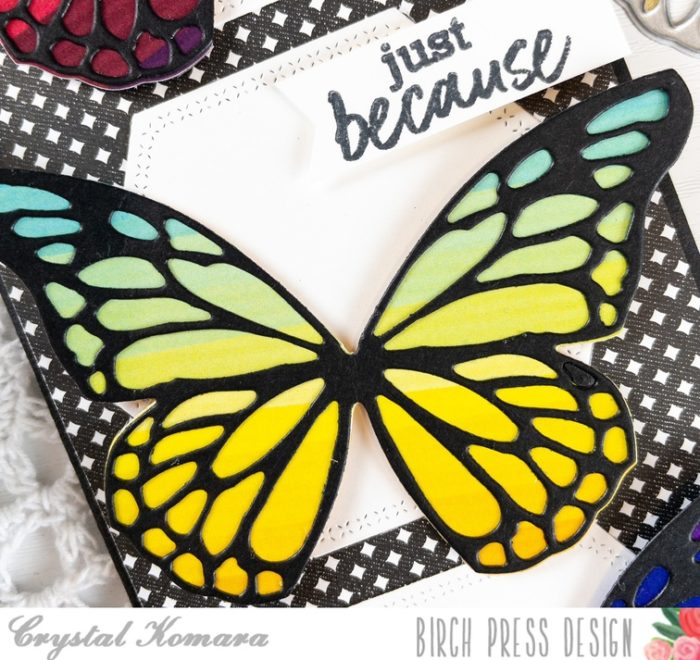
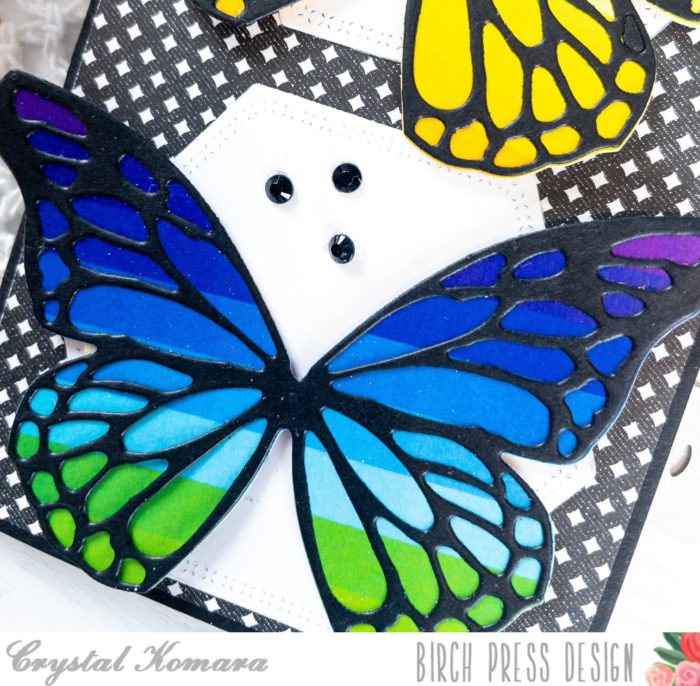
Today’s slimline card measures 8 1/2″ x 3 1/2″. Slimline cards are designed to fit inside a regular #10 business sized envelope and require no additional postage. The base of this slimline card is made from 80 lb. black cardstock. I cut an 8 1/4″ x 3 1/4′” miscellaneous piece of black and white diamond printed paper for the first layer. Using a hexagon shaped die, I die cut three 2 1/2″ hexagons from white cardstock. I adhered the hexagons directly down the center of the card using a Tombow tape runner.
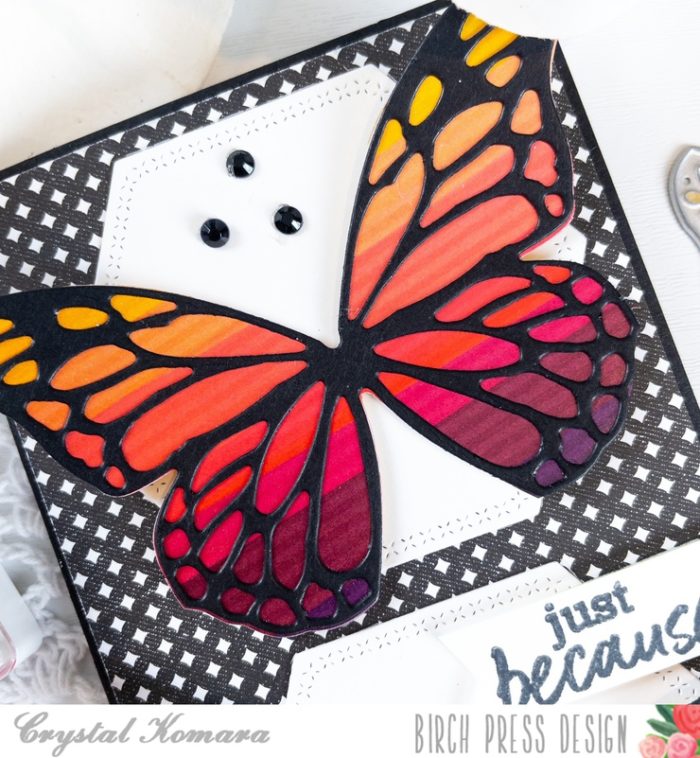
From a piece of rainbow cardstock, I die cut the body of the butterfly from a section of the paper that included more red and oranges, then a section of yellows and greens and a third section from blues and purples, to mimic the colors of the rainbows. I die cut the butterfly outline from black cardstock. I adhered the black outline over the rainbow bodies and adhered the three butterflies to the card using 3M foam adhesive for added dimension. I stamped the sentiment “just because” from the Brush Sentiments stamp set in Memento Tuxedo black ink on a thin strip of white cardstock and adhered it to the card also using 3M foam adhesive. Lastly, I added a couple black rhinestones to the card for added texture.
I hope you have enjoyed today’s card featuring the beautiful new Butterfly Basics dies. Thank you for reading and have a wonderfully creative day!