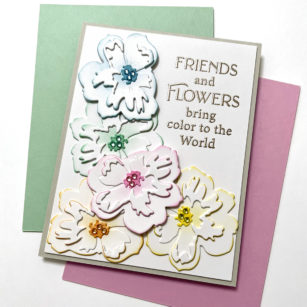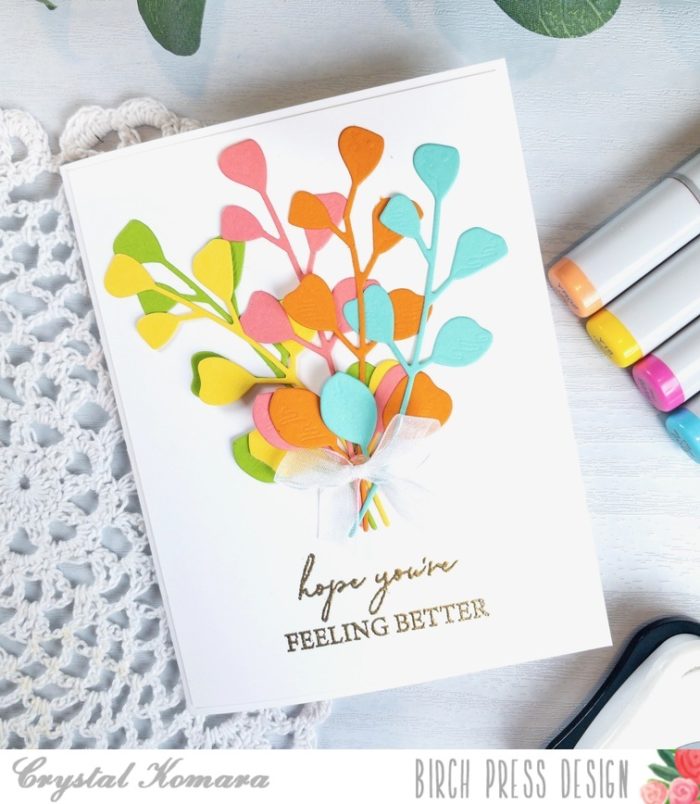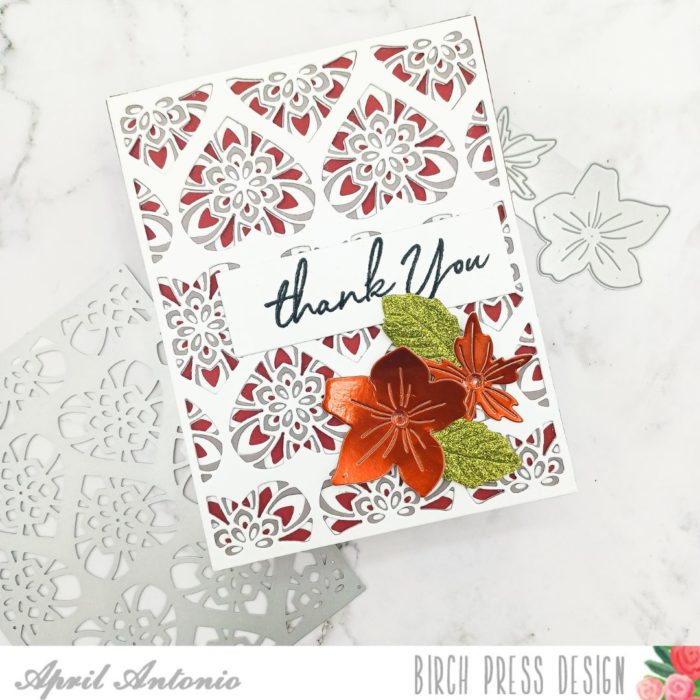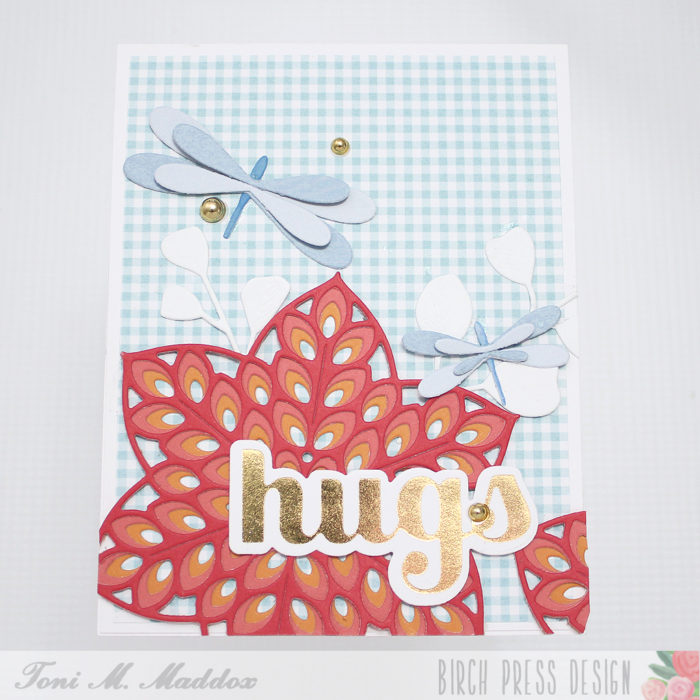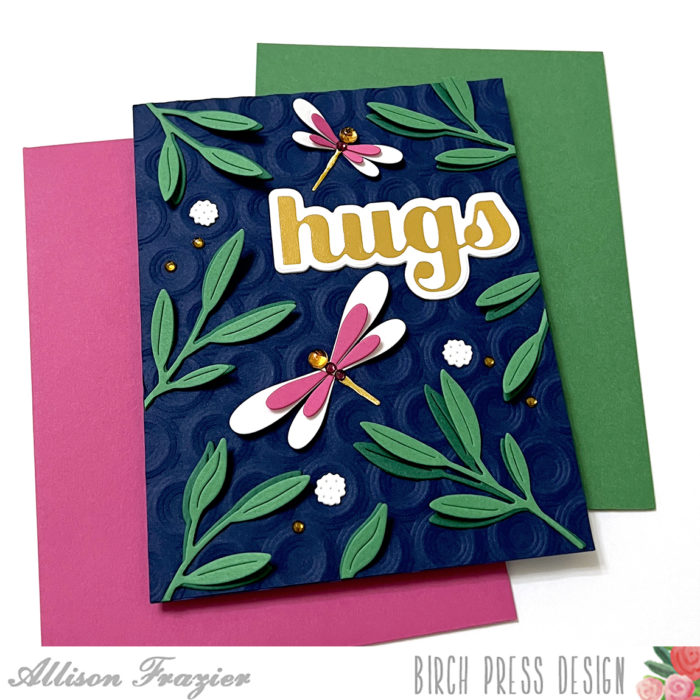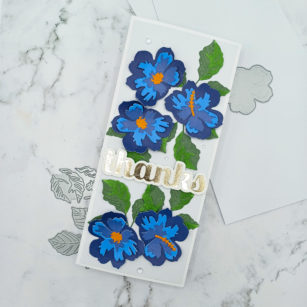
Welcome back to the Birch Press Design blog! April here sharing a slimline card project using the Tropical Hibiscus Contour Layers die set and the new Thanks Sugar Script hot foil plate and die set.
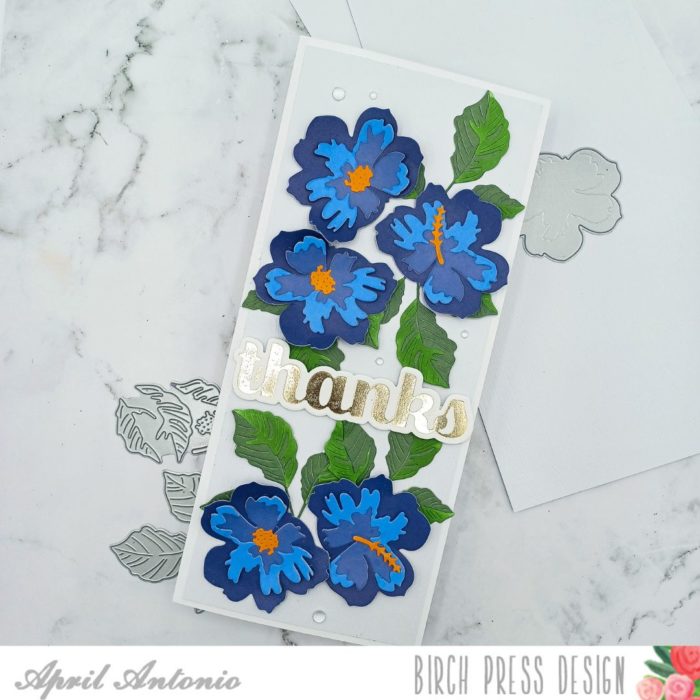
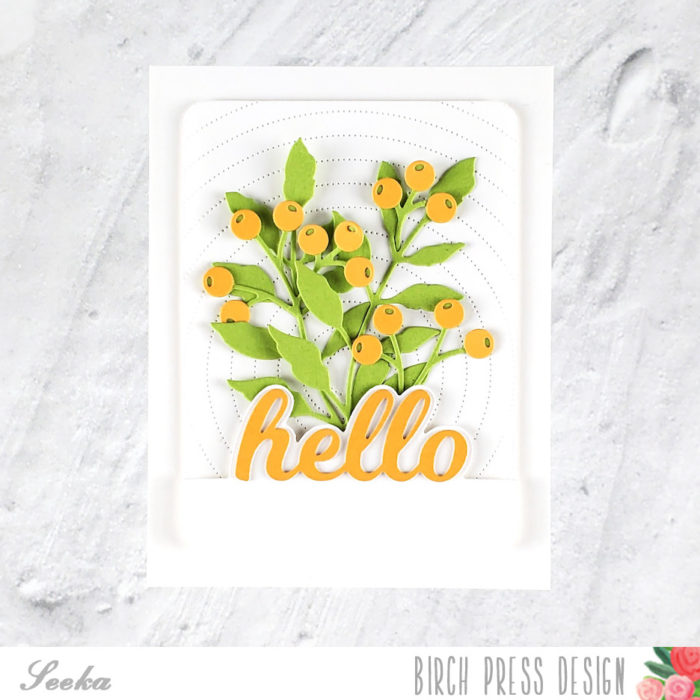
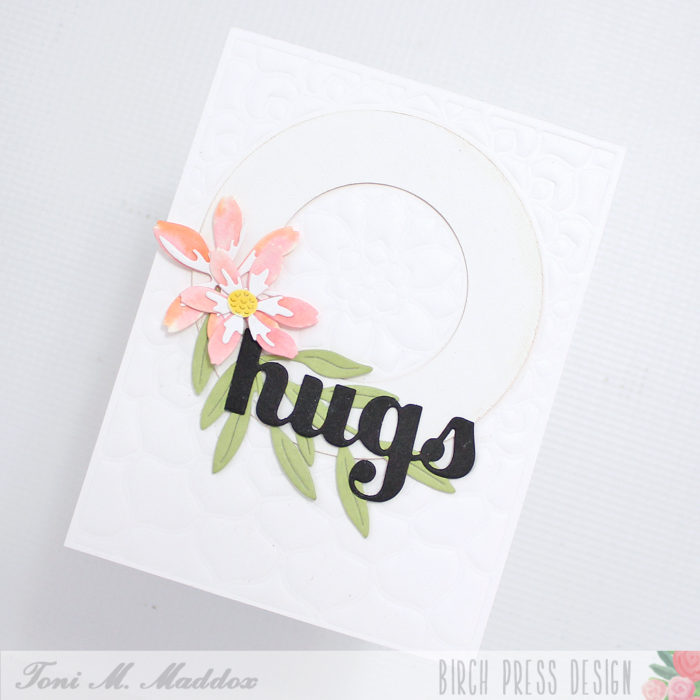
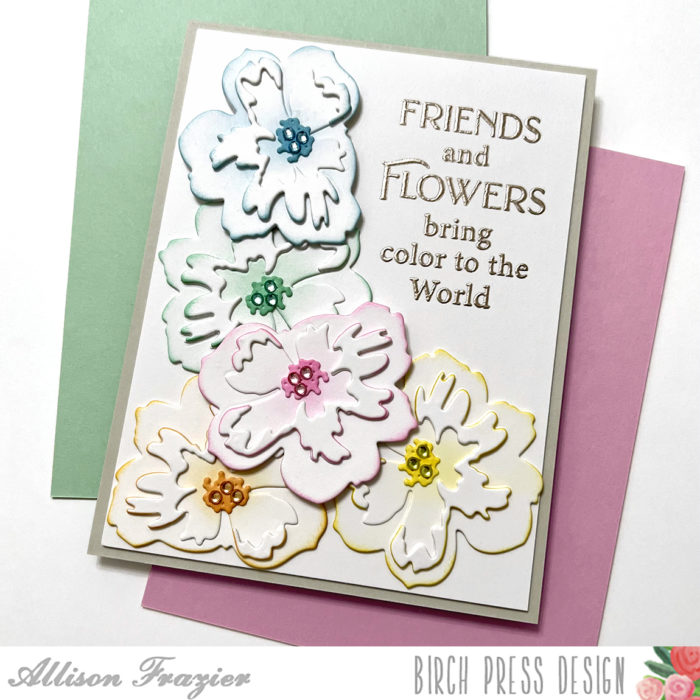
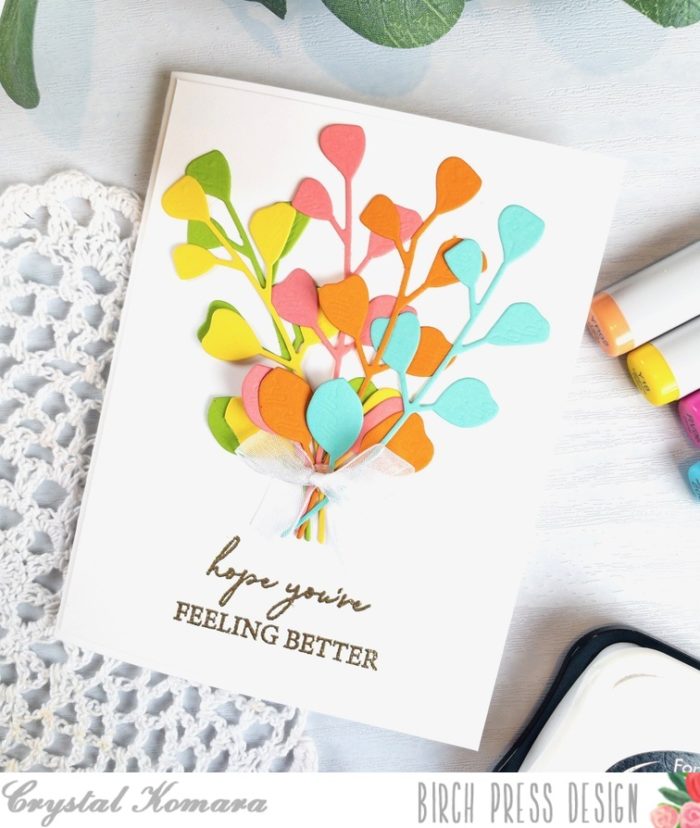
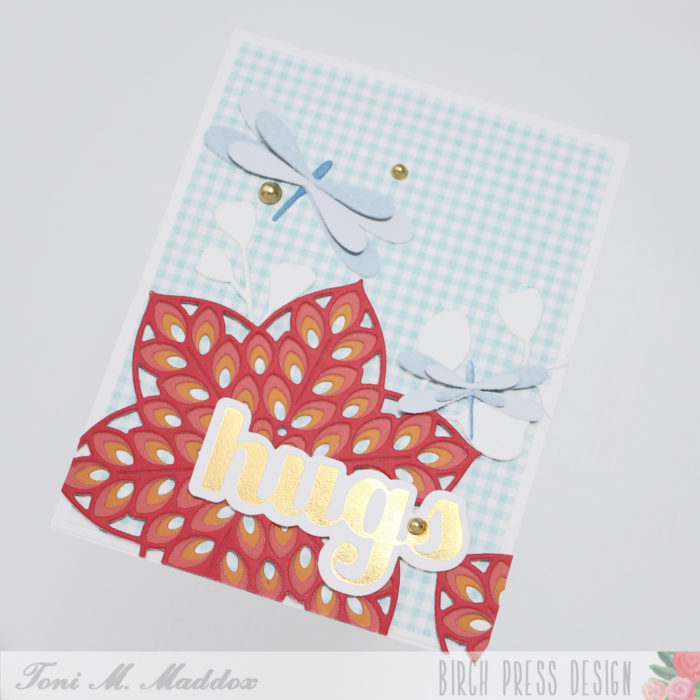
I started this card off with a piece of the white woodgrain cardstock by cutting it to be slightly smaller than a 4″ x 9″ slimline card base. I love the white woodgrain cardstock because it adds some subtle texture to the design.
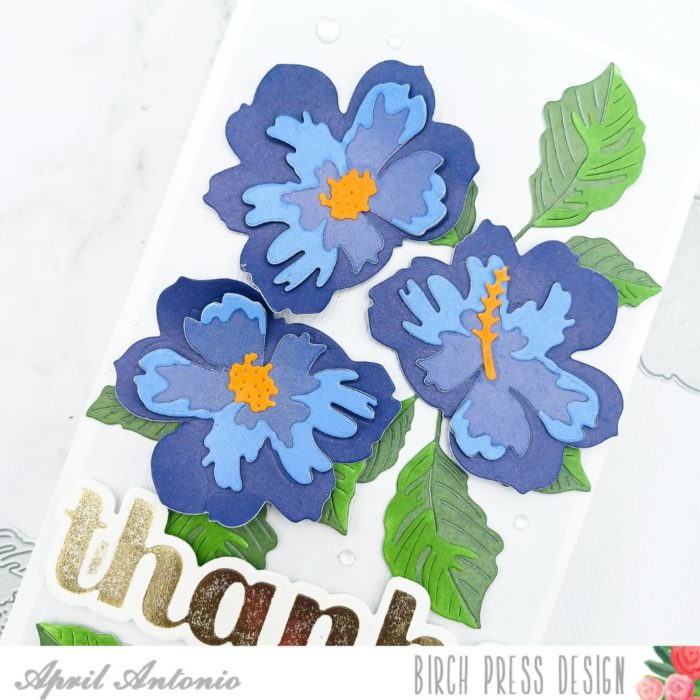
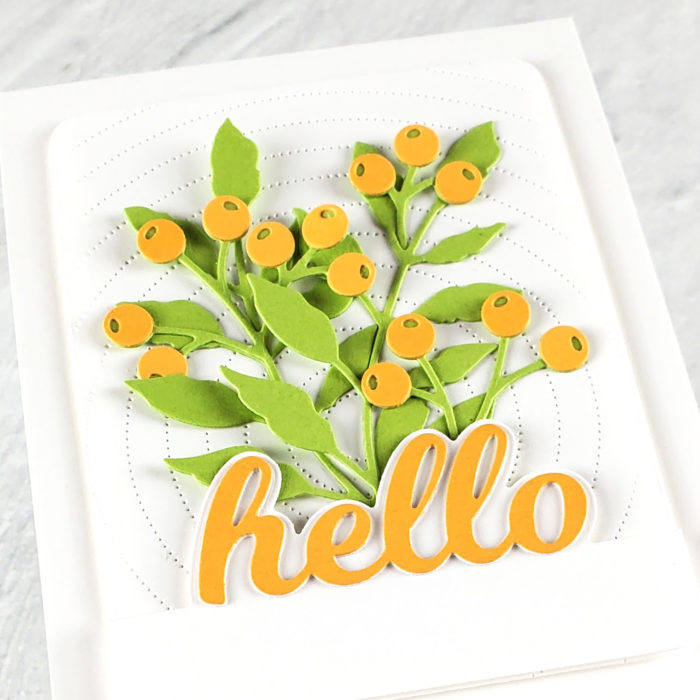
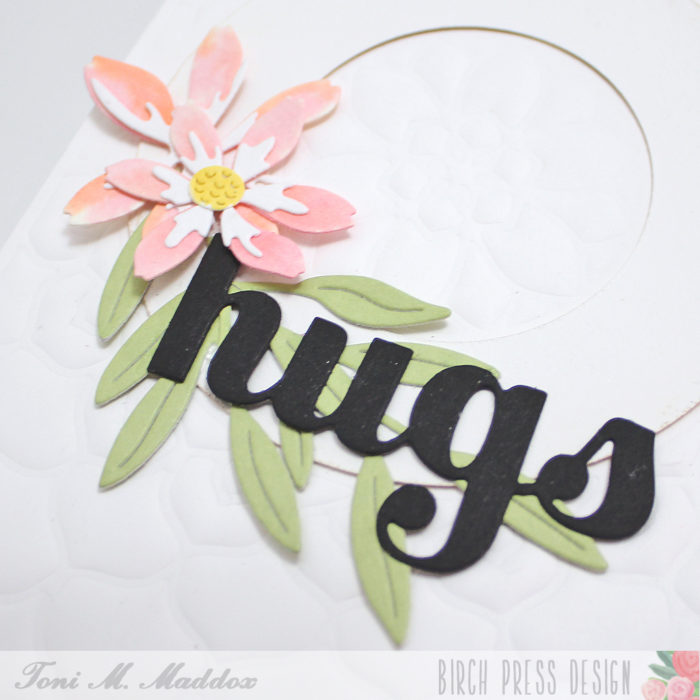
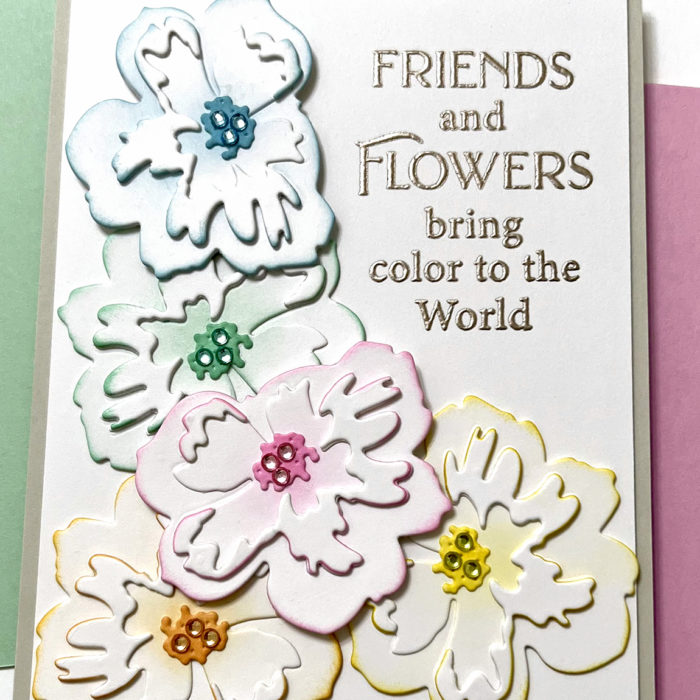
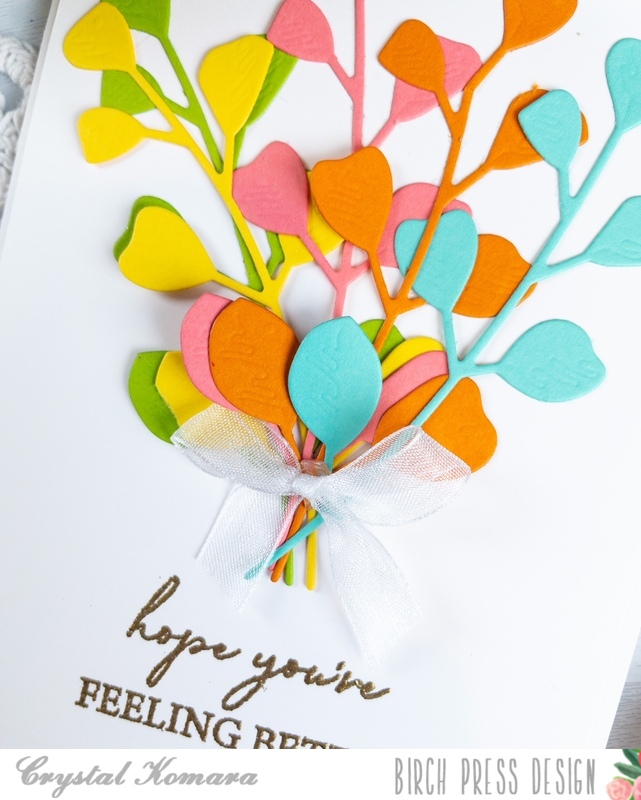
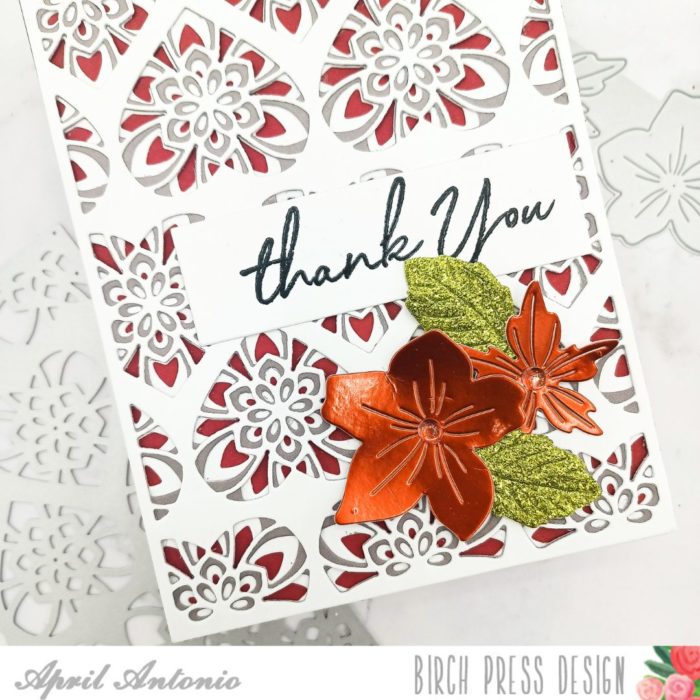
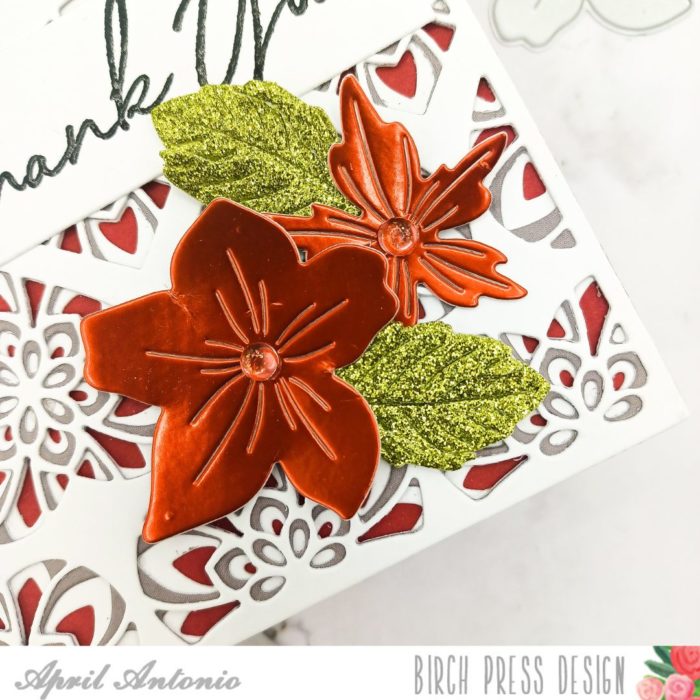
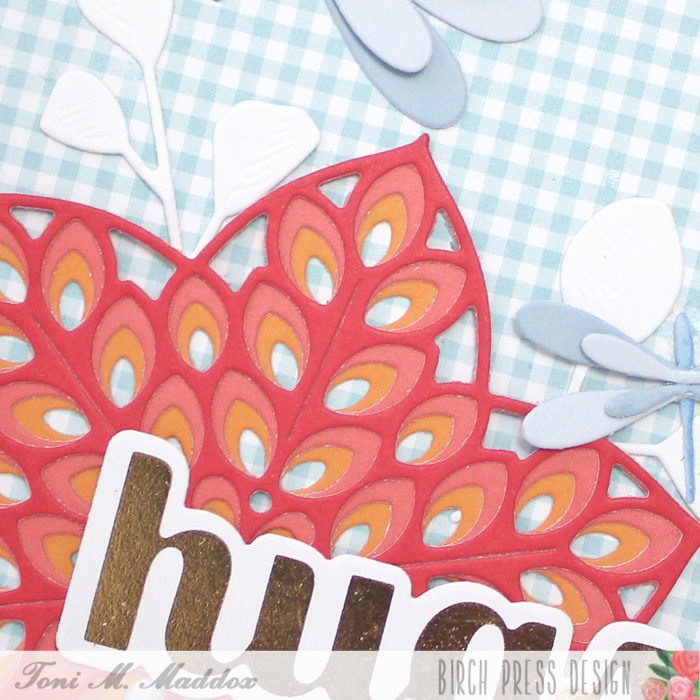
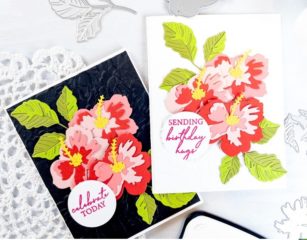
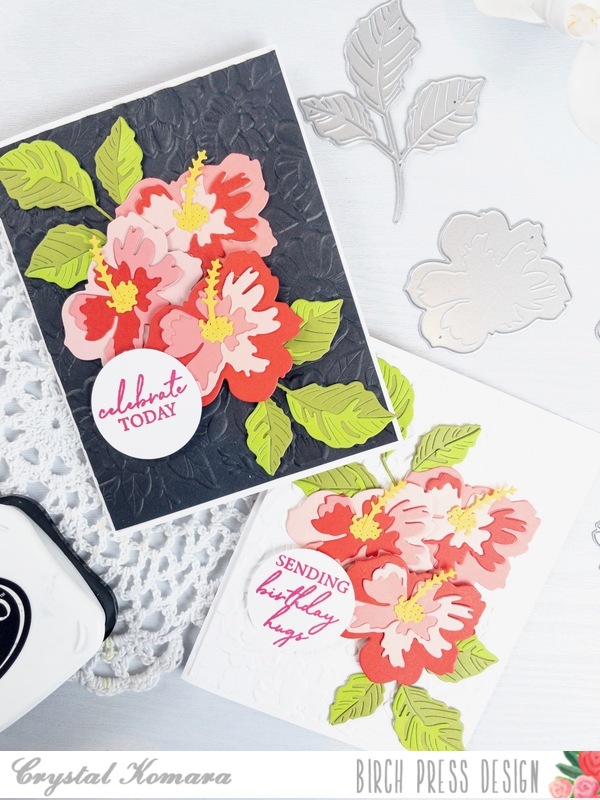
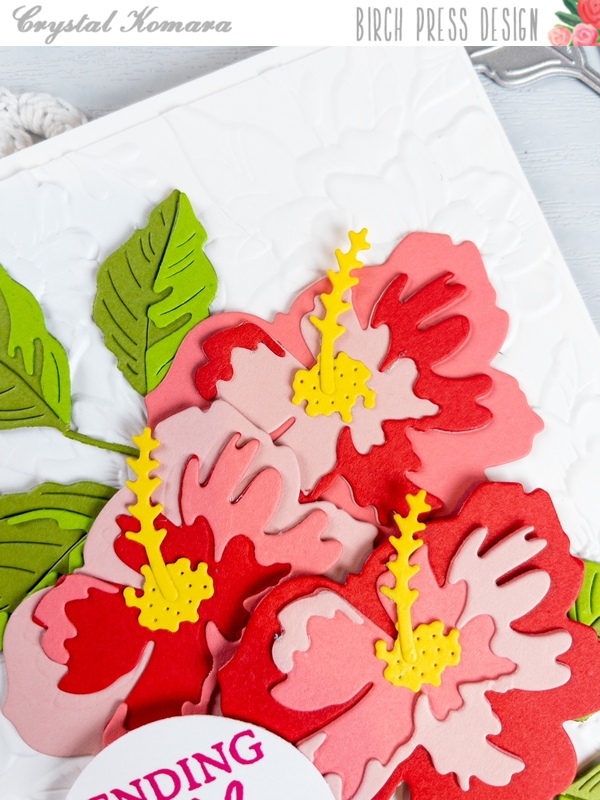
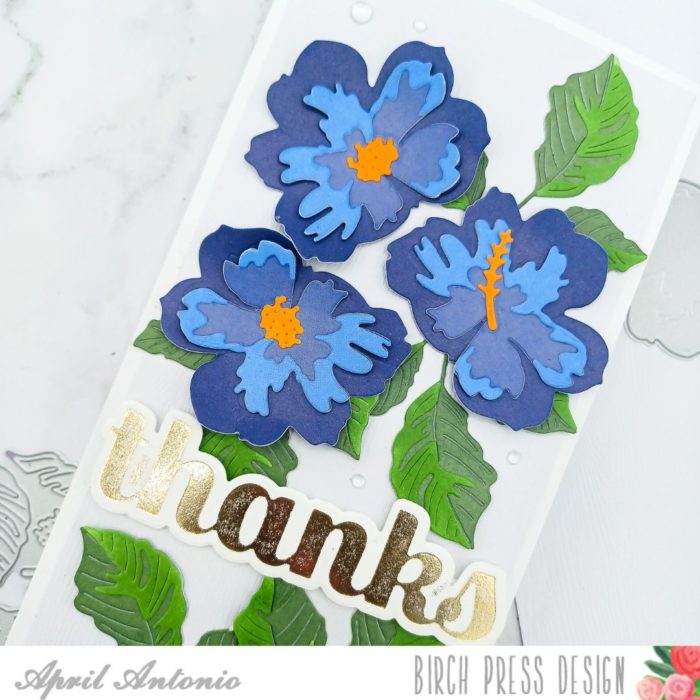
Next, I used some really pretty blues from the Ocean Blue cardstock collection to cut the flower layers multiple times and colors from the Lush Green collection to cut the leaf bases out. For some reason I was compelled to cut the top part of the leaves and the flower stamen from white cardstock and ink blend them orange and green — I think I was just in the mood to ink blend!
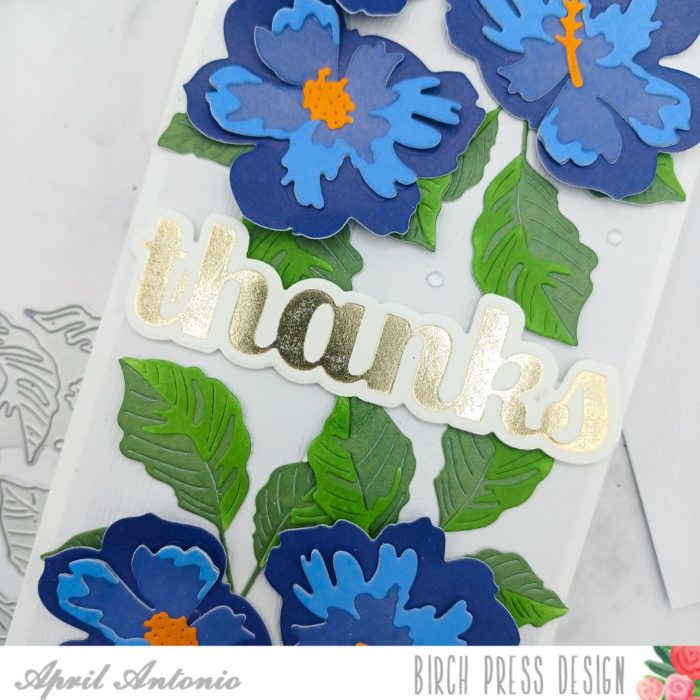
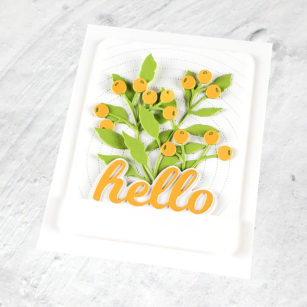
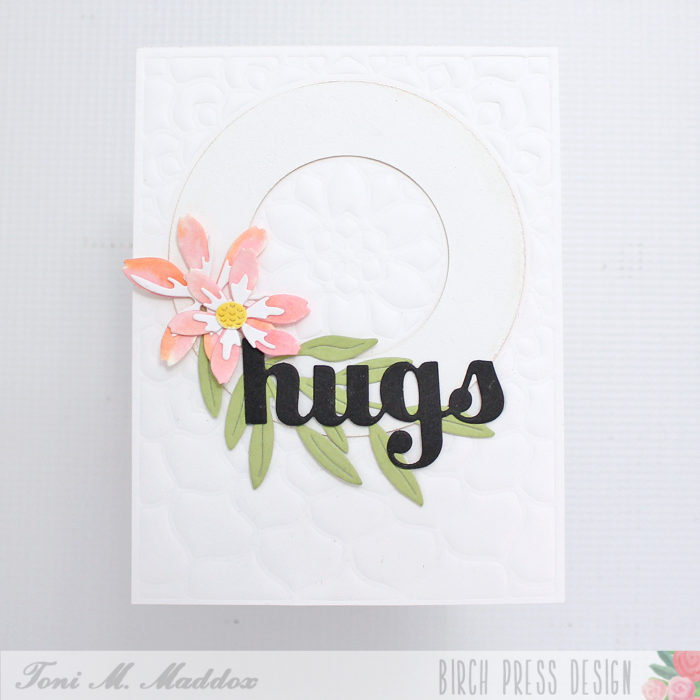
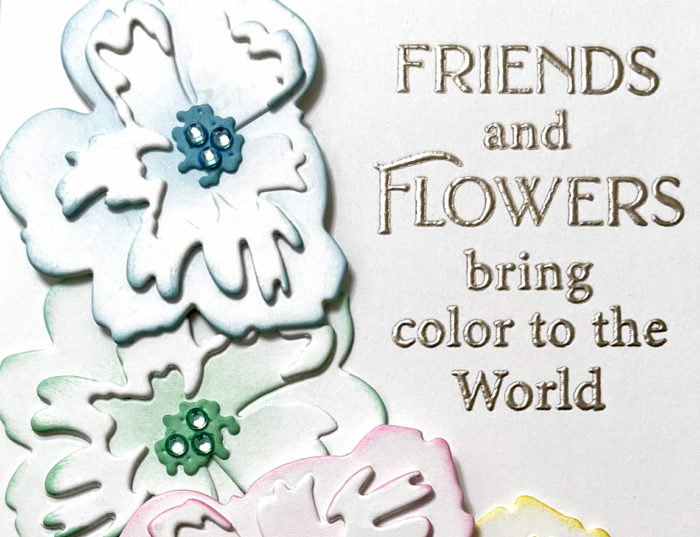
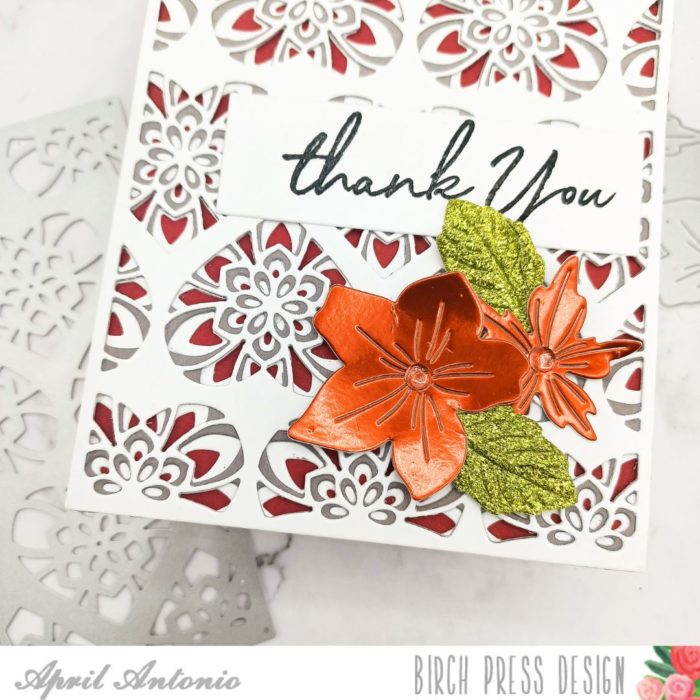
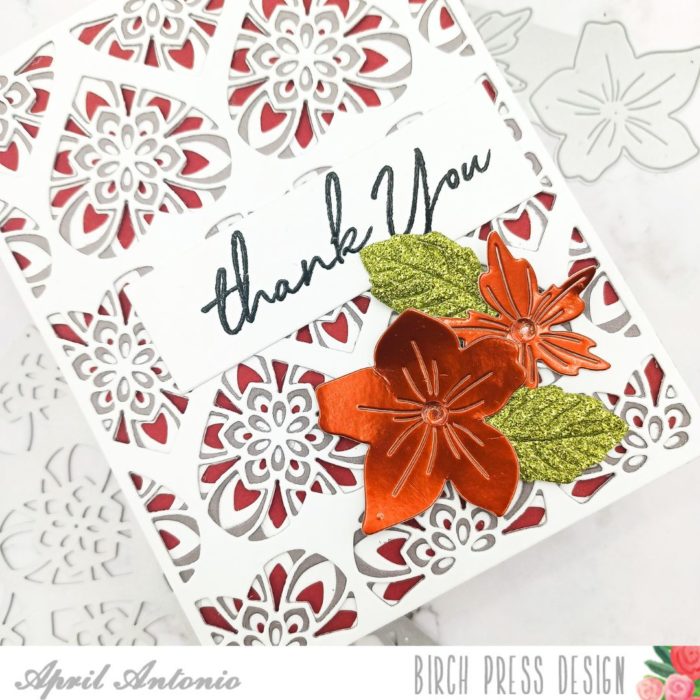
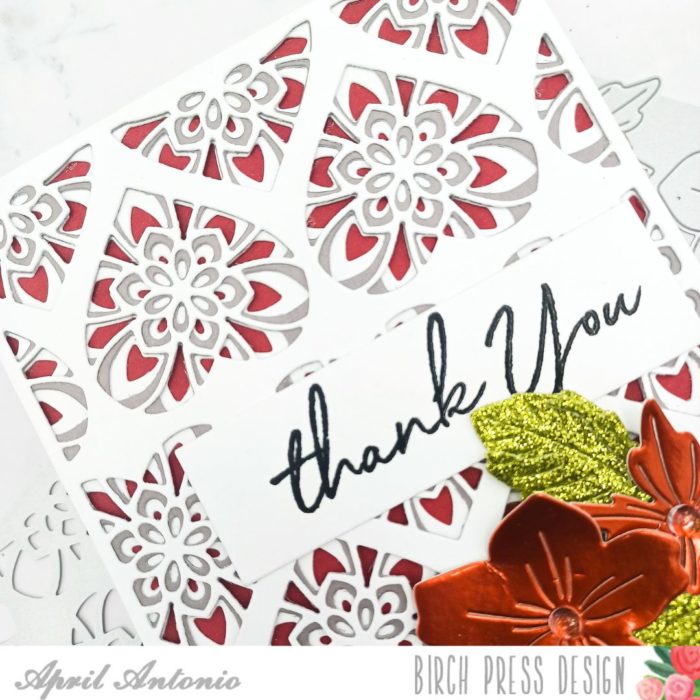
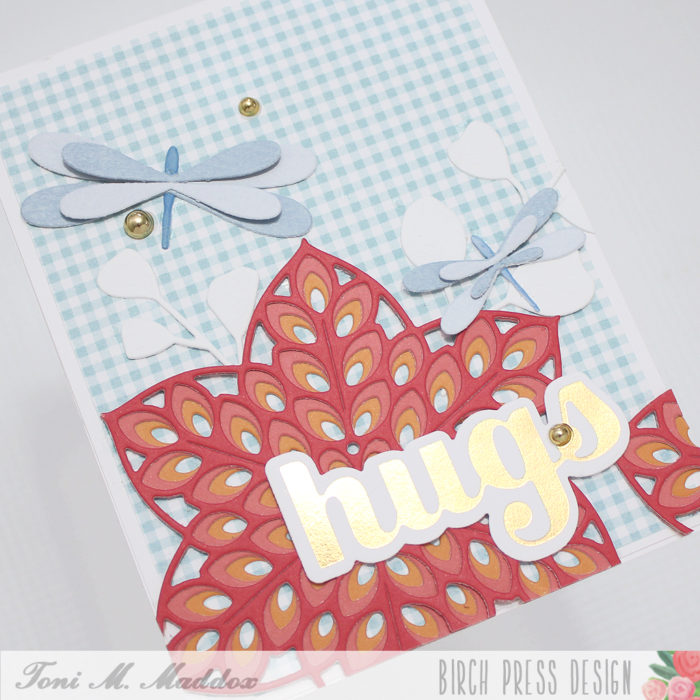
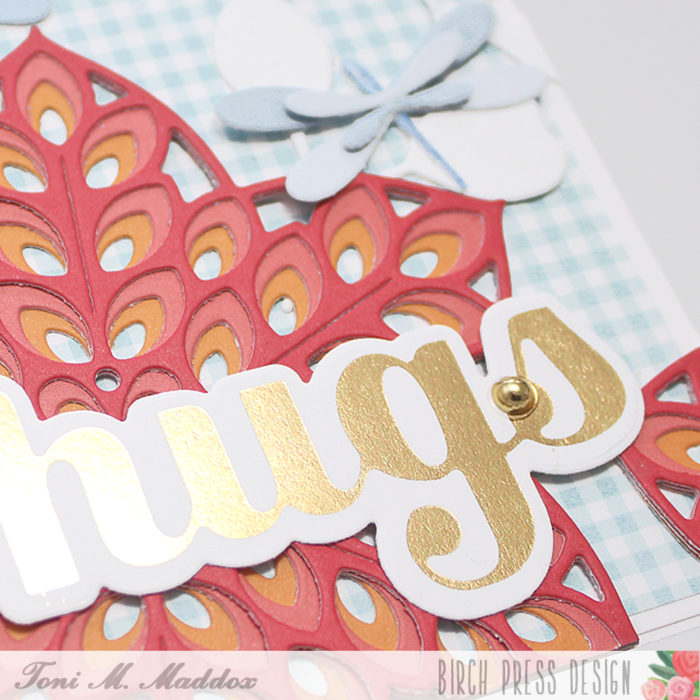
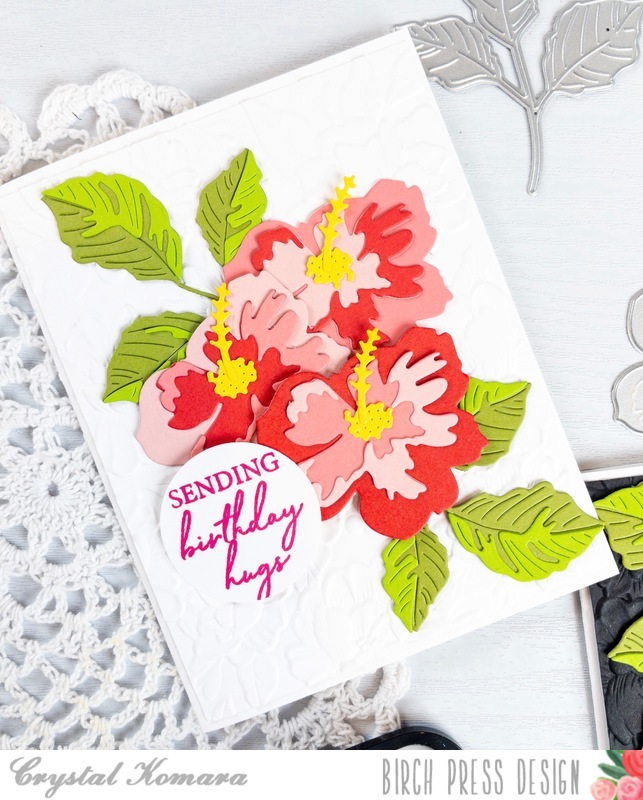
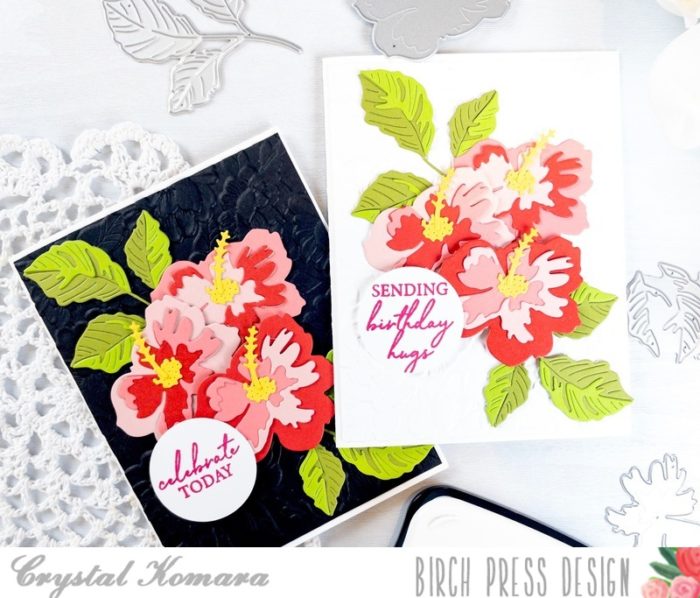
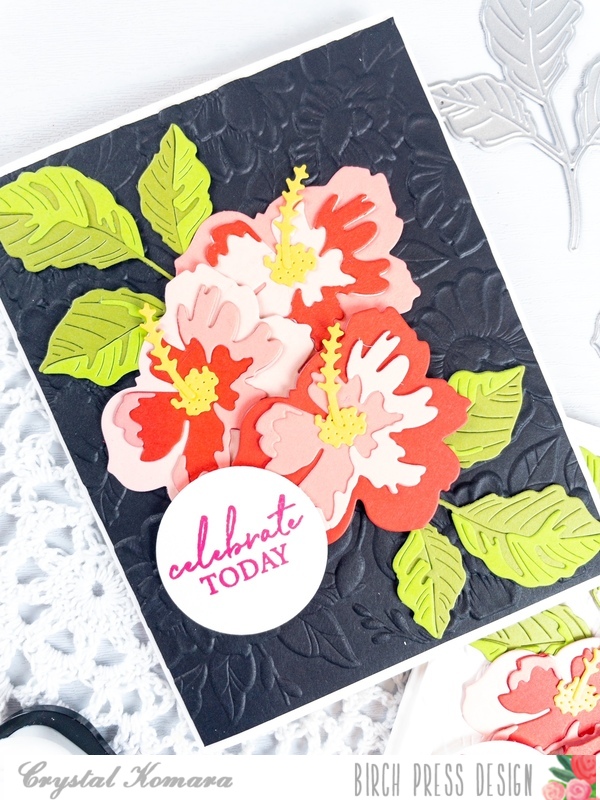
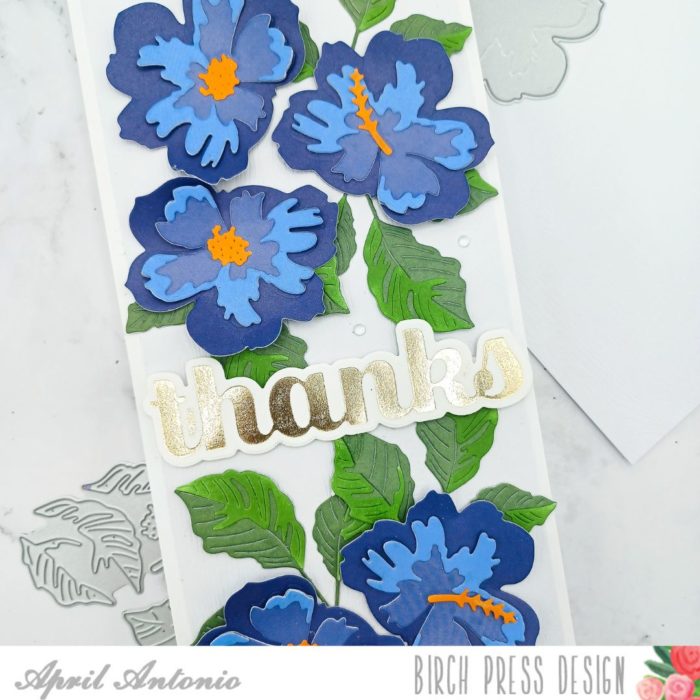
Next, I assembled each flower and leaf using the layers I cut out and the instructions that accompanied the die set. Then I arranged them on the card front making sure to leave space for the hot foil thanks that was foiled onto white cardstock. The hot foil is so pretty and the photos just don’t do it justice!
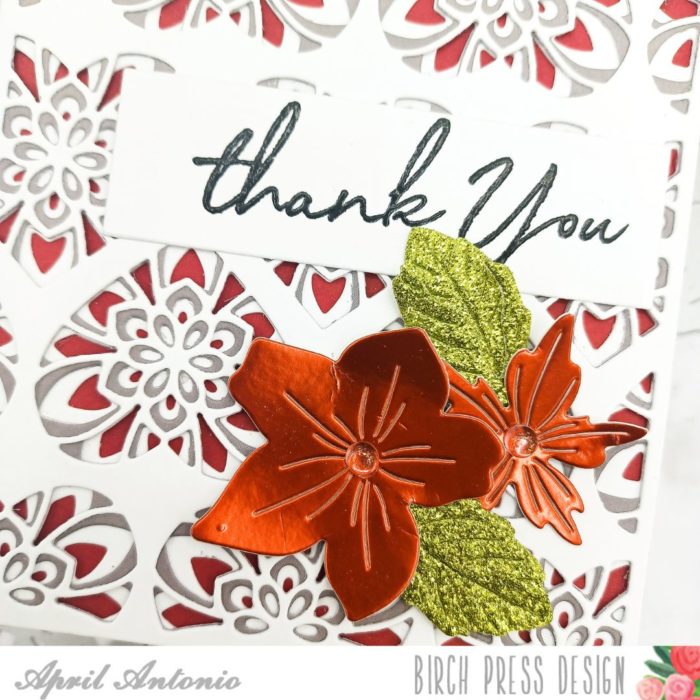
Once everything was in the a place I felt comfortable with, I folded the ends of the flowers up so they curved a bit. Then I glued the flowers and leaves down using liquid glue. I made sure with the flowers to only glue the center, leaving space for the curved corners to add some dimension to the card.
I adhered the thanks with some thin pieces of foam tape, and added a few clear dots around the card to be the ‘water droplets’.
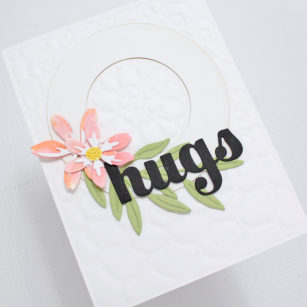
I really like this new Tropical Hibiscus die set, and how easily I could layer the pieces together. Also, whether you are using multiple cardstock colors, or just ink blending white pieces, the results will look beautiful.
I hope this post has inspired you to go play with your supplies and check out all the wonderful layering dies that Birch Press has to offer.

Supplies