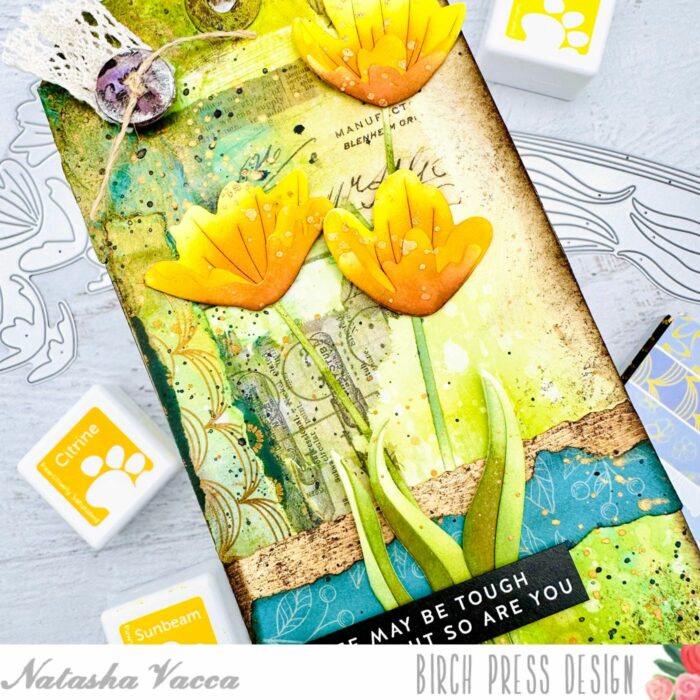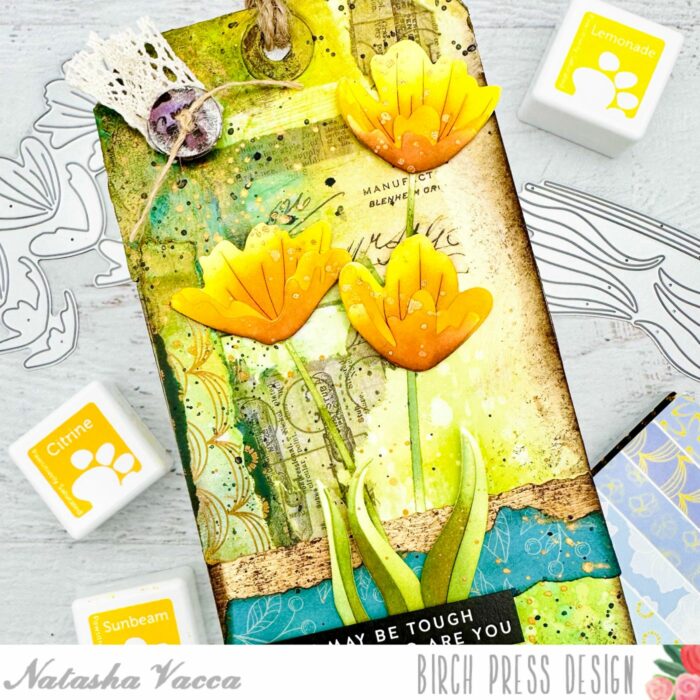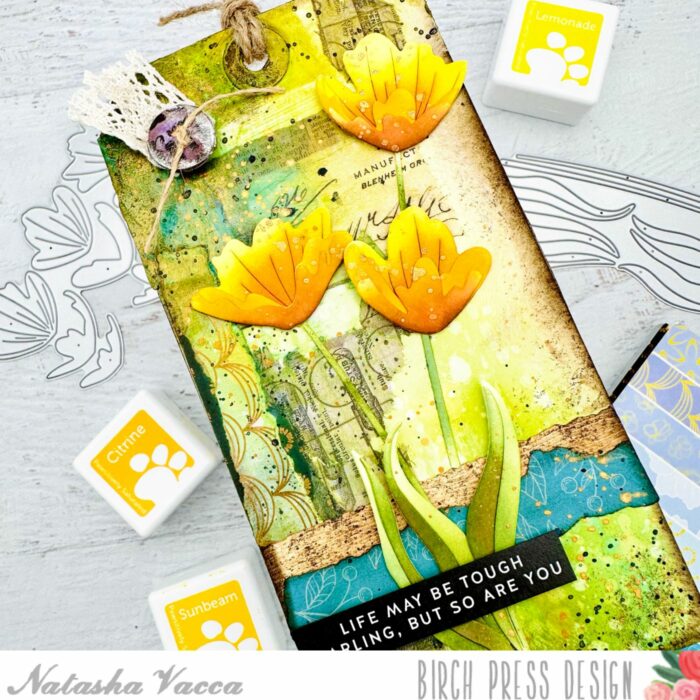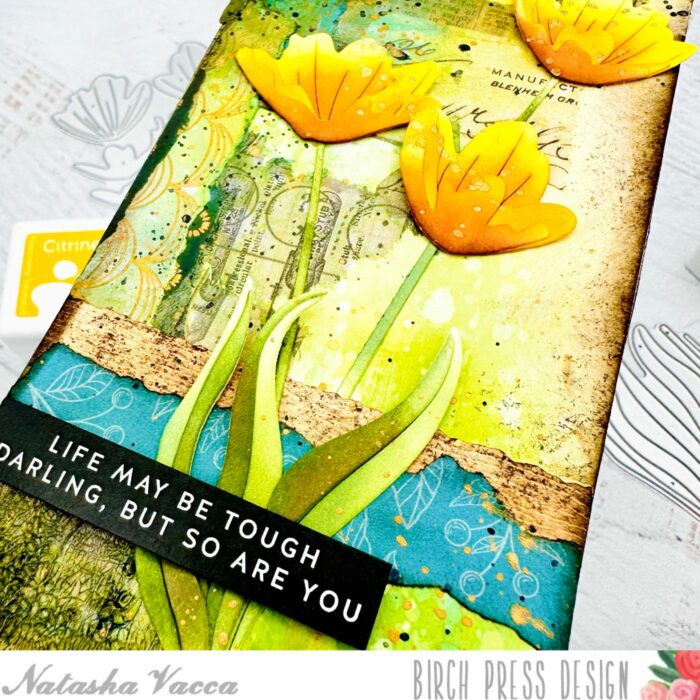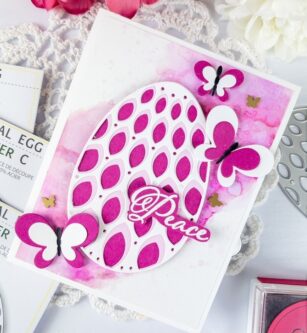
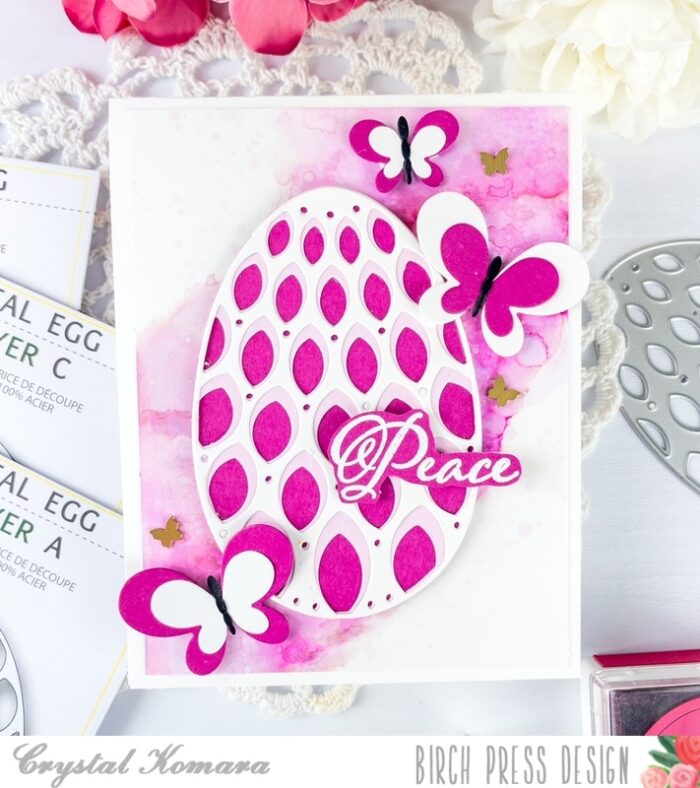
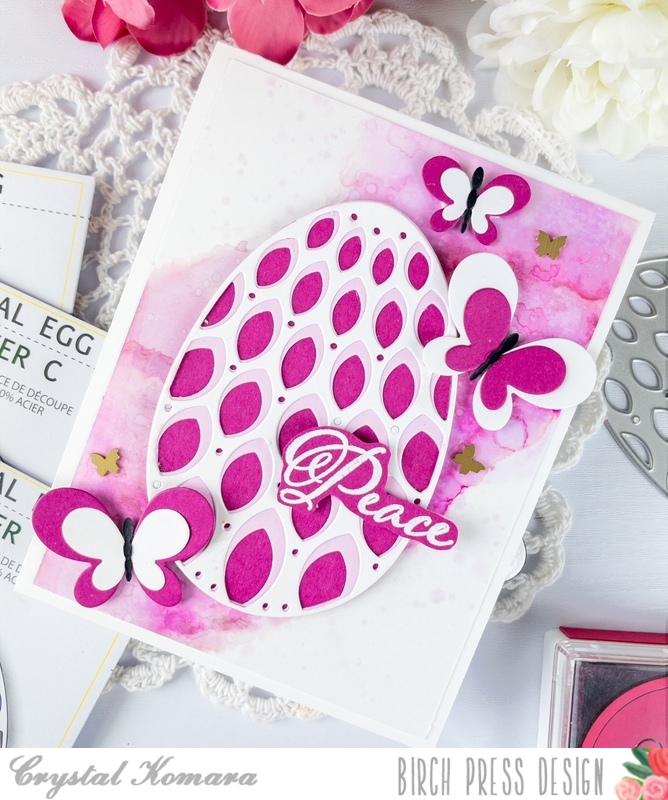
Hello friends and happy Fri-YAY! I hope you have fun things planned for the weekend ahead. This is DT member Crystal Komara here with you sharing some Easter inspiration using the beautiful Petal Egg Layering set. This is one of my go-to dies for many spring themed cards. For other Easter inspiration using this same layering die set, please check out these ideas here and here. If you’re looking for more Easter inspiration using alcohol inks too (like today’s card) then you’ll love this pair of cards in purple too!
Card details:
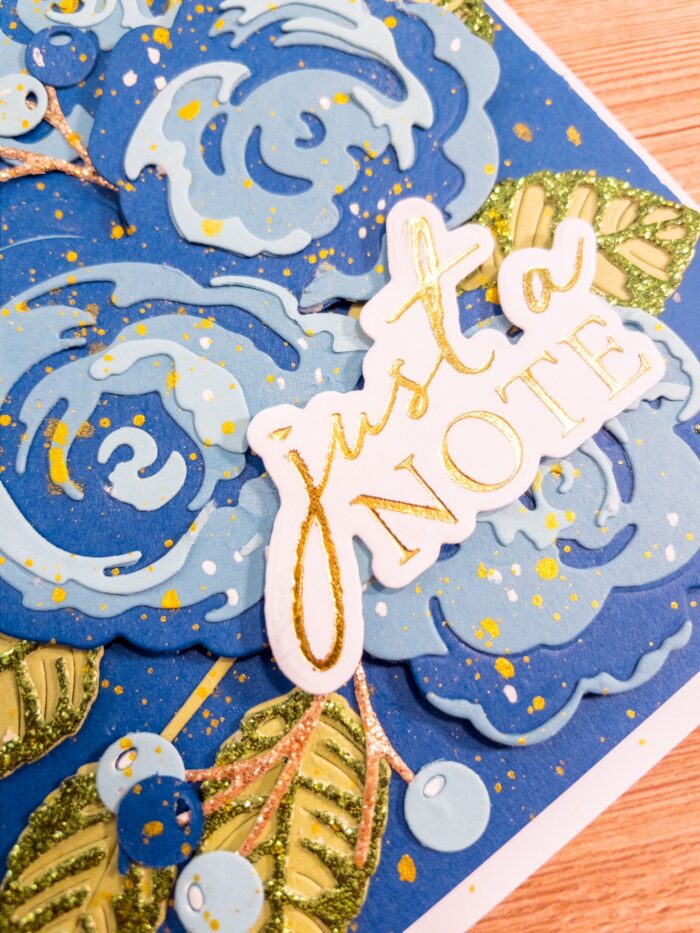
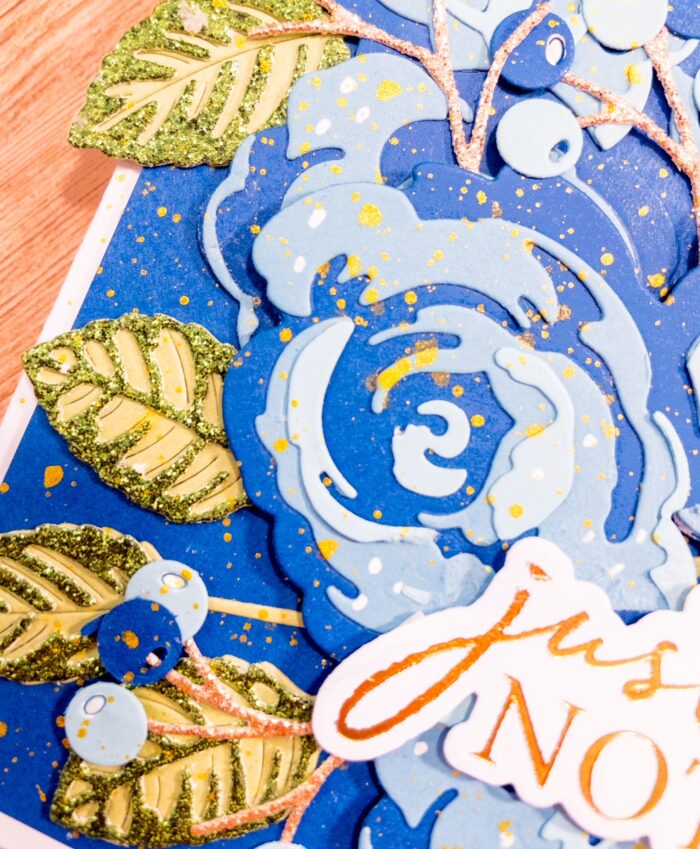
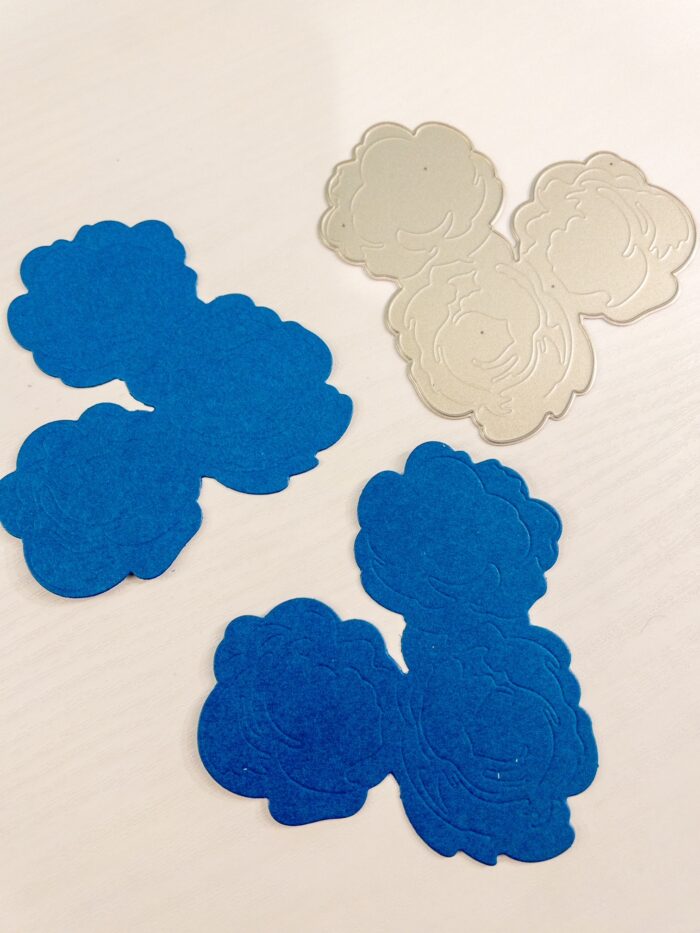
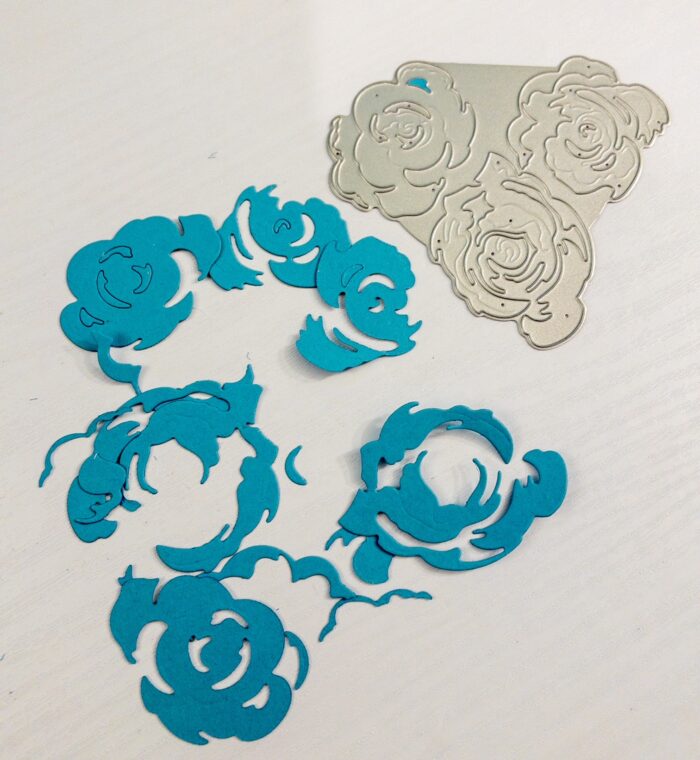
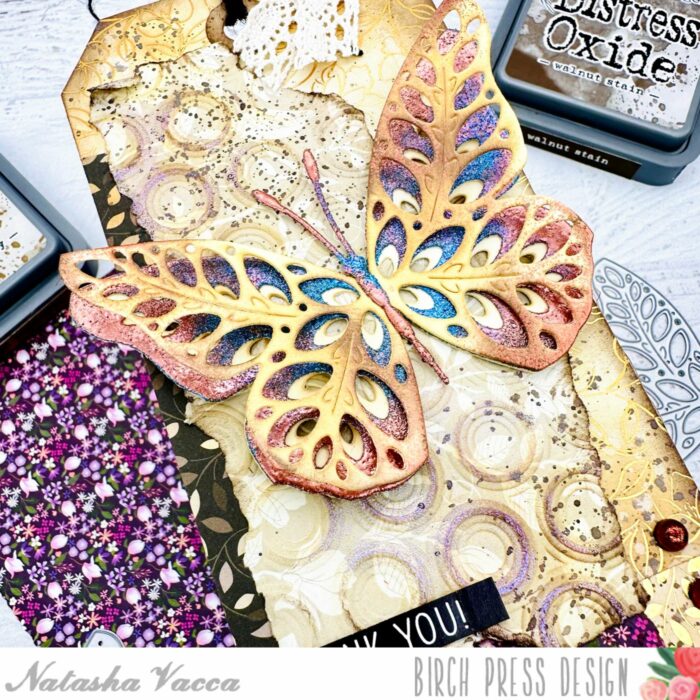
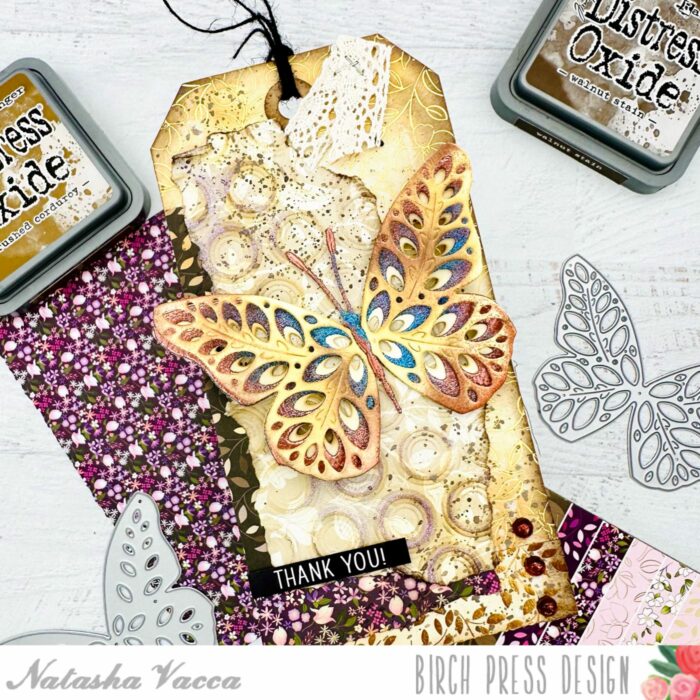
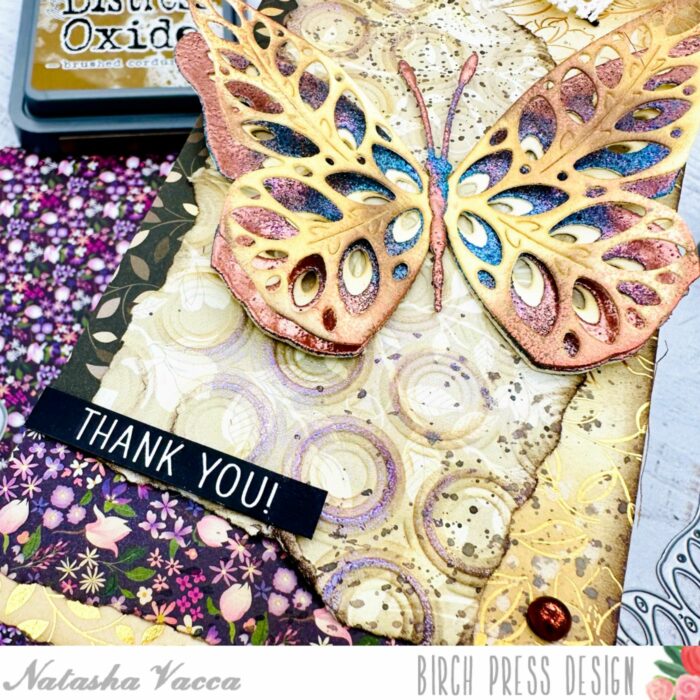
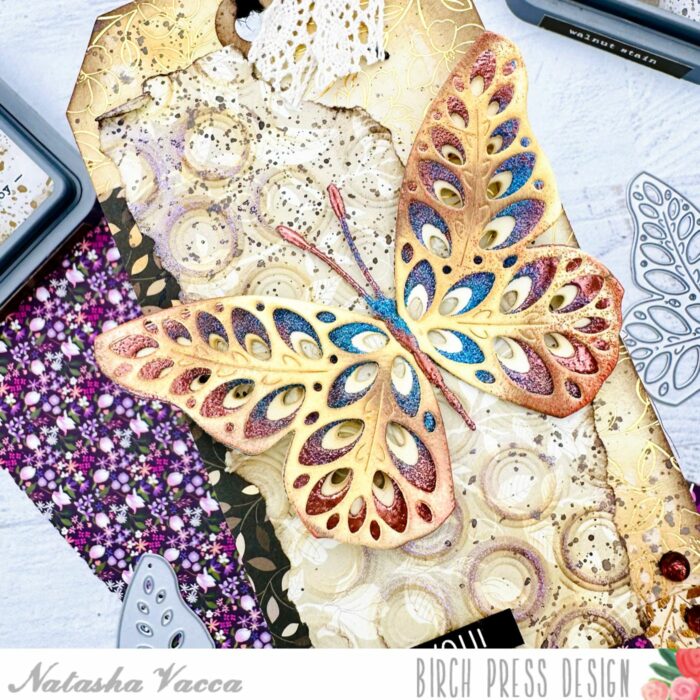
The base of this A2 sized card is made from 80 lb. Neenah Solar White Smooth cardstock. On a 5 1/4″ x 4″ piece of Yupo polysynthetic paper, I created the background using magenta alcohol ink. Once that background dried, I adhered it directly to the card base. To create the egg, I die cut Layer A (the top layer) from white cardstock. I die cut Layer B (the middle layer) from a light pink cardstock. I die cut Layer C (the bottom layer) from a darker pink cardstock. I adhered all three layers together with a fine-tip liquid adhesive. Then I adhered the entire egg to the card using 3M foam adhesive.
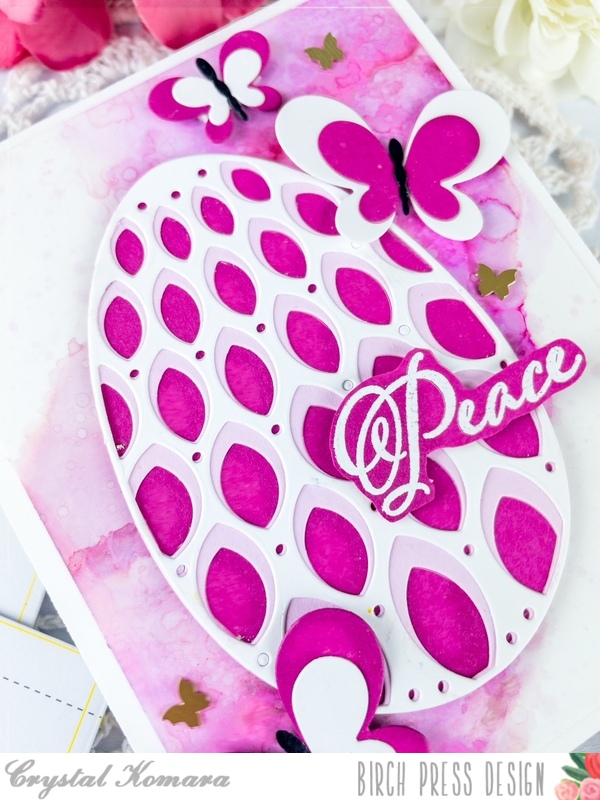
I stamped the sentiment “peace” in Versamark ink on dark pink cardstock. I heat embossed the sentiment with white embossing powder and then fussy cut the sentiment out. This sentiment is from the Glad Tidings stamp set. I also added butterflies surrounding the egg. The butterflies are from the Simple Butterflies Contour Layering dies. I die cut the butterflies from the same dark pink and white cardstock. The bodies/antenna of the butterflies was die cut from black cardstock.

Easter falls really early this year on March 31st. I’ll be back later this month with more Easter inspiration to share! Thanks for visiting and have a wonderfully creative day!

Supplies