Hi friends,
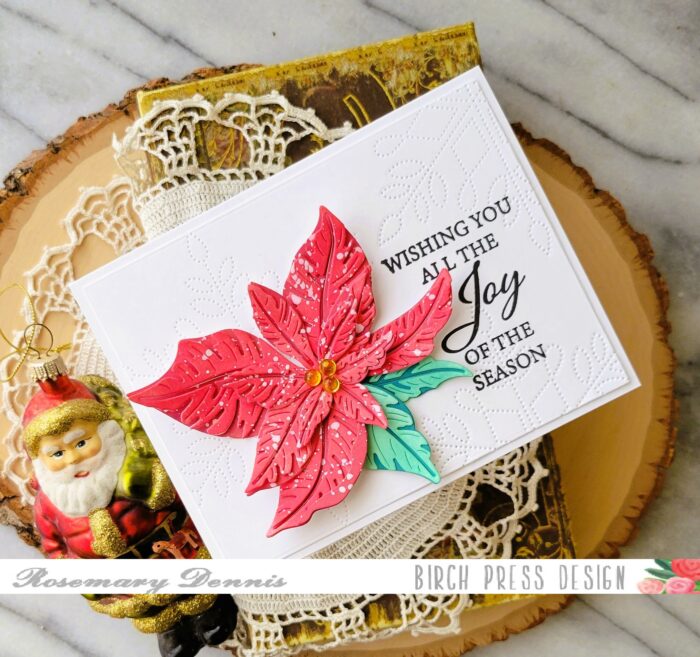
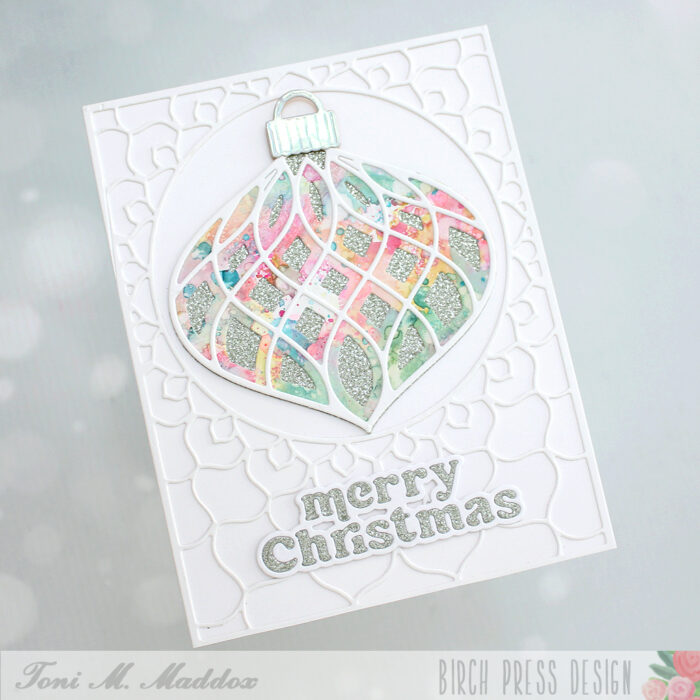
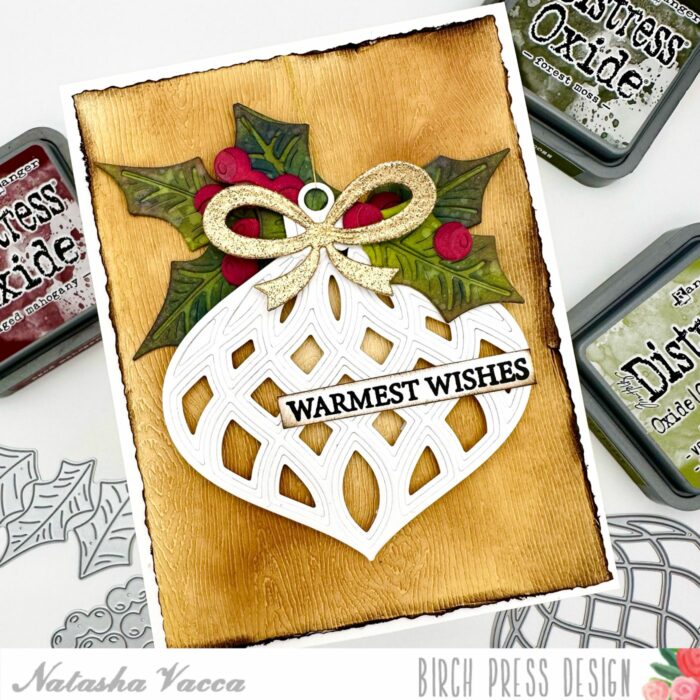
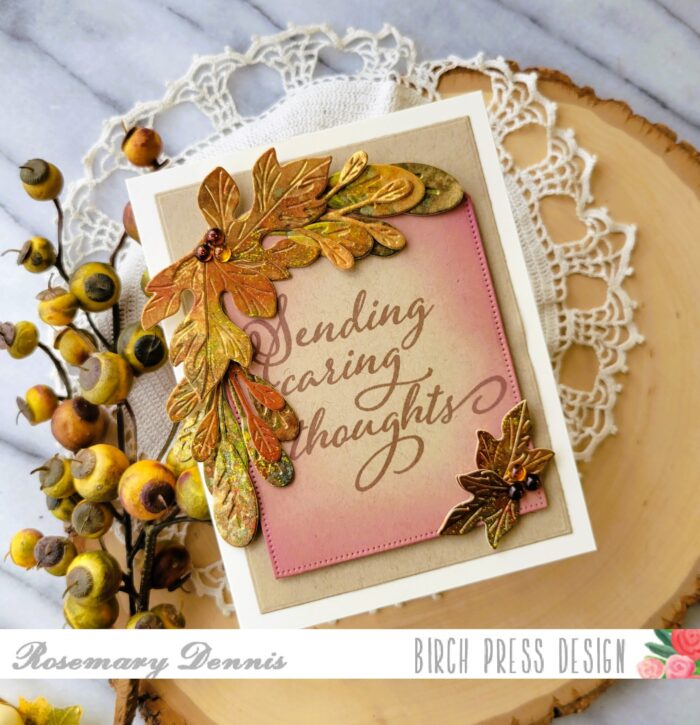
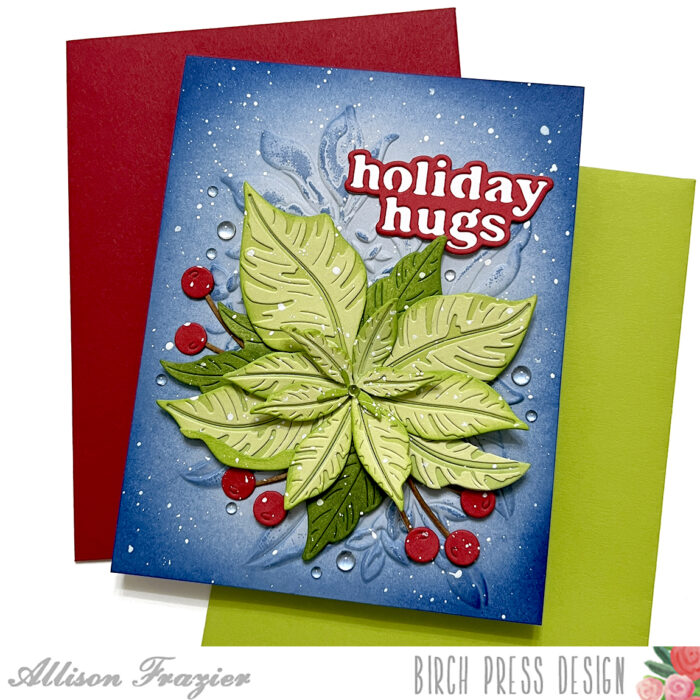
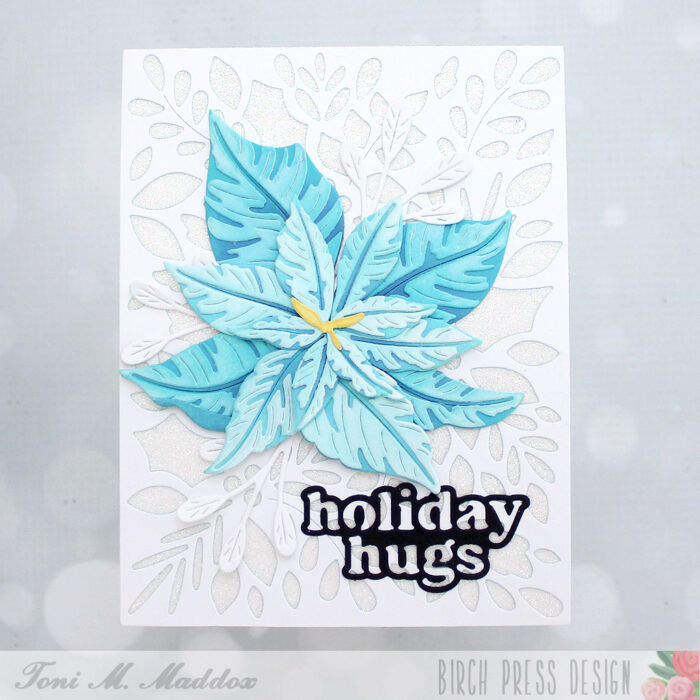
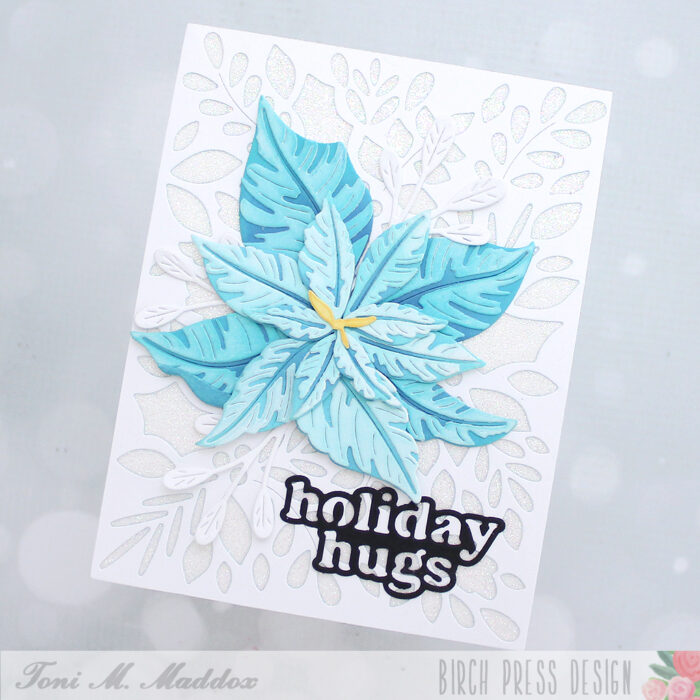
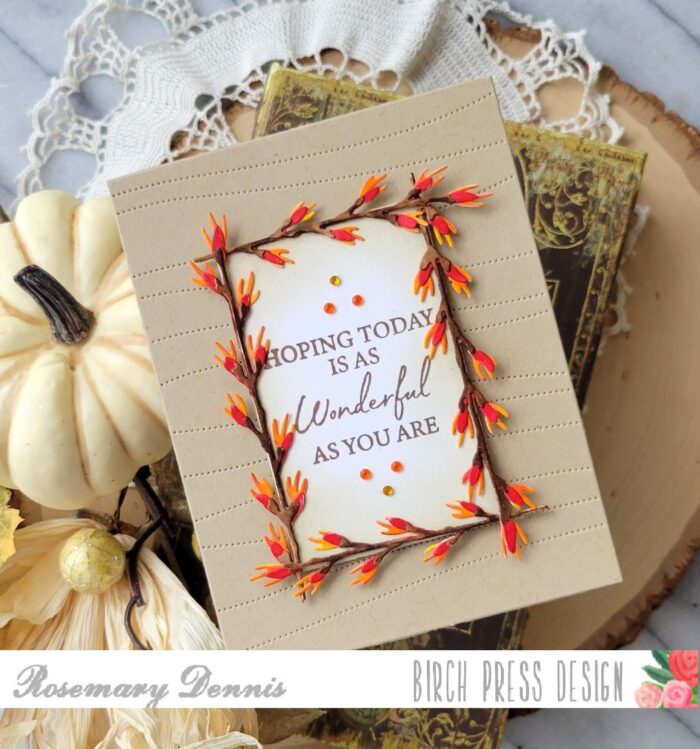
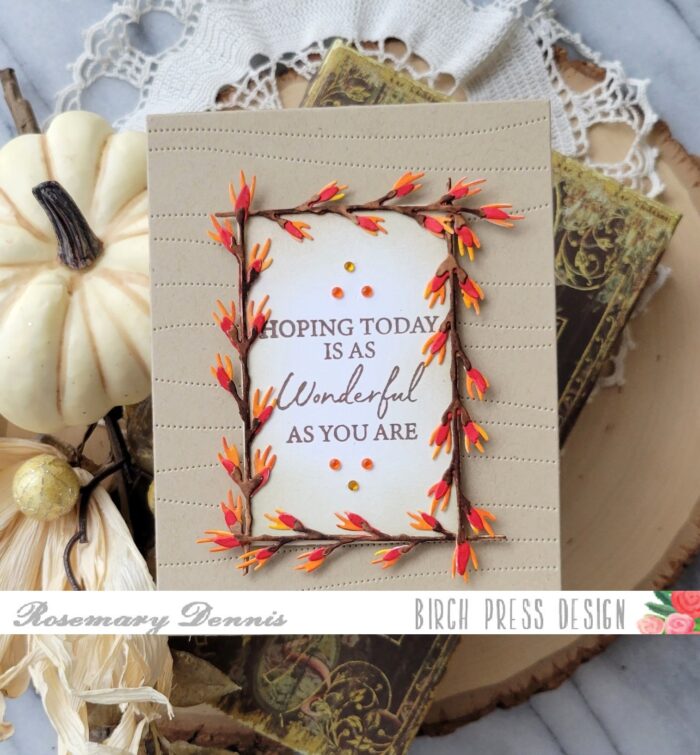
With the holidays upon us, I wanted to share a festive card using the new Holiday Hugs die and Adornment Wreath die! This layered wreath can be used all year long just by changing up the colors and foliage!!! I will also be using Memory Box RingaDings embossing folder, Jolly Holly Contour Die, and Memory Box paper. All supply links for this card will be listed at the bottom of my post!
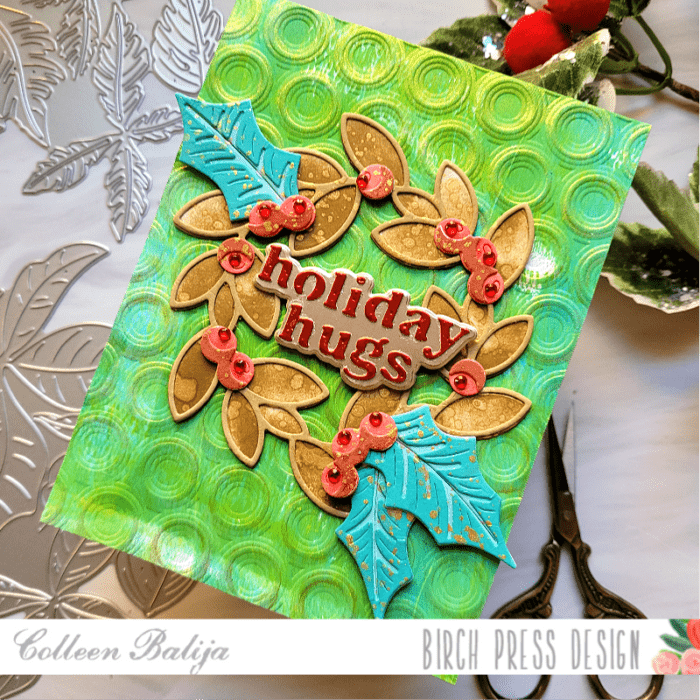
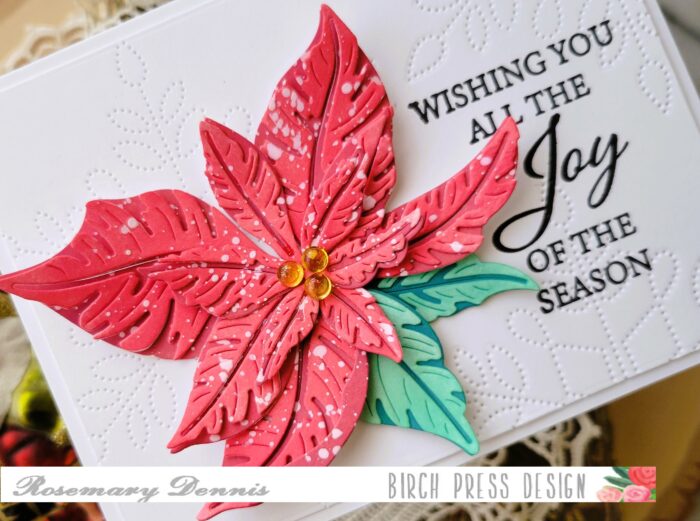
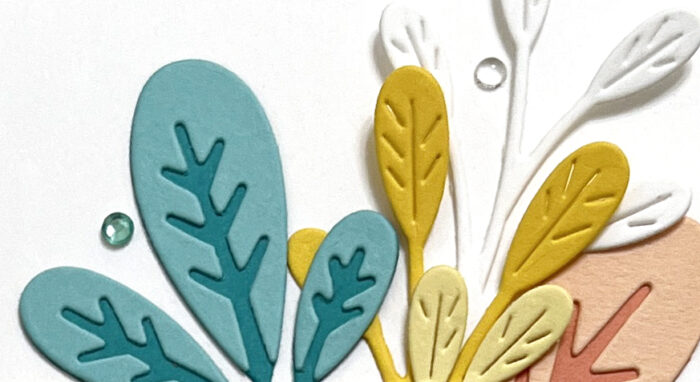
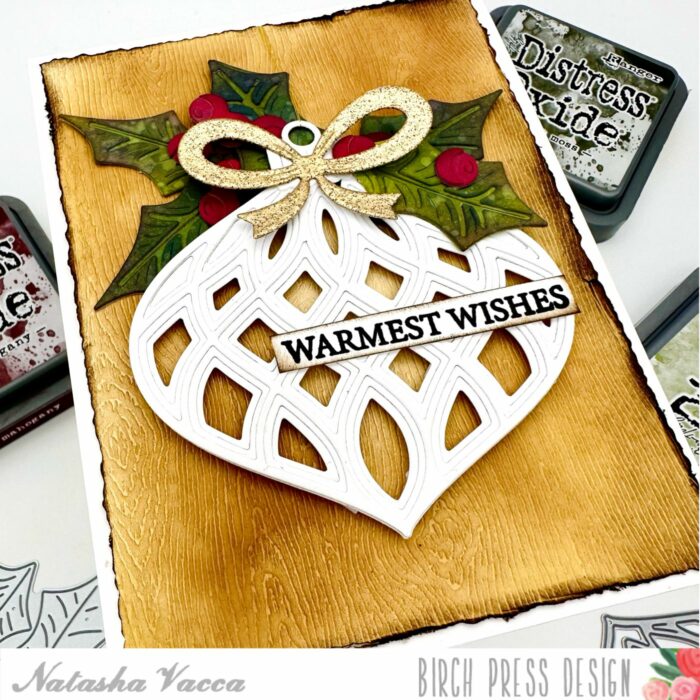
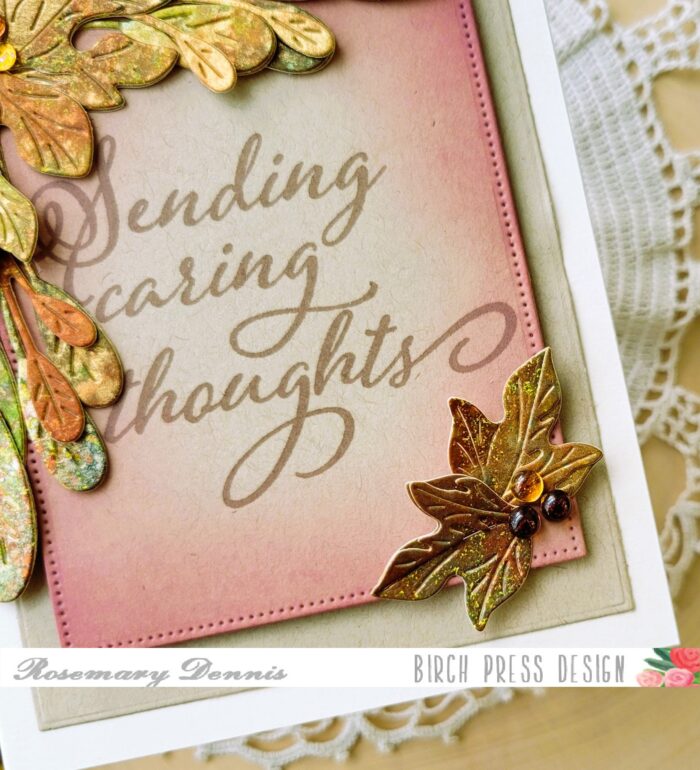
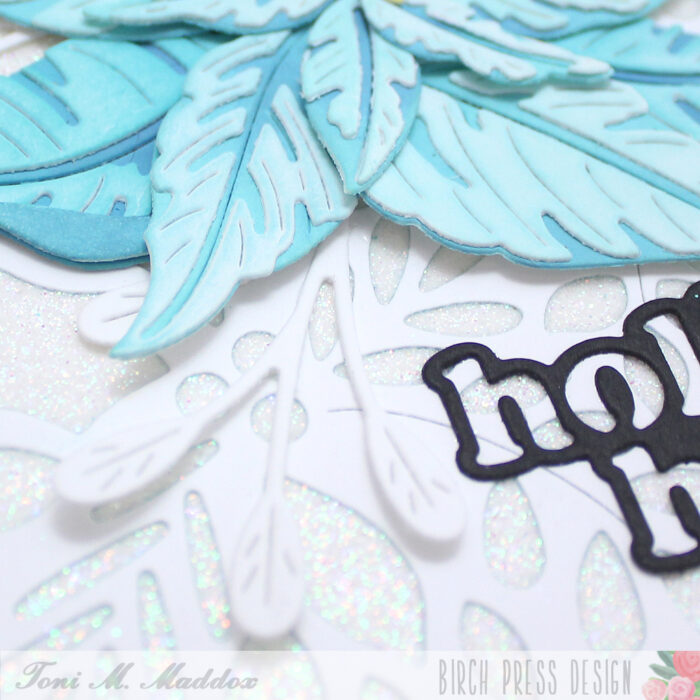
First step was to prep my dies, so I die cut the 2 layers of the Adornment Wreath onto white cardstock along with the Jolly Holly Contour die (leaves and berries). Then I ink blended the wreath in 2 shades of brown, the leaves in 2 shades of teal, and the berries in 2 shades of red. I use 2 shades of color to bring the designs to life! Then I adhered the layers together and splattered gold ink over all of it. The gold ink adds a classy touch of glimmer! Below is a close up of the finished wreath and foliage!

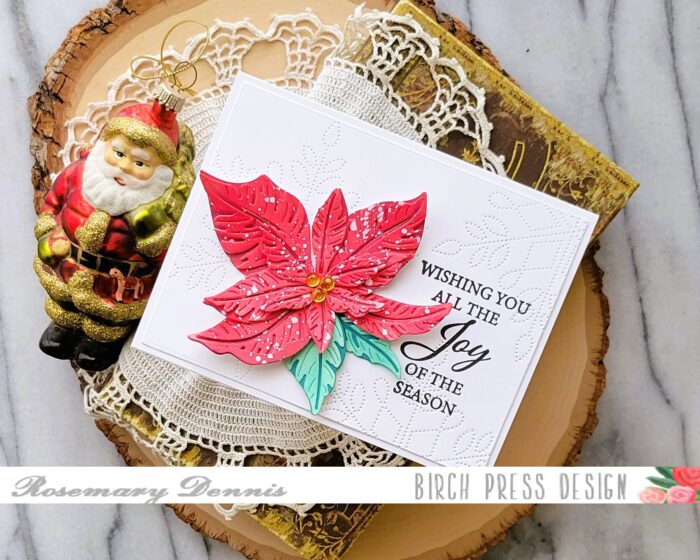
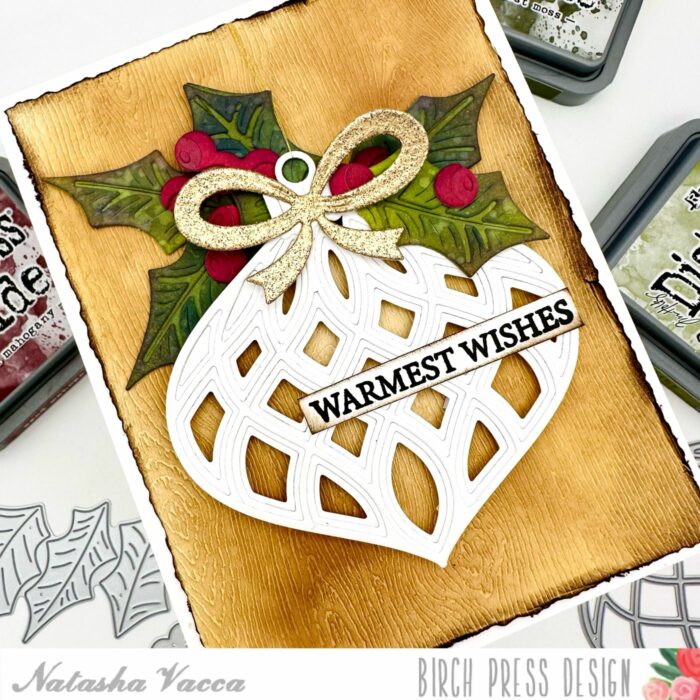
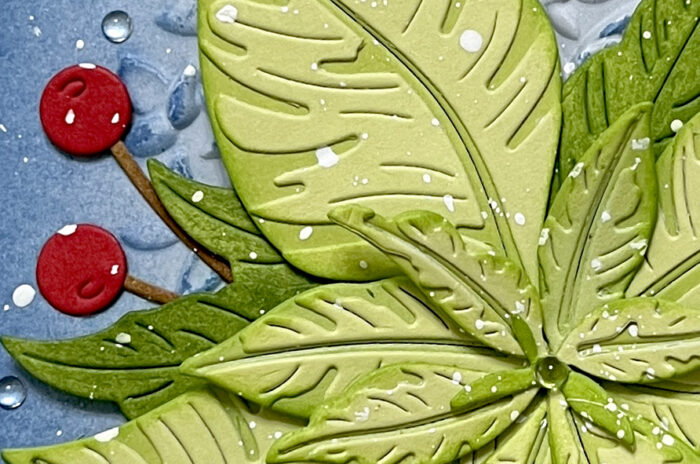
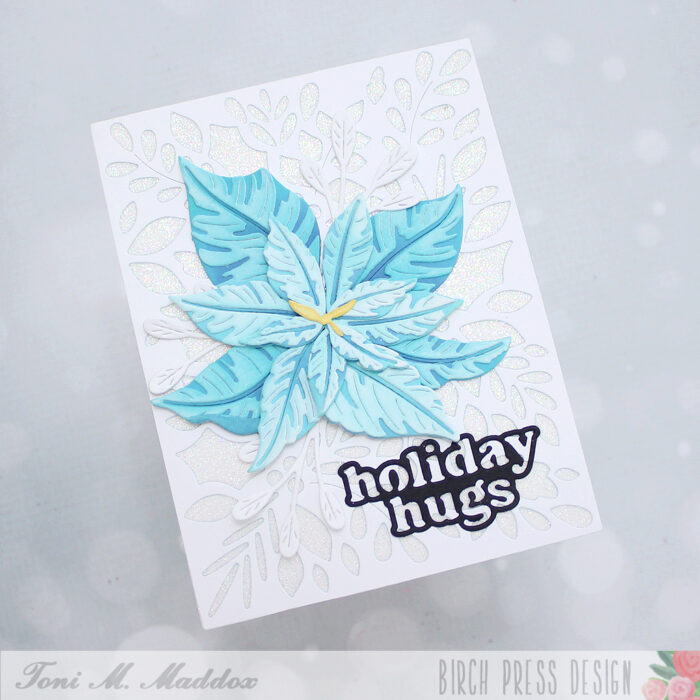
Once my focal point was completed, it was time to focus on the background. Starting with a pre-colored piece of cardstock in shades of teal and green, I embossed over it with RingaDings embossing folder and applied gold ink over the raised edges. The gold in the background helps the gold on the focal point to pop! I love the distressed look of teh background! The picture below is a good visual of it!
TIP: Although I die cut everything in white and then added color, you could easily do the opposite by applying color to a card panel and then die cutting 2nd!

Last step was to adhere the focal point centered over the background, placing a few of the leaves onto foam tape for added dimension. I added Memory Box red sequins over the berries for added shine! The Holiday Hugs sentiment was die cut using Memory Box’s gold and red mirrored cardstock and then placed onto foam tape in the middle of the wreath!

I’m so glad you joined me today! Below is the full supply list!

Supplies