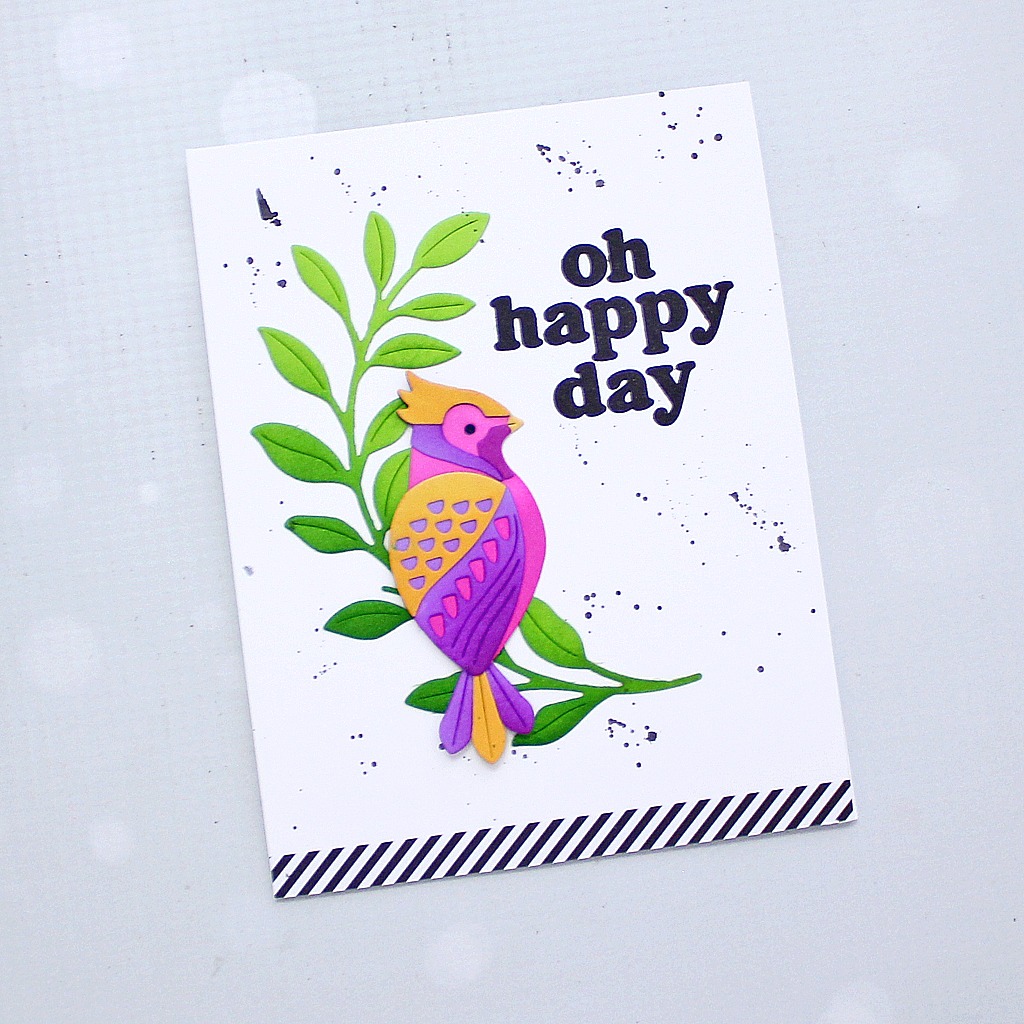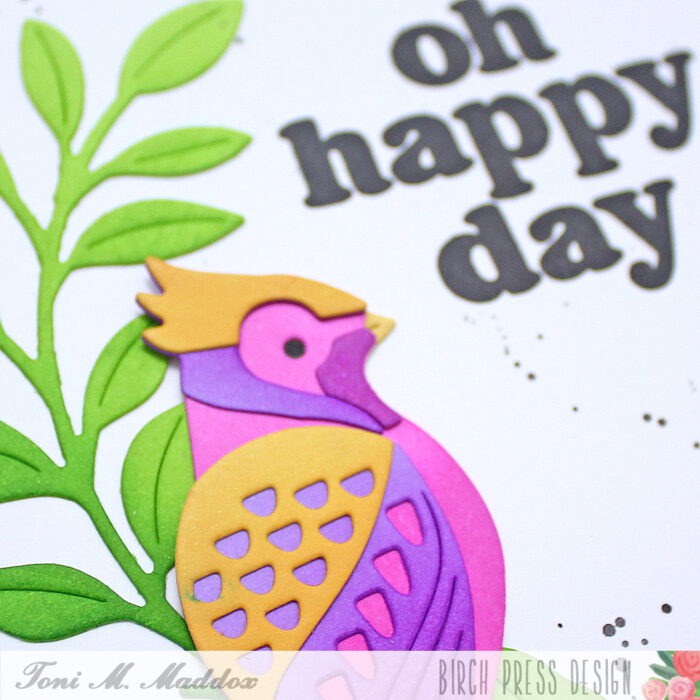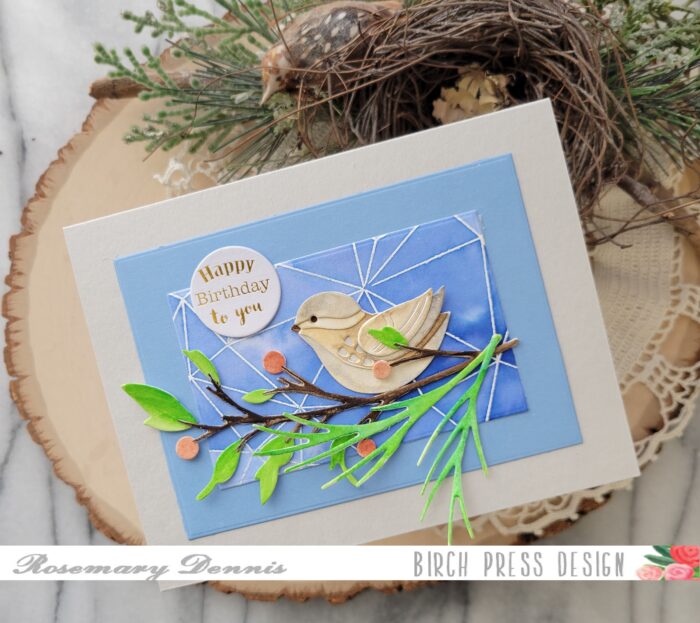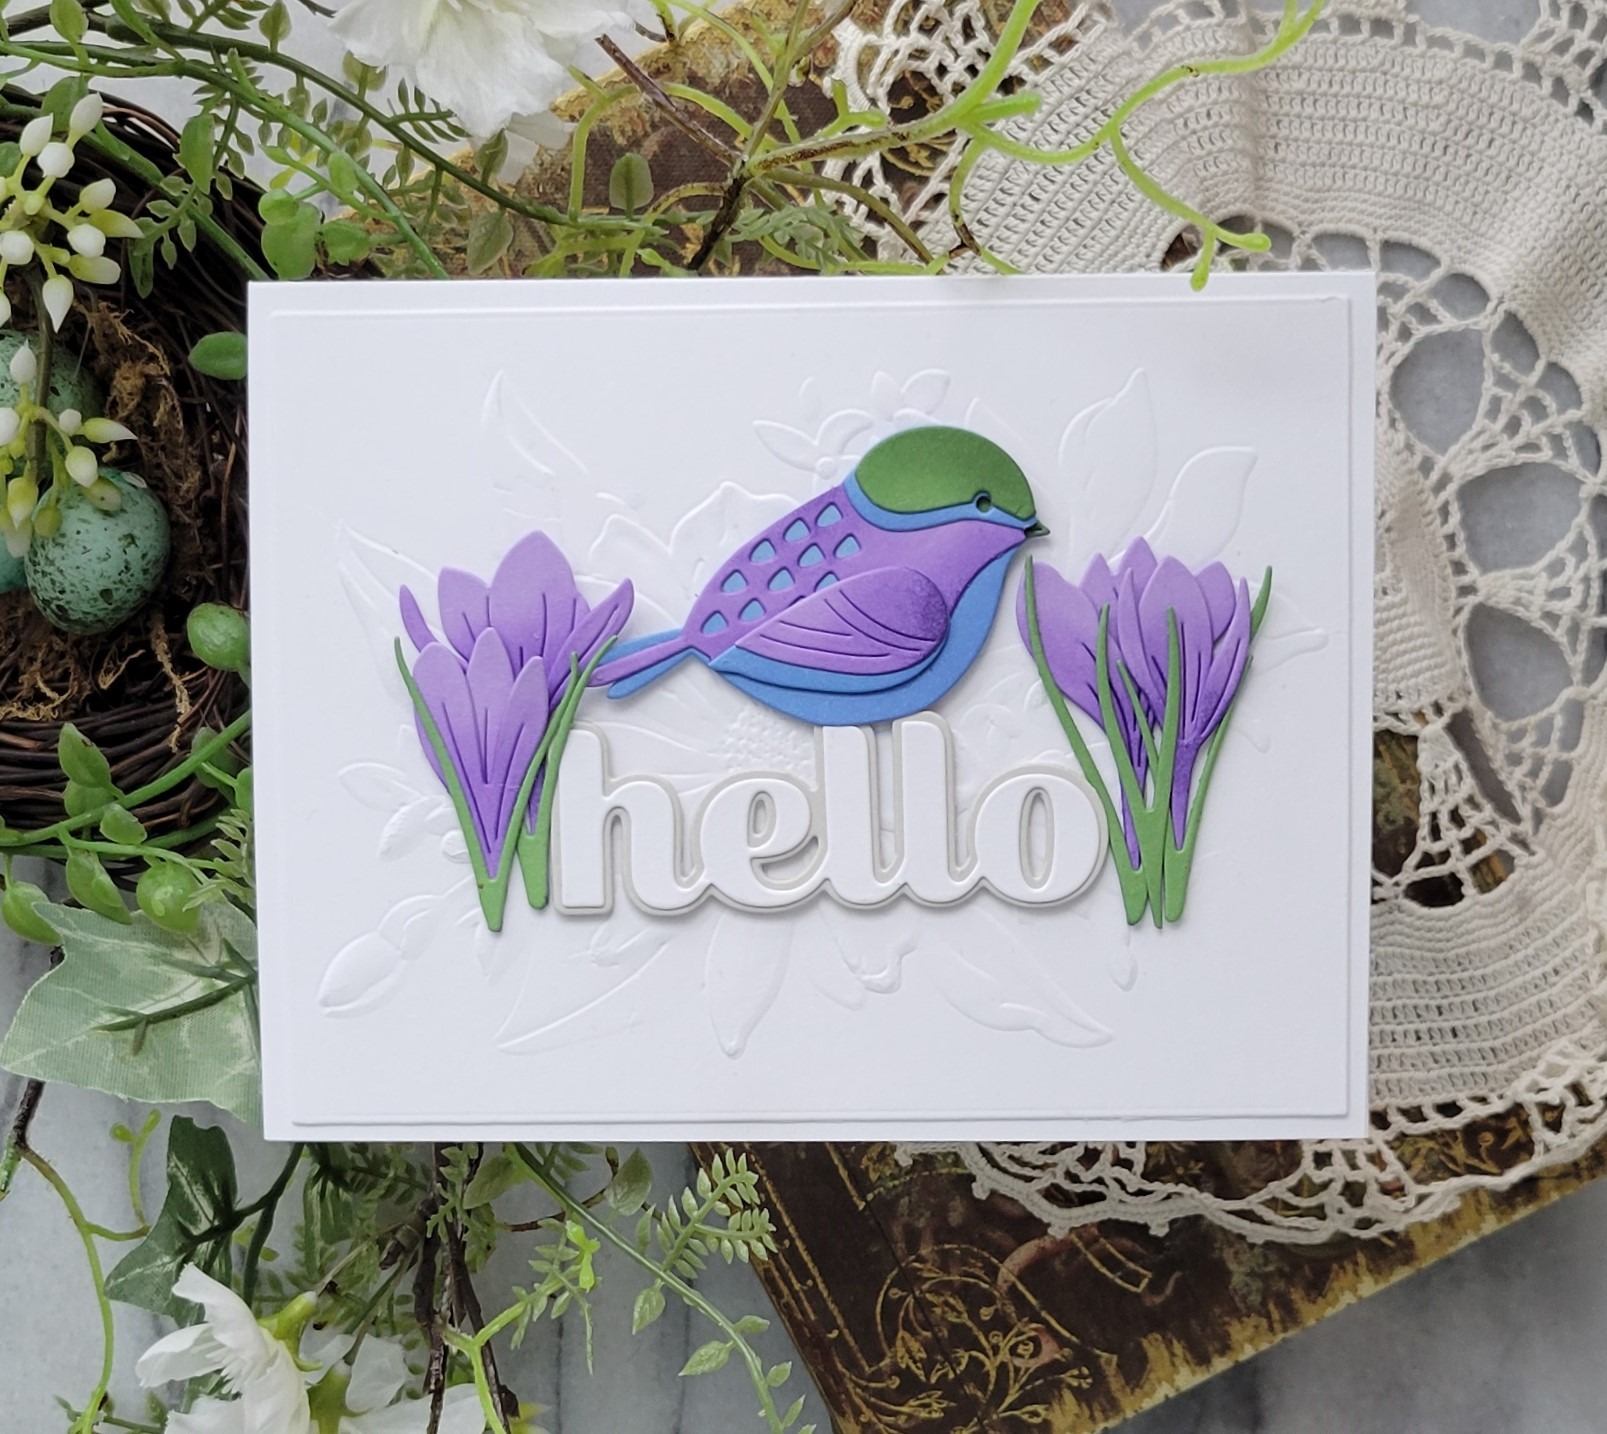
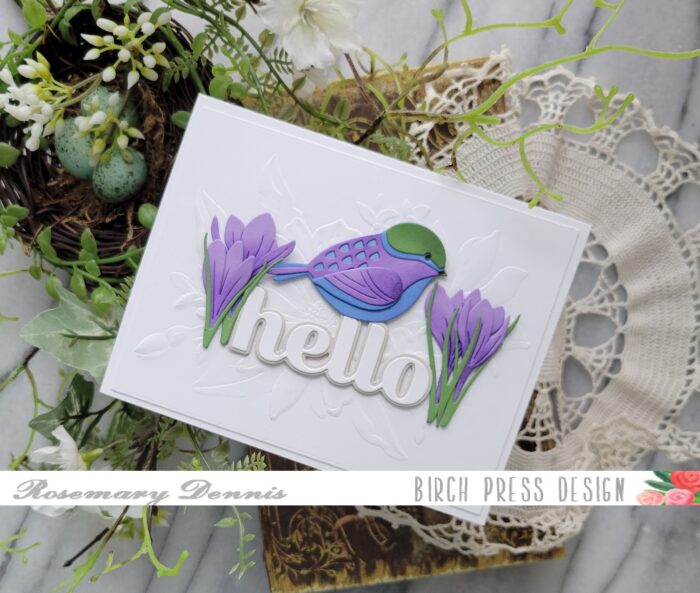
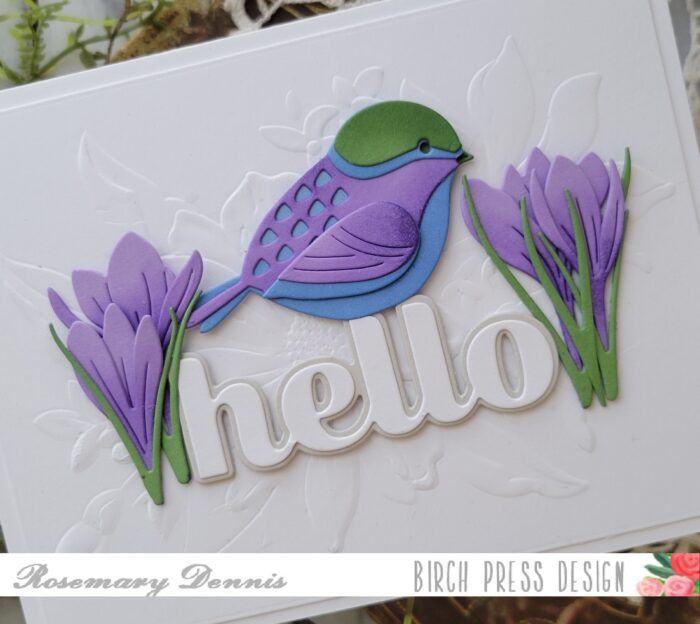
Hello, hello! Rosemary here today and I am back with a card featuring another super sweet Block Print die set. This time I’m using the Block Print Perched Bird. Let’s have a look at what I made.
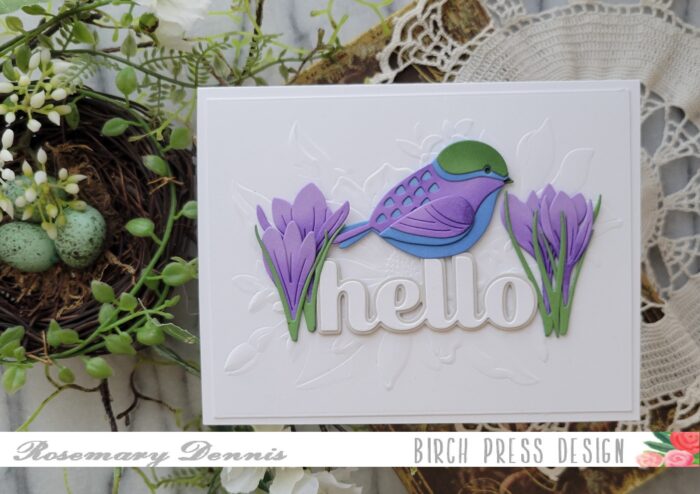
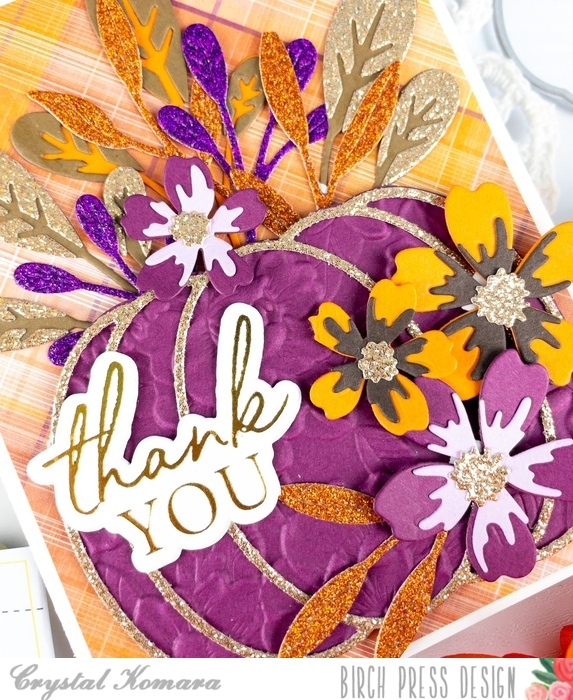
I knew I wanted to perch my little bird on one of the big Sugar Script die sets and settled on the Big Hello die set. I die cut the word from white cardstock and the shadow from a light gray. I did this because I wanted the focus to be on my little bird.
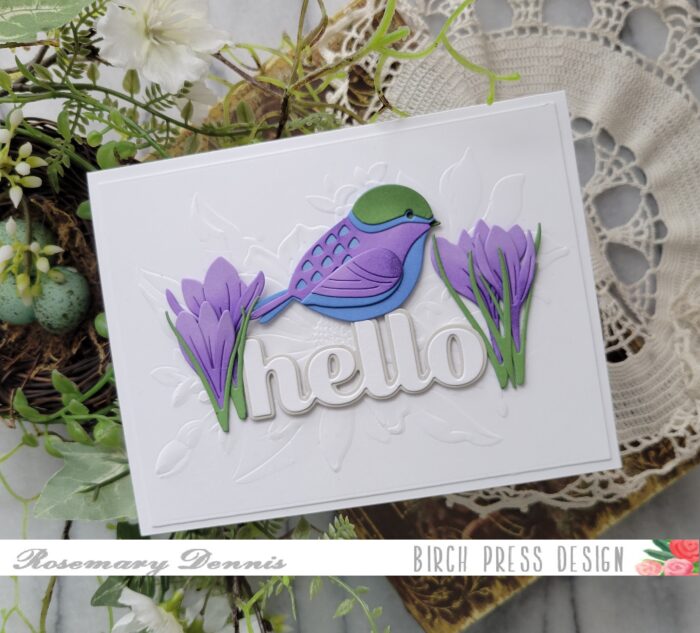
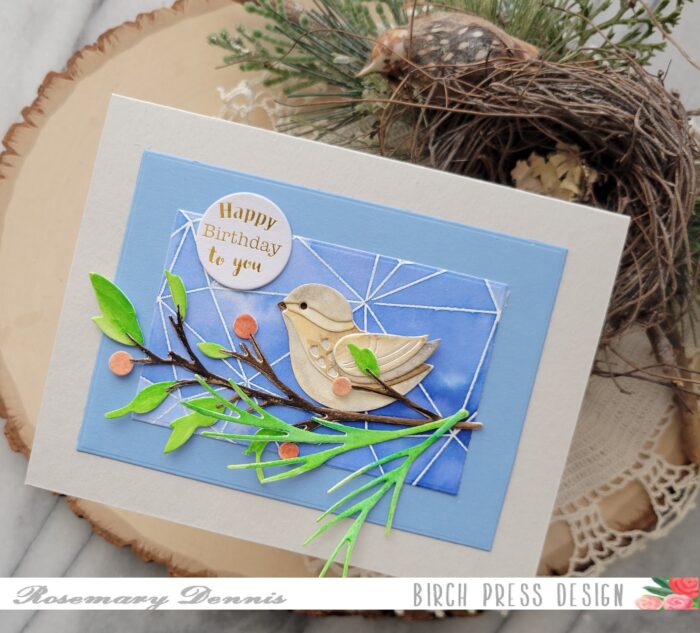
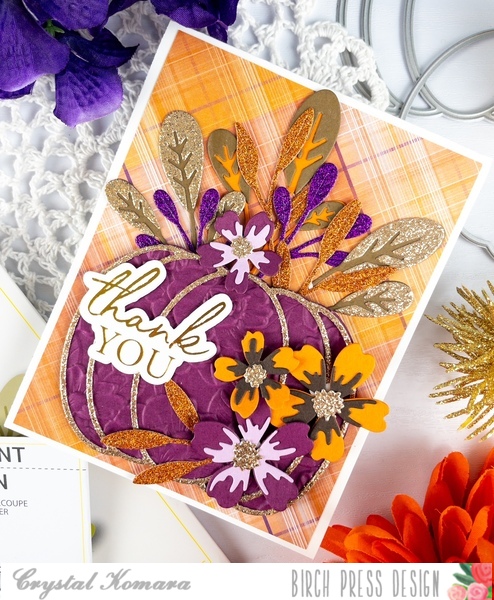
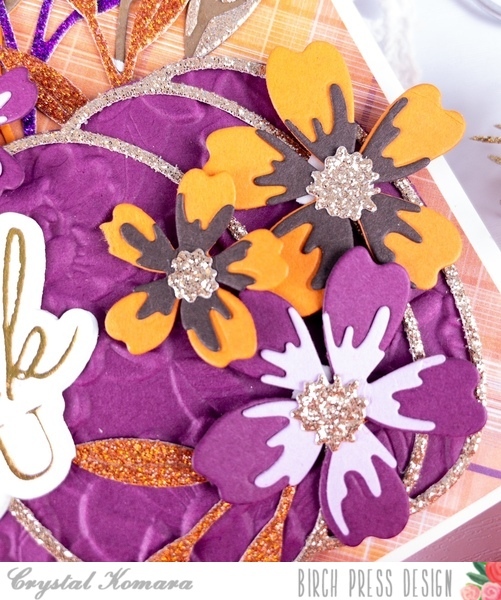
I decided to go with a blue/purple/green color combo because I thought it would be fun to add some flowers around the word and little bird. Since spring is on the way I decided to use the Sprouting Crocus Contour Layers dies.
I pulled out the colors of cardstock I wanted to use and then die cut all the pieces. To add some depth to the diecuts I did a little bit of inking to each piece with an ink color that was about two shades darker than the cardstock. Once everything was inked up I let the pieces dry a bit before adhering them together with liquid adhesive.
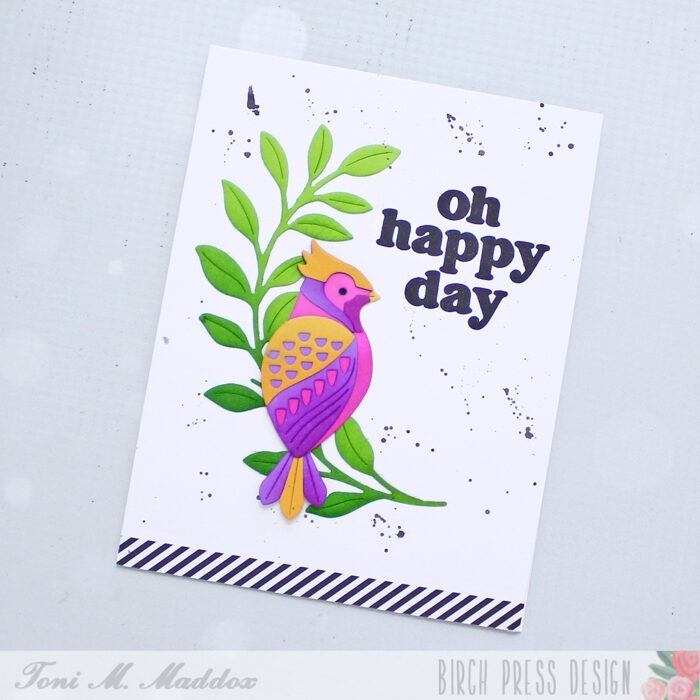
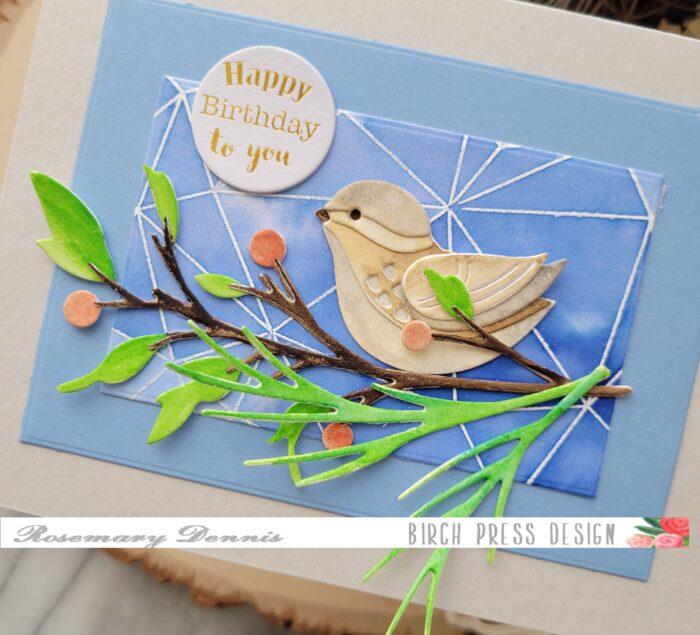
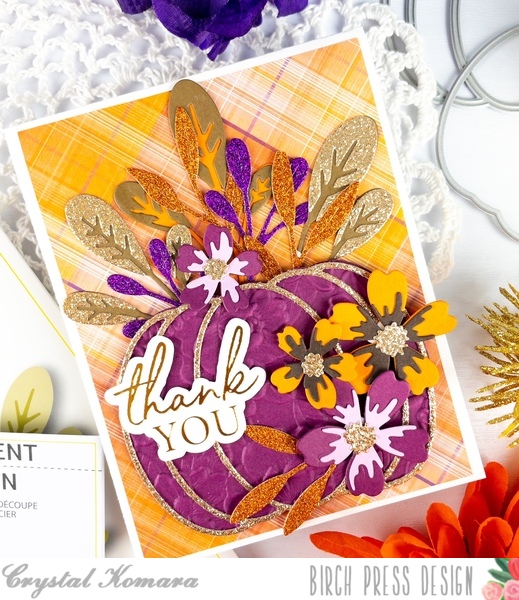
I wanted to add more interest to the background that my little scene would be sitting on. I initially had a different idea, but as I was looking through my products I saw the Memory Box/Open Studio embossing folders and decided to use one of them. I went with the Gracious Floral embossing folder. I embossed the white cardstock and then die cut it with a rectangle die. I did this because I wanted the embossing to be flattened just a little bit.
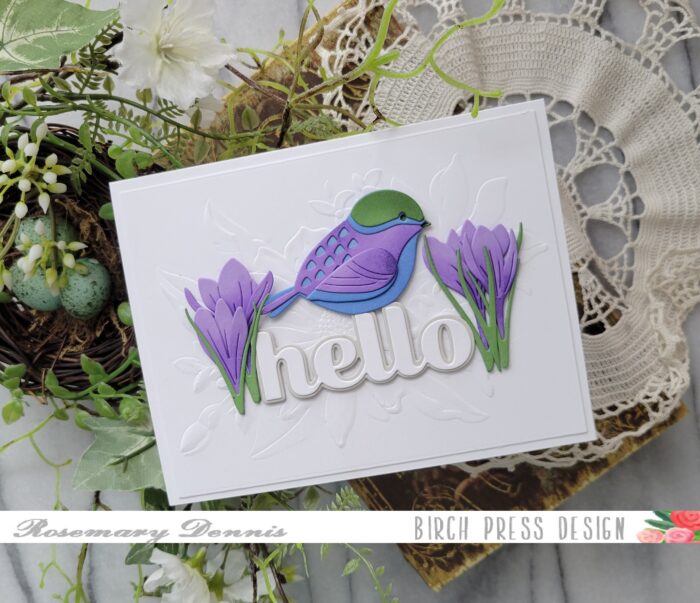
Now it was time to put it all together. I adhered the embossed panel to a white cardstock base and then arranged all my elements as you see. I used a combination of liquid adhesive and thin foam squares to adhere everything.
Well, that is it for me. I hope you enjoyed today’s project. Thanks for stopping by and have a wonderful day!

Supplies