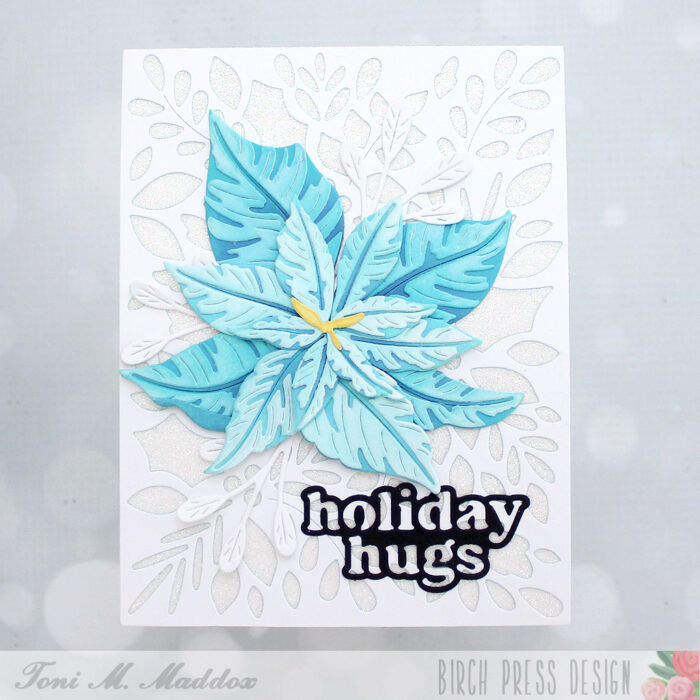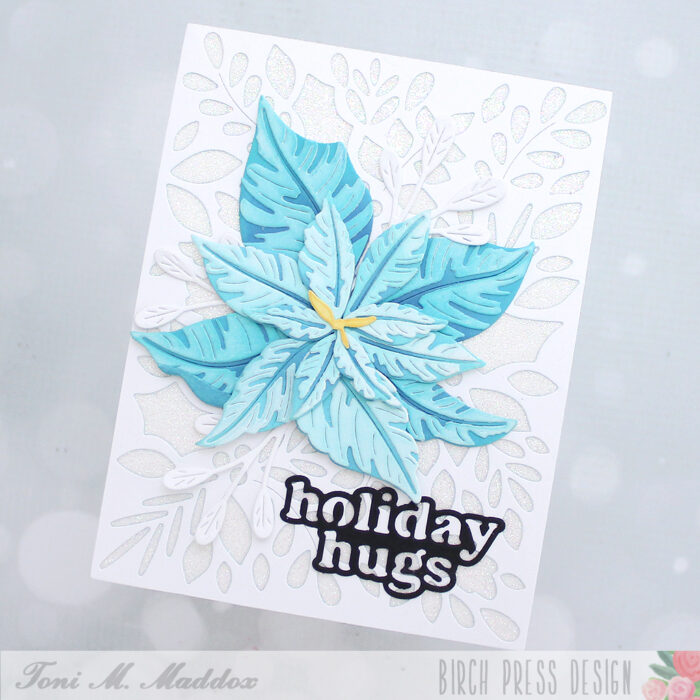
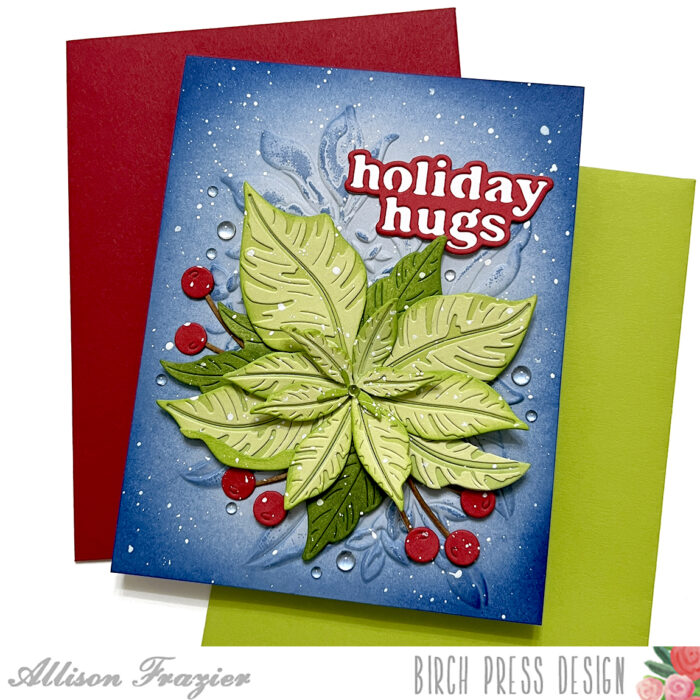
Hello, Birch Press friends! Today, I am sharing this beautiful holiday card featuring the new Splendid Poinsettia Contour Layers Set. This set makes such a unique poinsettia, and I knew that I wanted to make a green one to make it even more unique.

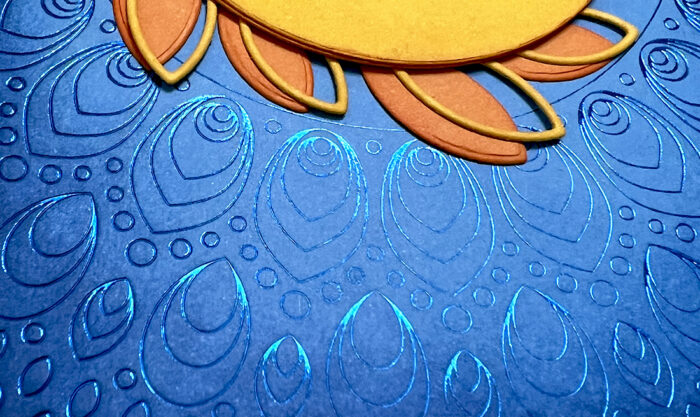
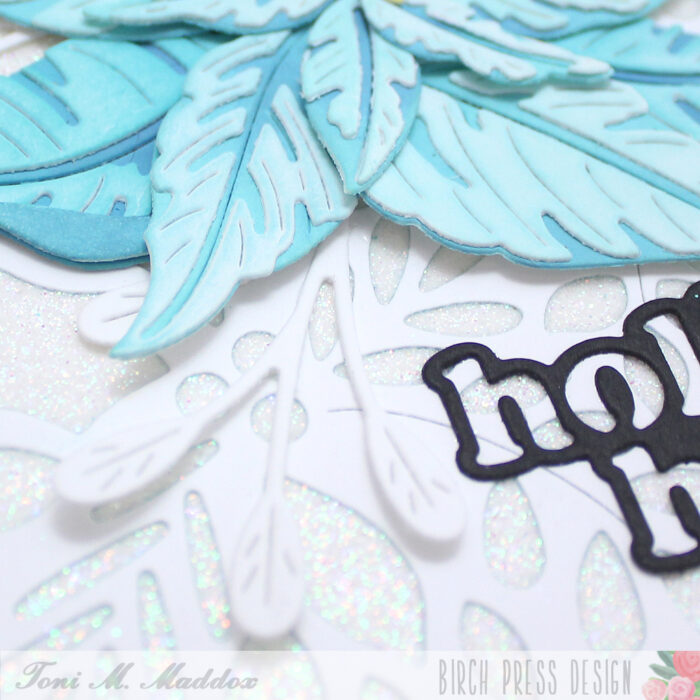
I started my card by embossing a light blue piece of card stock with the Gracious Floral 3D Embossing Folder. I then took a brayer and some blue ink and ran the brayer over the embossed, raised edges of the floral design. I took the same ink and blended around the edges of my panel. I finished the panel by inking up the corners in an even darker blue ink.
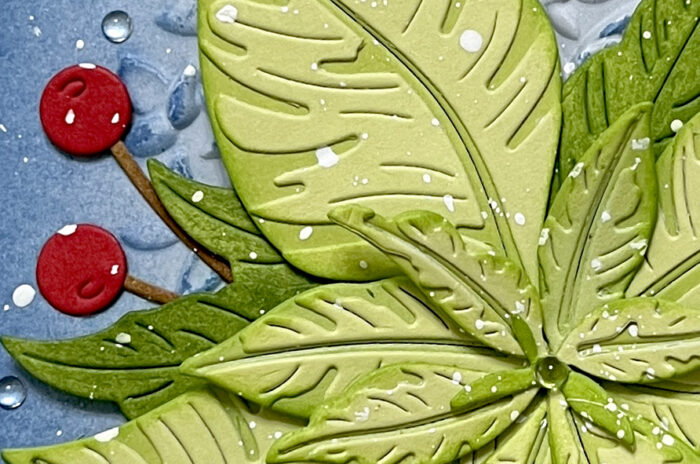
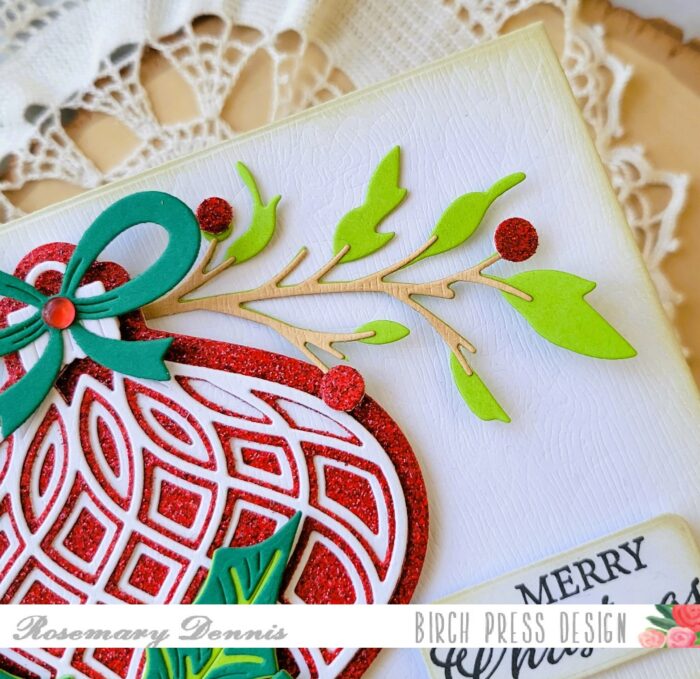
There are two dies in the Splendid Poinsettia Contour Layers Set. I used one to cut some light green card stock, and the other one (which cuts the bottom pieces) to cut a darker shade of green card stock. I glued the lighter pieces on top of the darker pieces, and then I took a blending tool and inked up the edges with green ink. This just gives the edges a little bit of definition when layering. For the leaves, I only used the bottom pieces, and I ink blended those with a dark green ink. I glued the poinsettia layers onto my panel, right where the large flower is in the Gracious Floral design, making sure to only glue the center. I then tucked the leaves underneath. I also tucked some berries in the design – these come from Layer A of the Forest Canopy Layer Set.

Before adding a sentiment, I splattered everything with some white acrylic paint. Once that was dry, I could add my sentiment and finish the card. I chose the new Holiday Hugs Vintage Sentiment. I cut the shadow from white card stock and the detail layer from red card stock. For a final touch, I scattered some clear Fairy Drops around the design.
I hope this card puts a smile on your face and inspires you. Thank you so much for joining us today.

Supplies


Supplies