Hello Birch Press Design readers! Happy September, and welcome to the beginning of fall, my favorite time of the year. This is Design Team member Crystal Komara here with you today sharing a unique way to use the Autumn Breeze Layer Plate.
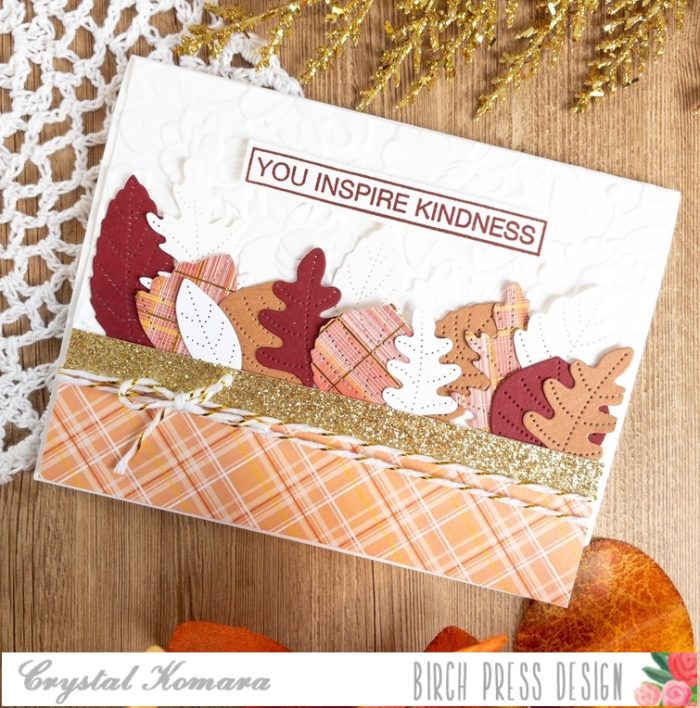
The base of this A2 sized card is made from 80 lb. Neenah Solar White Smooth cardstock. I cut a 5 1/4″ x 4″ piece of the same white cardstock and ran it through my Big Shot using the Memory Box Blooming 3D embossing folder. I adhered this to the card base. I cut a 5 1/2″ x 1″ strip of decorative Madras Plaid coral paper for the bottom of the card. I cut a 5 1/2″ x 1/2″ strip of gold glitter paper above the plaid paper for contrast.
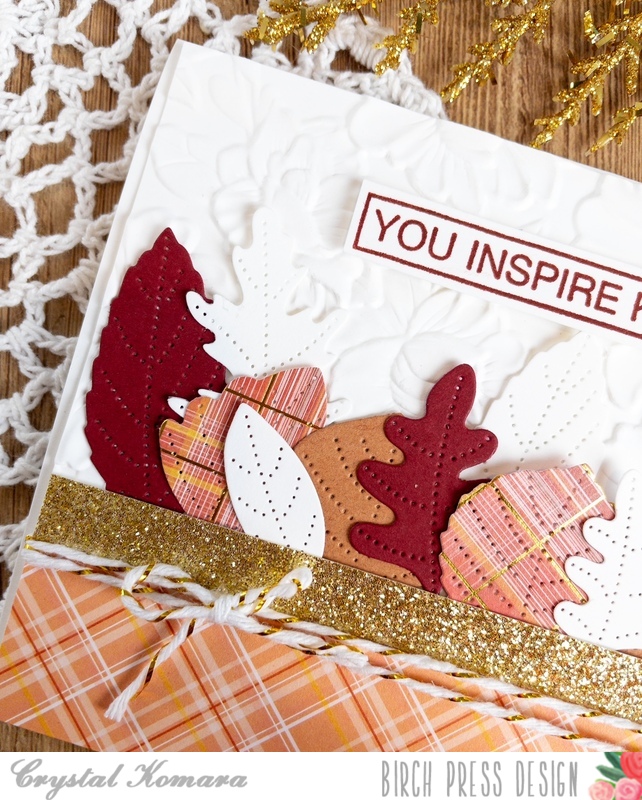
Using Layer Plate B of the Autumn Breeze Layering Plates, I ran the plate through my Big Shot multiple using white cardstock, burgundy cardstock, rust cardstock and the same Madras Coral plaid cardstock. Using the stitched leaf cutout pieces only, I adhered them in a line across the center of the card.
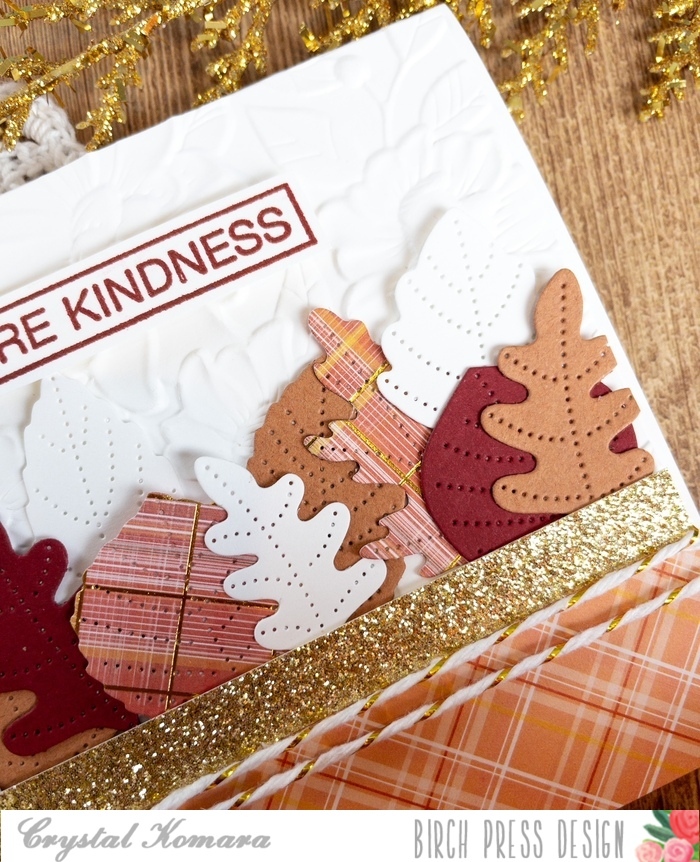
I stamped the sentiment “you inspire kindness” in cherry ink on white cardstock. This stamp is from the Awesome Ticker Tape clear stamp set. I adhered the sentiment to the card using 3M foam adhesive for added dimension.

Ooh, I just can’t wait to create more fall themed cards. I’m here for all the cozy sweater vibes and yes, even the PSL (pumpkin spiced lattes) too! ; )
Thanks for visiting and have a wonderfully creative day!

Supplies