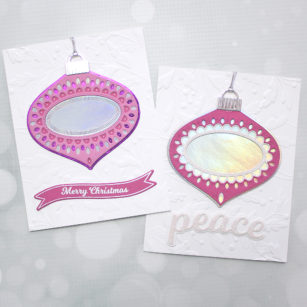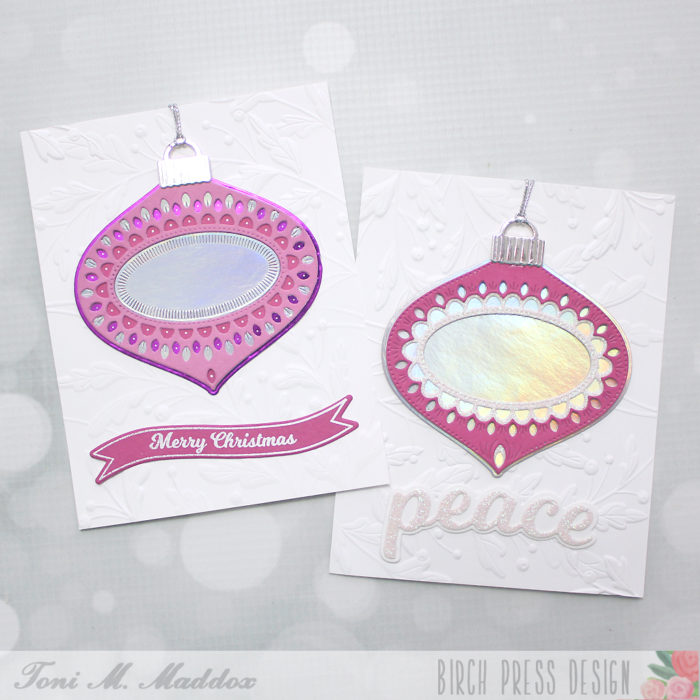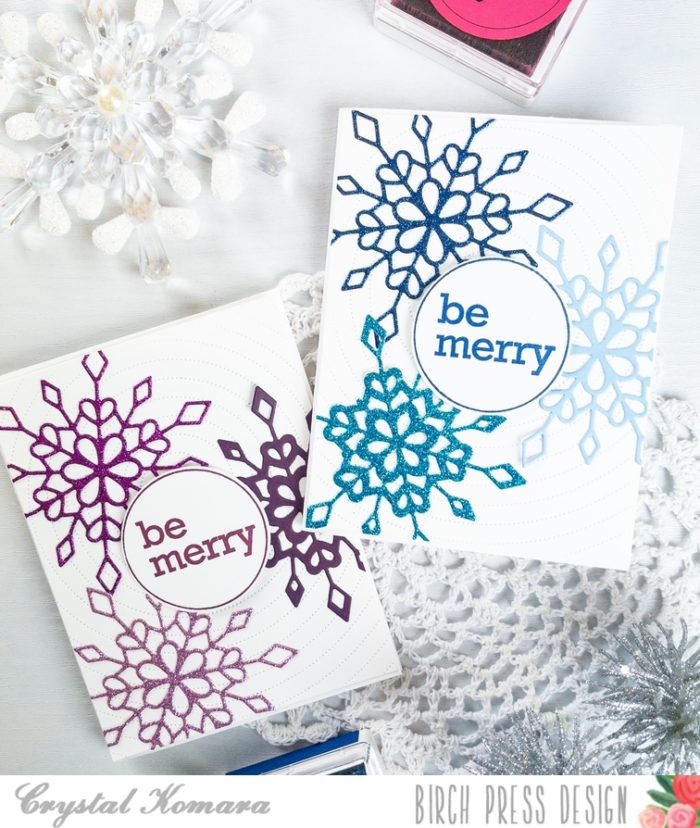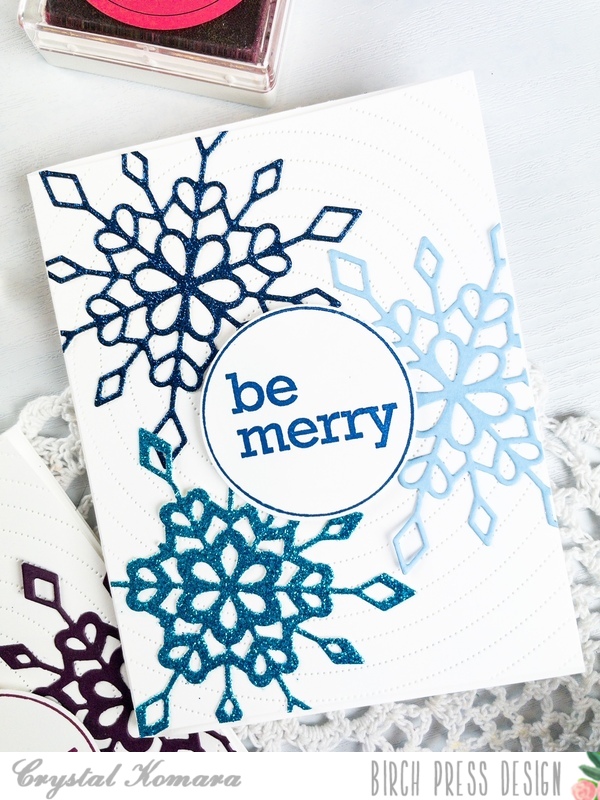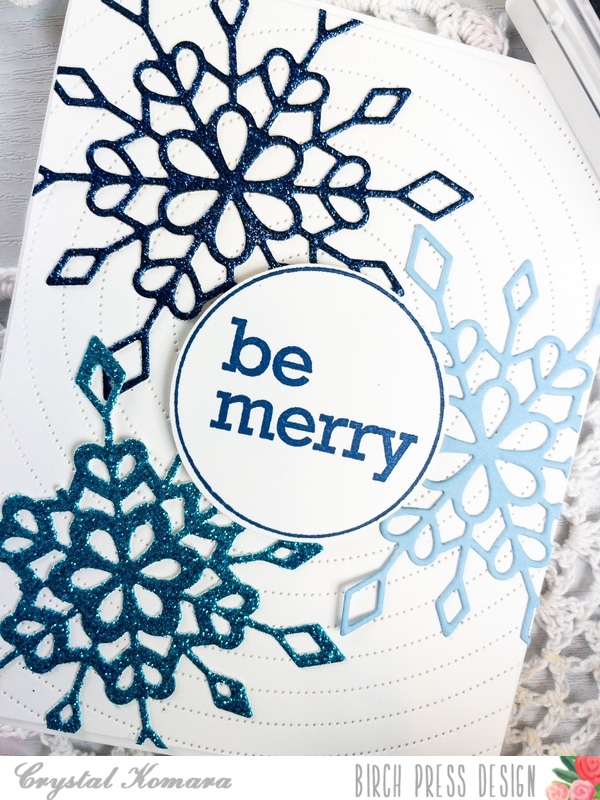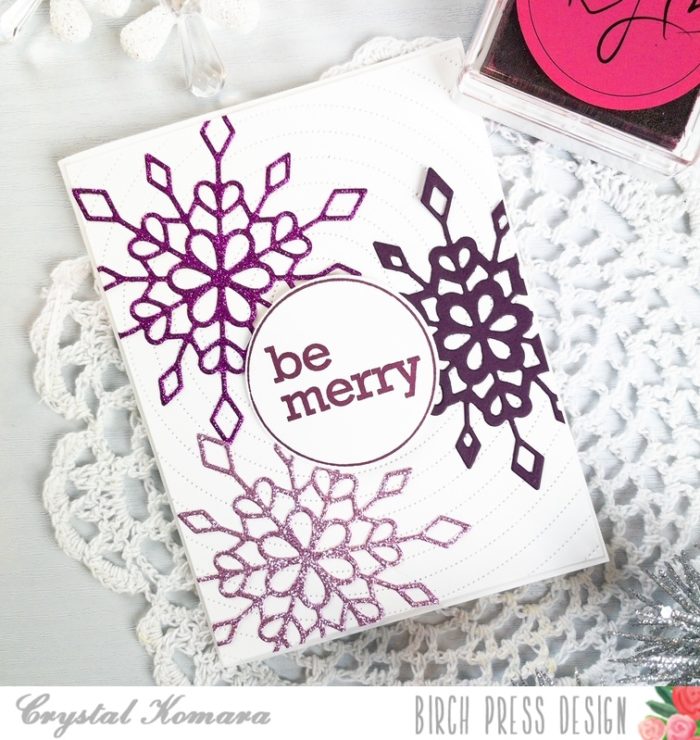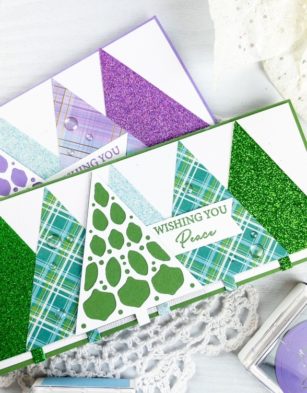
Hello! This is Design Team member Crystal Komara here with you today sharing my last holiday themed cards for 2021! I know there are only four days left until Christmas, so by now it’s more than likely too late to send those cards out, so think of it as a head start on next year’s cards!
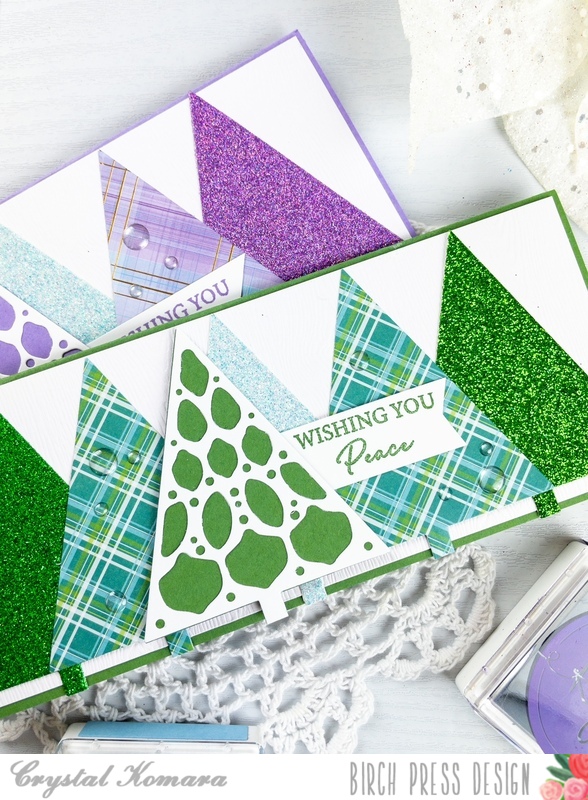
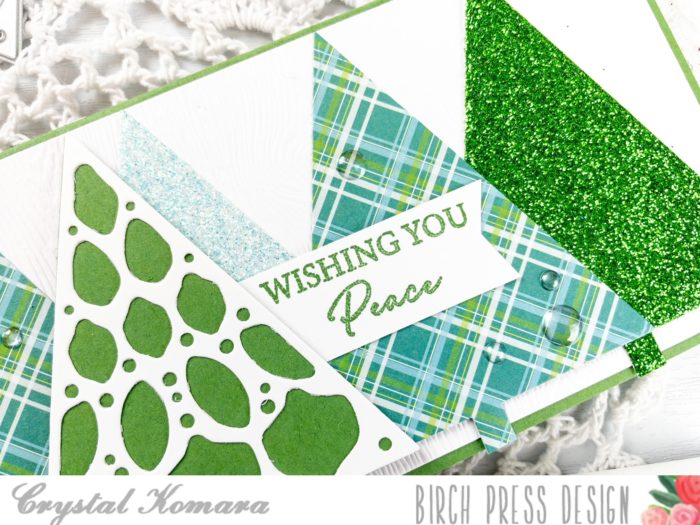
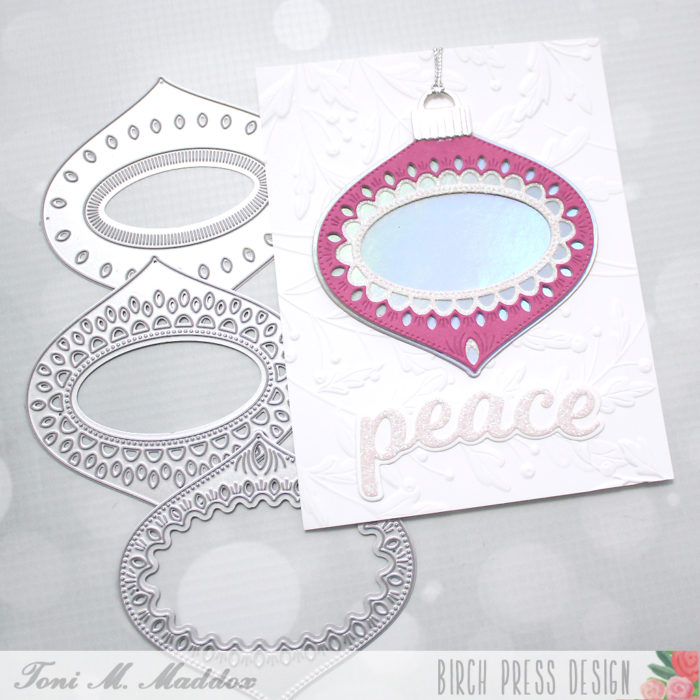
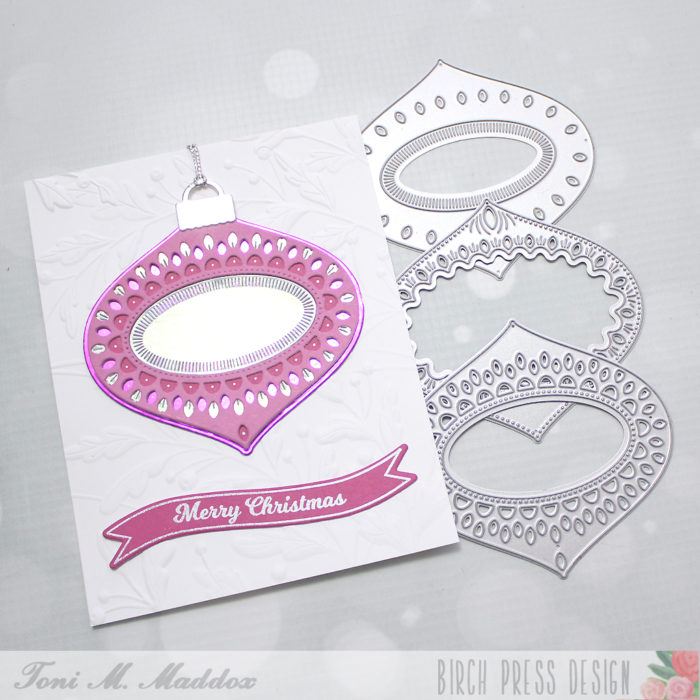
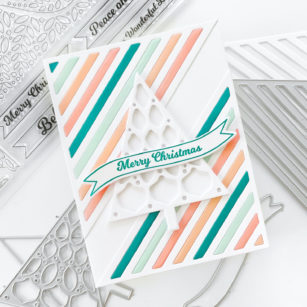
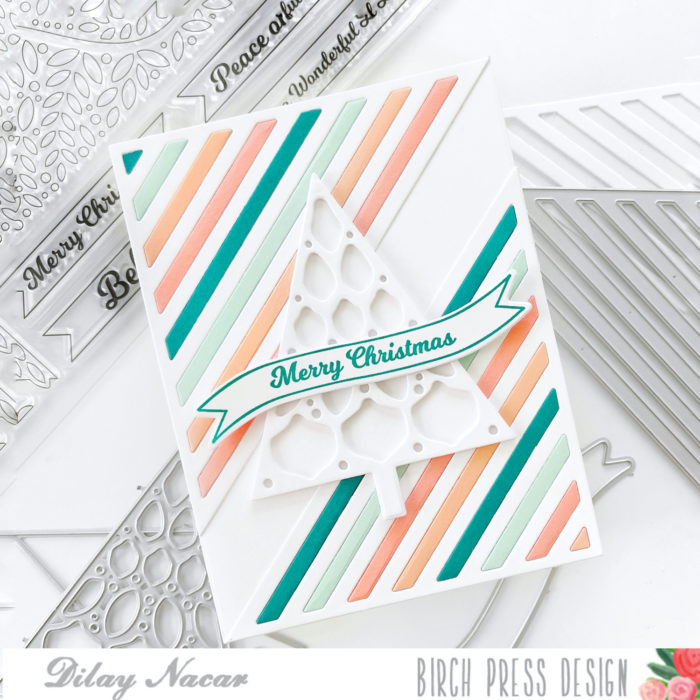
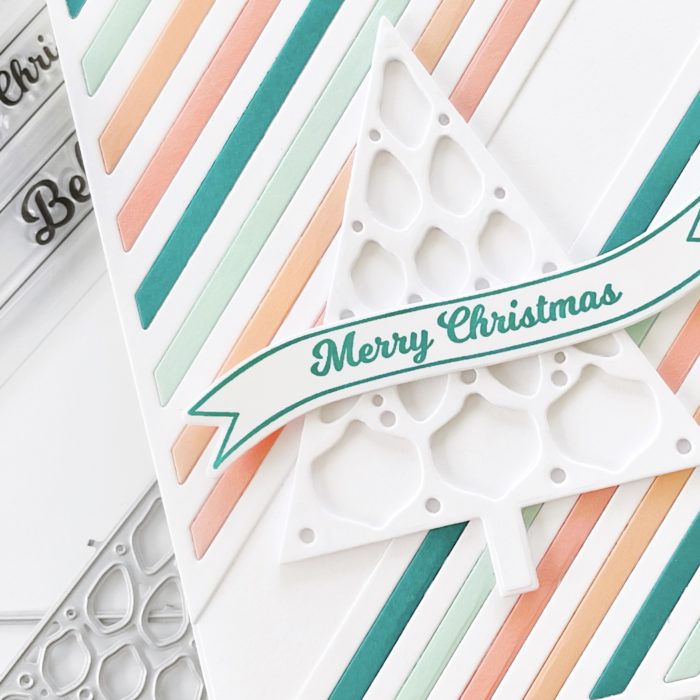
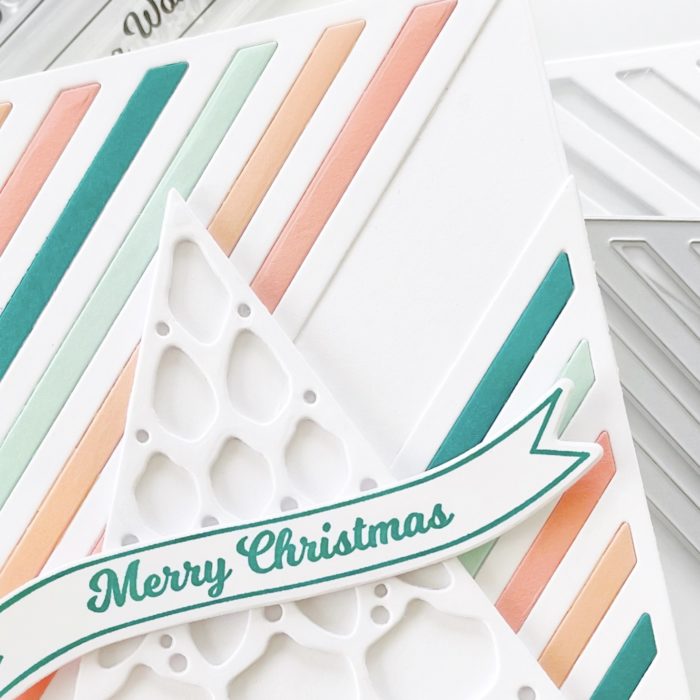
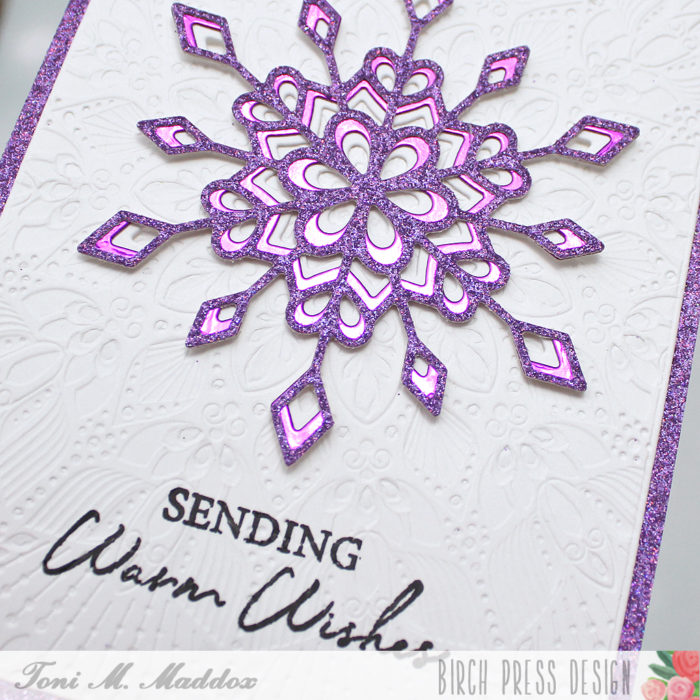
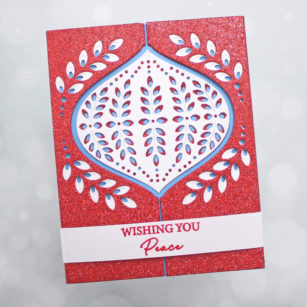
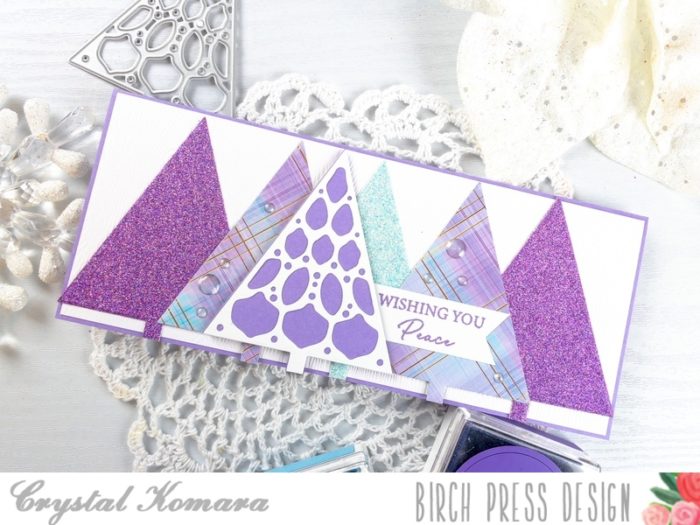
I just love this new Christmas Mandala Tree stamp and coordinating dies, though for these cards, I only used the two tree dies!
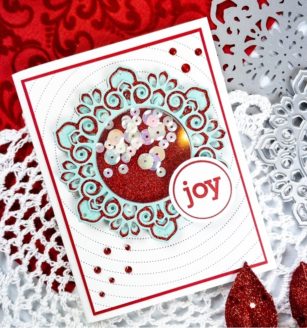
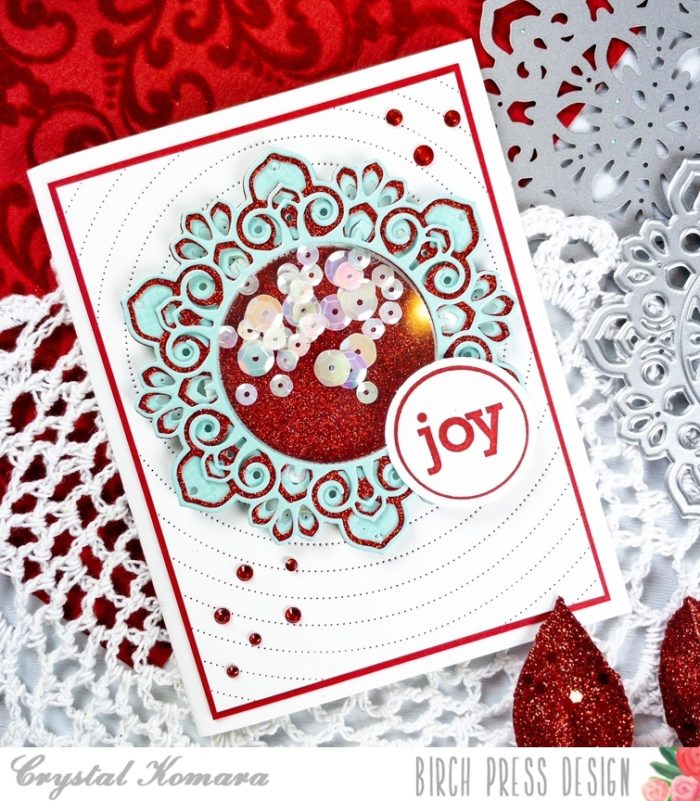
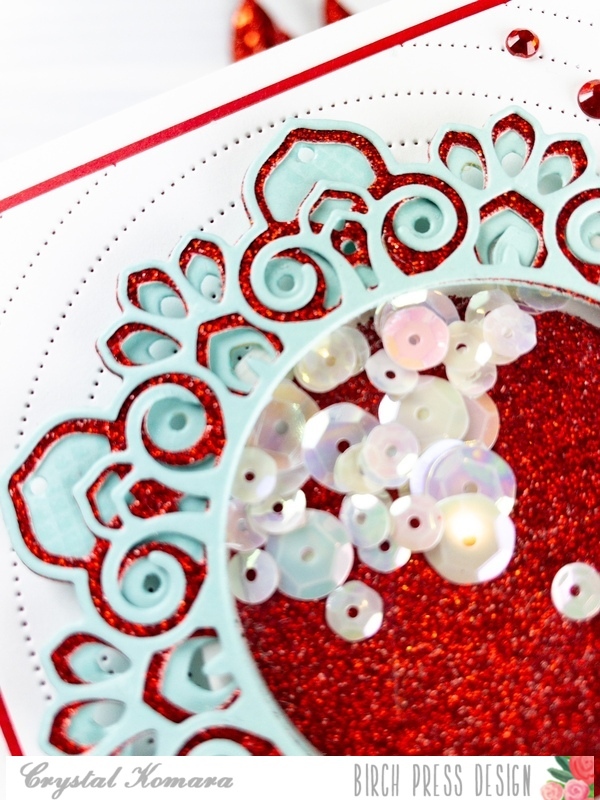
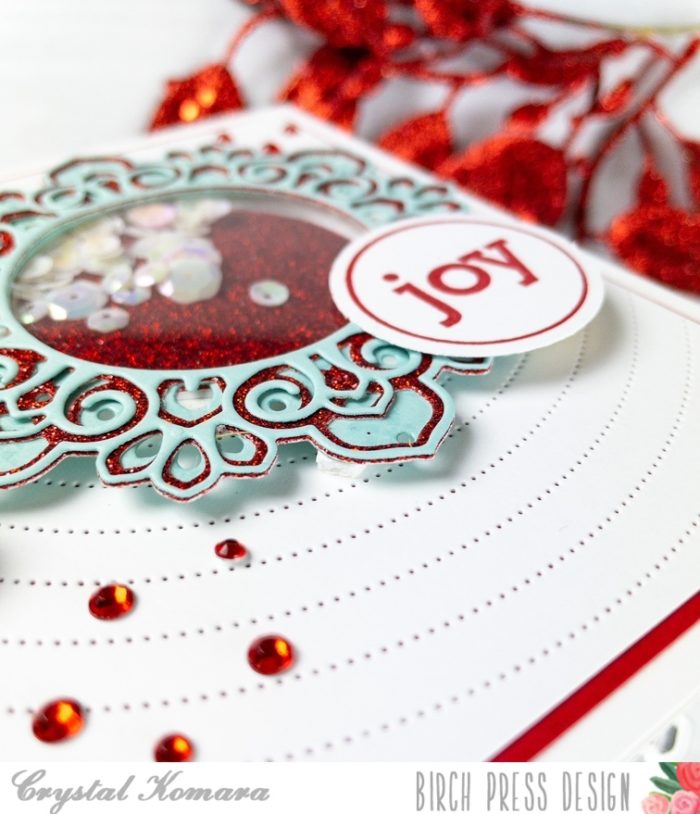
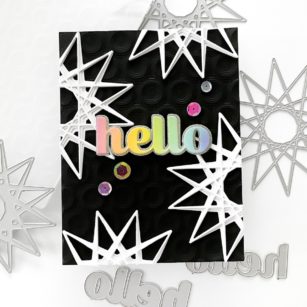
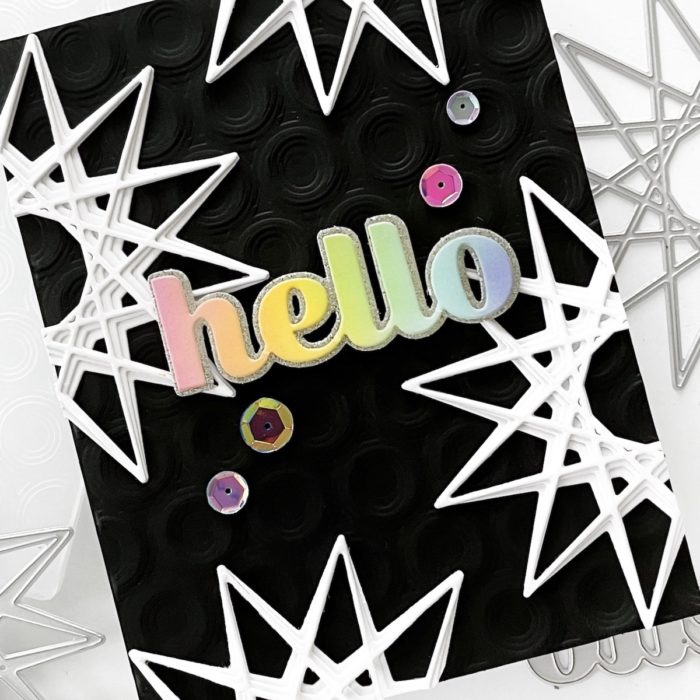
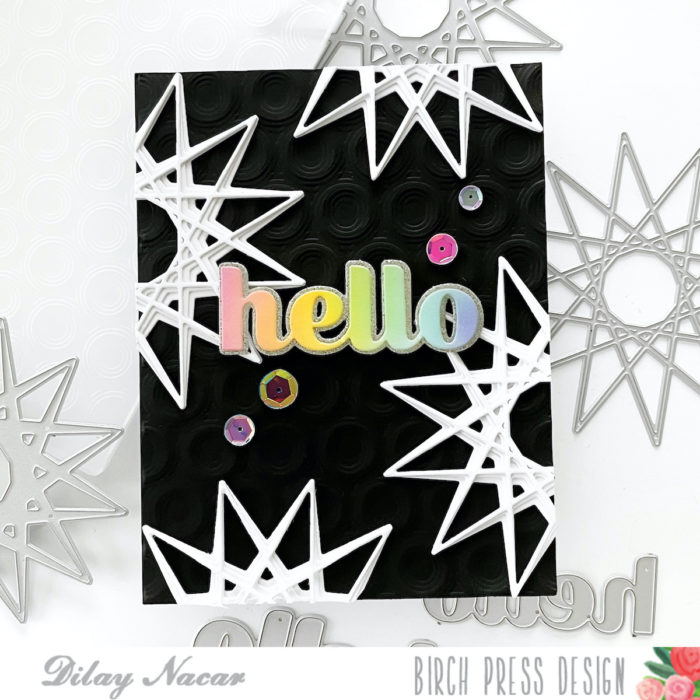
Card details:
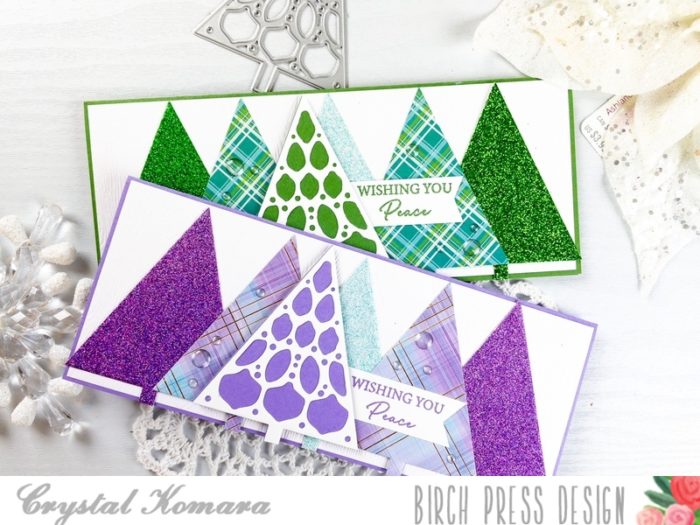
*Please note – both cards were made the exact way I just used alternate color combinations for each card to show variety.
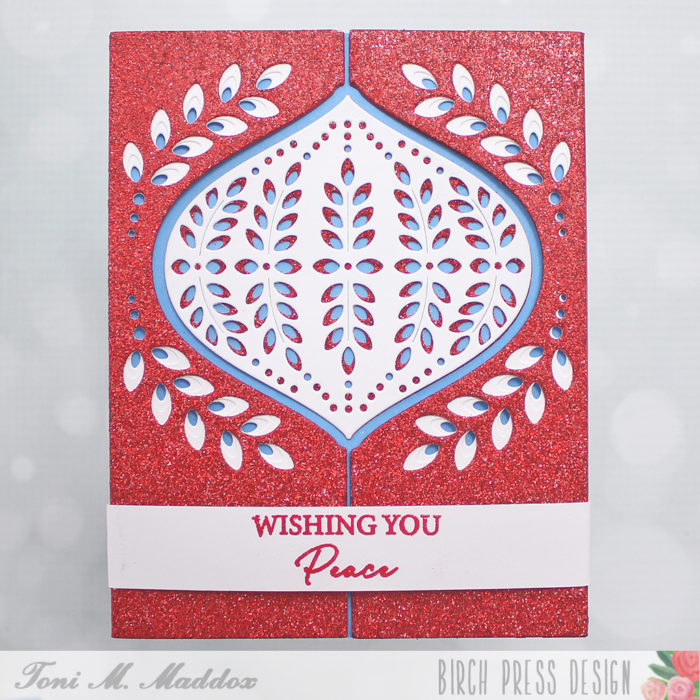
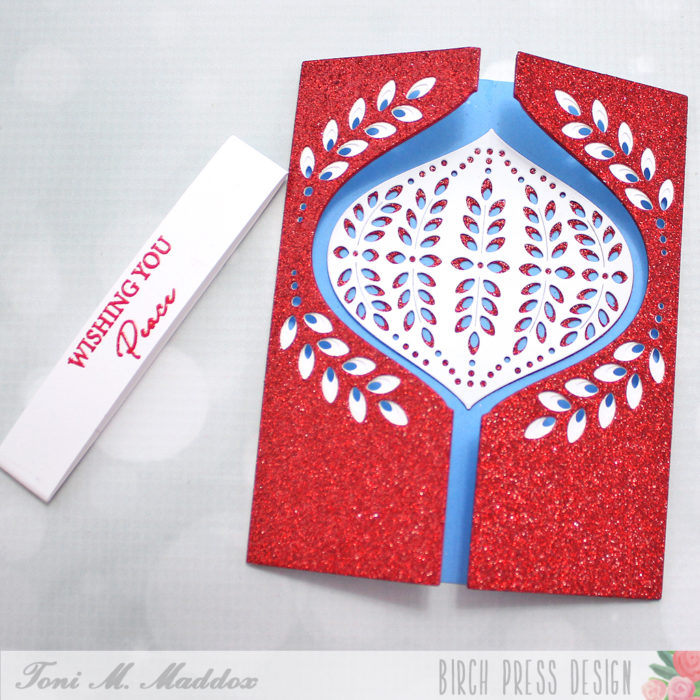
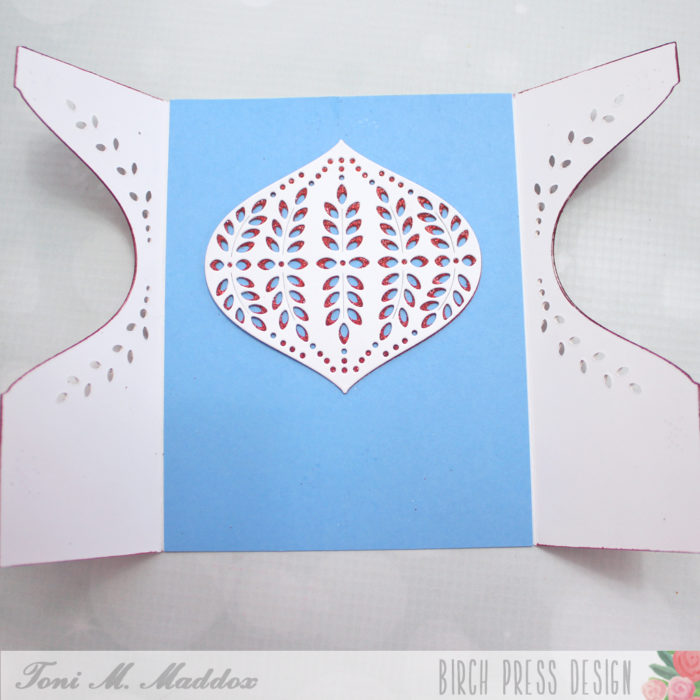
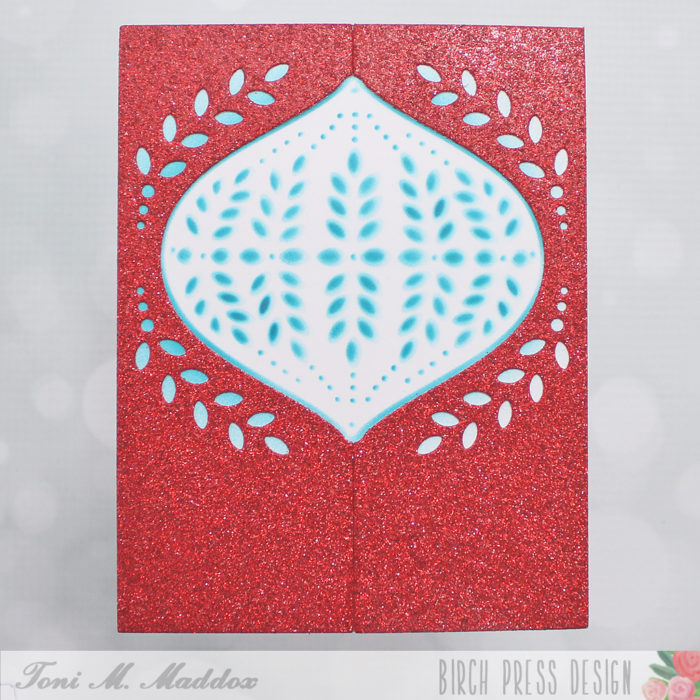
These slimline cards measure 8 1/2″ x 3 1/2″ inches. Slimline cards are designed to fit inside a regular #10 business mailing envelope and require no additional postage. For one card I used a lilac purple cardstock base and the other I used a garden green cardstock base. I lined each cardstock base with an 8 1/4″ x 3 1/4″ piece of 80 lb. Neenah Solar White smooth cardstock. I then started die cutting trees for each card. For the purple trees, I used some of the glitter cardstock from the 6″ x 6″ Graceful Garden Glitter pad and some extra purple plaid paper I pulled from my scrap bin. For the green trees, I used glitter cardstock from the 6″ x 6″ Frosted Glitter pad.
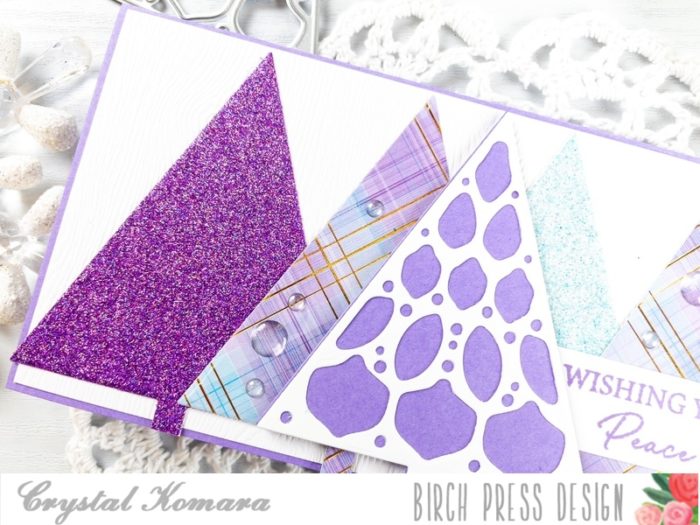
I adhered the first five trees directly to the card base. I adhered the “top” tree (with the mosaic cutouts) to the center of the card using 3M foam adhesive for added dimension. On thin white strips of cardstock, I stamped the sentiment “wishing you peace” in either green or purple ink. This sentiment is also included in the Christmas Mandala stamp set.
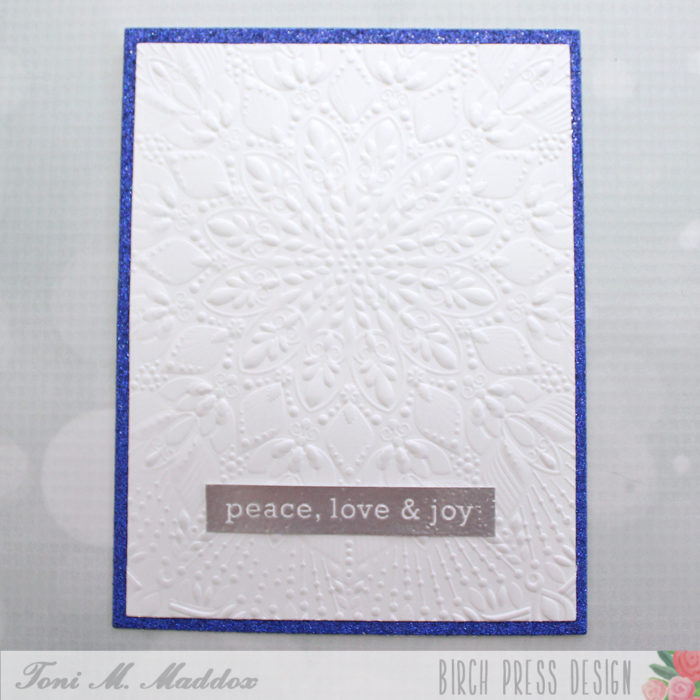
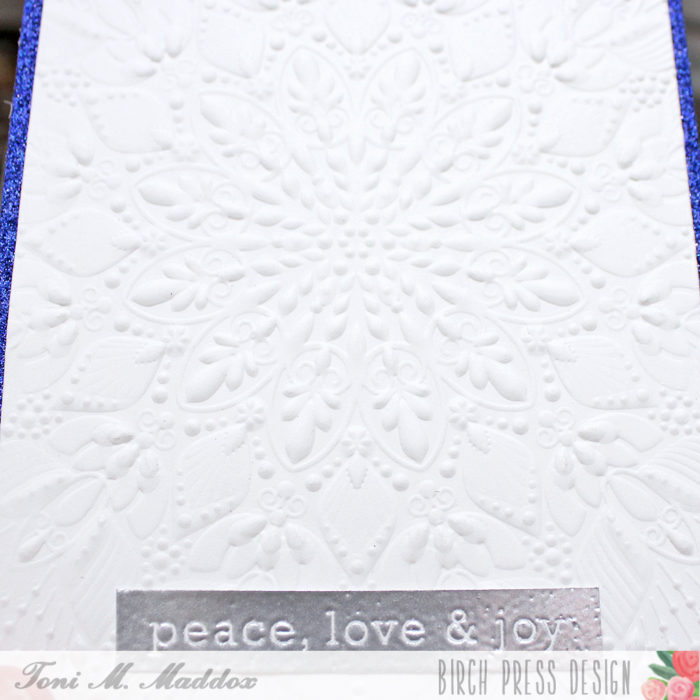
Thank you for visiting! I wish you all a very Merry Christmas, Happy Hanukkah, Feliz Navidad & Happy Kwanzaa! Whatever you celebrate, may your festivities be filled with peace, love and joy. I’ll see you in the New Year!

Supplies