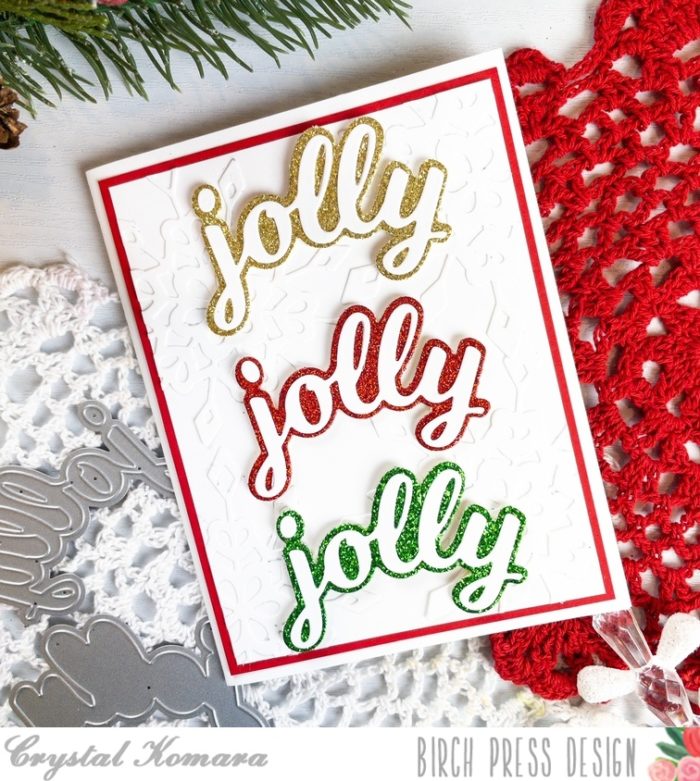
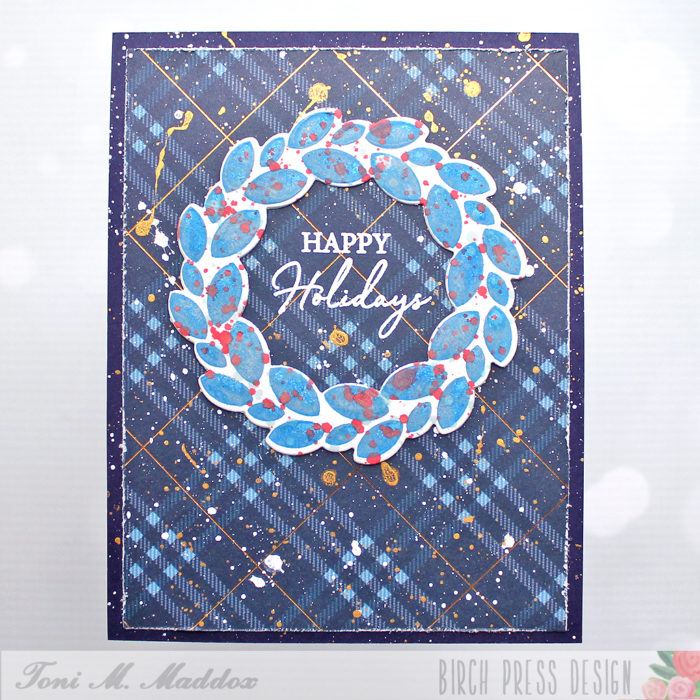
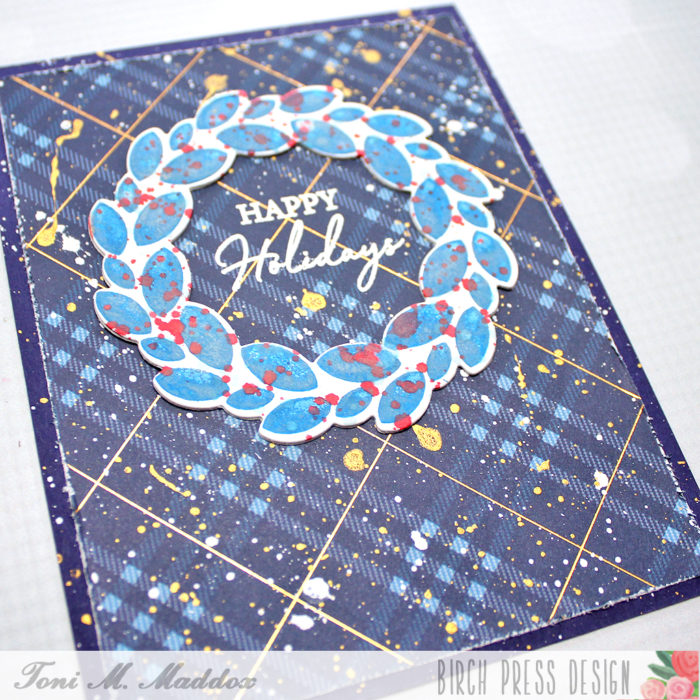
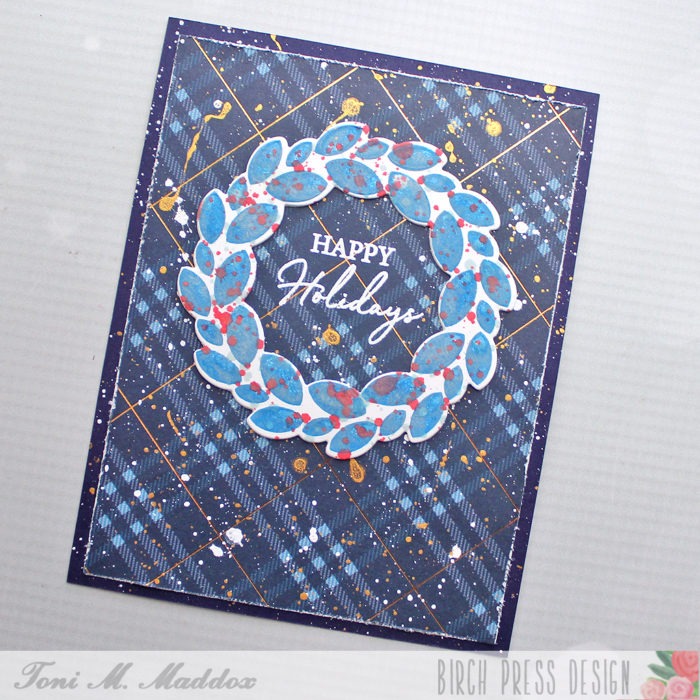
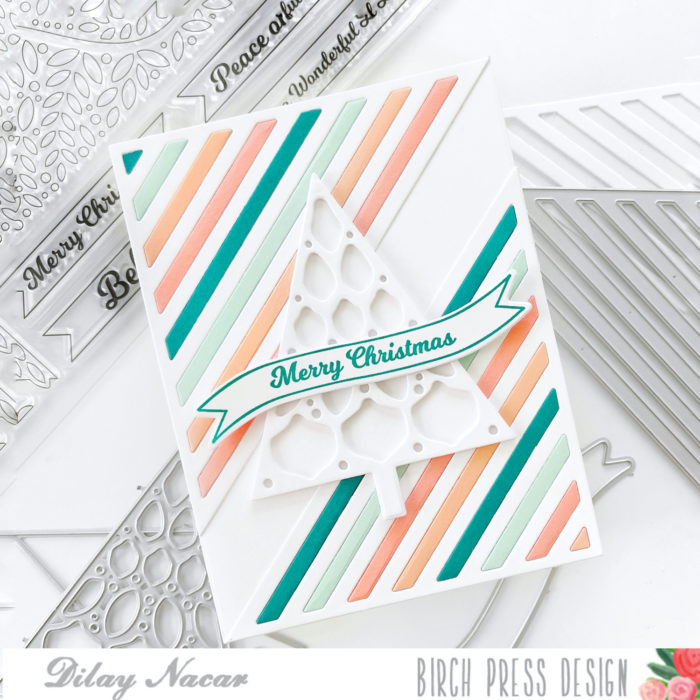
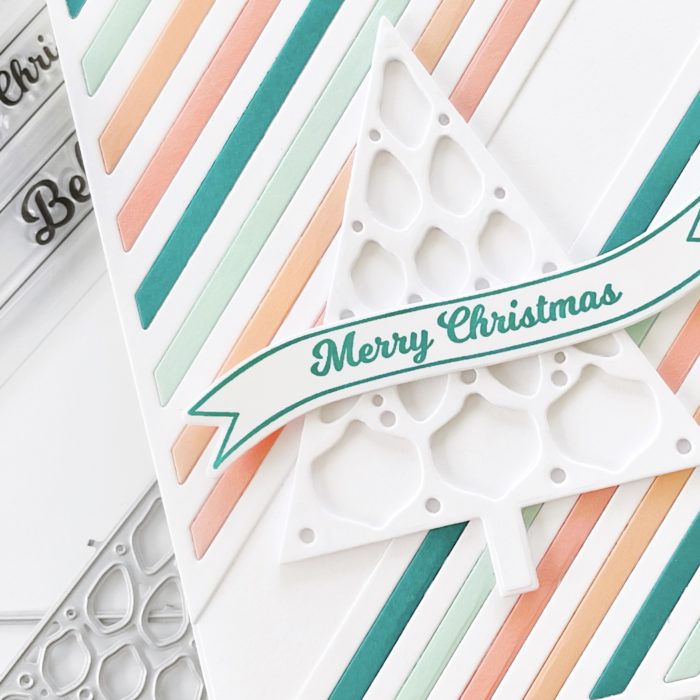
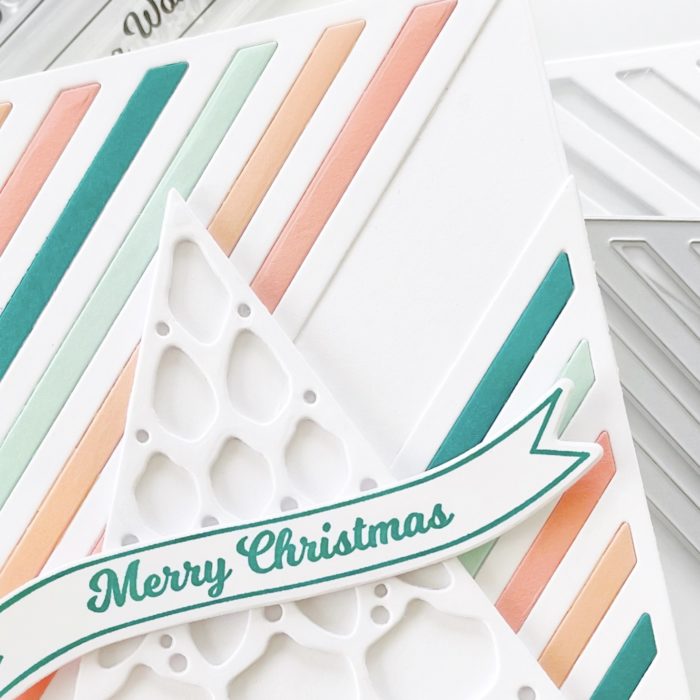
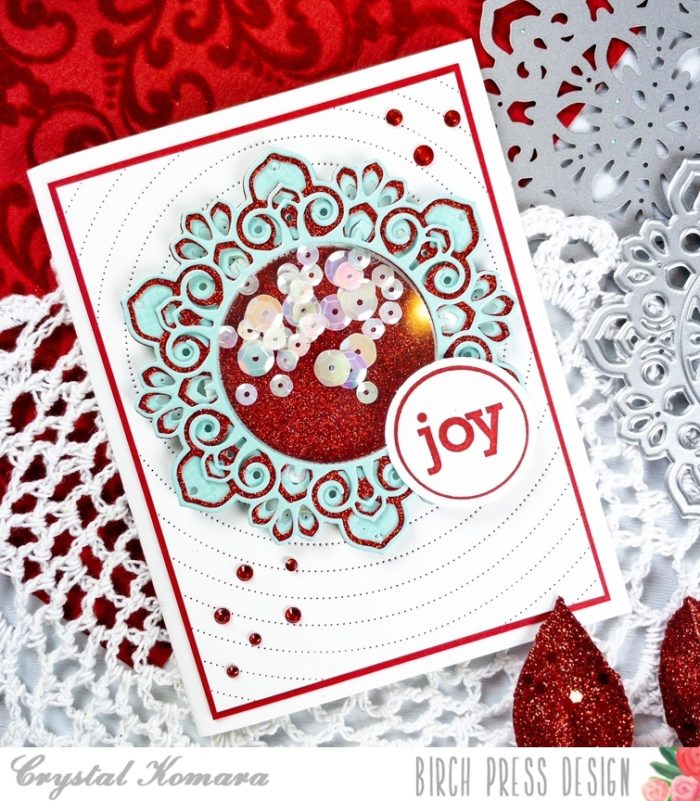
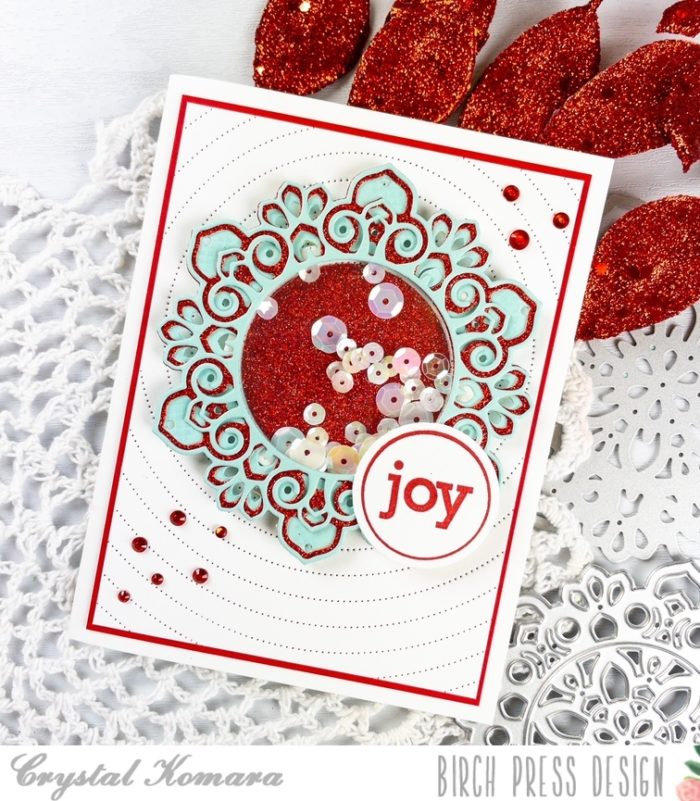
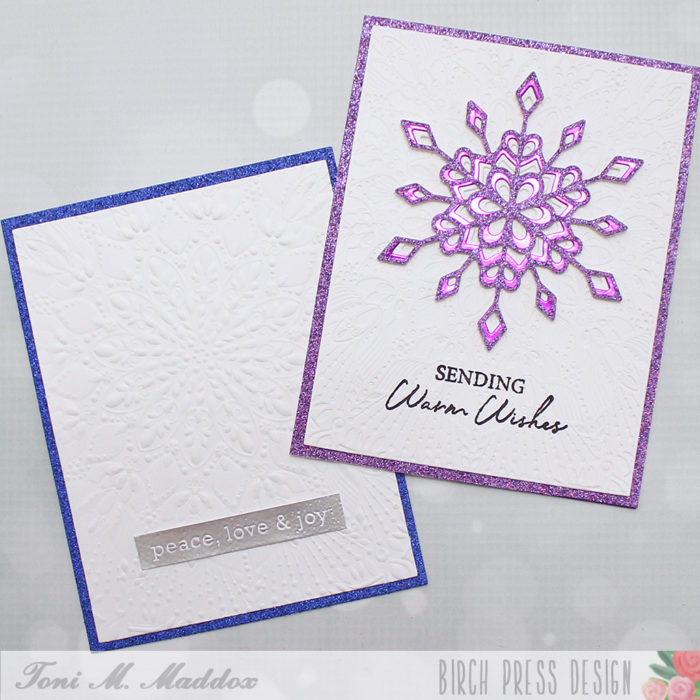
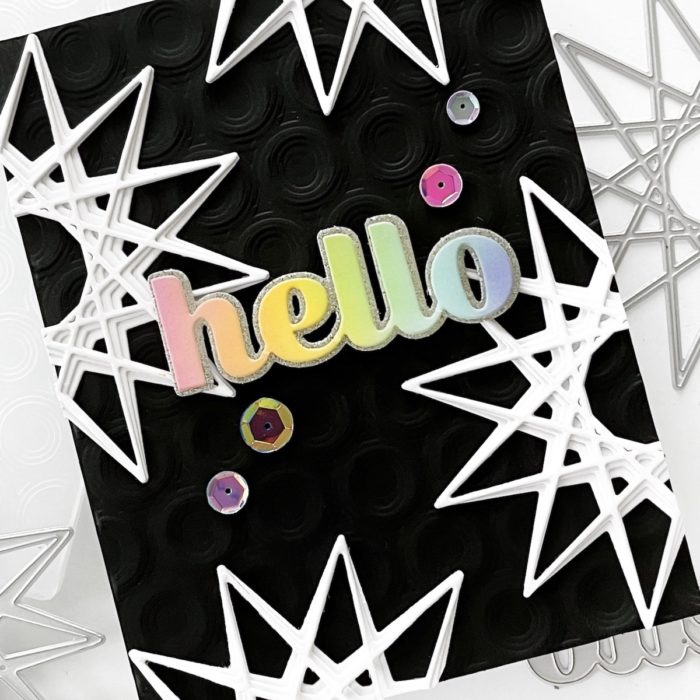
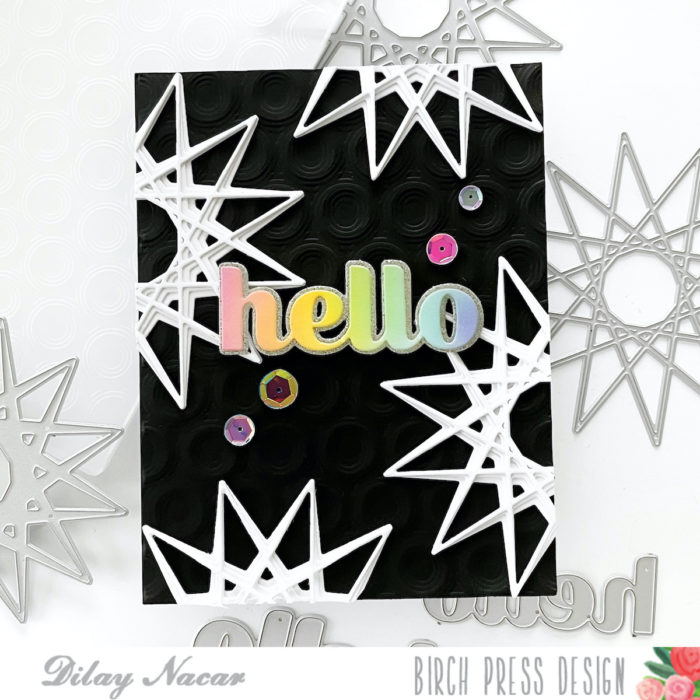
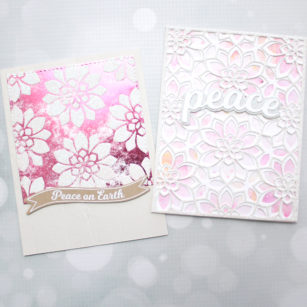
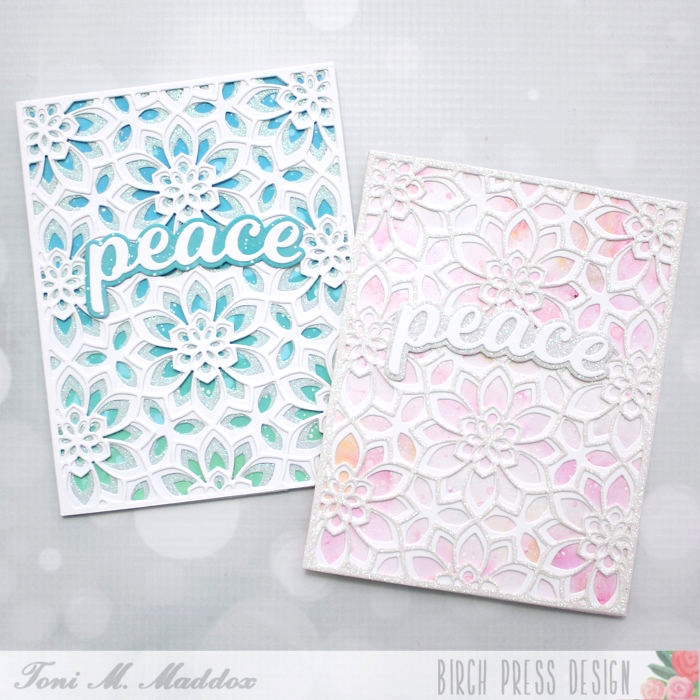
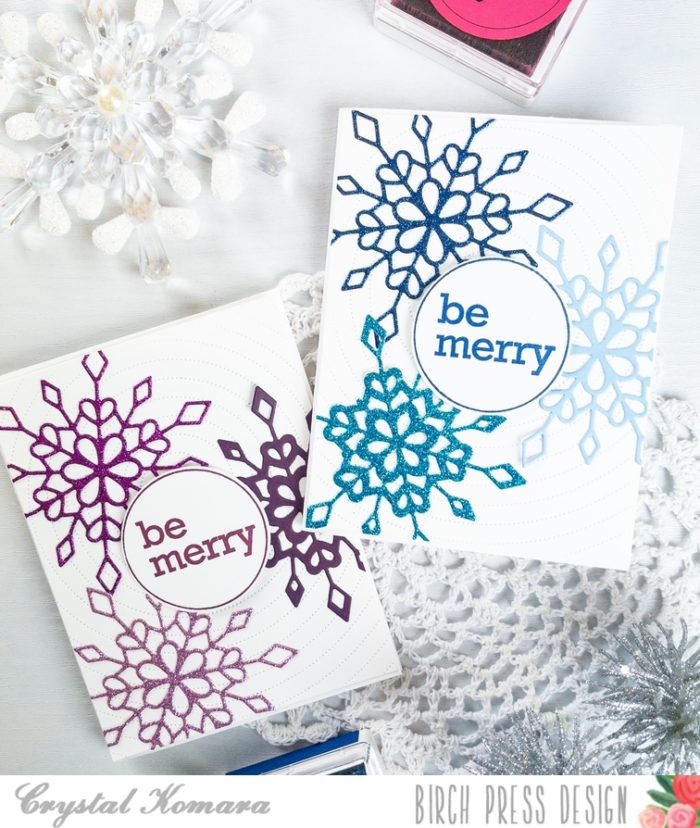
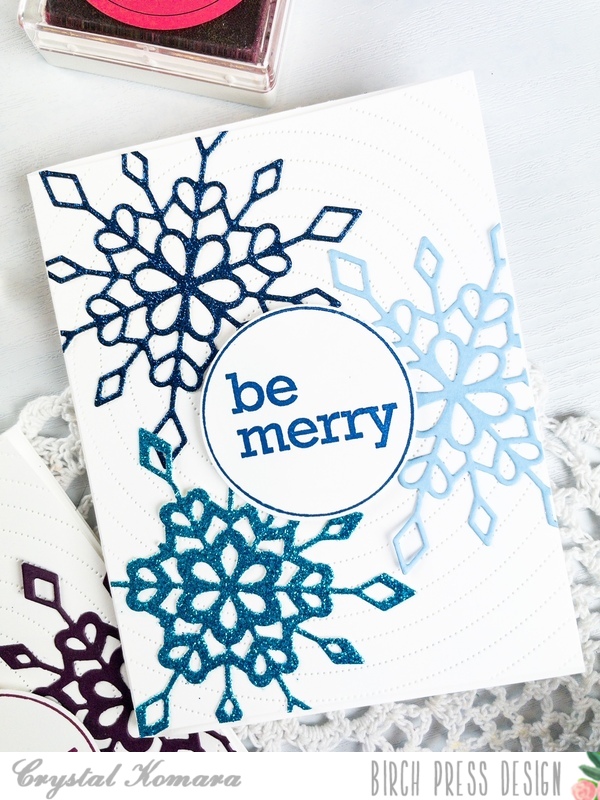
Hello readers! I can’t believe we are only 11 days away from Christmas! I am proud of myself for getting all 121 of my handmade Christmas cards out (and on time) this year! Although, my friends in Austria and Germany may see their cards around Valentine’s Day. . . I tried. Today I am sharing two cards made using the Frosty Snowflake Layering dies and while the sentiment on these cards says, “be merry,” they could easily be made into winter birthday cards or holiday thank you cards by simply changing out the stamped sentiment.
Card details:
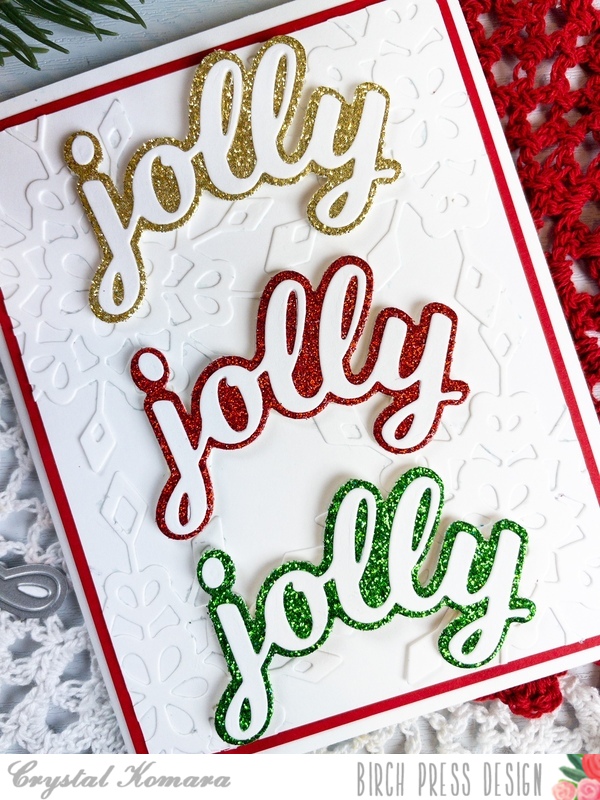
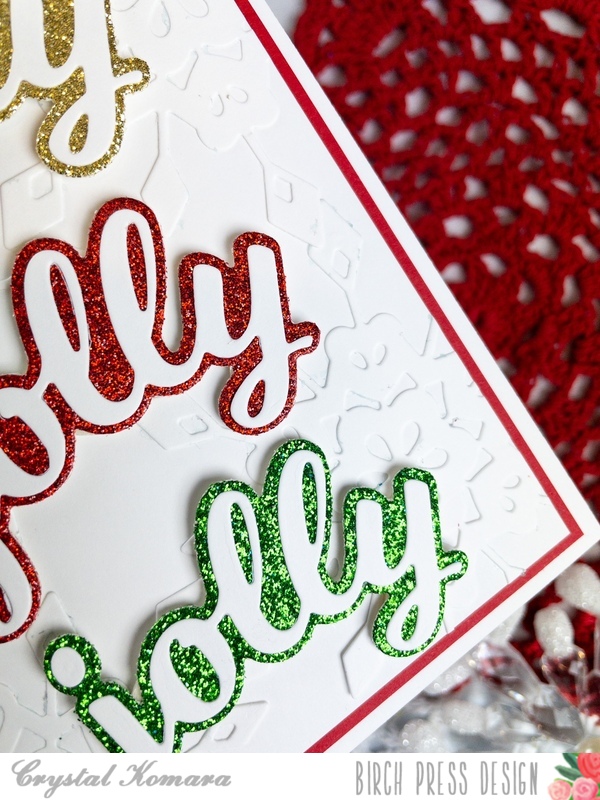
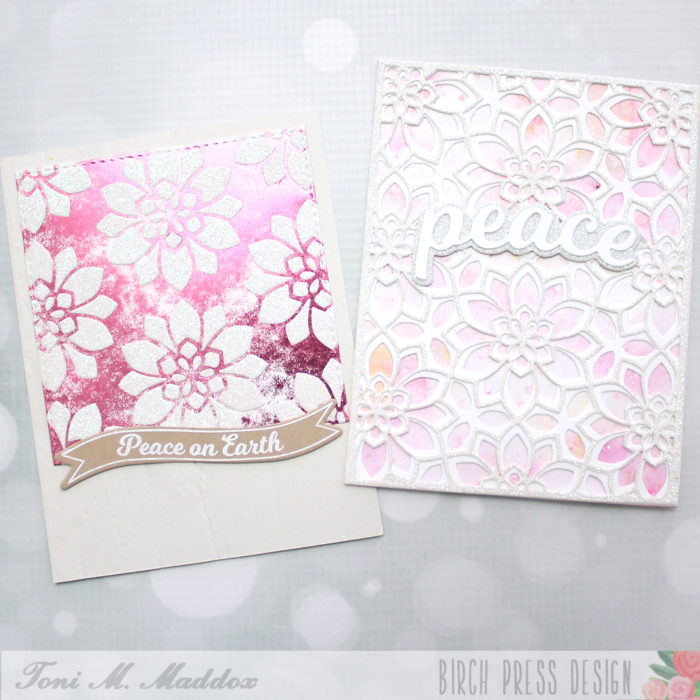
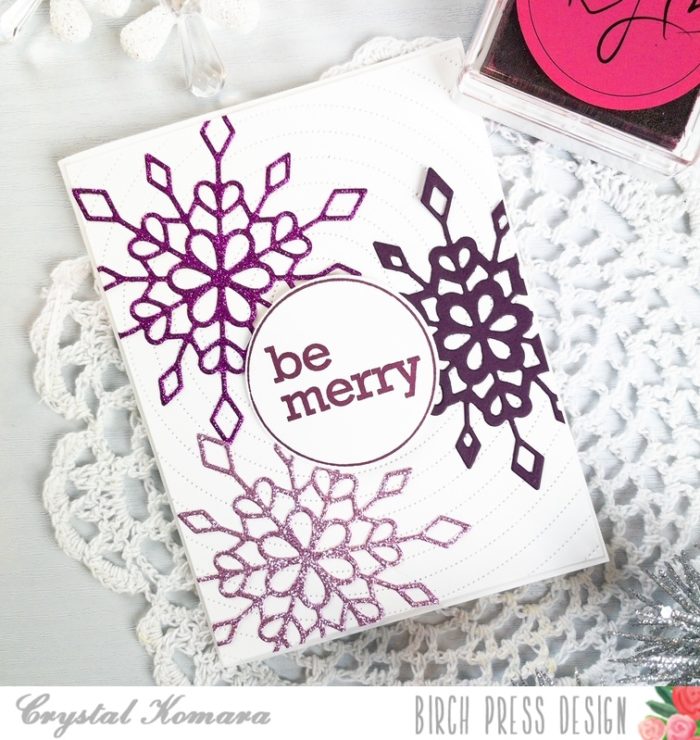
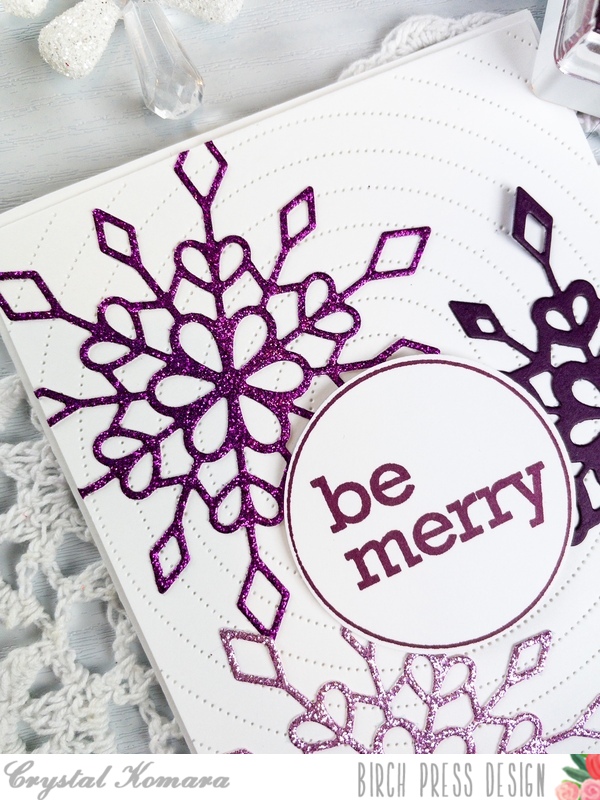
*Note – both of these cards were made the same way, I just changed out the color combinations.
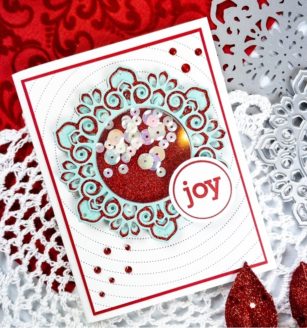
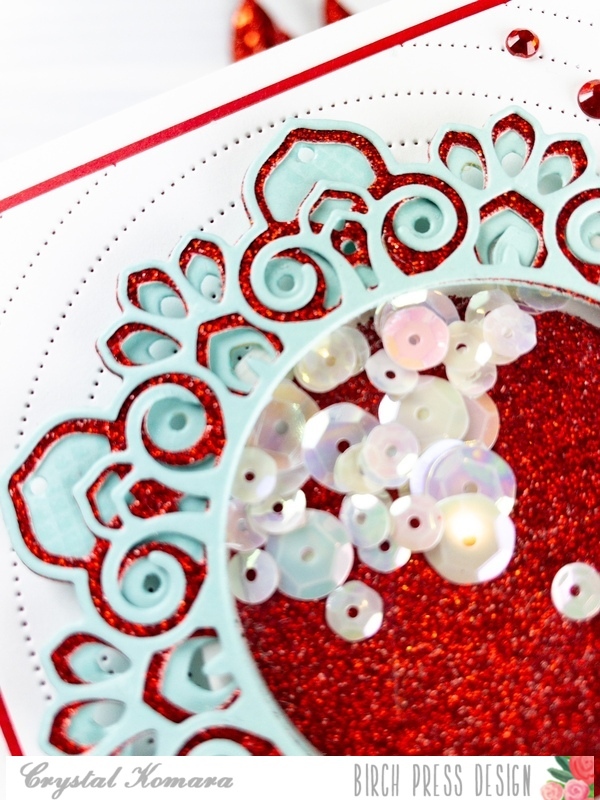
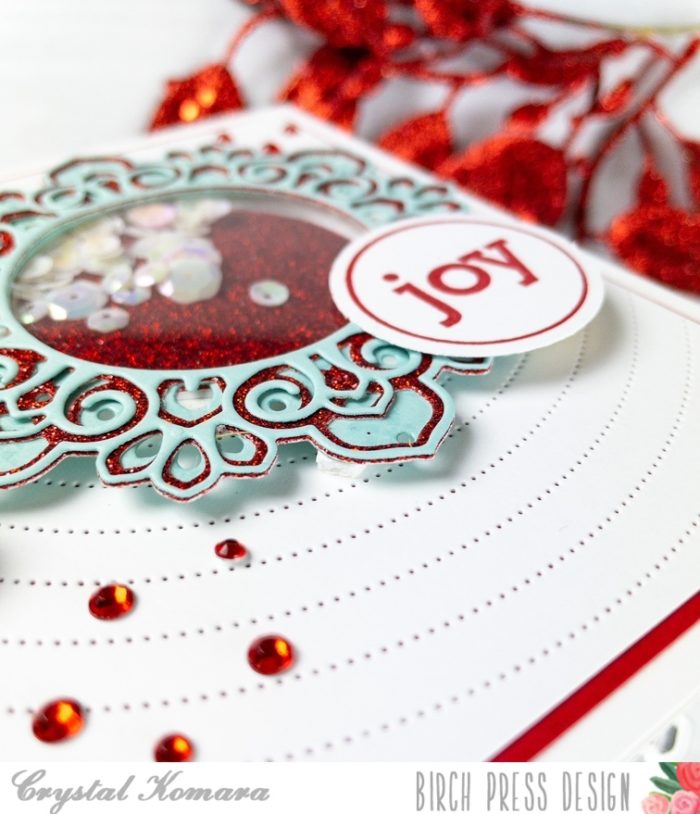
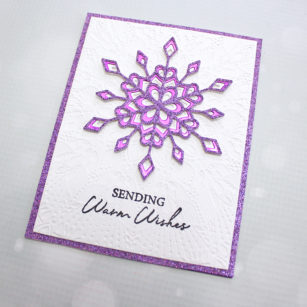
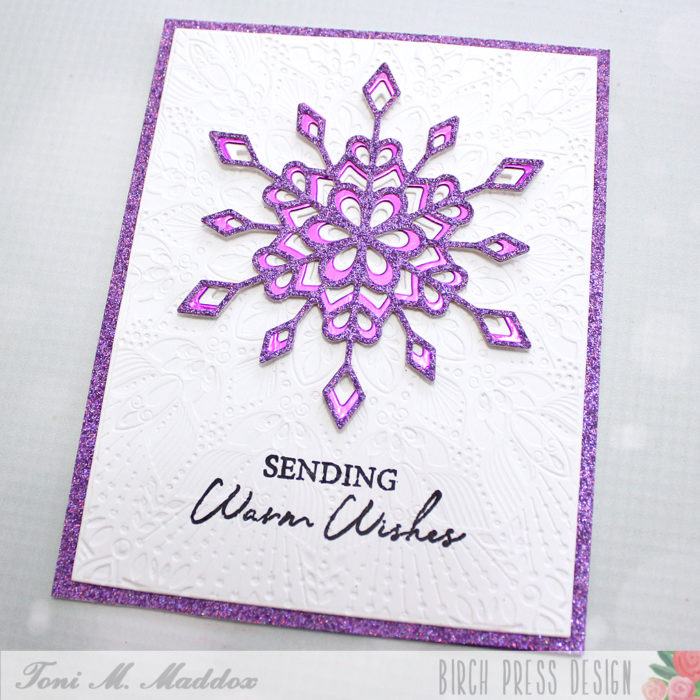
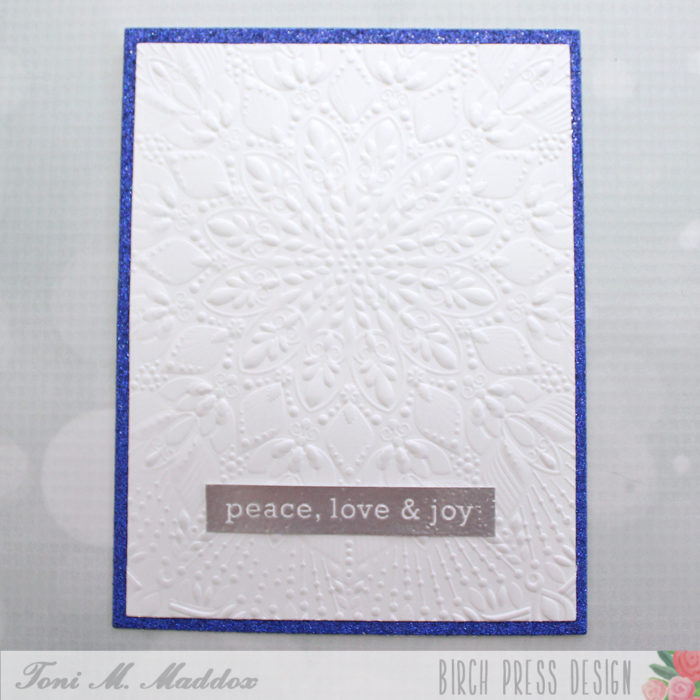
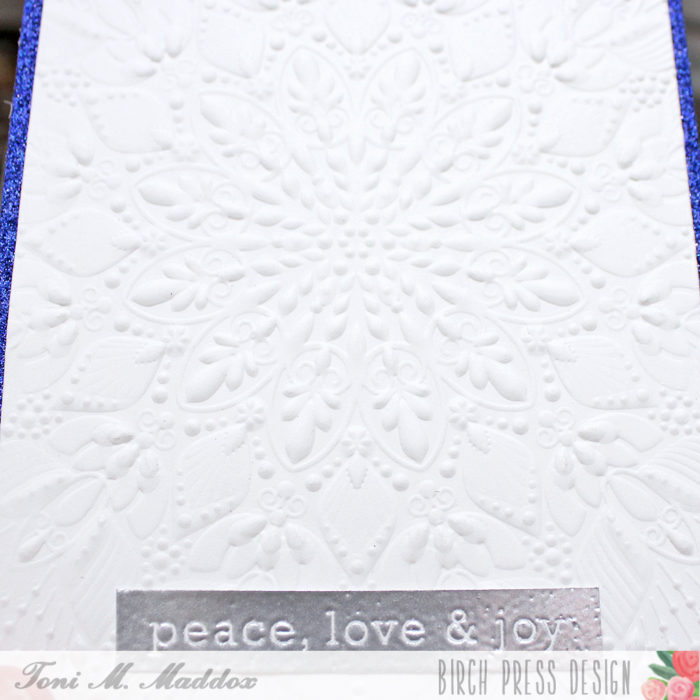
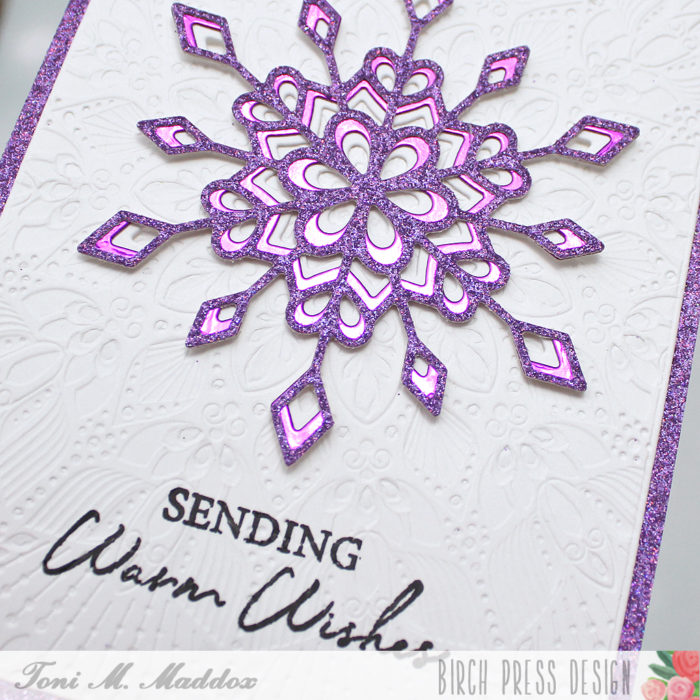
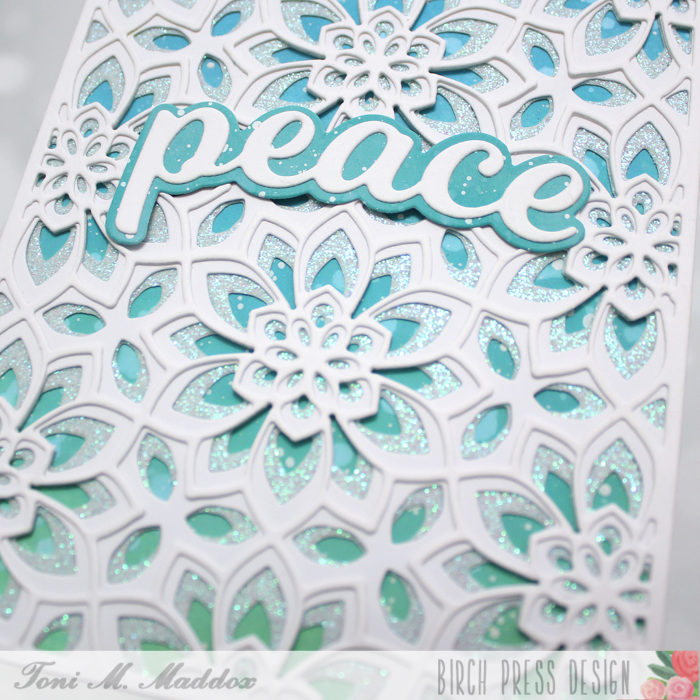
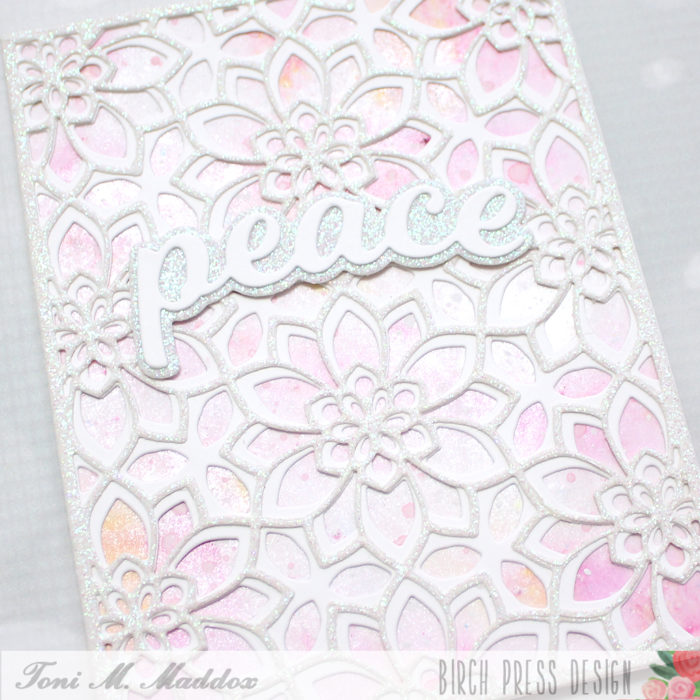
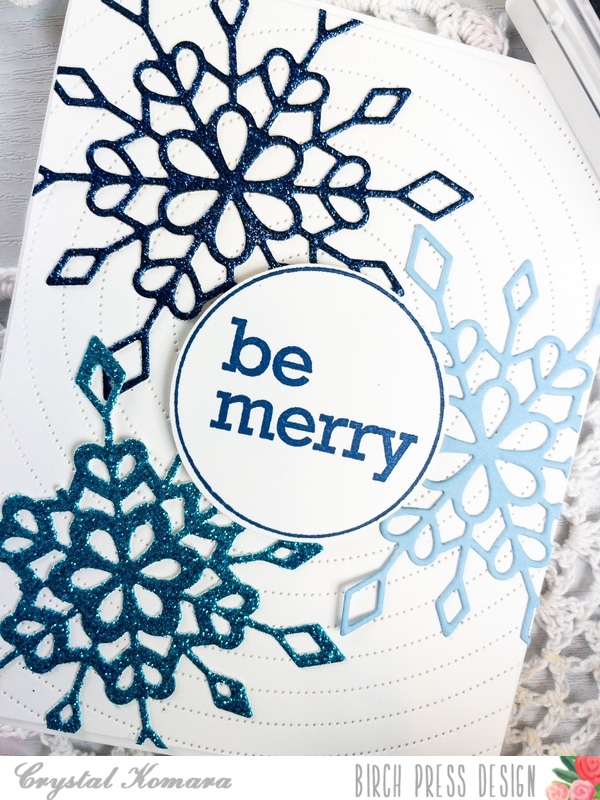
The base of this A2 sized card was made from 80 lb. Neenah Solar White Smooth cardstock. Using the Pinpoint Radial Plate die, I cut the background from the same white cardstock. Using Layer A and Layer B of the Frosty Flakes Layering Dies I cut the snowflakes from the 6″ x 6″ Twinkling Jewel Glitter pad. I adhered the snowflakes directly to the background. Using the Contempo Christmas Greetings stamp set and coordinating die, I stamped the sentiment “be merry” in either blue ink or purple ink and then I used the coordinating circle die to cut the sentiment out. I adhered the sentiment to the center of each card using 3M foam adhesive for added dimension.
Here is the same card made in an alternate color combination:
I hope you have enjoyed these beautiful cards. Thank you for visiting and have a wonderfully creative day!

Supplies