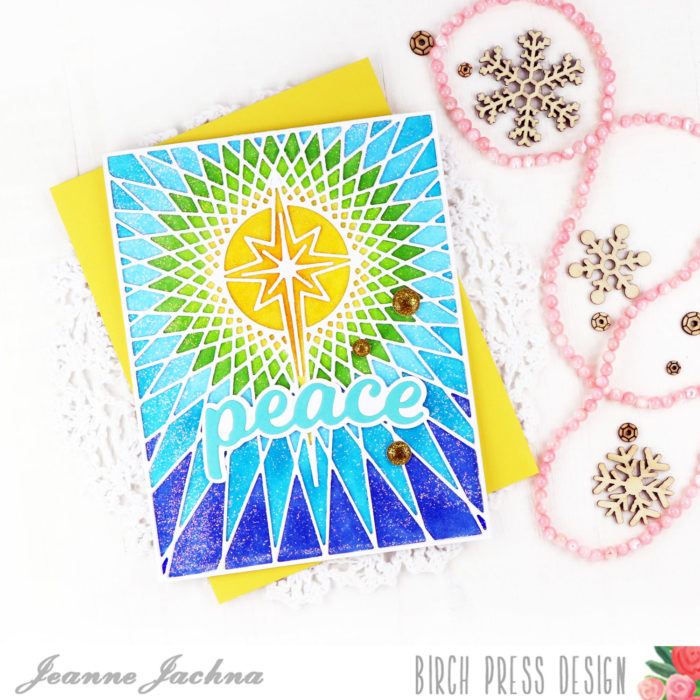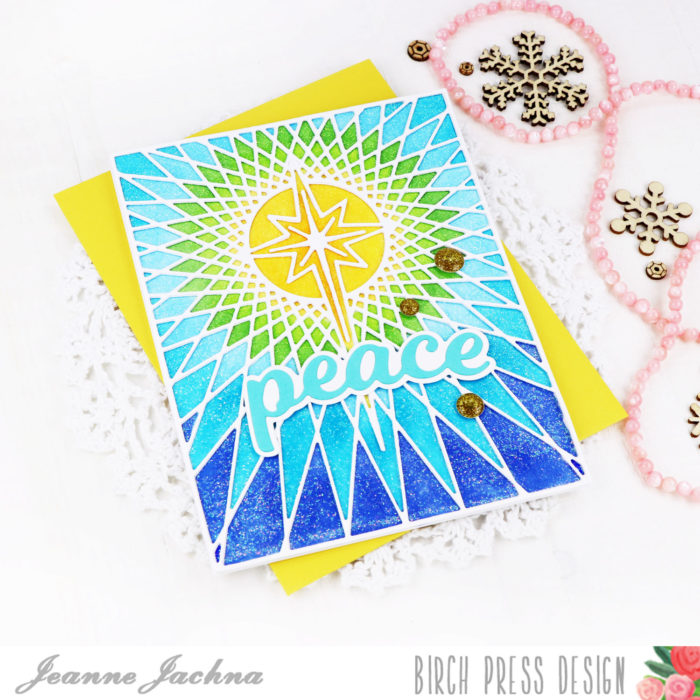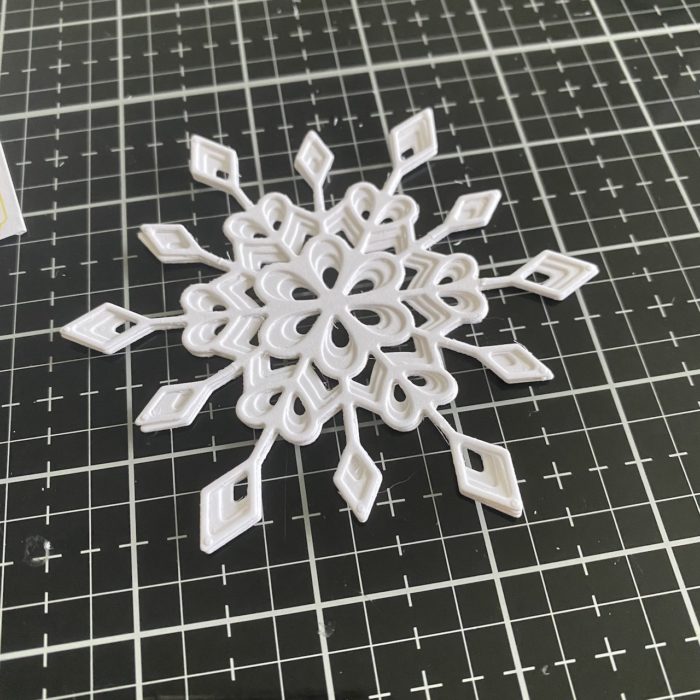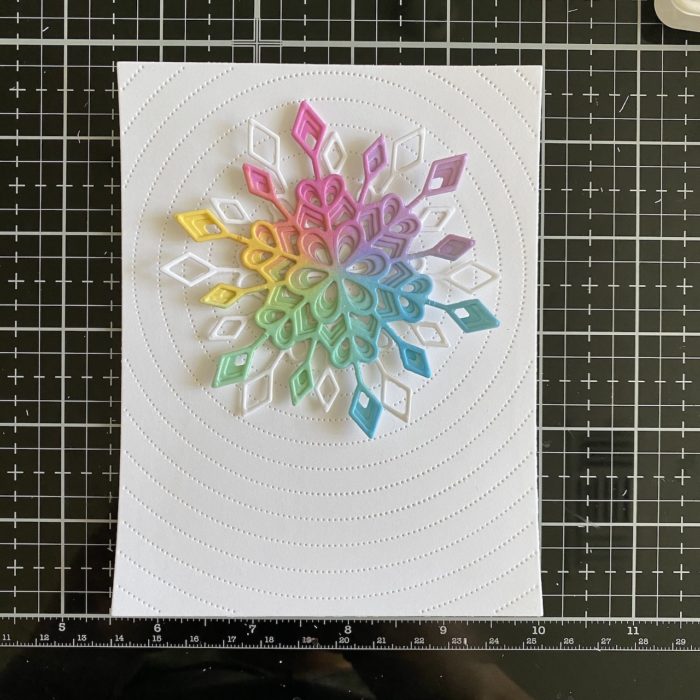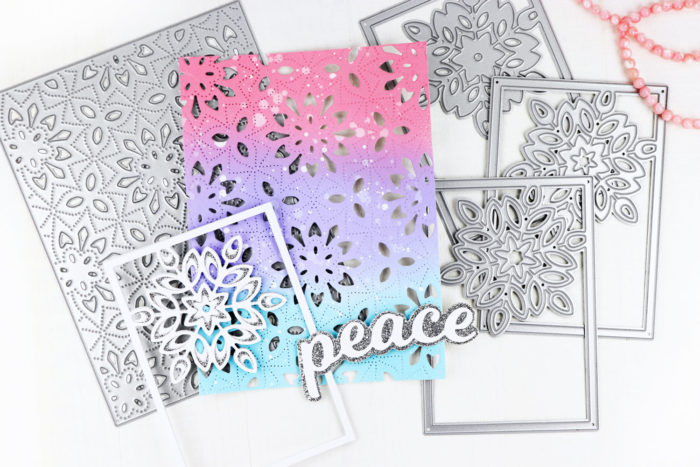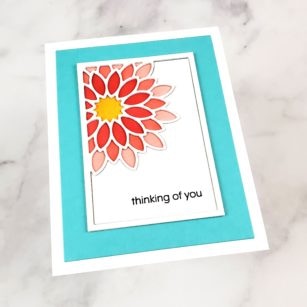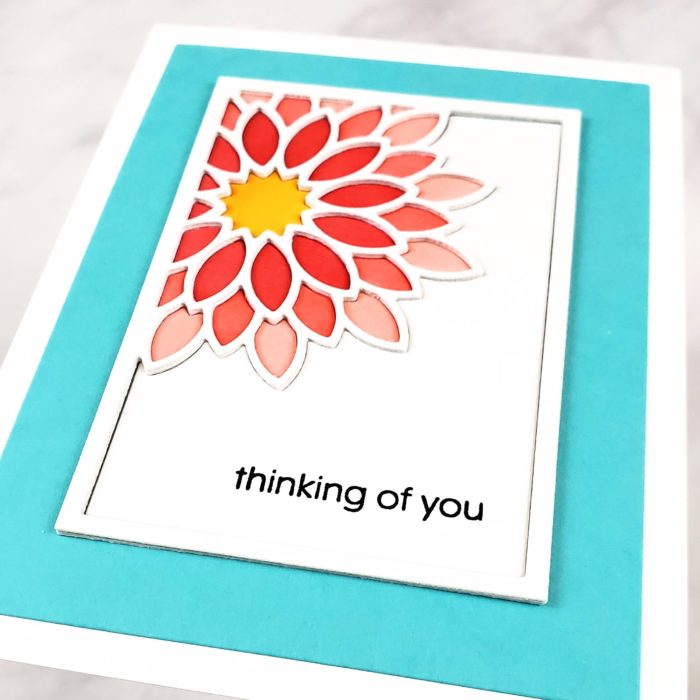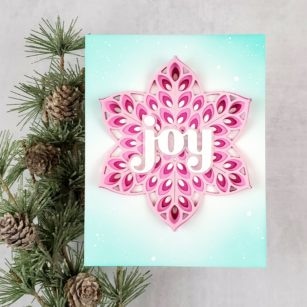
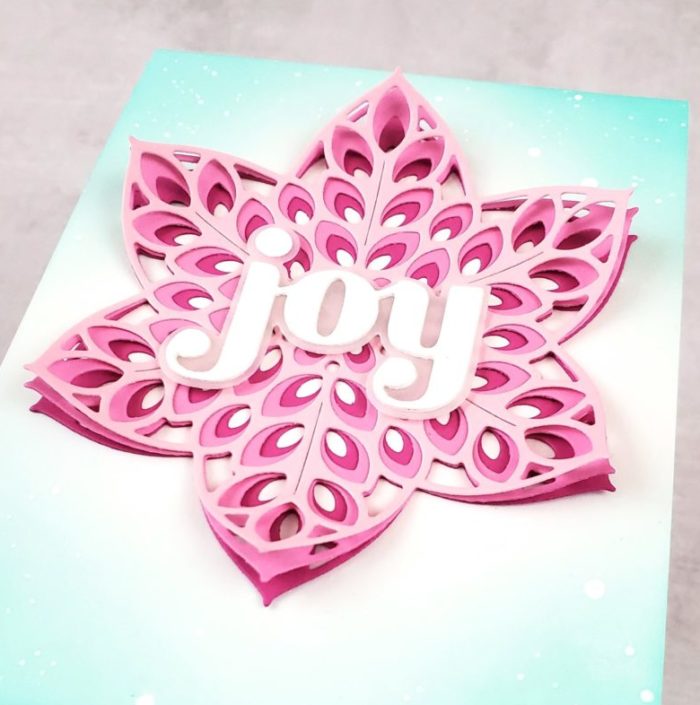
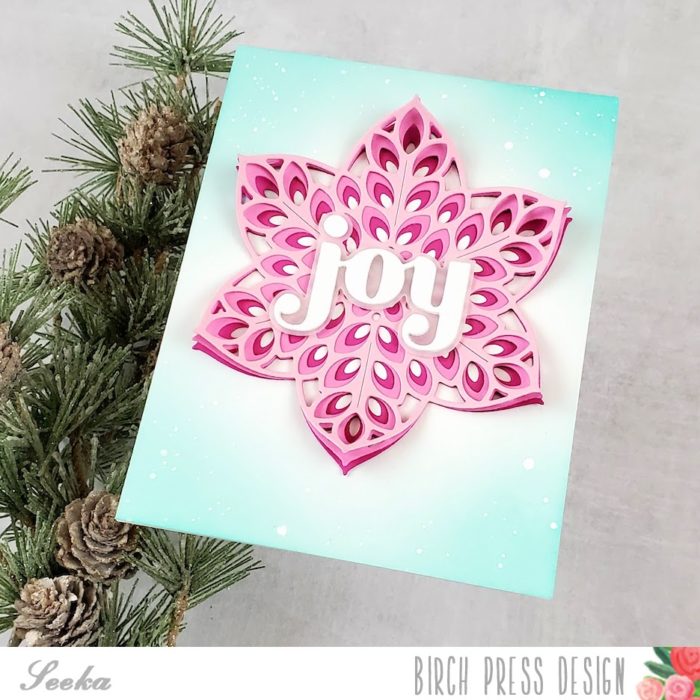
Hello there! It’s Seeka here and today I’m using the Floral Star die set which, this time of year, reminds me of a poinsettia. For a modern twist on traditional Christmas colors, I used pinks and teals instead of reds and greens.
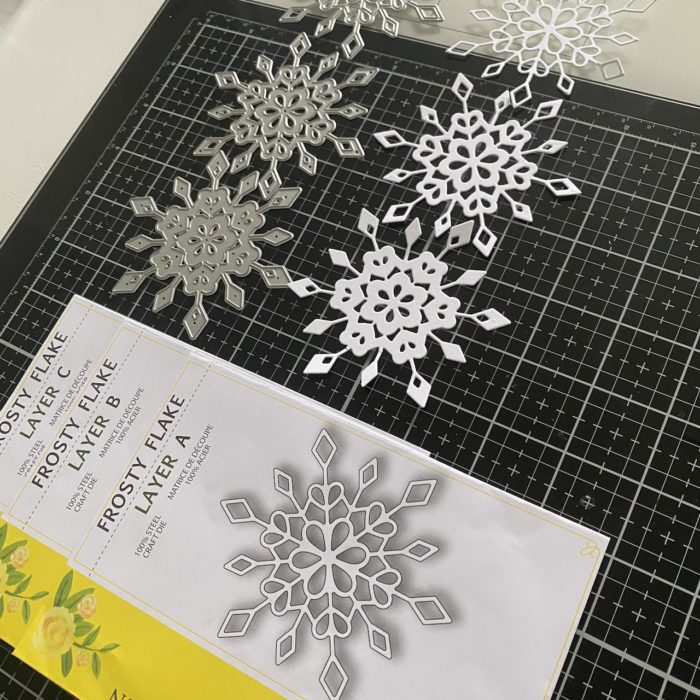
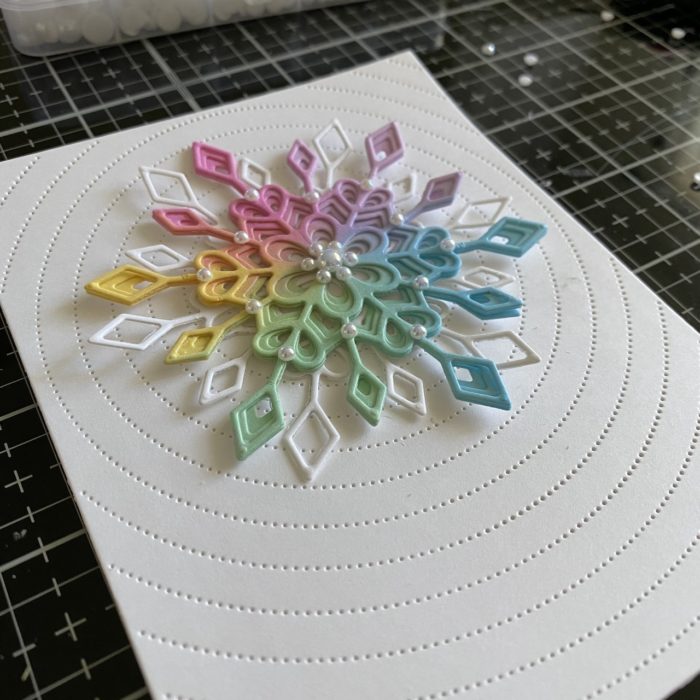
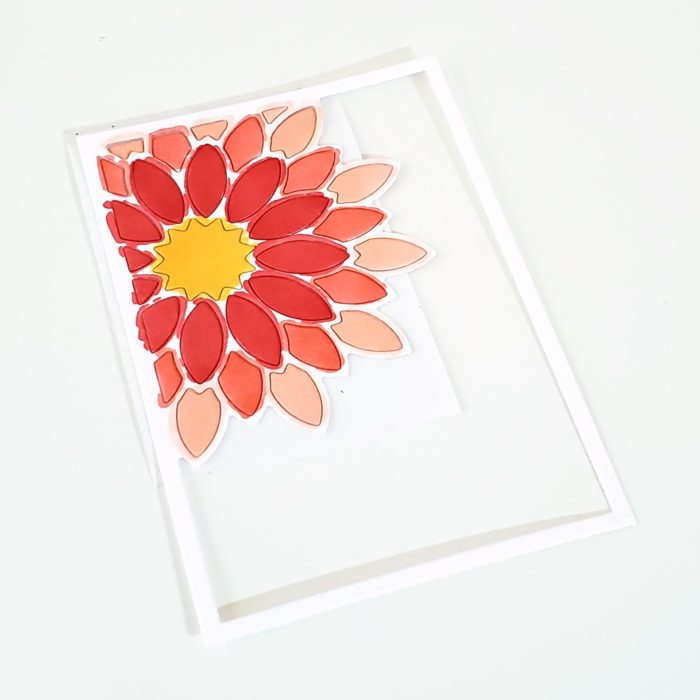
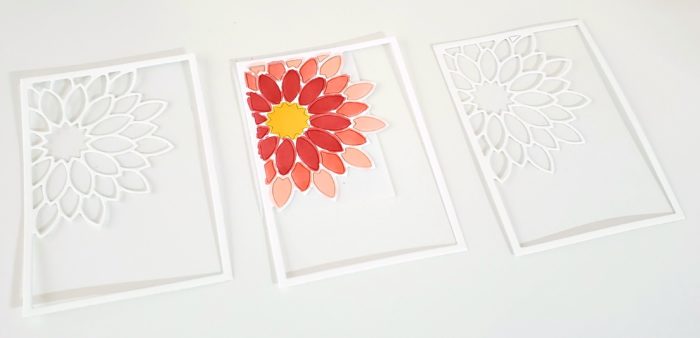
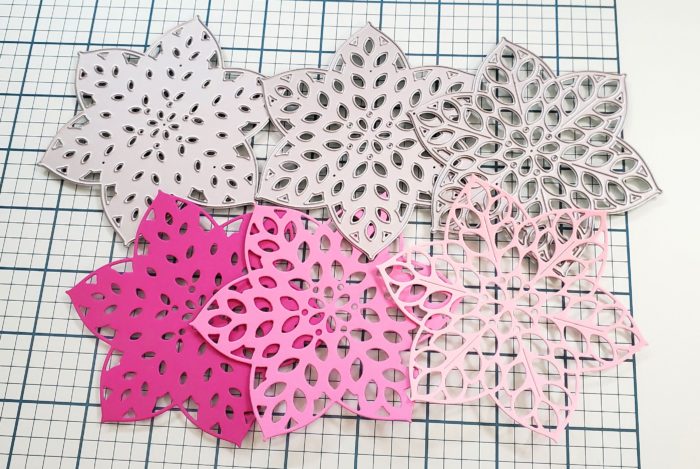
I started by die cutting the three layers of the Floral star set in three shades of pink. I glued the layers together, the darkest fullest layer on the bottom. To allow some flex in the petals, I only added glue to the centers of the flowers, leaving the tips unglued. When all three layers were adhered together, I curled the tips of the petals around my fingers so they’d curve upward a bit for added dimension.
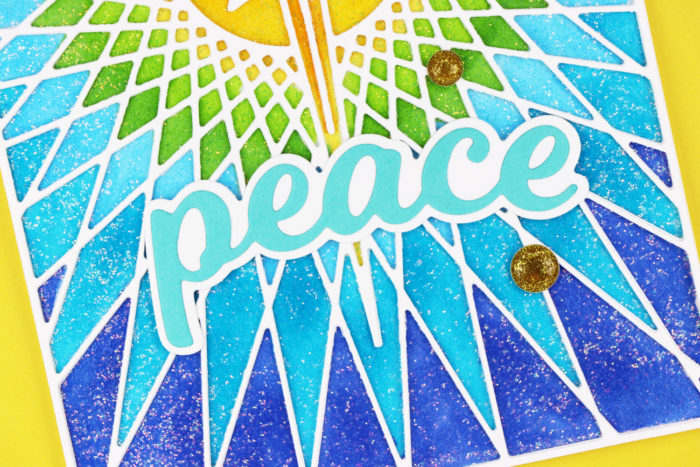
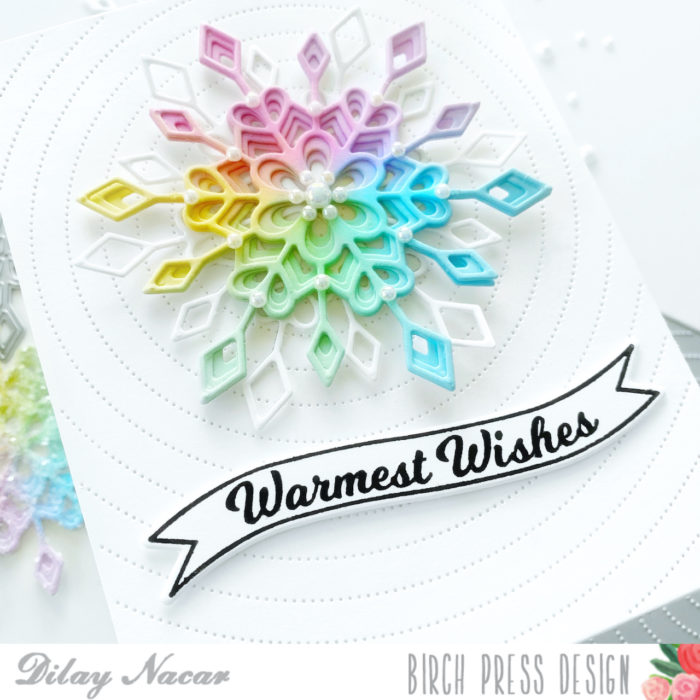
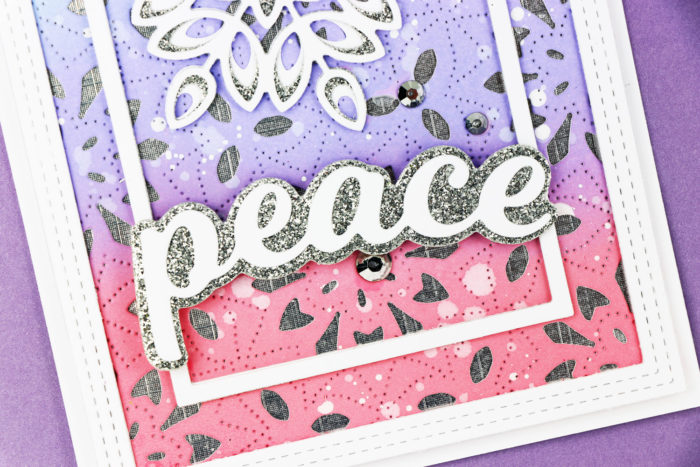
Next, I used the Big Joy die set to cut the sentiment three times from white cardstock. I adhered the three layers together, for dimension, and then adhered the combined piece to the shadow layer, which I’d cut from vellum.
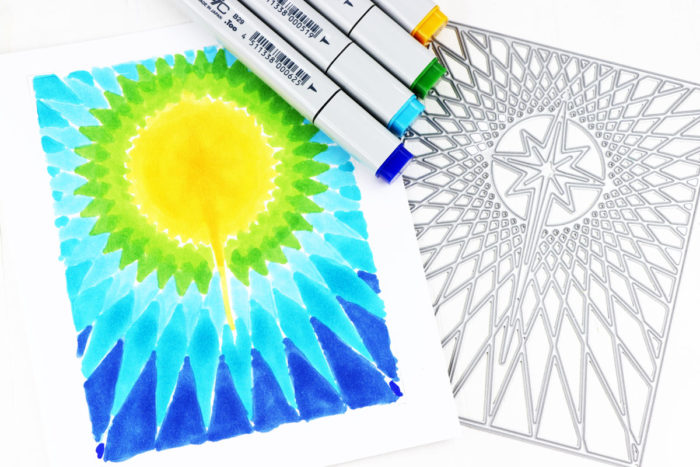
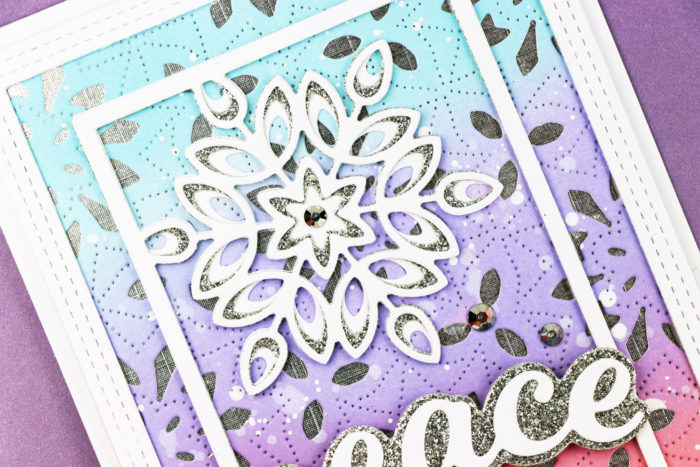
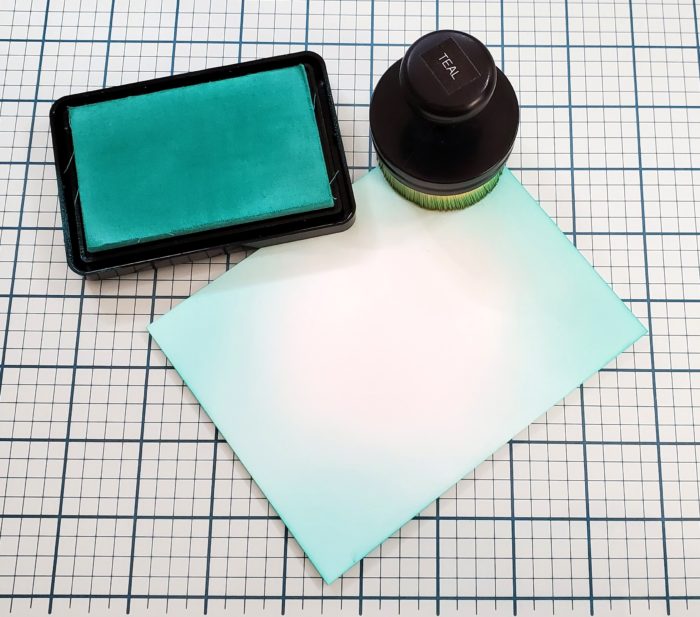
For the background, I used an ink-blending tool to blend aqua ink onto an 4.25″ x 5.5″ panel of white cardstock. I concentrated the color at the four corners and when I finished, I splattered some white paint onto the panel, to mimic snow.
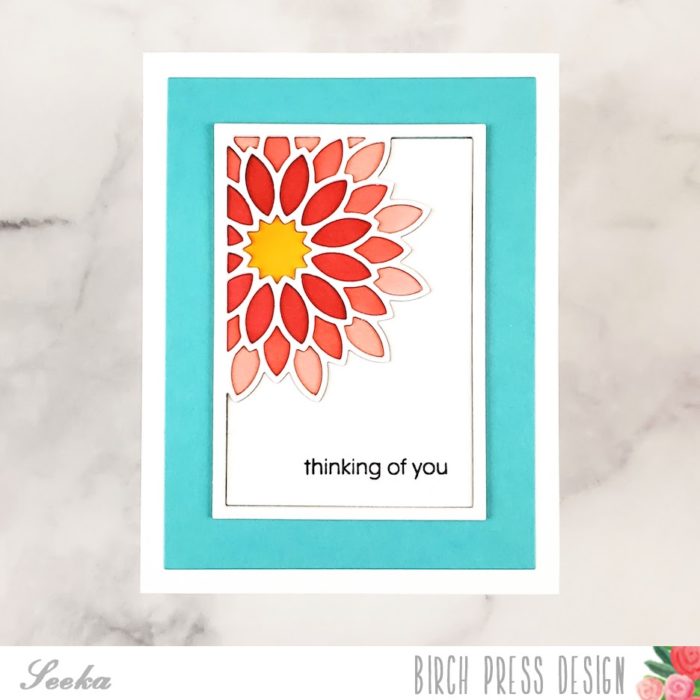
To assemble the card, I adhered the sentiment to the center of the Floral Star and then adhered the Floral Star to the ink-blended panel. Finally, I adhered the card front to an A2-sized card base.
Thank you so much for visiting and I hope your holidays are warm and cozy!

Supplies