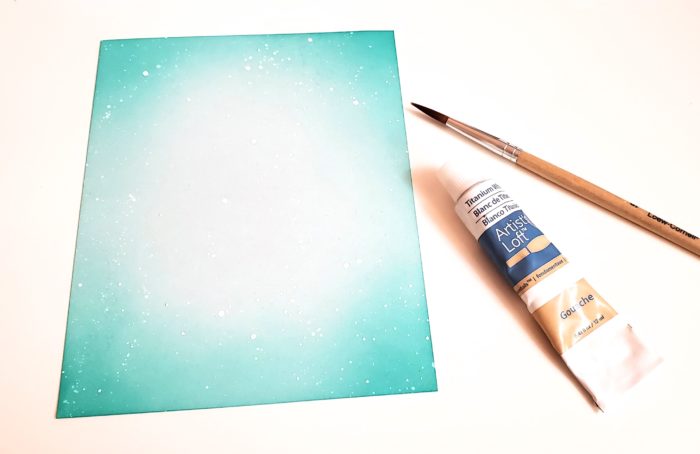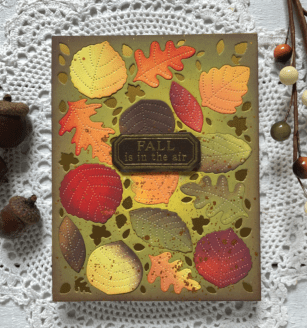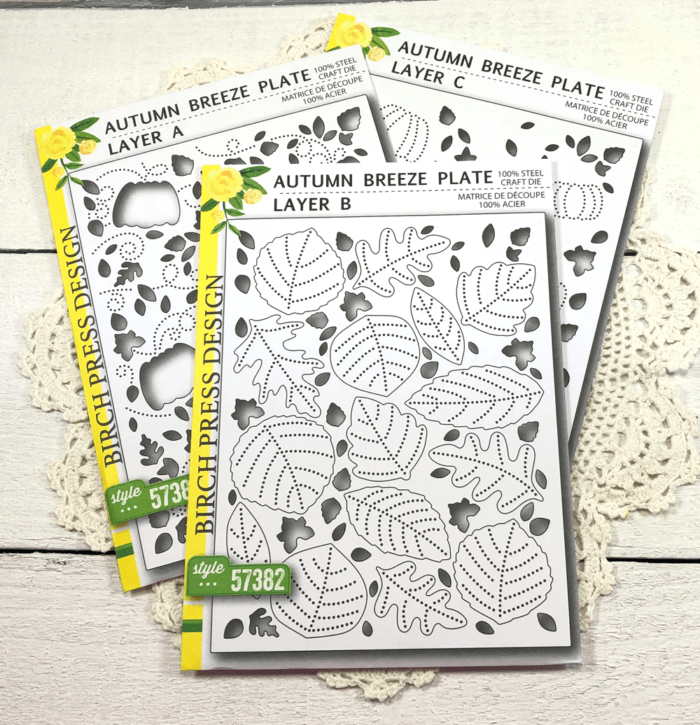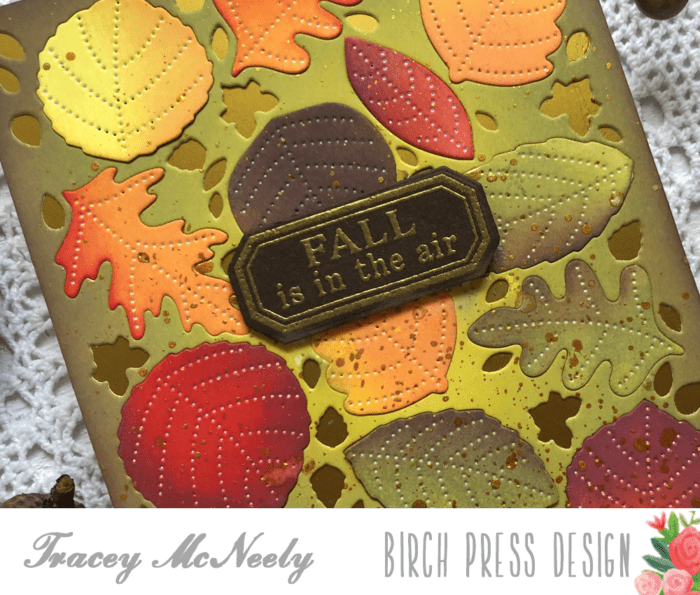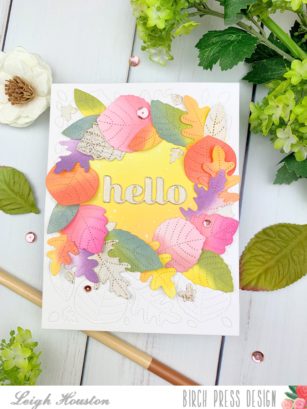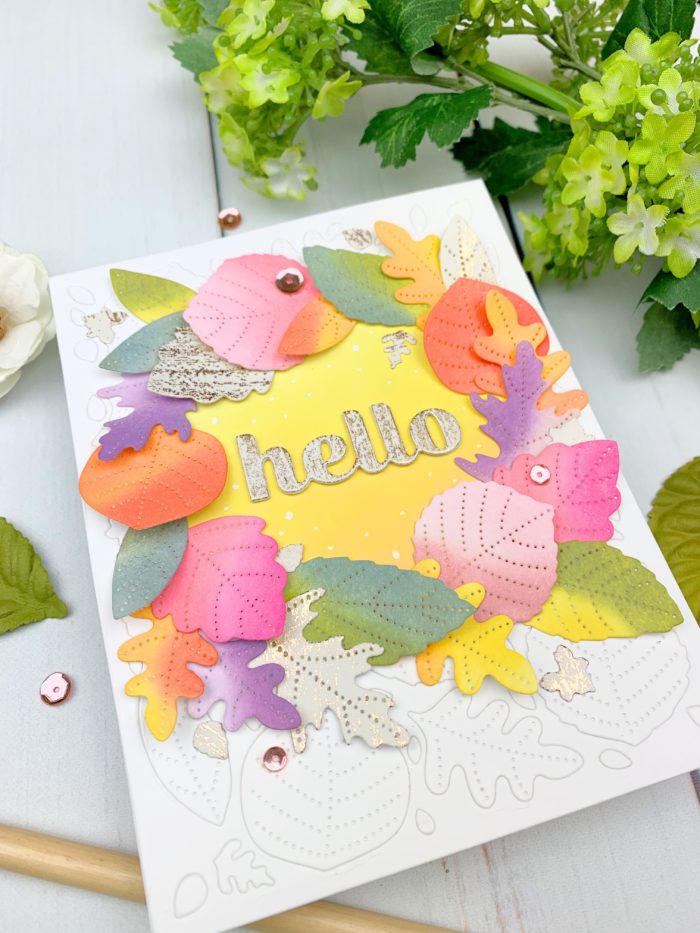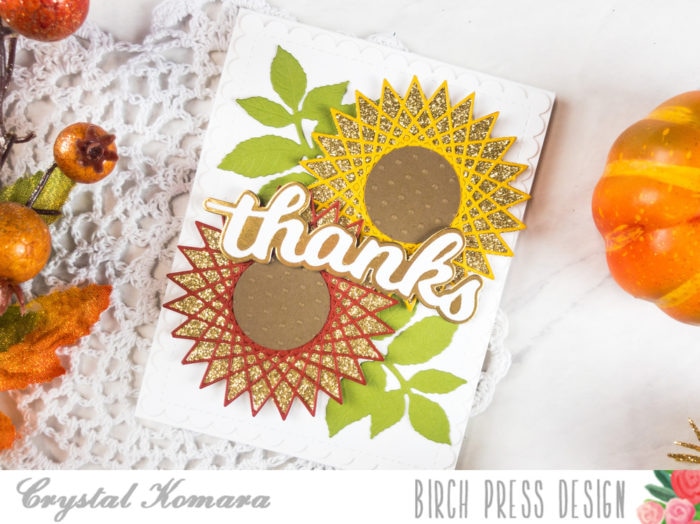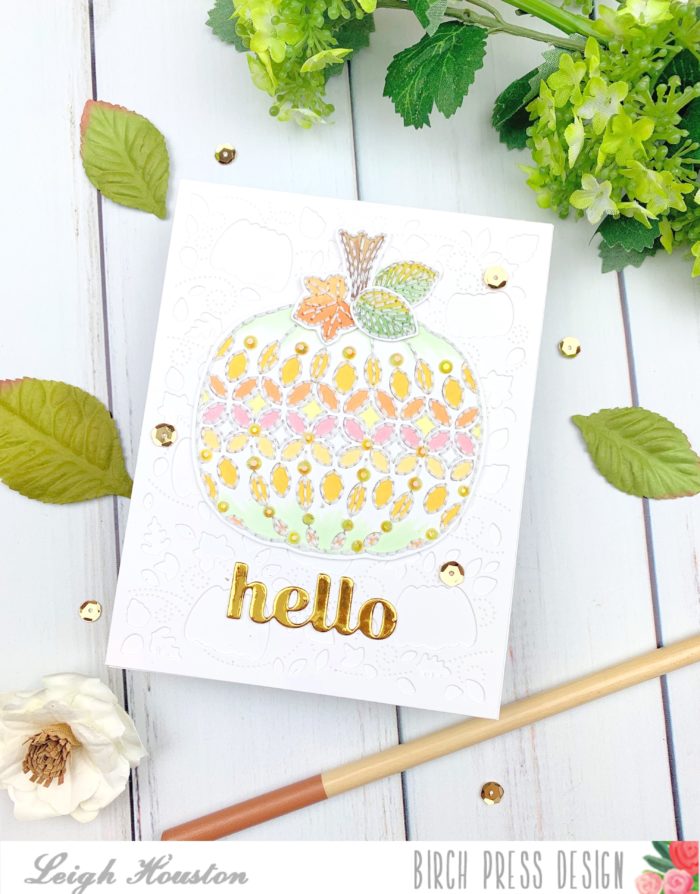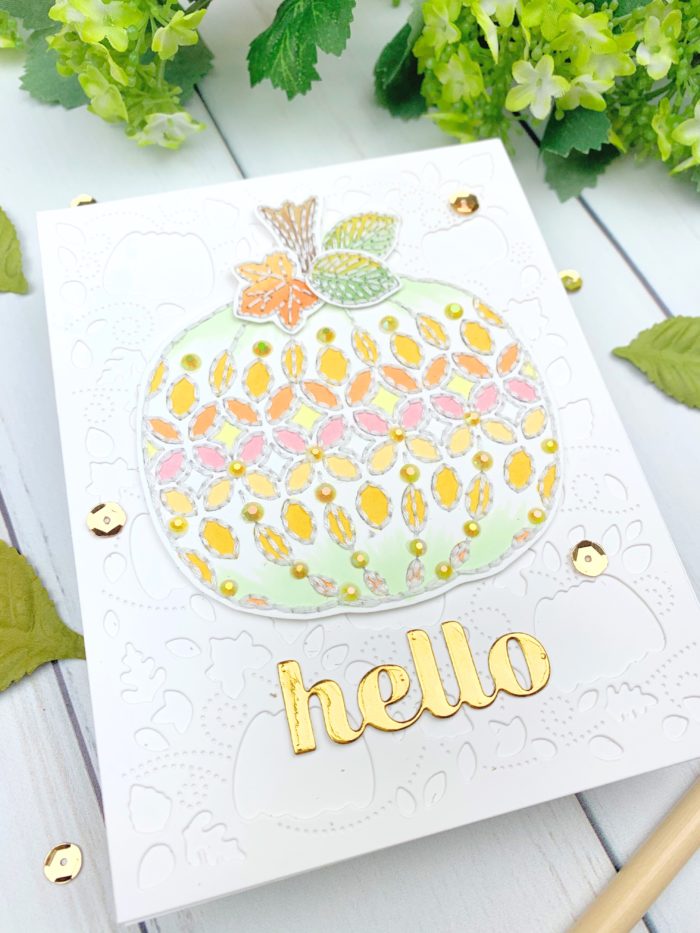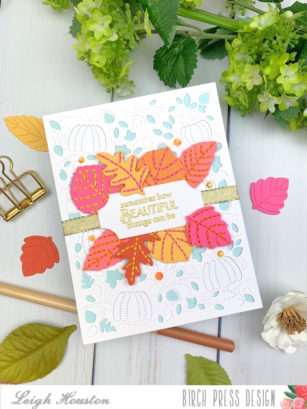

Hello, friends! I am so happy to be here today sharing this stitched card I made using Birch Press Designs’s Autumn Leaves Layering Die Set. This card was such fun and was so easy to make thanks to these beautiful layering dies!
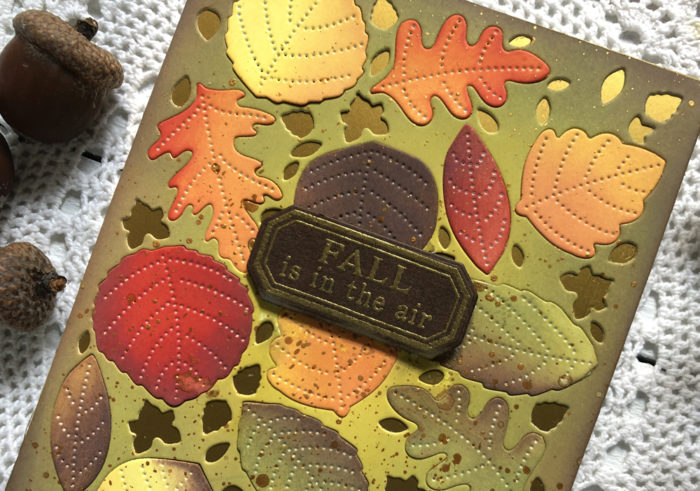
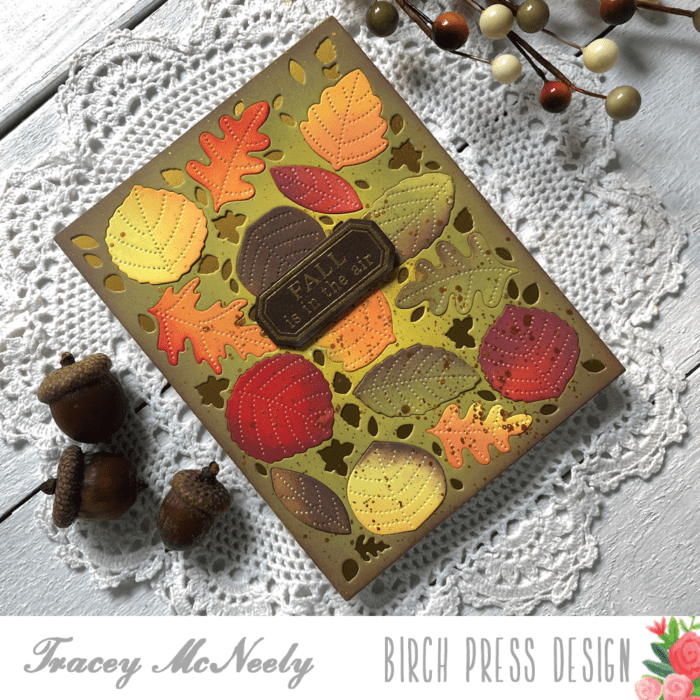
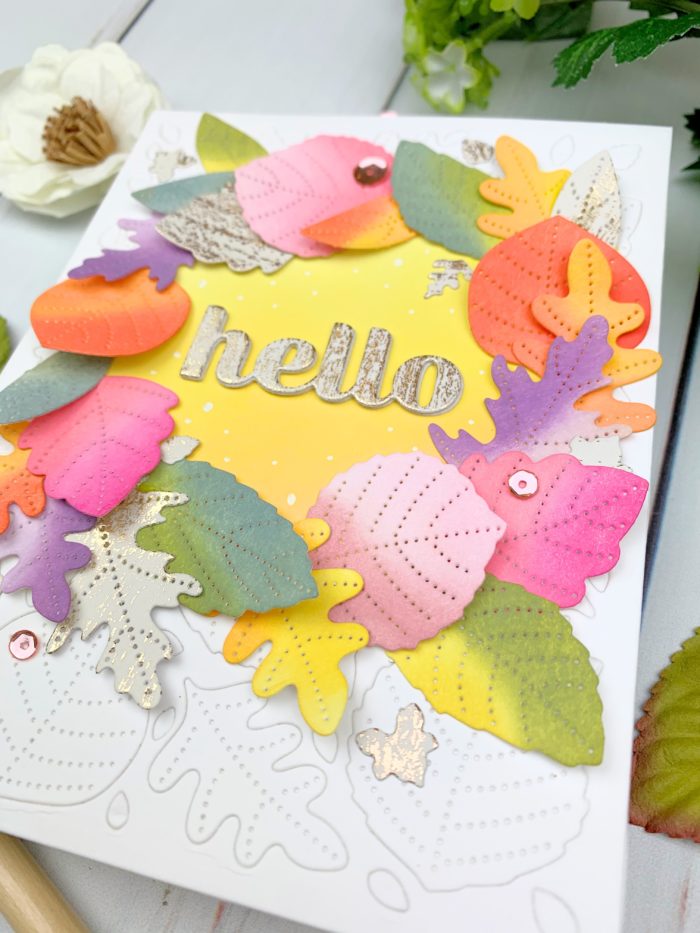
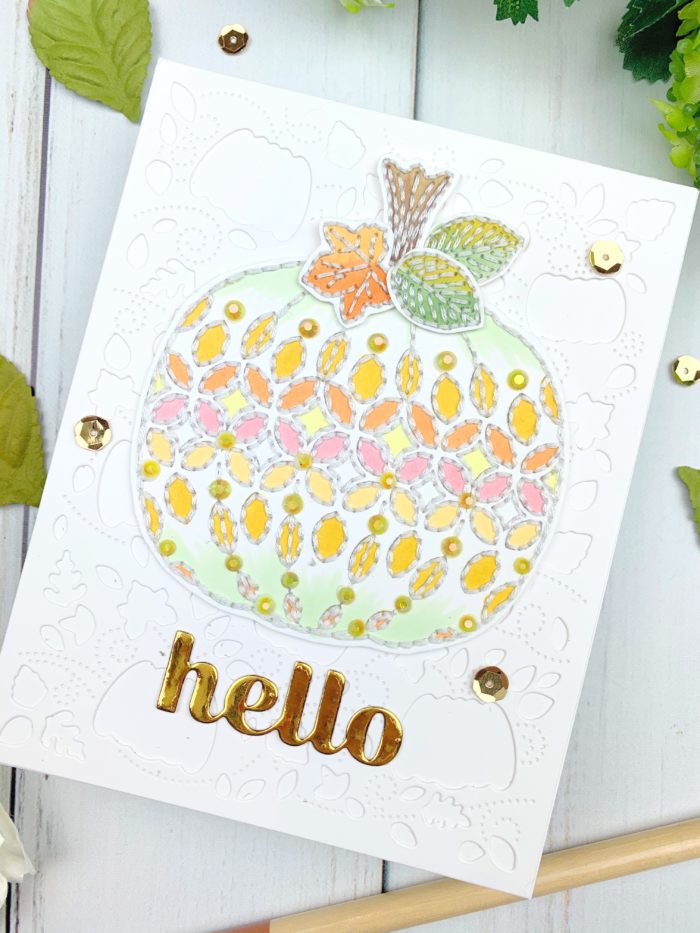
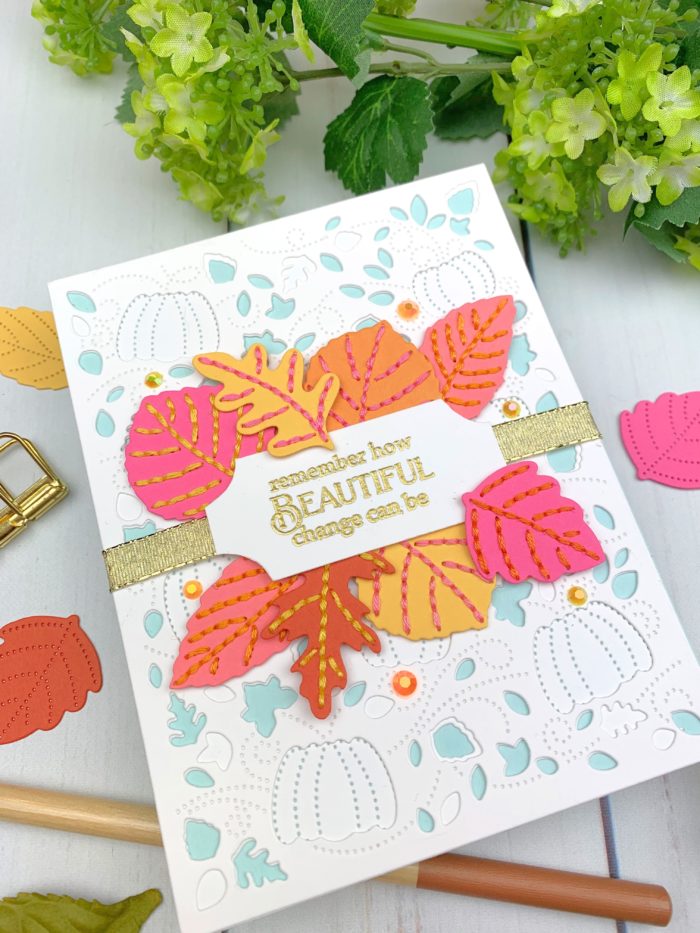
I started my card by die cutting layers A and B, adhering them together, then adhering them atop an A2-sized aqua base. I then die cut my leaves using pretty shades of pink, orange, and yellow cardstock using layer c. To add some extra texture and dimension, I stitched the leaves using 4 strands of 6-strand embroidery floss. To achieve this, I poked holes in every about other stitch hole with a paper piercer to enlarge the holes. I then stitched through those holes using a simple backstitch.
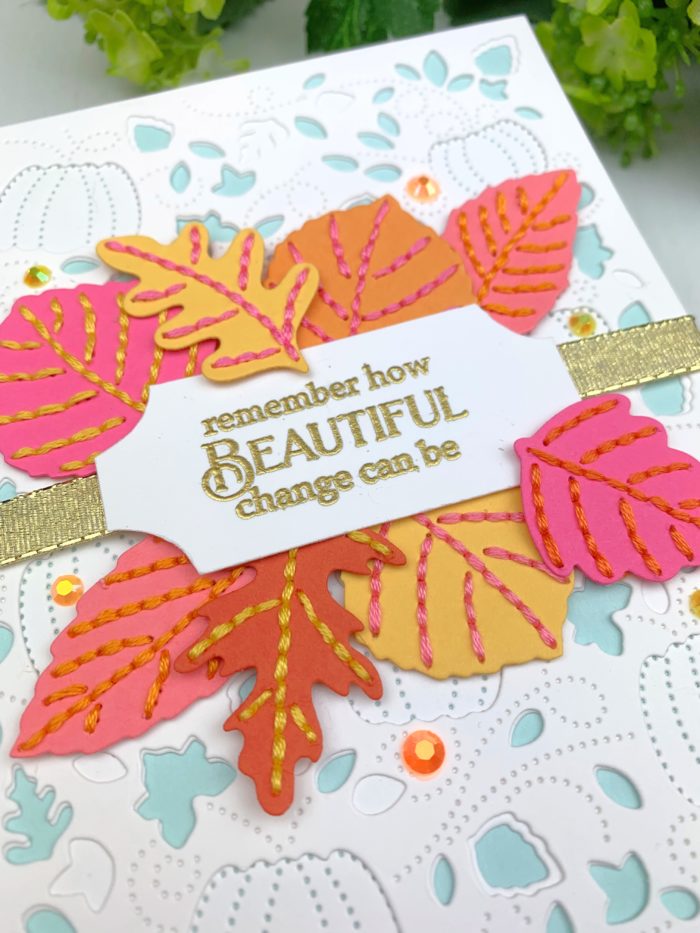
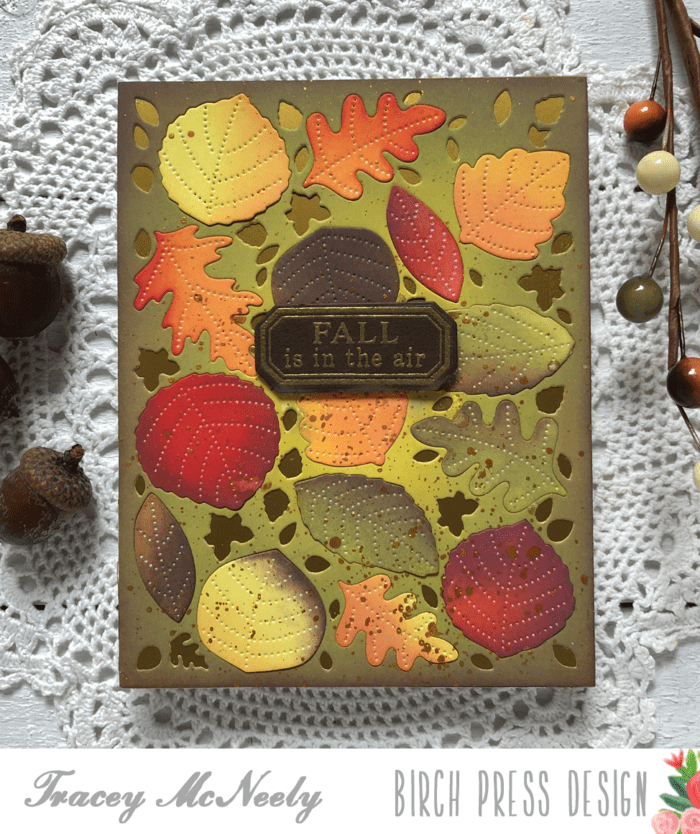
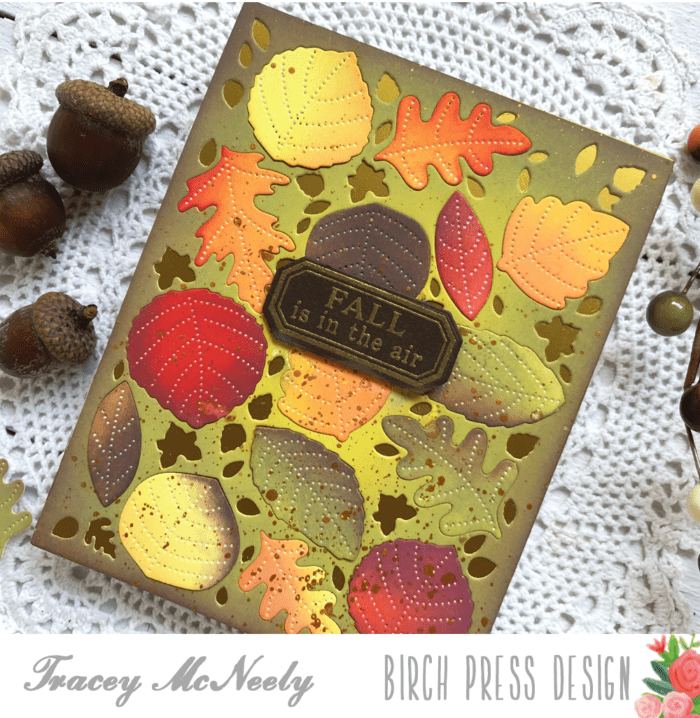
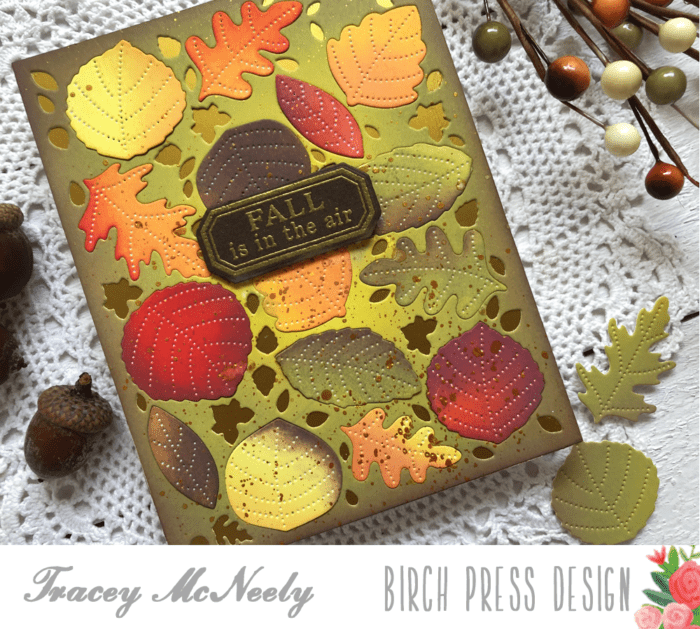
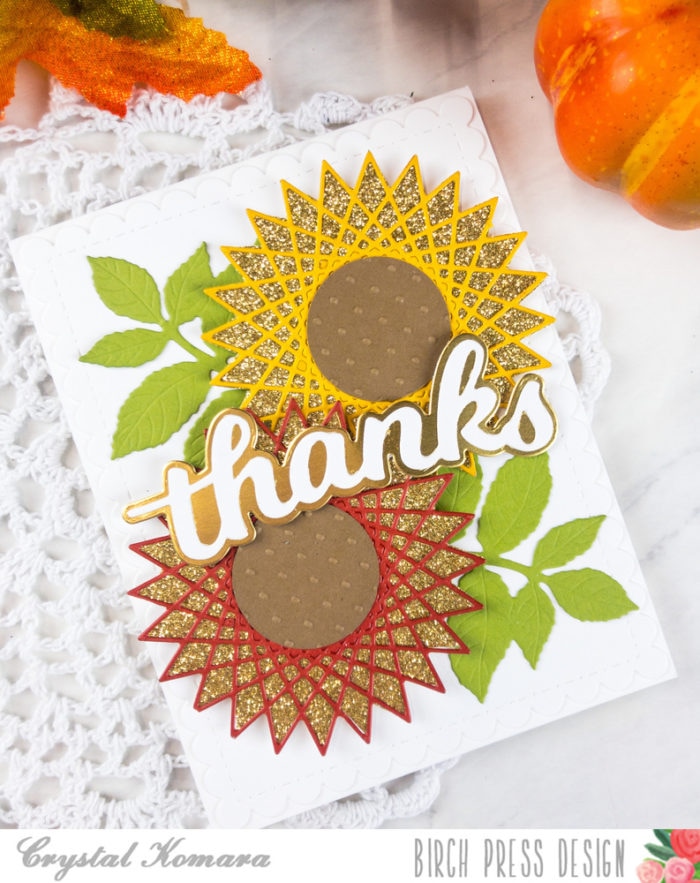
I then used Poppystamps’s Greetings Basics stamp set to emboss my sentiment in gold onto white cardstock. I fussy cut a tag shape and popped it up on foam tape. I then adhered a pretty gold ribbon underneath the tag and adhered the leaves around the tag using liquid adhesive. A few gems here and there finished this card.
I hope you enjoyed this project! Links to the products I used are below. Thanks so much for stopping by today, and I’ll see you again soon with another Birch Press designs card project!

Supplies