Hello there! Laurie here and I’m back today sharing a fresh, Spring colored card with you!
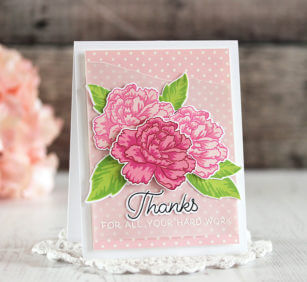
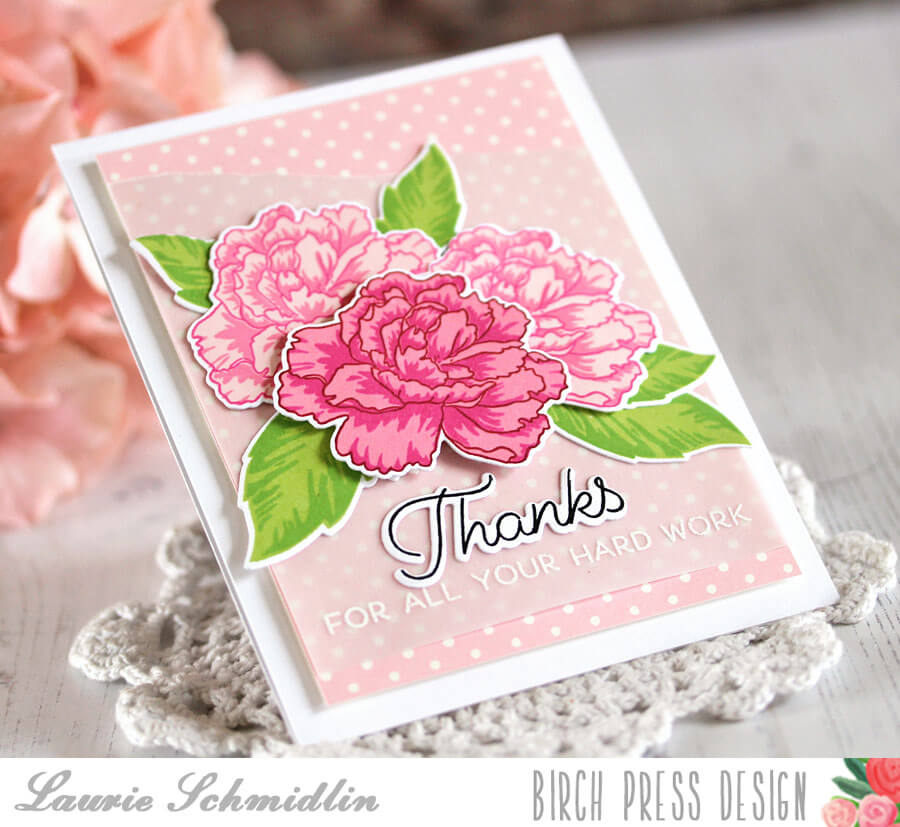
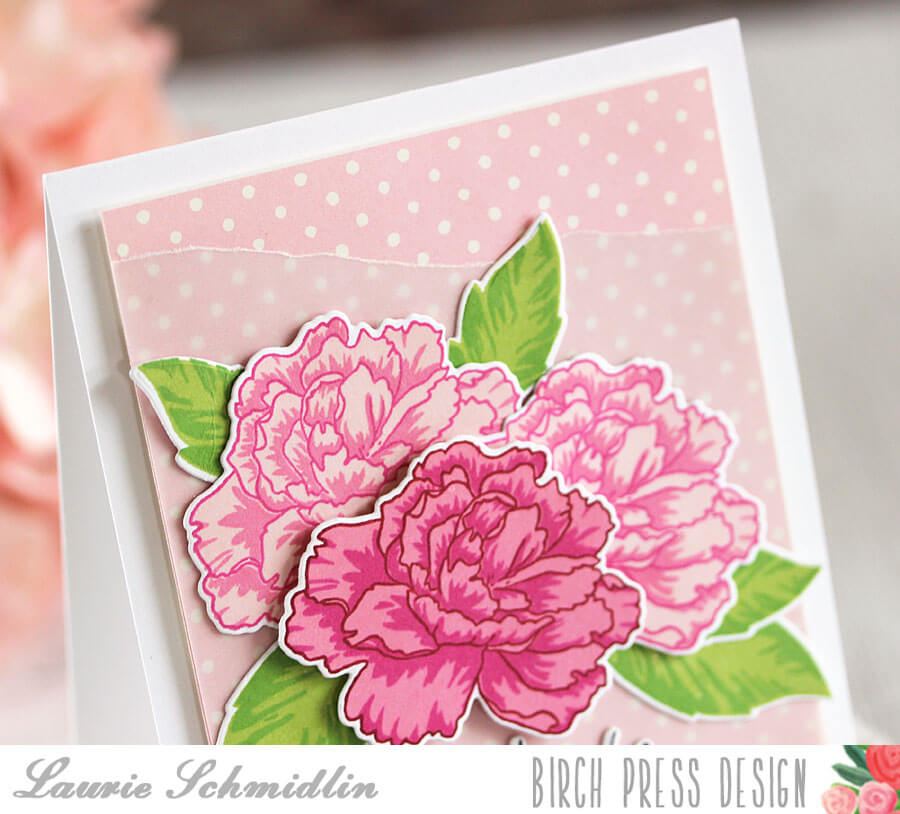
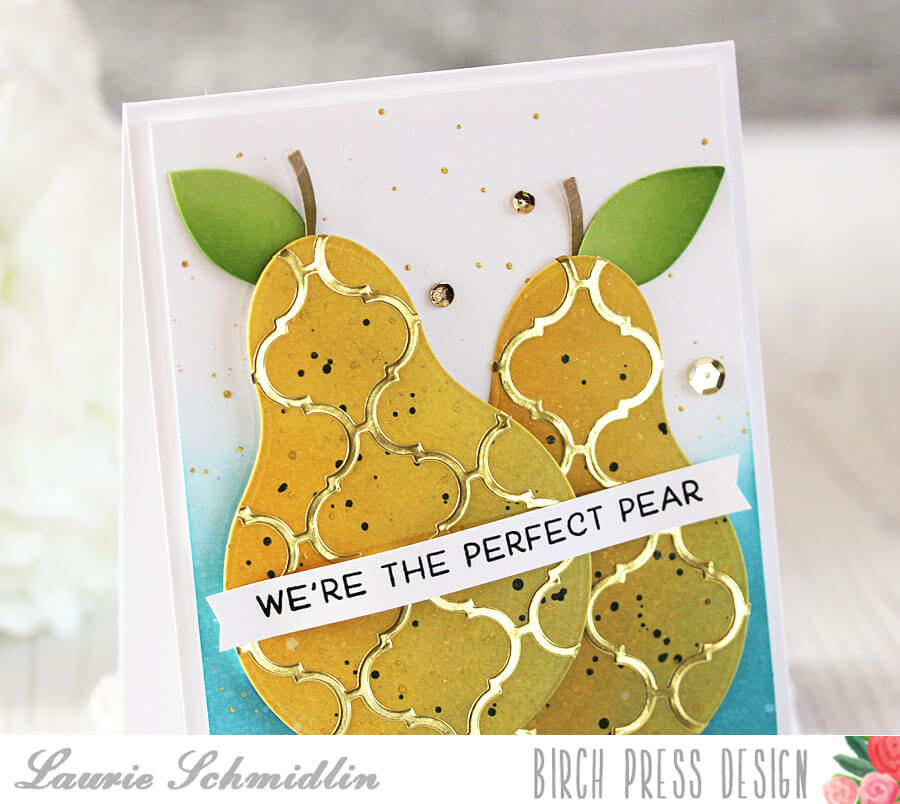
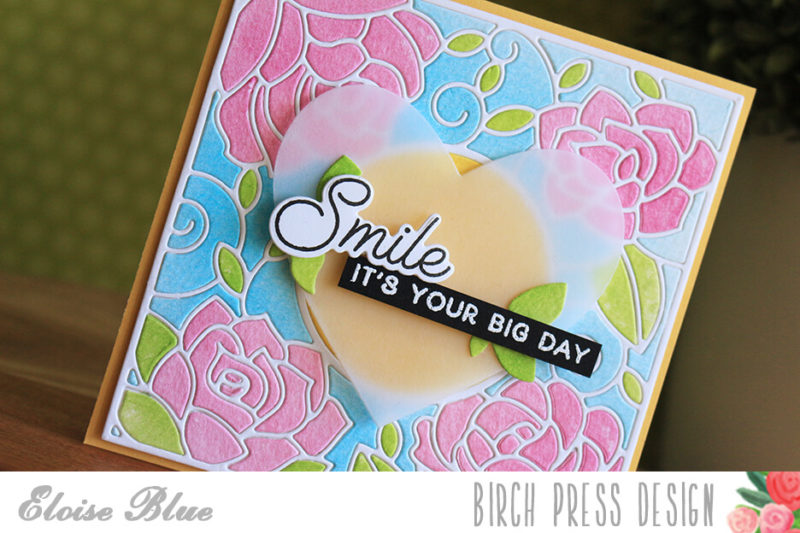
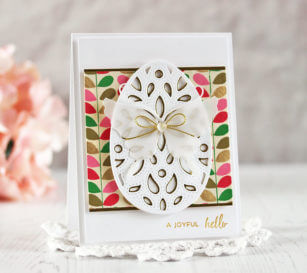
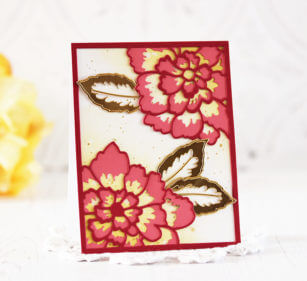
One of my favorite ways to add vibrant colors to a card quickly, is to use a multi step stamp set. On my card today, I chose the Delicate Peony set.
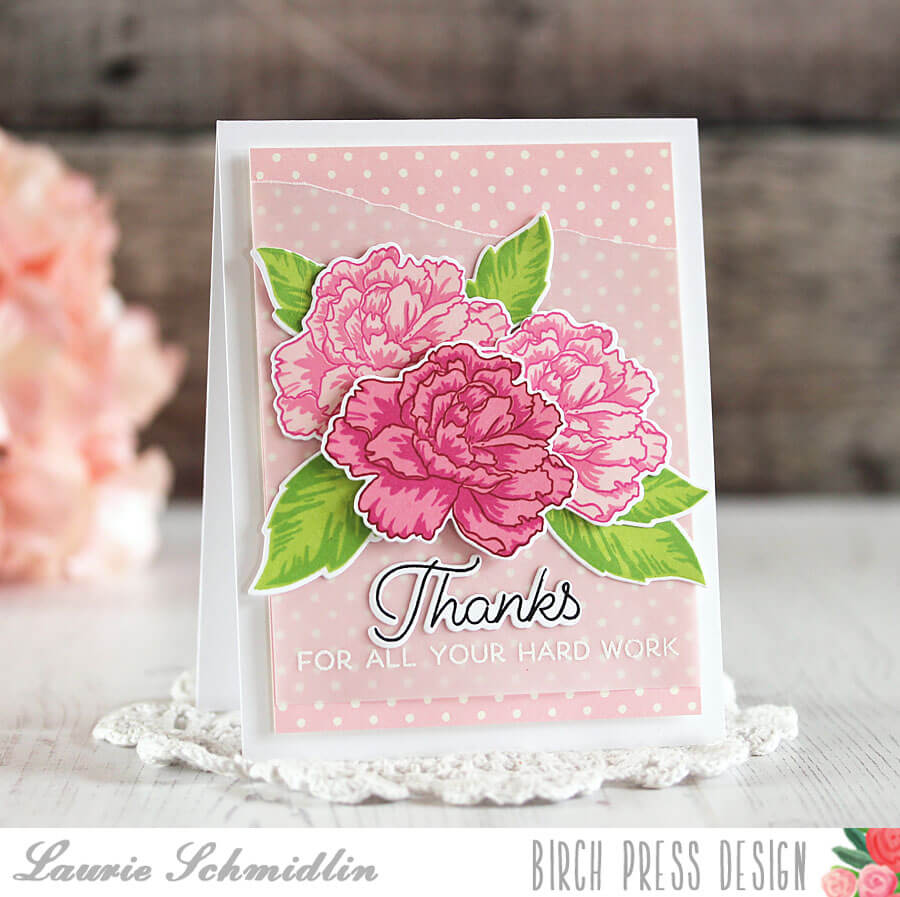
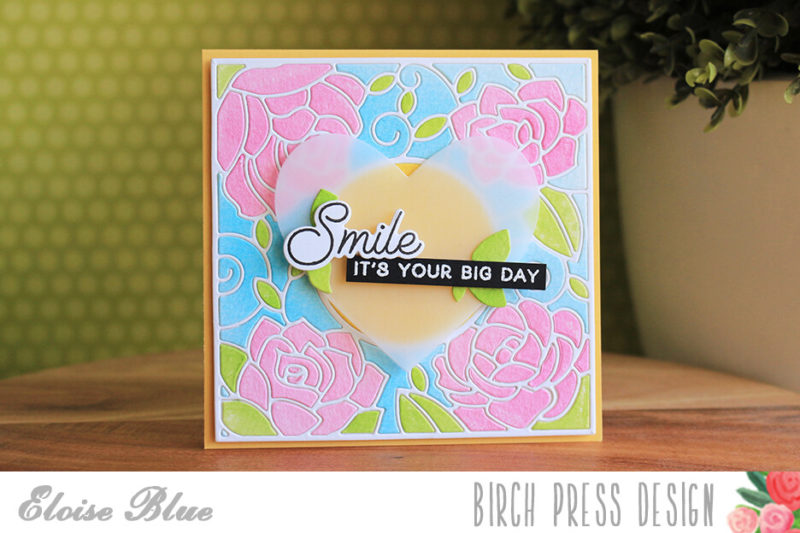
For the background, I cut a piece of the Bubblegum Dots Patterned Paper. I wanted to soften the paper just a bit so that the flowers would stand out more. To achieve this, I layered a piece of heavyweight vellum over the patterned paper. You are still able to see the paper but the colors and pattern are muted just a bit, making your focal image easier to see.
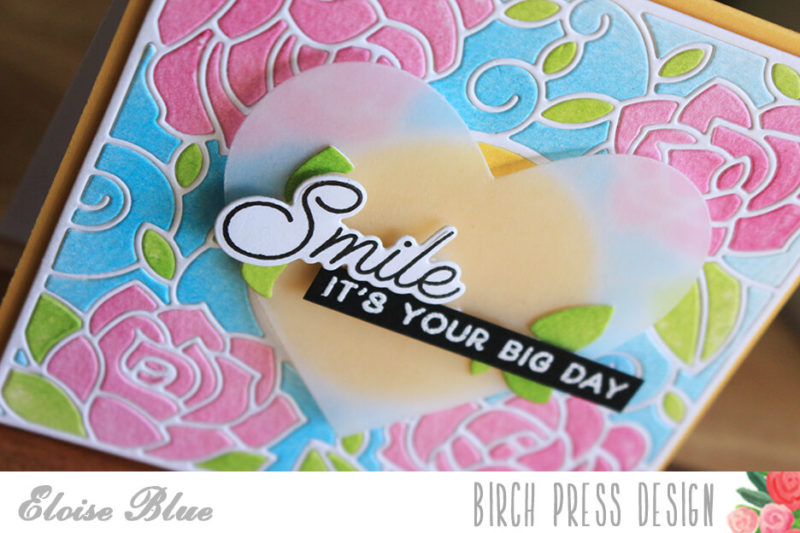
After stamping all of the flowers, I die cut them out using the coordinating Delicate Peony die set.
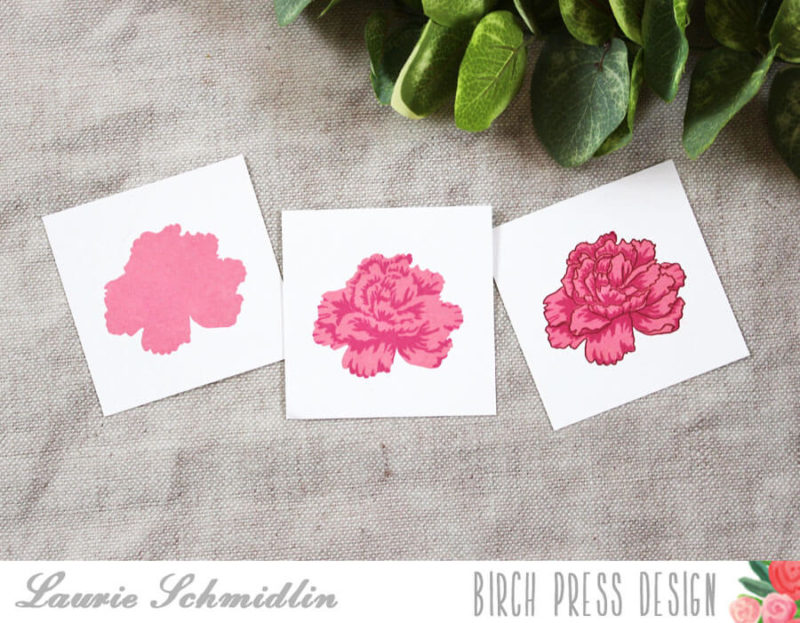
Stamping with multi step images is easy! I start with the solid image first and ink it up using the lightest of my ink pads. Next, I stamped the bold shading image in a slightly darker pink. I find using a stamp positioner helps a great deal when lining these images up, but it is not necessary. For the last step, I stamped the outline image in the darkest pink/red ink.
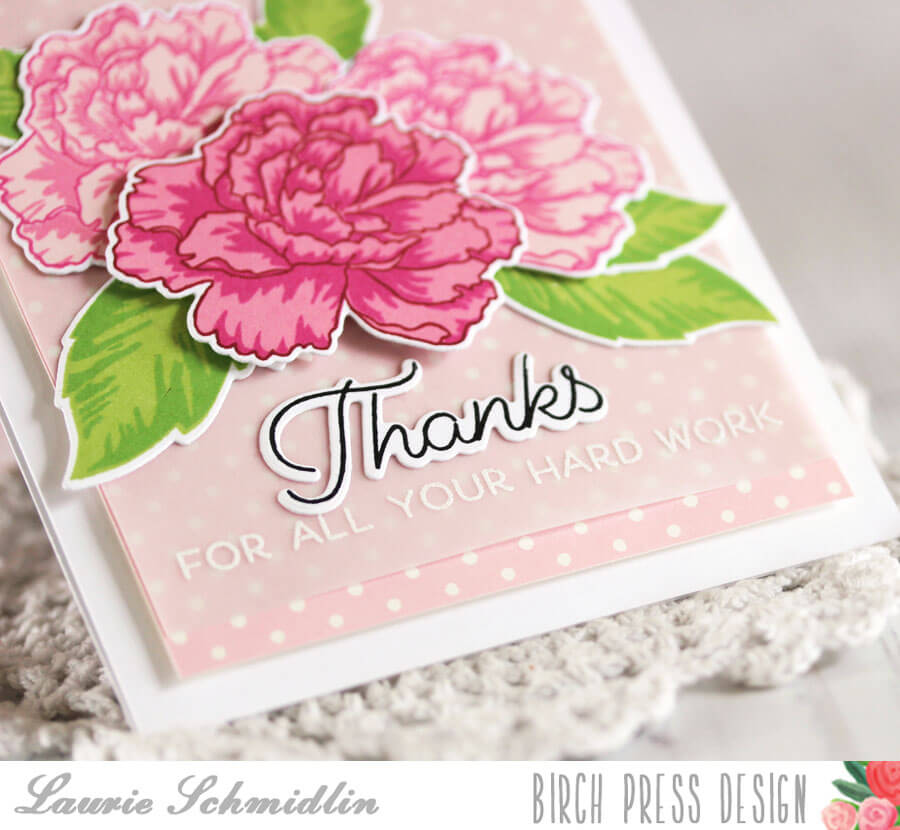
For the sentiment, I stamped and die cut the Thanks stamp from the Just Because stamp and die set bundle. I also embossed one of the companion sentiments from the same set directly onto the vellum.
Thanks so much for joining me here today!

Supplies


 Here is the video of my process:


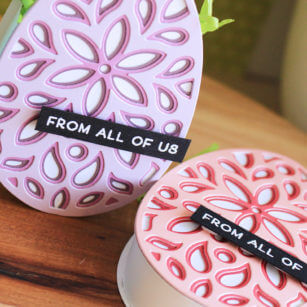
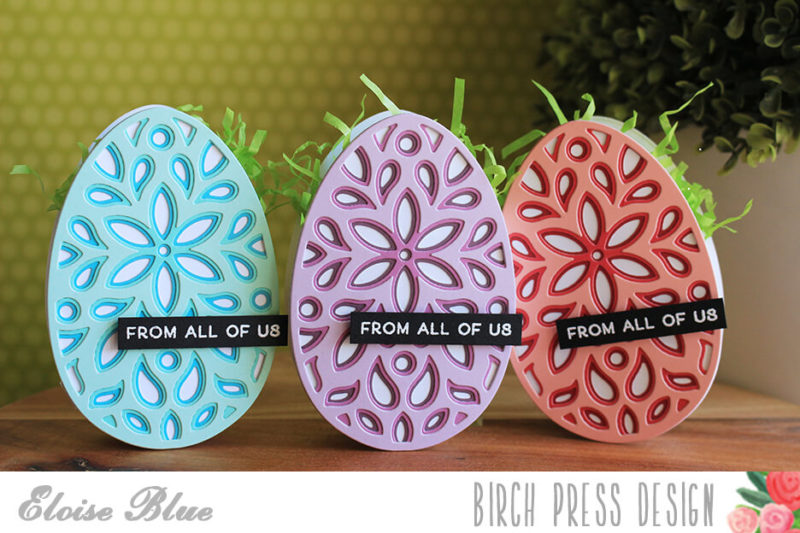
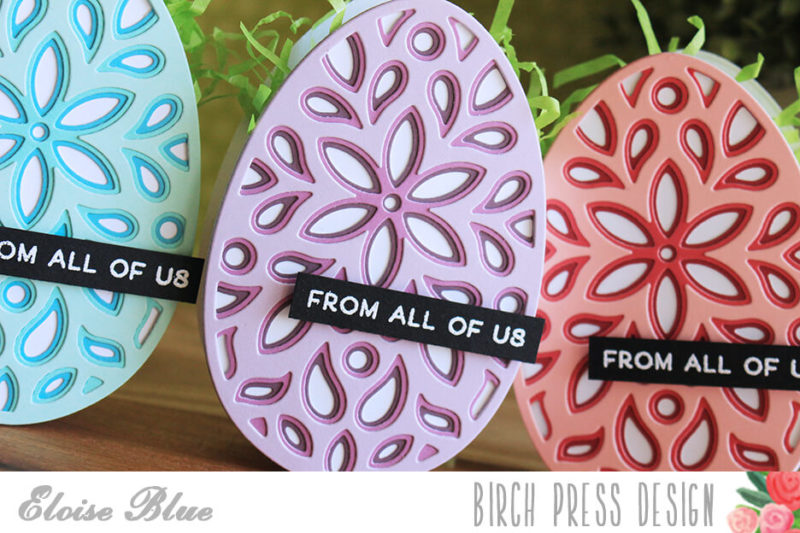
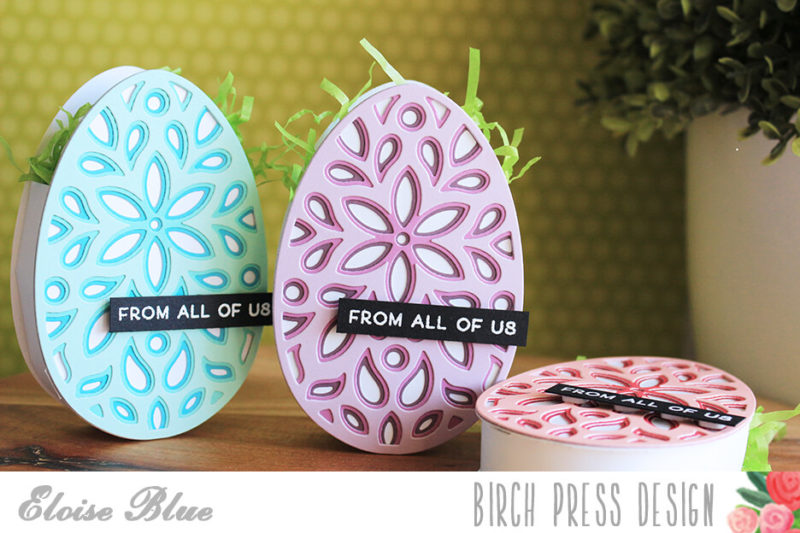
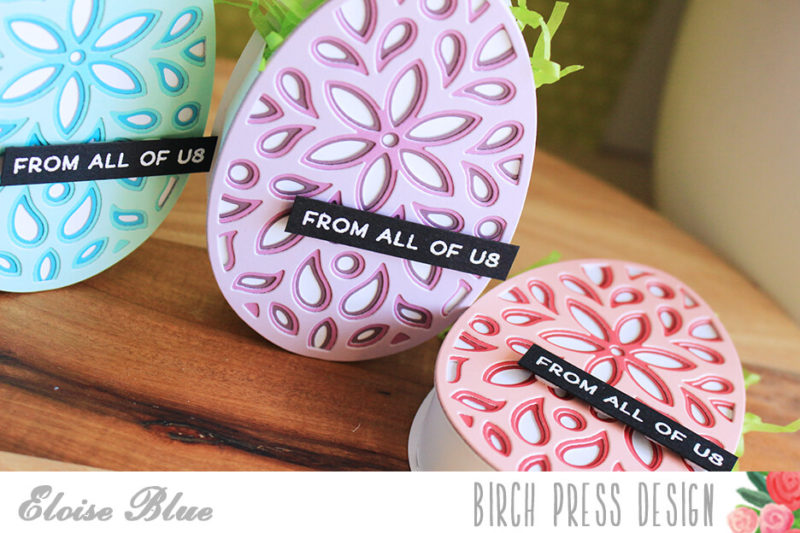
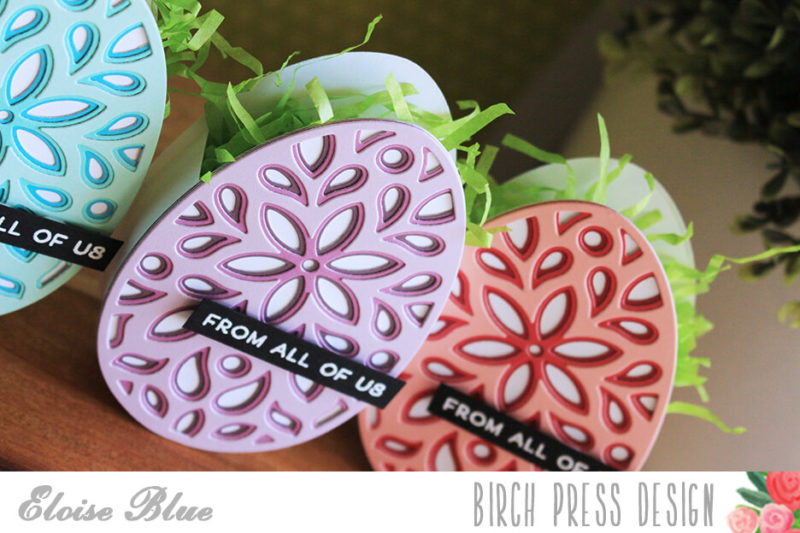


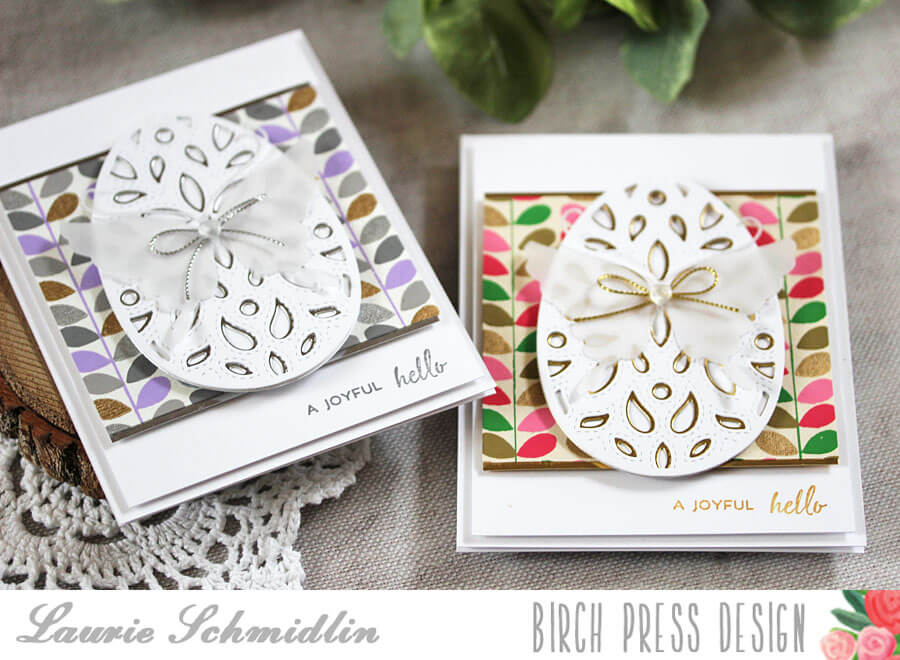
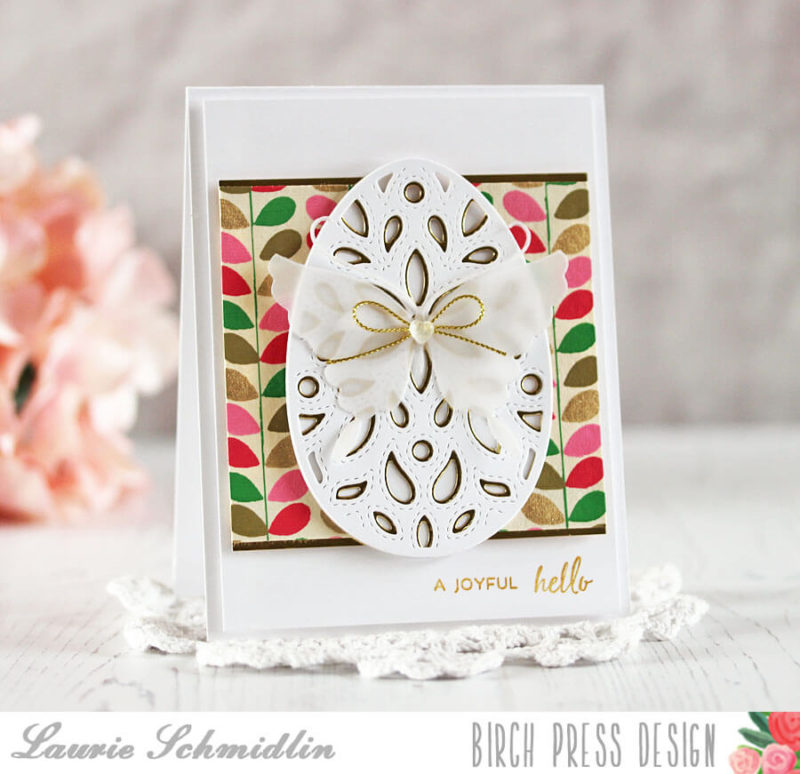
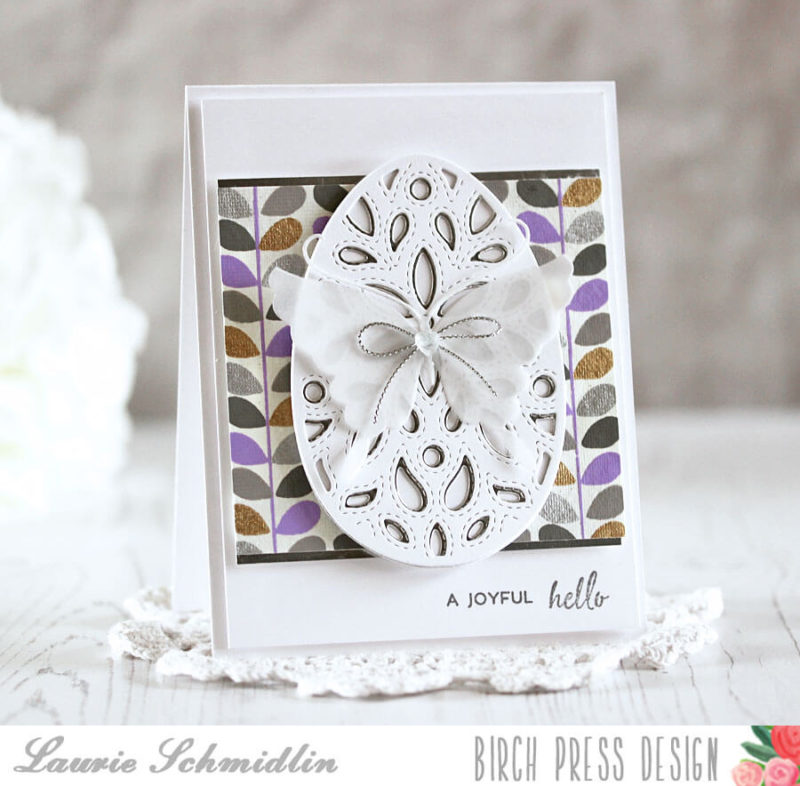
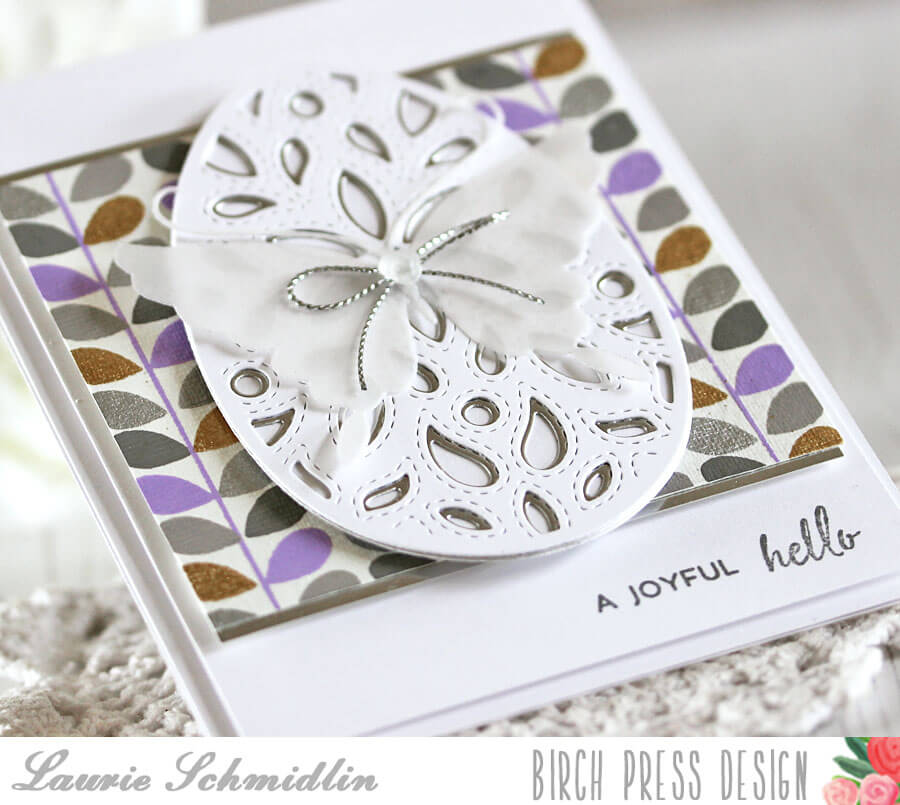
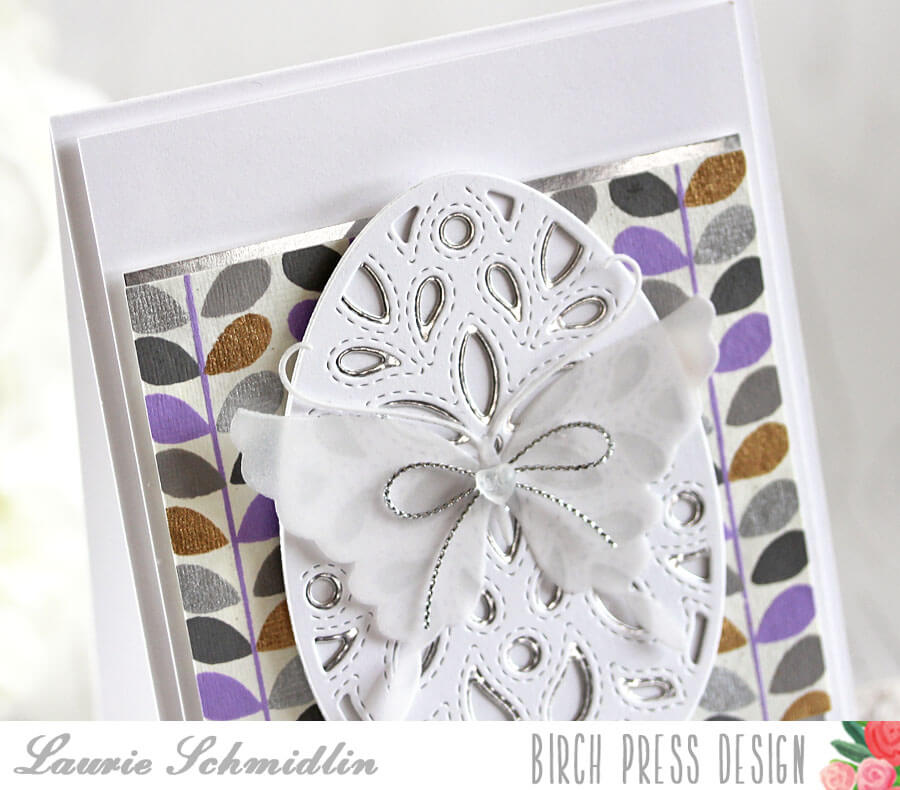


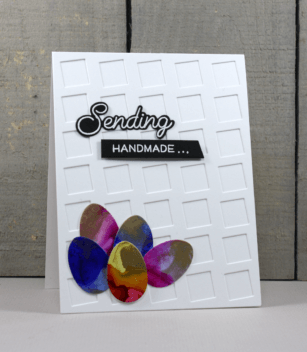
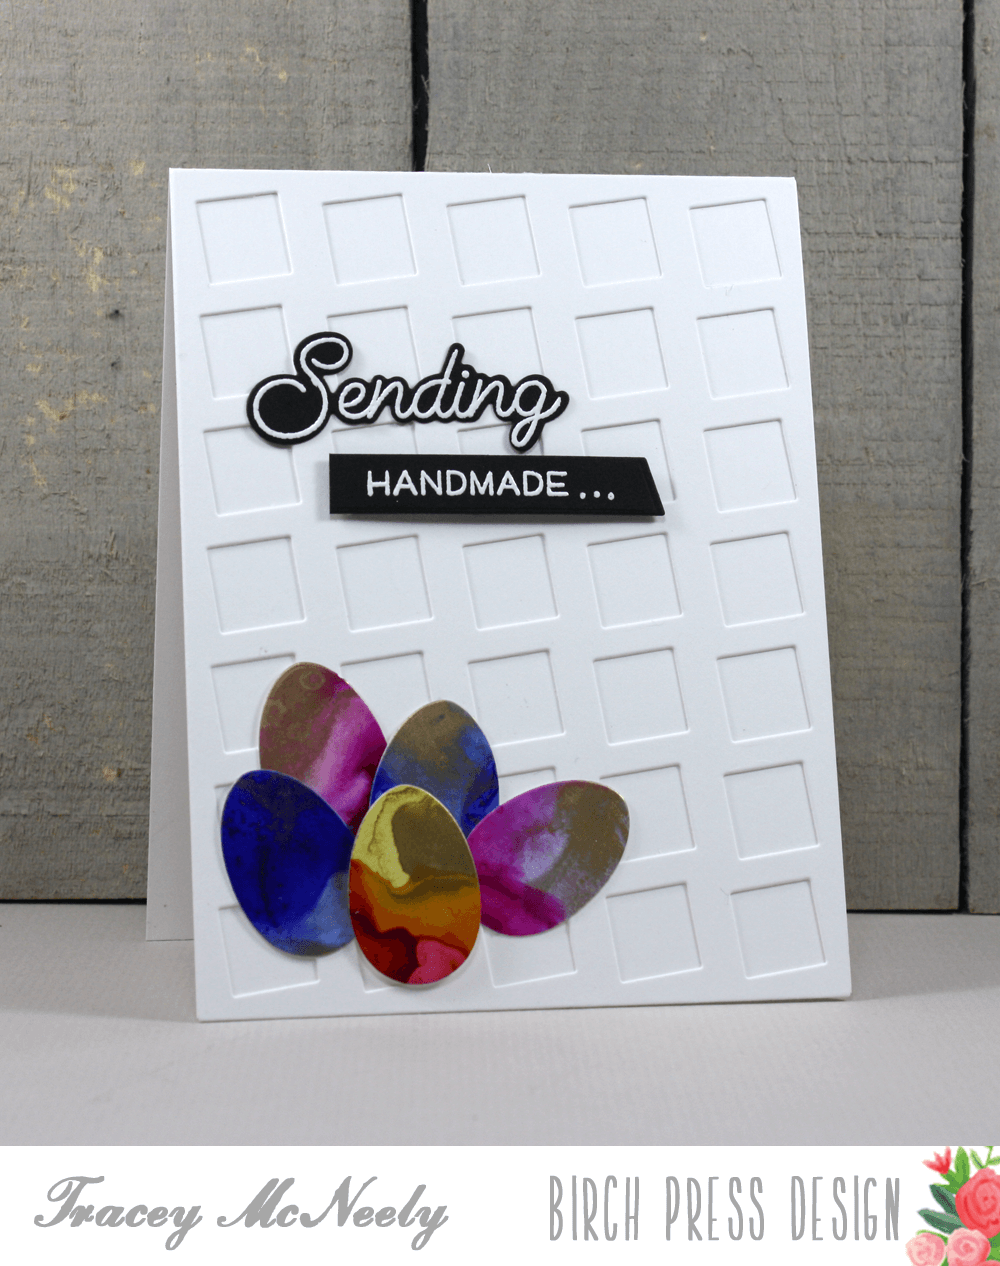
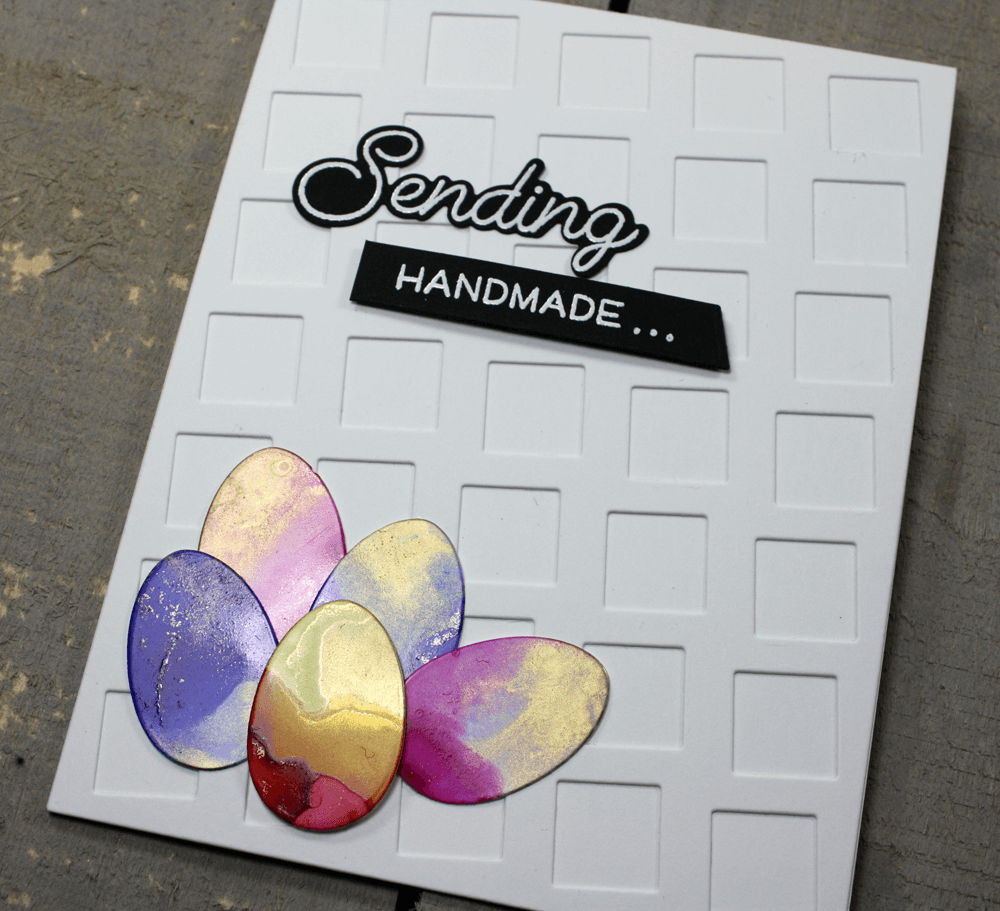
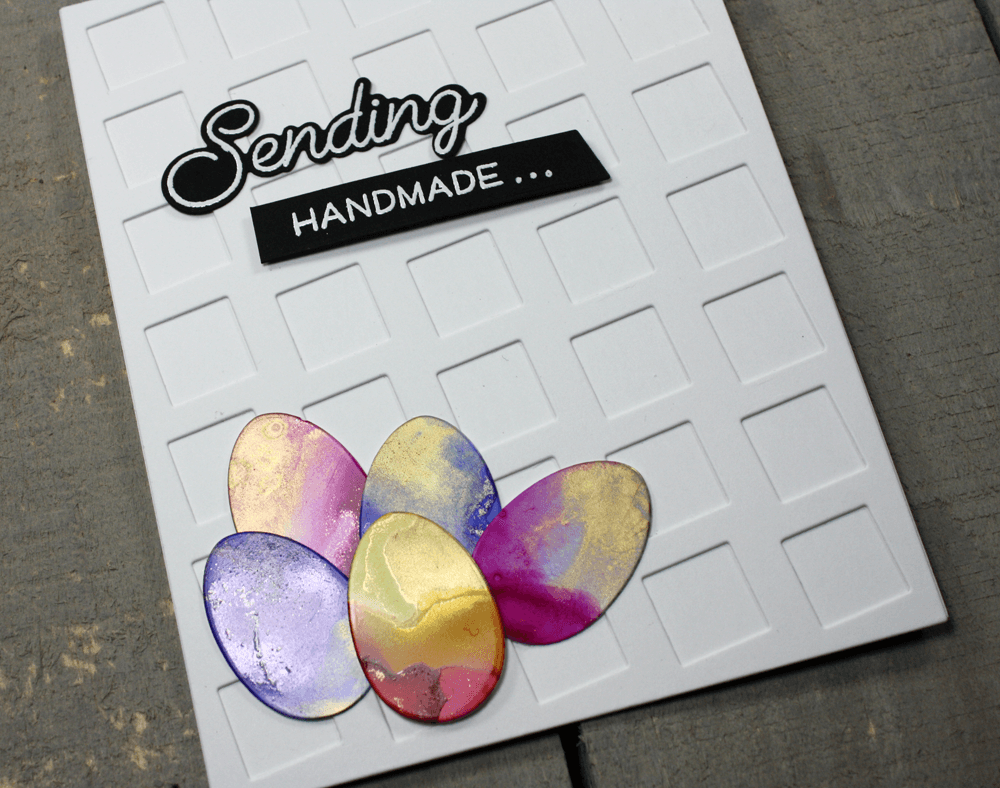
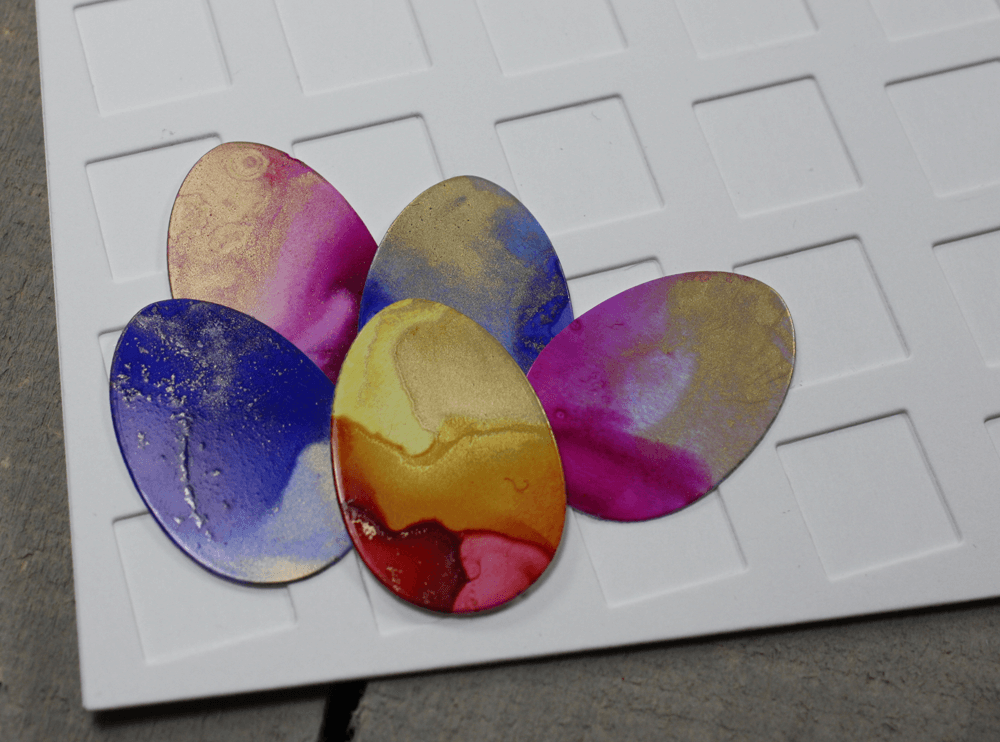
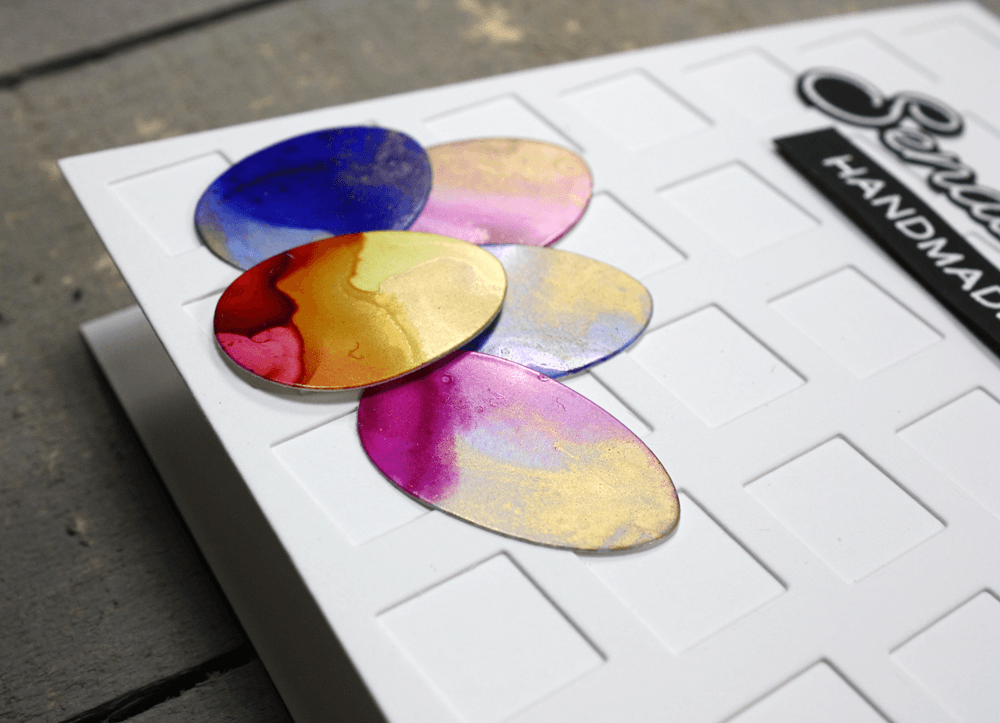
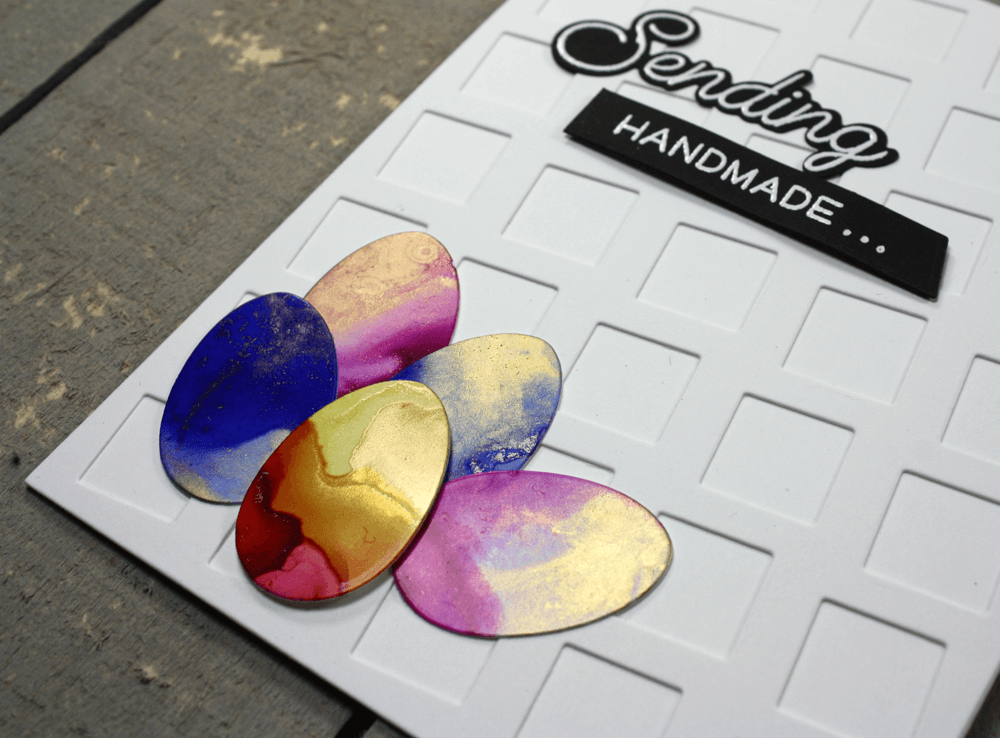
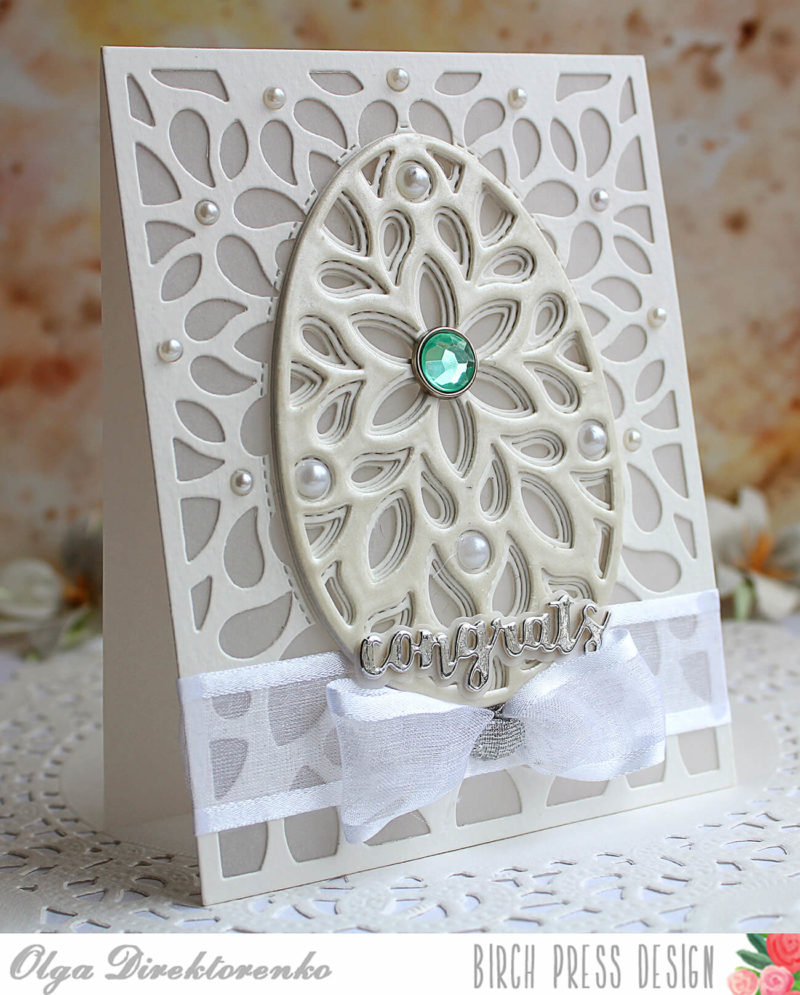
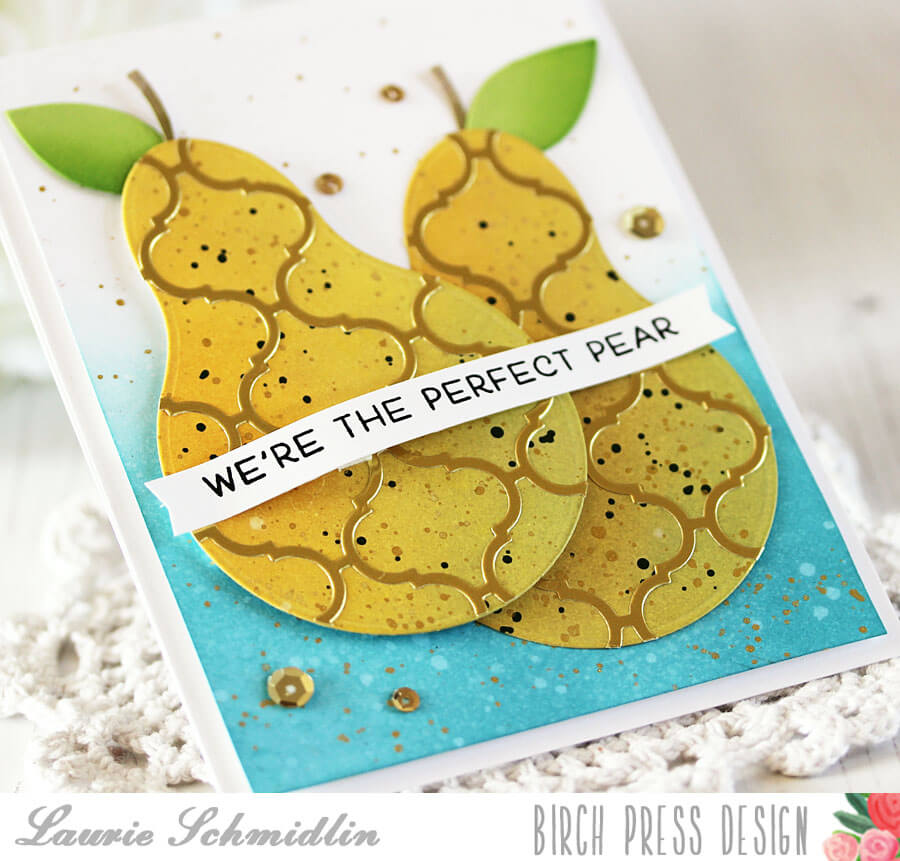
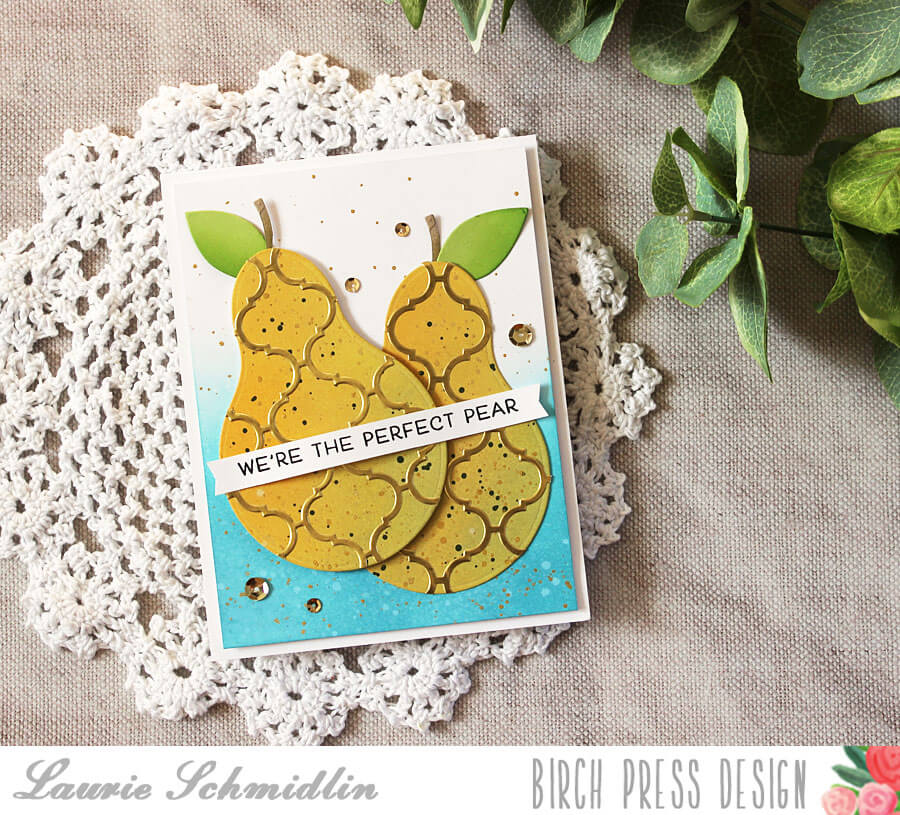
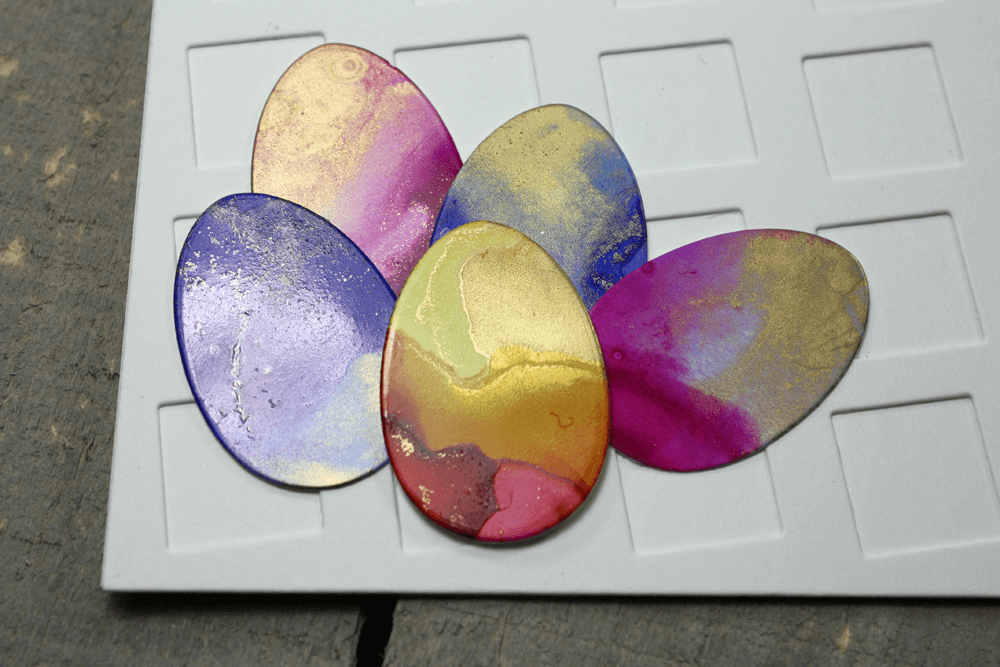 Hi it’s Tracey here today for another Birch Press Design inspiration post. Today we are colouring some Easter eggs! Not the hard boiled kind, but gorgeous jeweled paper kind.