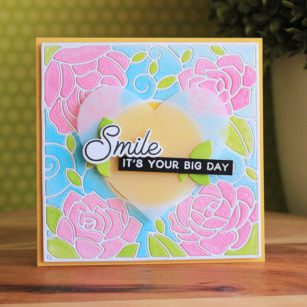
Hi friends, Eloise here and for today’s project I have a wedding themed card for you all. This could even be used for a birthday card, or if you change up the sentiment – it can be used for so many occasions. I’ll be using the Time To Celebrate and Wishing You The Best stamp sets, along with the Perfect Hearts Dies and Squash Notecards for my base. For my inlay technique, I’ll be pulling in the Poppy Stamps Rose Frame Dies also, since I felt like it complimented my design well.
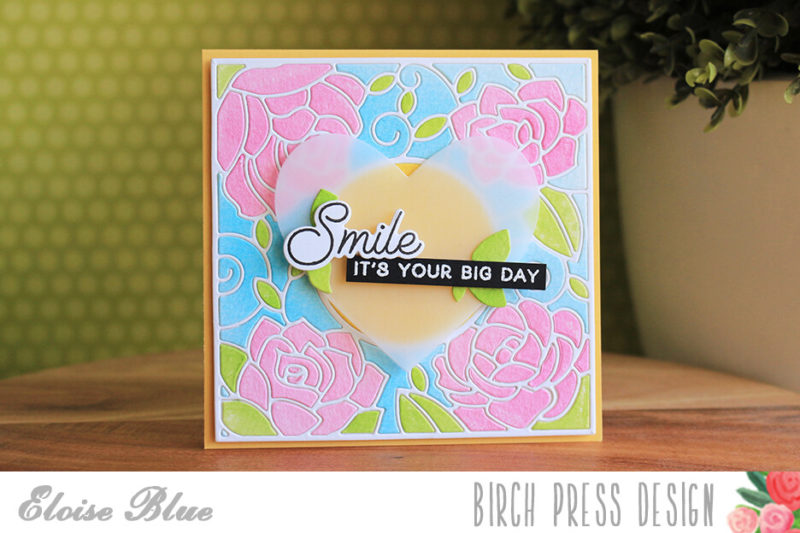
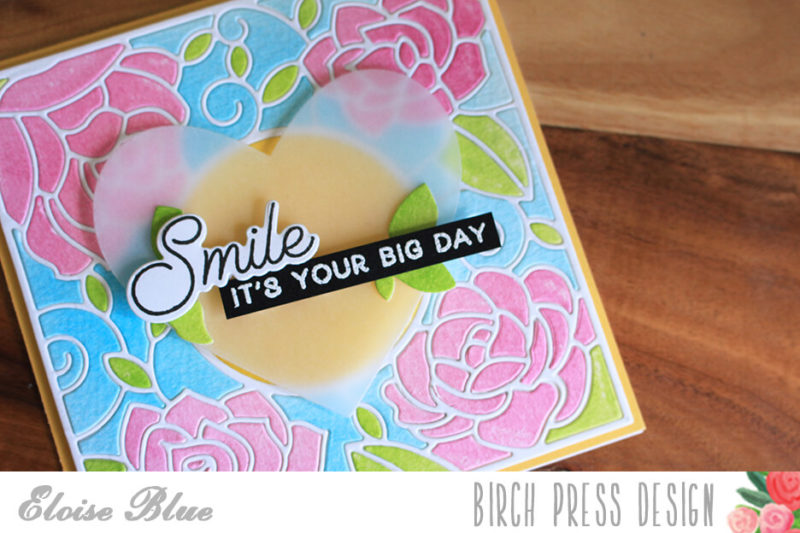
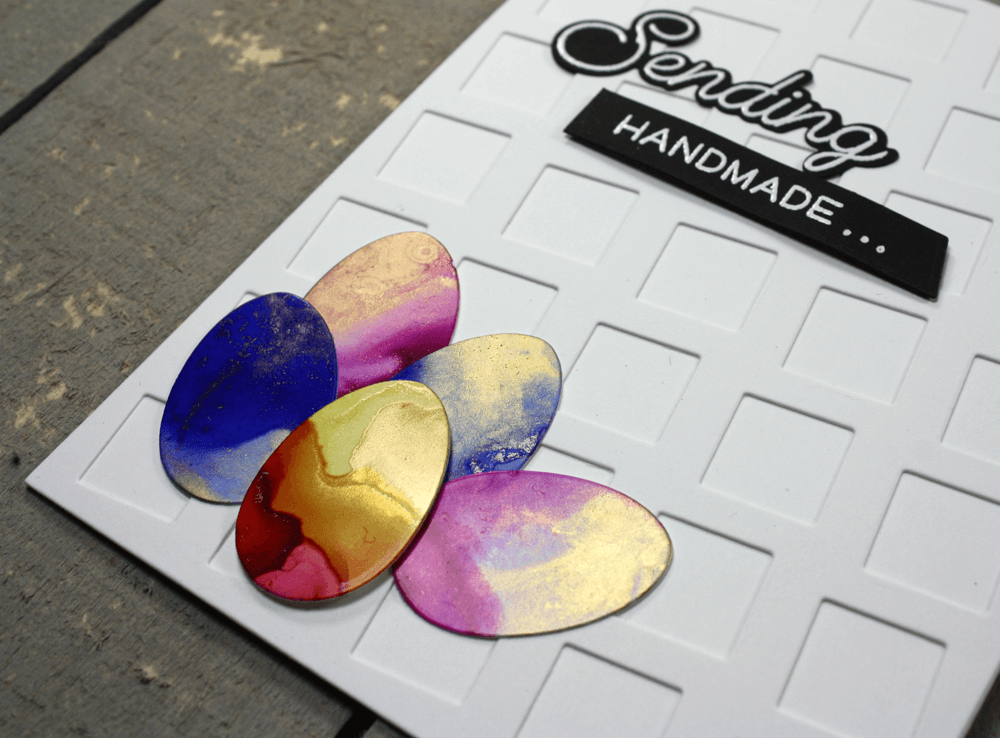
To begin my card today, I first took three pieces of watercolour cardstock, cut them down and ink blended some Distress Inks on to each of the pieces. I used Spun Sugar and Picked Raspberry for the pink, Twisted Citron and Mowed Lawn for the Green and then Tumbled Glass and Salty Ocean for the blue. Once they were all ink blended, I cut the Rose Frame die from each of them by running it through my Big Shot Machine. Once they were all die cut out, I also ran through a plain white piece for the border or frame of the die.
Next up, I took a piece of plain white cardstock, covered it in adhesive, removed the backers and adhered my white frame over the top. This way, I have adhesive showing through all the holes and it makes for adhering a lot easier. I then inlayed all my different pieces into the white frame, to create a multi-coloured panel for my card. I absolutely love in-lay die cutting, it creates for the most beautiful backgrounds.
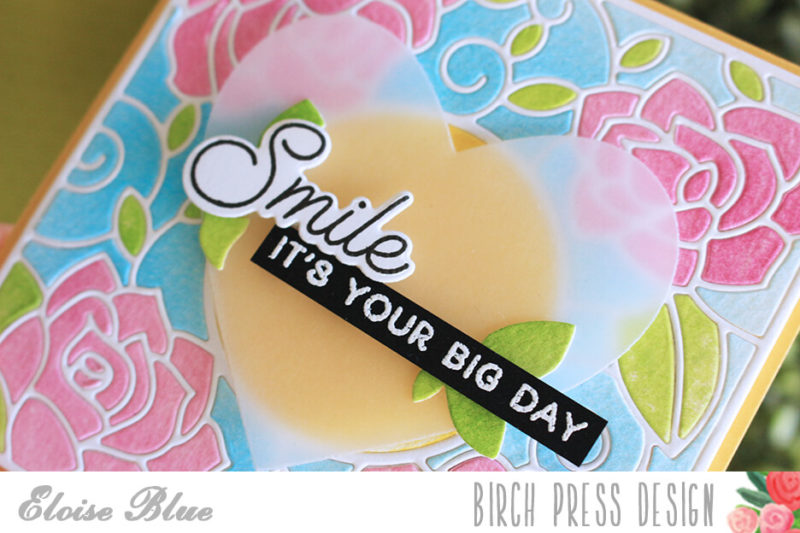
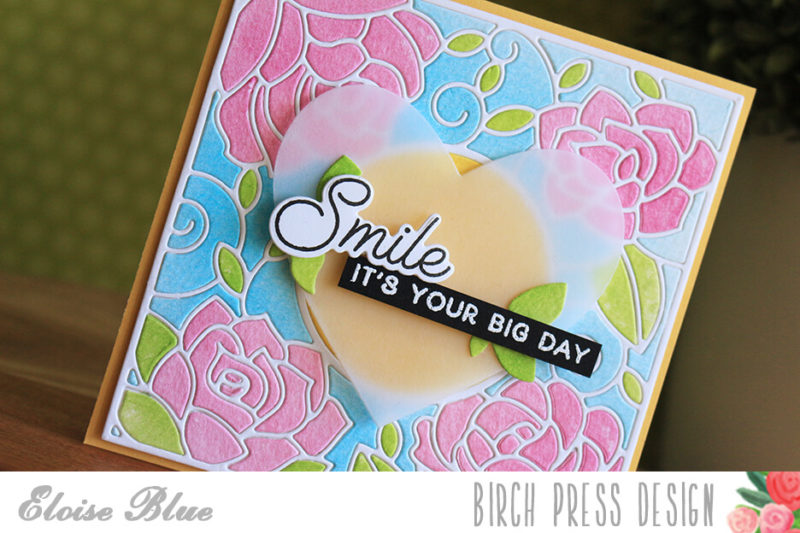
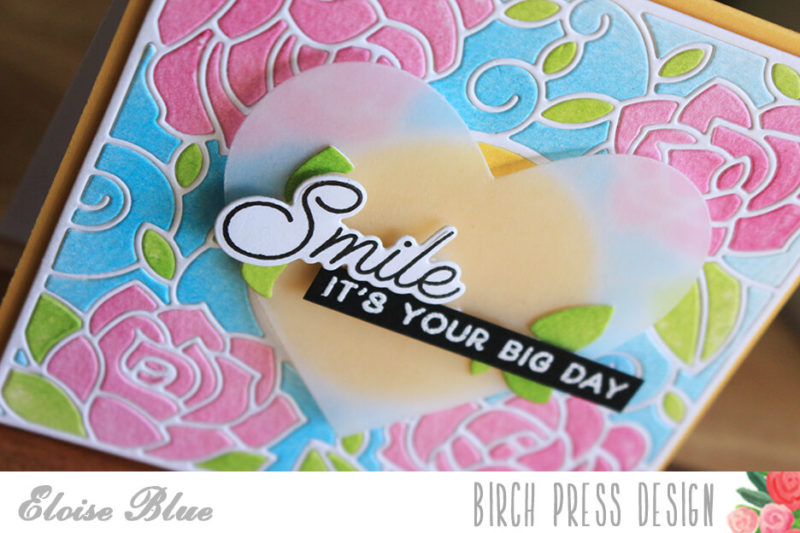
Once my background was done, I added foam tape onto the back and adhered it to a Squash Notecard that I cut down to be square. Then, I took the Perfect Hearts Dies and cut the largest out of vellum. For my sentiment, I used the Wishing You The Best set, stamped and die cut the word smile and popped it up on foam squares and adhered it to my heart. For my additional sentiment, I used the Time To Celebrate set and white heat embossed the ‘It’s Your Big Day’ sentiment onto a thin black strip. I repeated the same steps to adhere, and then added foam squares on the back of my heart also, just behind the sentiment so it doesn’t show through and adhered the entire heart onto the centre of my card.
To finish up my project today I adhered a few of the extra ‘leaf’ looking green bits from my die cut background earlier, and adhered them around the sentiment to add a little more green onto my final card.
Thanks so much for stopping by today, I hope you enjoyed and got inspired. The video is linked down below for you all to watch, also.
Hope you enjoyed it and I’ll catch you next time!
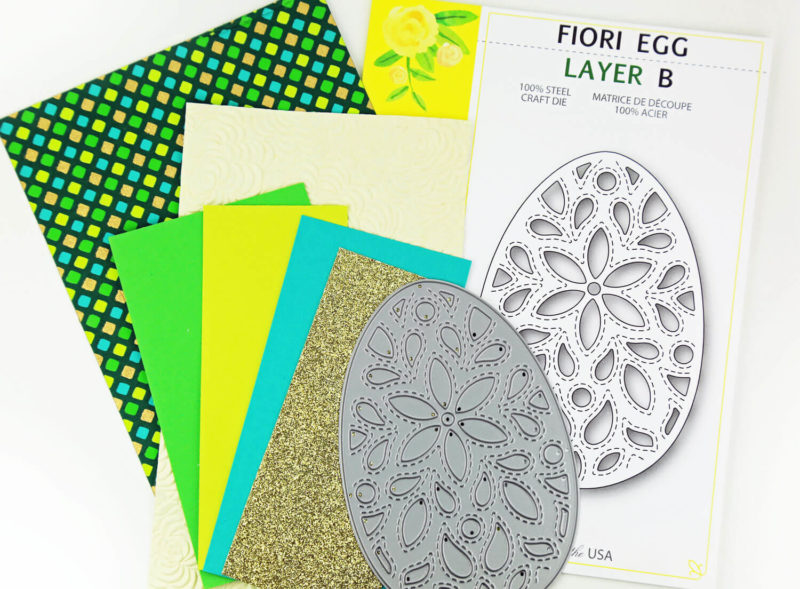
Supplies


 Here is the video of my process:


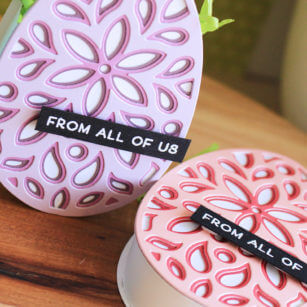
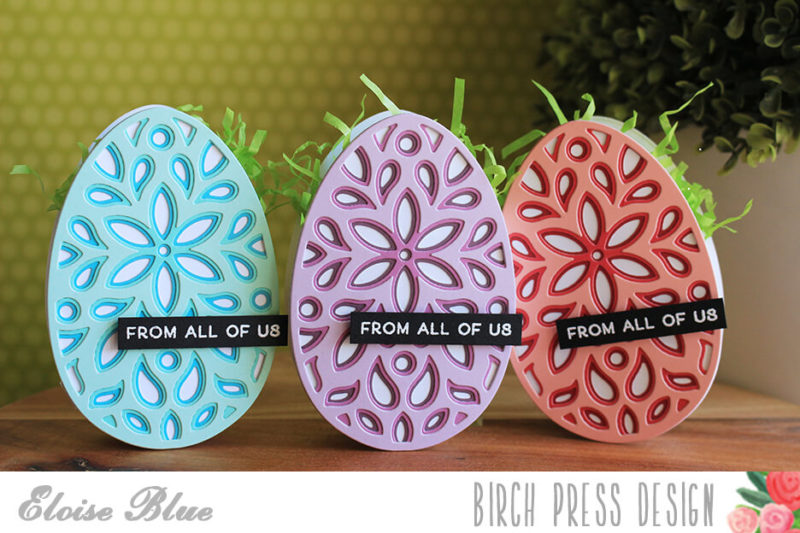
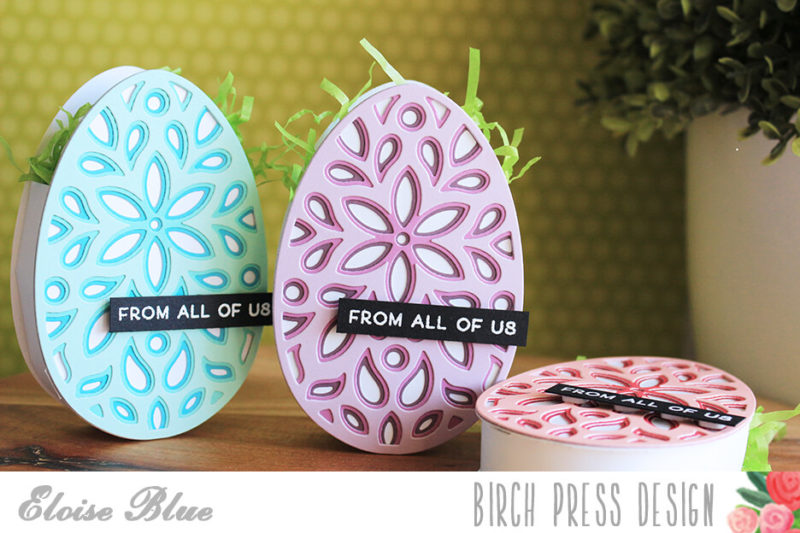
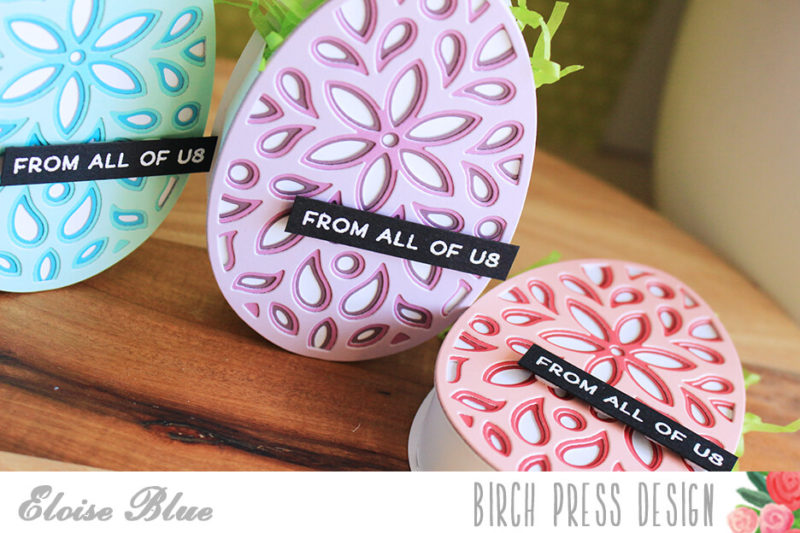
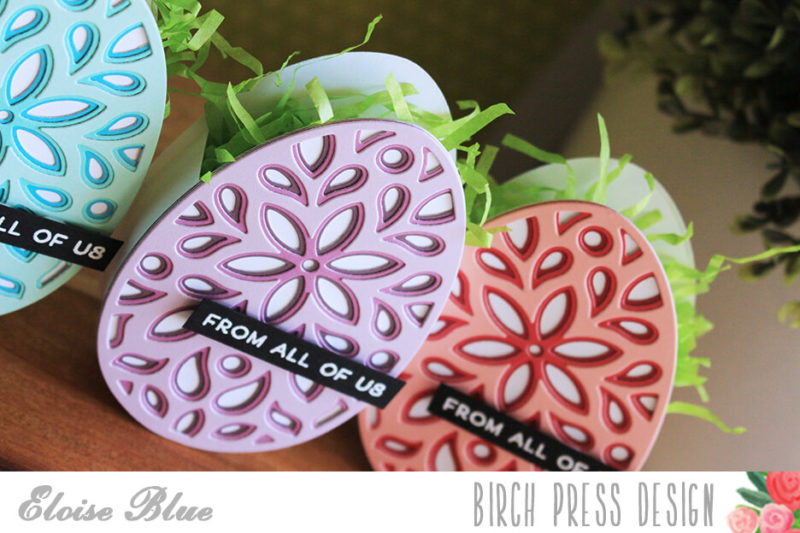


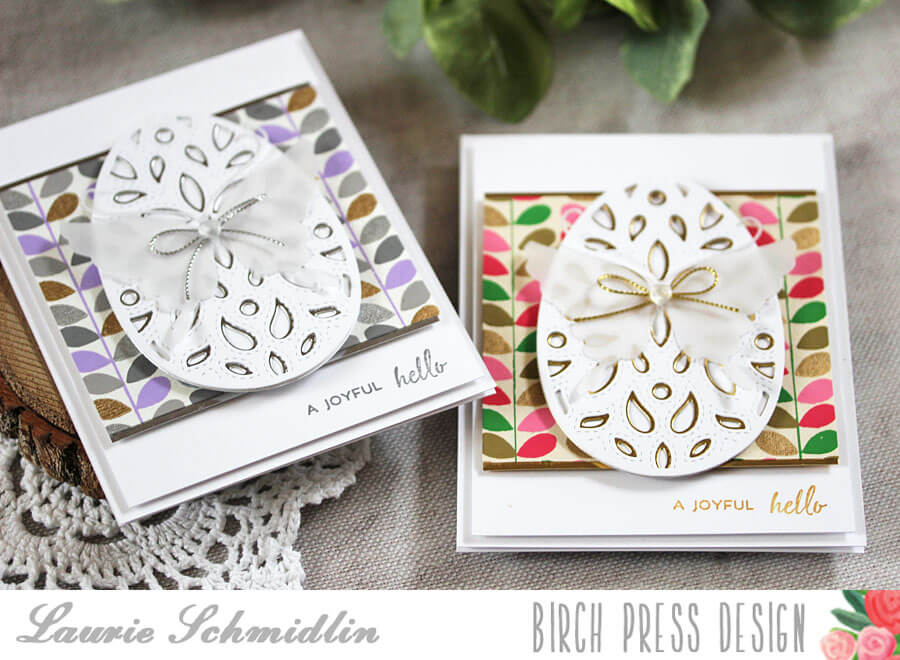
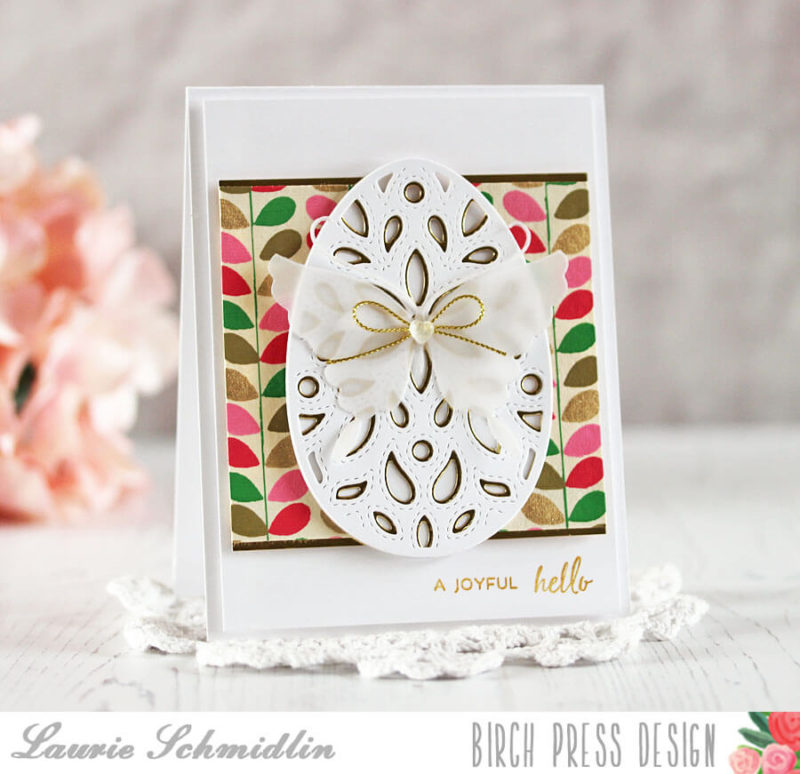
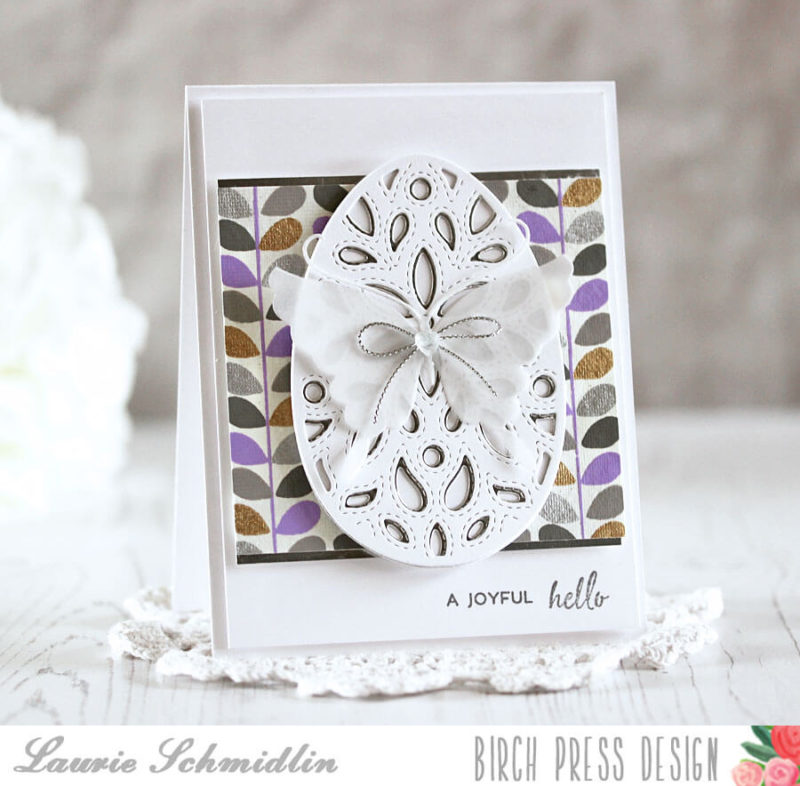


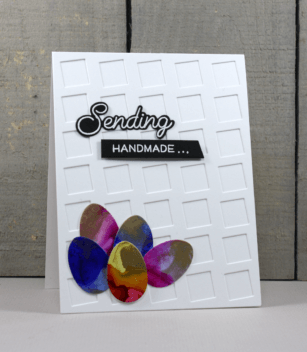
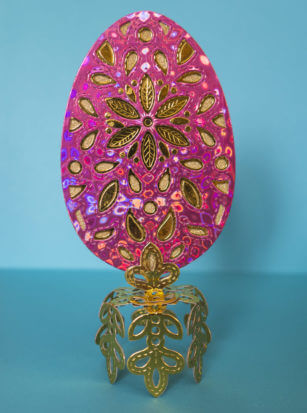
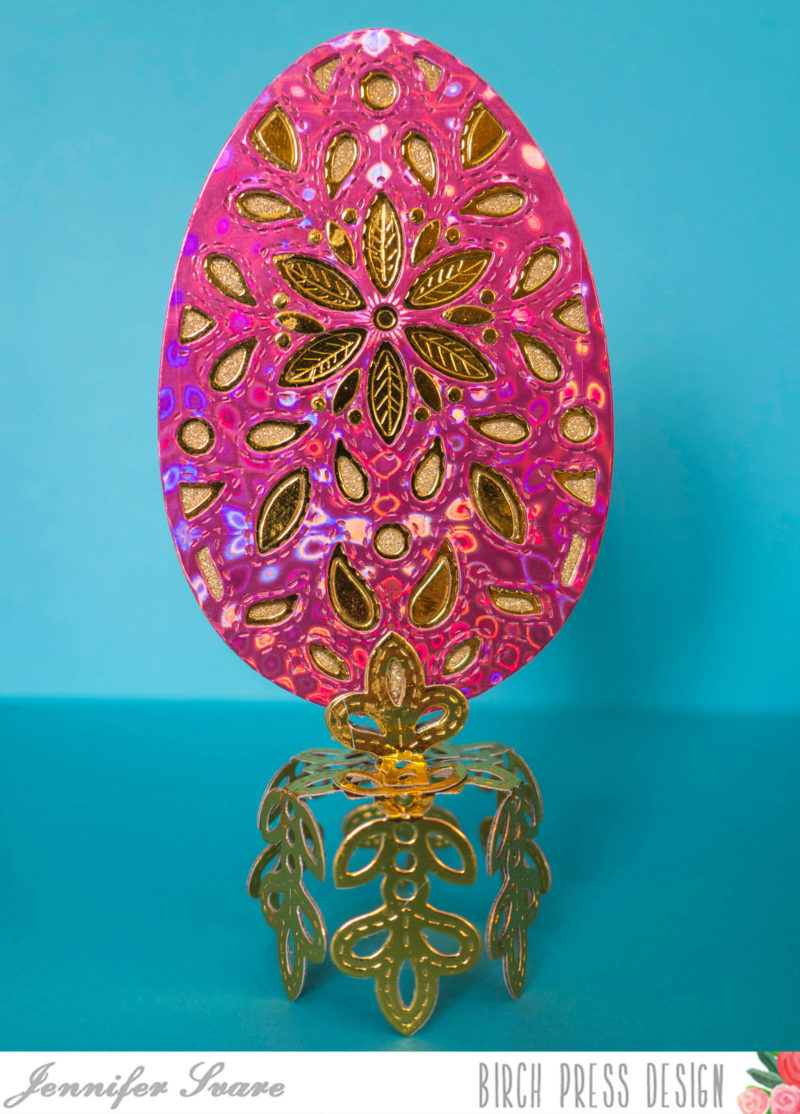
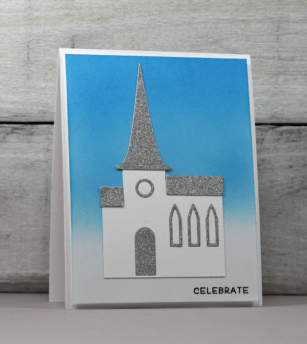
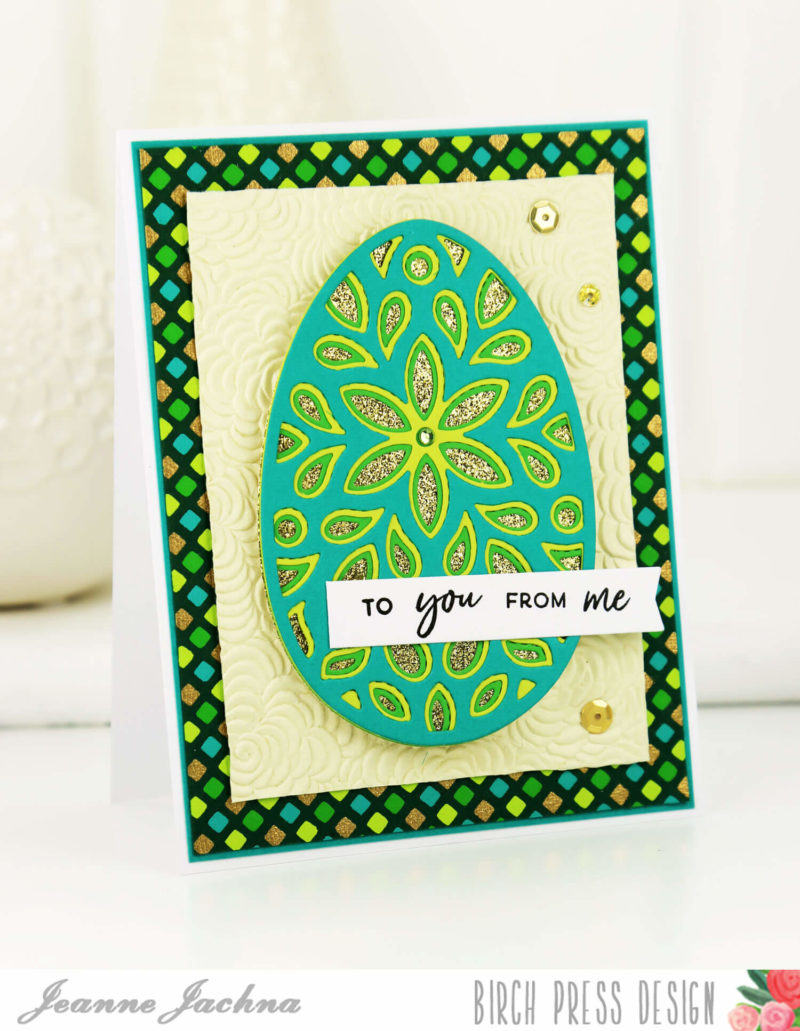
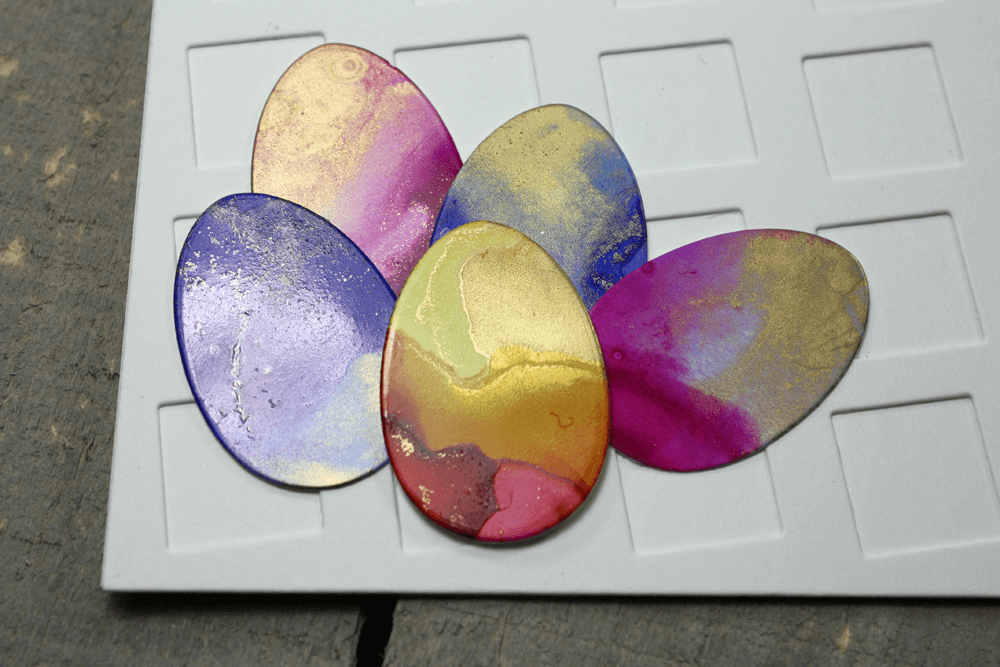 Hi it’s Tracey here today for another Birch Press Design inspiration post. Today we are colouring some Easter eggs! Not the hard boiled kind, but gorgeous jeweled paper kind.
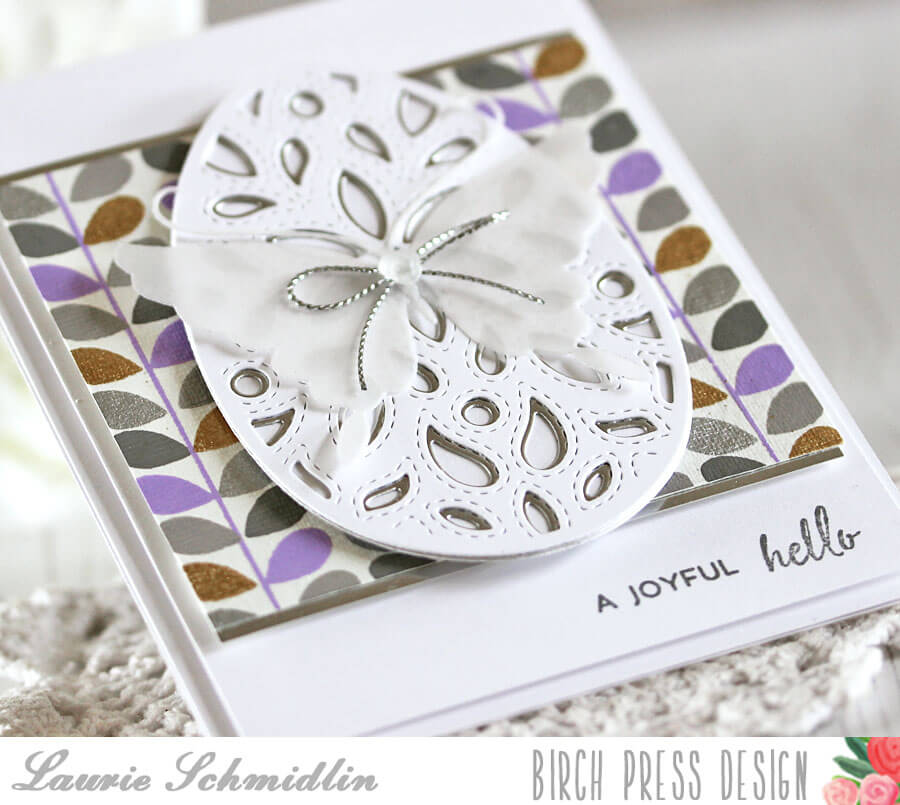
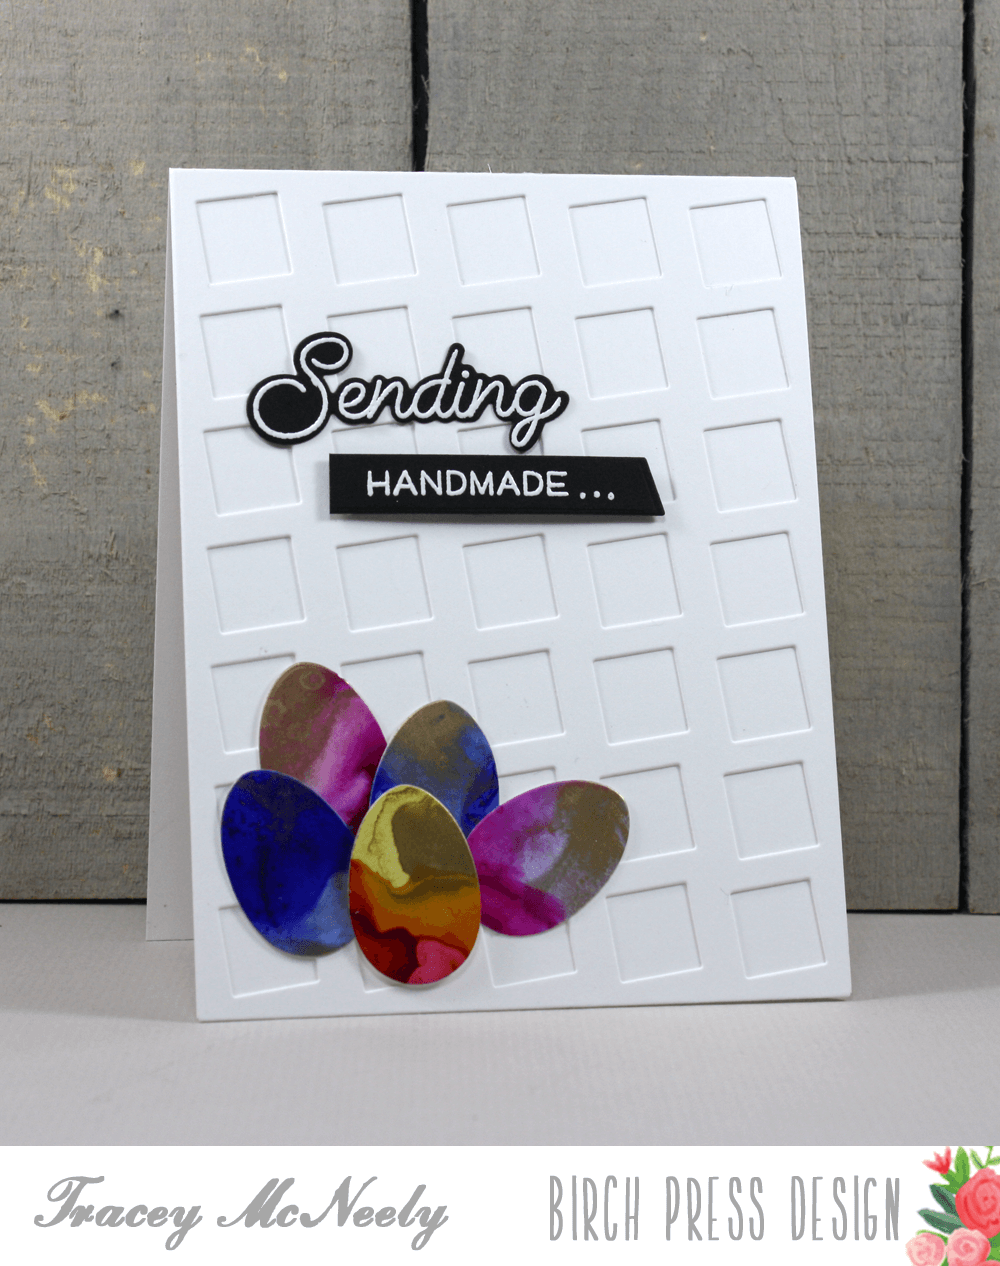
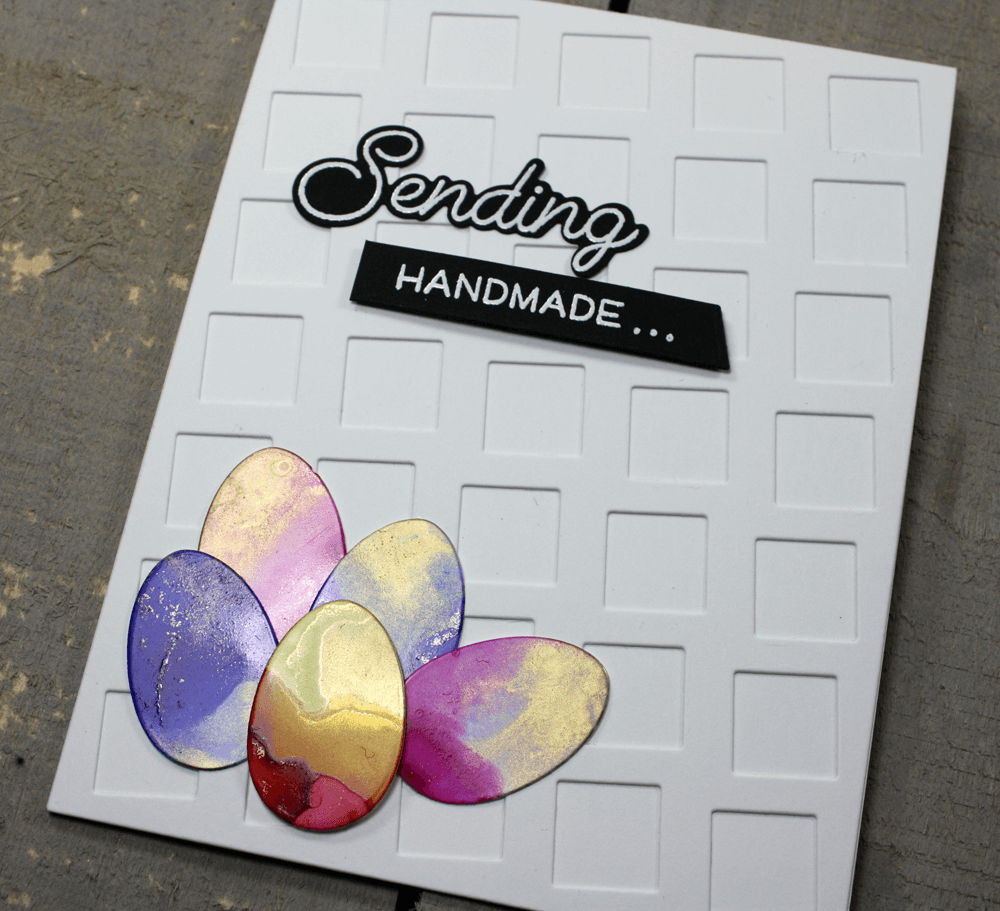
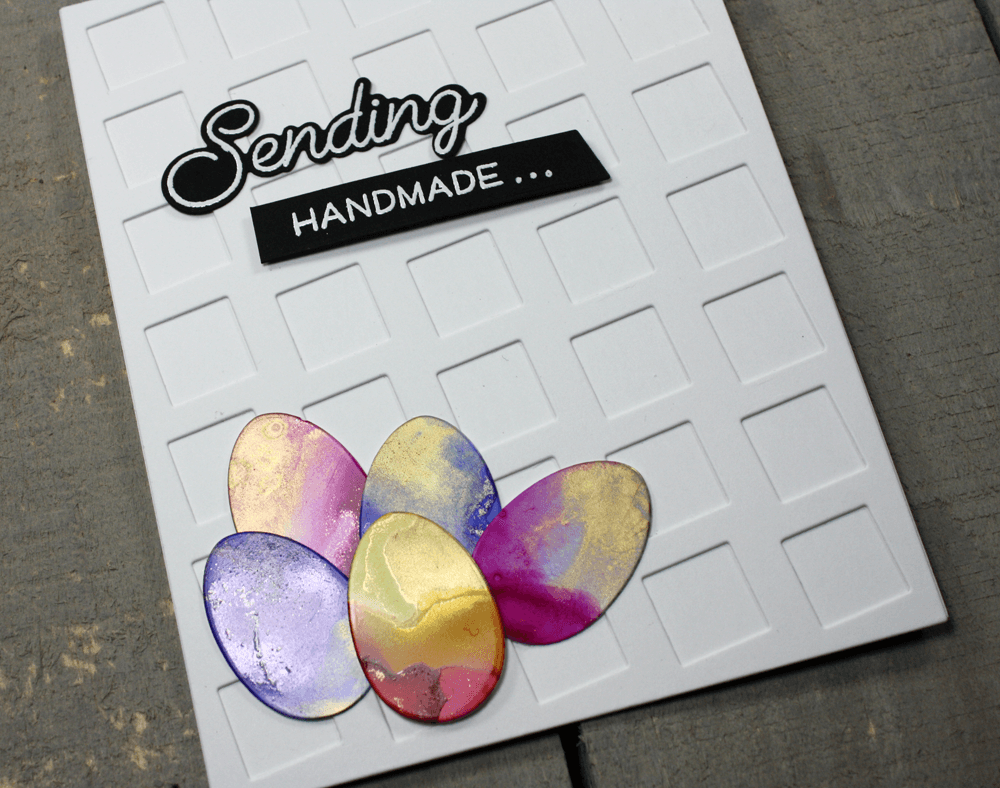
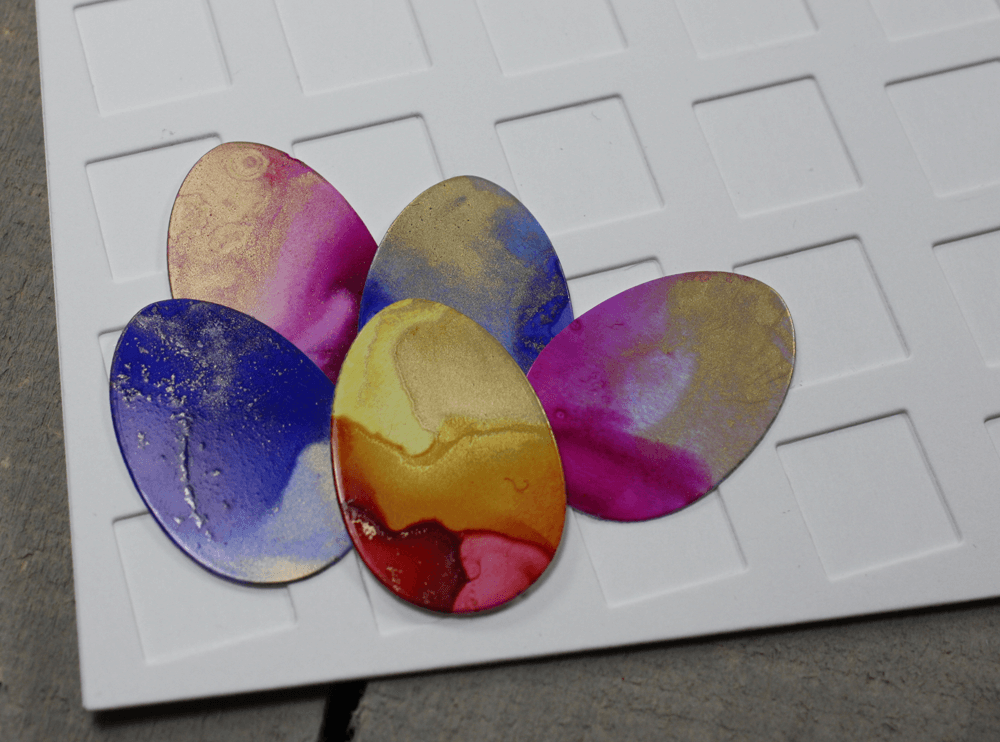
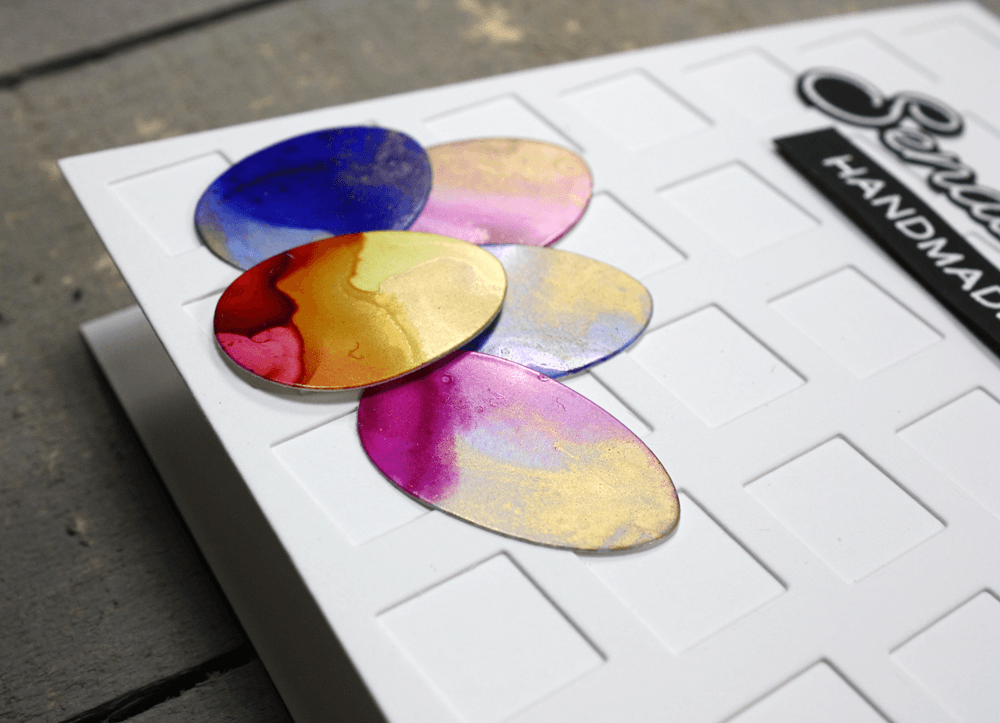
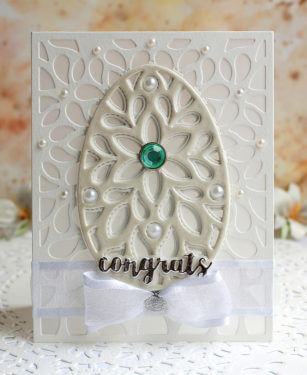
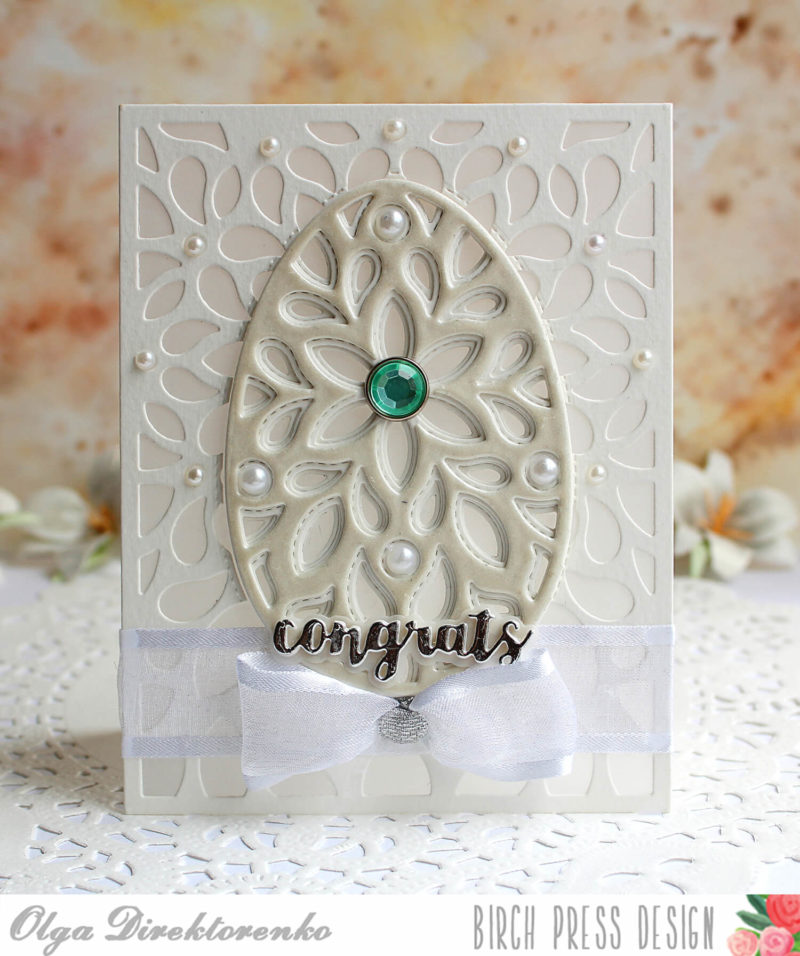
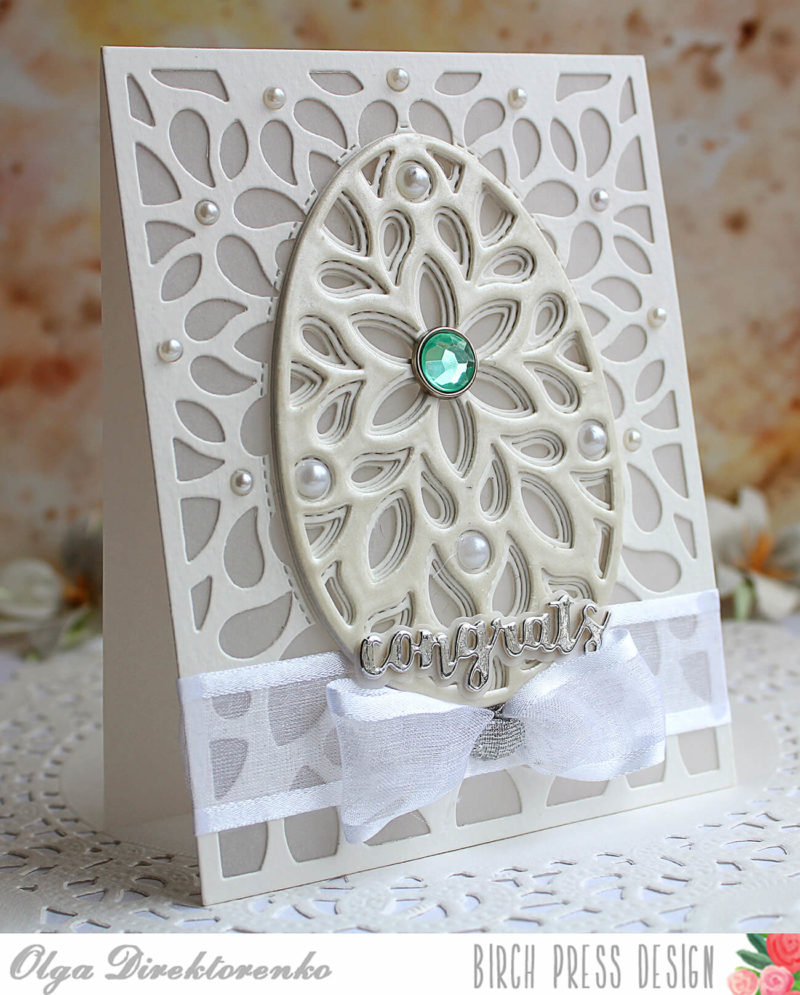


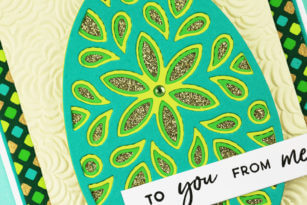
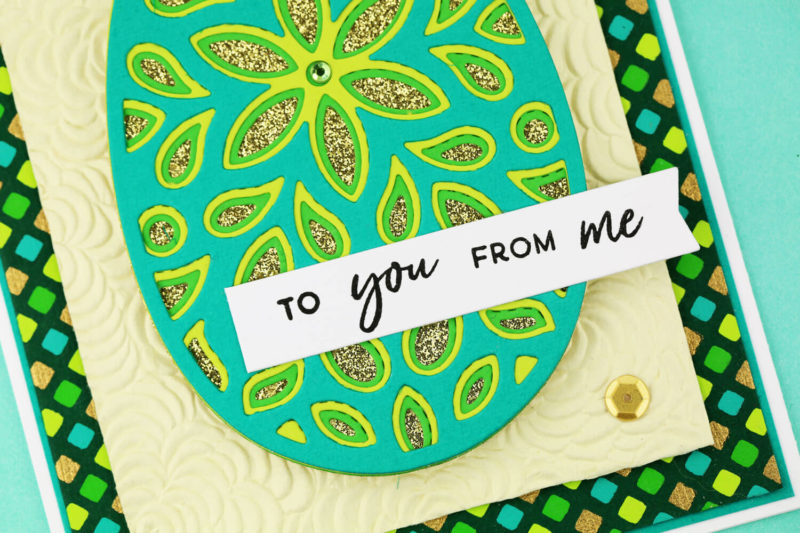
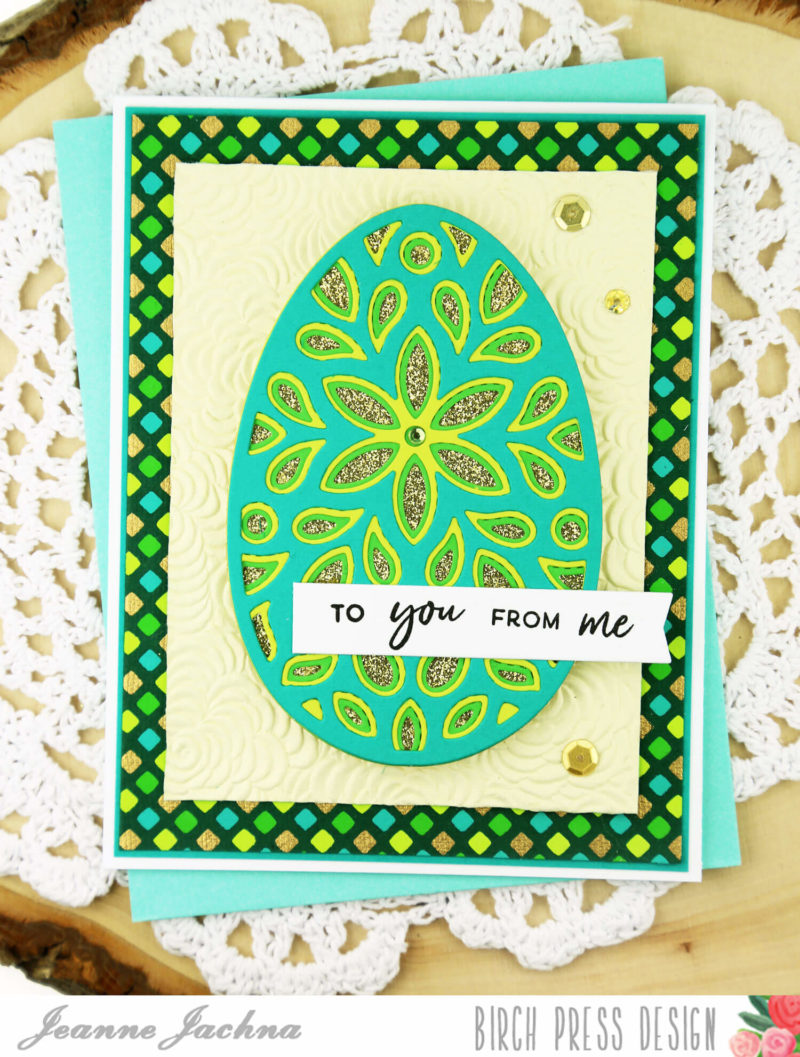
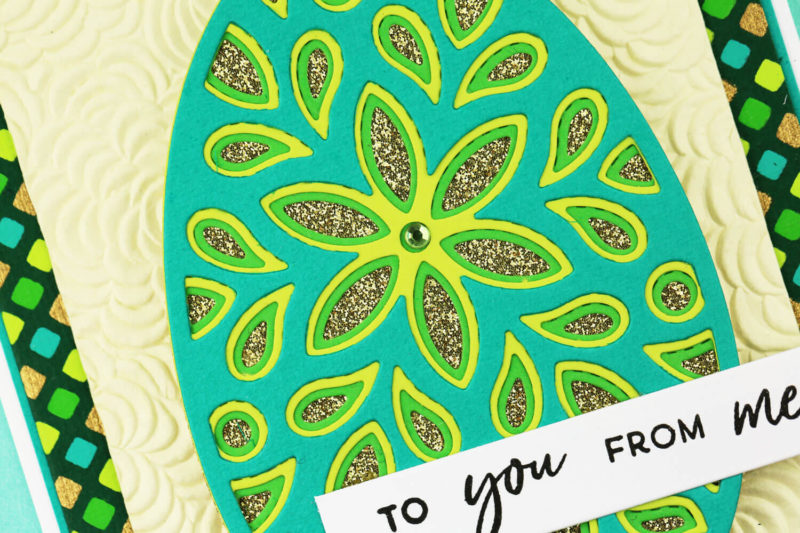
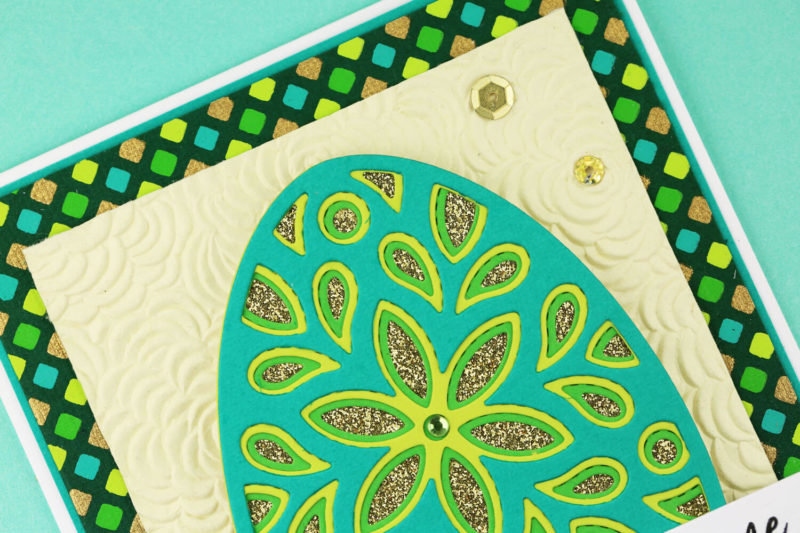
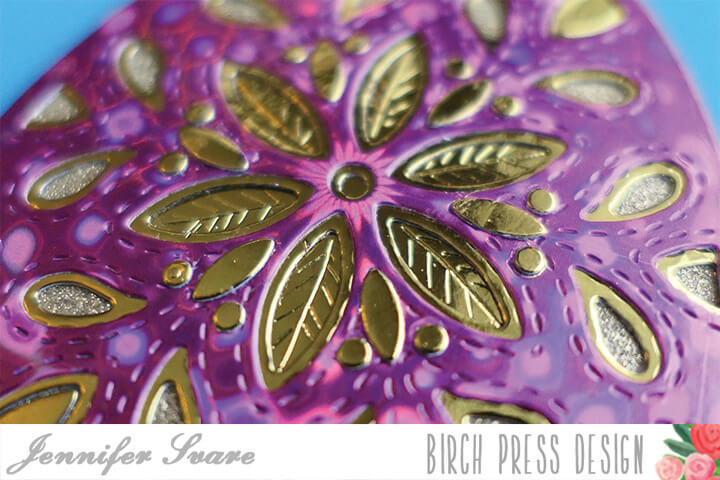
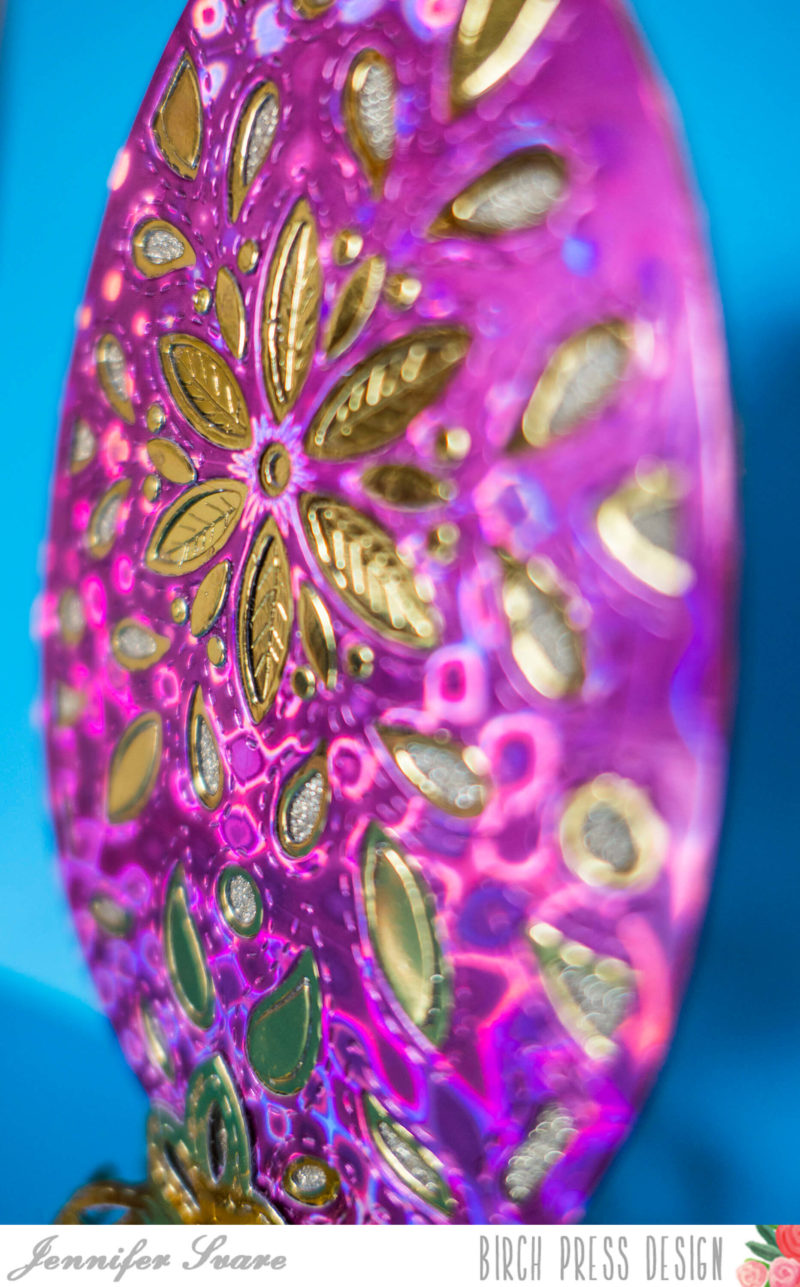
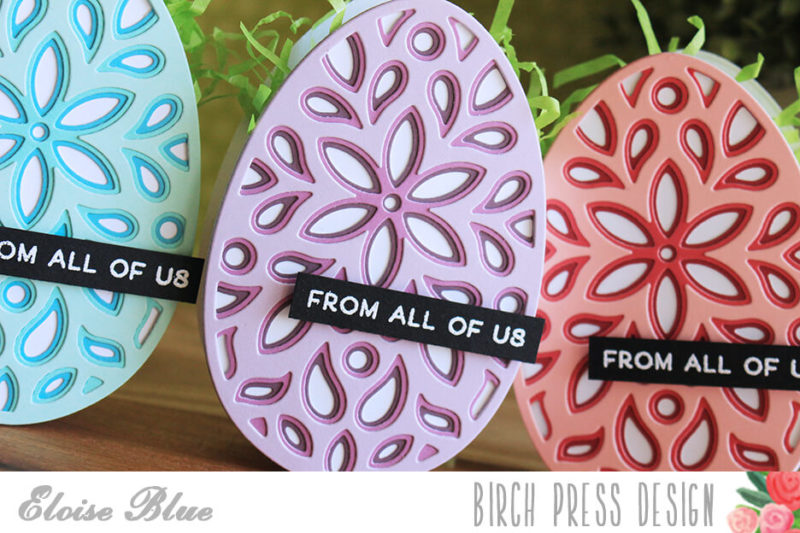
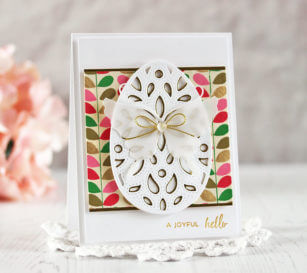
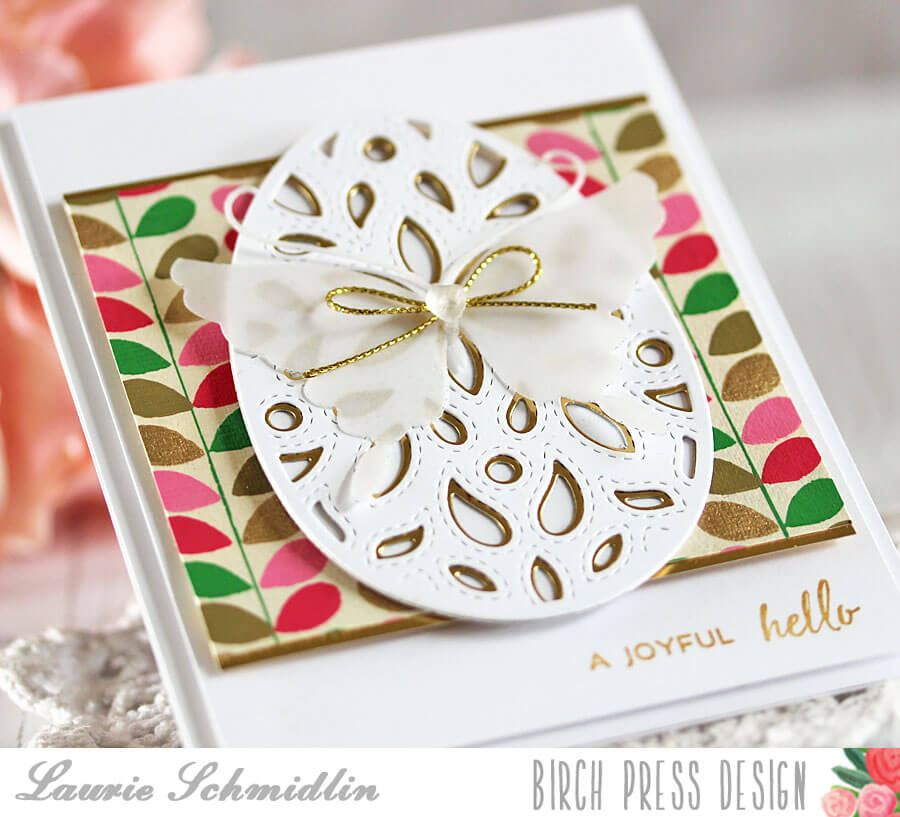
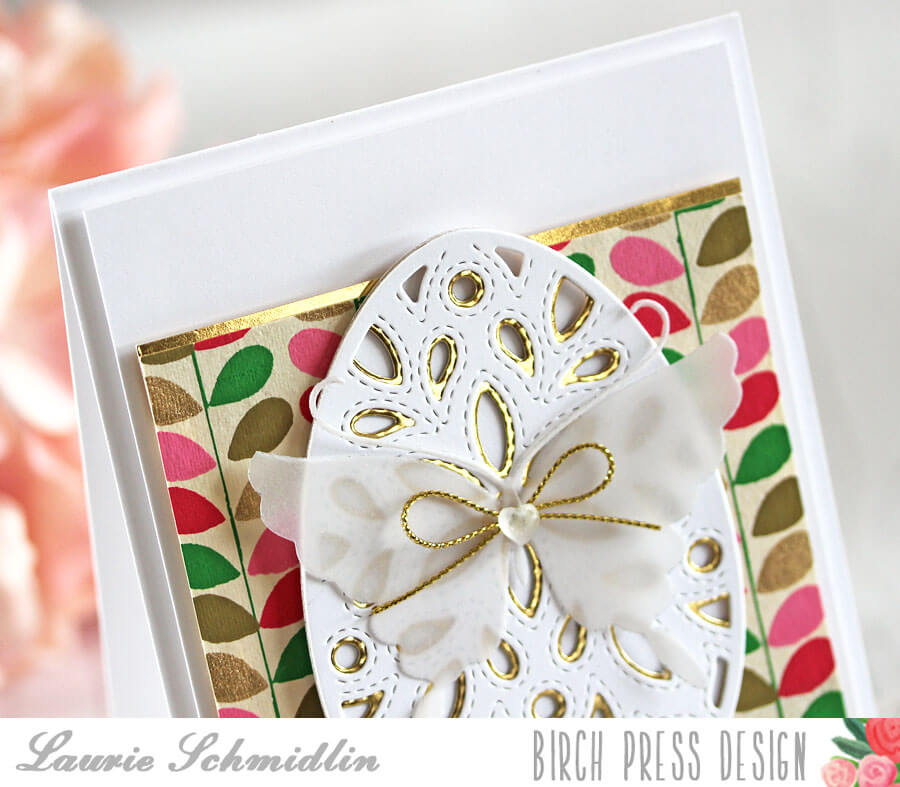
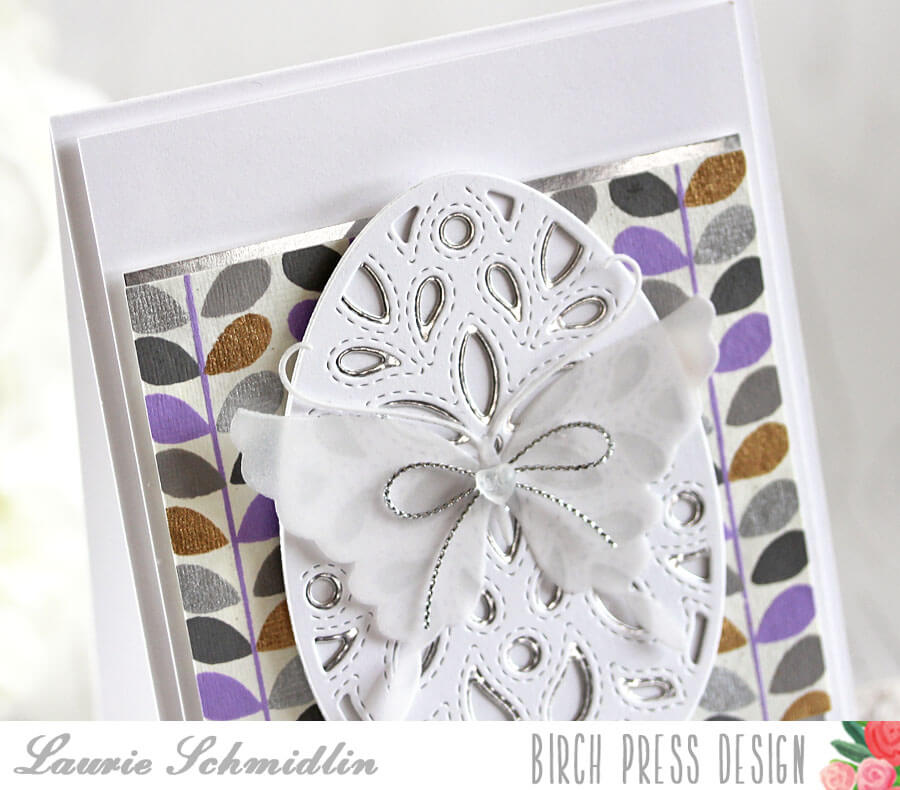
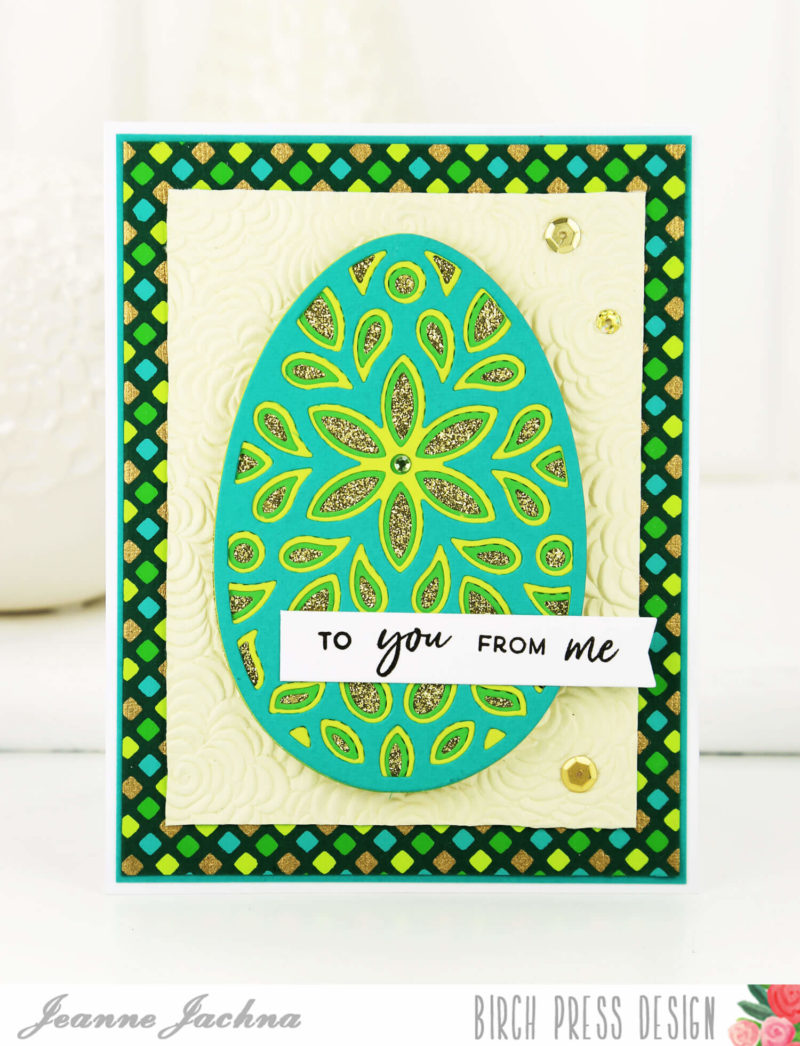 I wish you could see this beauty in person – all that gold is total eye candy!