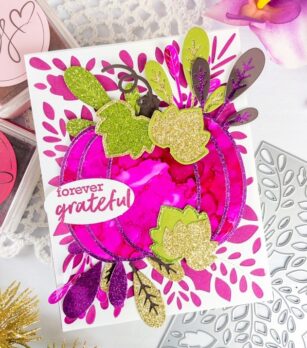
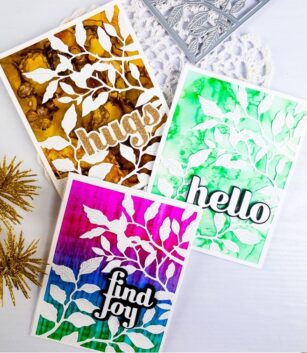
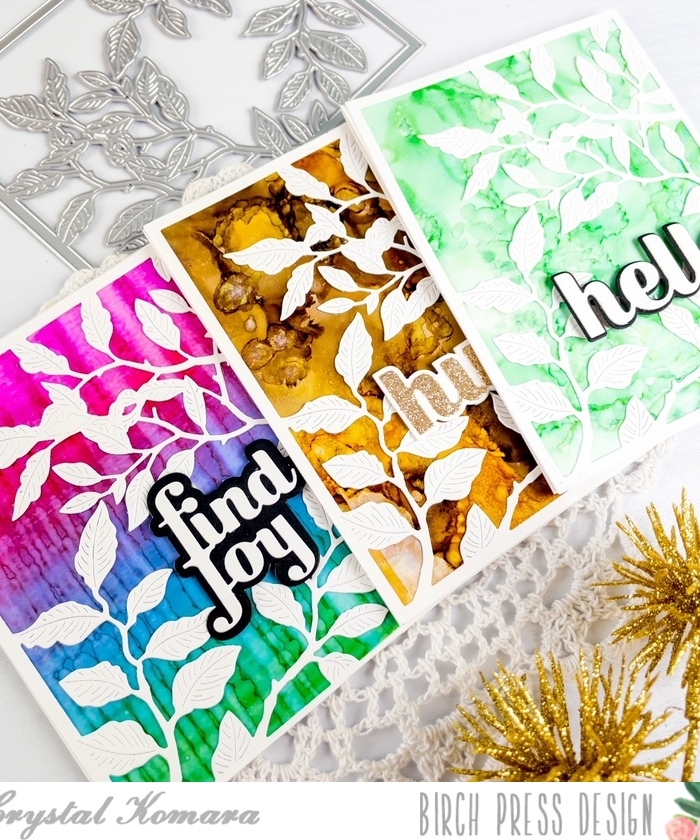
Hello friends! Welcome back from the long weekend, I hope you all enjoyed your holiday weekend celebrating the official end to summer. I’m so ready for fall, my favorite season of the year here in New England. This is Design Team member Crystal Komara here today sharing a card that I made using the new Adornment Oak Leaf. This card also marks my first foray into the mixed media world and honestly, I’m still not sure what I think! I mean I like (kinda sorta) how this card came out, but I wouldn’t say I love the process of how I got there. One very messy step at a time and a lot of self doubt. So, I’ll preserve judgement until I play around a little bit more to see if mixed media will “be my thing.”


Card details:
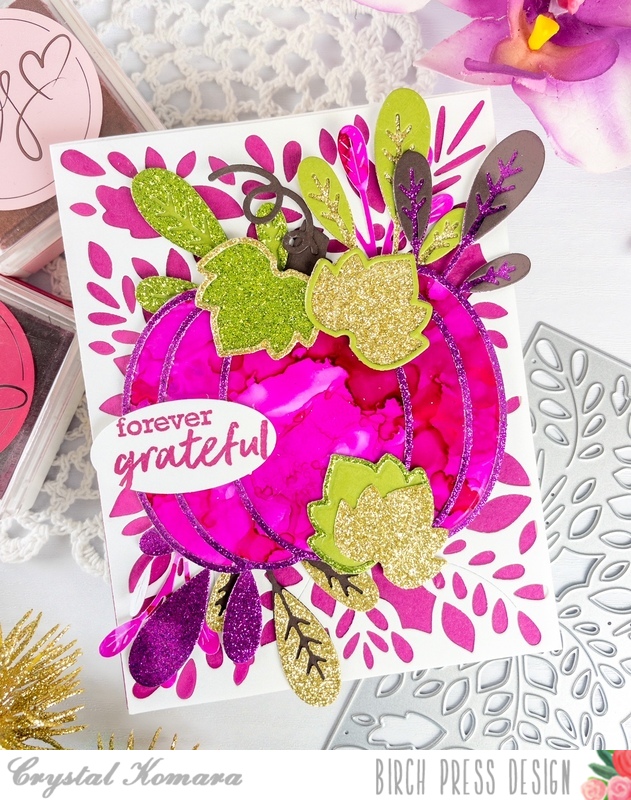
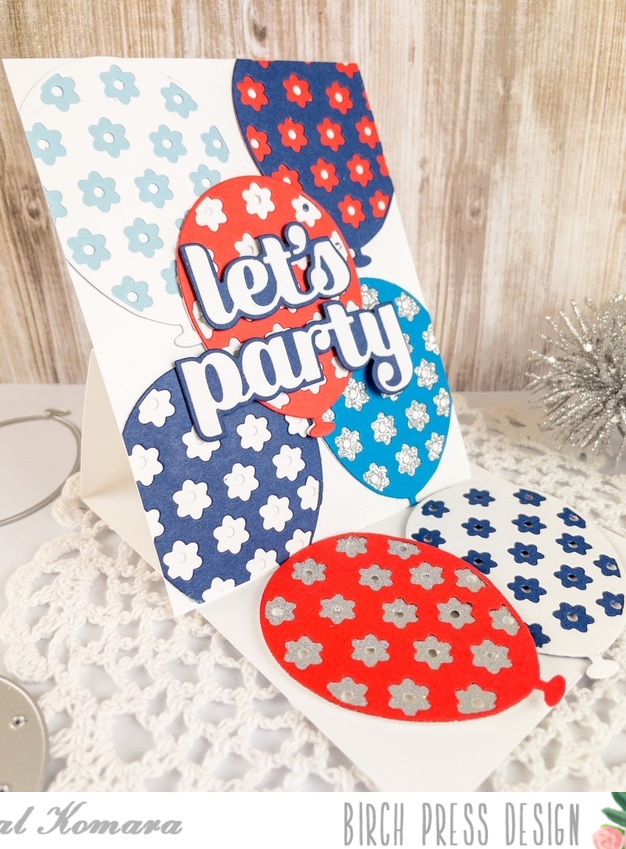
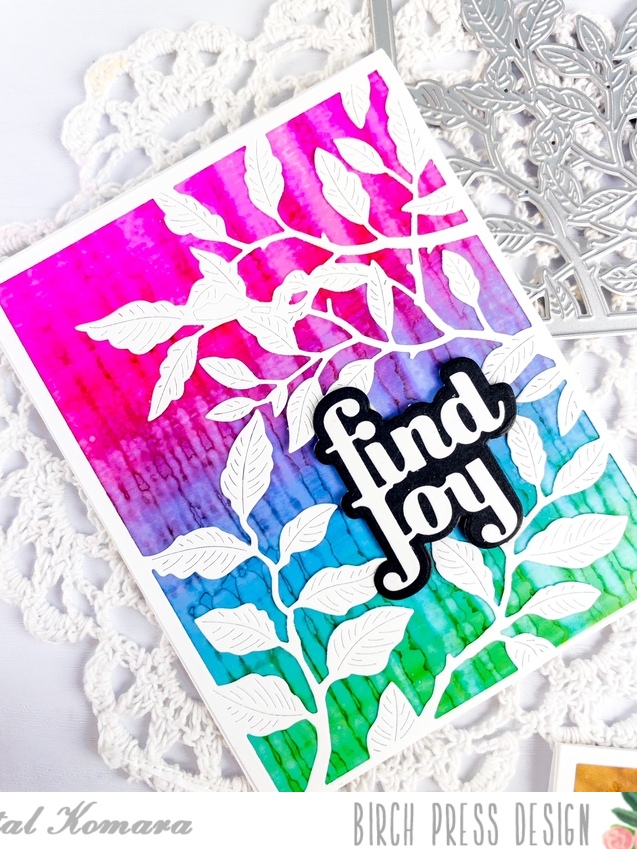
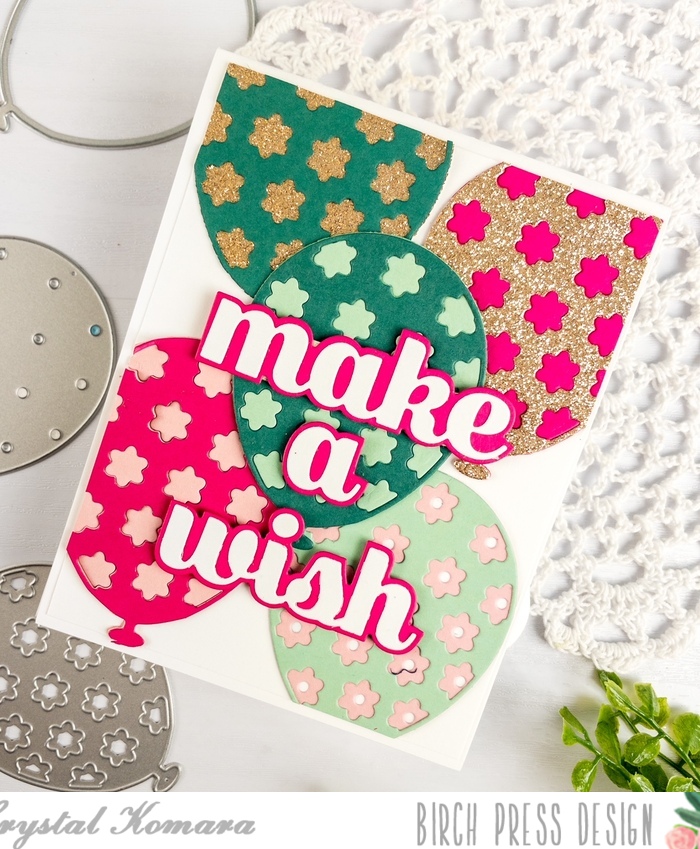
The base of this A6 (6 1/4″ x 4 1/2″) is made from 80 lb. Neenah Solar White Smooth cardstock. The background paper was leftover in my scrap bin, but it had the perfect fall colors I wanted, so I cut it to 6″ x 4 1/4″ and then splattered black ink and gold metallic spray all over the paper before adhering it directly to the card base.

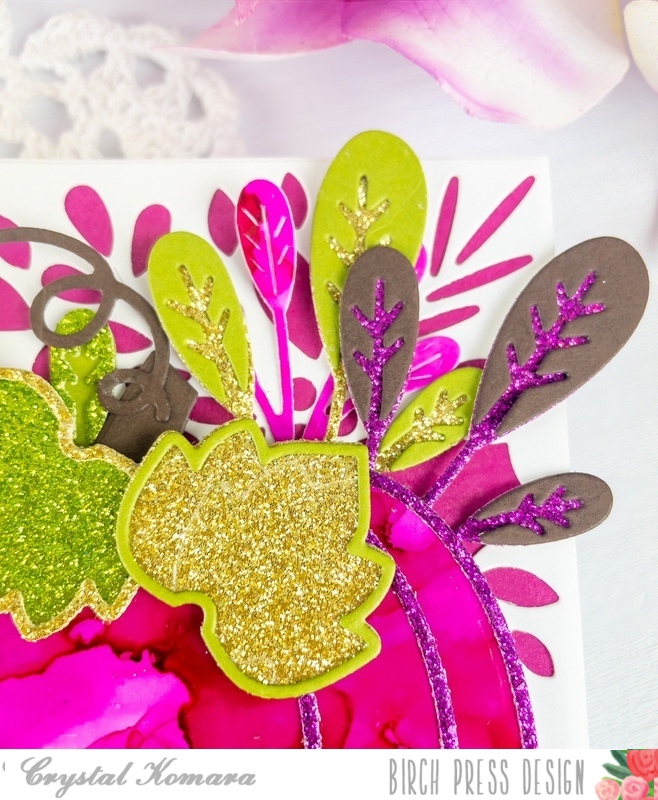
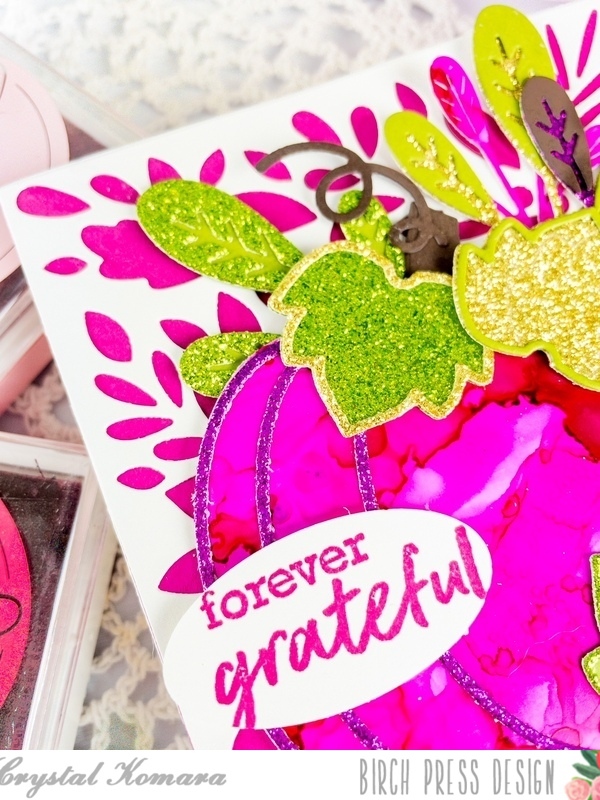
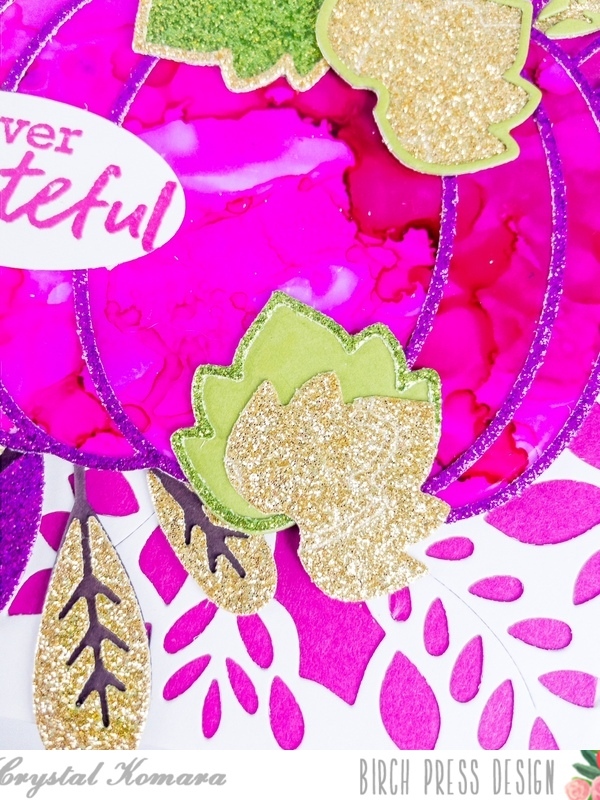
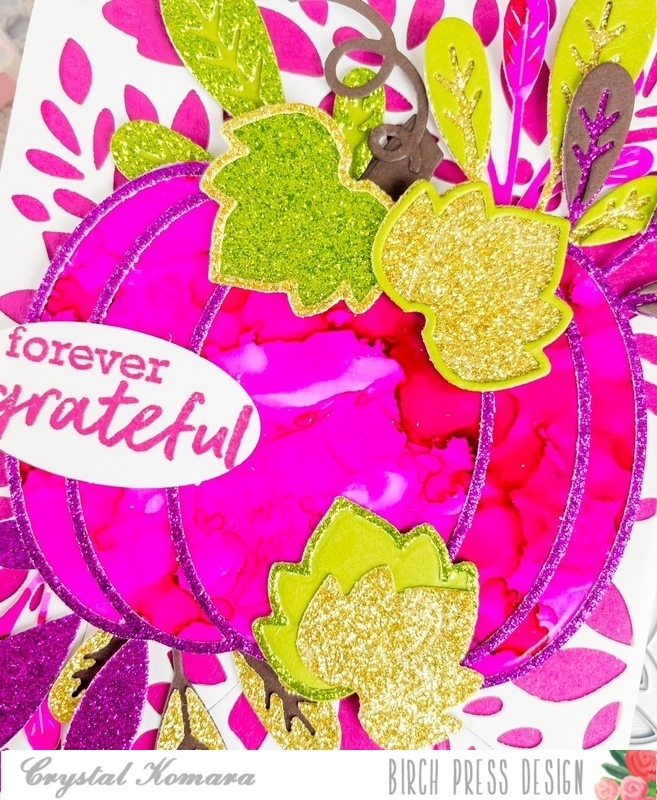
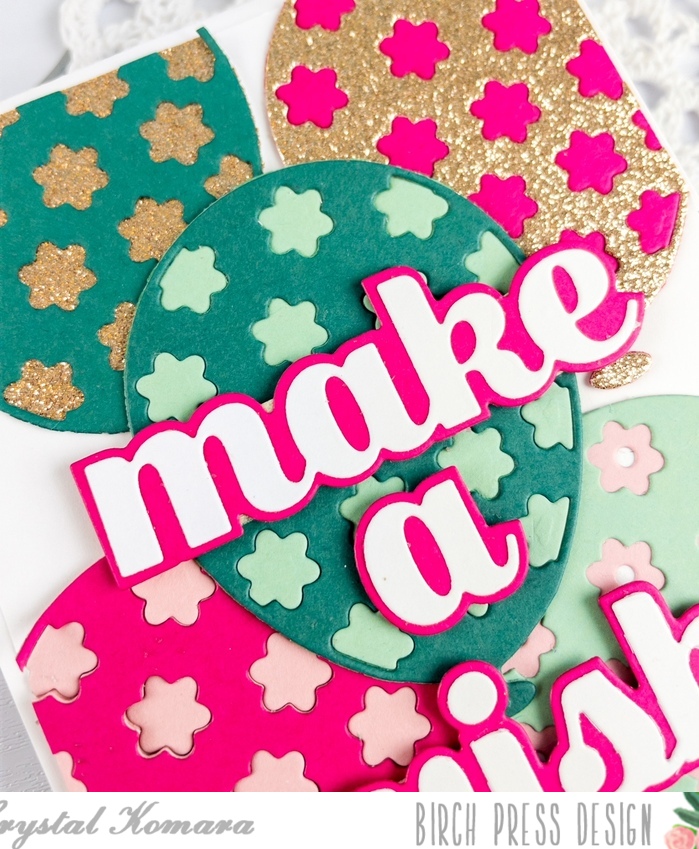
Using the Adornment Oak Leaf die, I die cut three different colored leaves in a rust colored cardstock, a yellow cardstock and a cherry red cardstock. I then cut the overlapping detail element from gold glitter paper. I adhered the gold glitter paper over each leaf and then splattered the leaves with black ink and gold metallic spray. I adhered the leaves to the card using 3M foam adhesive for added dimension.
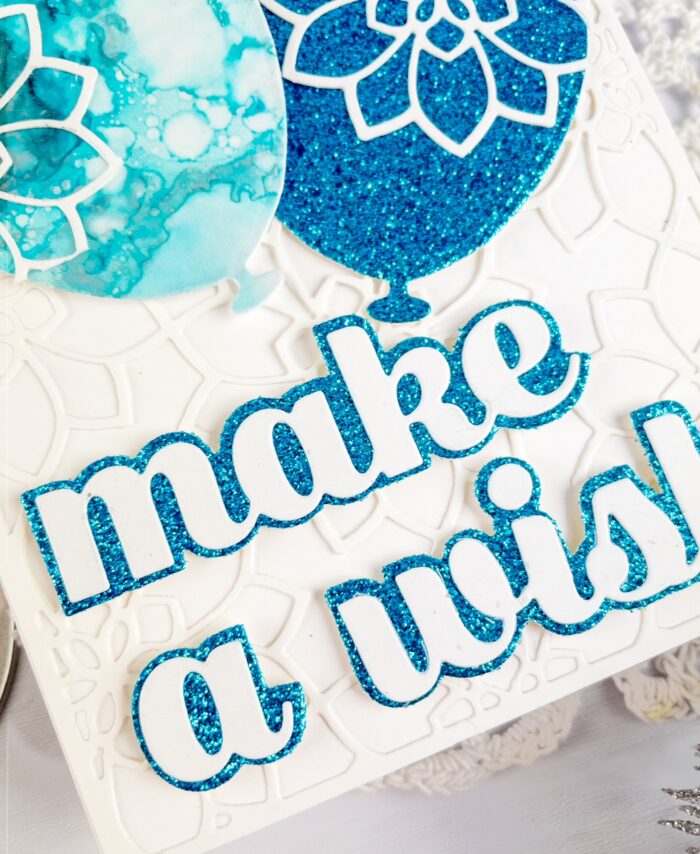
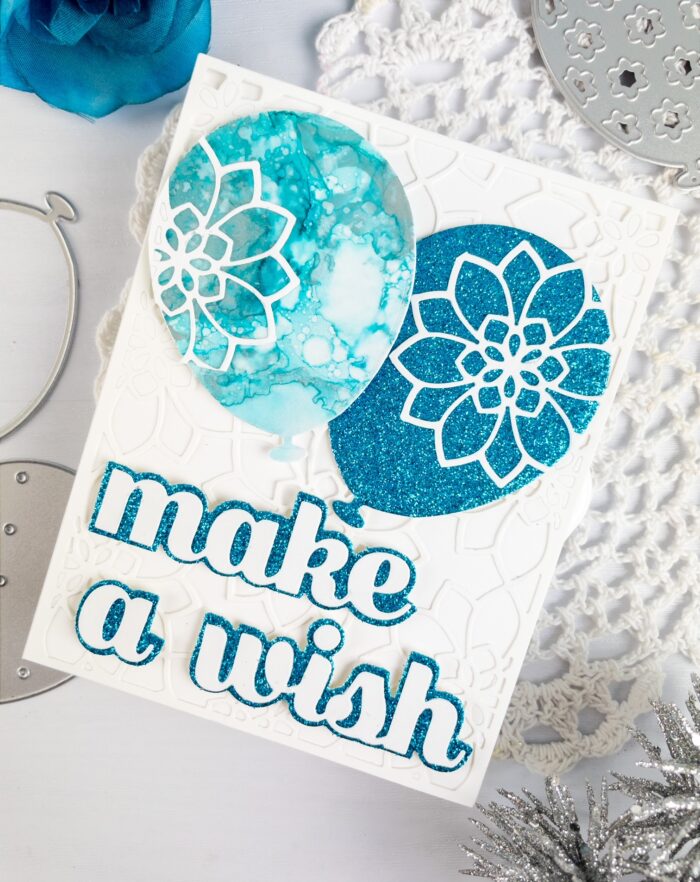
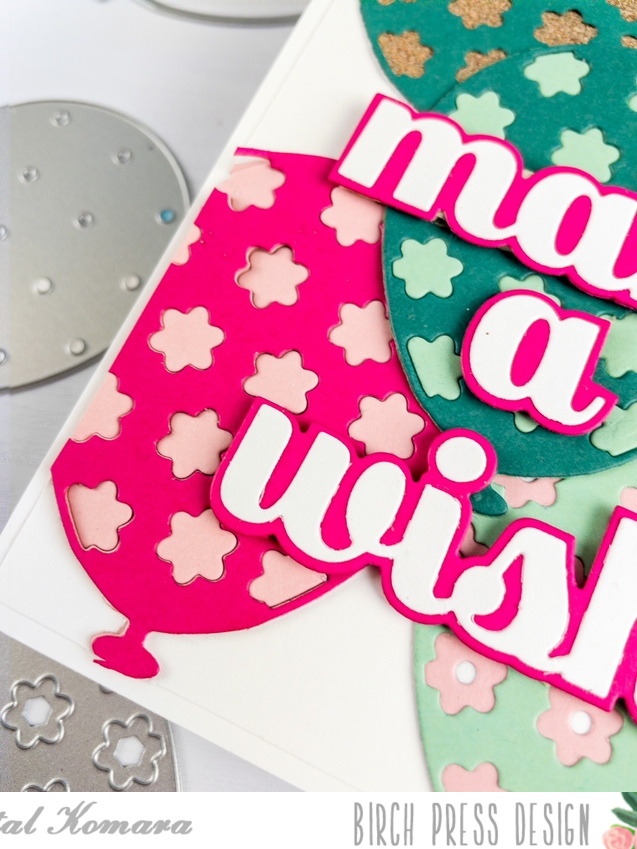
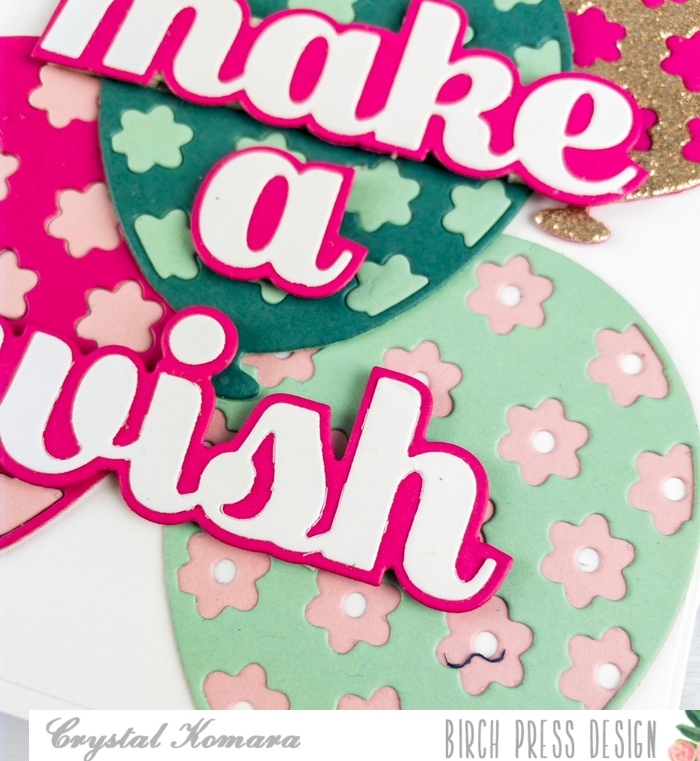
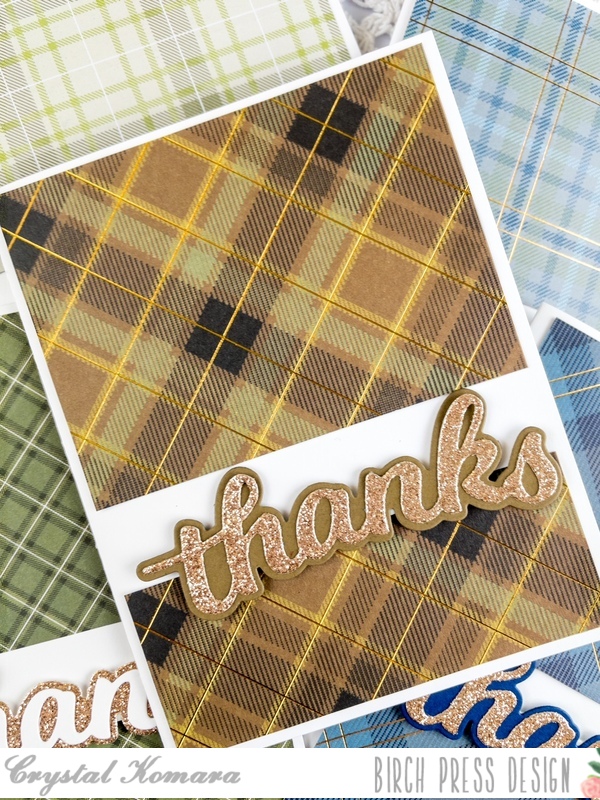
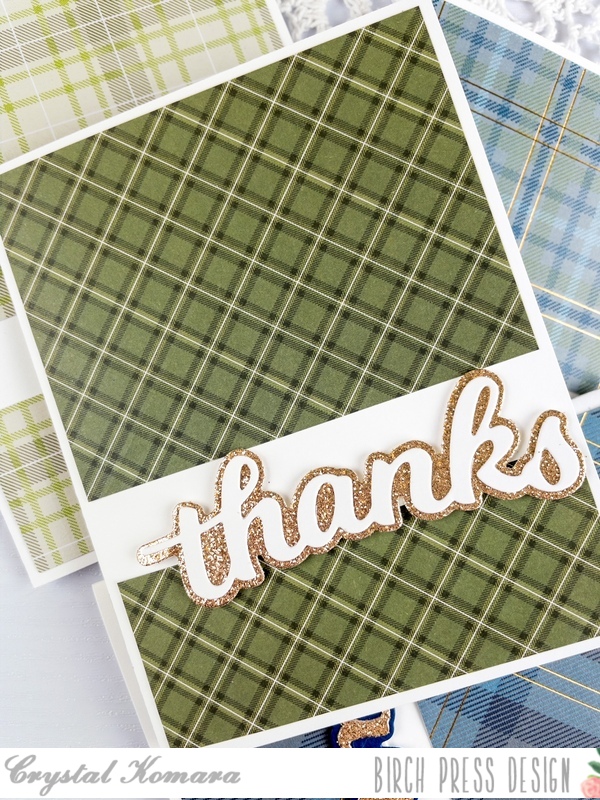
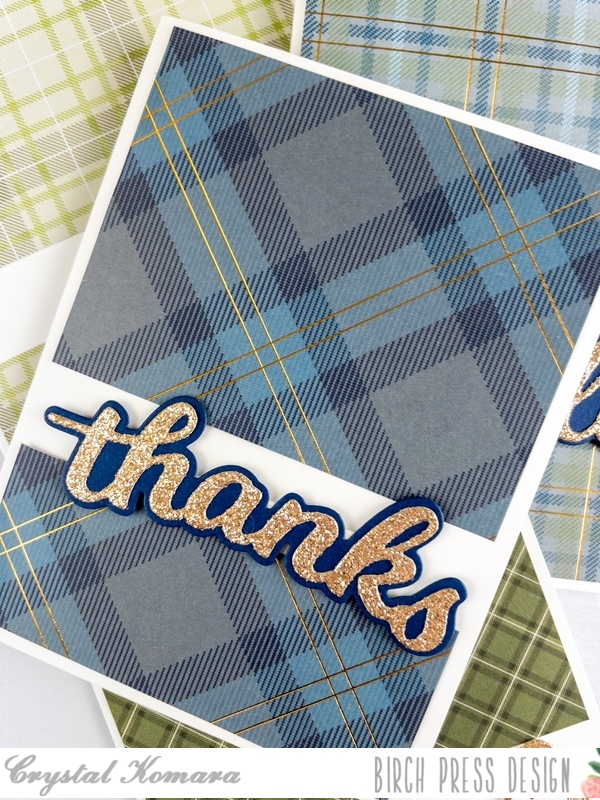
Using the Big Sugar Script Thanks Die, I die cut the shadow layer from white cardstock and the thinner layer from rust colored glitter cardstock. I adhered both layers together with a fine-tip liquid glue and then I adhered the entire sentiment to the card with 3M foam adhesive.

I love the colors of this card, but will I try mixed media again? Yes, in small doses, when I am fully prepared to be splattered by my own ink flicking!
Thanks for visiting and have a wonderfully creative day!

Supplies