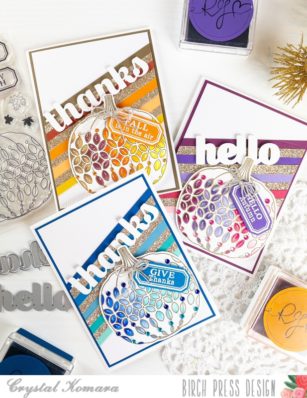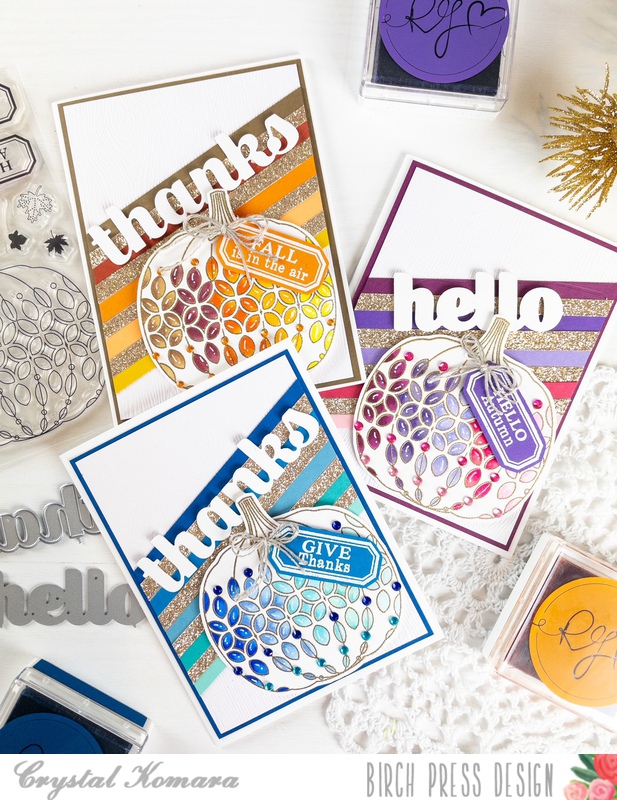
Hello Birch Press Design fans! This is Design Team member Crystal Komara here with you today sharing some quick and simple thank you cards in a variety of colors that could be used for nearly any occasion.
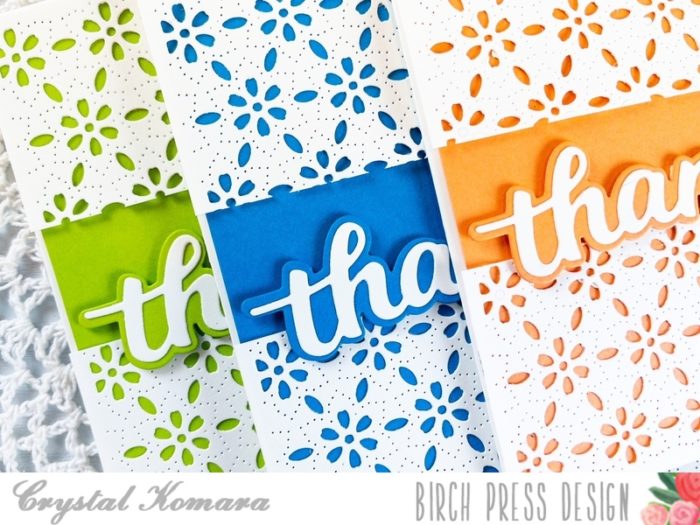
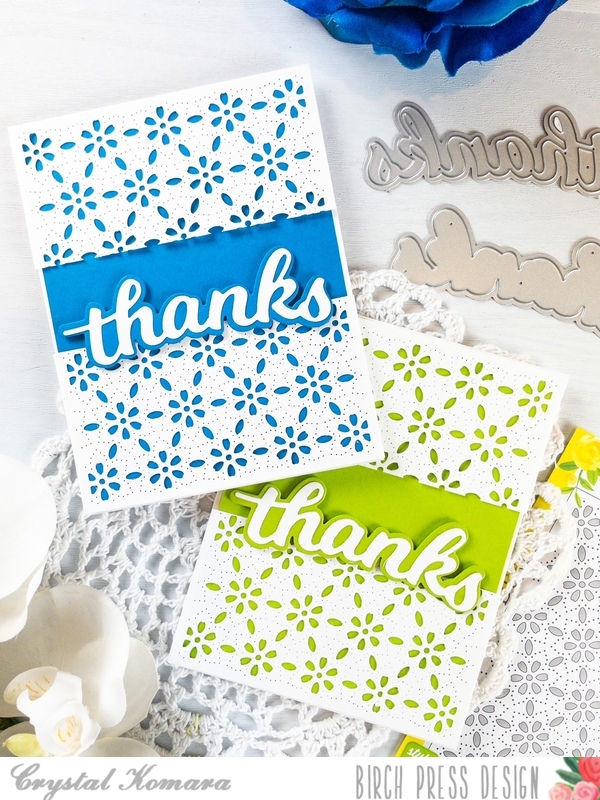
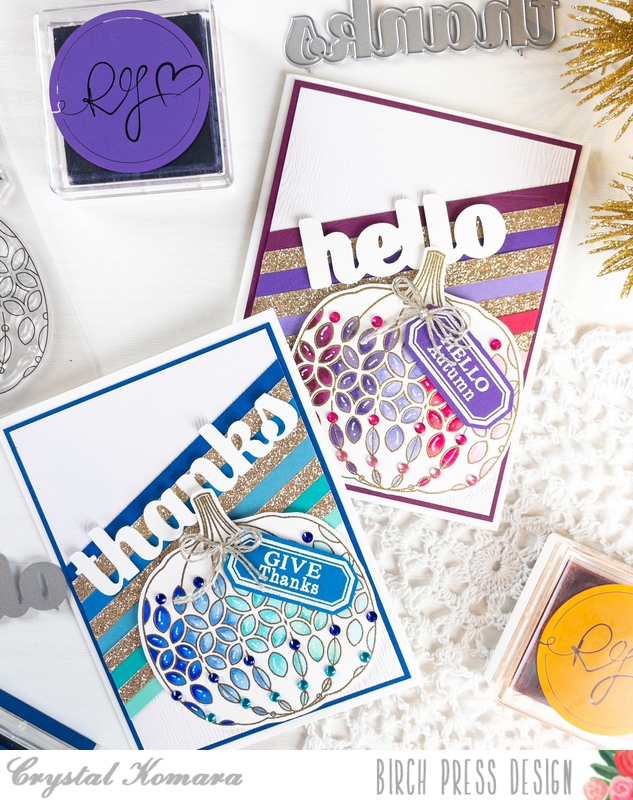
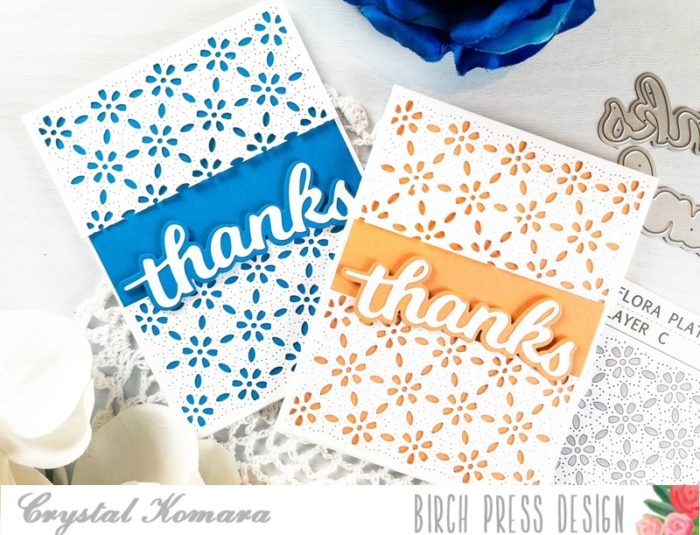
Each of these A2 sized cards were made the exact same way, I simply swapped out different color cardstocks to show how the cards look in alternating colors.
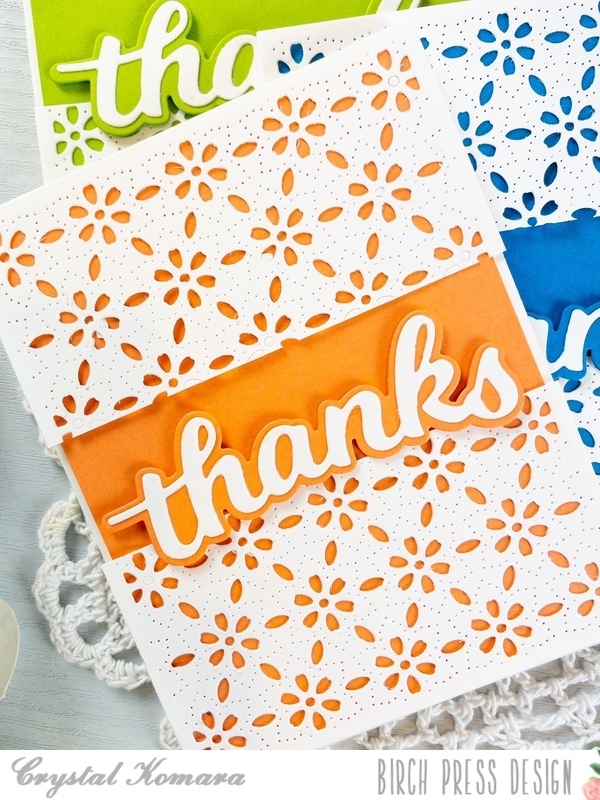
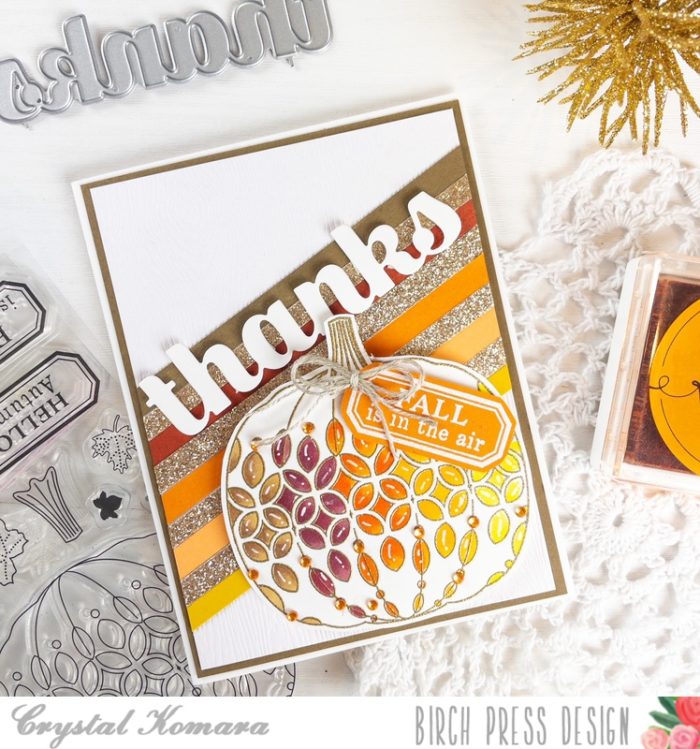
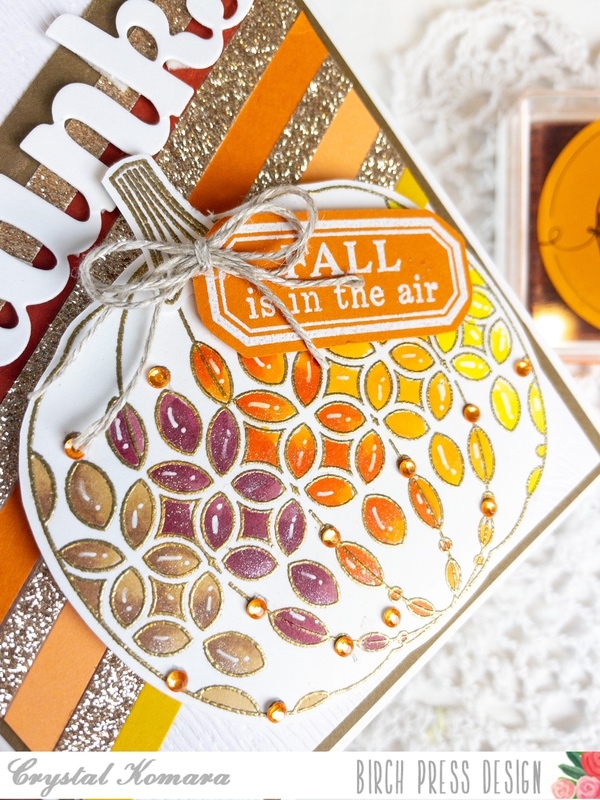
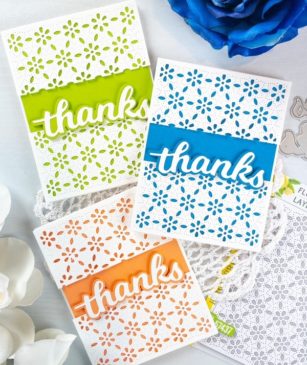
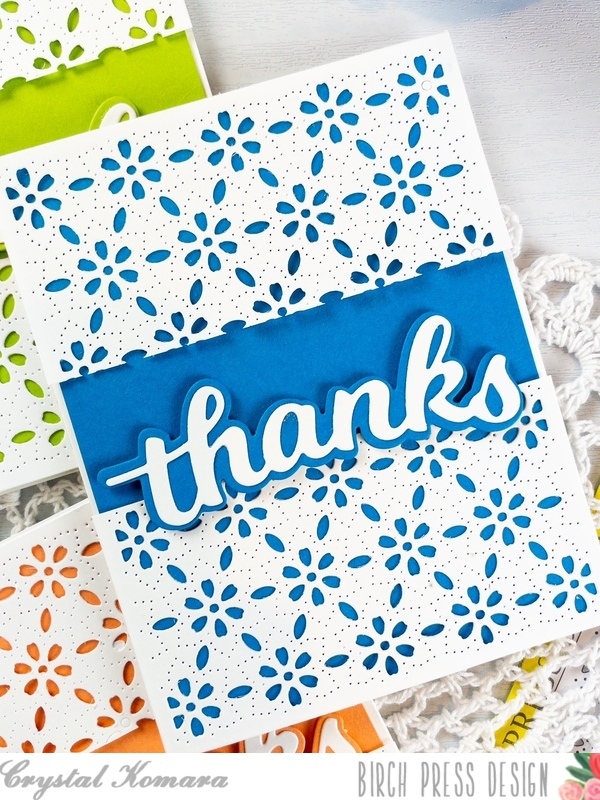
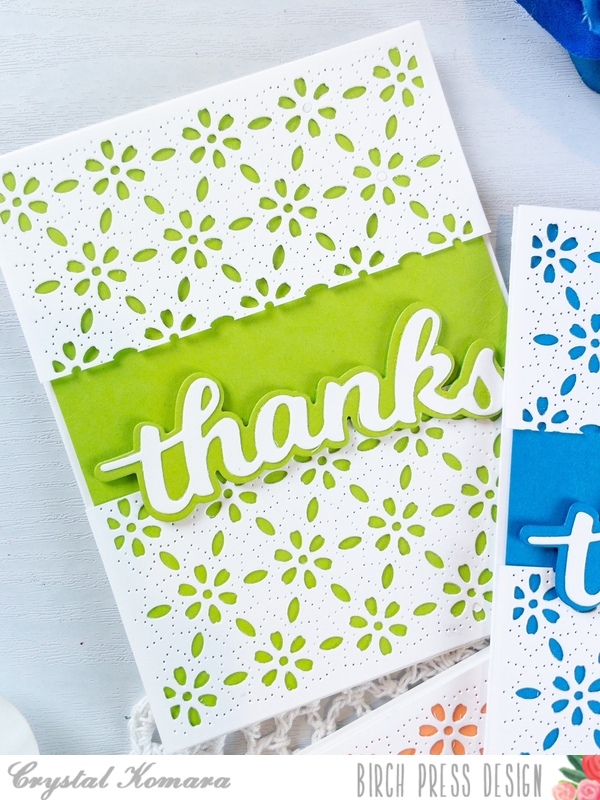
The base of each card is made from 80 lb. Neenah Solar White Smooth cardstock. I cut a 5 1/4″ x 4″ piece of colored cardstock (peach, lime and ocean) and adhered this directly to the card base. Using Layer Plate B of the new Flora Plate Layering dies, I cut three pieces from white cardstock. I die cut the word “thanks” using the Thanks Honey Script dies. I cut the bottom shadow layer from the coordinating color cardstock (peach, lime and ocean) and the top thinner layer from white cardstock. I adhered both layers together using a fine-tip liquid glue. Then I layered the entire sentiment to the card using 3M foam adhesive for added dimension.
These cards were very simple to make and came together quickly, making it a great design if you need multiples! Thanks for visiting and have a wonderfully creative day!

Supplies