Category: Design Team Member

  • Cozy Kitty by Rosemary Dennis

    Cozy Kitty
    by Rosemary Dennis

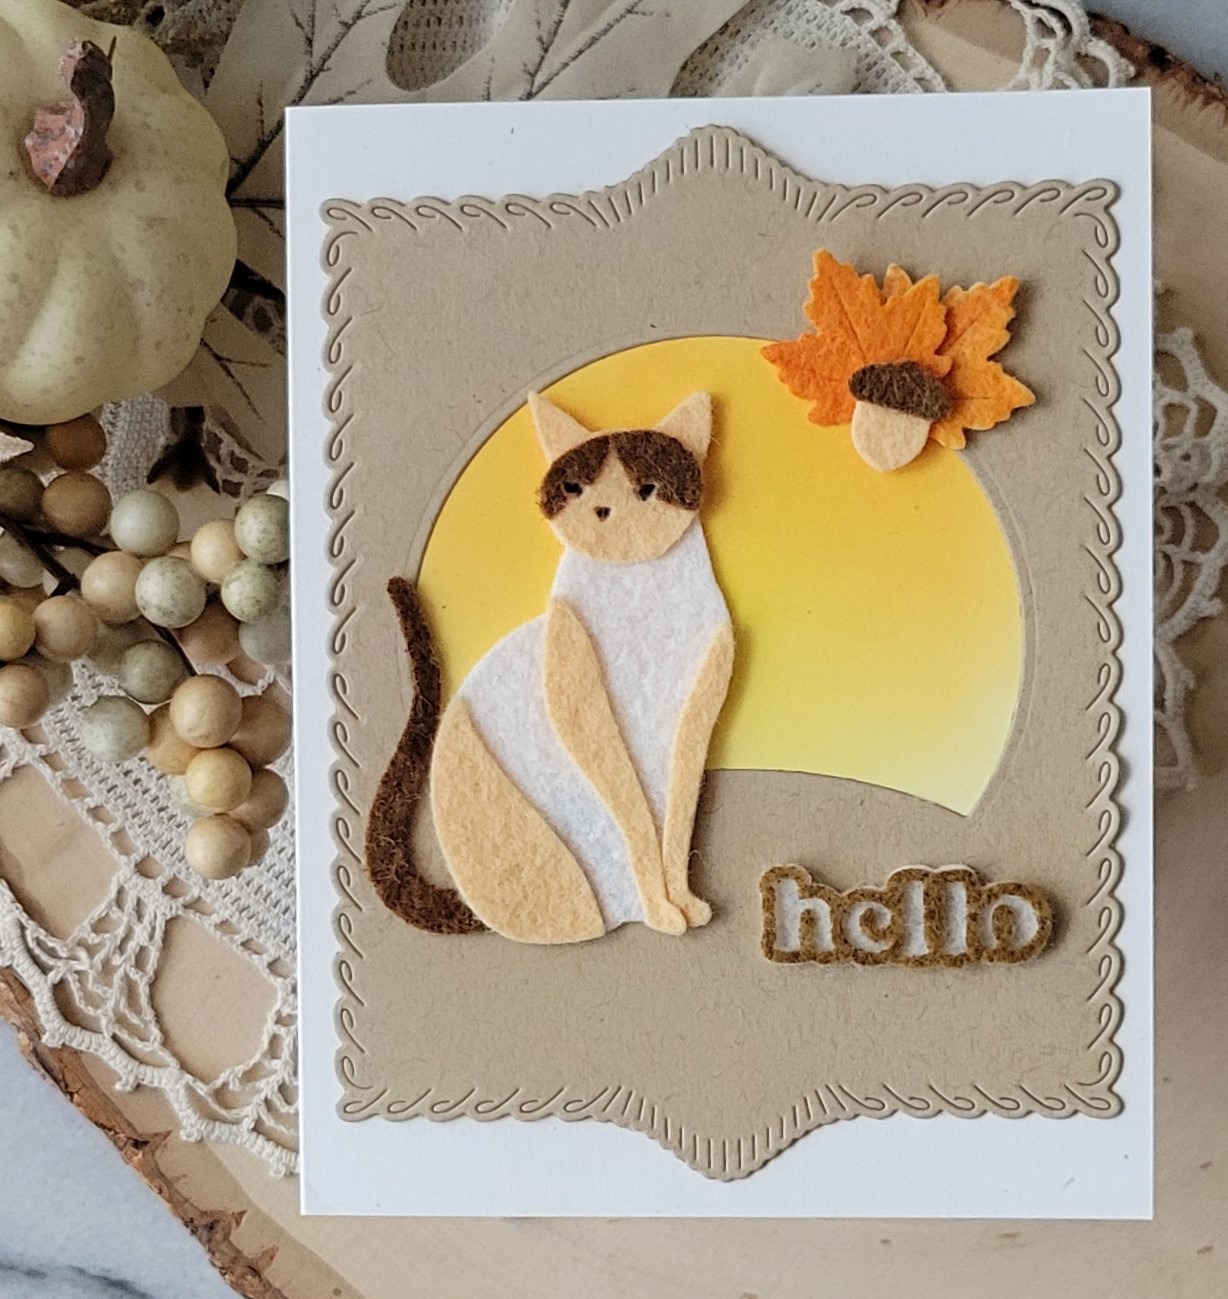
    Hello everyone! Rosemary here on the blog today. September is upon us. The days are getting shorter, the air crisper and all things cozy are the rage! With that in mind, I decided to create a cozy kitty using the new Block Print Kitty die. Let’s take a look at what I made.
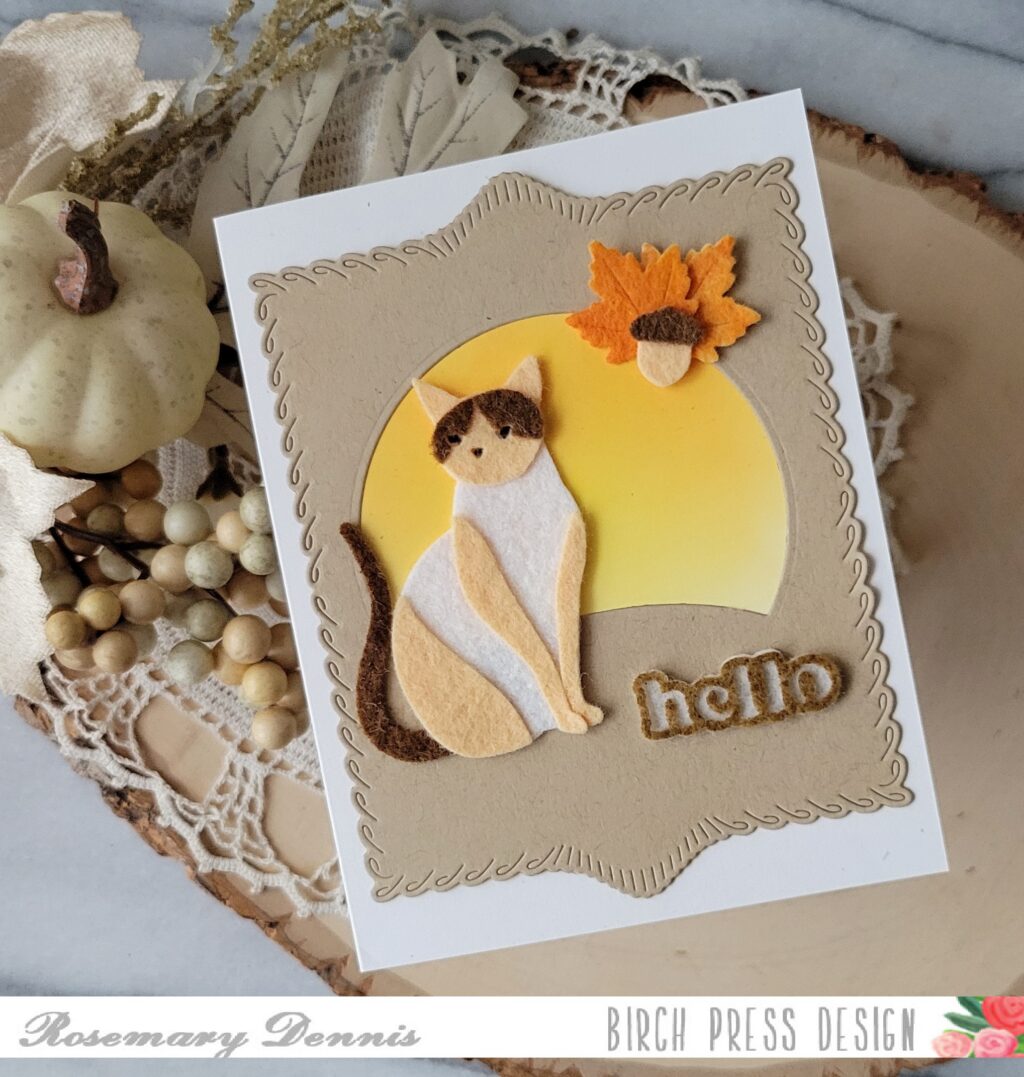
    When I originally started this card I thought I would make my kitty out of cardstock, but then I remembered that I had some small squares of felt that would be perfect to die cut the pieces from. My felt squares were the off white and tan so in order to get the darker brown color I simply sprayed an off white piece with some distress spray stain in Gathered Twigs.
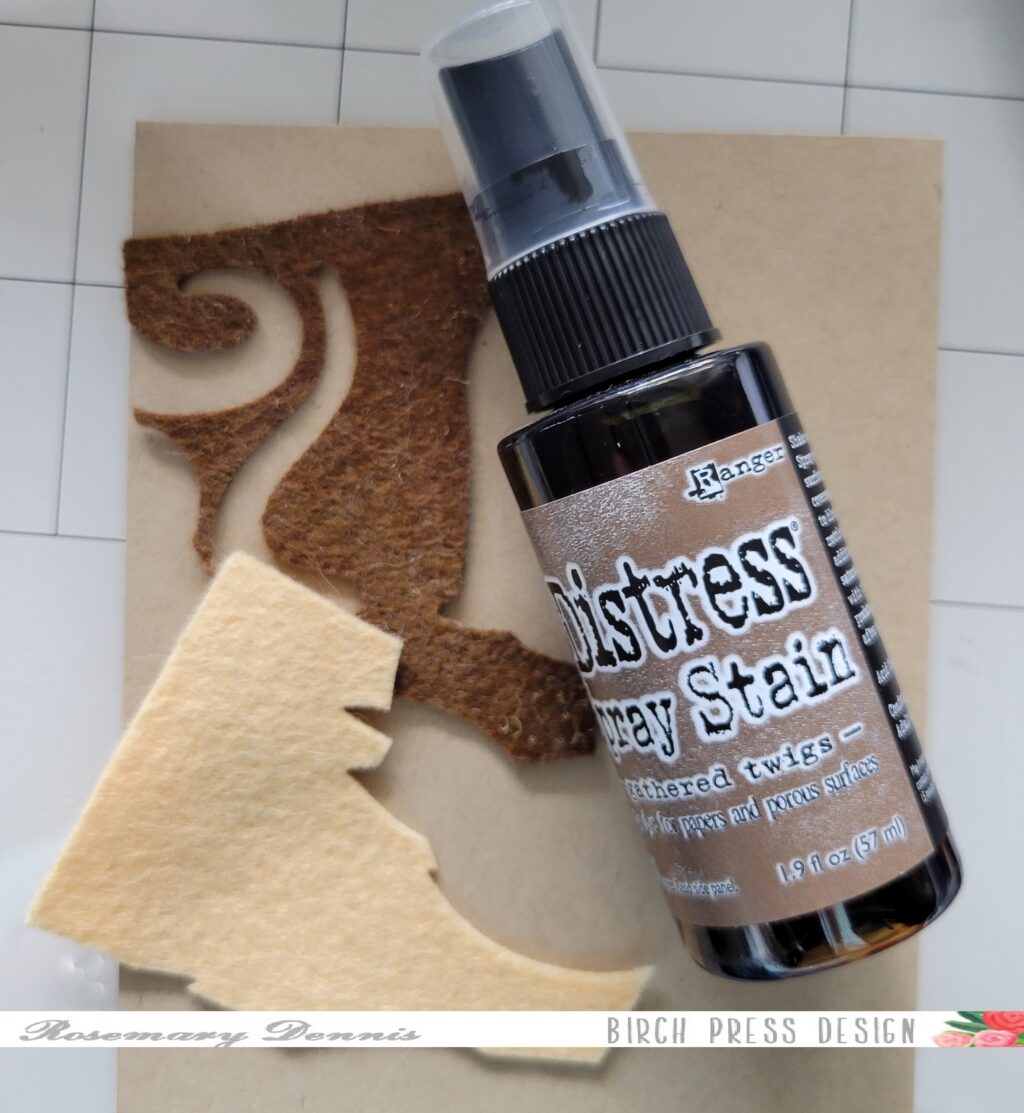
    The photo shows the felt square after I did the die cutting. In order to get the felt to dry faster I did use my heat tool and it worked like a charm!
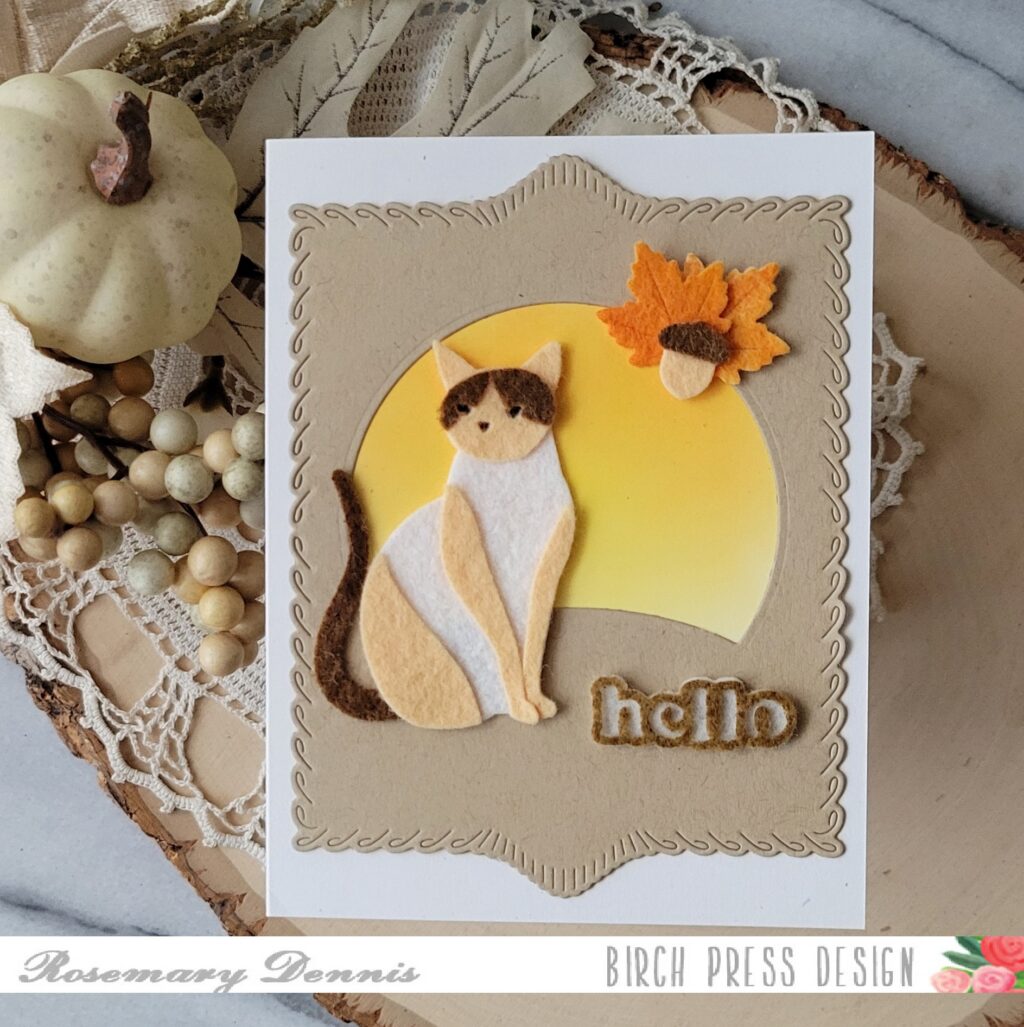
    Once I had all my felt pieces cut I assembled my kitty using liquid adhesive. I tried not to put too much on the felt pieces so that I wouldn’t have glue showing through. Then I set my kitty aside to dry. I used scraps to die cut the word Hello using the Hello Vintage Sentiments die set. The top layer of the word did get a little stretched out, but I was able to push it back in to shape.
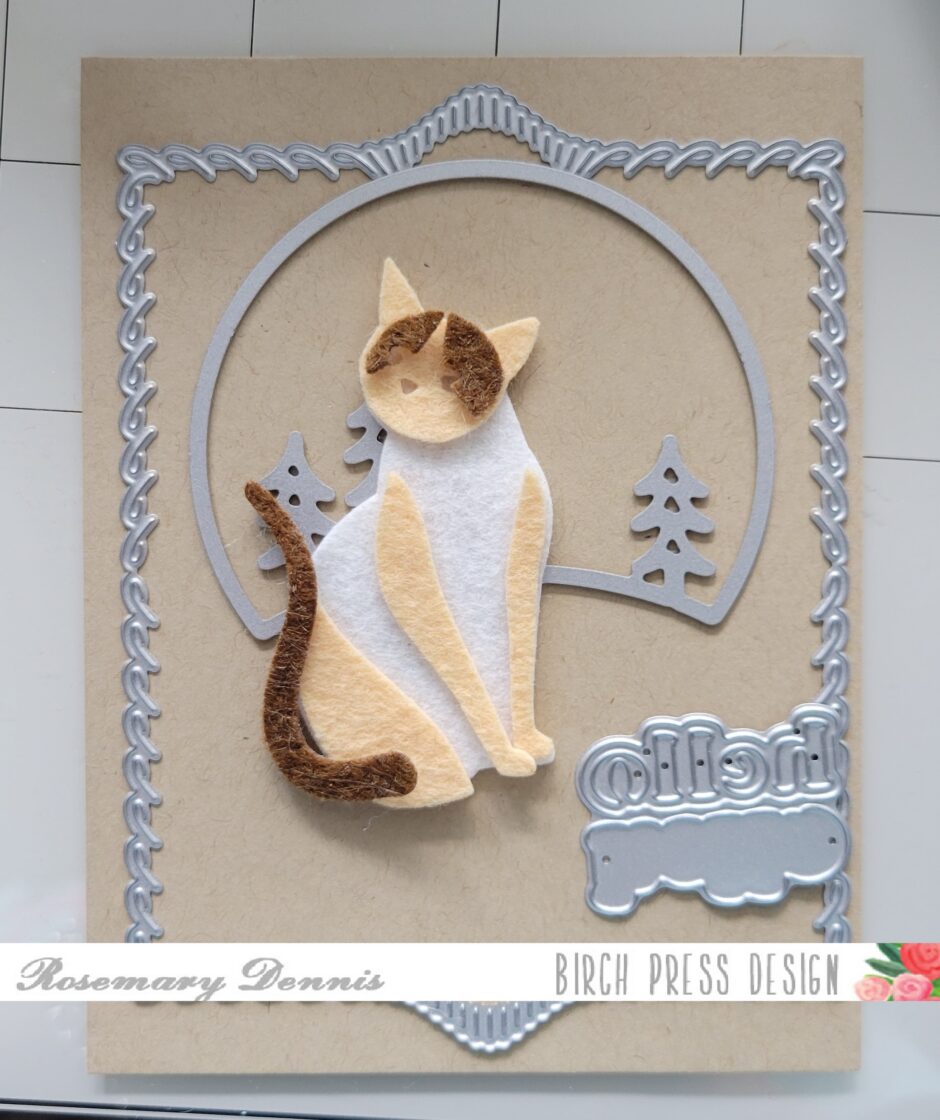
    The above photo shows me arranging the other dies I planned to use to finish the card, as well as the felt kitty. And once, again, I used the Block Print Starry Night die set to create a backdrop for my kitty. I die cut the kraft panel with the largest Loop Stitch Frames and then die cut the panel with the Starry Night die. I inkblended yellow and orange ink on to off white cardstock and placed that behind the opening after I trimmed off the trees.
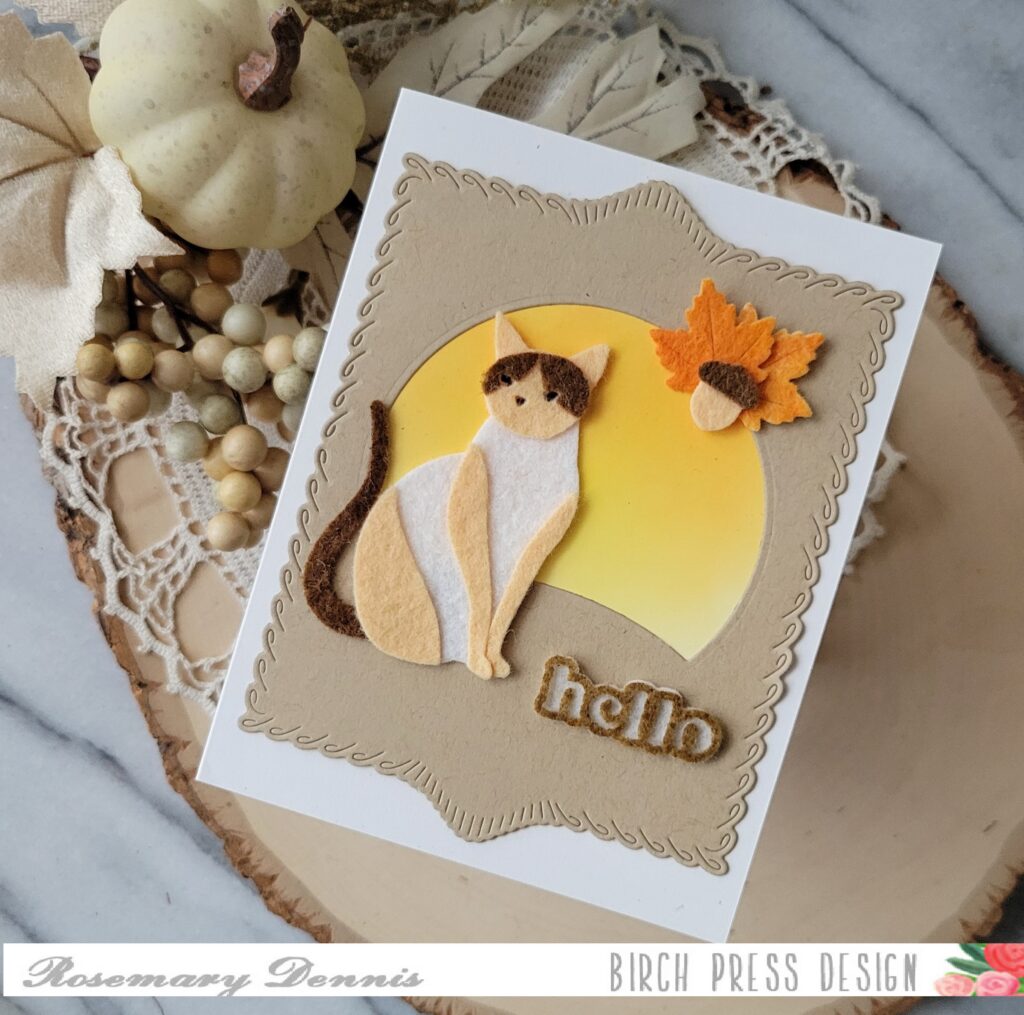
    I assembled the card using liquid adhesive and then realized that I needed a little something more. So I used a Spiced Marmalade spray stain on a piece of tan felt, dried it and then die cut two leaves using the Fall Leaves die set. The acorn was diecut from scraps of the brown and tan felt. I adhered them together and then added them to my card using liquid adhesive. I love the extra touch the little cluster brings. The last thing I did was use a black pen with a very fine tip to color in the eyes and nose of my cat.

    I hope you enjoyed my cozy kitty and it inspires you to try using felt on your cards. Thanks for stopping by and have a cozy day!


  • Fall Mushrooms by Rosemary Dennis

    Fall Mushrooms
    by Rosemary Dennis

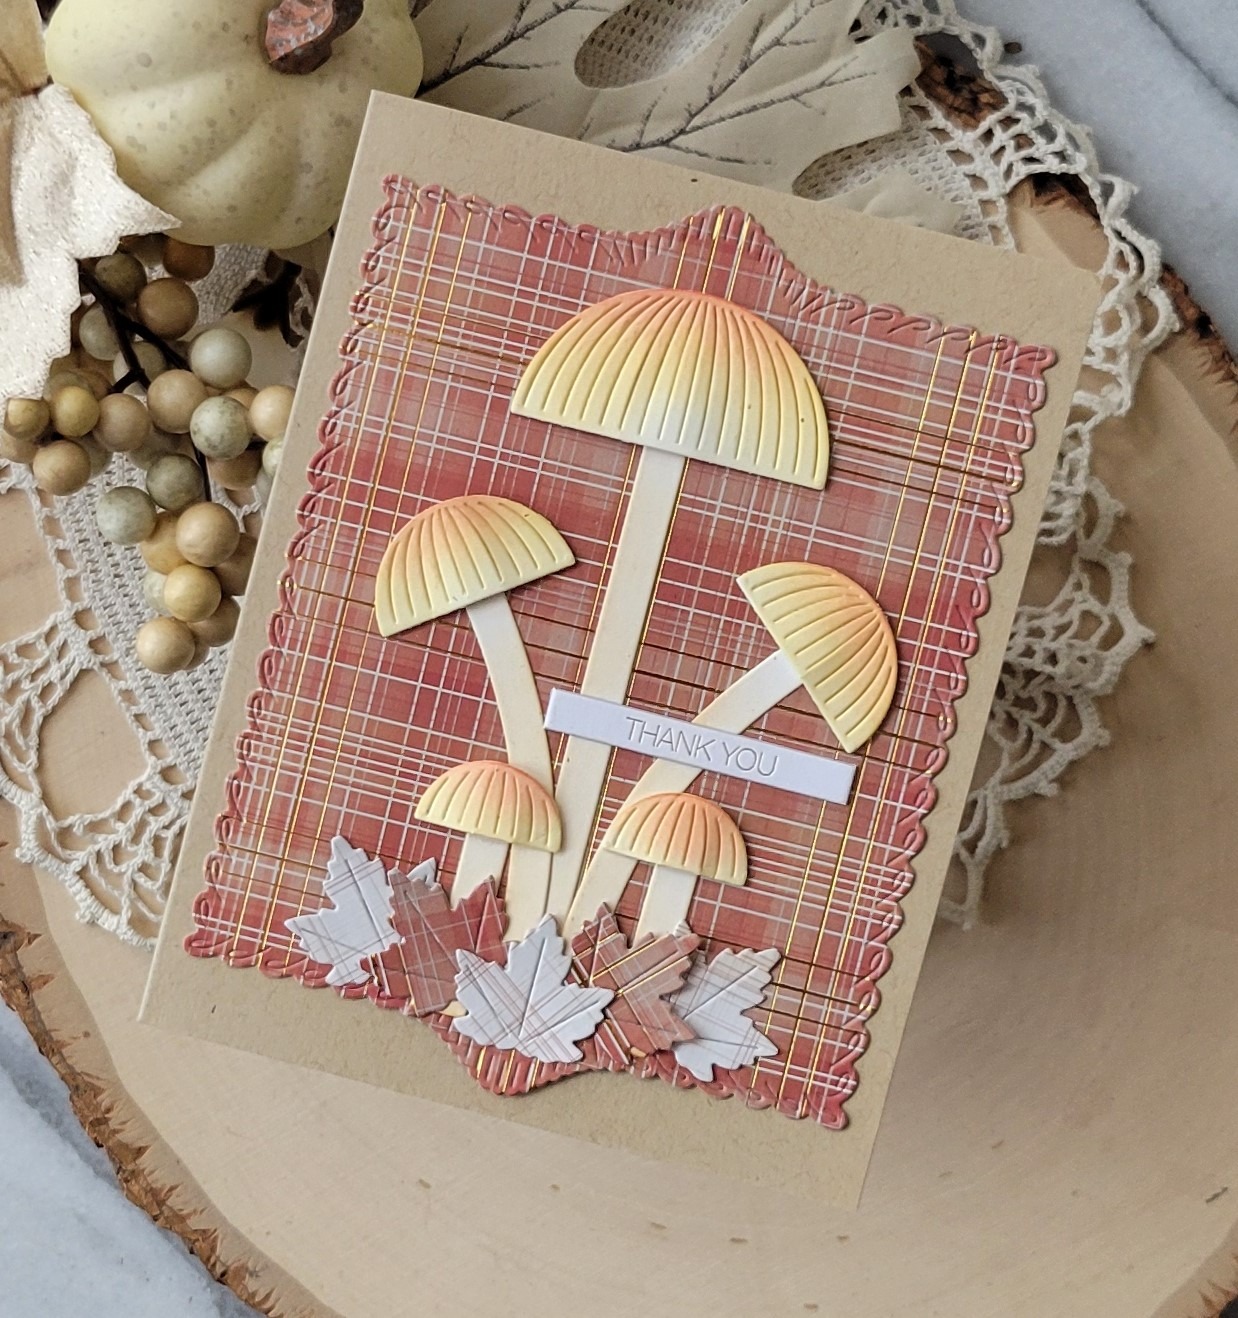
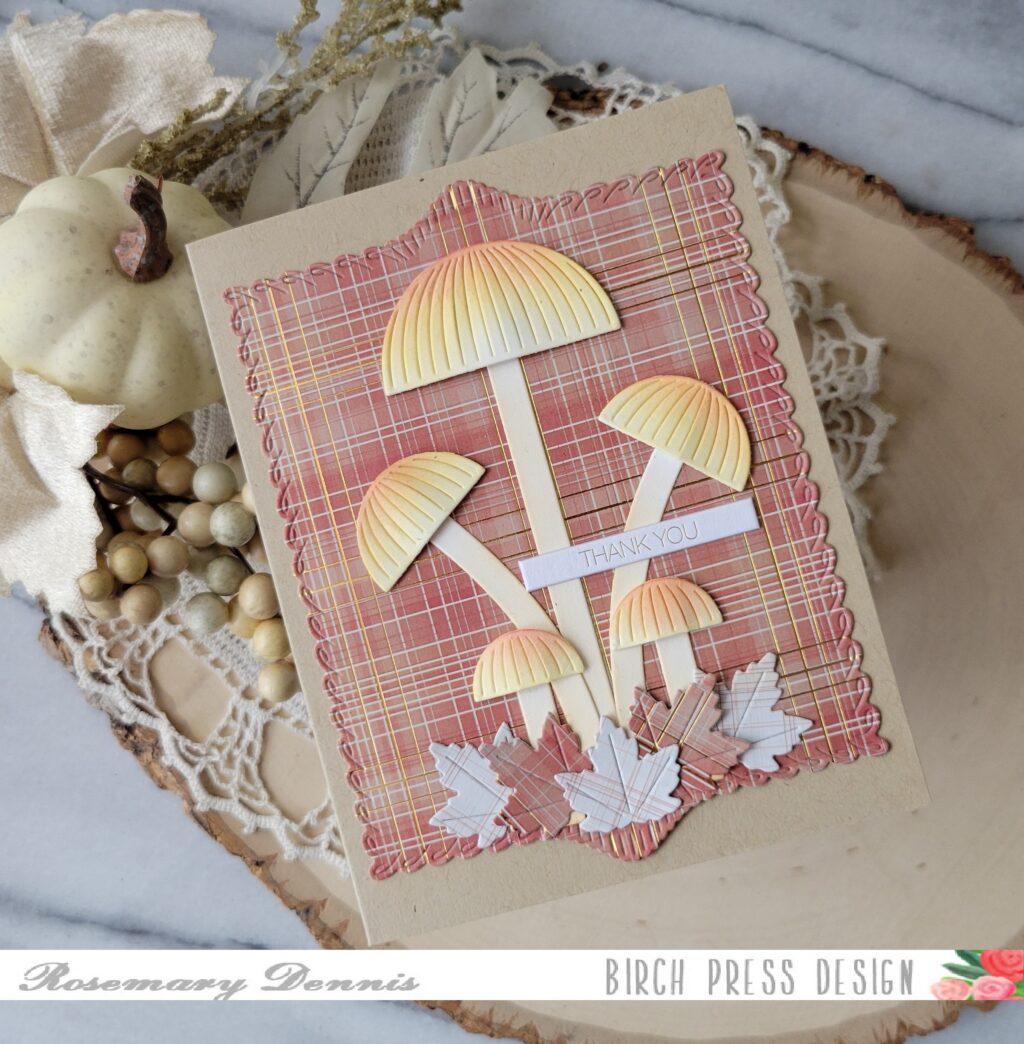
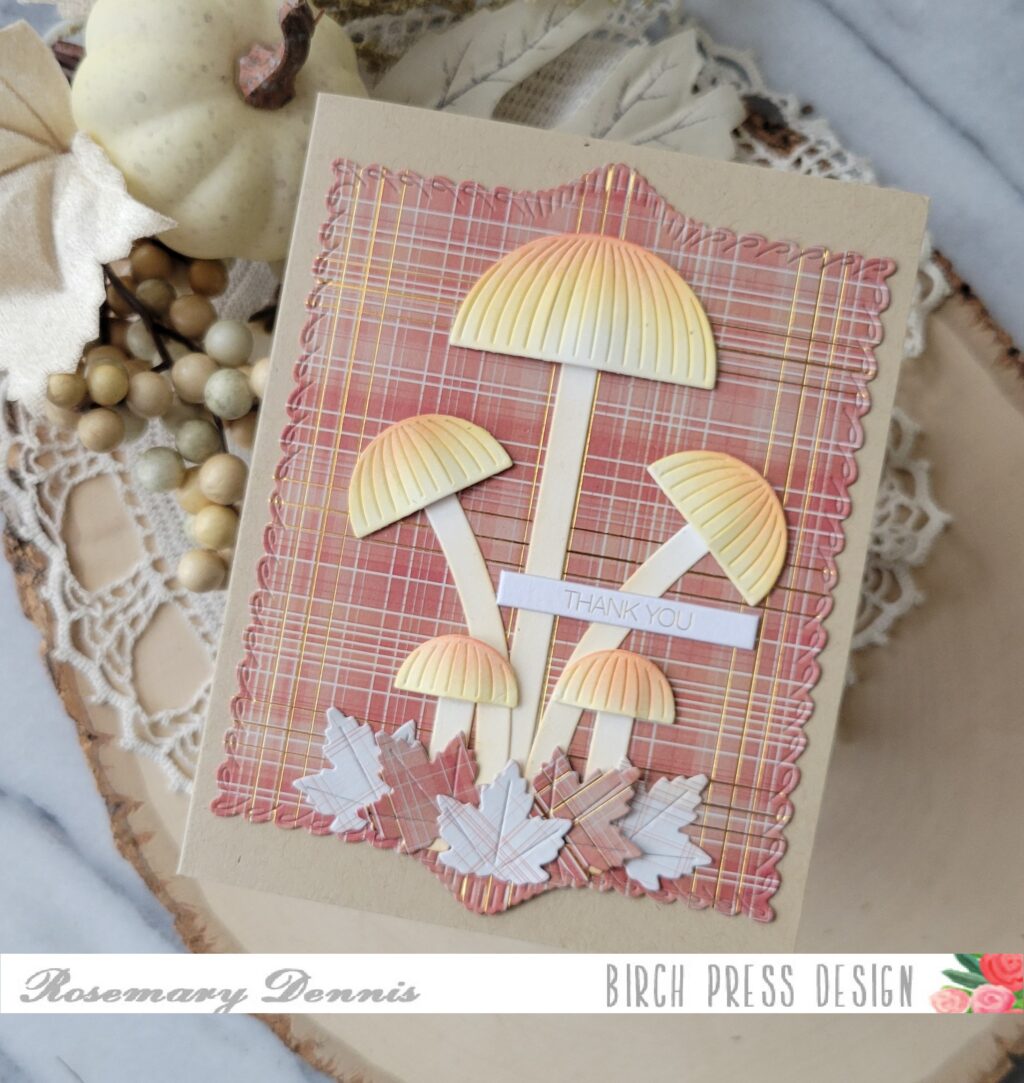
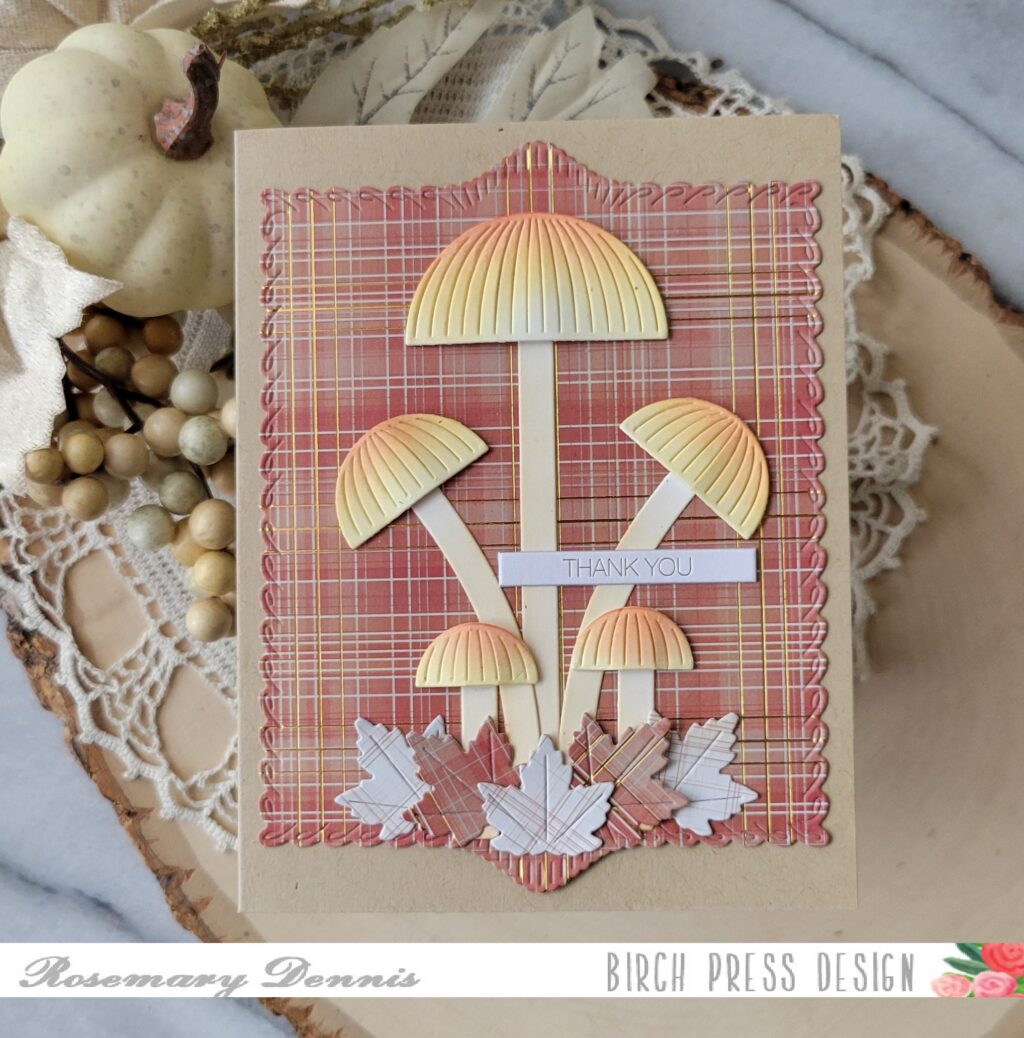
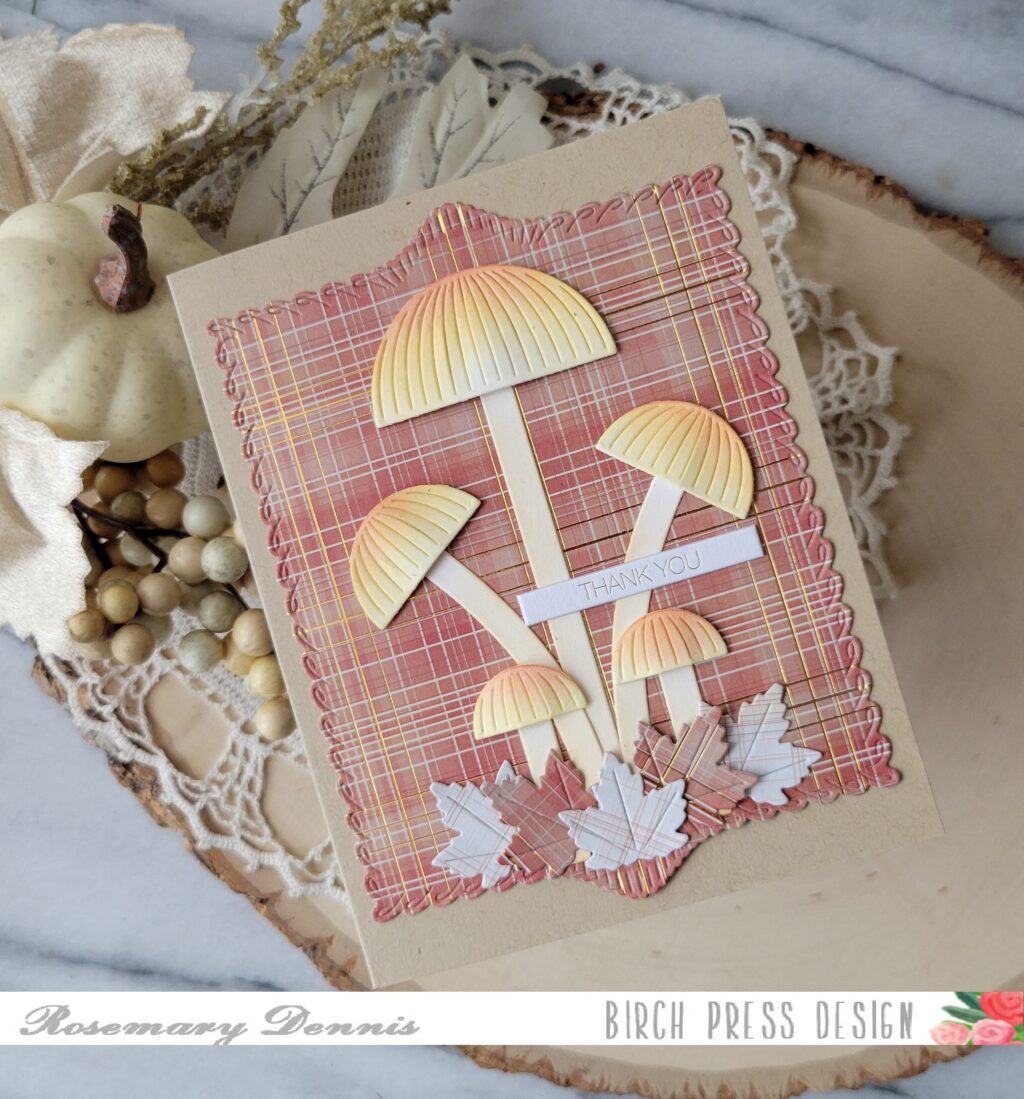
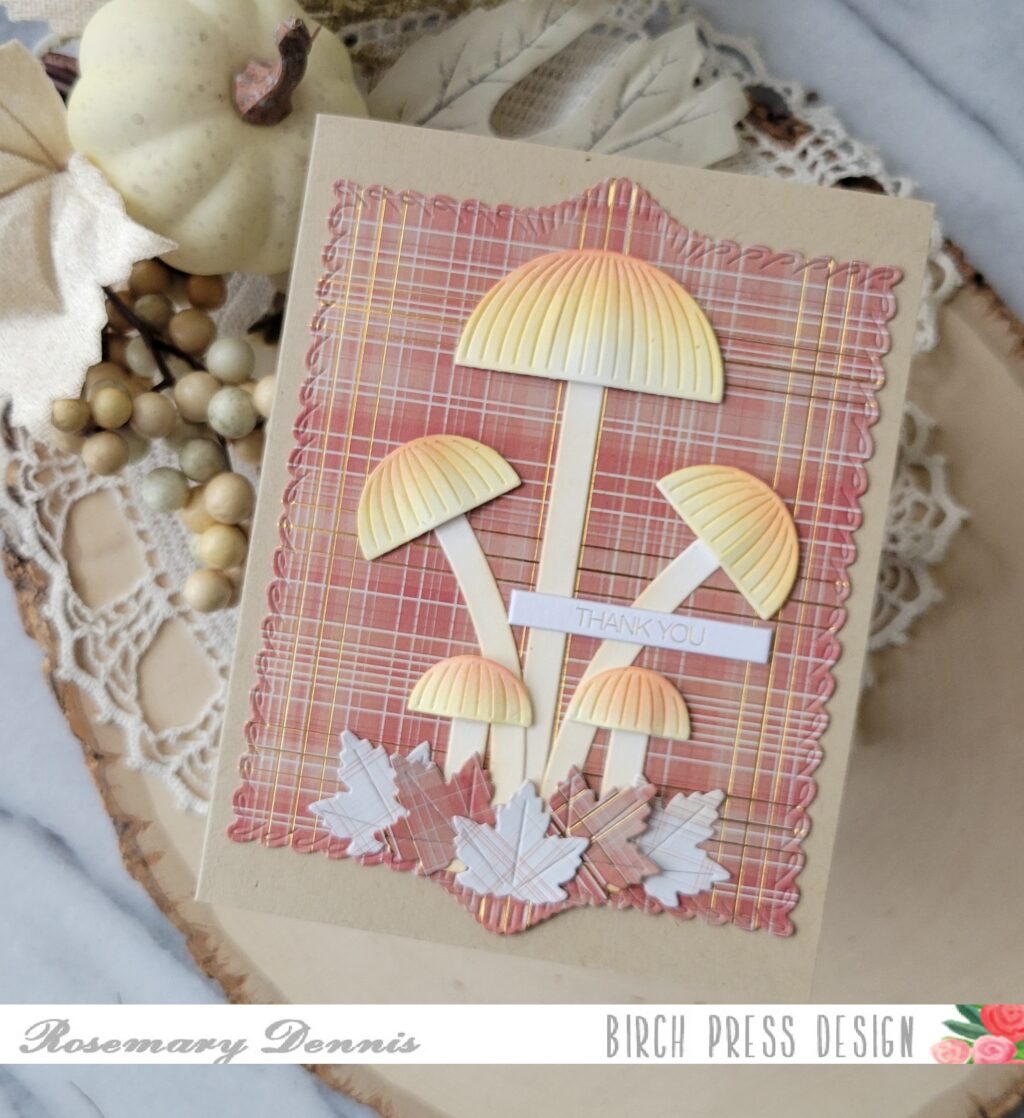
    Hello everyone! Rosemary here on the blog today. Fall is on the way and I, for one, cannot wait! I love fall most of all, lol! Today I have a card that features several new Birch Press Design products: Block Print Tall Mushrooms, Fall Leaves and Loop Stitch Frames. Let’s have a look at what I made.

    You will be seeing a lot of the new Loop Stitch Frames dies on my cards. They are so fun and versatile! I used patterned paper from the Memory Box Nutmeg 6×6 paper pad for the background, as well as the leaves.

    I die cut the mushrooms from off white cardstock and then lightly blended on distress oxide ink in shades of orange and yellow on the mushroom caps and a little bit of brown on the stems.

    I flipped through the Nutmeg plain pad and settled on this piece that has little lines of gold foil running through it for my background. I die cut the paper using the largest Loop Stitch Frame die and adhered it to a kraft card base using double sided tape.

    Since I had scraps of the background paper left over, I flipped one piece over and die cut three maple leaves from the Fall Leaves die set from that. The other two were cut from the same side as the Loop Stitched Frame.

    I adhered the mushroom by attaching the stems with liquid adhesive and the mushroom caps with varying heights of foam squares to give the mushrooms dimension. The leaves where then arranged at the bottom using liquid adhesive. I finished with a gold foil sentiment tab from Memory Box.

    I hope you enjoyed today’s project. Thanks for stopping by and have a wonderful day!

  • Fall Rainbow Birthday by Savannah O’Gwynn

    Fall Rainbow Birthday
    by Savannah O’Gwynn

    Hello, sweet friends!

    I’m excited to be back with another easy card and video tutorial!

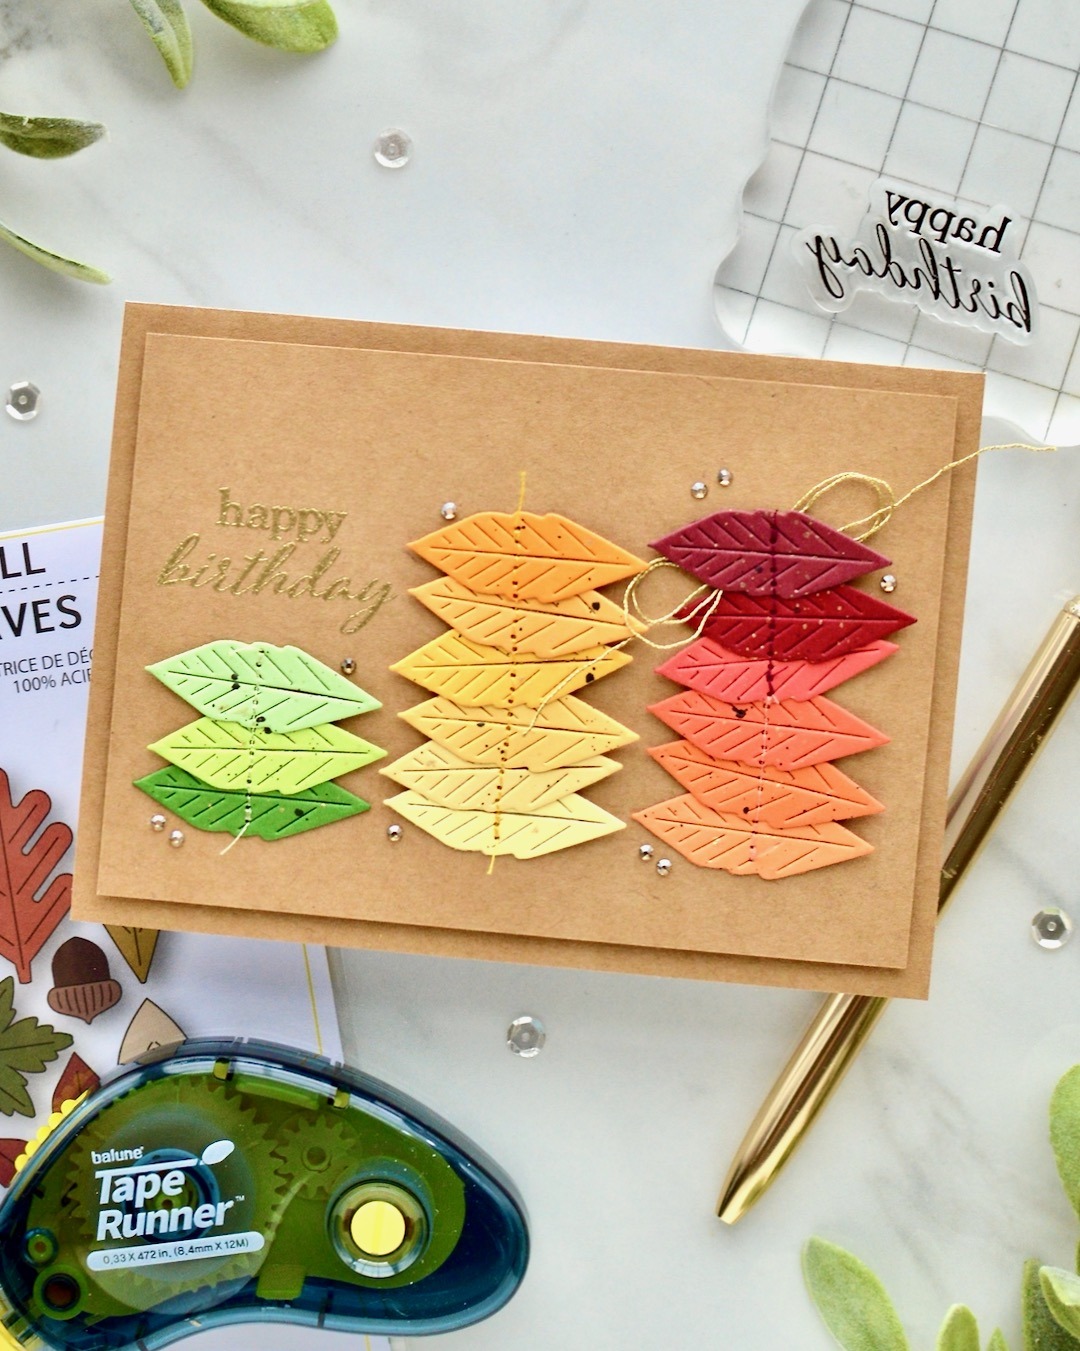
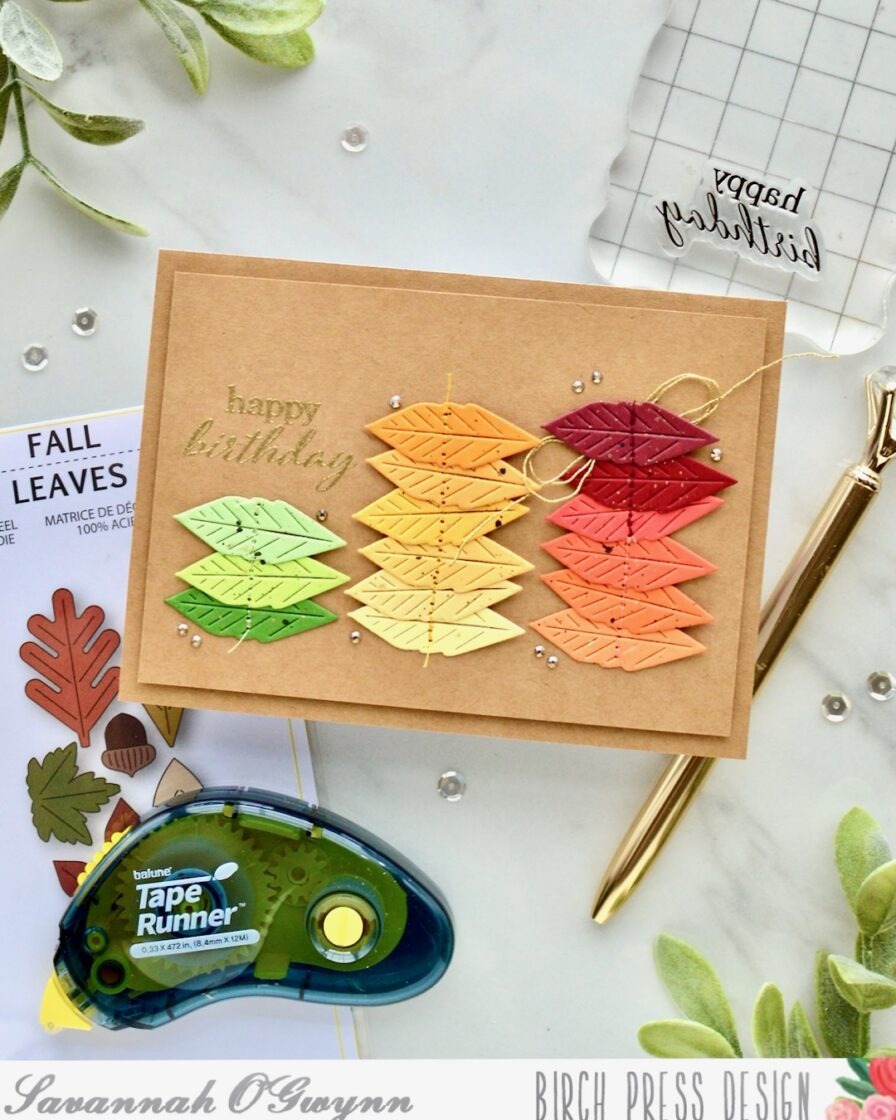
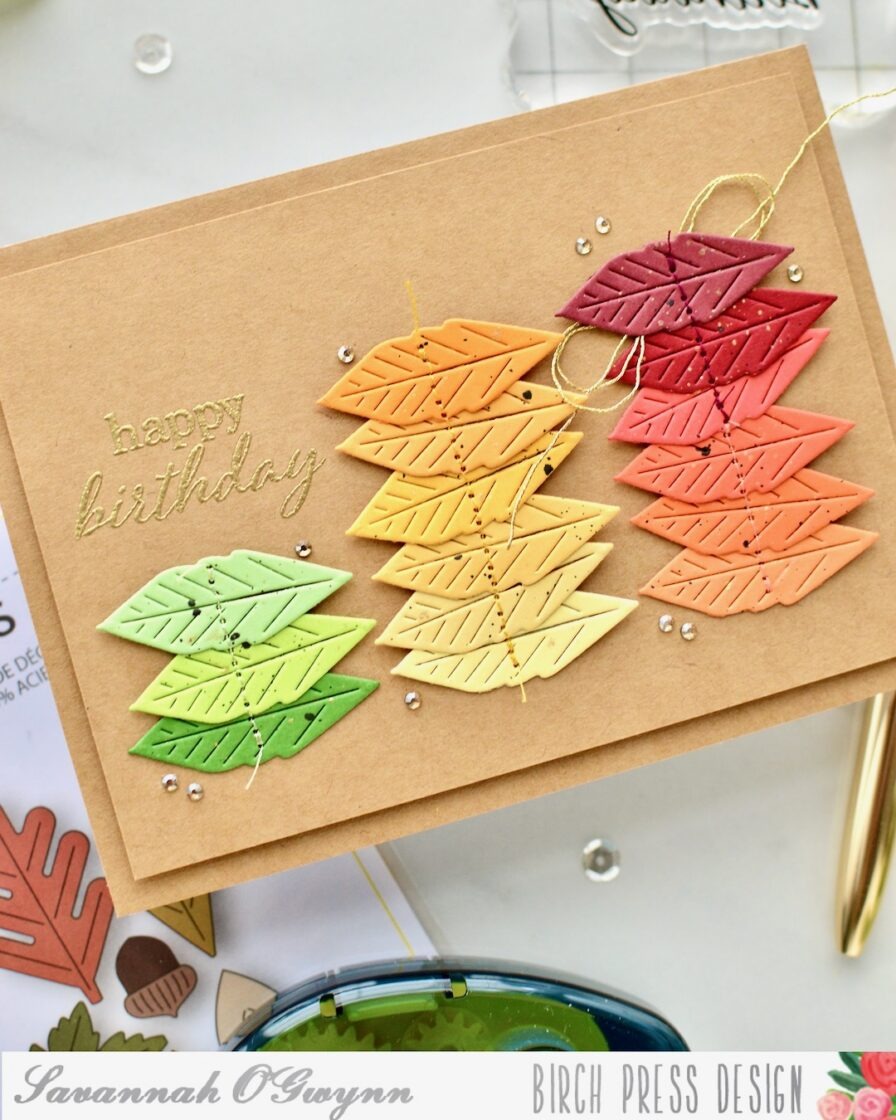
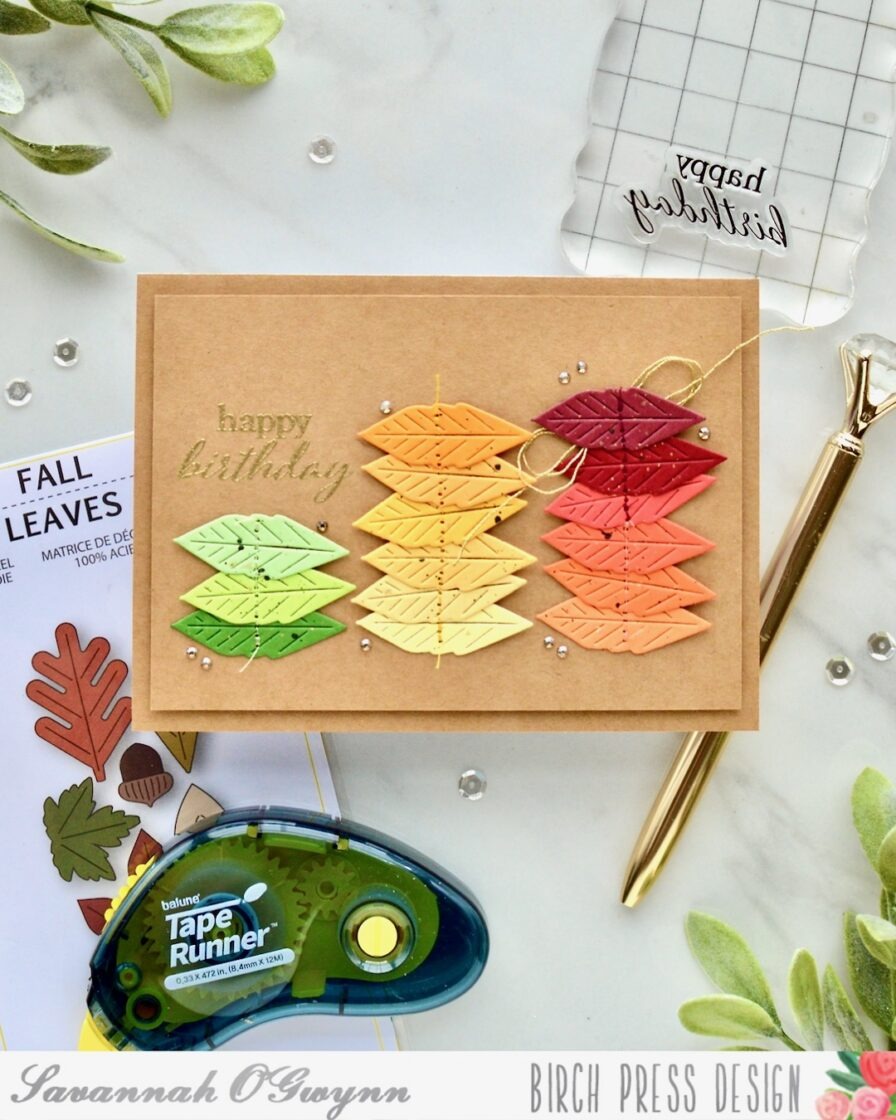
    When I saw the BPD Fall Leaves dies set, I knew I wanted to make a rainbow of leaves but with fall colors!

    If this “stop action/time lapse” video is too quick for you (I hope it doesn’t make you dizzy! LOL!), here are the steps to make this exact card:

    1. Gather supplies including BPD stamps/dies and Memory Box cardstock
    2. Die cut a BPD leaf image from all cardstock colors **You can cut different leaf images or all one design. I chose just to die cut one image for all colors.
    3. Apply cardstock to cardbase; trim to size
    4. Splatter BPD leaves with ink/paint
    5. Attach each BPD leaf to card panel **I attached mine using adhesive but also used a sewing machine to add interest and dimension.
    6. Choose a sentiment from the BPD stamp set, stamp and emboss sentiment above leaf columns
    7. Add foam tape to attach panel to cardbase
    8. Finish with extra embellishments like gems

    It really was EASY to create! And I love these colors- they are perfect for a fall/autumn birthday! Well actually, now that I think about it… this card could be for ANY fall/autumn occasion with just a switch of the sentiment. It’s perfect🙃

    I hope that you are inspired by my rainbow leaves and easy card tutorial!  

    Please remember to share what you create using these tips, tricks, and techniques or if you were inspired by my creation- I’d love to see what you make with this idea! 

    I’ll be back with MORE soon!

    THANKS so much for stopping by! Happy crafting:) 


    HUGS <3 Sav

  • Fuchsia Wishes by Rosemary Dennis

    Fuchsia Wishes
    by Rosemary Dennis

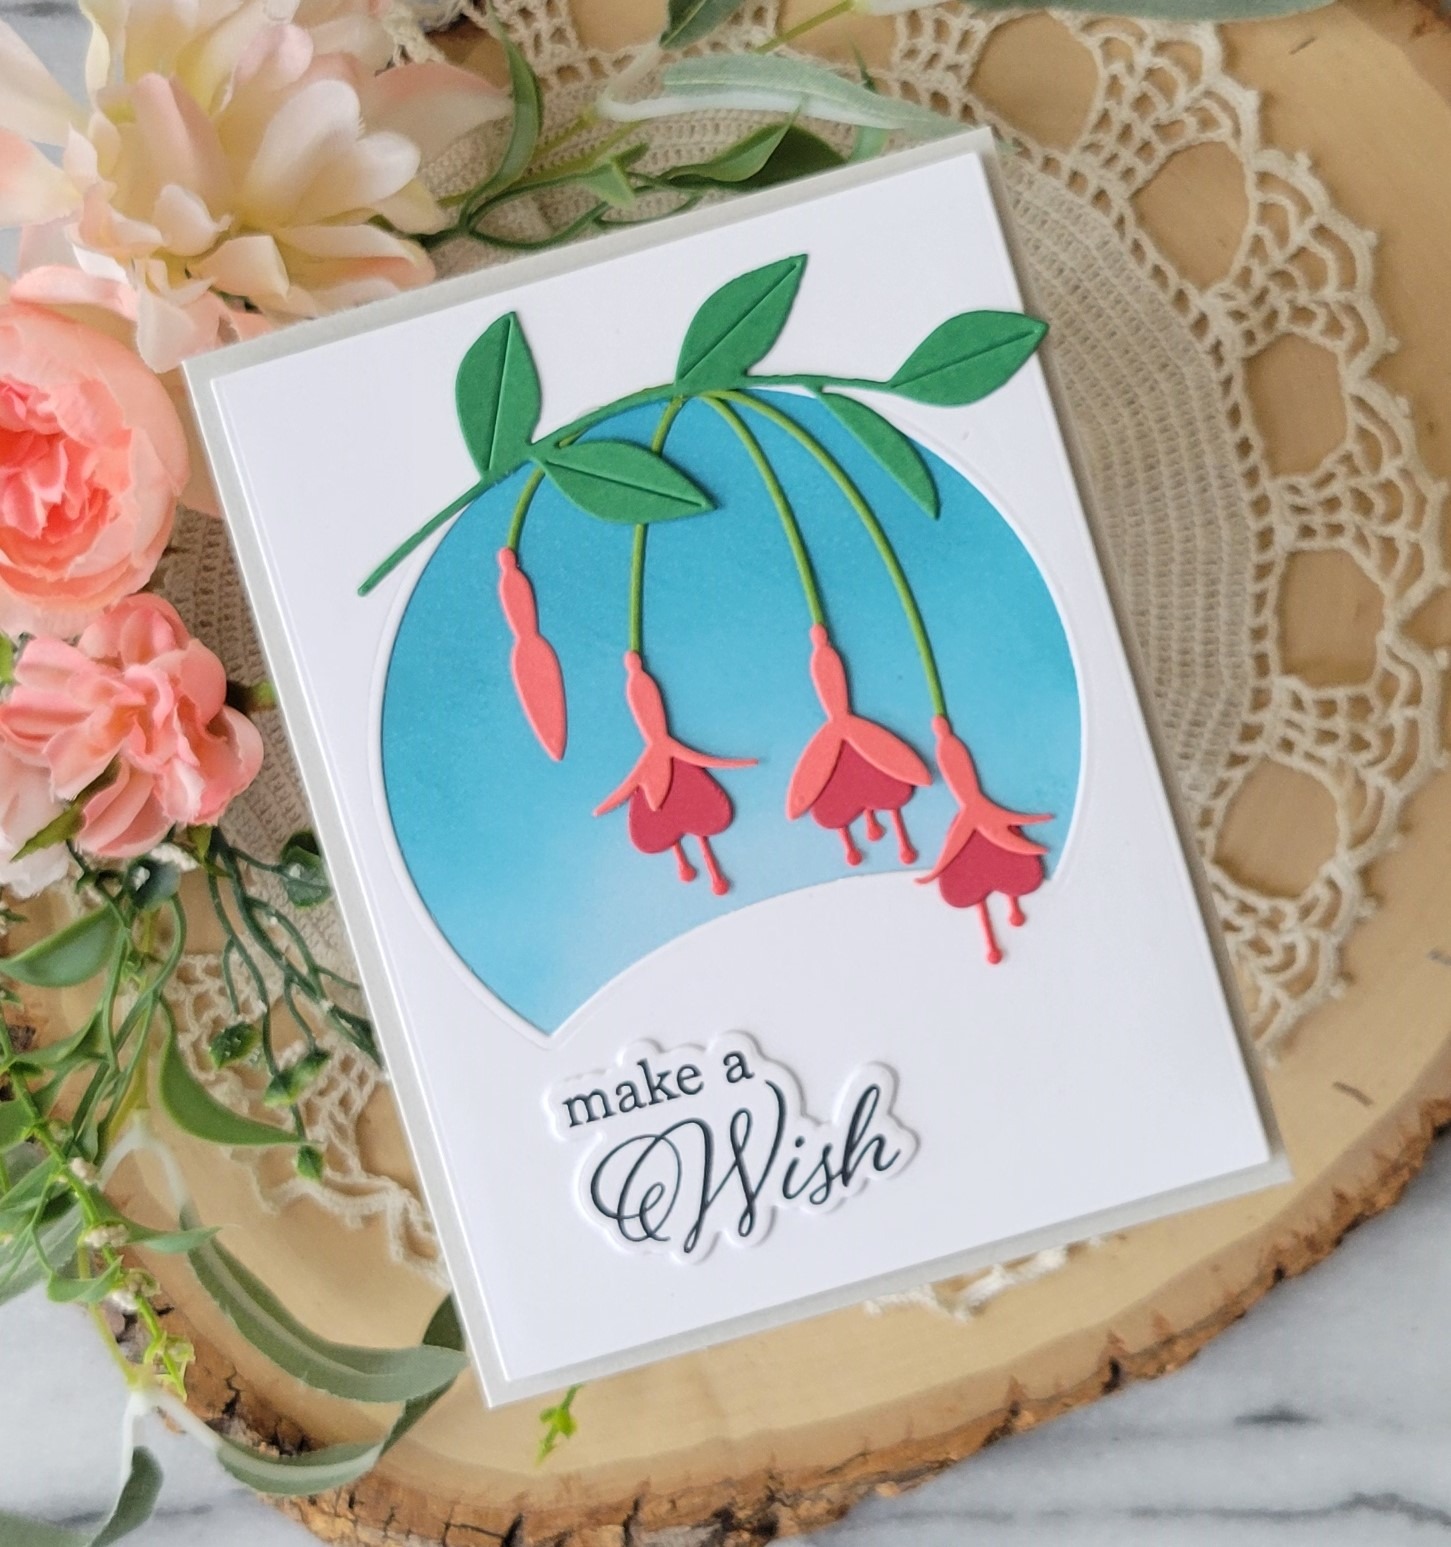
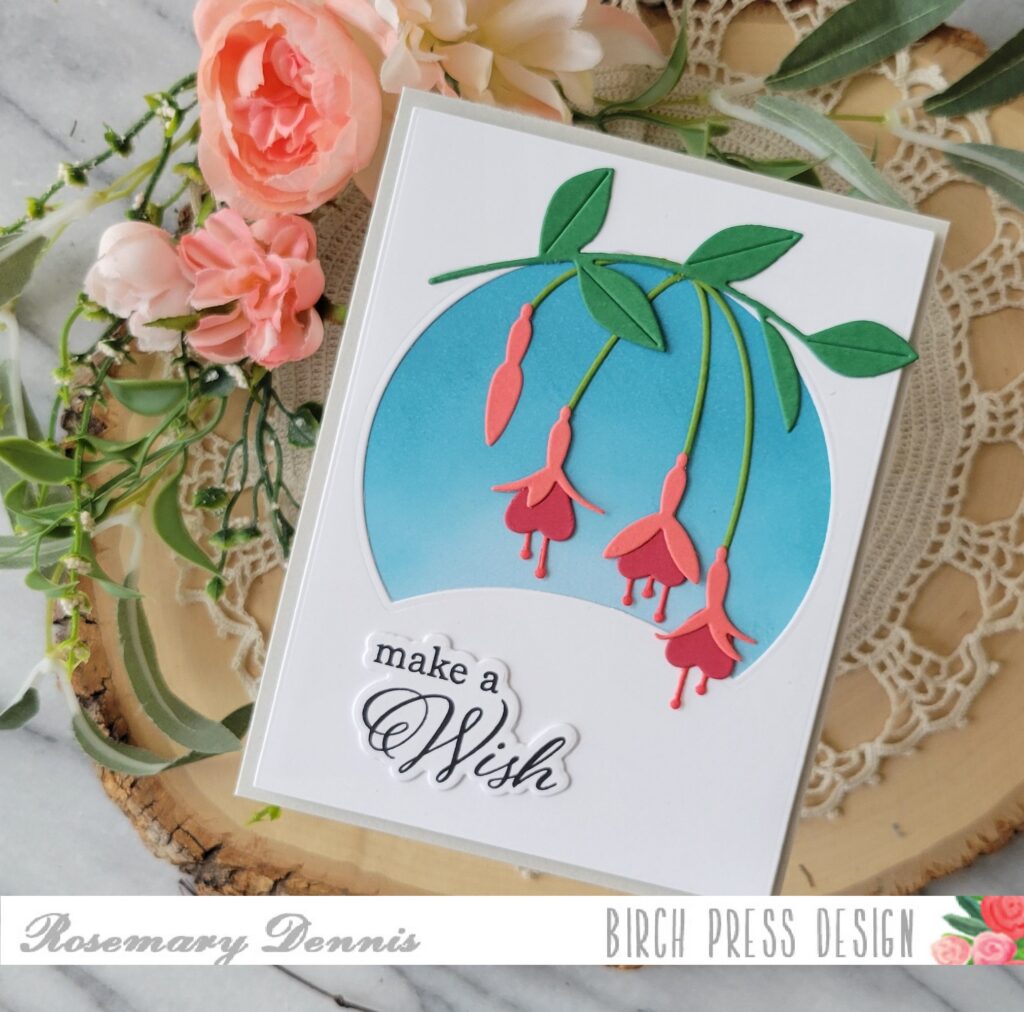
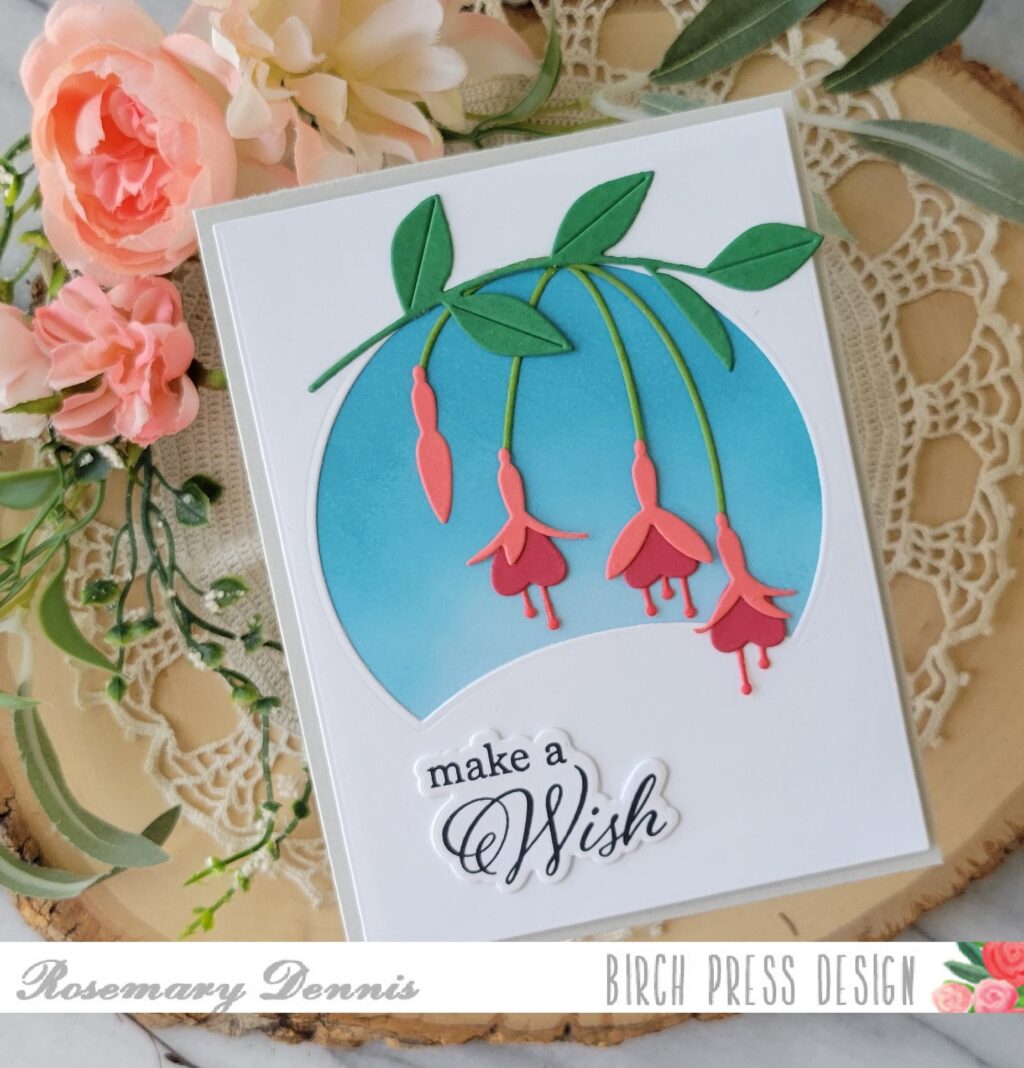
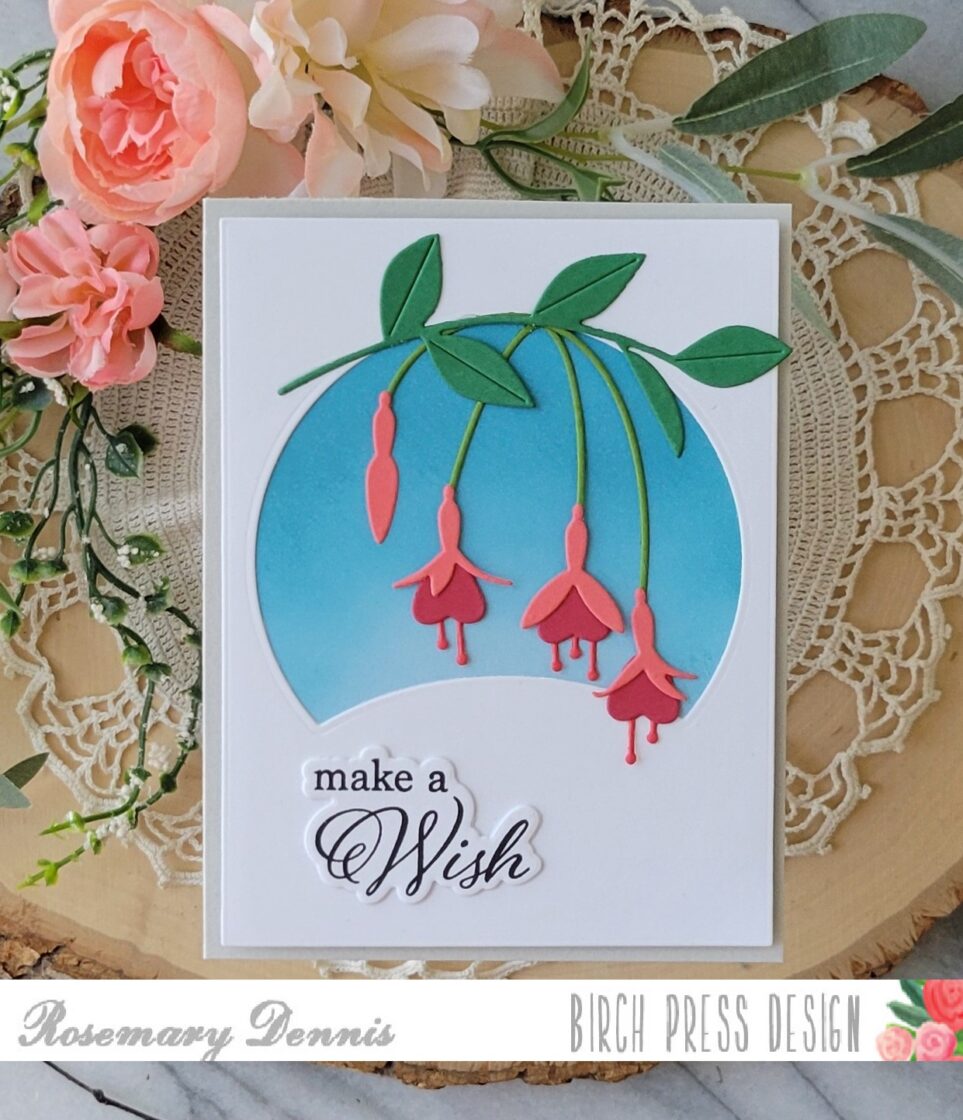
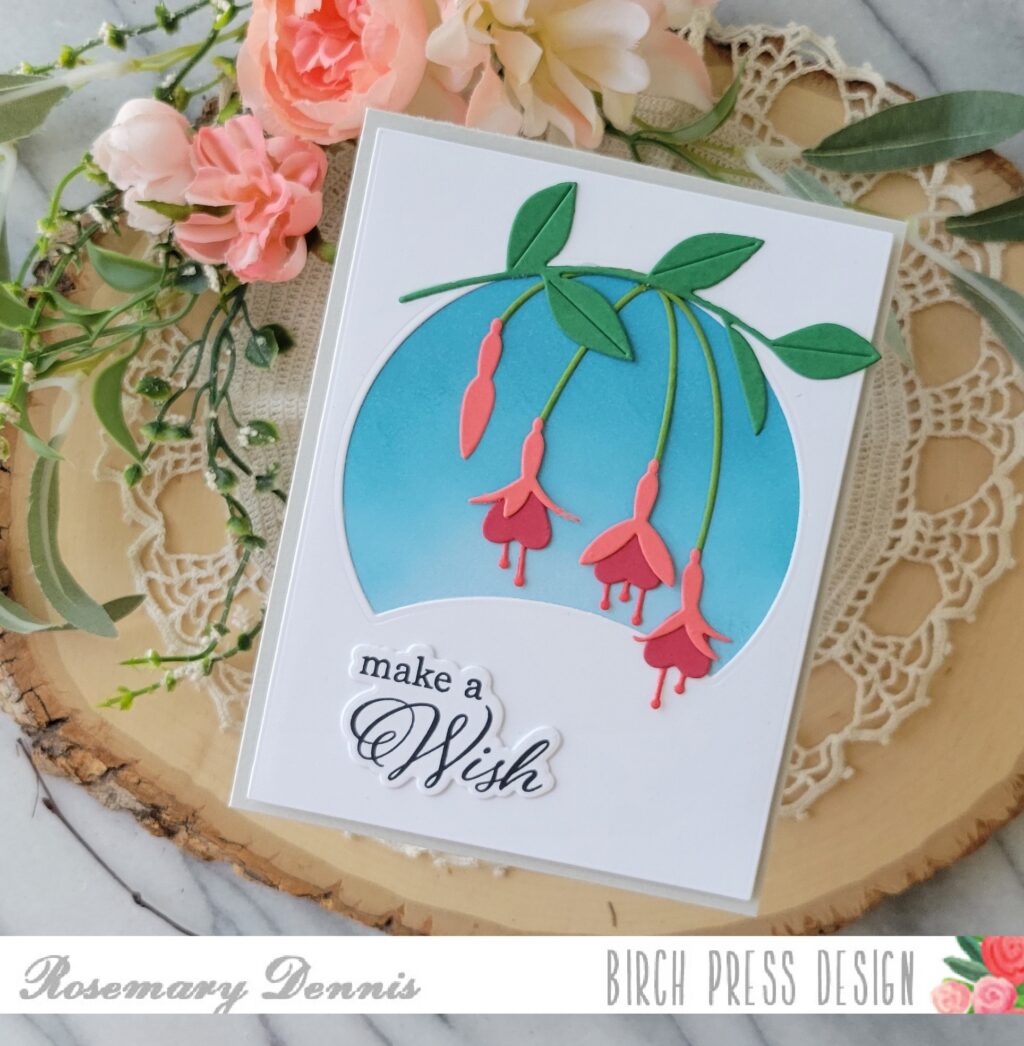
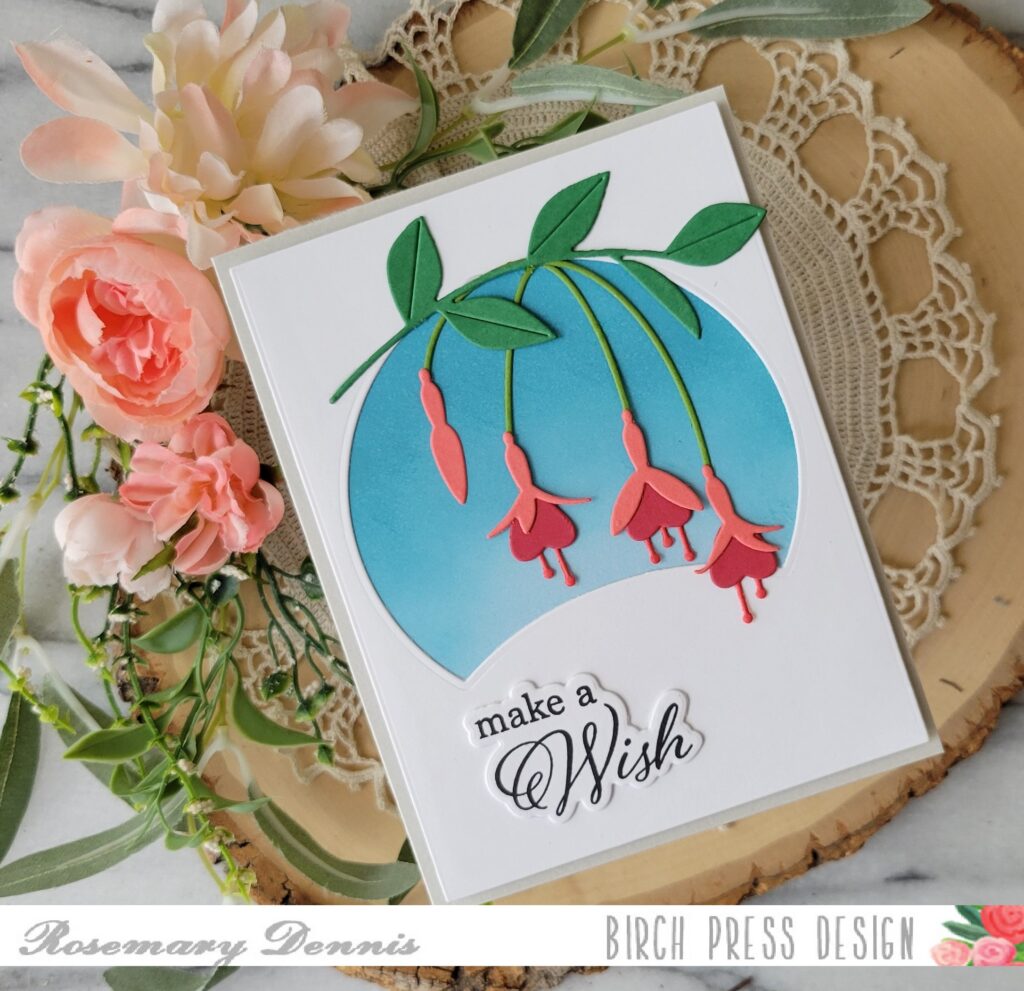
    Hello! Rosemary here on the blog today! Can’t believe we are already into August. Time is flying by, but I’m here today to share a card that has a little bit of a timeless quality to it. I used the lovely Block Print Fuchsia Spray and a modified Block Print Starry Night Scene to create my design. Let’s have a look.

    I went very simple with this card as I wanted the focus on the pretty fuchsia flowers. I die cut a panel of white cardstock with a rectangle die. I then positioned the Starry Night Scene die where I wanted it to be on the panel, die cut it and then trimmed off the trees.

    Another piece of white cardstock was die cut to the same size as the top panel and I ink blended the blue sky using Tumbled Glass and then Broken China.

    Now it was time to make the fuchsia flowers. The leafy branch was die cut from a dark green cardstock from the Memory Box Leafy 6×6 pad and the stems from a lighter green from the same pad. I used pink and two shades of red from the MB Blush to die cut the flowers.

    With all my pieces die cut and assembled it was time to put the card together. I adhered the die cut panel to the ink blended panel using liquid adhesive and then adhered the entire piece to a light gray cardstock base using double sided sticky tape. I used liquid adhesive to adhere the leafy stem at the top of the arch making sure to leave two areas unglued so I could slip the four little stems underneath. I adhered those down and then added the flowers using liquid adhesive, as well.

    I finished off the card with a stamped and die cut sentiment from the Elegant Birthday Sentiments stamp set. I hope you enjoyed today’s card. Thanks for stopping by and have a wonderful day.