Category: Embossing Powder

  • Glitter Ornament by Jeanne Jachna

    Glitter Ornament
    by Jeanne Jachna

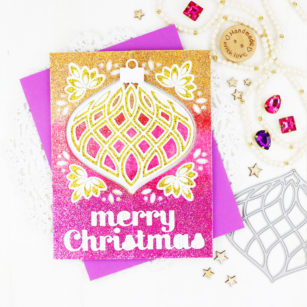
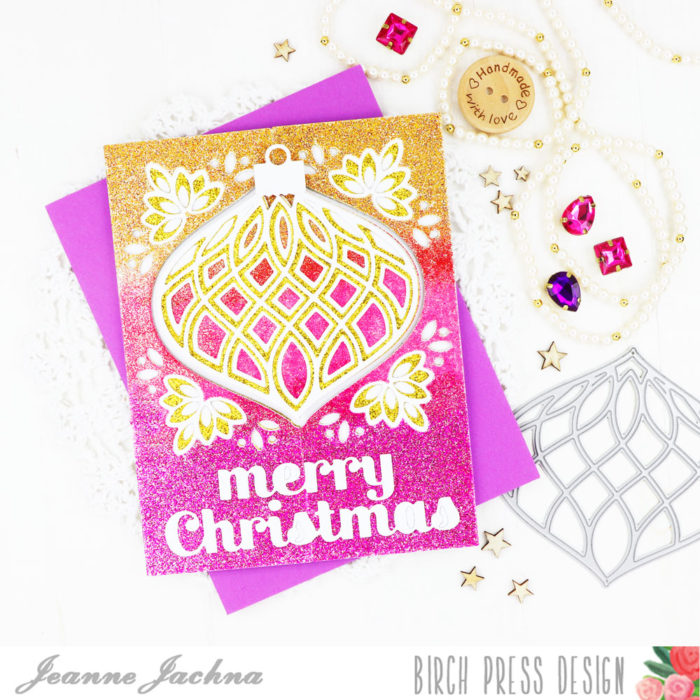
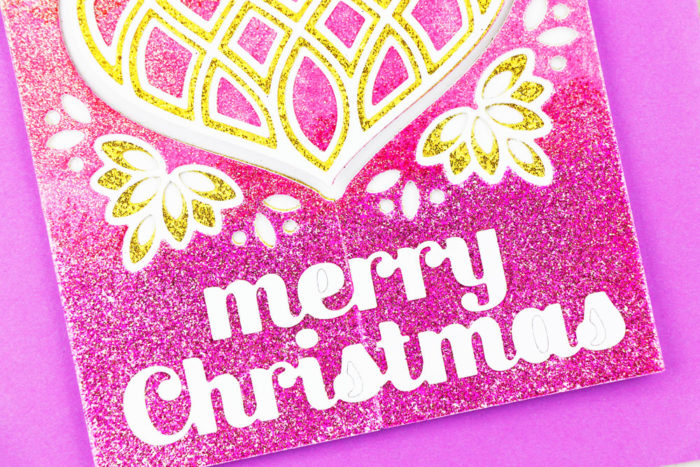
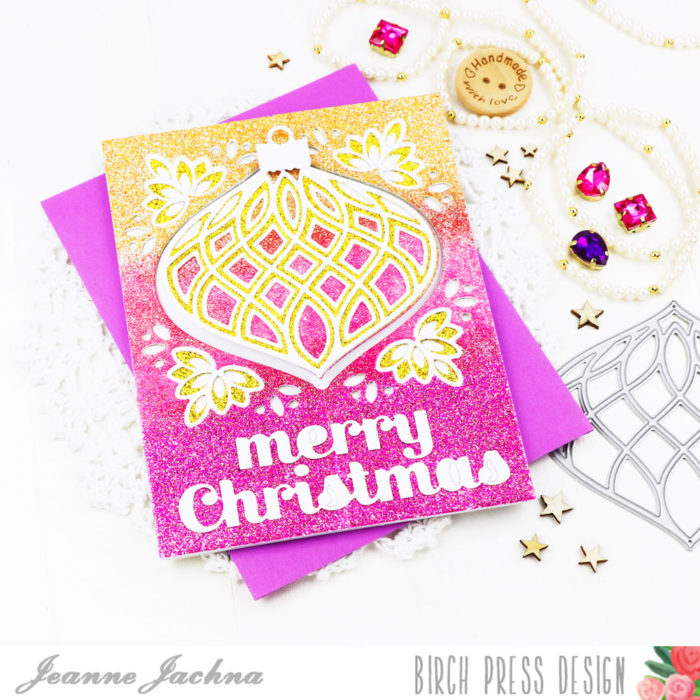
    Thanks for stopping by! Today I’m sharing holiday card that is loaded with lots sparkle and shine because it’s almost entirely coated with GLITTER! But not the messy kind! This card was made with WOW! Embossing powder with glitter!

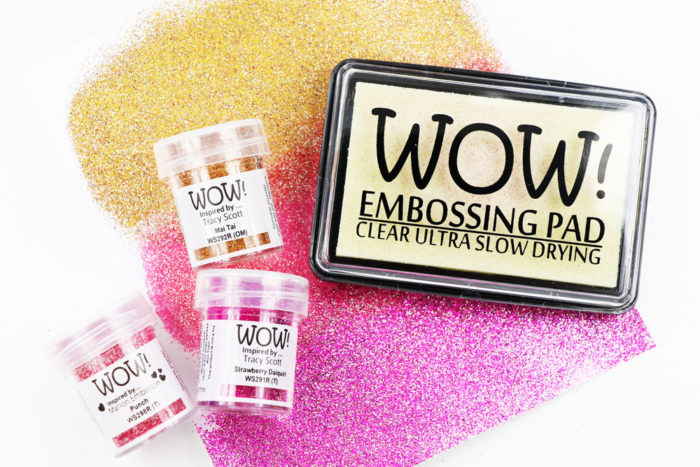
    I feel fairly accomplished at ink blending so I thought I’d give some glitter blending a try! I selected glittery embossing powders from WOW! Just their names sound delicous! Mai Tai, Strawbery Daiquiri and Punch!

    I used an ink blending brush to apply embossing ink to a white panel of cardstock to help avoid straight harsh lines. I applied one color at a time. This gave me the ability to keep it clean by holding opposite ends as the heat melted the powder, and to do some overlapping if necessary.

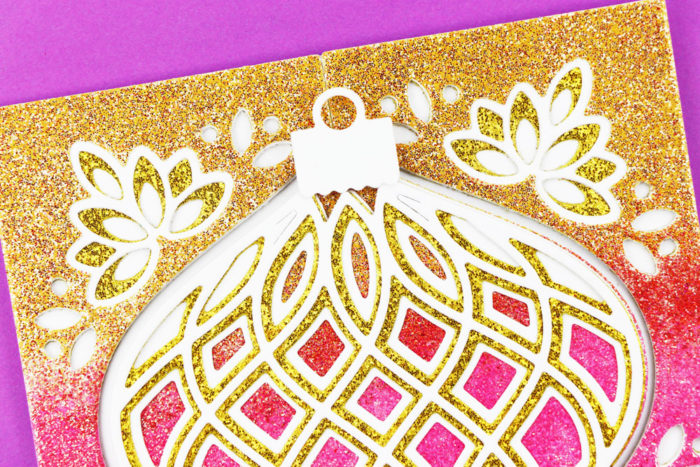
    My paper was quite curly after heating the powder. No worries because when I cut the Flicker Frames they came out nice and flat. I reserved the space in the center to cut a background for the ornament I placed inside the window.

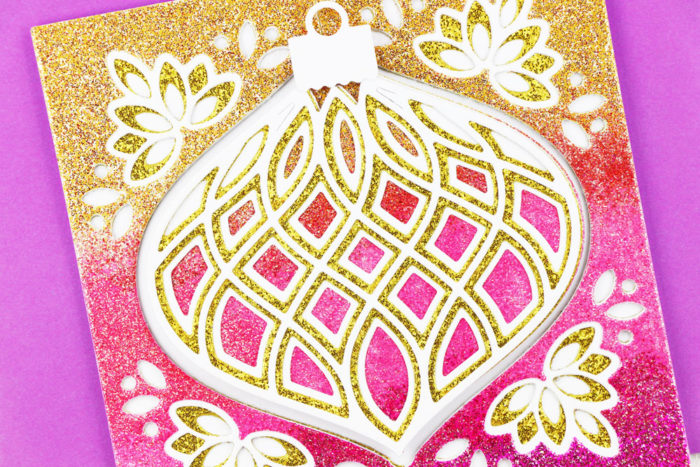
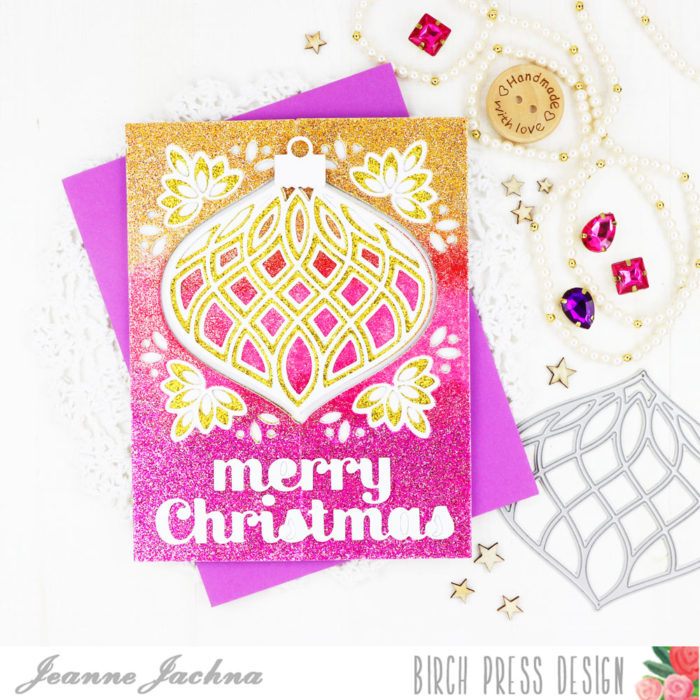
    I alternated glitter and white cardstock to help define the ornament. It’s gorgeous! I hadn’t realized that the ornament I used was no longer available.. but there are several others in stock that will fit in the frame perfectly like the Flicker, Meridian, Twinkle, Belle, and Marisol – and they’re all on SALE! The Flicker Frame set is more than 50% off at $30! (regular price $79) .

    I love the non traditionally colors and swoon! All that sparkle! A simple “merry christmas” sentiment is the finishing touch!

    I hope you feel inspired to try this embossing powder blending. It’s magic when the powder comes to life and melts!

    Supplies

  • Holly Wreath | by Crystal Komara

    Holly Wreath | by Crystal Komara

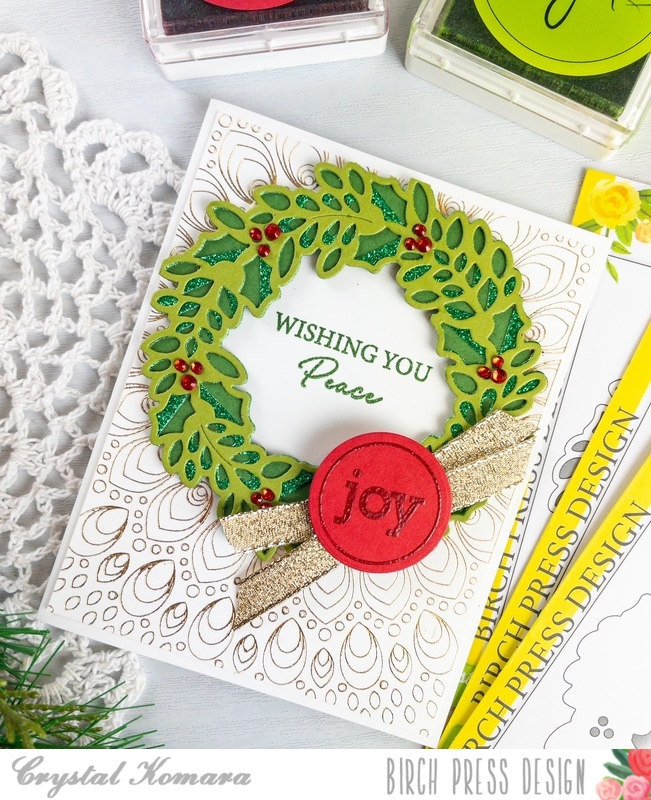
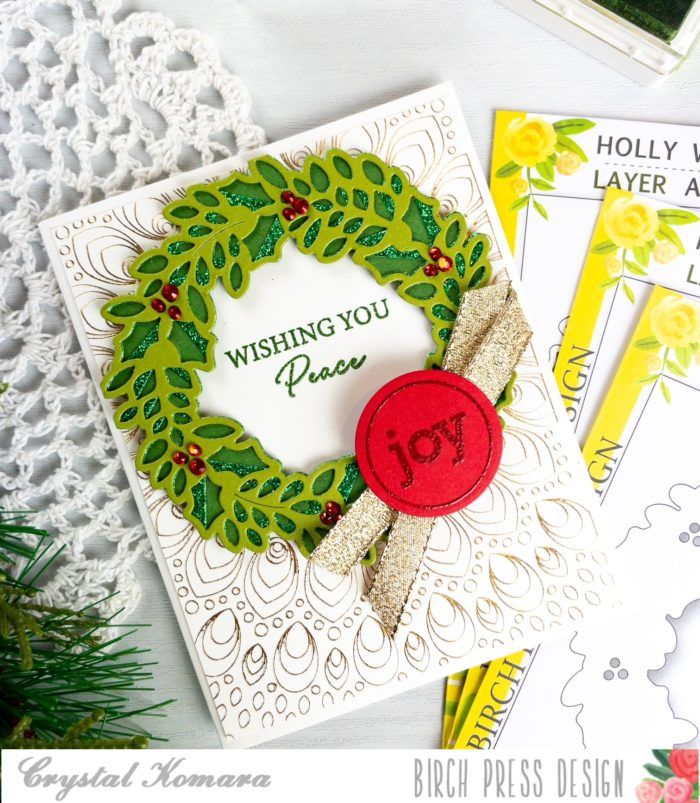
    Hello crafty readers! This is Design Team member Crystal Komara here with you today sharing a holiday card with you featuring the beautiful new Holly Wreath Plate Layer set. But, there’s a lot more going on with this card than just a dimensional wreath, there is also a heat foiled background and heat embossed sentiment too, so read on for all the fun details!

    Card details:

    The base of this A2 sized card is made from 80 lb. Neenah Solar White Smooth cardstock. This is my go-to white cardstock for e-v-e-r-y-t-h-i-n-g! Using the Gilded Grace Hot Foil Plate, I foiled the first layer of the card. I use a Gemini Foilpress machine for my foiling. I used the Crafter’s Companion Foil Press paper in brass. I adhered this foiled layer directly to the card base.

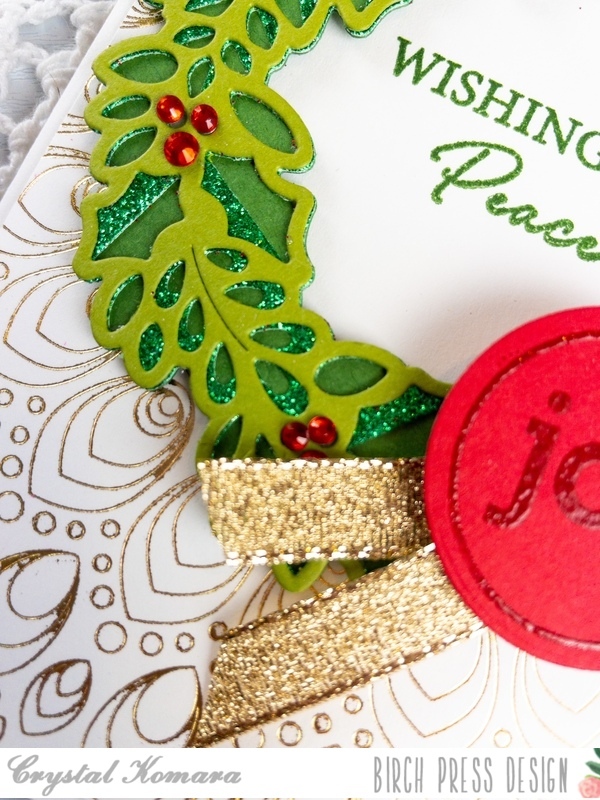
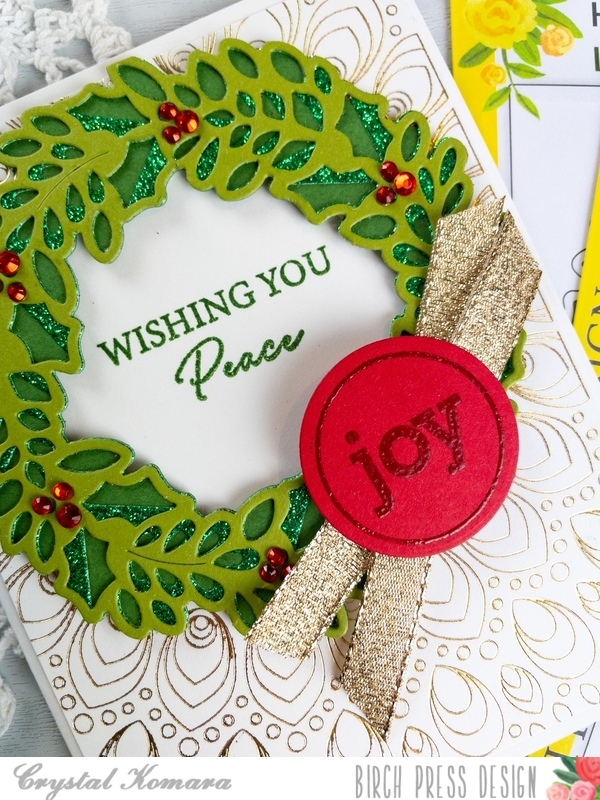
    I did not foil the inner circle of the Gilded Grace Plate, so instead I stamped the sentiment “wishing you peace” in the center of the circle. Next, I created the wreath. I die cut Layer C (bottom layer) of the Holly Wreath from dark green cardstock. I die cut Layer B (middle layer) of the Holly Wreath Plate from green glitter cardstock. Finally, I cut Layer A (top layer) of the Holly Wreath Plate from light green cardstock. The green cardstock is from the 6″ x 6″ Lush Green paper pack and the 6″ x 6″ Glitzy Glitter paper pack. I adhered all three layers of the wreath together with a fine-tip liquid glue.

    I adhered the wreath to the center of the card using 3M foam adhesive for added dimension. I stamped the sentiment “joy” in Versamark ink on a piece of red cardstock. I heat embossed the sentiment with the Red Robin embossing powder from WOW! I used the coordinating circular die to die cut the sentiment out. The “joy” sentiment and die is from the Contempo Christmas Greetings stamp set and coordinating dies.

    Lastly, I adhered a small piece of gold ribbon underneath the “joy” circular sentiment. I also added a couple red rhinestones to the wreath to resemble berries.

    This card has it all – gold foil, sparkly glitter paper and heat embossing! It sparkles AND it shines!

    I hope you have enjoyed today’s card! You can visit me on my website, Instagram and YouTube! Thanks for visiting and have a wonderfully creative day!

    Supplies