Category: Fall

  • Autumn Kittyby Christina Rannow

    Autumn Kitty
    by Christina Rannow

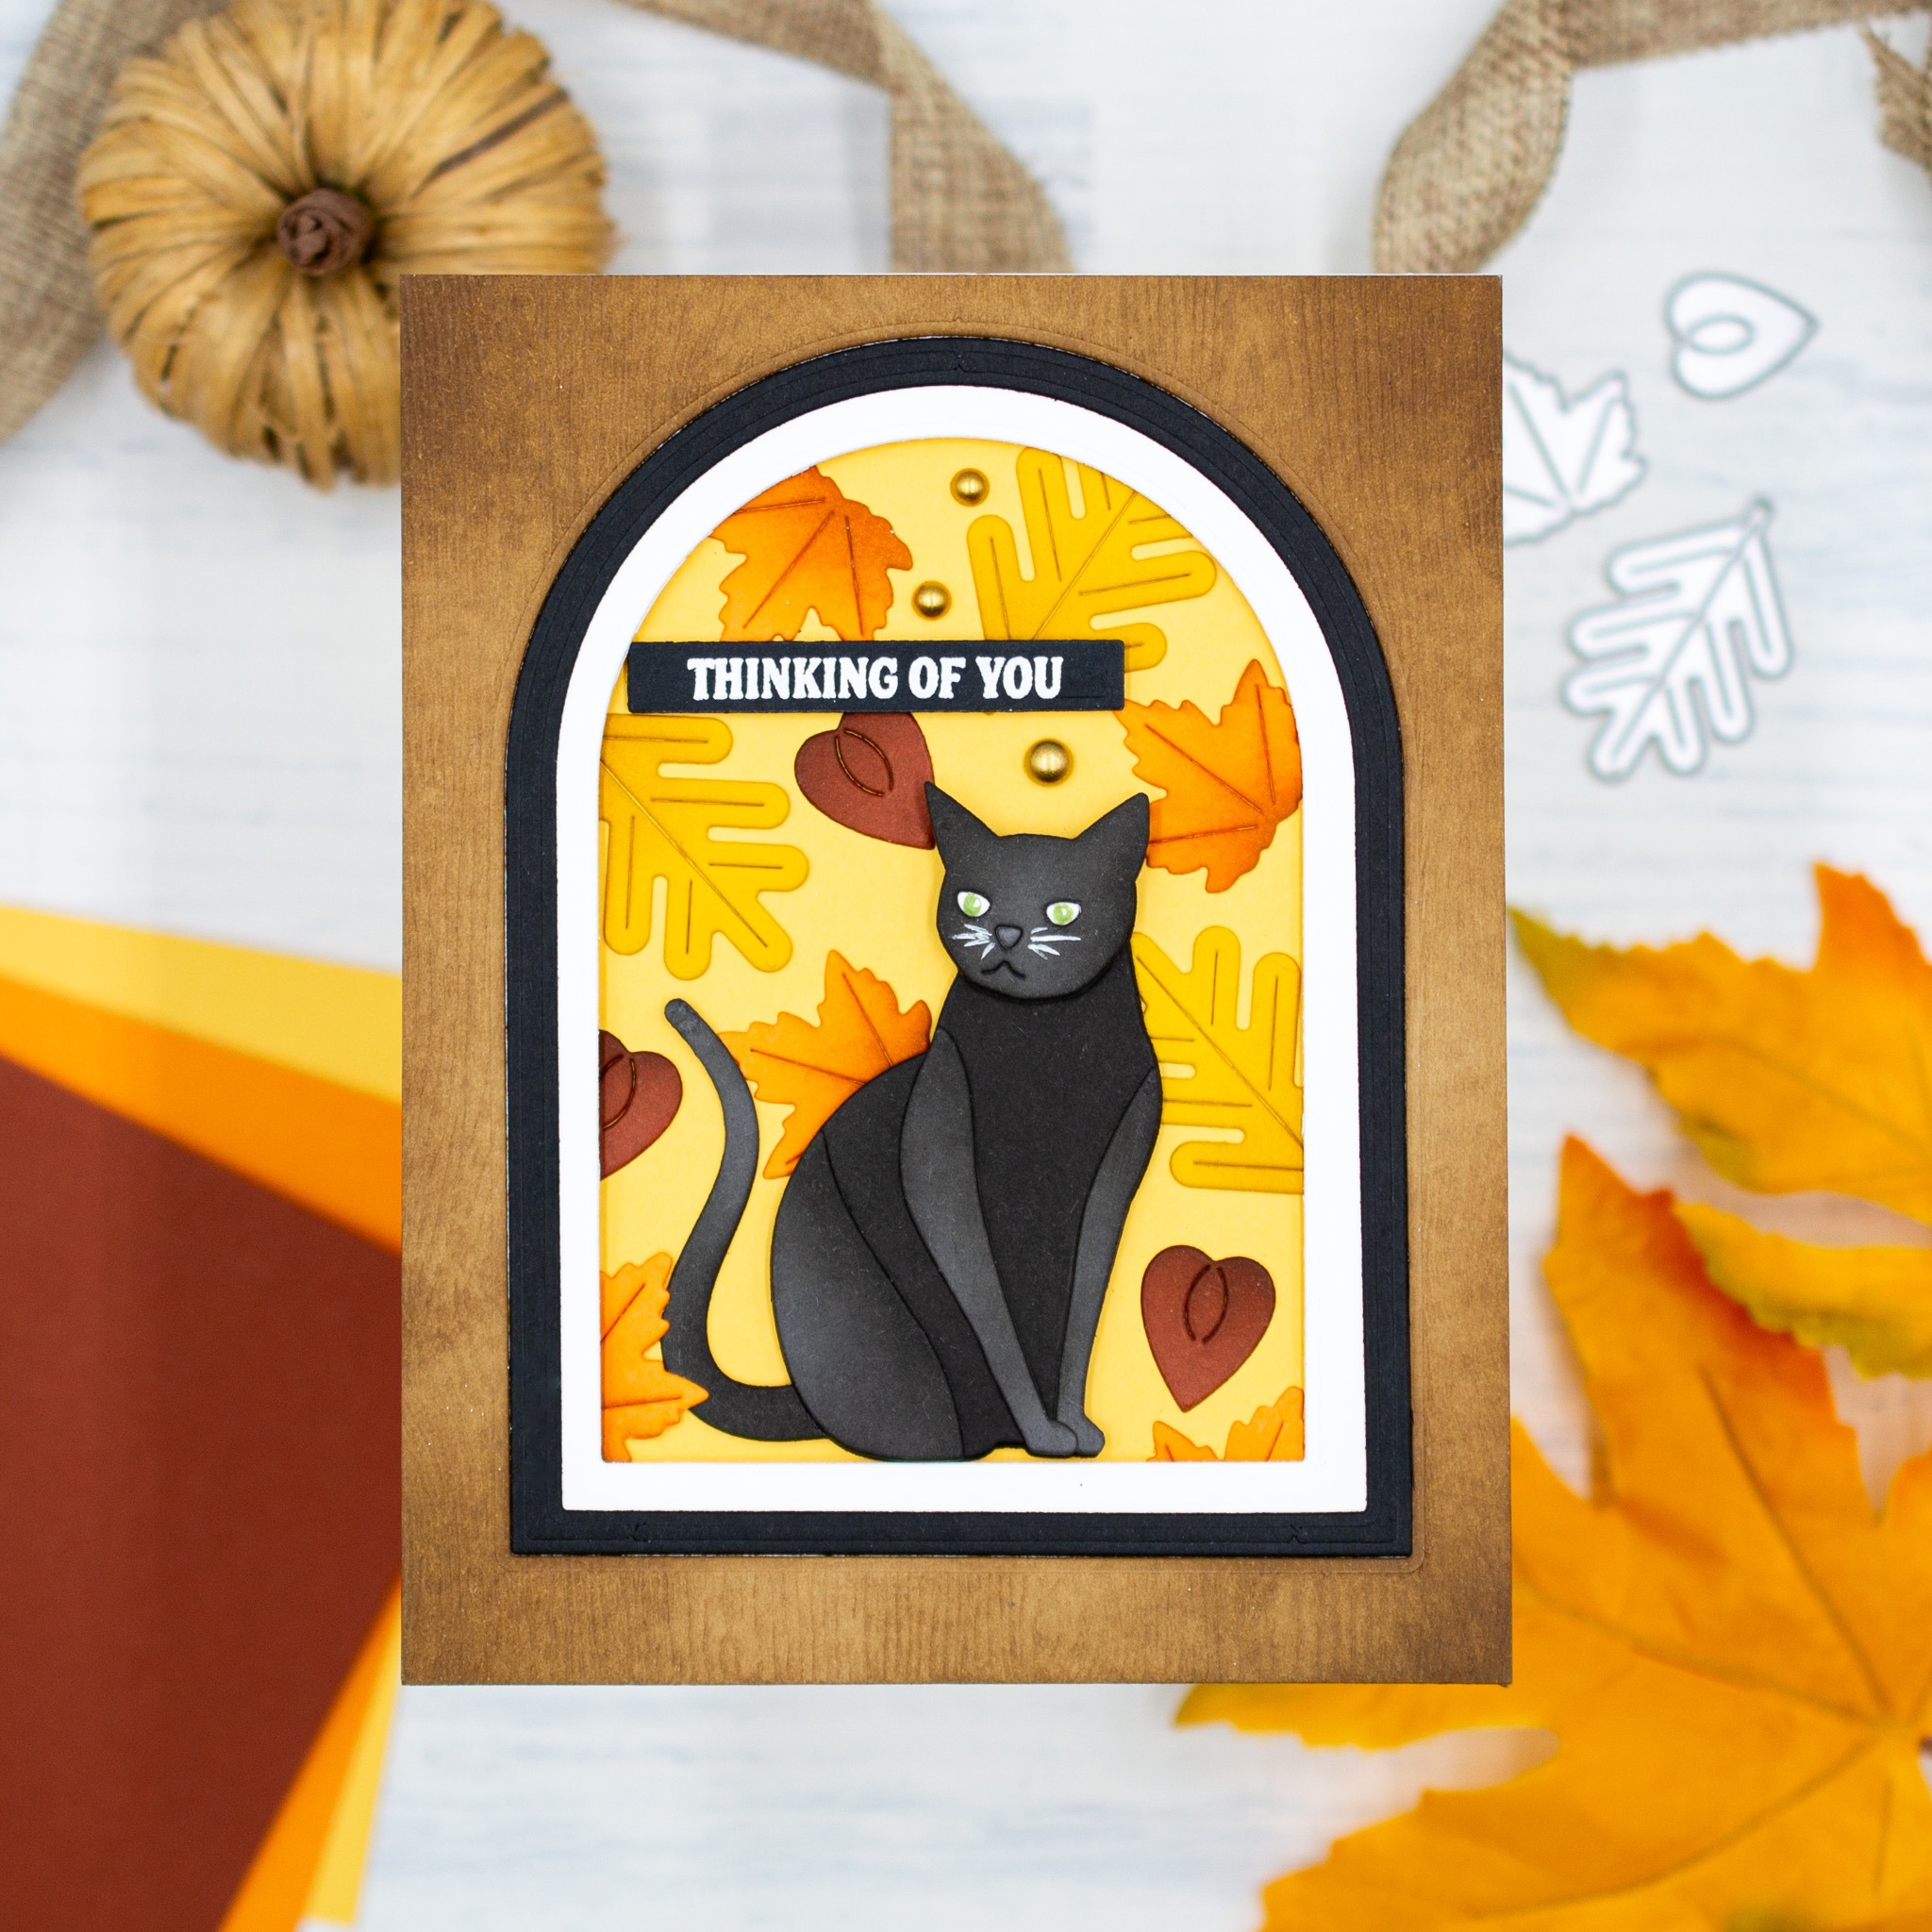
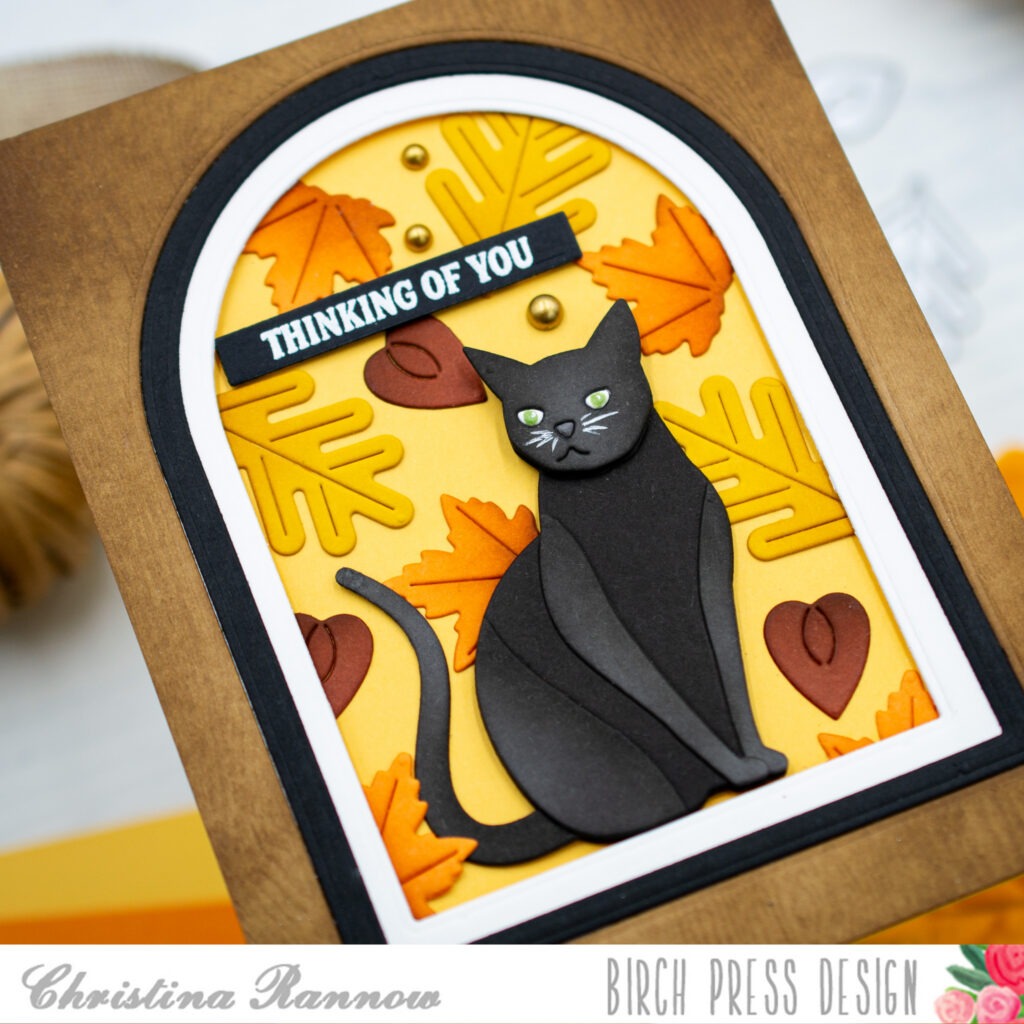
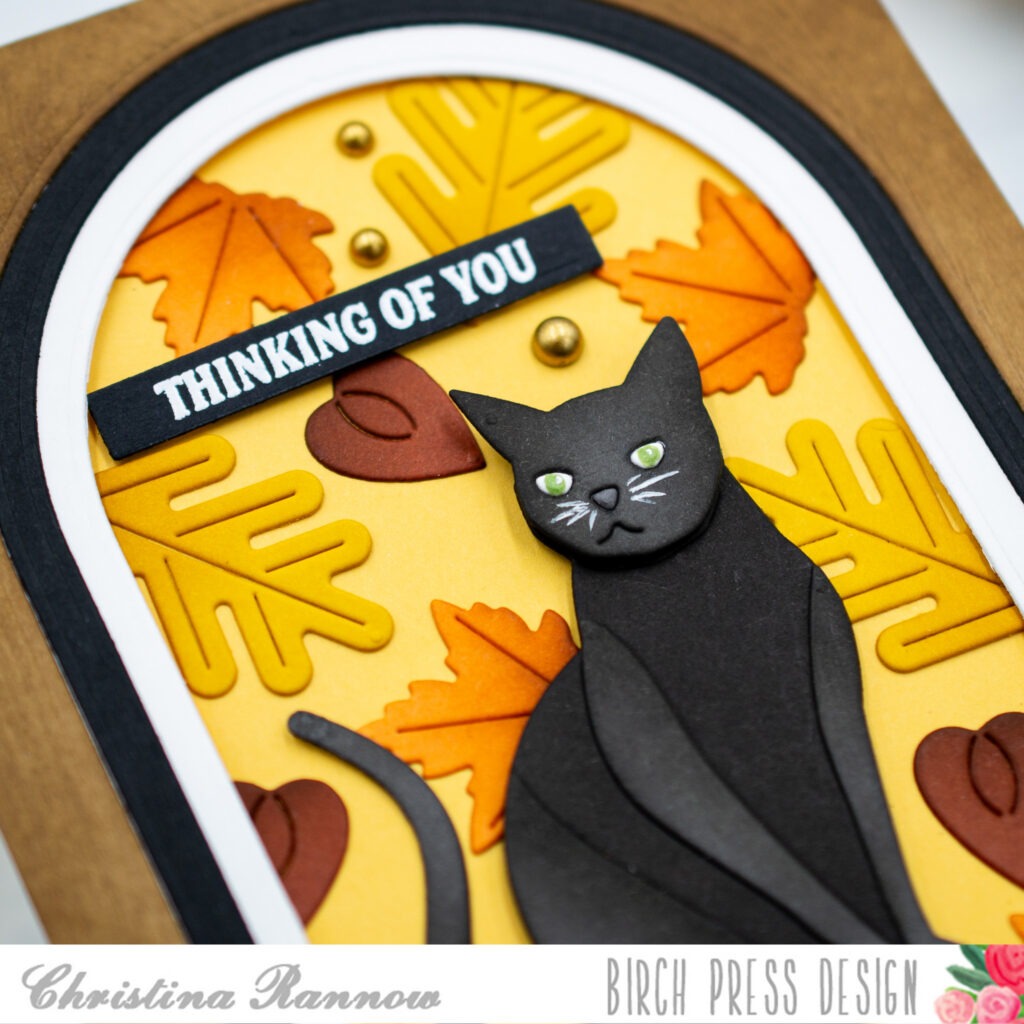
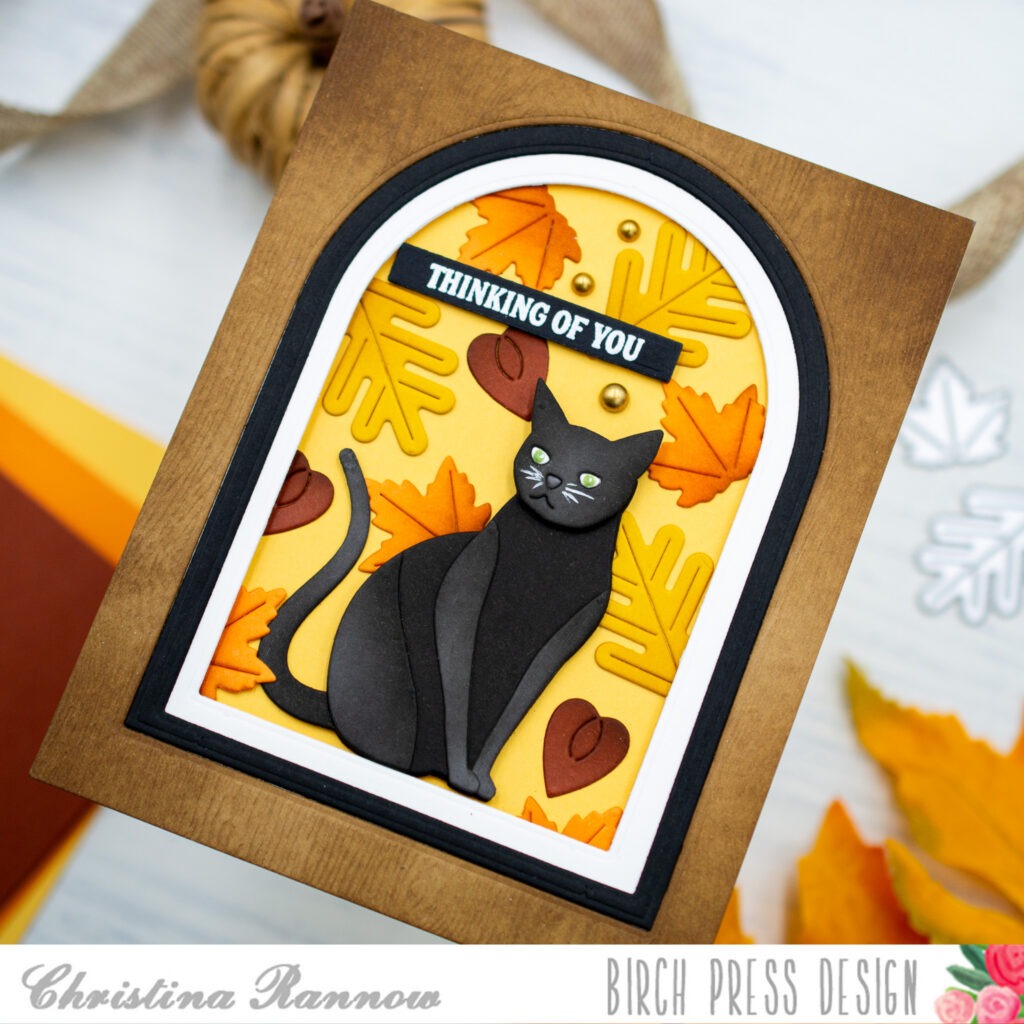
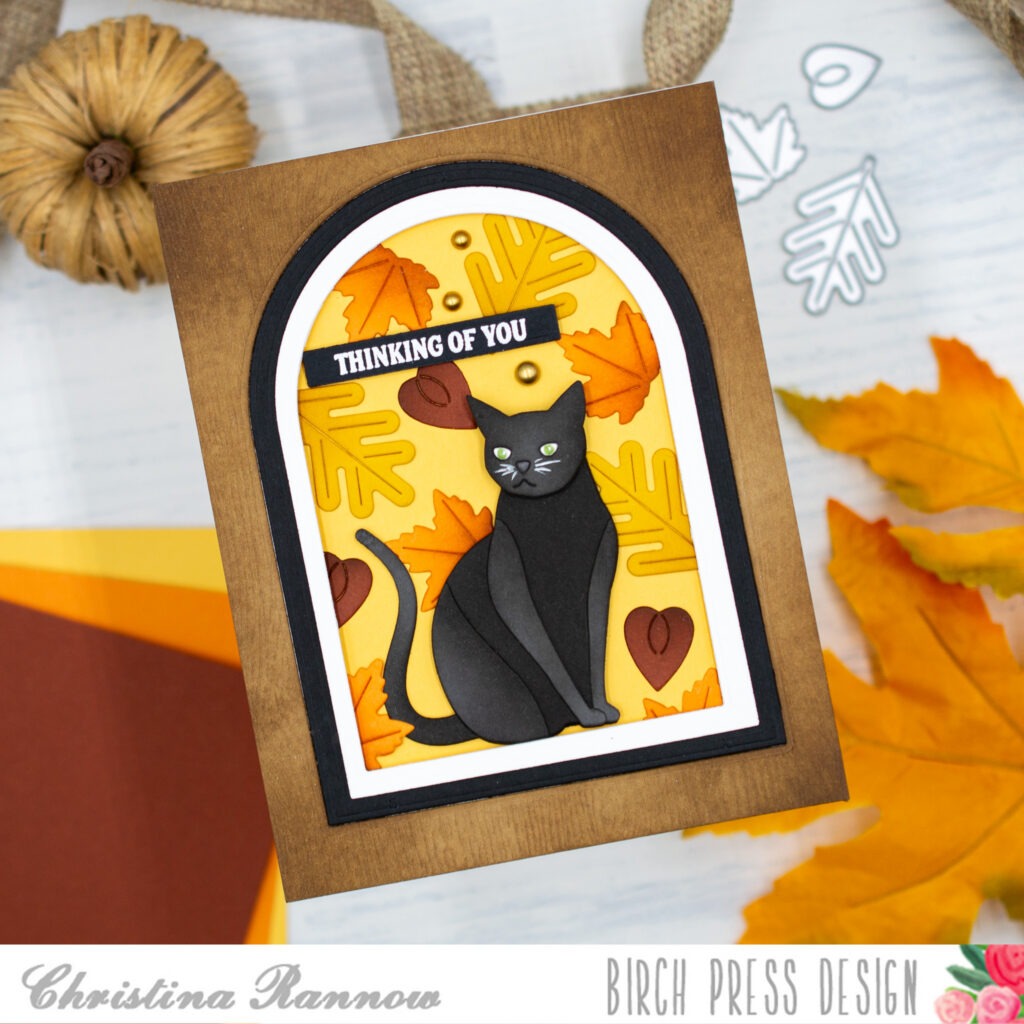
    Hello crafty friends! I can tell the seasons are changing, although it is still quite warm where I am. While I wait for cooler weather and fuzzy sweaters, I have a warm and cozy autumn-inspired card to share with you today featuring the Block Print Kitty craft dies. I gave this handsome kitty an arched window to perch in and surrounded him with a flurry of fall leaves. Let’s take a closer look at how this card came together.

    My first step was to create the background and window scene for the kitty. Using basic nesting arched dies, I die-cut a medium-sized arch from a white A2 cardstock panel. Next I created an arched frame by die-cutting two of the larger arches from black cardstock, and finally I die-cut the larger arch from an A2 kraft woodgrain cardstock panel. Before assembling the layered background, I blended Gathered Twigs Distress Ink into the woodgrain panel for a darker, richer woodgrain. Then I layered the woodgrain panel onto the white panel before finally inlaying the black frame along the woodgrain arch. I secured all the layers with a liquid adhesive and then attached them using thin foam squares to a piece of buttery yellow cardstock trimmed to 4.25 x 5.5 inches. Attaching the panels with foam squares gave more dimension to the window and gave the kitty a place to perch.

    My next step was to die-cut and assemble the other elements of my card design. I chose gold, orange, and rust-colored cardstock for die-cutting the leaves and added shading to them with a darker coordinating ink color. I die-cut the pieces for the kitty from a dark gray cardstock and used Black Soot Distress Ink for adding more color and shading to the pieces before assembling him. Then, to finish the kitty, I added some facial details. I used a Copic marker for his green eyes and a white gel pen for his whiskers and the highlights in his eyes. 

    Now it was time to bring it all together. I attached the leaves to the yellow background with a liquid adhesive, tucking them under the arches and trimming them if needed. Then I perched the kitty in the center, securing him in place with thin foam squares. I heat-embossed a sentiment on a black sentiment strip with white embossing powder and attached it to my scene with more thin foam squares. The finishing touch was a few matte gold pearls.

    Thank you for stopping by to read about my autumn-inspired card featuring the Block Print Kitty and the Fall Leaves craft dies. Happy crafting!

  • Fall Mushrooms by Rosemary Dennis

    Fall Mushrooms
    by Rosemary Dennis

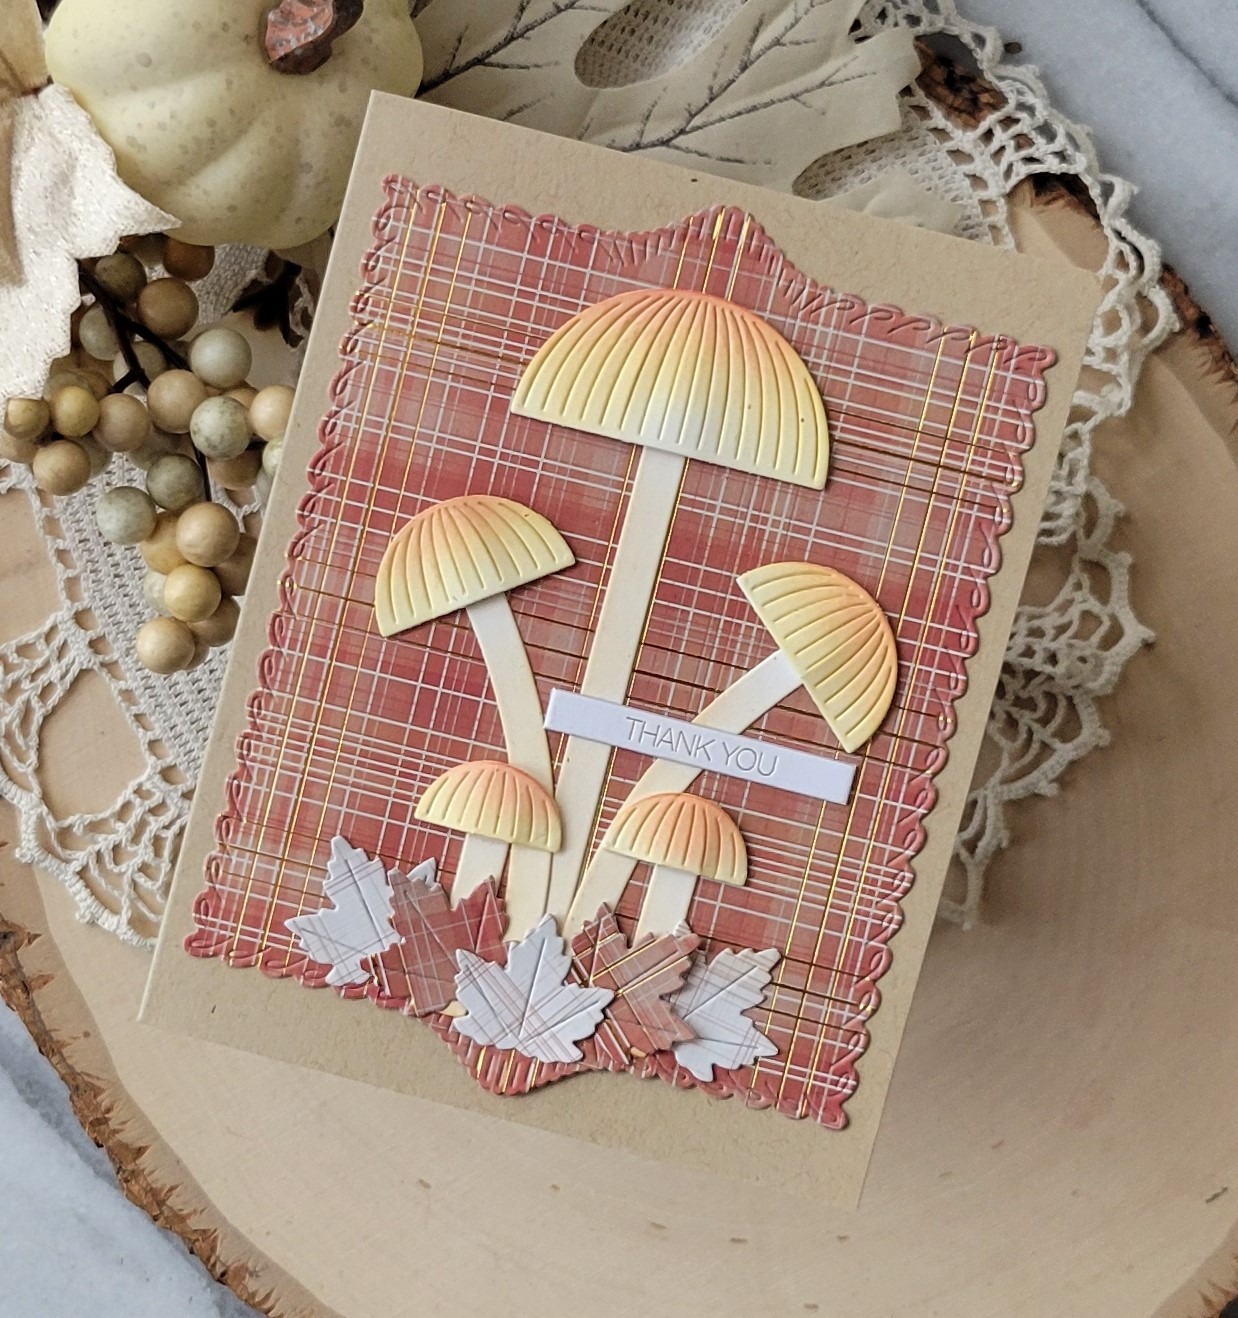
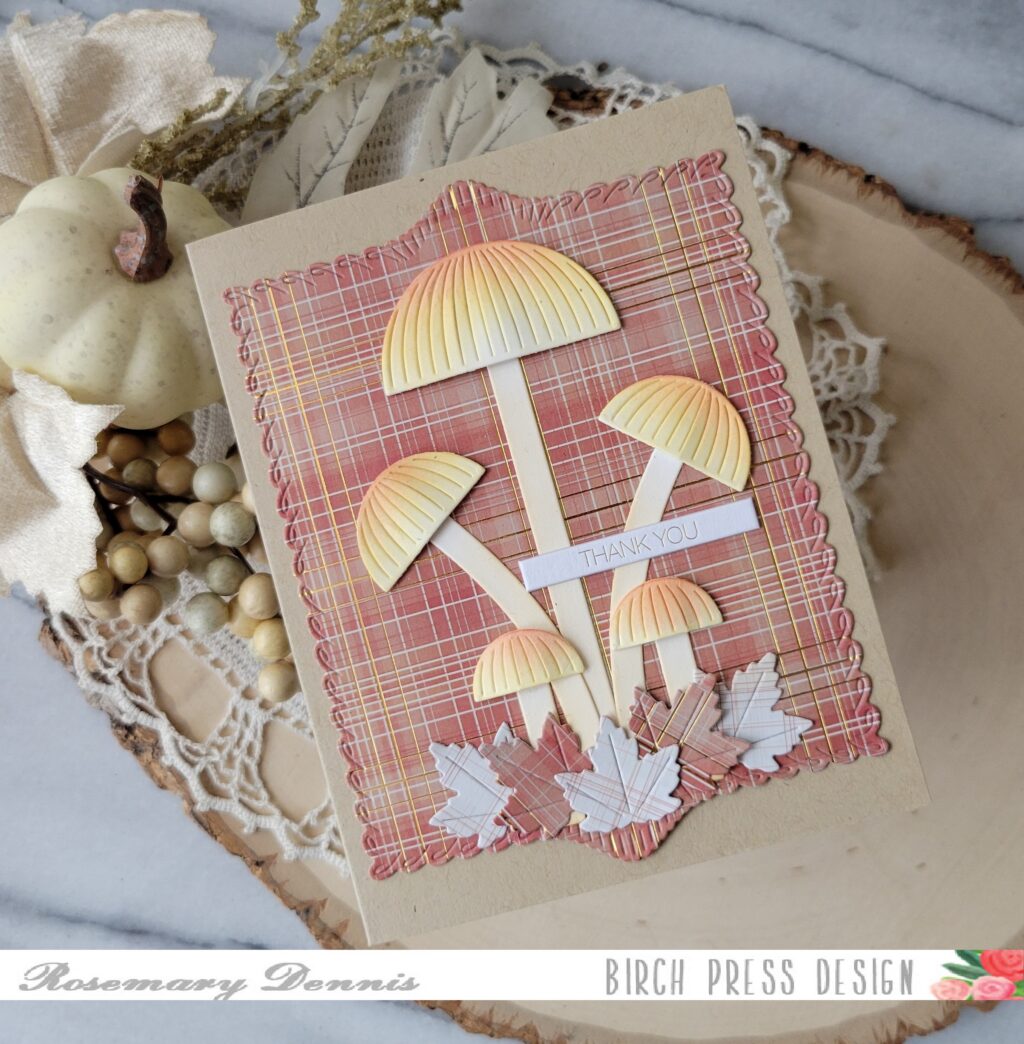
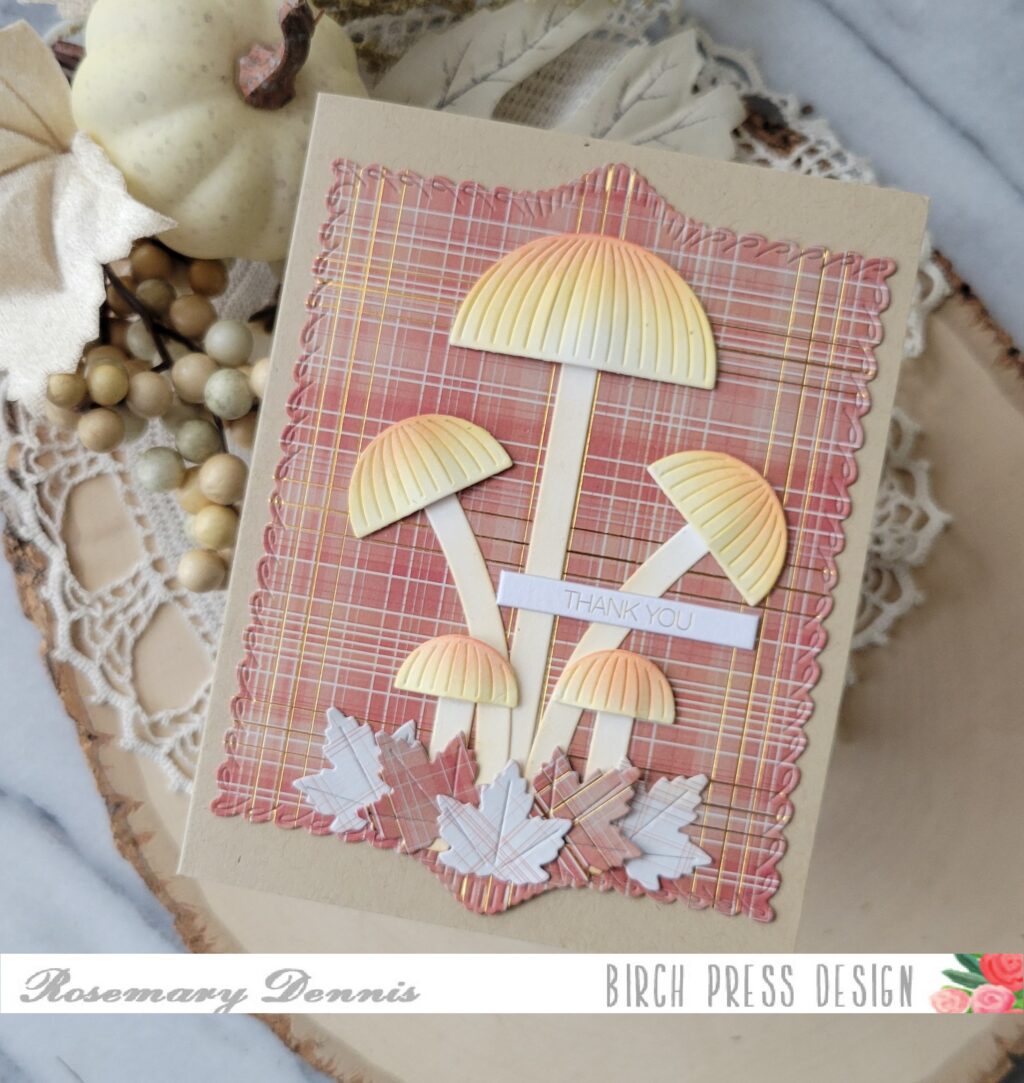
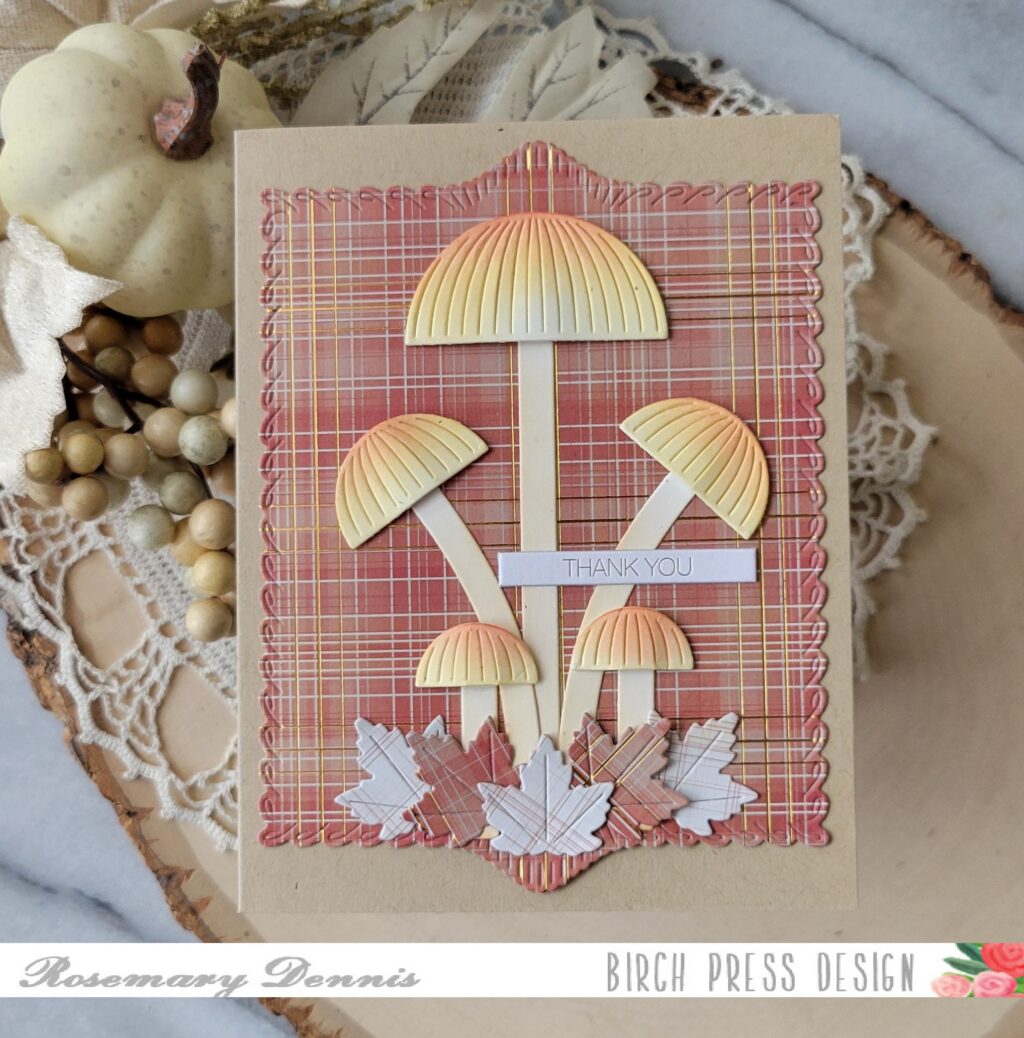
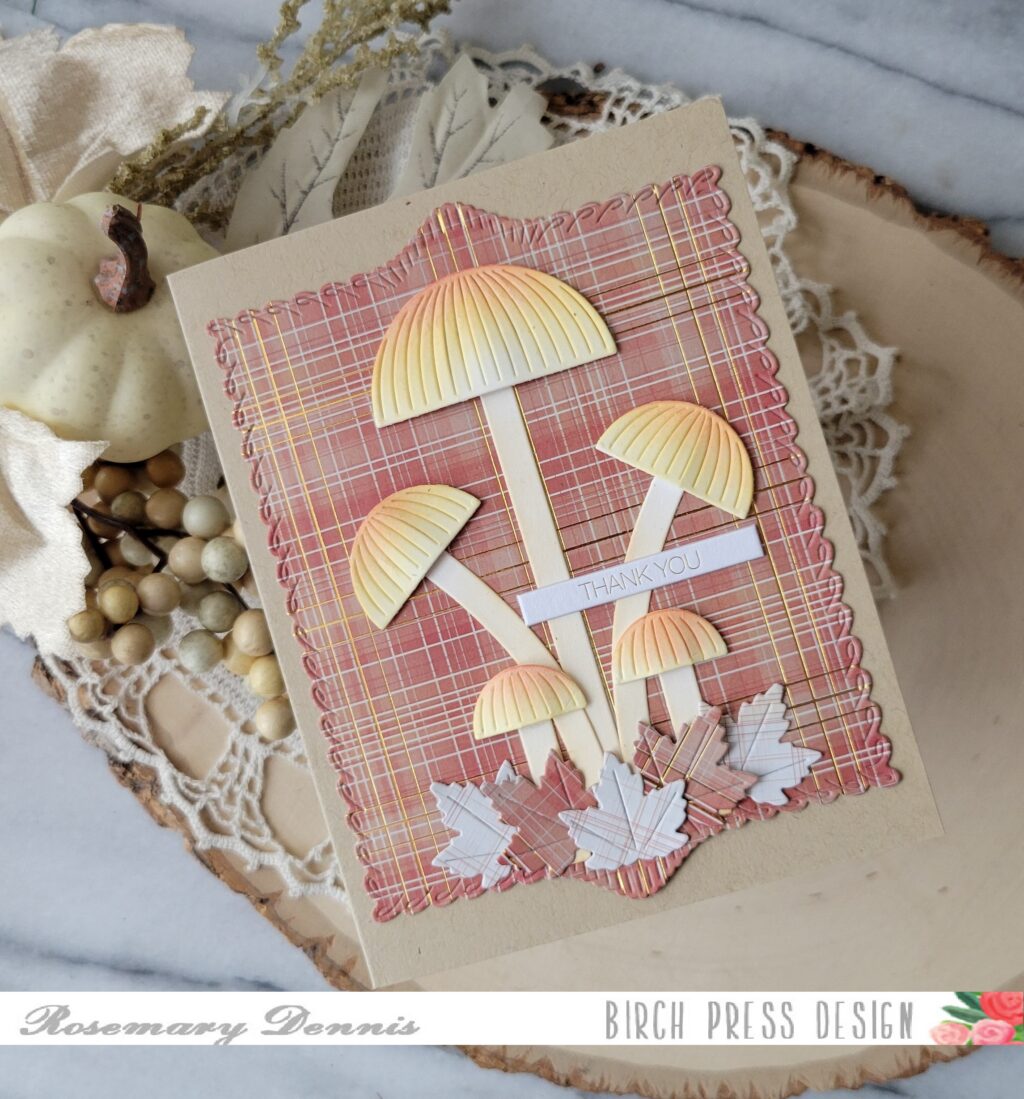
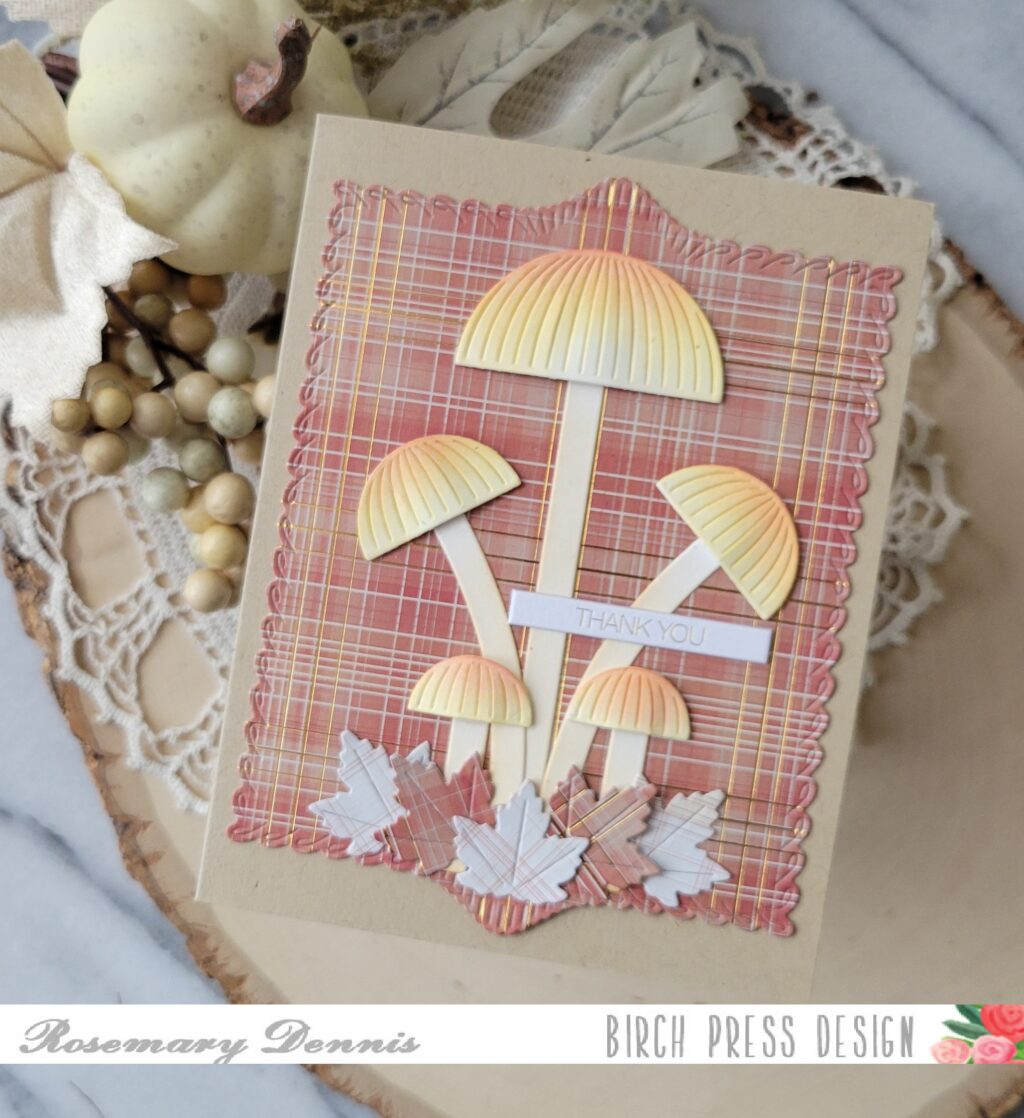
    Hello everyone! Rosemary here on the blog today. Fall is on the way and I, for one, cannot wait! I love fall most of all, lol! Today I have a card that features several new Birch Press Design products: Block Print Tall Mushrooms, Fall Leaves and Loop Stitch Frames. Let’s have a look at what I made.

    You will be seeing a lot of the new Loop Stitch Frames dies on my cards. They are so fun and versatile! I used patterned paper from the Memory Box Nutmeg 6×6 paper pad for the background, as well as the leaves.

    I die cut the mushrooms from off white cardstock and then lightly blended on distress oxide ink in shades of orange and yellow on the mushroom caps and a little bit of brown on the stems.

    I flipped through the Nutmeg plain pad and settled on this piece that has little lines of gold foil running through it for my background. I die cut the paper using the largest Loop Stitch Frame die and adhered it to a kraft card base using double sided tape.

    Since I had scraps of the background paper left over, I flipped one piece over and die cut three maple leaves from the Fall Leaves die set from that. The other two were cut from the same side as the Loop Stitched Frame.

    I adhered the mushroom by attaching the stems with liquid adhesive and the mushroom caps with varying heights of foam squares to give the mushrooms dimension. The leaves where then arranged at the bottom using liquid adhesive. I finished with a gold foil sentiment tab from Memory Box.

    I hope you enjoyed today’s project. Thanks for stopping by and have a wonderful day!

  • Fall Rainbow Birthday by Savannah O’Gwynn

    Fall Rainbow Birthday
    by Savannah O’Gwynn

    Hello, sweet friends!

    I’m excited to be back with another easy card and video tutorial!

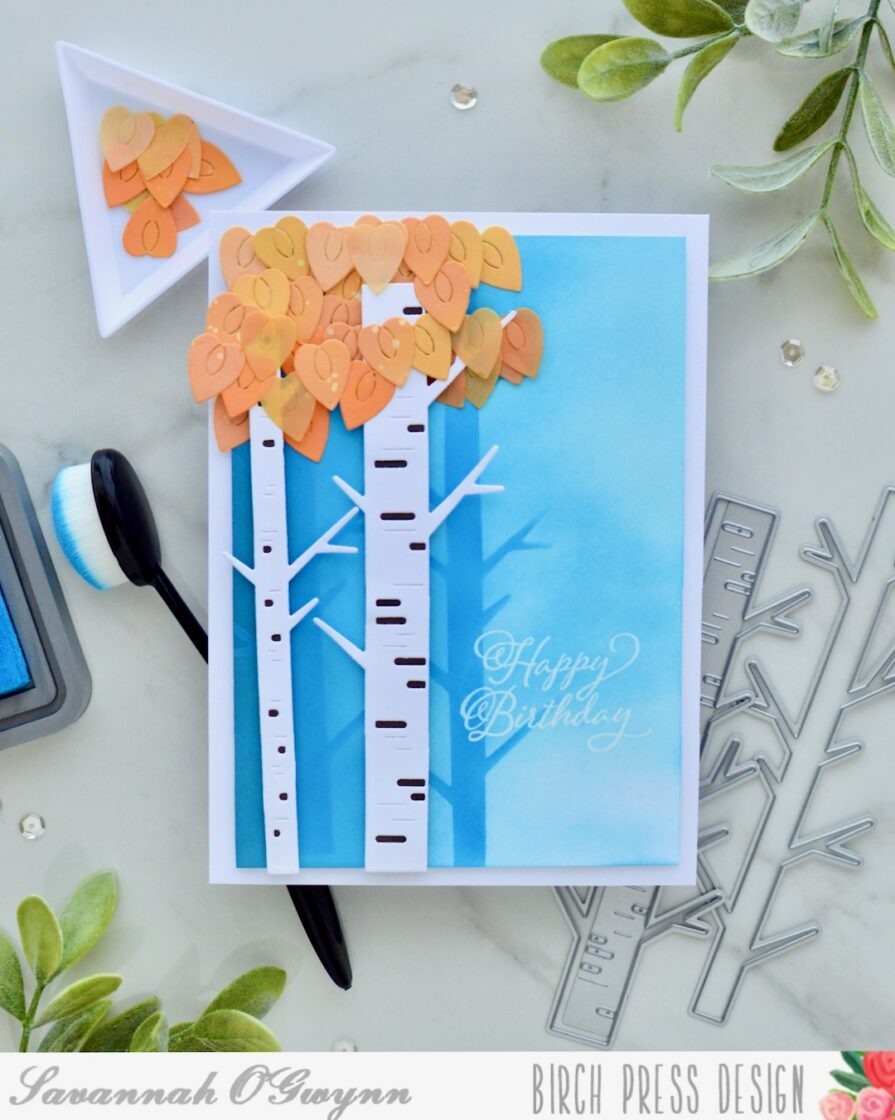
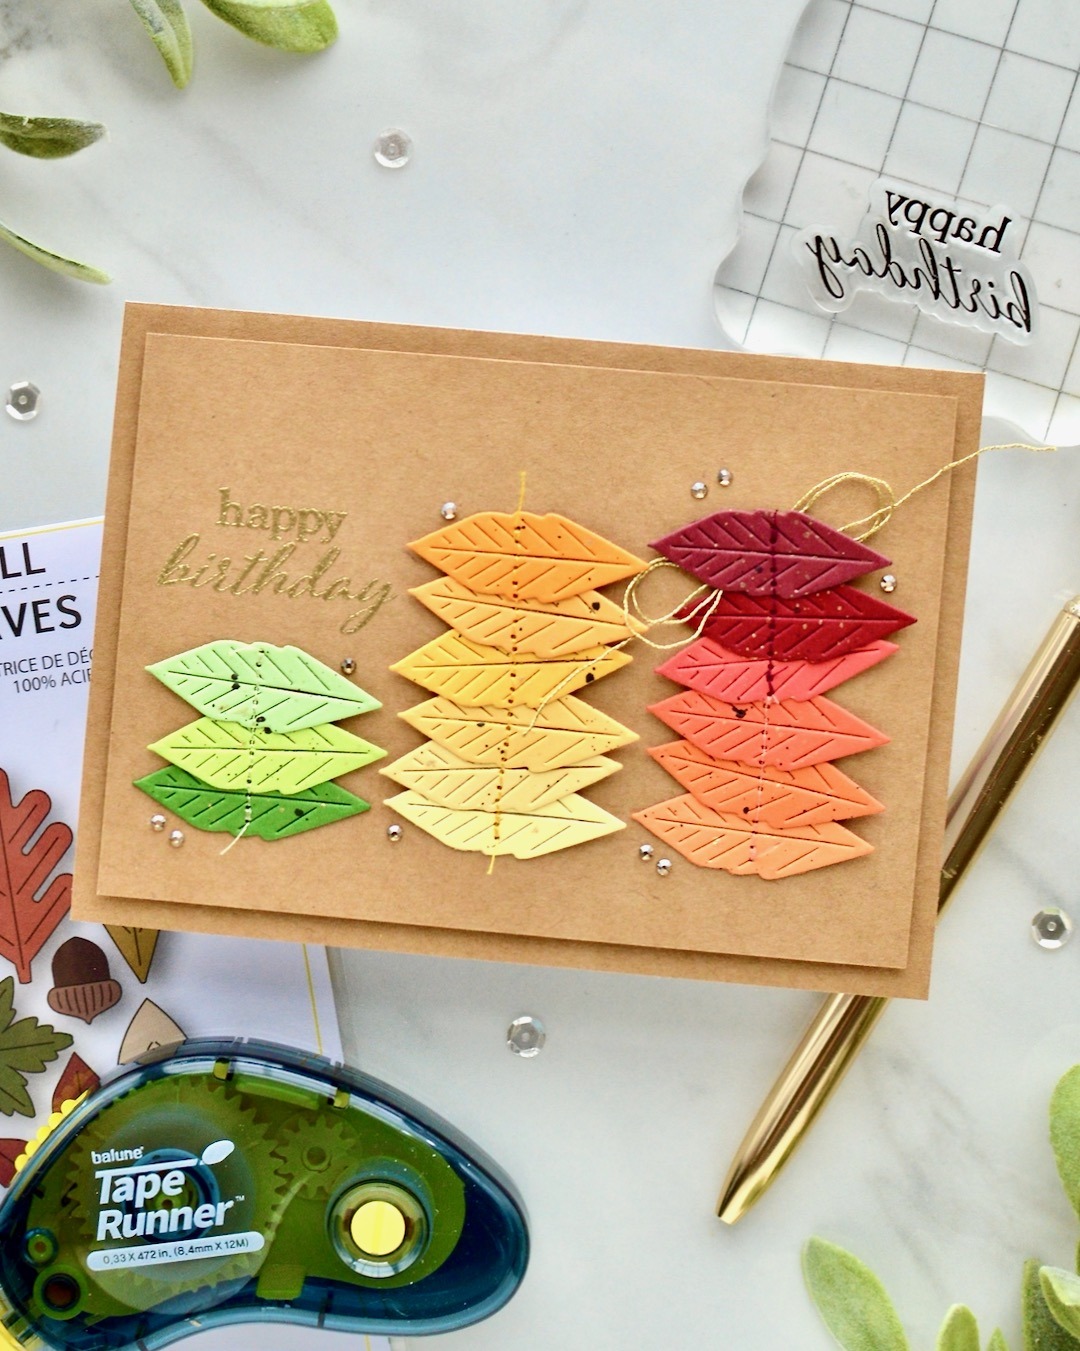
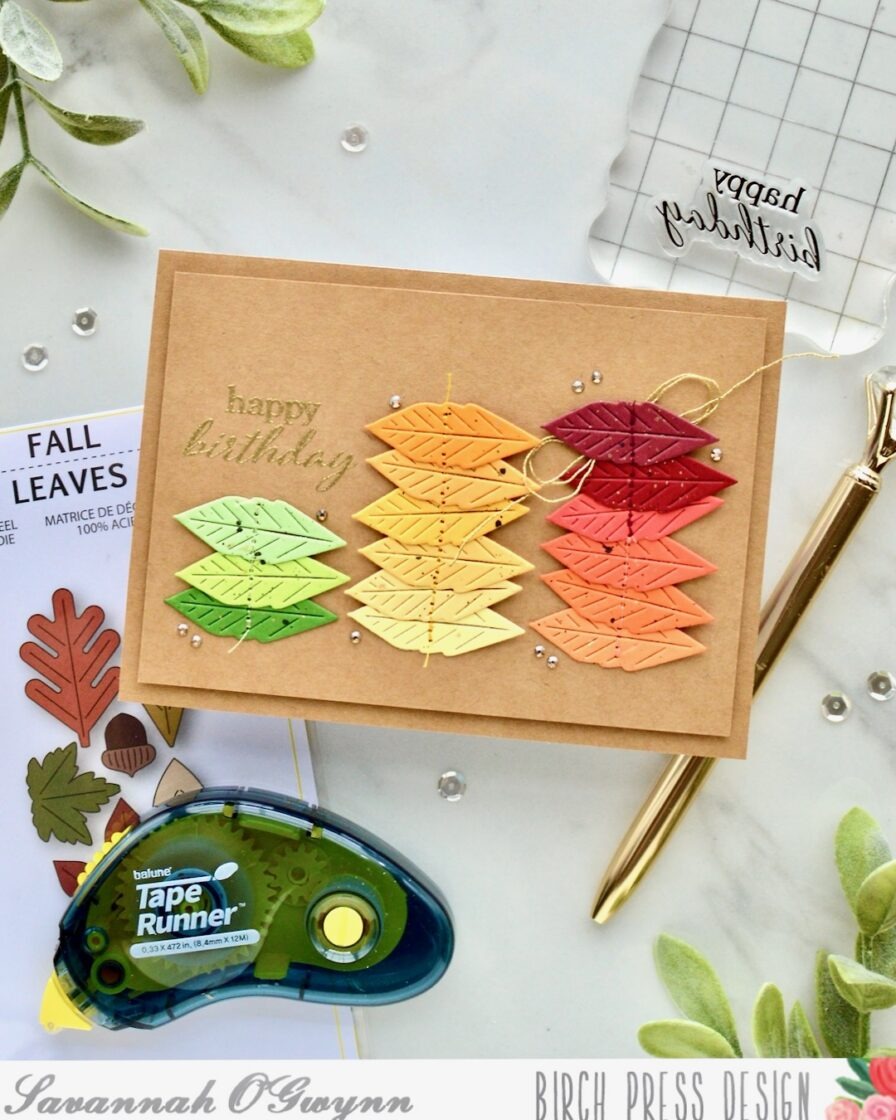
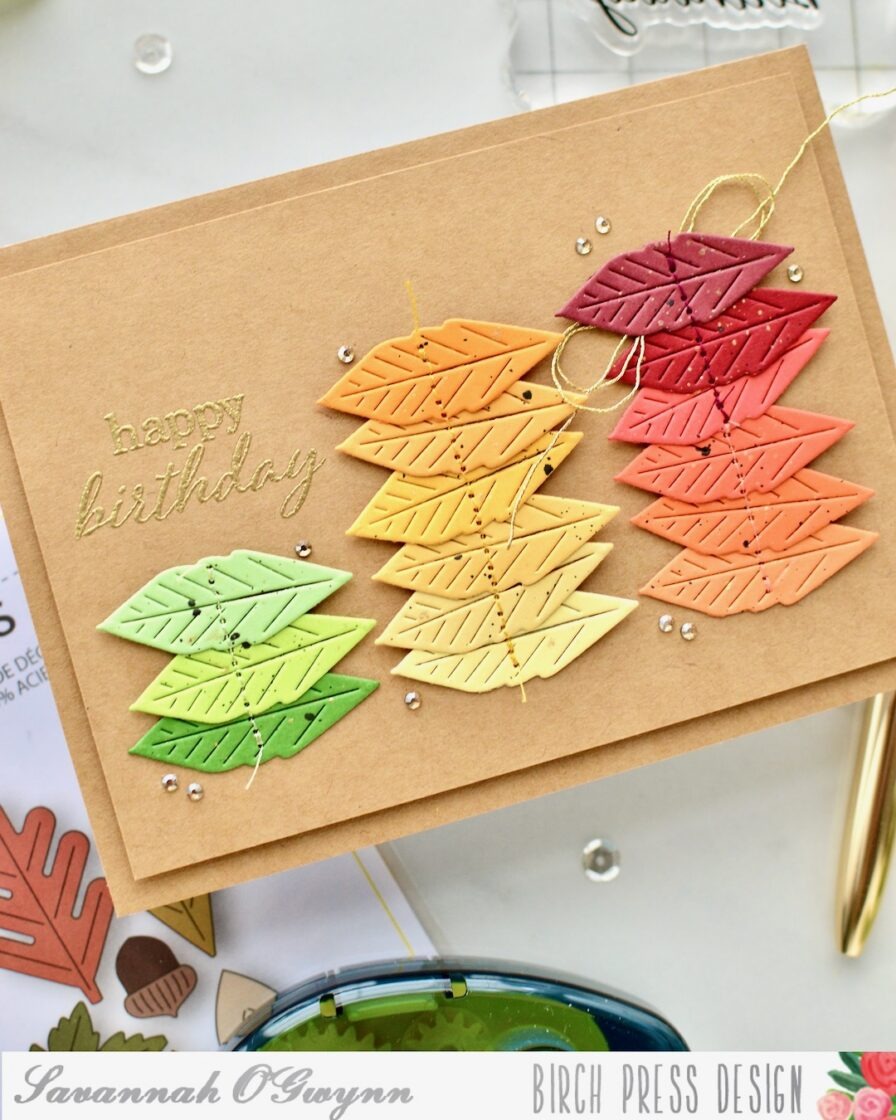
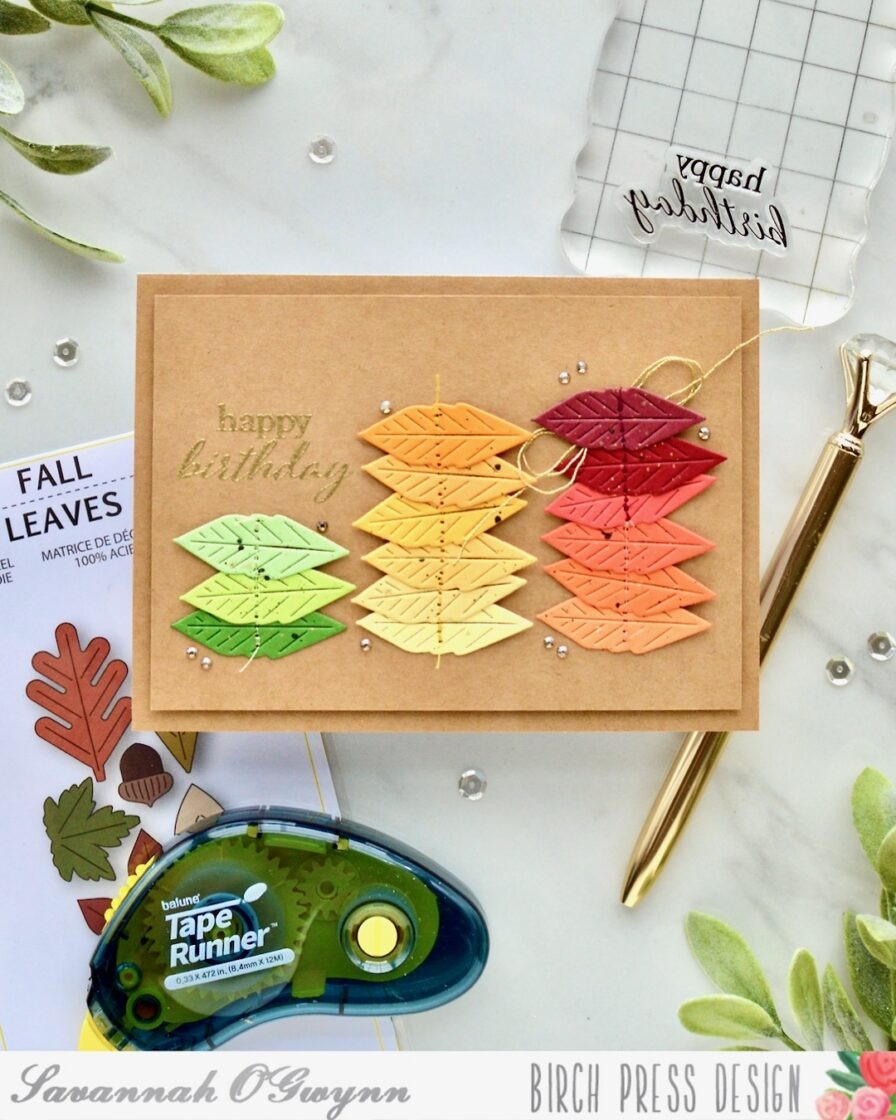
    When I saw the BPD Fall Leaves dies set, I knew I wanted to make a rainbow of leaves but with fall colors!

    If this “stop action/time lapse” video is too quick for you (I hope it doesn’t make you dizzy! LOL!), here are the steps to make this exact card:

    1. Gather supplies including BPD stamps/dies and Memory Box cardstock
    2. Die cut a BPD leaf image from all cardstock colors **You can cut different leaf images or all one design. I chose just to die cut one image for all colors.
    3. Apply cardstock to cardbase; trim to size
    4. Splatter BPD leaves with ink/paint
    5. Attach each BPD leaf to card panel **I attached mine using adhesive but also used a sewing machine to add interest and dimension.
    6. Choose a sentiment from the BPD stamp set, stamp and emboss sentiment above leaf columns
    7. Add foam tape to attach panel to cardbase
    8. Finish with extra embellishments like gems

    It really was EASY to create! And I love these colors- they are perfect for a fall/autumn birthday! Well actually, now that I think about it… this card could be for ANY fall/autumn occasion with just a switch of the sentiment. It’s perfect🙃

    I hope that you are inspired by my rainbow leaves and easy card tutorial!  

    Please remember to share what you create using these tips, tricks, and techniques or if you were inspired by my creation- I’d love to see what you make with this idea! 

    I’ll be back with MORE soon!

    THANKS so much for stopping by! Happy crafting:) 


    HUGS <3 Sav
  • Fall Birthday Inspiration by: Annette Allen

    Fall Birthday Inspiration
    by: Annette Allen

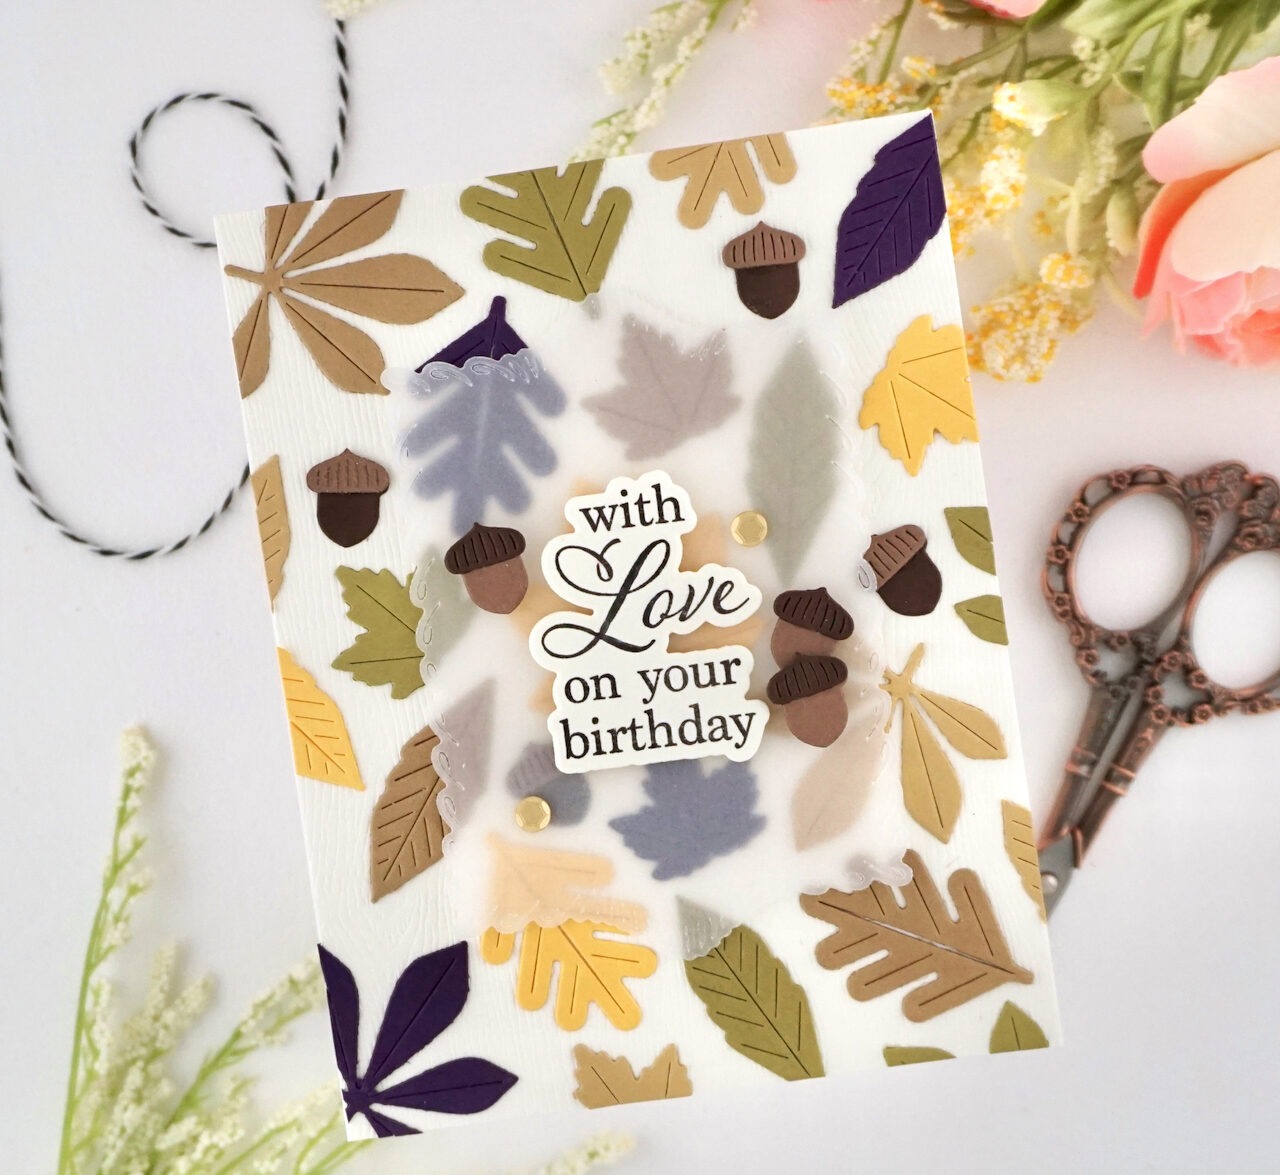
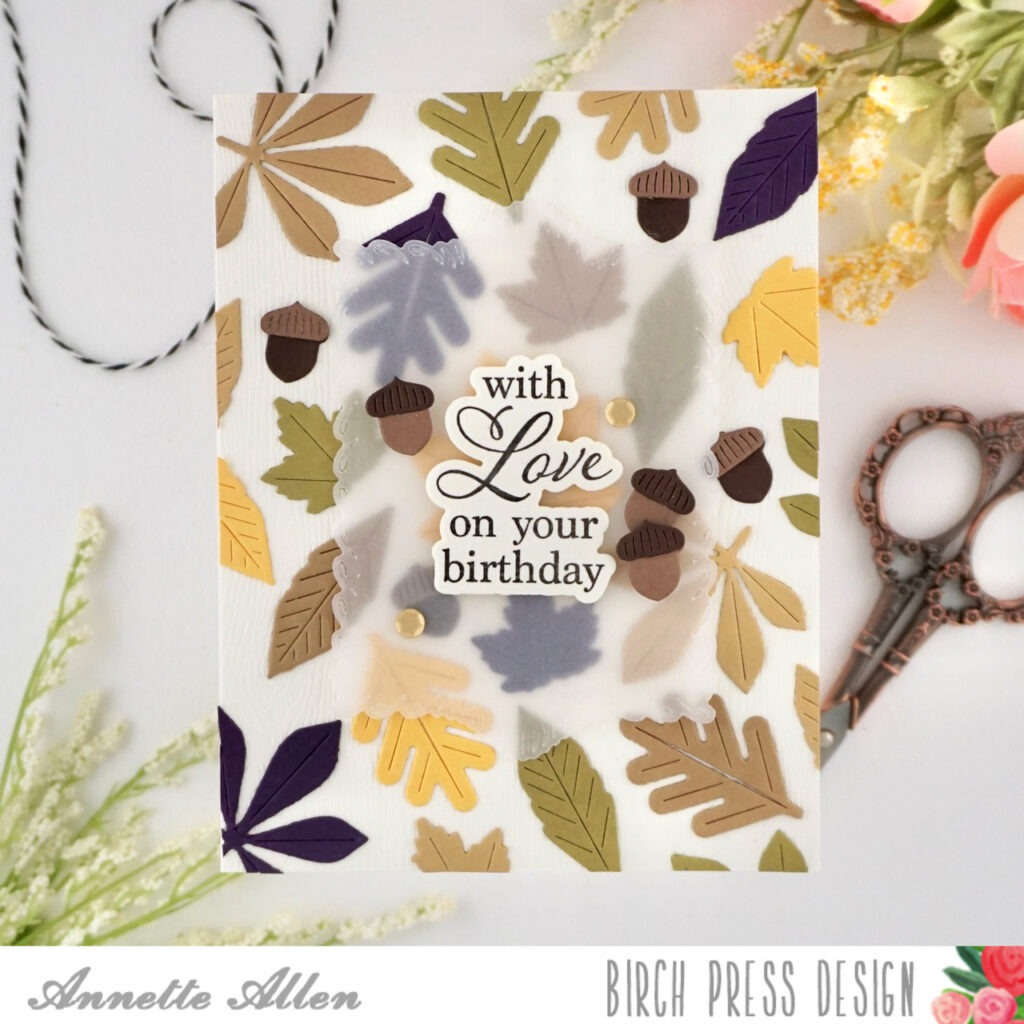
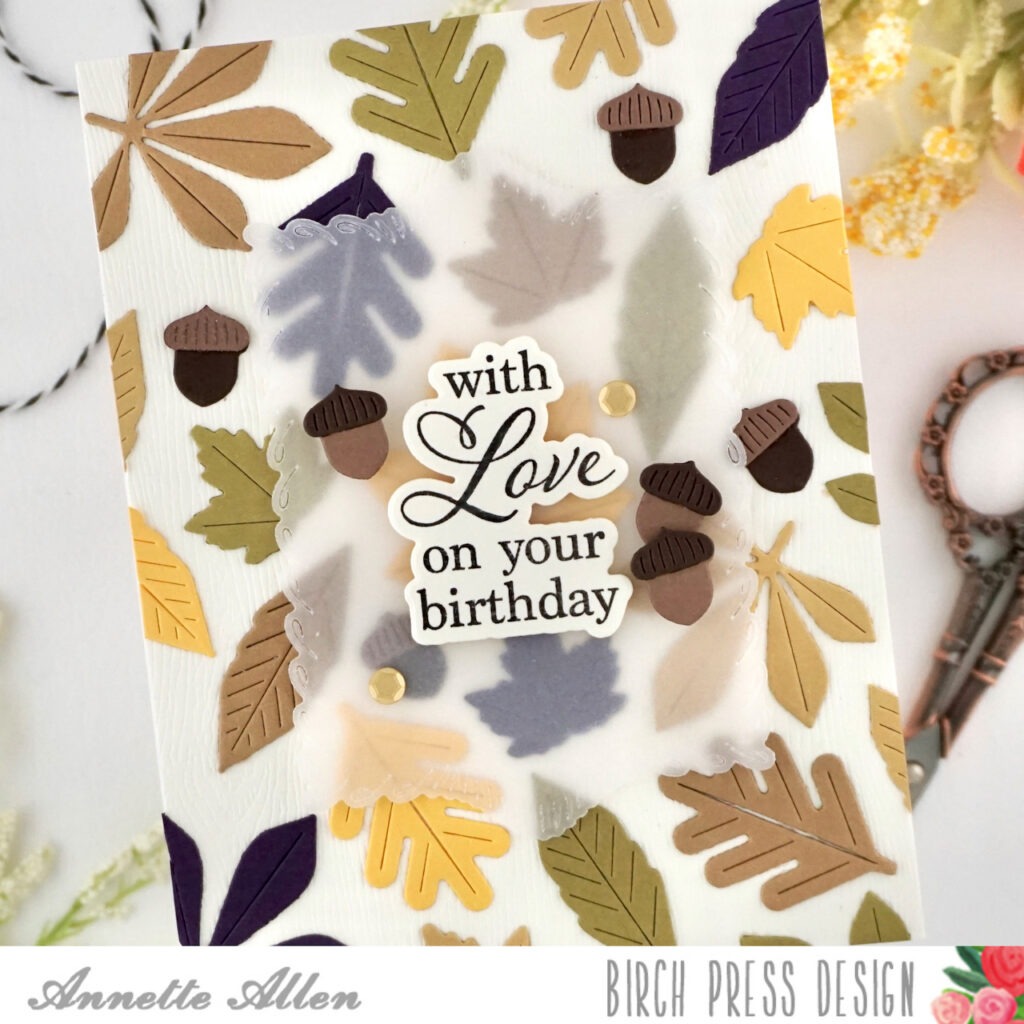
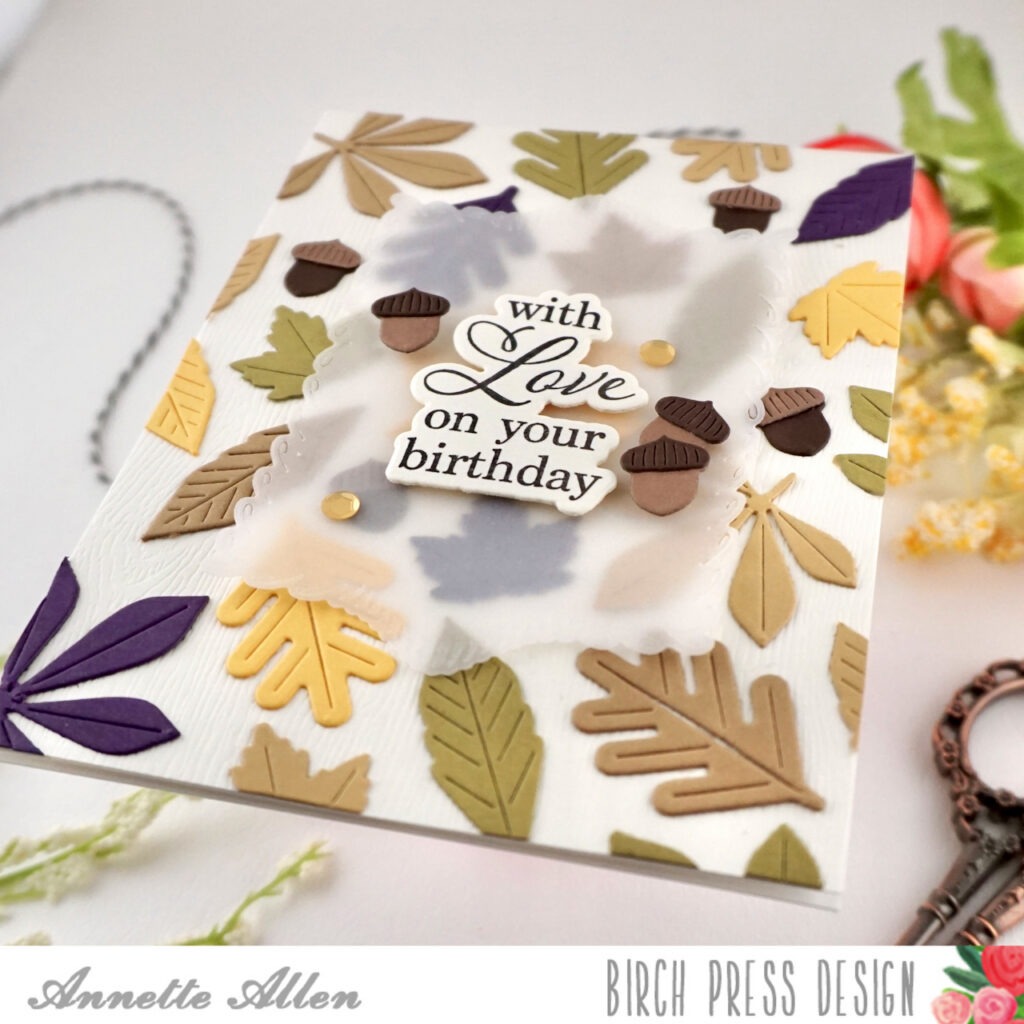
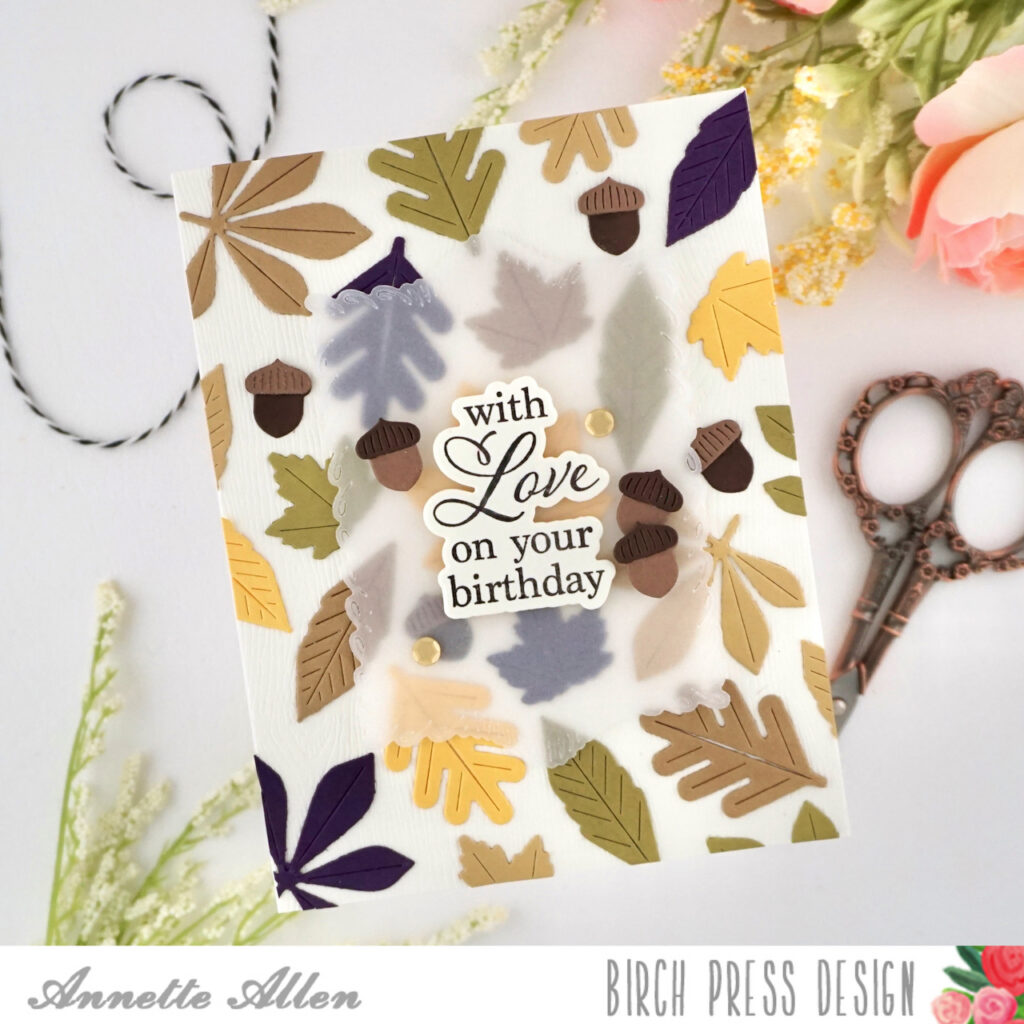
    It’s almost Fall and I am ready for the leaves to change but for now I will have to settle for these pretty leaves from the new Birch Press Design Fall Leaves Craft Die Set. I went all out with my background, so let’s get started.

    Create card from white cardstock A2 size.

    Cut an A2 panel on the BPD Woodgrain Paper (Cream). Adhere your panel to your card base using liquid glue or tape runner.

    Die cut the BPD Fall Leaves (57698) on fall color cardstock. I went with browns, plum, greens and yellow. Die cut each design in all colors.

    Now it is time to adhere those pretty leaves to your background. Use liquid glue and mix it up. Adhere them until you are happy with your design.

    Die cut the third largest Loop Stitch Frame (57688) on vellum.

    Stamp sentiment from the Elegant Birthday Sentiments (CL8166) on cream colored cardstock and die cut using the coordinating dies. Adhere to the center of the Loop Stitch Frame using foam tape.

    Now flip your vellum over and only add foam tape where your sentiment is. We do not want any adhesive to be shown on the front. Adhere the vellum to your card.

    Die cut more of the acorns and add them as embellishments next to the sentiment and also add a couple of gold sequins.

    Such a simple card. Lots of die cutting but so worth it when you see the details on the leaves. I am happy with how it came out. What do you think?

    Thank you for stopping by!

  • Forest Mushroomsby Christina Rannow

    Forest Mushrooms
    by Christina Rannow

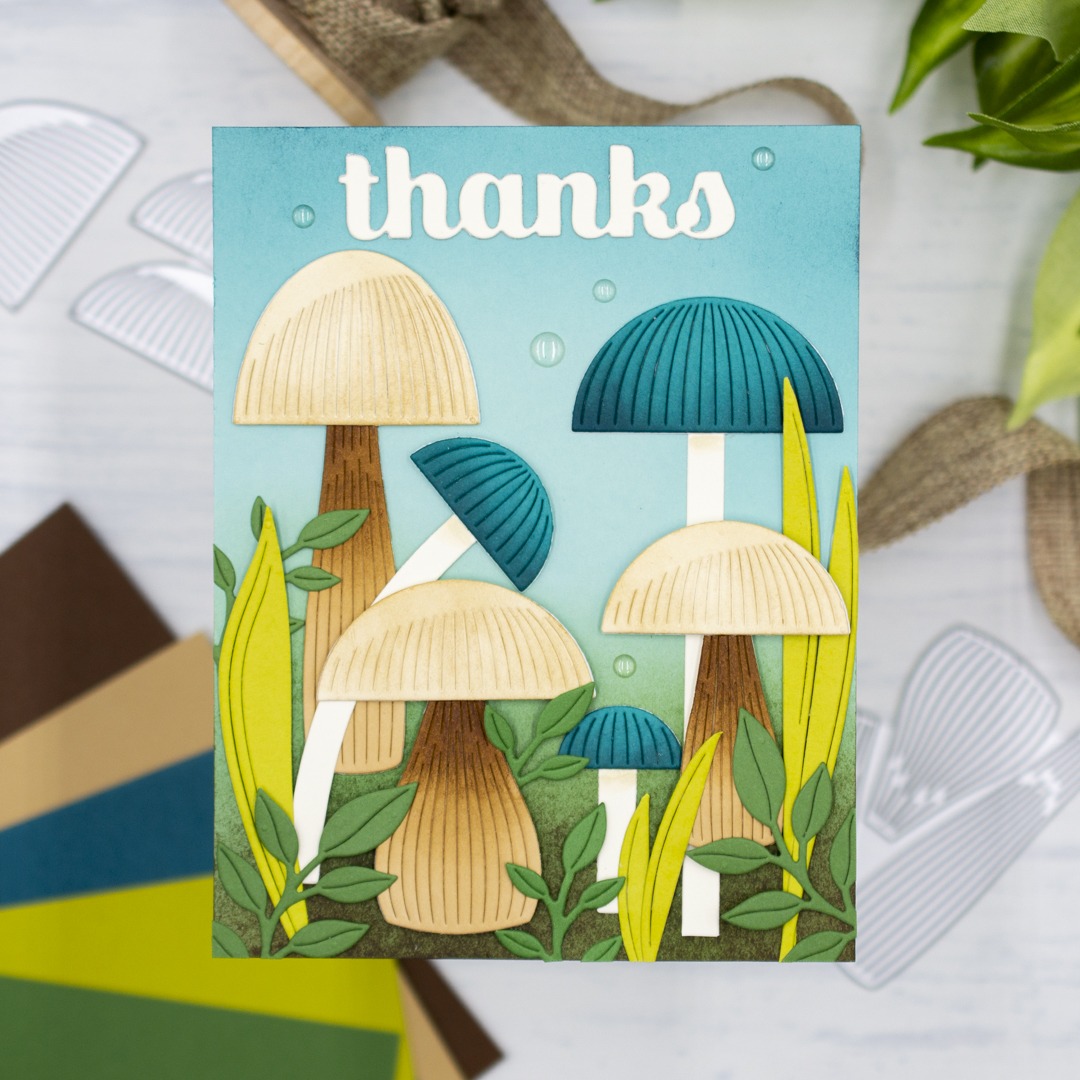
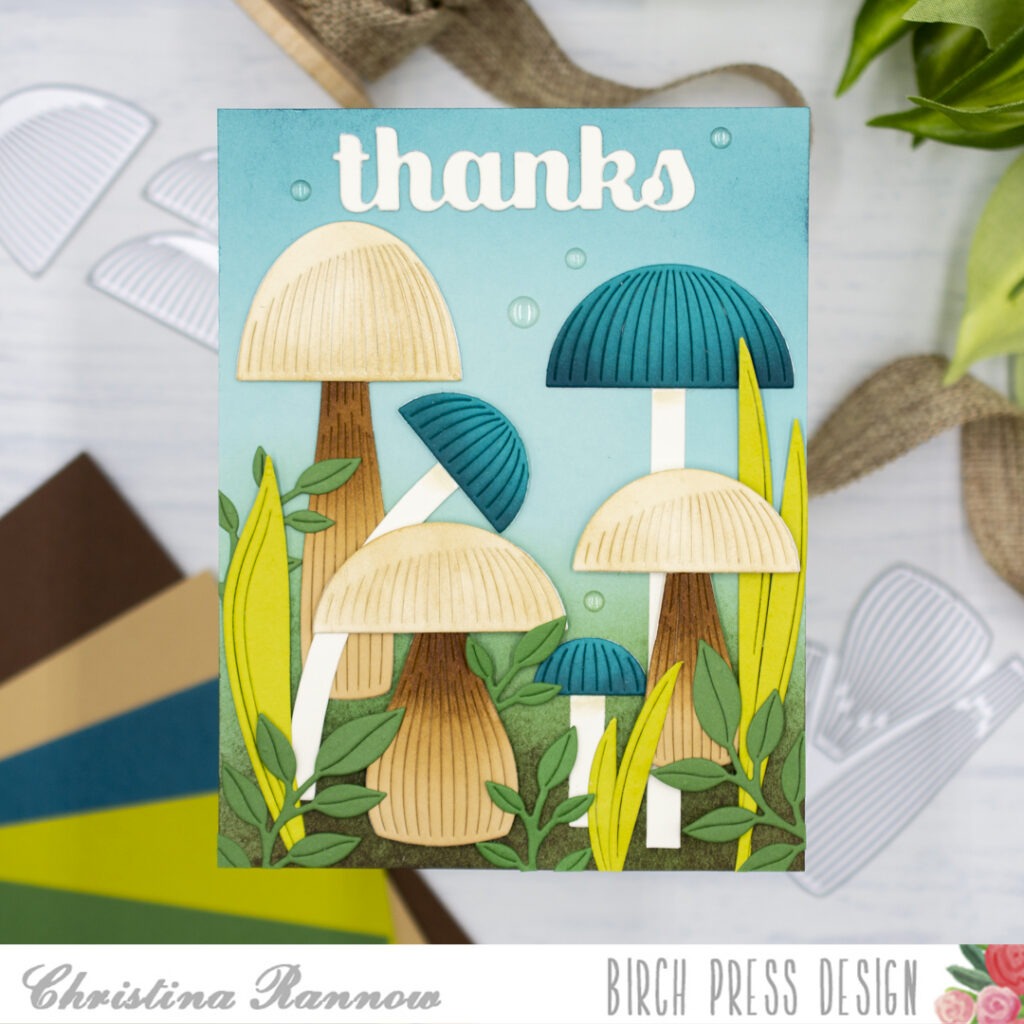
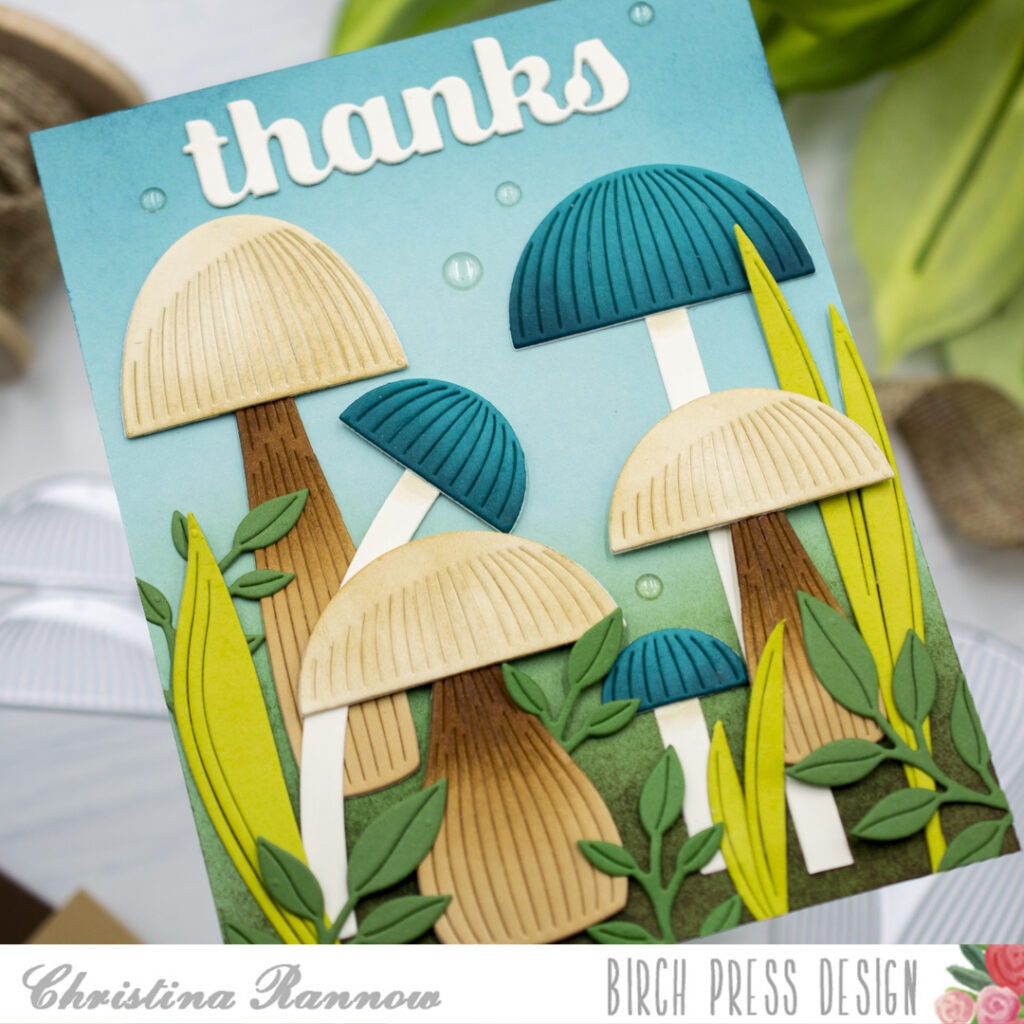
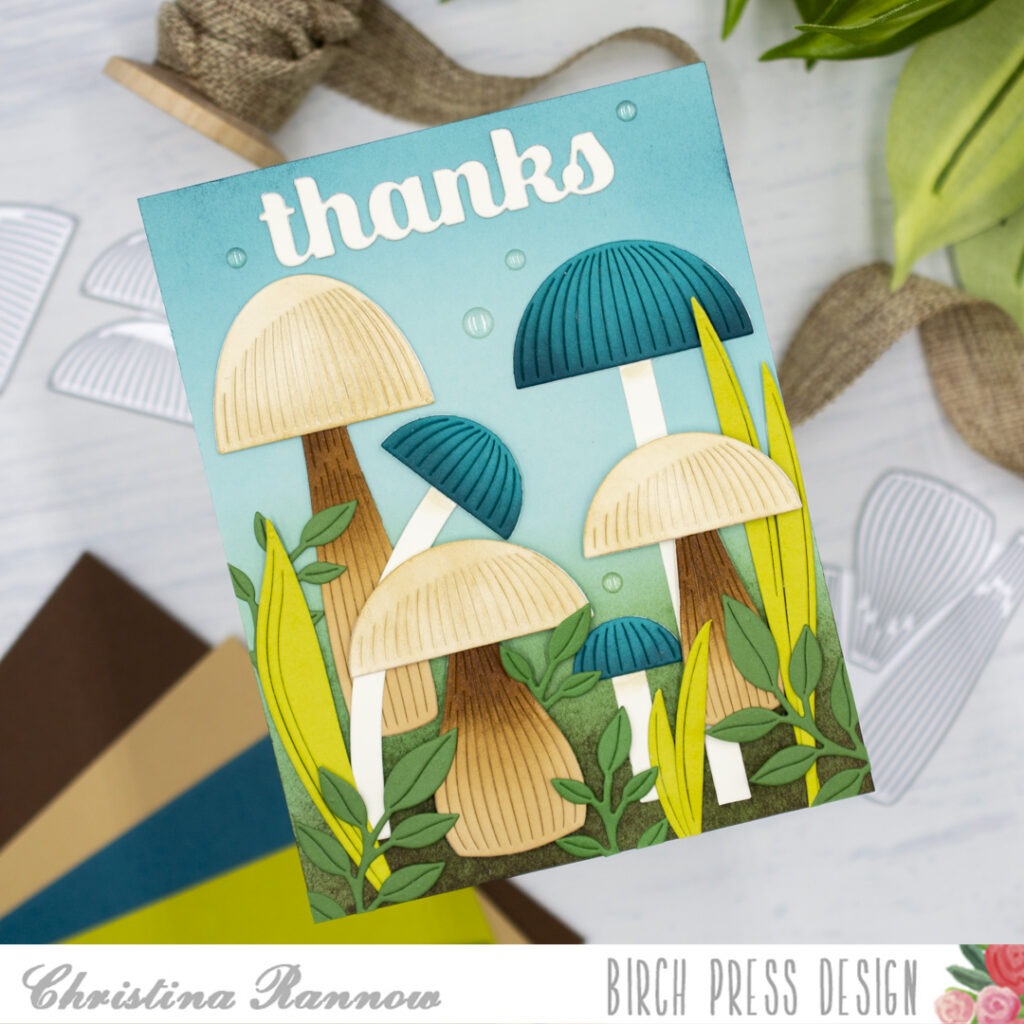
    Hello! Christina here to share a charming fall-inspired thank you card featuring the new Block Print Tall Mushrooms craft dies. I paired these mushrooms with the Block Print Round Mushrooms and plenty of greenery to create a forest floor scene using rich and vibrant colors. I chose a simple sentiment and a few clear droplets to finish my card design. Stick around and I’ll walk you through how this card came together.

    My first step was to create the background panel, starting with white cardstock trimmed to 4.25 x 5.5 inches. Then, using Distress Inks and large blending brushes, I blended in browns and greens for the forest floor and bold teals and blues for the sky. I concentrated the most intense color around the edges of the panel and lightened the color using a lighter hand as I moved in to the center. 

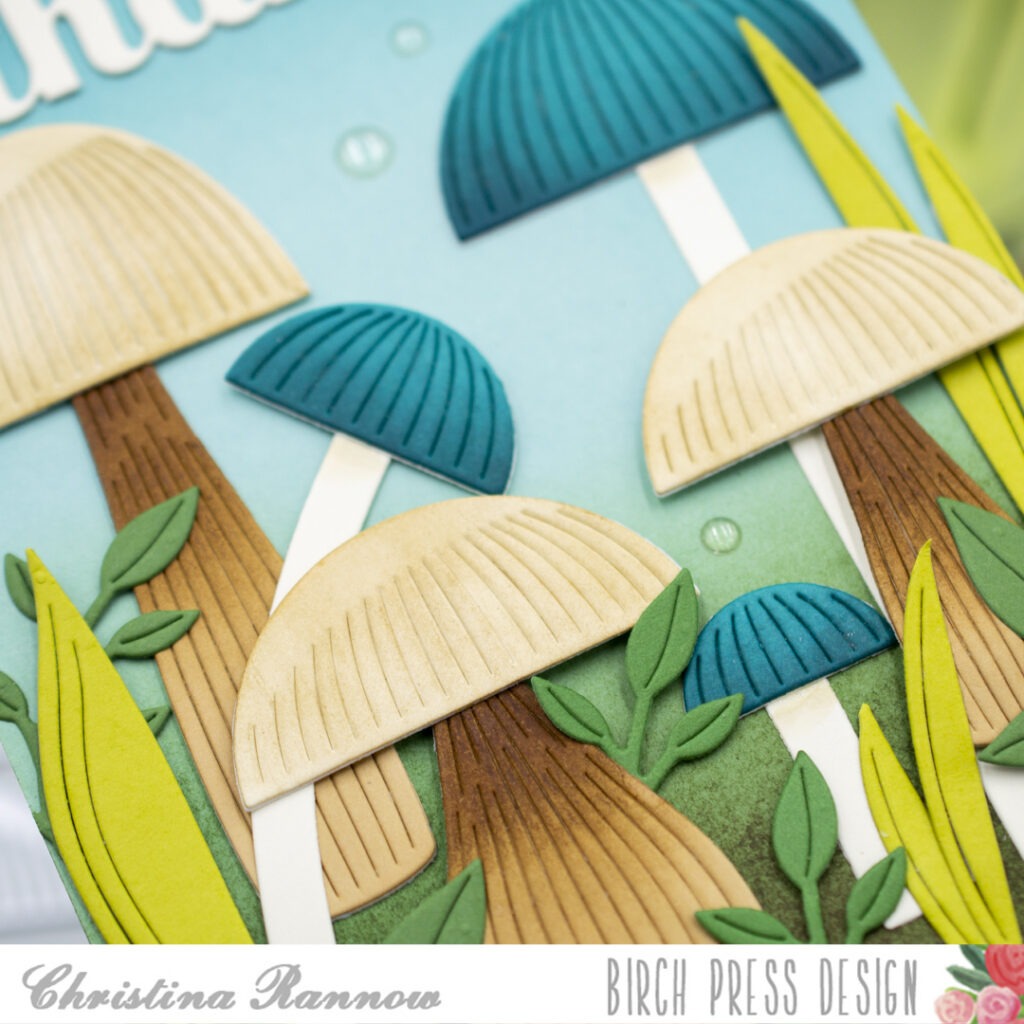
    Next I moved on to die-cutting the other elements for my design. I started with colored cardstock for my die cuts, including what might read as white cardstock, which is actually ivory. Before assembling the pieces and securing them with a liquid adhesive, I added plenty of contrast and shading, especially to the mushrooms, with darker, coordinating ink colors. 

    After die-cutting and assembling the elements for my design, I arranged them onto my background panel. I secured the elements set in the background with a liquid adhesive and the elements either in the foreground or overlapping another element with thin foam squares. After securing everything, I trimmed anything overhanging the card front. 

    Finally, I added a simple “thanks” sentiment and a few clear droplets for embellishment before attaching the card front to a top-fold card base.

    Thank you so much for reading about my charming, fall-inspired card design featuring the Block Print Tall Mushrooms craft dies. Happy crafting!

  • Wise Fox | by Crystal Komara

    Wise Fox | by Crystal Komara

    Hello friends and happy December! This is Design Team member Crystal Komara here with you today. I know it’s beginning to look a lot like Christmas everywhere, but I still have one last fall themed card to share with you using the beautiful Block Print Wise Fox dies.

    The base of this A2 sized card is made from 110 lb. Neenah Solar White Smooth cardstock. Using a copper and rust colored piece of alcohol ink paper (that I pulled from my own pre-made stash) I used this as a bold vibrant background. I die cut a 3″ circle and adhered it left of center on the card front.

    Using the Block Print Wise Fox dies, I cut the dies from a variety of orange, brown and rust colored cardstock and then pieced them together in a pleasing palette of colors. I also used the Block Print Evergreen Trees die and cut them in the rust, orange and yellow cardstock piecing them together.

    Next, I die cut the sentiment “warm wishes” using the Warm Wishes Vintage Sentiment dies. I die cut the base outline layer from rust cardstock and the top thin layer from white cardstock. I adhered the two layers together with a fine-tip liquid adhesive and then adhered the sentiment to the card using 3M foam adhesive for added dimension.

    I love how this card turned out, particularly because of that beautiful alcohol ink background (which in all honesty, I tend to use a lot of)! Thanks for visiting and have a wonderfully creative day!

  • Autumn Fox | by Christina Rannow

    Autumn Fox | by Christina Rannow

    Hello! Christina here to share a warm and cozy card featuring products from the new Block Print Christmas release. This release is full of festive winter and holiday-themed die sets, but they can easily be reimagined for other seasons or occasions. I did just that by creating this autumn card featuring the new Wise Fox die set. He’s the focal point of this card design, and I have him nestled in a vibrant forest of Evergreen Trees. Let’s take a closer look at how this card came together. 

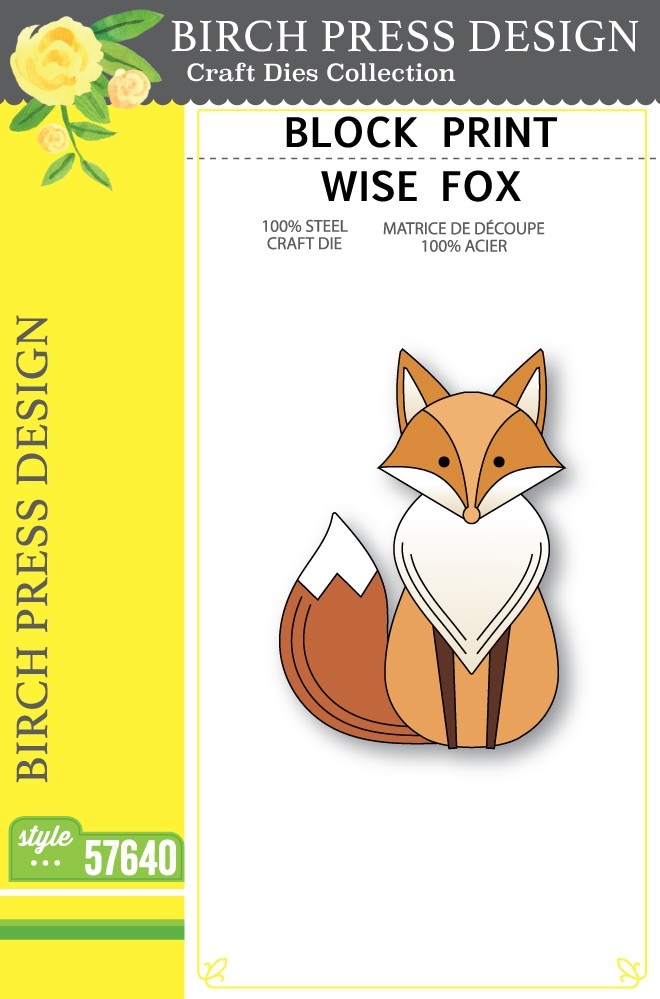
    I started by die-cutting the pieces for the Wise Fox from white cardstock. Then I used Wild Honey, Rusty Hinge, Scorched Timber, and Antique Linen Distress Inks to ink each piece before assembling them to create this cute critter.  

    Next, I die-cut the Evergreen Trees and inked them with a combination of Mowed Lawn, Rustic Wilderness, Forest Moss, and Scorched Timber Distress Inks. I chose to use just the base pieces of the Evergreen Trees and not the decorative layering pieces for this project. 

    With my die-cutting and inking done, my next step was to create a soft background for my autumn scene. I softly blended Speckled Egg Distress Ink on the top half of a white A2 cardstock panel and Scattered Straw on the bottom half. Then I stamped a sentiment with brown ink in the lower right corner of my background panel. 

    Lastly, I arranged the Evergreen Trees and the Wise Fox on my background using a combination of glue and thin foam squares. The finishing touch was to add some highlights to the eyes with a white gel pen. 

    Thank you so much for checking out my warm and cozy autumn card featuring products from the Block Print Christmas release. Happy crafting!

    Supplies

  • Hey, Foxy! | by Toni M Maddox

    Hey, Foxy! | by Toni M Maddox

    Hey, my foxy friends! Toni here today sharing the first of many projects using the latest release. You are going to love it!

    I cut out the Block Print Wise Fox and sponged it using Catherine Pooler inks. I used black Enamel Accents for the eyes and nose.

    While that was drying, I cut out the Wavy Hillside, Block Print Evergreen Trees, and Block Print Forest Scene elements using Memory Box Nutmeg Forest and Nutmeg Plaid 6×6 papers.

    I used the Tim Holtz Moon Mask on the Block Print Forest Scene moon using Catherine Pooler inks.

    I think the sentiment is from Spellbinders but not positive.

    Feel free to visit my blog, Frankie Helps Craft, for a full list of supplies used and to check out my other creations.

    I hope you enjoyed today’s card and have a great rest of your week!


    Supplies