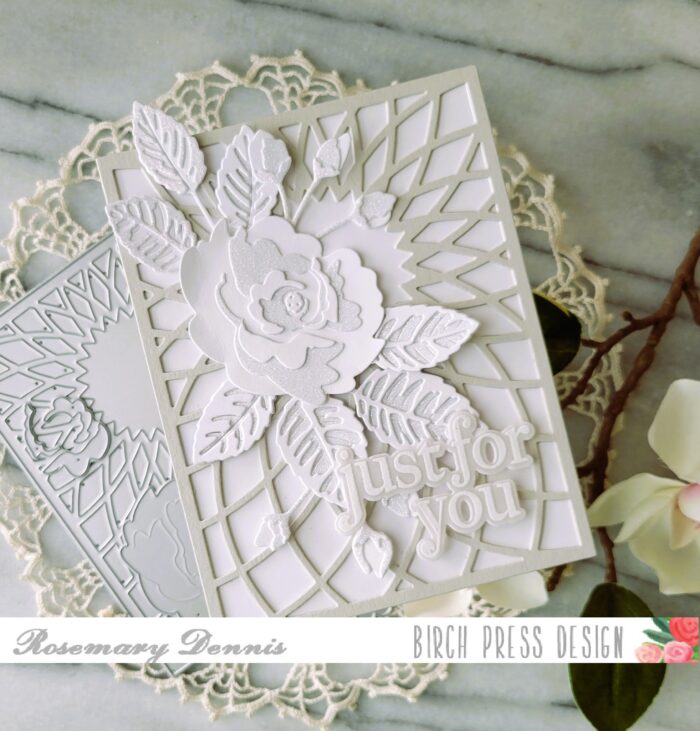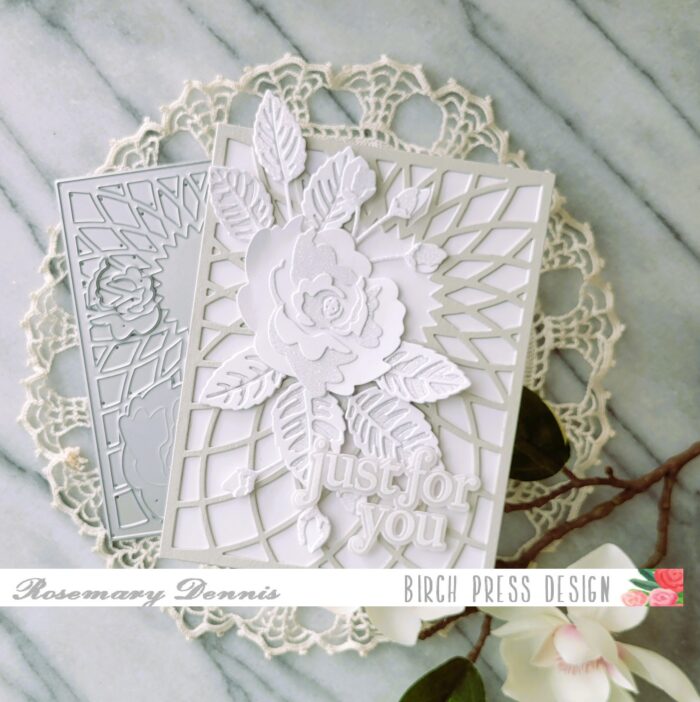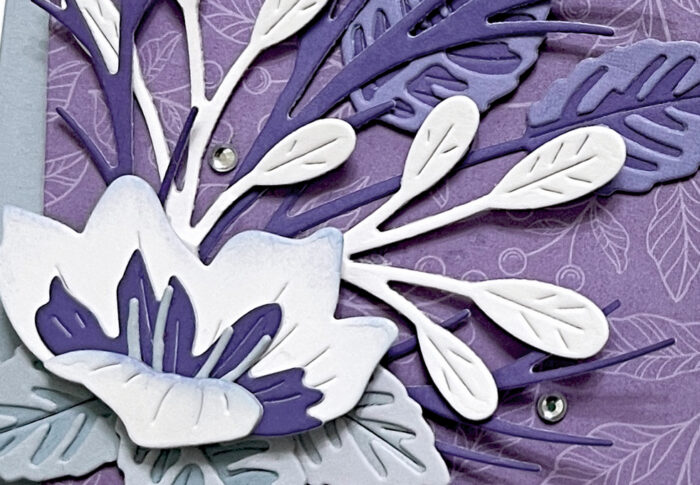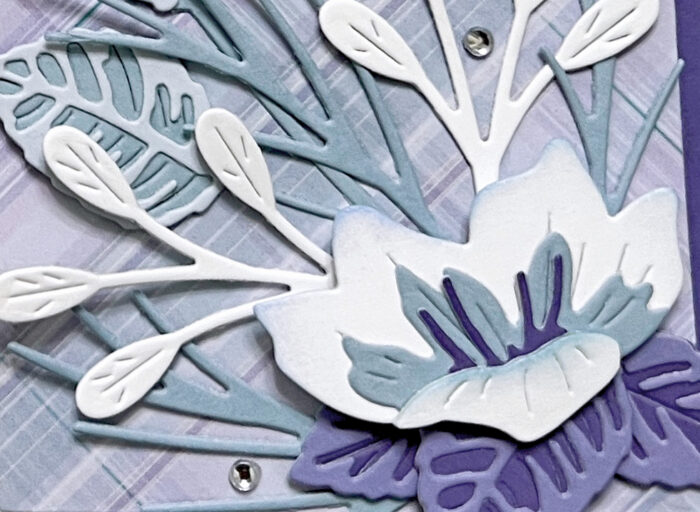
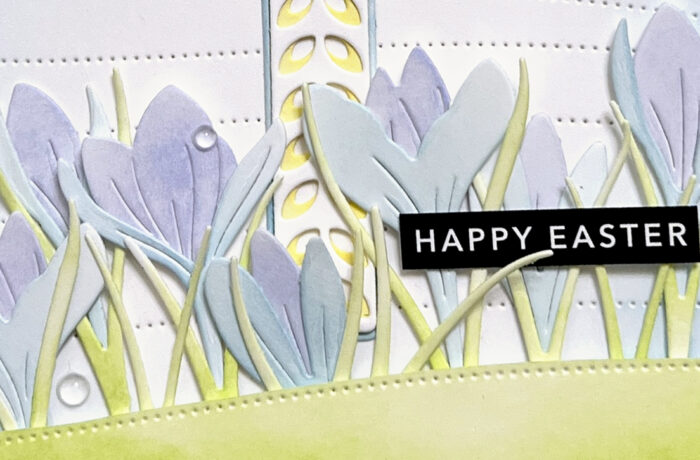
Hello, Birch Press friends! I am excited to be back on the blog today sharing the new Floral Cross Layer Set. This is a beautiful set of three layering dies, which also includes small florals. I decided to change things up by using a different floral set – the Sprouting Crocus Contour Layers.
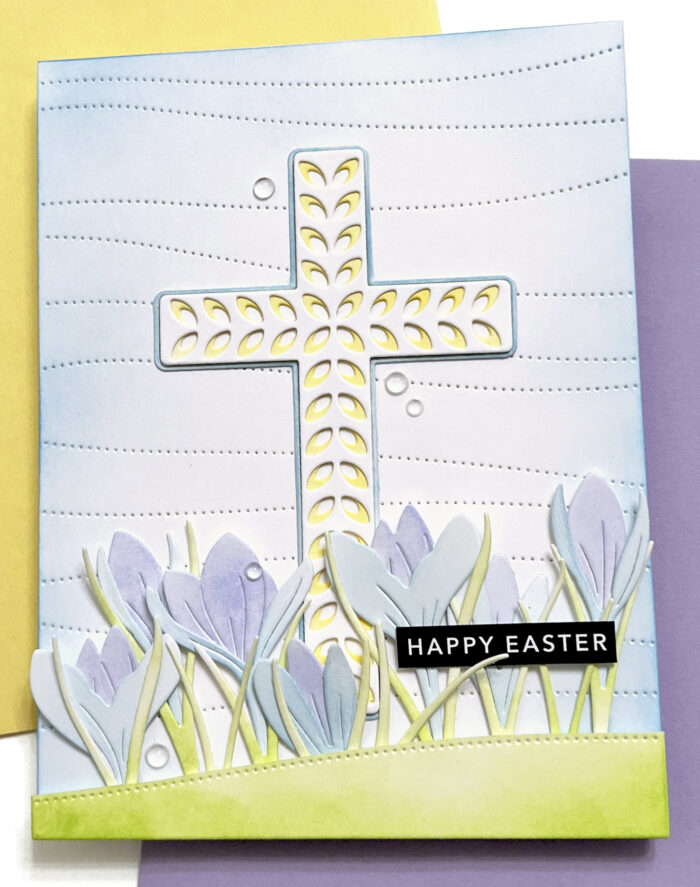
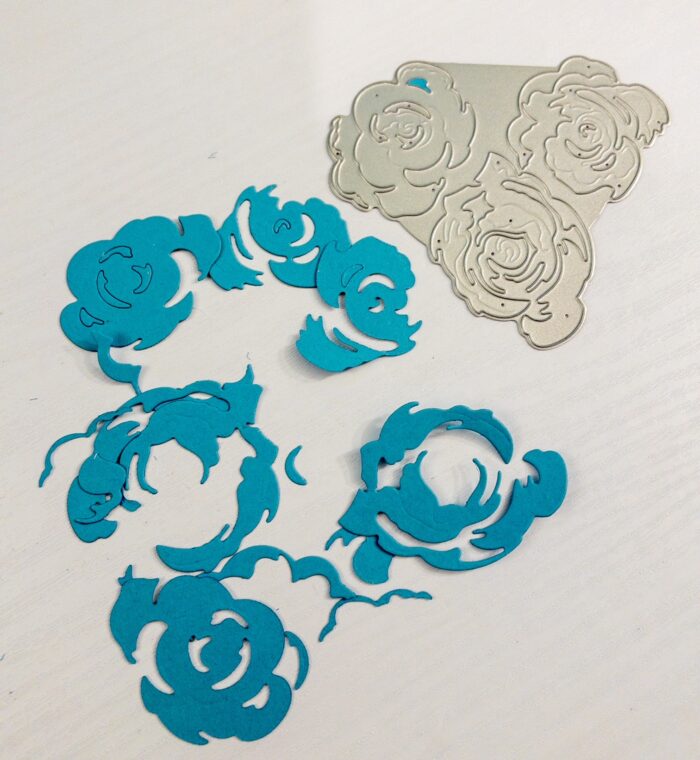
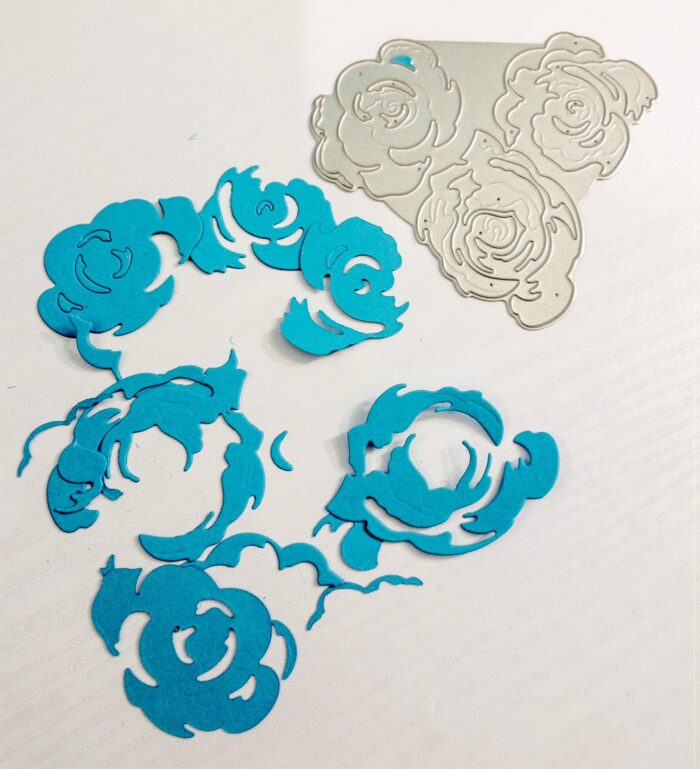
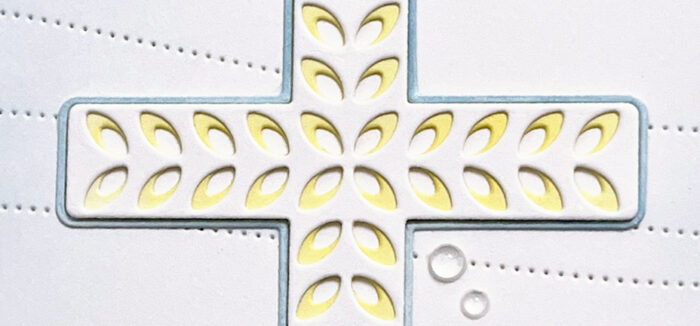
I started by die cutting all of the pieces from both die sets from white card stock. I also used the Pinpoint Contour Plate with a piece of white card stock for the background. I inked up the edges of this background with light blue Distress Ink. I then inked up the floral die cuts with Distress Inks. For the Cross, I inked up the middle layer with yellow ink and the outline layer with light blue ink.
I started assembling the card by glueing the solid cross layer onto the card panel. I then glued the thin blue outline layer around the cross. It’s better to glue the solid piece first because the outline layer is very delicate. I then glued the other two layers of the cross on top.
I cut a small piece of card stock with the lower portion of the Pinpoint Contour Plate and I fussy cut just above the pierced curve. After coloring this piece with green Distress Ink, I added it to the bottom of the card with foam tape. I then tucked the various Crocus flowers under this little grassy hill that I created.
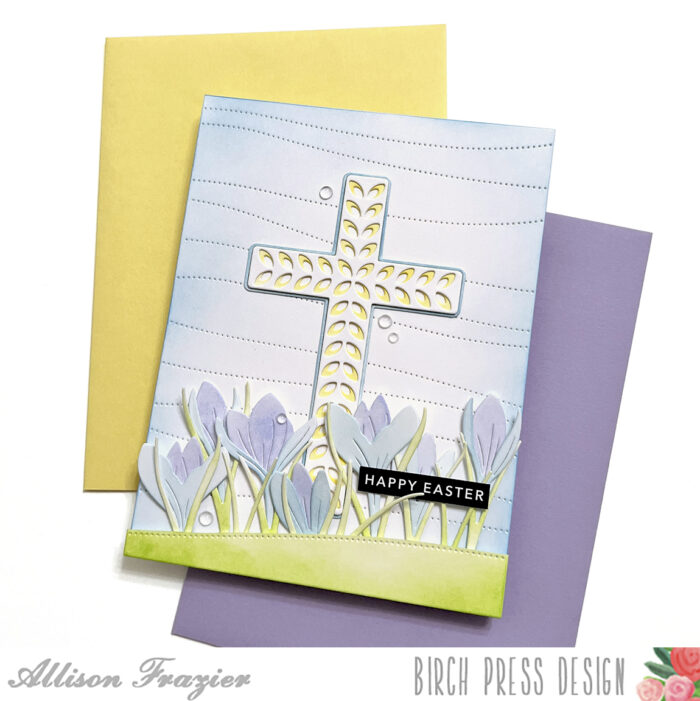
To finish the card, I added a sentiment from my stash and a small sprinkling of fairy drops. I hope this card brings a smile to your face! Thank you so much for joining us today.

Supplies


Supplies