Category: Foil Papers

  • Patriotic Birthday | by Toni M  Maddox

    Patriotic Birthday | by Toni M Maddox

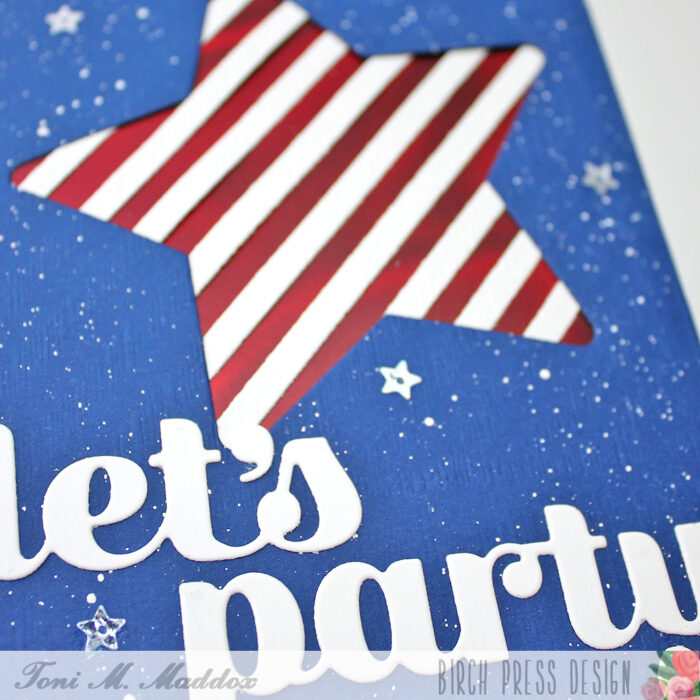
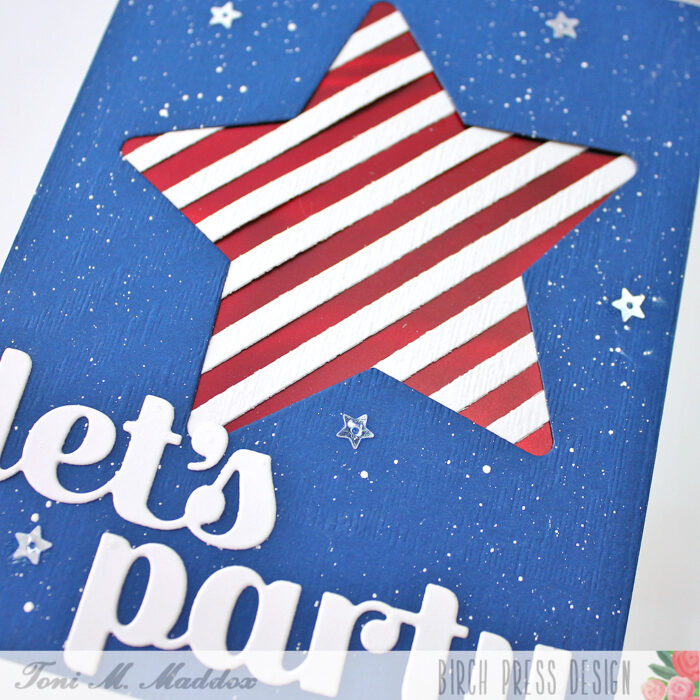
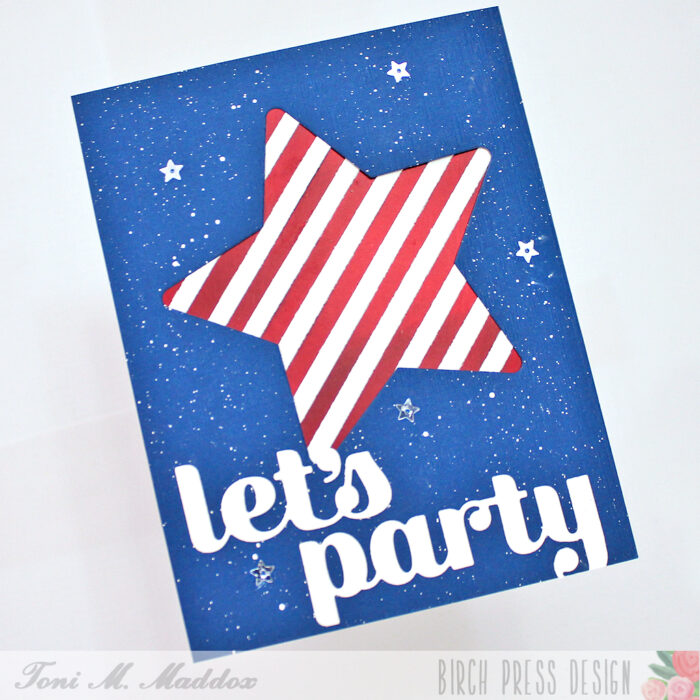
    Hello, Birch Press fans! Toni here with you today sharing a card suitable for a patriotic birthday (in the US), congratulations, retirement or even an invitation to a Memorial Day BBQ.

    This card was so easy and fun to make. Who doesn’t like spattering and shiny things?

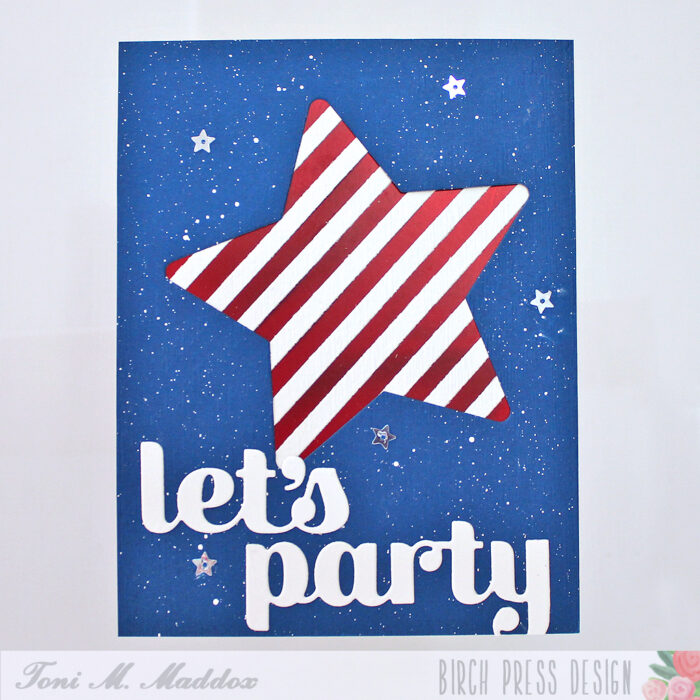
    I started the card by cutting out the Piped Icing Star from a blue cardstock which I had embossed with a simple linen-type pattern. I then spattered the surface with Copic Opaque White (for stars or confetti).

    Next I cut out a Linear Triangle in white which I positioned so that it created a striped background for the red foil cardstock beneath to peek through.

    My final touches included adding the Let’s Party Sugar Script sentiment and a sprinkling of shiny star sequins.

    I hope you enjoyed today’s card and have a great rest of your week!

    Supplies

  • Masculine CAS | by Crystal Komara

    Masculine CAS | by Crystal Komara

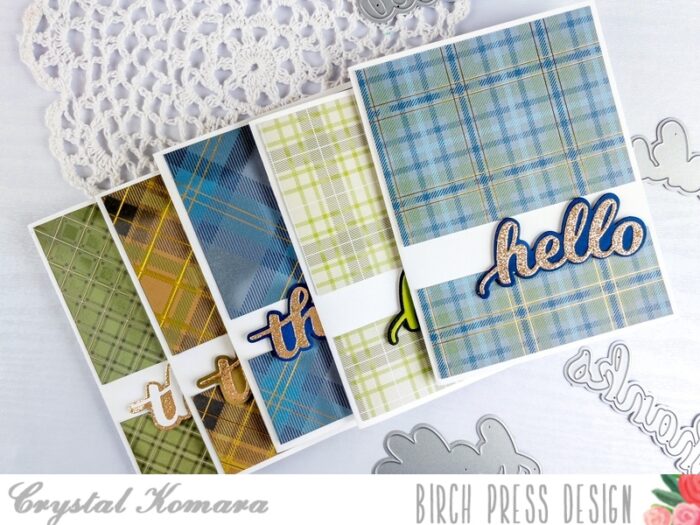
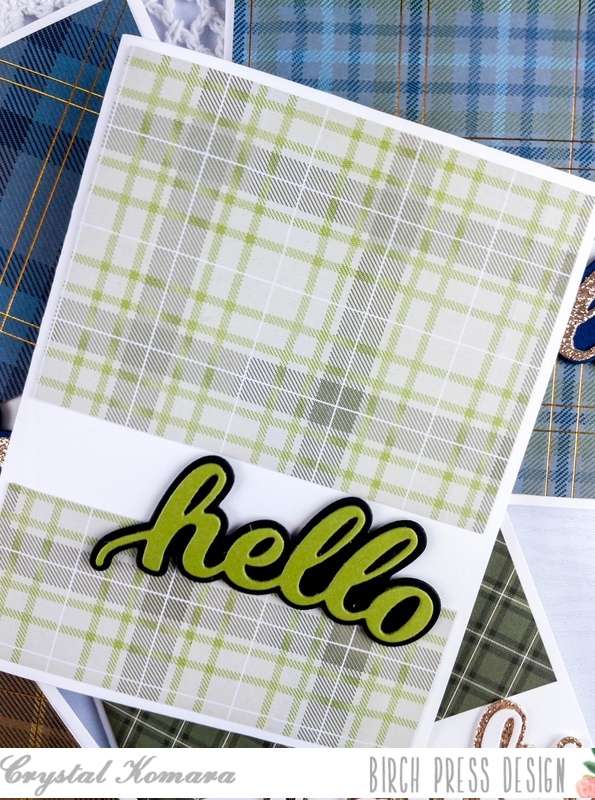
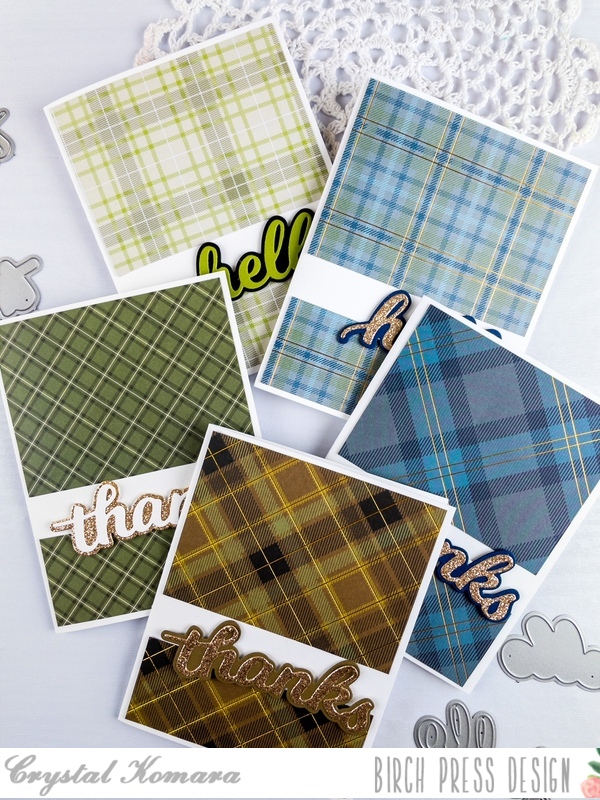
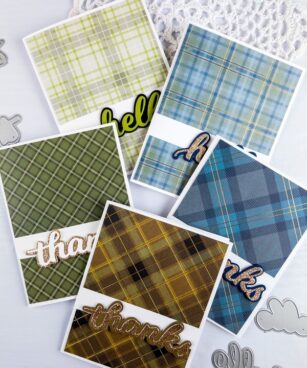
    Hello crafty readers! This is Design Team member Crystal Komara here with you today sharing an idea for some CAS (Clean And Simple) quick and easy masculine cards. I don’t make masculine themed cards often, but it is always nice to have them on hand. By using a beautiful pack of paper and some shadow word dies, these five cards came together all in about half an hour!

    Card details:

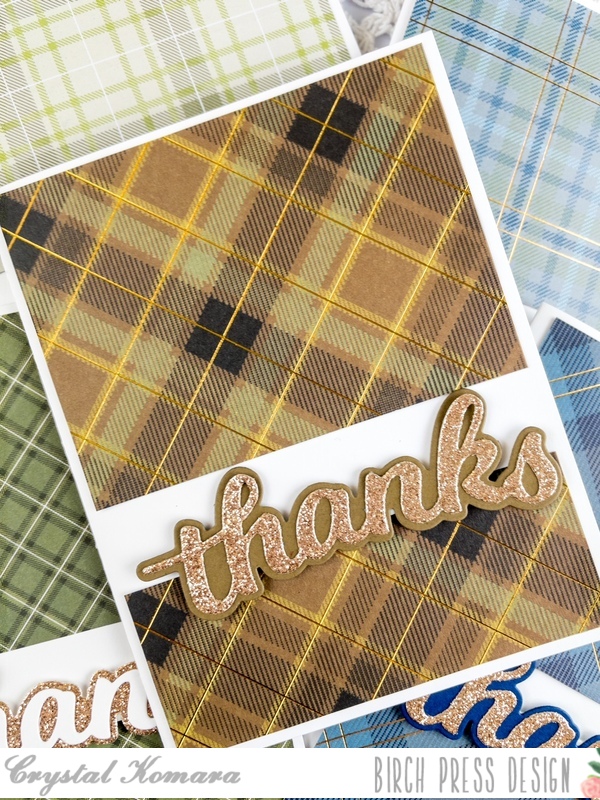
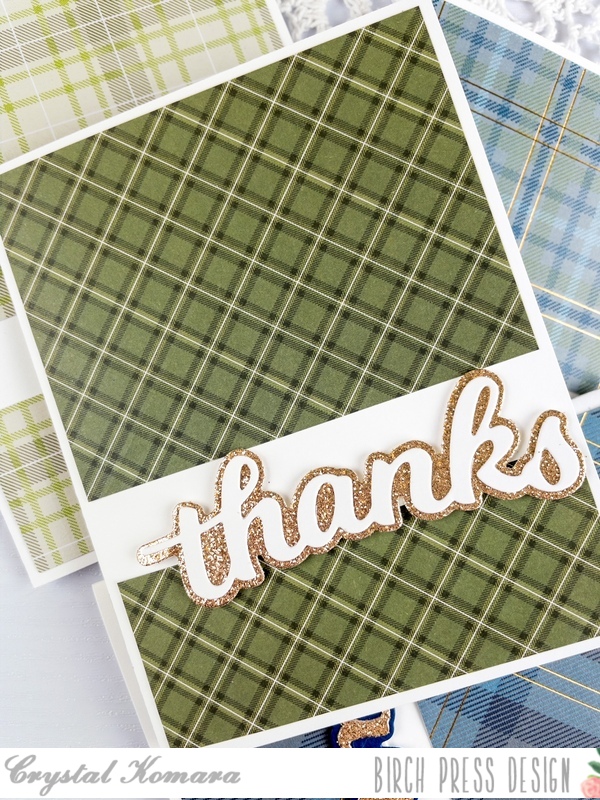
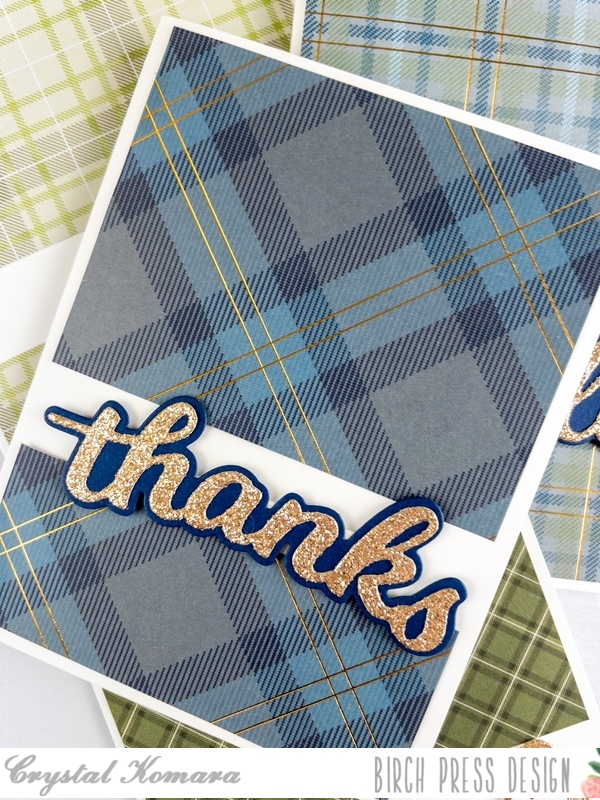
    The base of these A2 cards is made from 80 lb. Neenah Solar White Smooth cardstock. I cut 5 1’4″ x 4″ pieces of foil plaid paper and then cut 1/2 from the center of each card. I adhered the plaid paper to the top and bottom halves of each card leaving some white space in between for the sentiment. (*Side note – unfortunately this exact pack of paper I used from Memory Box Co. is no longer available, but you can view other beautiful packs of paper from the same company here). Memory Box Co. is a sister company of Birch Press Design.

    I used a variety of sentiments to make these cards work from all occasions like hello and thanks. This card is so simple and basic that you could use any style of patterned paper and any sentiments. Plus, they’re so quick and easy you’ll have a batch of cards in no time.

    Thanks for following along and have a wonderfully creative day!

    Supplies

  • Just a Note | By Natasha Vacca

    Hello Birch Press Friends, I am super excited to be back up on the Birch Press Designs blog today! Today’s card features a few floral dies from the latest collection. I had a lot of fun creating today’s card, so let’s get started!

    For today’s card I started with 4 die collections and 2 pads of colored card stock from Memory Box. I am using the Phlox Blooms and Leaves Contour Layers, Mixed Berry Contour Layers, Delicate Floral Buds Contour Layers, and the Sylvan Berries and Leaves Contour Layers. I used 2 pads from Memory Box: Berry Red and Lush Green. I love these pads of paper! The colors are amazing and they die cut beautifully and they are super easy to add ink blending on top as well! From each of the die sets listed above I die cut the leaves and stems using 2 shades of green paper from the Lush Green pad. Then for the floral dies (shared above) I used 2 shades of pink from the Berry Red paper pad.

    After my leaves and florals were all die cut I laid them out on my ink blending mat. For the green die cuts I used a combination of a light and green dye ink. On the pink layers I used a combination of dark pink and a purple dye ink. Once all the inking was completed I added water droplets to add a bit more texture to each piece. I added the water droplets, then picked up the color with a paper towel.

    I set each piece aside and allowed them to dry. Once dry I adhered the leaves and floral layers together with liquid glue. I then added metallic gold splatters to the flowers. I allowed these to dry.

    Next I chose a background from my gelli print stash. I trimmed the gelli print panel down, then adhered this to a piece of cream colored cardstock and adhered this to an A2 card base. I then worked on the arrangement for the flowers, stems, and leaves. Once I was happy with the layout I adhered all the layers down using liquid glue and foam tape onto the gelli print background.

    To complete my card I chose to use the foiled sentiment Just a Note from the Sugar Scripts Sentiments 1 die set. I foiled the sentiment then adhered this to my card front using foam adhesive. Finally I added a few Fairy Drops to finish my card.

    I had a lot of fun creating today’s card! I hope you like it! I will be back soon to share more crafty inspiration!


    Supplies


    Supplies


  • Green and Gold Wishes | by April Antonio

    Green and Gold Wishes | by April Antonio

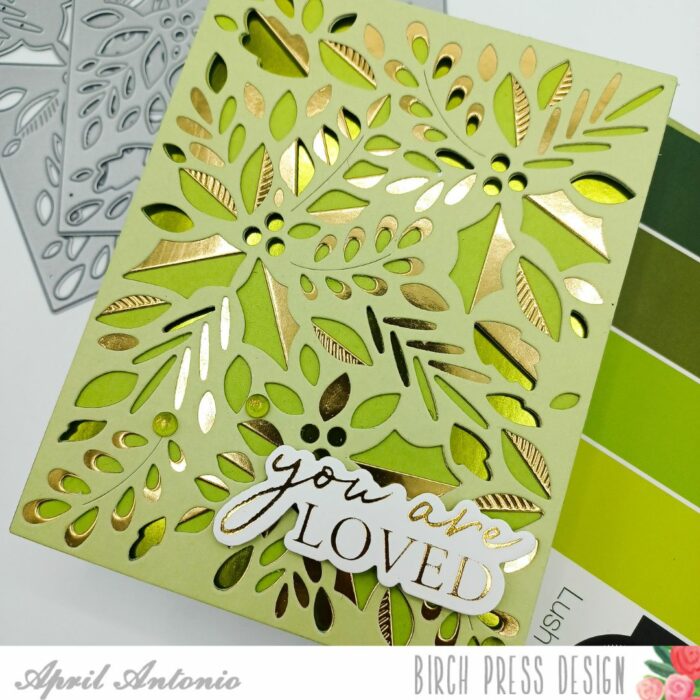
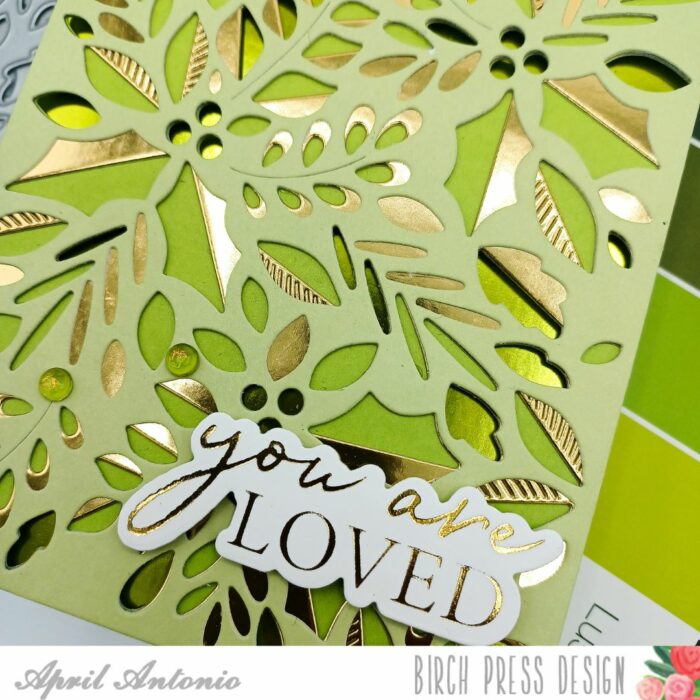
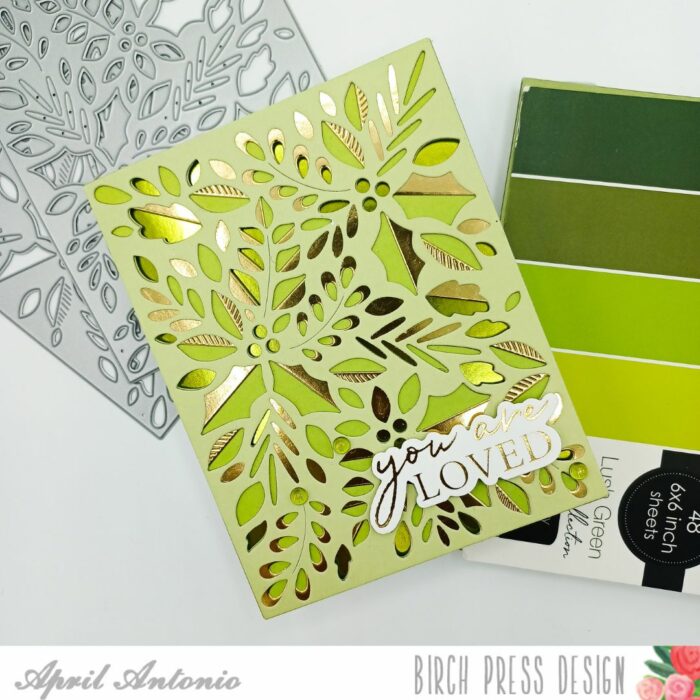
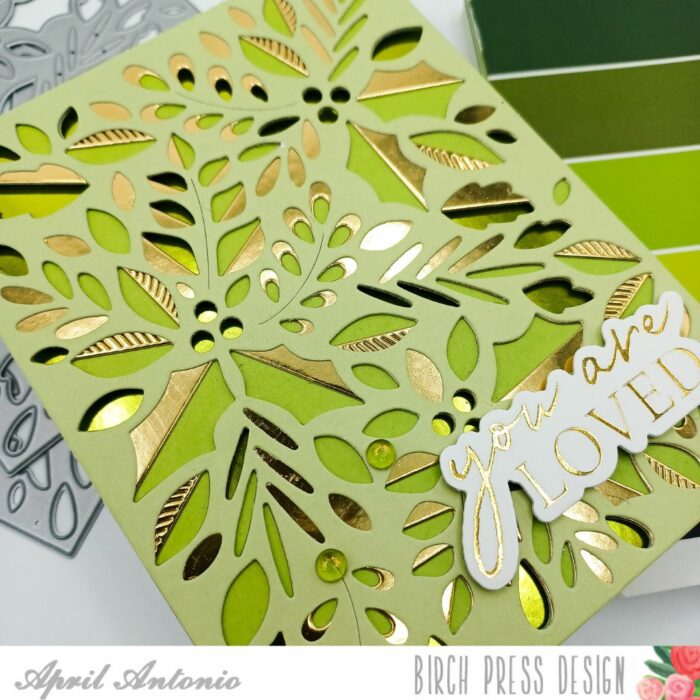
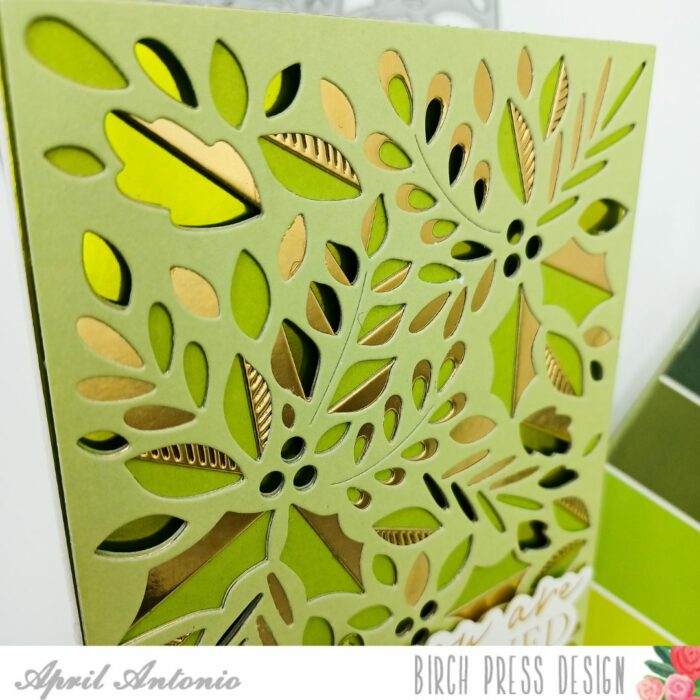
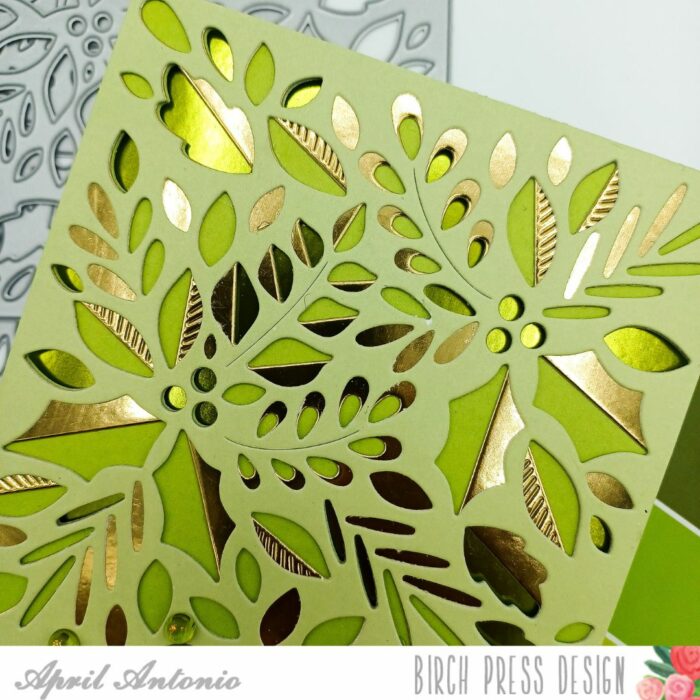
    Happy Friday! Today I’m sharing a St. Patricks’ Day inspired card using the beautiful Herbarium Plate Layer die set. Scroll down to find detailed instructions on how I pulled this card together.

    To obtain the beautiful layers of green and gold, I grabbed the Lush Green and Rainbow Reflections Mirror Pad 6×6 cardstock packs.

    First, I took the lime green from the mirror pad, cut it to A2 size and glued it to my A2 card base. Next I cut Layers A, B, and C using the Herbarium Layer set as follows:

    Layer A – light green cardstock

    Layer B – gold mirror cardstock

    Layer C – medium green cardstock

    I glued all three layers together using liquid glue, then put small foam squares on the back. I then took the backing off the squares and placed the entire layer onto the A2 card base.

    Adding the foam squares before putting the layers onto the card base is what helped the card to have extra dimension and highlight the lime green mirror cardstock I glued in the very back.

    For my sentiment I used the Your Are Loved Hot Foil plate. I used a gold foil on 100lb Hammermill Cardstock for the sentiment. I used the coordinating die to cut out the sentiment, adding a second cutout and foam squares behind it for extra strength and dimension.

    Lastly I added a few green dots from the Christmas Fairy Crystals set.

    That’s it! I hope this green and gold project made your day and has inspired you to take some time to create this weekend.

    Supplies

    Supplies

  • Glam Winter Birthday | by Toni M  Maddox

    Glam Winter Birthday | by Toni M Maddox

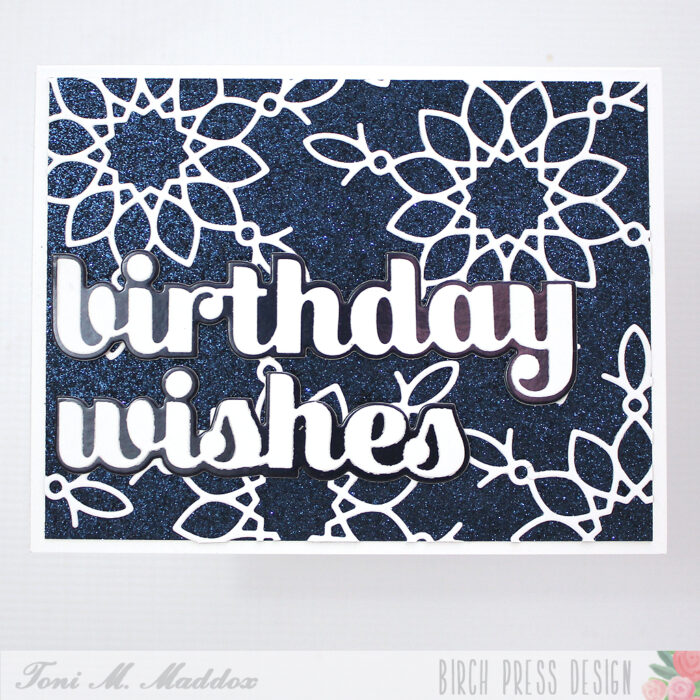
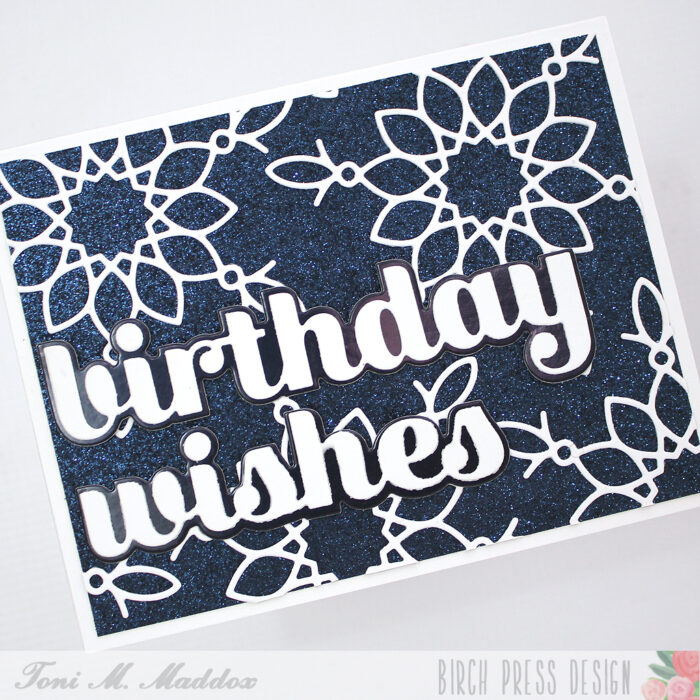
    Hello, Birch Press fans! Toni here with you today sharing a fun and ever so glittery winter birthday card.

    I have a lot of winter birthdays in my life so am always looking to build my stash.

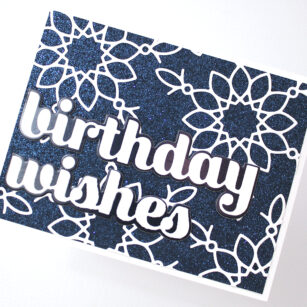
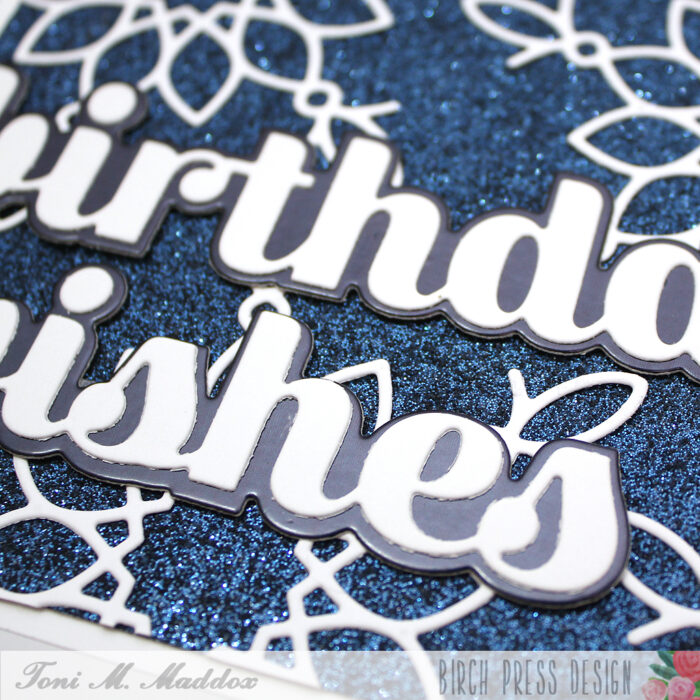
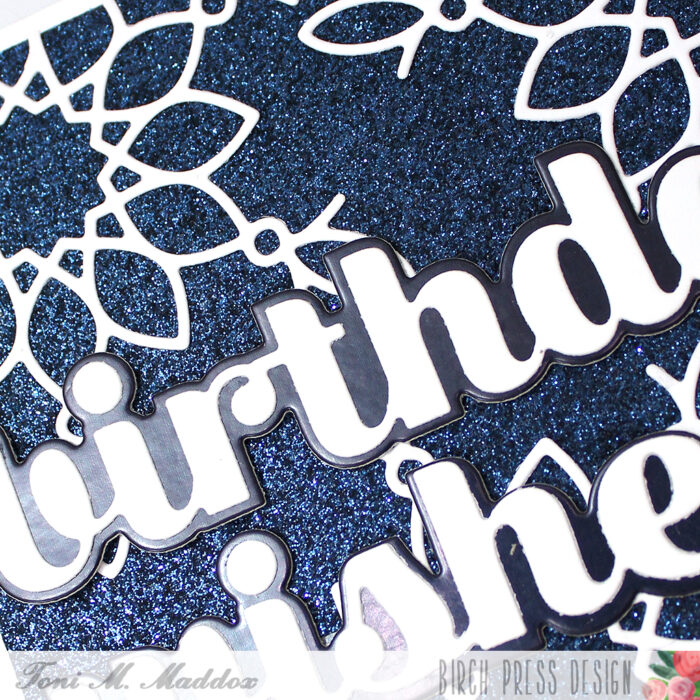
    I cut out the card front from the Memory Box Majestic Hues 6×6 Glitter Pad. I wish the pictures did a better job of showing you just how amazing this paper is. AND, no glitter rubs off. That alone is a winner in my book!

    Next I cut out a few of the Adornment Snowflakes and adhered them to the glitter using Scor-tape. I cut the Sugar Script Birthday Wishes letters from white and the backer from the Memory Box Rainbow Reflections 6×6 Mirror Pad.

    I hope you enjoyed today’s card and have a great rest of your week!

    Supplies

  • Sending Love | By Natasha Vacca

    Hello Birch Press friends, it is Natasha here today and I am excited to share a fun card idea with you today using the Banner Heart Layering die set! So let’s get started!

    I started by choosing a colorful background from my stash for today’s card! I love to use pre-made backgrounds! It is a fun and easy way to create, as well as saving you time! The background inspired my color choices today!

    Next I started by die cutting each layer of the Banner Heart Layering die set. I used a combination of red, pink, and white card stock for the 3 layers. The pink and red card stock are from the Berry Red Memory Box paper pad collection. I die cut layer C 1 time, layer B 2 times, and layer A 1 time.

    After each layer was die cut, I added a bit of ink using a finger dauber to layer C and B. I love to add ink to color card stock. I feel it adds a bit of dimension and texture. Once these were complete, I adhered Layer C and B together using liquid glue. Next I chose an embossing powder from my stash. I embossed Layer A for each heart. On one heart the top layer has a pink card stock and the other has a white card stock. Using a different color card stock changes up the embossing powder effect!

    Once Layer A was heat embossed, I adhered Layer A to the top of each heart using liquid glue. Next I trimmed the background panel to 4 inches by 5.5 inches. I used the extra 1/4 inch strip and adhered this to the left side of the card panel. It added a bit more interest and texture.

    To complete my card I chose the You Are Loved Noted Script Hot Foil Plate and die set. I used my hot foil machine and followed the instructions for my machine. Once the sentiment was complete, I die cut 2 more shadow layers and adhered them behind my foiled sentiment for added dimension.

    I completed the card by adhering the card panel to an A2 card base, adhered the hearts using liquid and foam adhesive and completed my card with my sentiment.

    I had a lot of fun creating today’s card and I hope this inspires you to share a handmade Valentine with a family member or a dear friend!

    I will be back soon!


    Supplies

  • Foil and More Foil | by Toni M Maddox

    Foil and More Foil | by Toni M Maddox

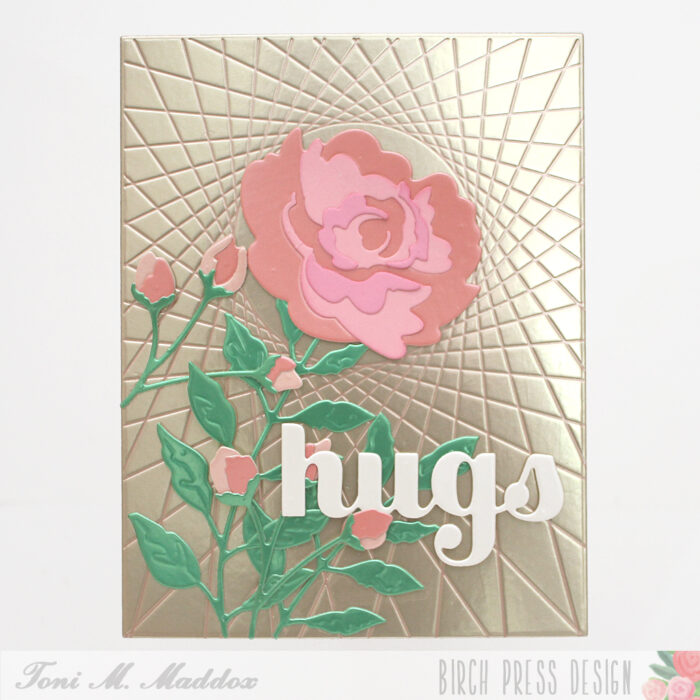
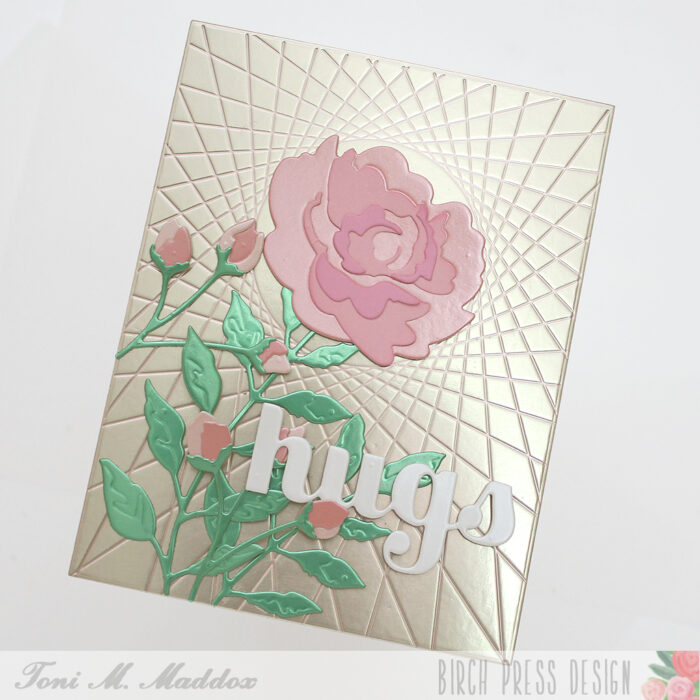
    Hello, Birch Press fans! Toni here with you today sharing a (hot) foil project that could be used for about any occasion: G/Valentines, friendship, encouragement, or just to say hello.

    This is my favorite type of card to make for my stash because I can just grab it and go, so to speak. I’m not sure I’ll be able to send this one away though!

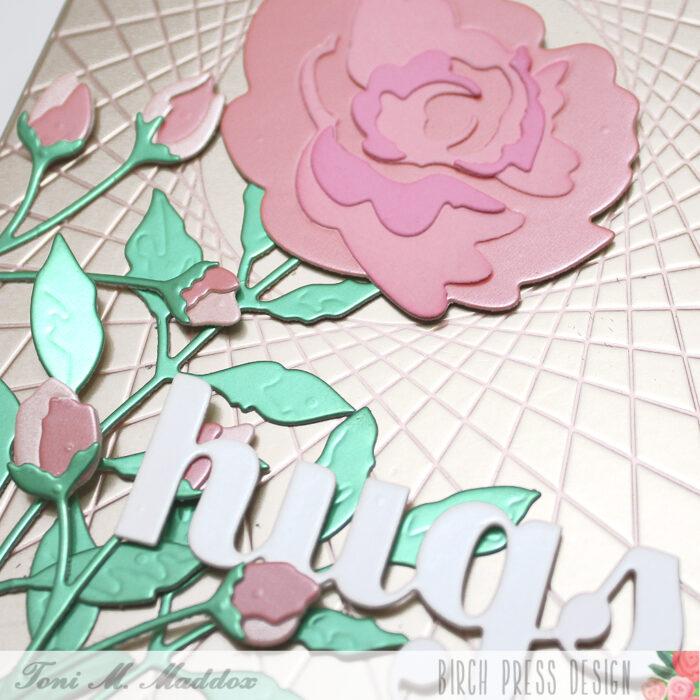
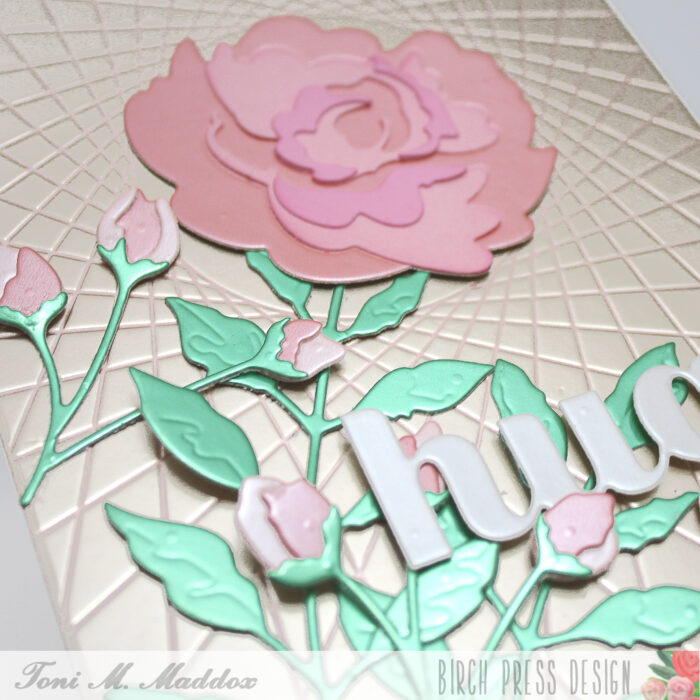
    I started the card by hot foiling the Birch Press Design String Art Frame Hot Foil Plate with one of the new Spellbinders satin pastels hot foils. These are translucent so very subtle, especially on the foiled cardstock front.

    In this case I used the salmon color which coordinated perfectly with the Memory Box Vintage Pastel Mirror cardstock used for the Birch Press Design Morning Rose and Triple Buds.

    I cut out the Birch Press Design Fuddled Leaf from Memory Box Rainbow Reflections Rainbow Mirror cardstock. The Birch Press Design Sugar Script Big Hugs is cut from the pastel pad in a pearly color.

    I love the soft combination of colors, don’t you?

    I hope you enjoyed today’s card and have a great rest of your week!

    Supplies

  • You Have My Hearts | by Toni M Maddox

    You Have My Hearts | by Toni M Maddox

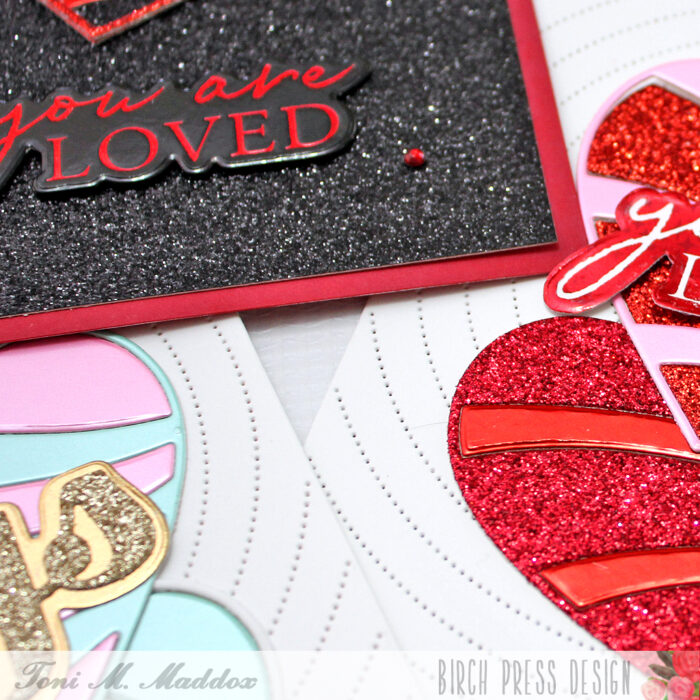
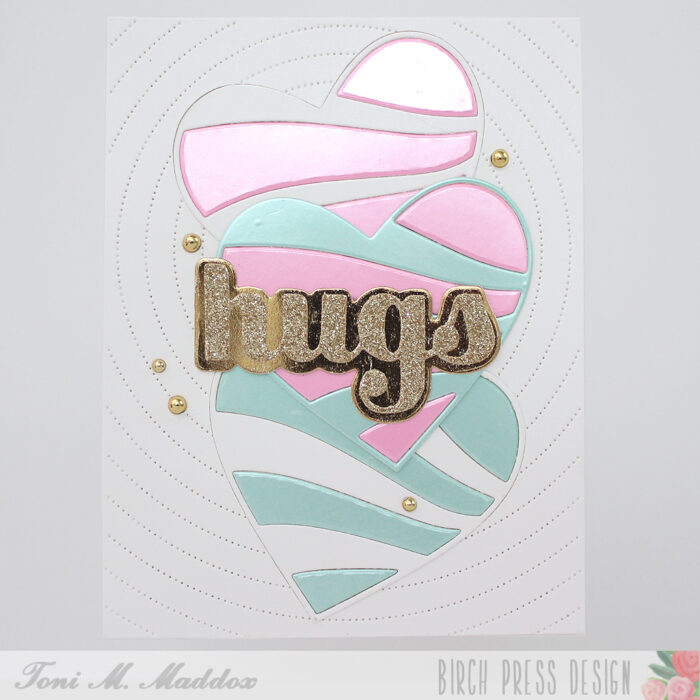
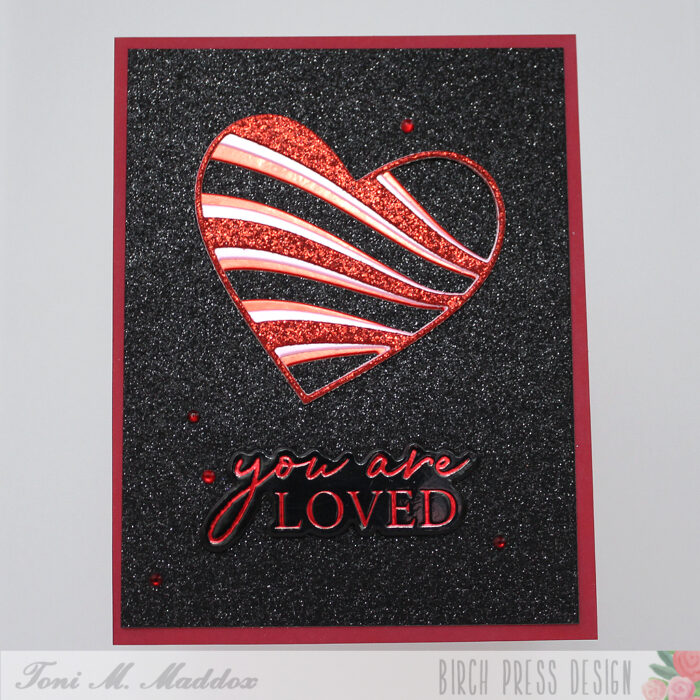
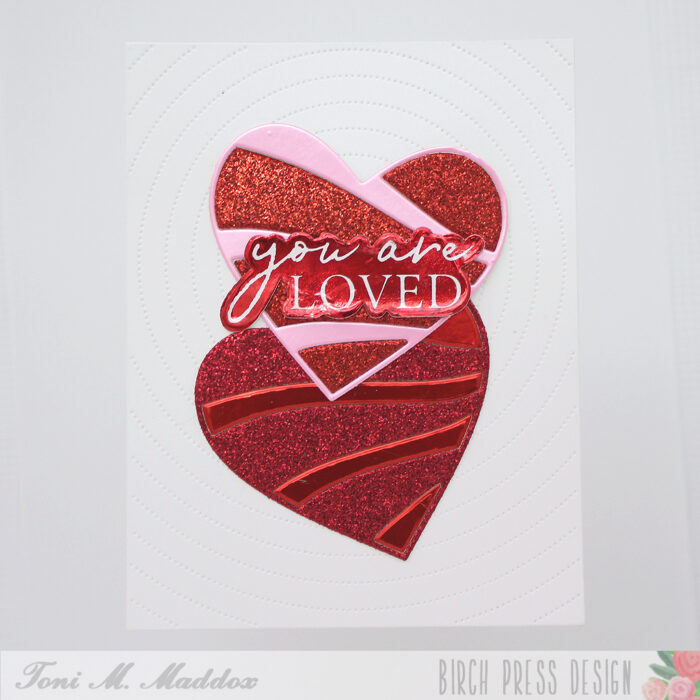
    Hello, Birch Press fans! Toni here with you today sharing a trio of sparkly Valentines using the new Banner Heart Layering Dies and You Are Loved Hot Foil Plate & Die.

    Let’s start with the last card I made which is my personal favorite. I love those pastels with the gold so so much!

    But, I actually started with the black and red card below. As you can see from the layers, you end up with perfectly useable diecut negatives which I absolutely could not let go to waste so the next thing you know I’m using those bits for more cards.

    The combinations of the glitter, mirror and regular cardstock are truly endless. Pair that up with using the hot foil negative and it just goes on and on.

    I hope you enjoyed today’s cards and have a great rest of your week!

    Supplies

  • Glittery Snowflake Hugs | By Natasha Vacca

    Hello Birch Press friends! I am excited to be up on the blog today! For today’s card I had a lot of fun creating a glittery snowflake card to share a hug this winter! So let’s get started!

    I started with Herbarium Plate die set. I dry embossed layer A onto a piece of white card stock. I then used several shades of Distress Oxide Ink to add color to the embossed background. Once I had the colors I was looking for, I trimmed the panel a little smaller than an A2 card base. I then set this aside.

    Next I die cut the Snowy Circle die set. I started with Layer C with white card stock, then Layer B using a blue from the Stormy Blue paper pad, and for Layer A I used the Festive Glitter Pad. Once all the layers were die cut, I adhered them together with liquid glue.

    I wanted to add a bit more dimension and interest to my snowflakes, so I chose to the use the leaves from the Dainty Rose and Leaves Contour Layers die set. I love using my dies in different ways and I encourage you to look through your stash too! I die cut the leaves using a blue from the Stormy Blue paper pad. I then added a bit more texture to each leaf using inks. I applied a bit of darker blue in the nooks and crannies of each leaf using a finger dauber. Once dry, I added a silver/white embossing powder for added texture.

    Once the leaves were complete, I used my finger to shape the leaves a bit to add more dimension. Next I glued down my Herbarium Plate embossed panel to an A2 card base using liquid glue. I then added foam tape to my Snowy Circle. Before adhering down the snowflake, I determined the placement of my leaves. I then adhered the Snowy Circle and leaves to my card front using a combination of liquid glue and foam adhesive.

    To complete my card I chose a sentiment from the Sugar Script Sentiments 1 Hot Foil Plate and die set. I foiled the Sending Hugs onto a piece of white card stock. I then used the coordinating die to die cut my sentiment. I die cut 2 more outlines and adhered them together with liquid glue for added dimension. I adhered my sentiment with foam tape and liquid glue.

    Thanks so much for stopping by today! I had a lot of fun and I will be back soon!


    Supplies

  • Be Merry | by Crystal Komara

    Be Merry | by Crystal Komara

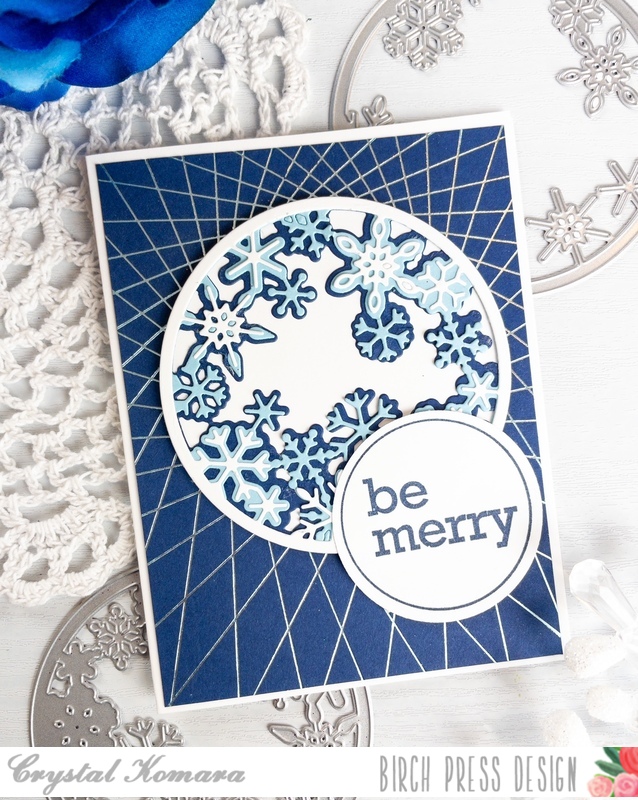
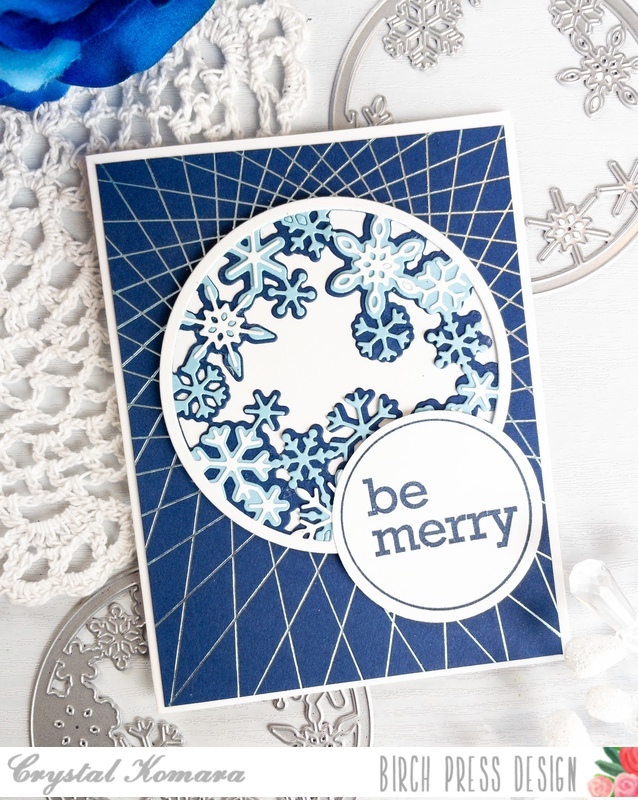
    Hello friends! This is Design Team member Crystal Komara here with you today sharing more holiday themed inspiration using products from the latest Birch Press Design Release. Birch Press Design never ceases to amaze me with its elegant layering dies, contour dies and foil plates. Some of my most loved cards have been as a result of these gorgeous and elevated products.
    Card details:

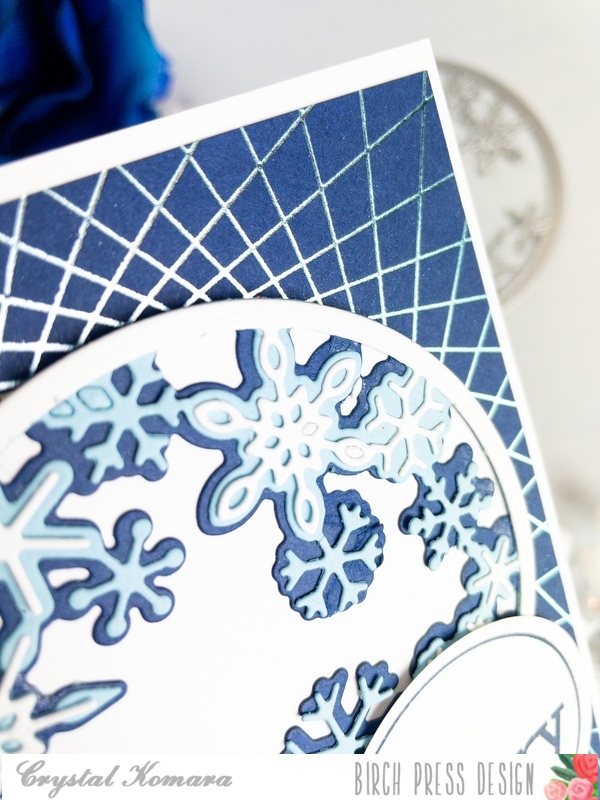
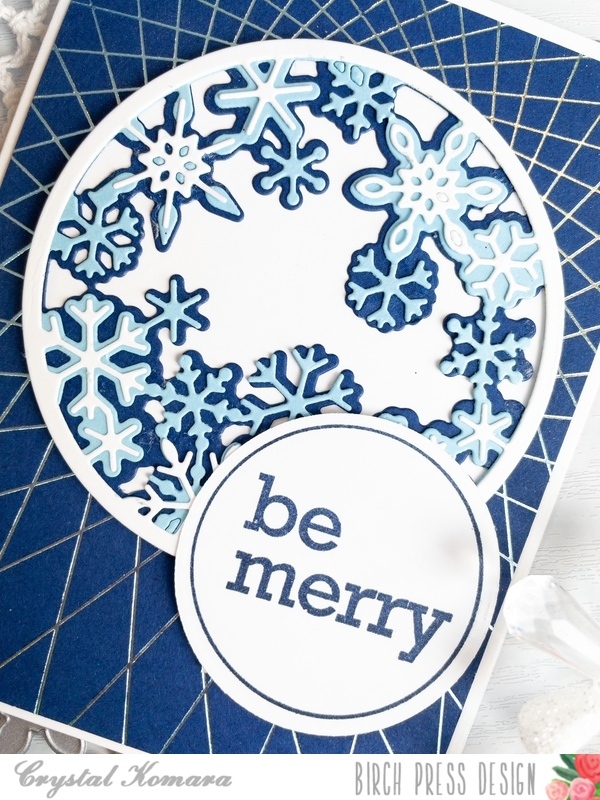
    The base of this A2 sized card is made from 80 lb. Neenah Solar White Smooth cardstock. I cut a 5 1/4″ x 4″ piece of navy cardstock from the 6″ x 6″ Ocean Blue paper pack. Using my Gemini Foilpress machine and the String Art Hot Foil Frame, I heat foiled a cerulean blue foil onto the navy cardstock. I know that it kind of looks like silver foil in these photos, but it is ever-so-slightly more blue tinted in person.

    Using the Snowy Circle Layer Set, I created the center focal piece. I die cut Layer C (bottom layer) from navy cardstock. I die cut Layer B (middle layer) from a sky blue cardstock. I die cut Layer A (top layer) from white cardstock. Again, I used cardstock from the 6″ x 6″ Ocean Blues paper pack. I used a fine-tip liquid adhesive to adhere all three layers together and then I lined the back of the three layers with a solid sheet of white cardstock. I adhered the entire Snowy Circle image to the center of the card using 3M foam adhesive.
    Lastly, I stamped the sentiment “be merry’ in navy ink on white cardstock. This sentiment is from the Contempo Christmas Greetings stamp set. I used the coordinating circle die to die cut the sentiment out. I adhered the sentiment to the lower right side of the snowflakes with 3M foam adhesive.
    I hope you have enjoyed today’s card. Thank you for visiting and have a wonderfully creative day!

    Supplies