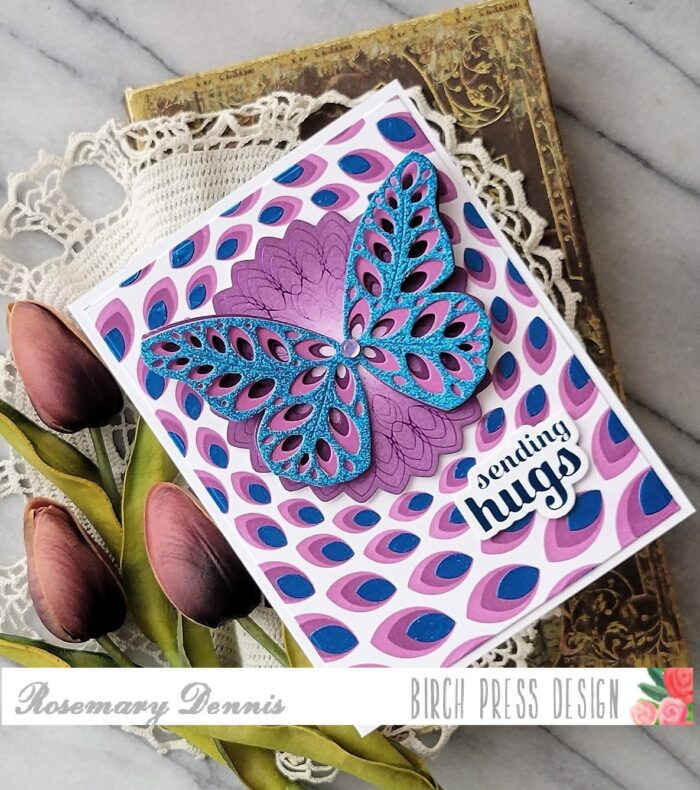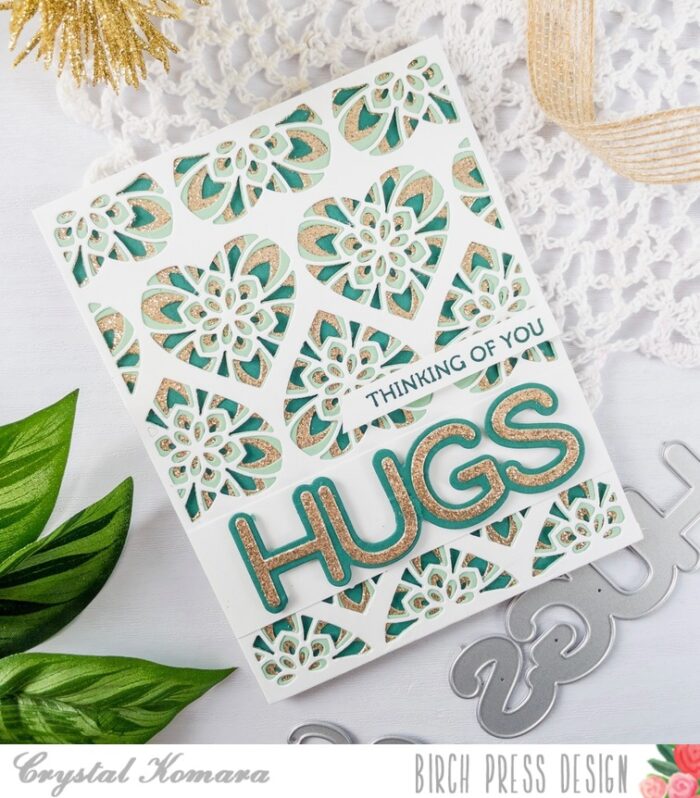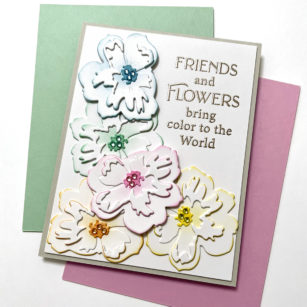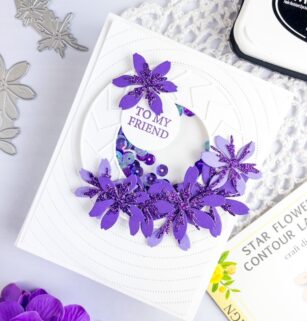
Hello readers and happy Wednesday! This is Design Team member Crystal Komara here today sharing one of my favorite (and seemingly easiest) interactive cards to make – a shaker card! I made this card very monochromatic in purple and white, but if purple really isn’t your color, there are endless possibilities and color combinations you could use instead with these beautiful Star Flowers Contour dies.
Card details:
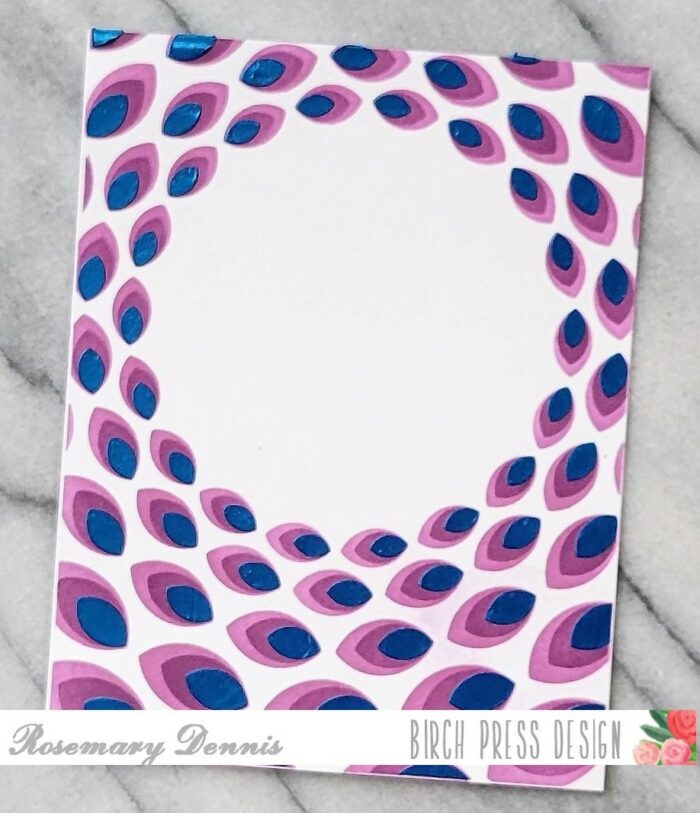
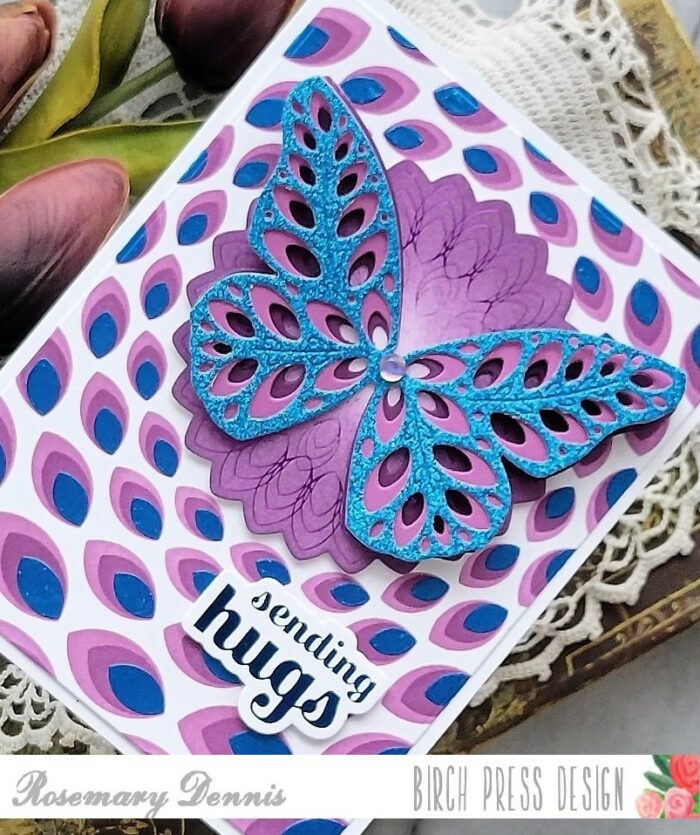
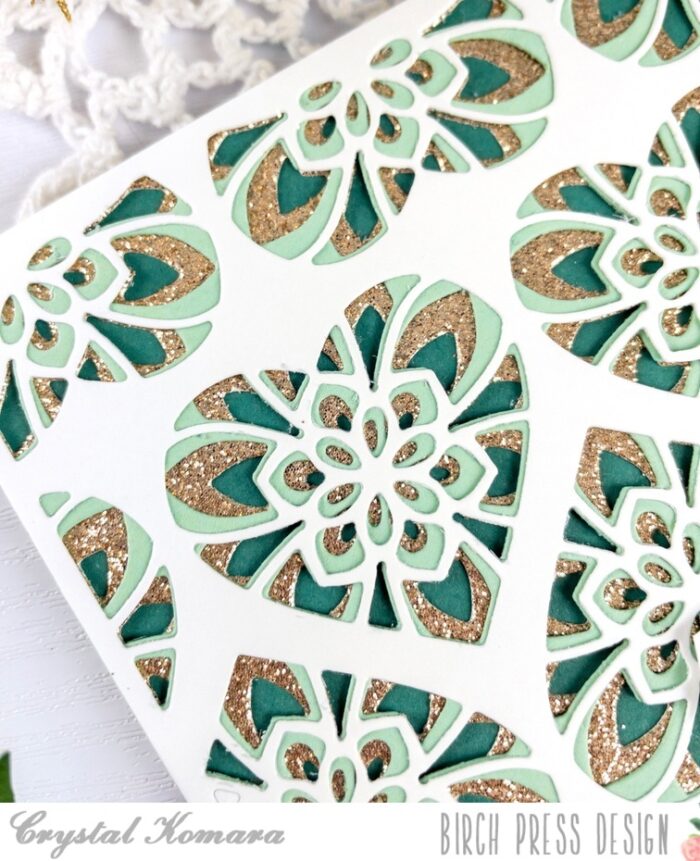
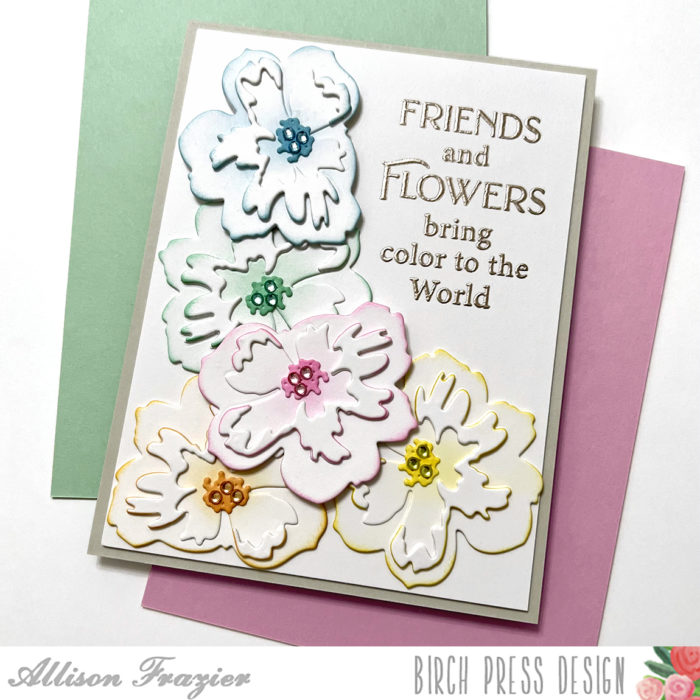
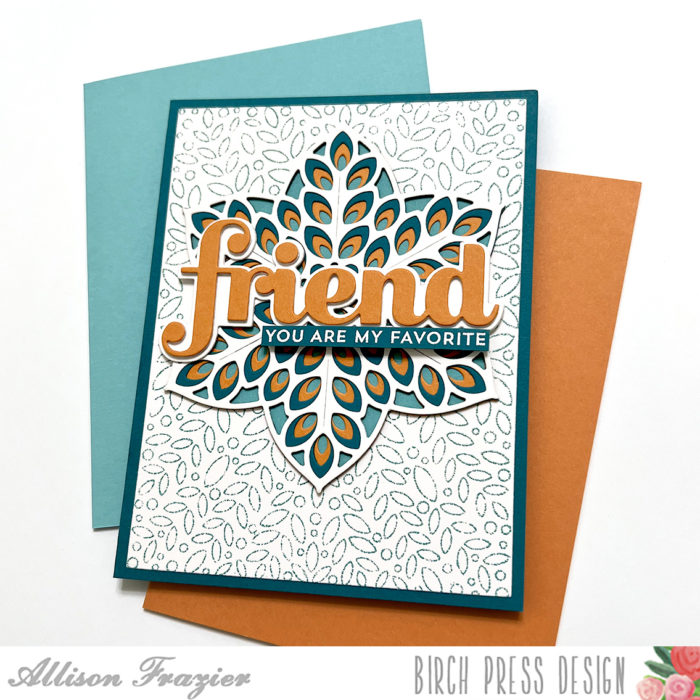
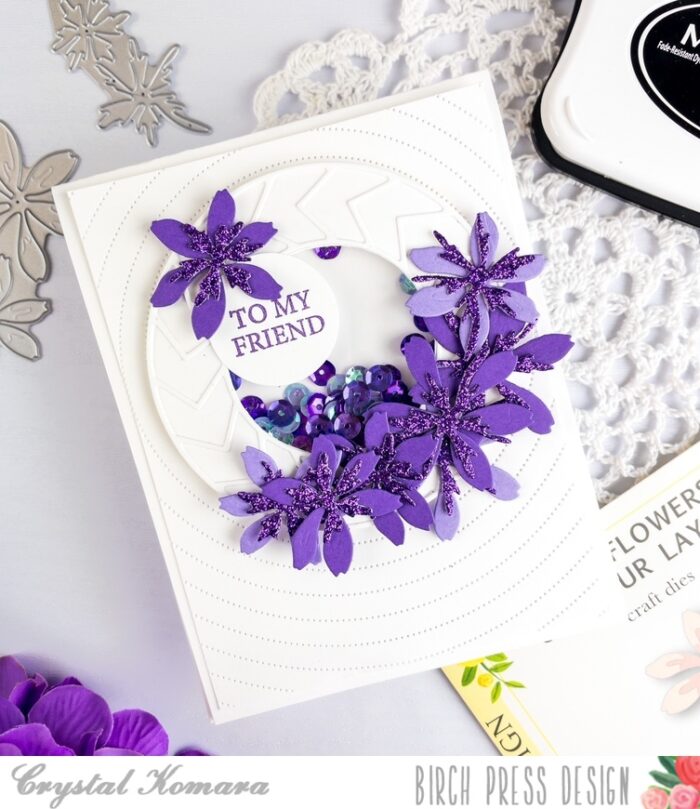
The base of this A2 sized card is made from 80 lb. Neenah Solar White Smooth cardstock. For the background, I cut a 5 1/4″ x 4″ piece of the same Neenah White cardstock and ran it through my Big Shot using the Pinpoint Radial Plate.
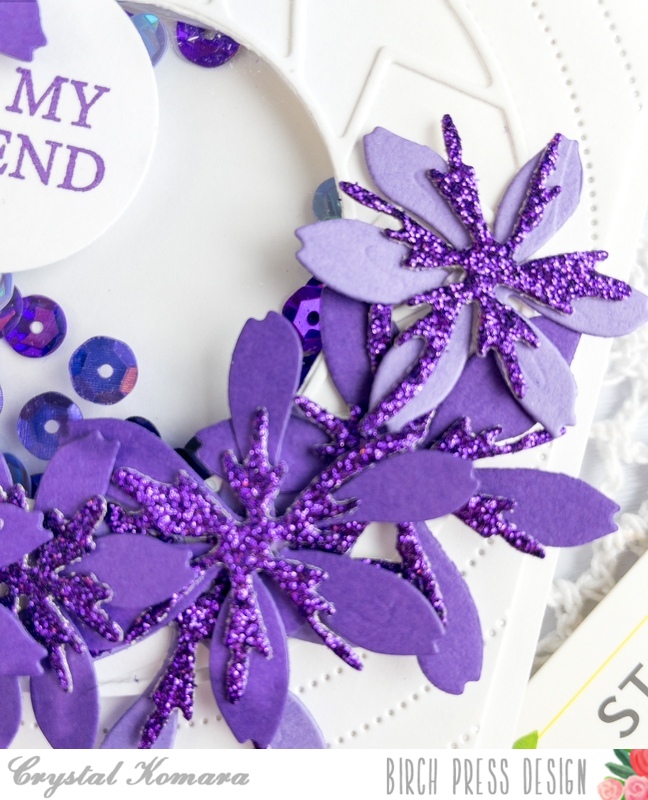
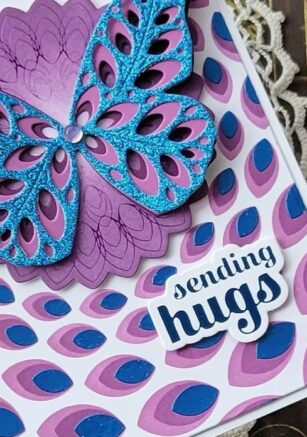
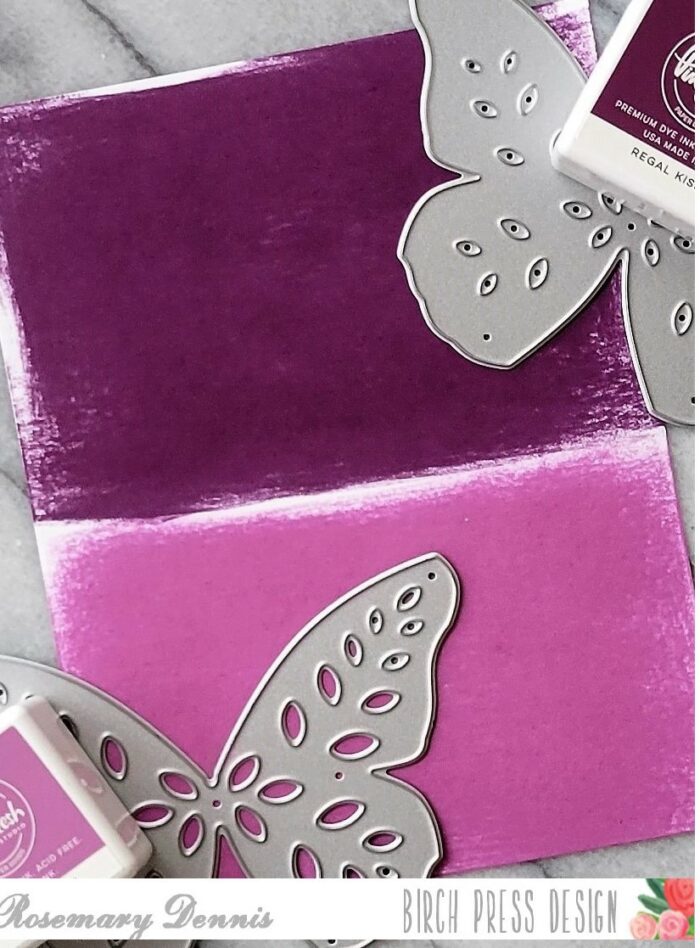
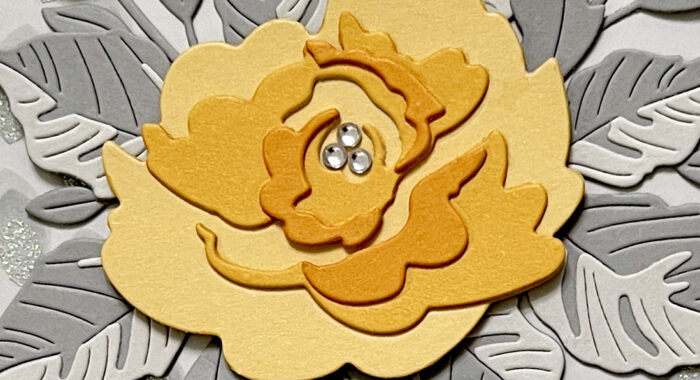
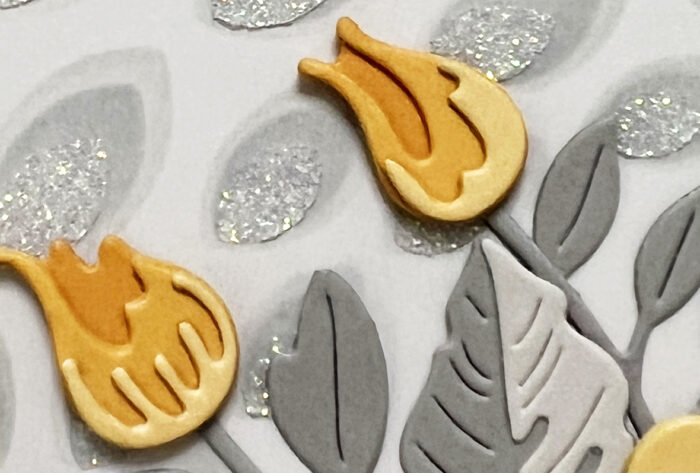
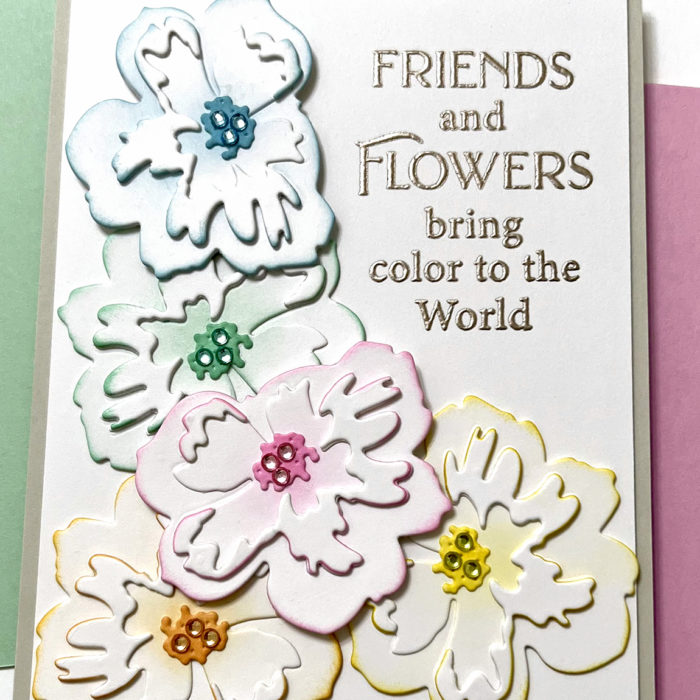
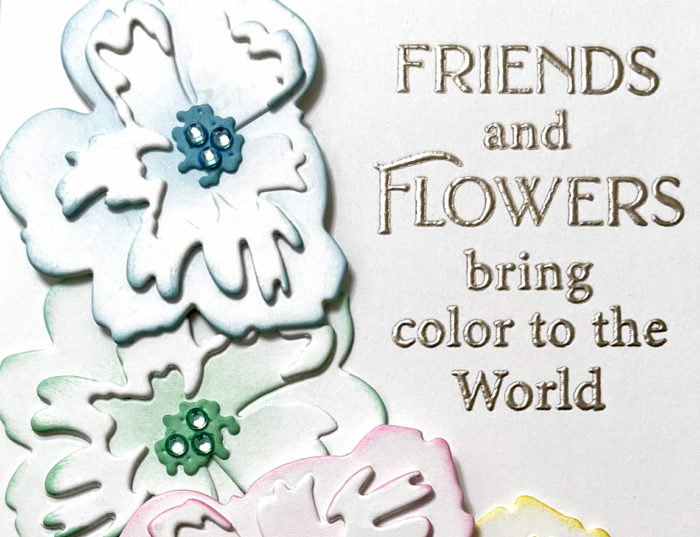
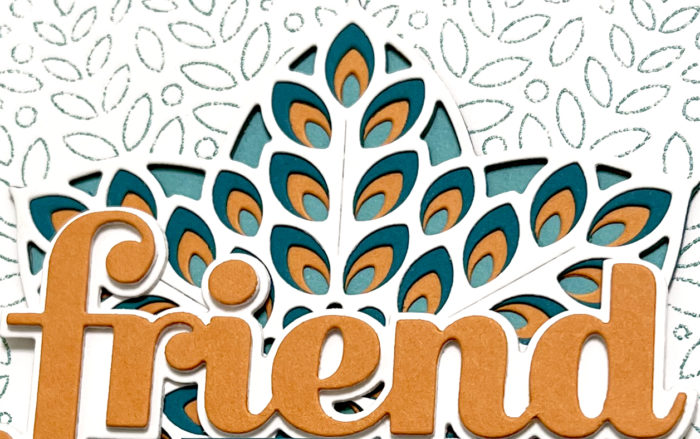
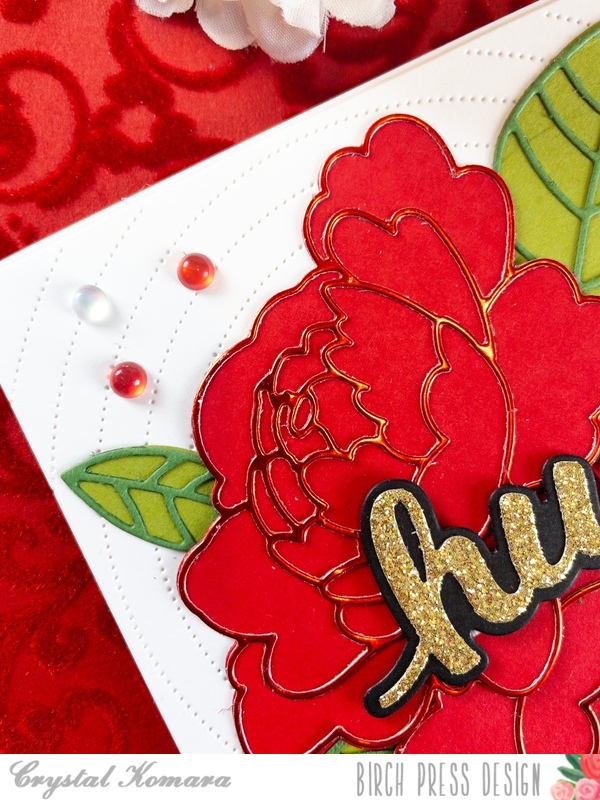
Using the Star Flowers Contour Dies, I cut the flowers from two different colored purple cardstock and one purple glitter cardstock (for the center of the flowers). I adhered the layers of the flowers together with a fine-tip liquid glue.
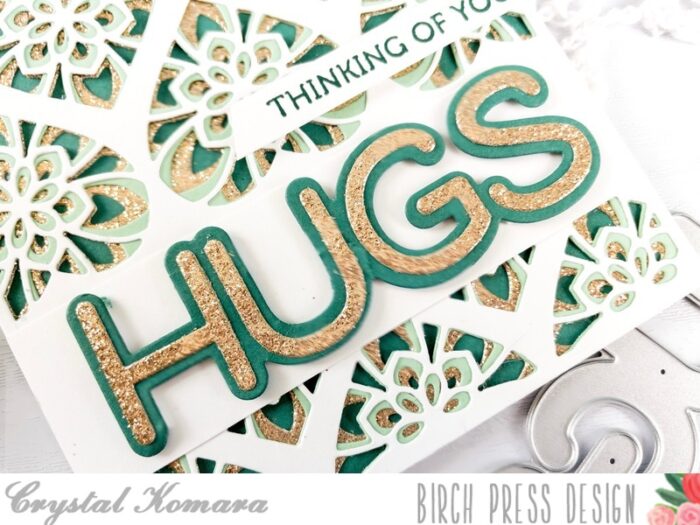
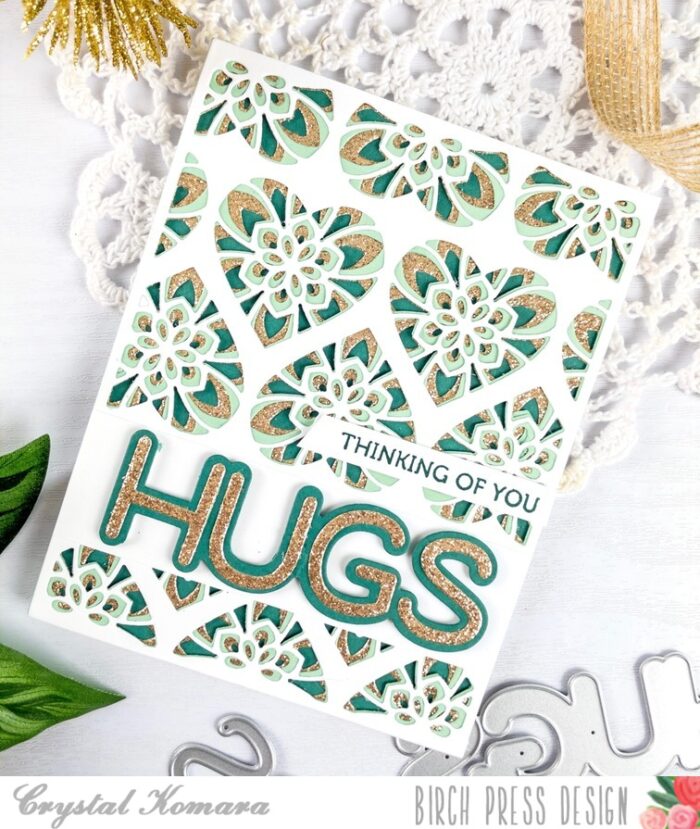
To create the shaker component, I die cut Layer A of the Roundabout Layer Set from white cardstock. I then fussy cut a solid white background of this same shape to create a white frame. I adhered a piece of clear acetate to the back of this frame. I added about 1 tablespoon of sequins to the card and then layered the shaker frame on top.

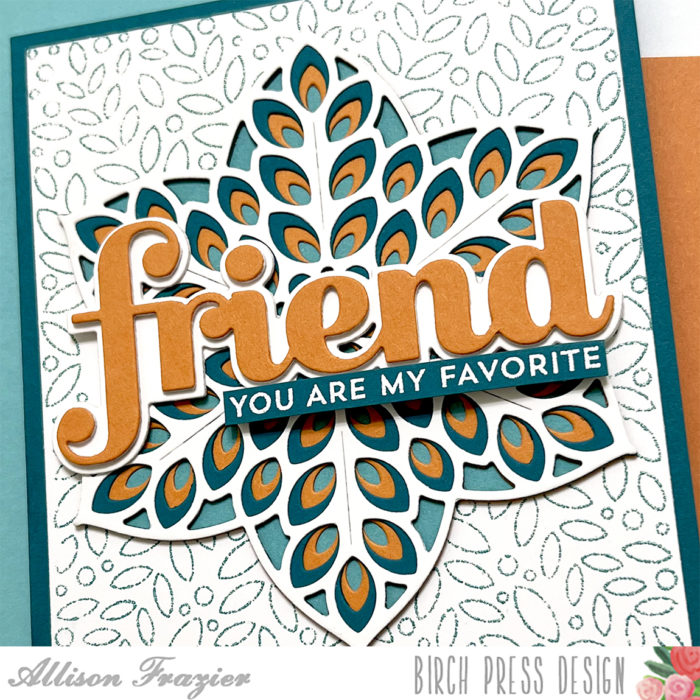
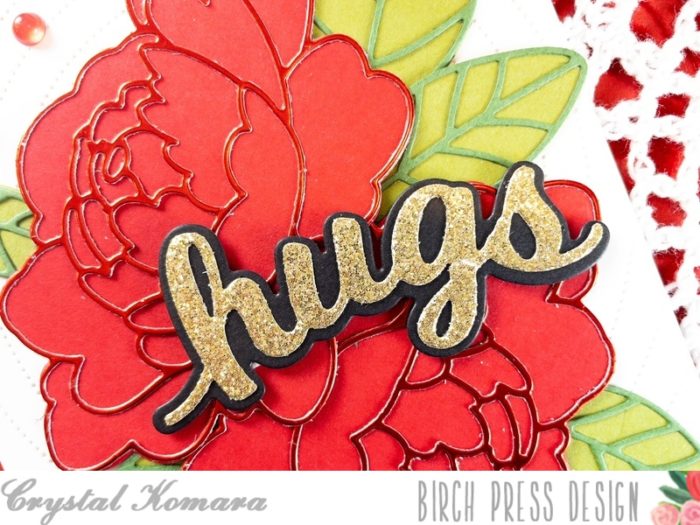
I stamped the sentiment “to my friend” in purple ink on white cardstock and used a circle punch to punch it out. This sentiment is from the Kind Hearts clear stamp set.
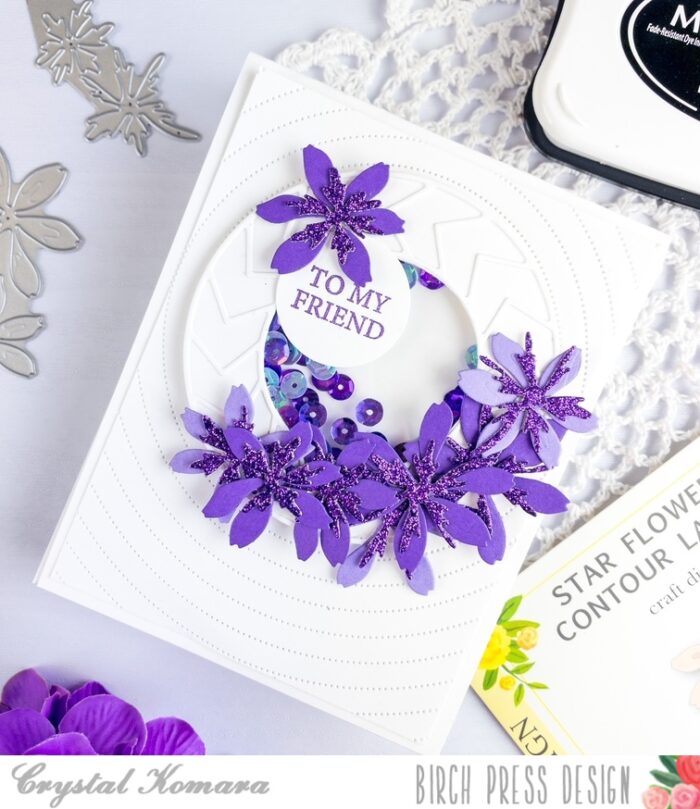
I love a card that can be made so easy to change simply by alternating the colors or the sentiments. Thanks for visiting and have a wonderfully creative day!

Supplies