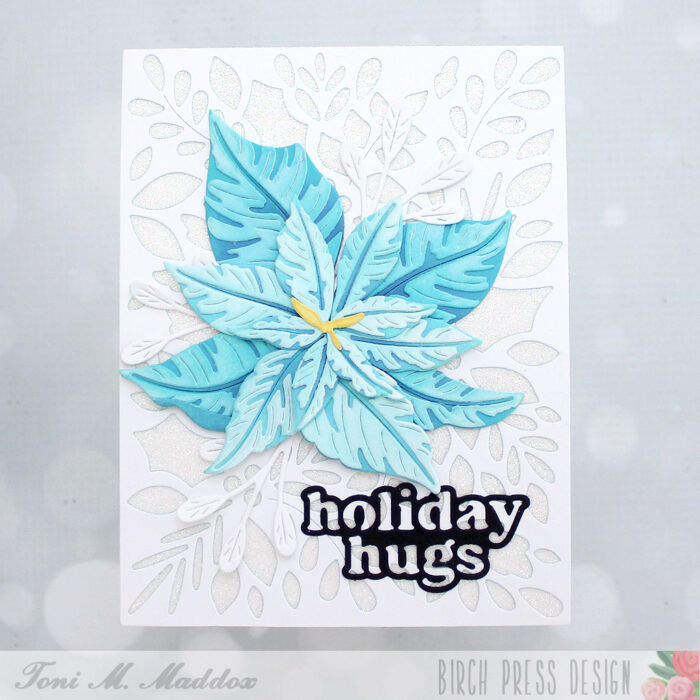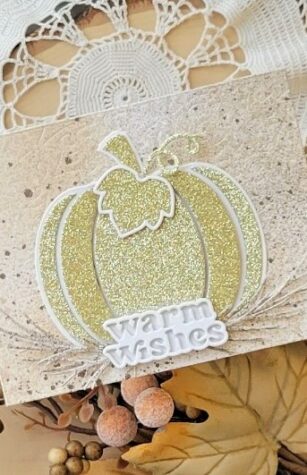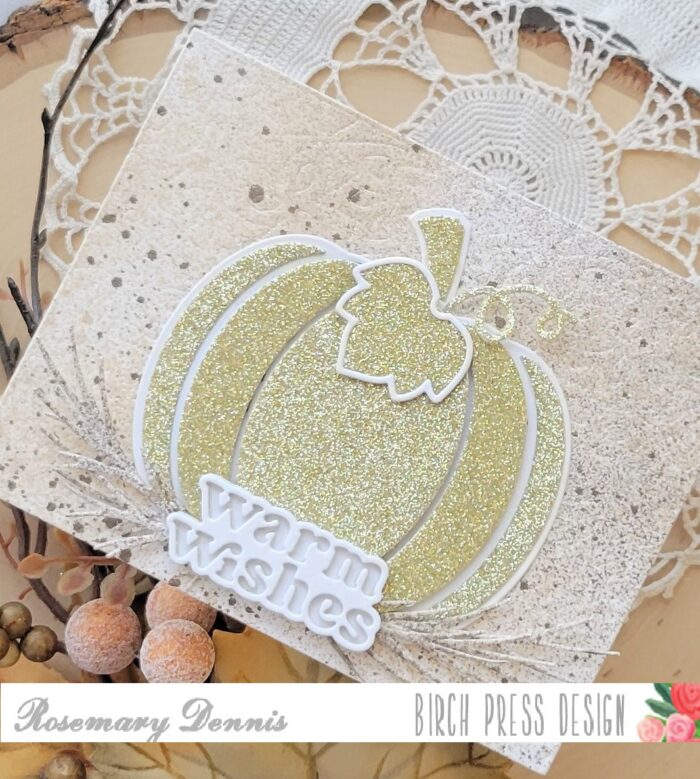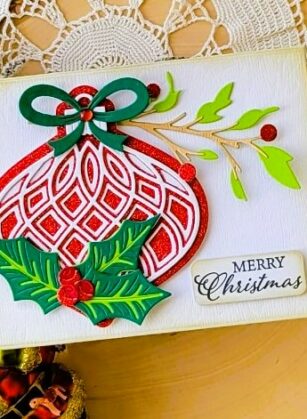
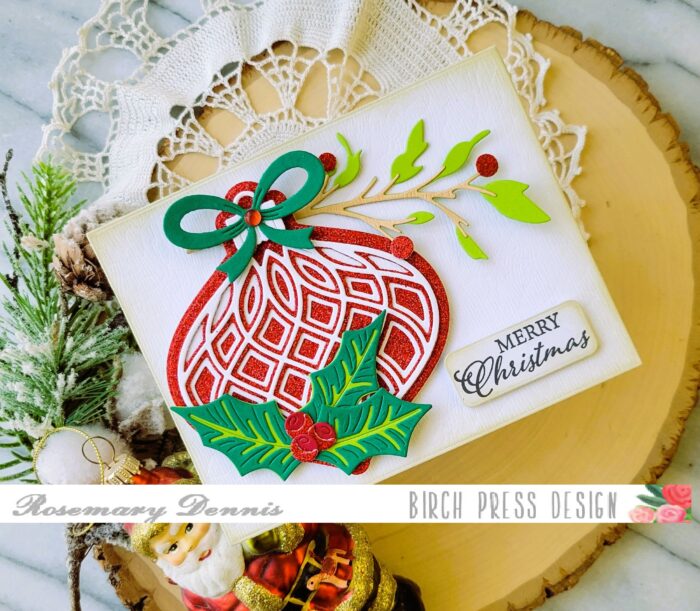
Hello everyone! Rosemary here on the blog today sharing a card that I had a lot of fun creating using some new and old Birch Press Design products. Take a look at what I created.
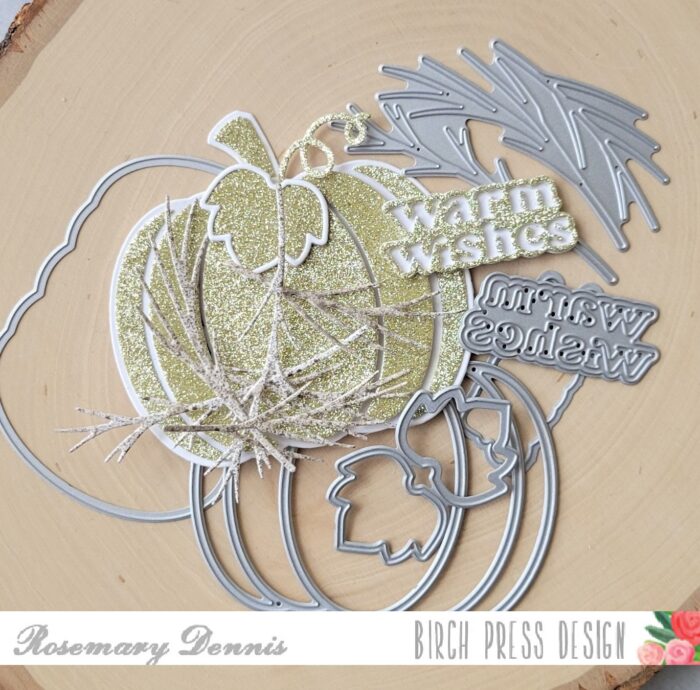
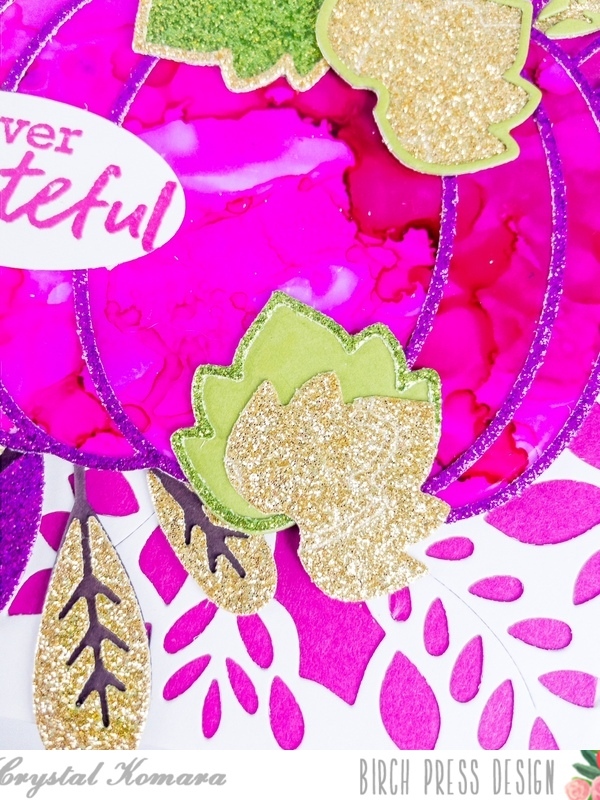
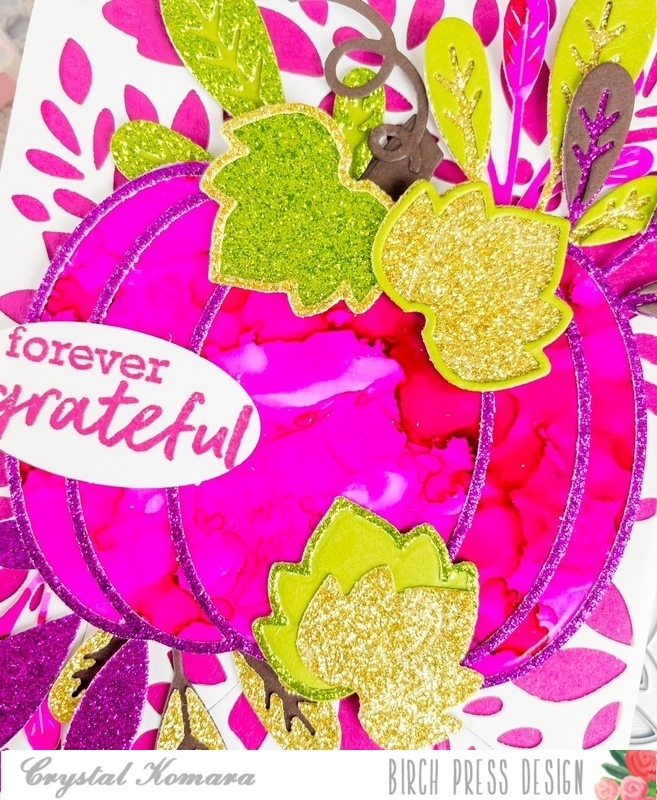
I started off my card by creating my ornament. I used the new Revello Ornament Layer dies to cut my layers from Memory Box Glitzy Glitter cardstock in red and white cardstock. I used the layering ornament from the Christmas Ornament Pop Up Easel die set to die cut the backer from additional red glitter cardstock. I adhered all the pieces with liquid adhesive and then placed an acrylic block on top while it dried. I die cut the bow from green cardstock and the ornament top from white and adhered those with liquid adhesive, as well.
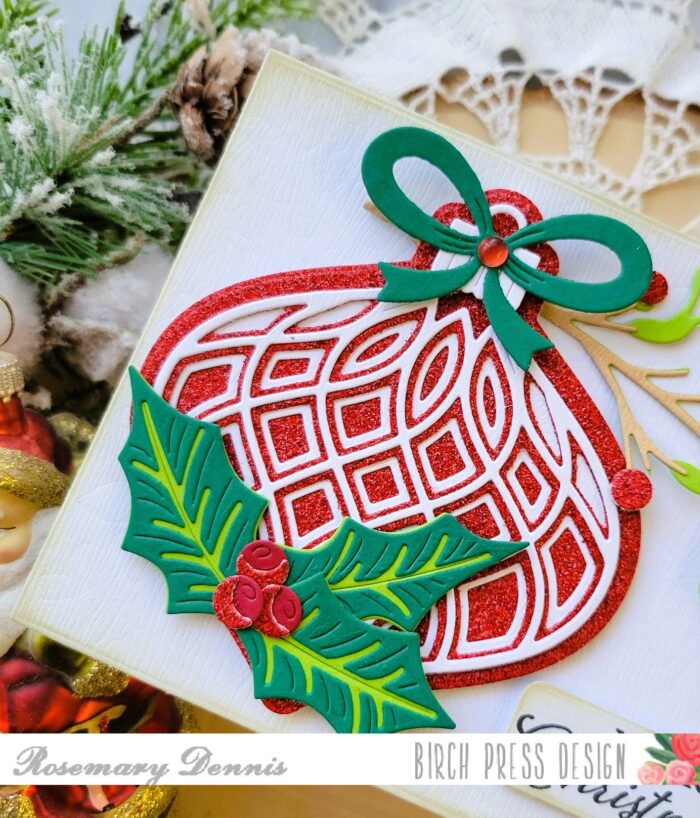
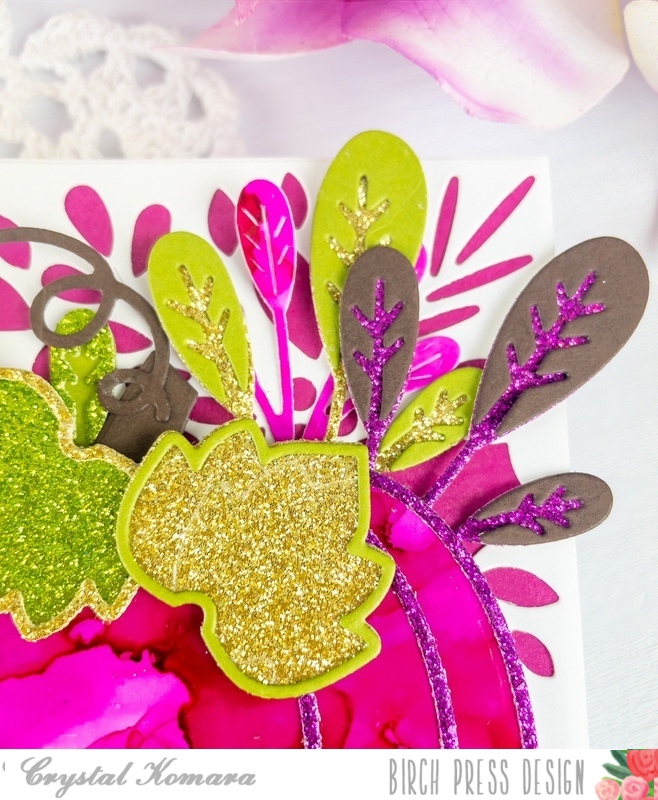
The I set about creating my holly and berry cluster using the new Jolly Holly Contour Layers die set. As I die cut the two green cardstocks I used I wasn’t sure I would like how they looked layered together, but I really like the contrast that was created. I die cut the berries from red cardstock and the top layer from the same red glitter cardstock. I layered everything with liquid glue and set aside to dry.
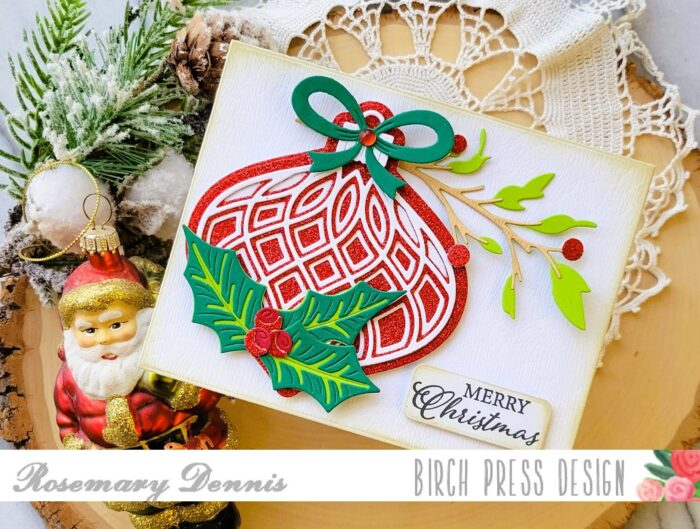
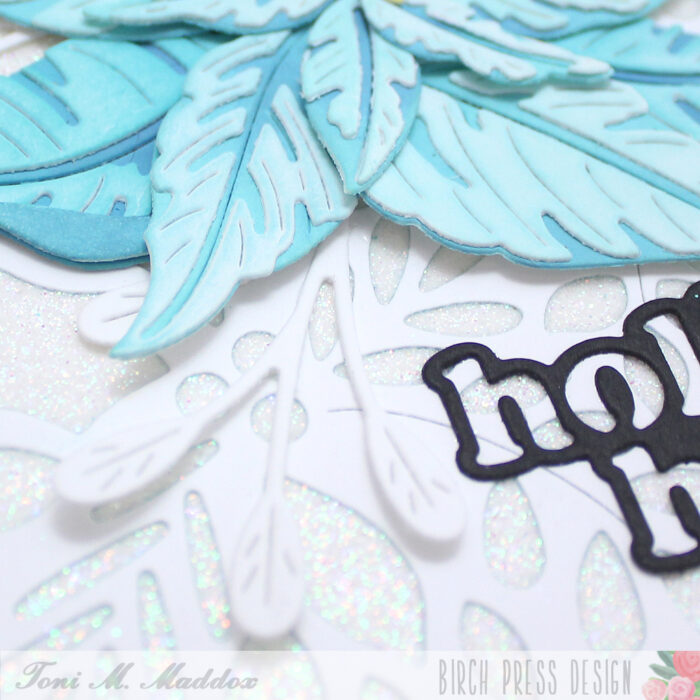
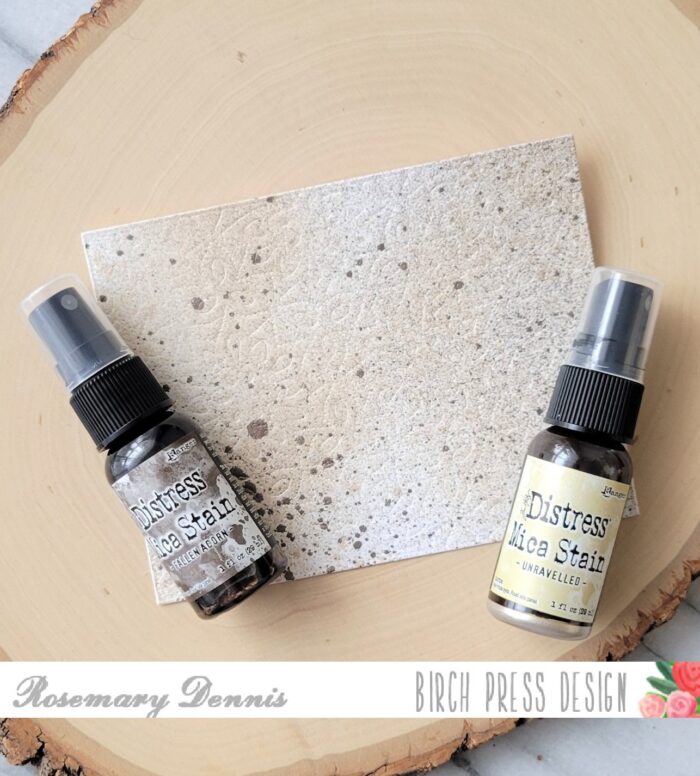
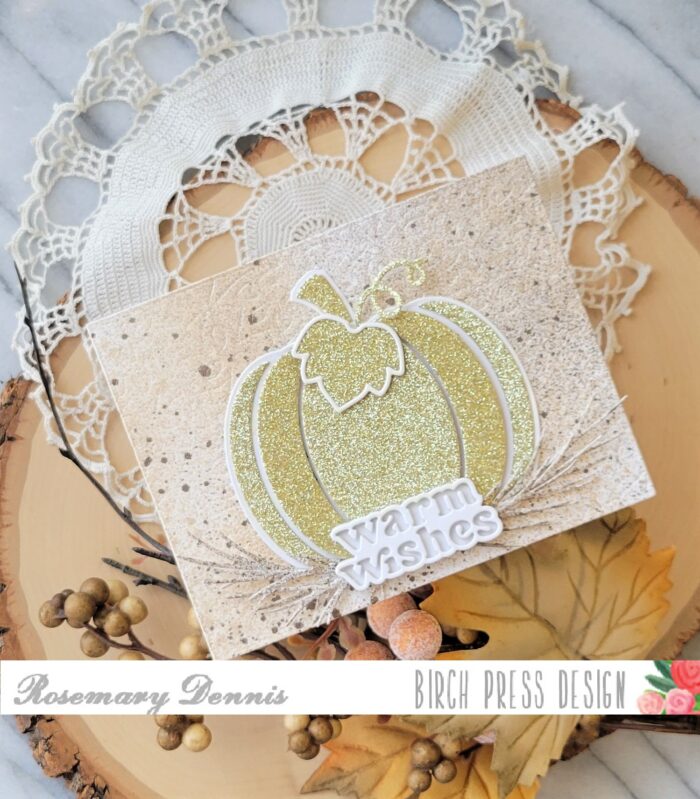
For the background panel I decided to die cut some white woodgrain cardstock with a Memory Box Rectangle Frames die. I wanted a little more texture in the panel so I used the Layer A from the Herbarium Plate layering set to emboss the panel. The look is very subtle, but I like how it turned out. I then inked up the edges of the panel with Old Paper distress ink. I tried to capture the additional texture that was added in the photo below. If you look at the top corner you can see the embossing.
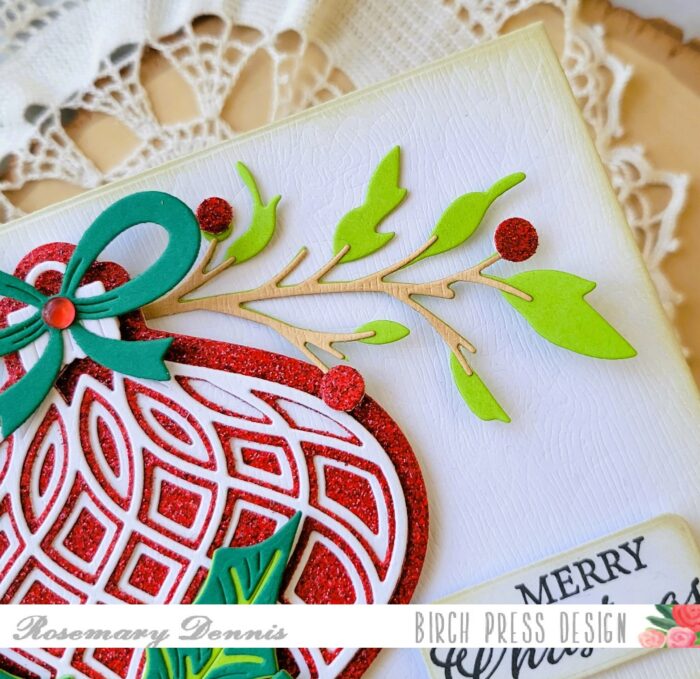
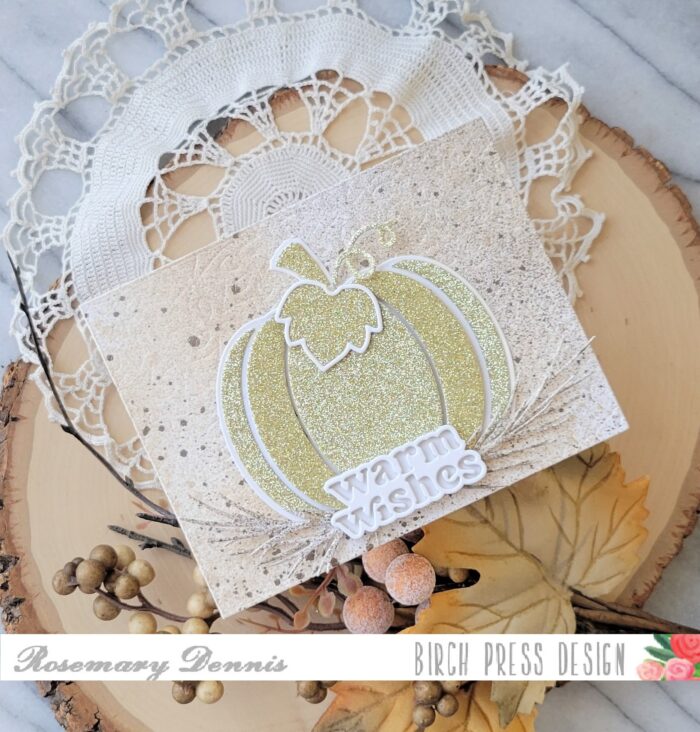
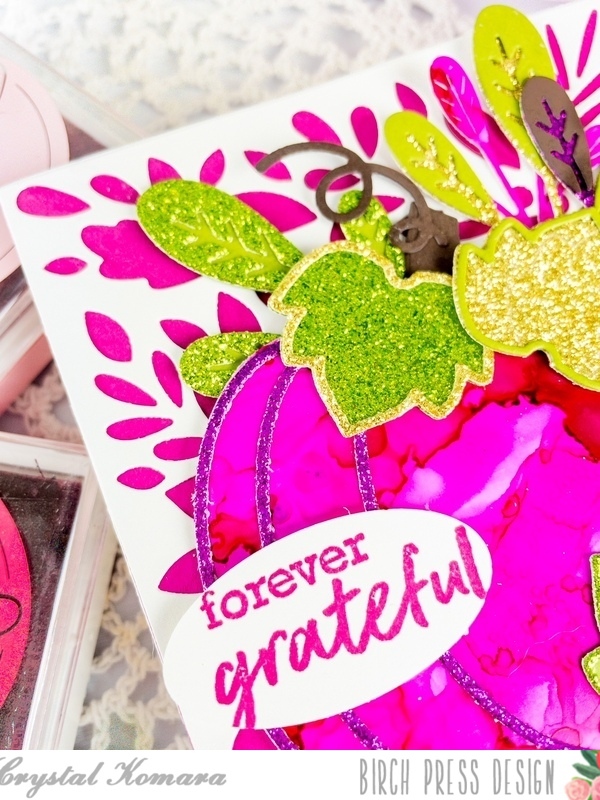
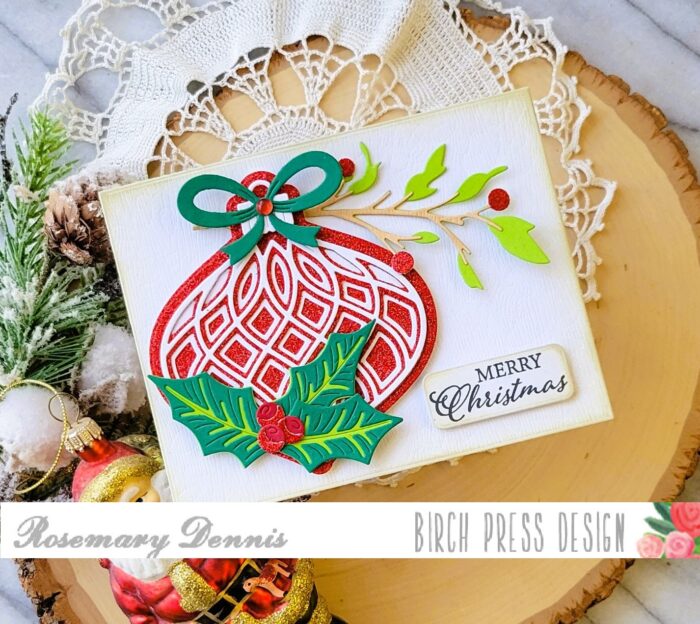
I needed a branch for my ornament to hang from so I used the leafy branch from the Hillside Branch and Bramble Contour Layers die set. I die cut the branch from kraft woodgrain cardstock and the leaves from the same light green cardstock I used for the holly and the berries from the red glitter cardstock. I layered up everything and then got to building up my card. I finished with a sentiment from the new Glad Tidings stamp set. I stamped the sentiment with black in on a piece of the white woodgrain cardstock that I flipped to the smooth side, die cut the piece and then inked the edges with Old Paper distress ink. I adhered the branch with liquid adhesive and then popped up the ornament and sentiment with foam tape.
I hope my card inspires you to pull out your Birch Press Design Christmas/holiday products and create some cards! Thanks for stopping by and have a lovely day.

Supplies