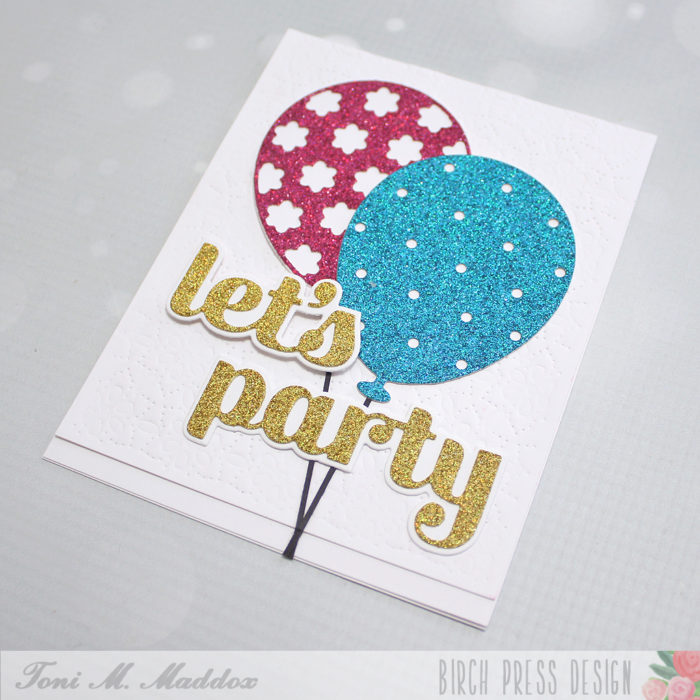
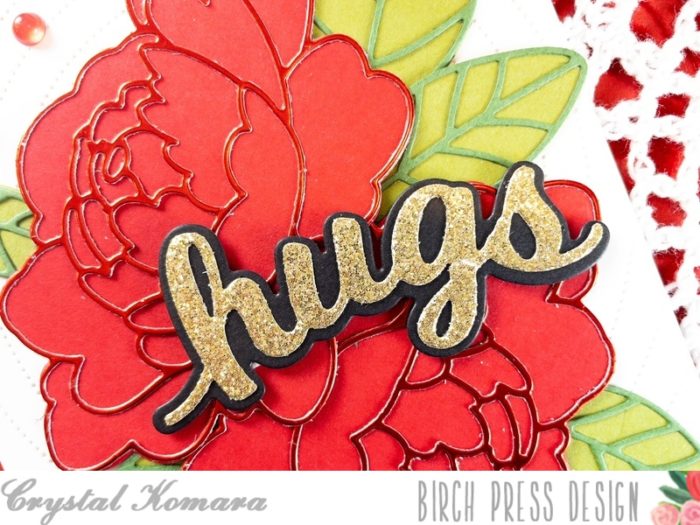
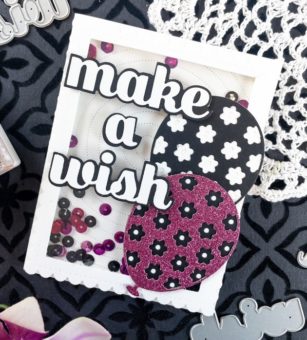
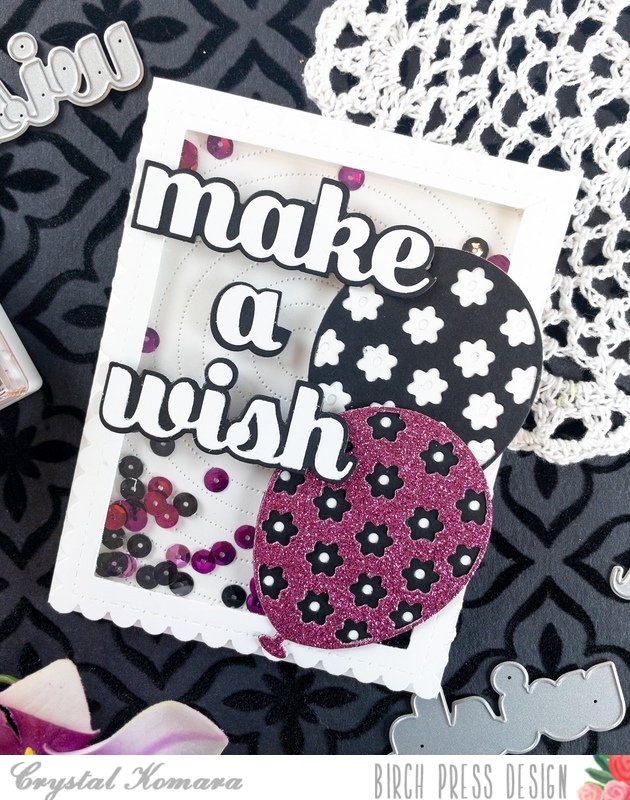
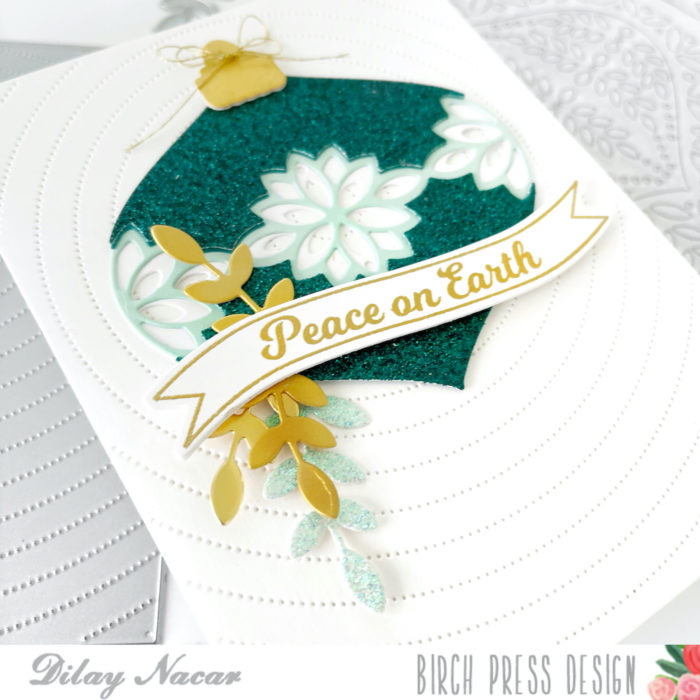
Hello readers and happy Saturday! I hope your weekend is off to a great start. This is DT member Crystal Komara here with you. The weekends are one of the few times I have to craft, so you’ll most likely find me in my craft room today. I’m so excited to be sharing some of the brand new dies that Birch Press Design has to offer in January! Many of these newly released products focus on birthdays, so my first card using the new Floral Balloon Layer Set and the Make a Wish Sugar Script dies is a fun shaker card. Nothing says let’s celebrate like sparkle and sequins!
Card details:
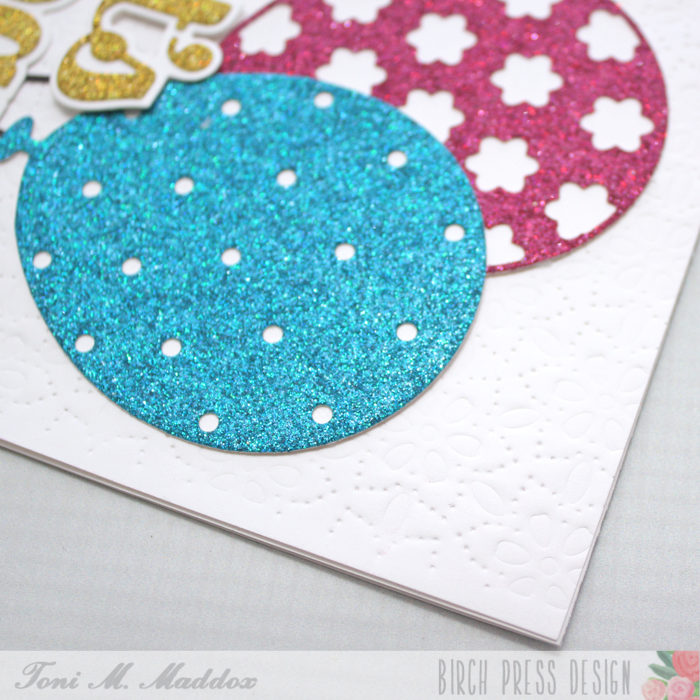
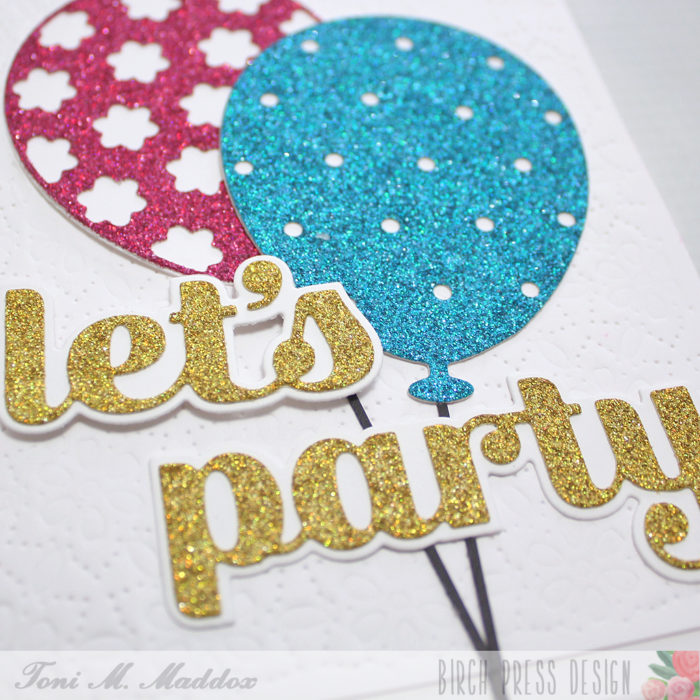
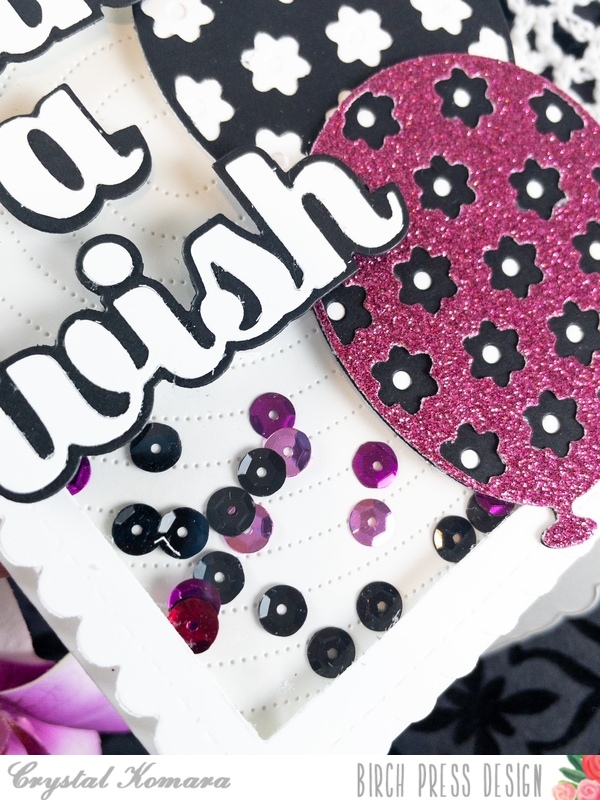
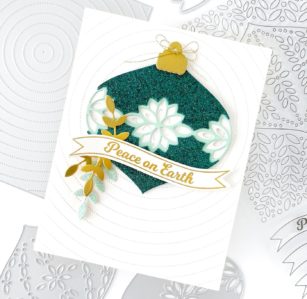
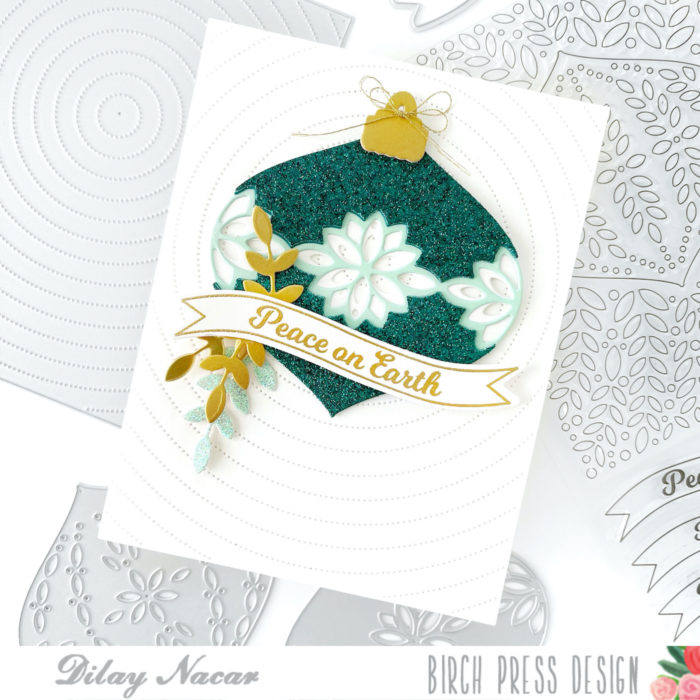
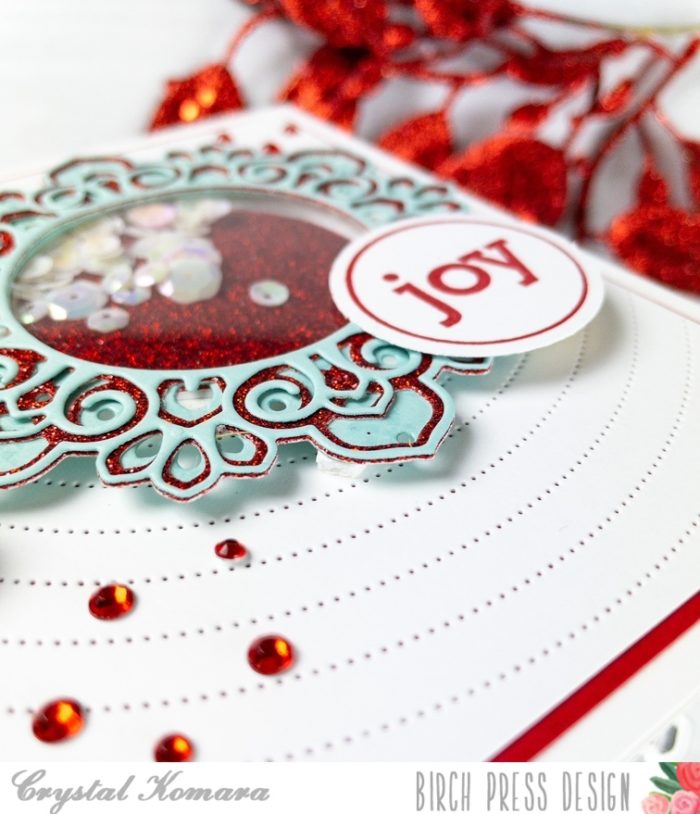
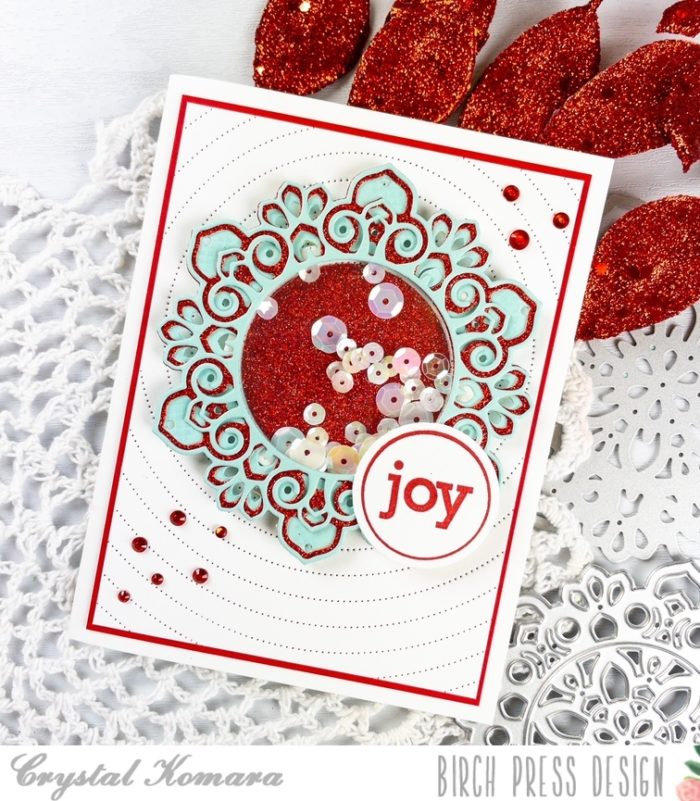
The base of this A2 sized card is made from 80 lb. Neenah Solar White Smooth cardstock. Using the Pinpoint Radial Plate, I cut my first layer from white cardstock. This pinpoint die is what you see behind the balloons. I adhered this pinpoint embossed cardstock directly to the card base. I placed approximately 1 tablespoon each of black and raspberry sequins on the pinpoint embossed cardstock. I created a shaker frame using a scalloped rectangle die and a smaller scalloped rectangle die. I lined the back of the frame with clear acetate. I lined the back of the frame with thin strips of 3M foam adhesive, ensuring that every send and seal was covered so no sequins would fall out. I placed the frame directly over the sequins and pressed firmly sealing the edges.
I die cut the words “make a wish” from black cardstock and white cardstock and layered the two together with a fine-tip glue. I put the sentiment aside to save for the final layer.
Creating the balloons:
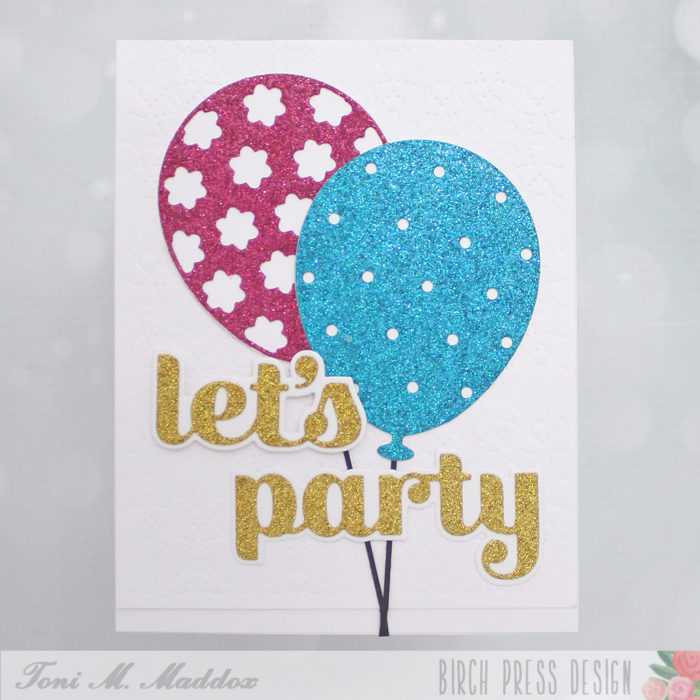
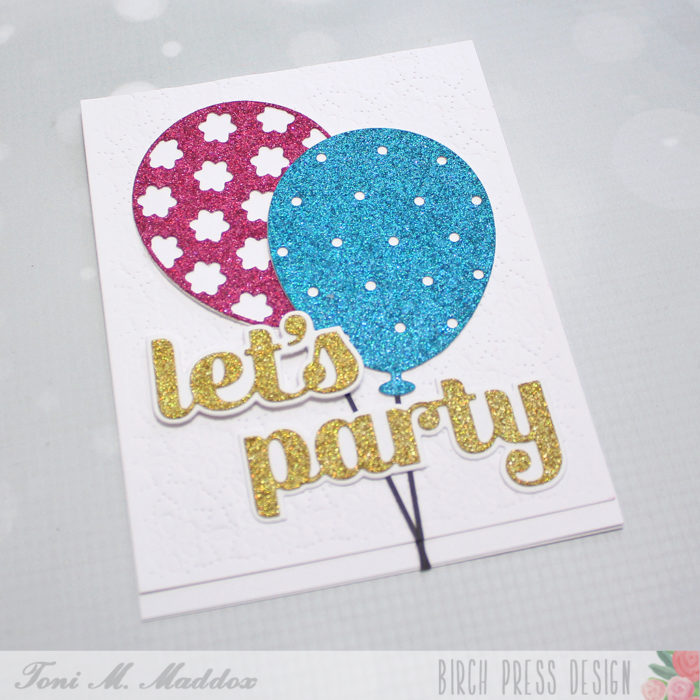
For the first (black and white balloon) I used the Floral Balloon Layer Set. I die cut Layer B from black cardstock and layered it over a piece of white cardstock that I trimmed by hand to the same shape. I adhered this balloon directly to the acetate on the front of the card.
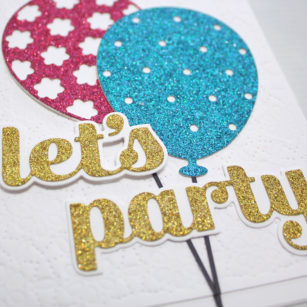
For the second balloon (black/pink and white), I also used the Floral Balloon Layer Set. I die cut Layer A from pink glitter cardstock, Layer B from Black cardstock and then again, I layered the balloons over white cardstock and trimmed the white cardstock by hand to form the balloon shape. I adhered this second balloon over the first balloon using 3M foam adhesive for added dimension.
Lastly, I added the “make a wish” sentiment to the card also using 3M foam adhesive.
I hope you like today’s shaker card using some of the NEW Birch Press Design products! Thanks for visiting and have a wonderfully creative day!
Supplies