Category: Halloween

  • Birch Tree: Halloweenby Savannah O’Gwynn

    Birch Tree: Halloween
    by Savannah O’Gwynn

    Hello, sweet BPD friends and fans!

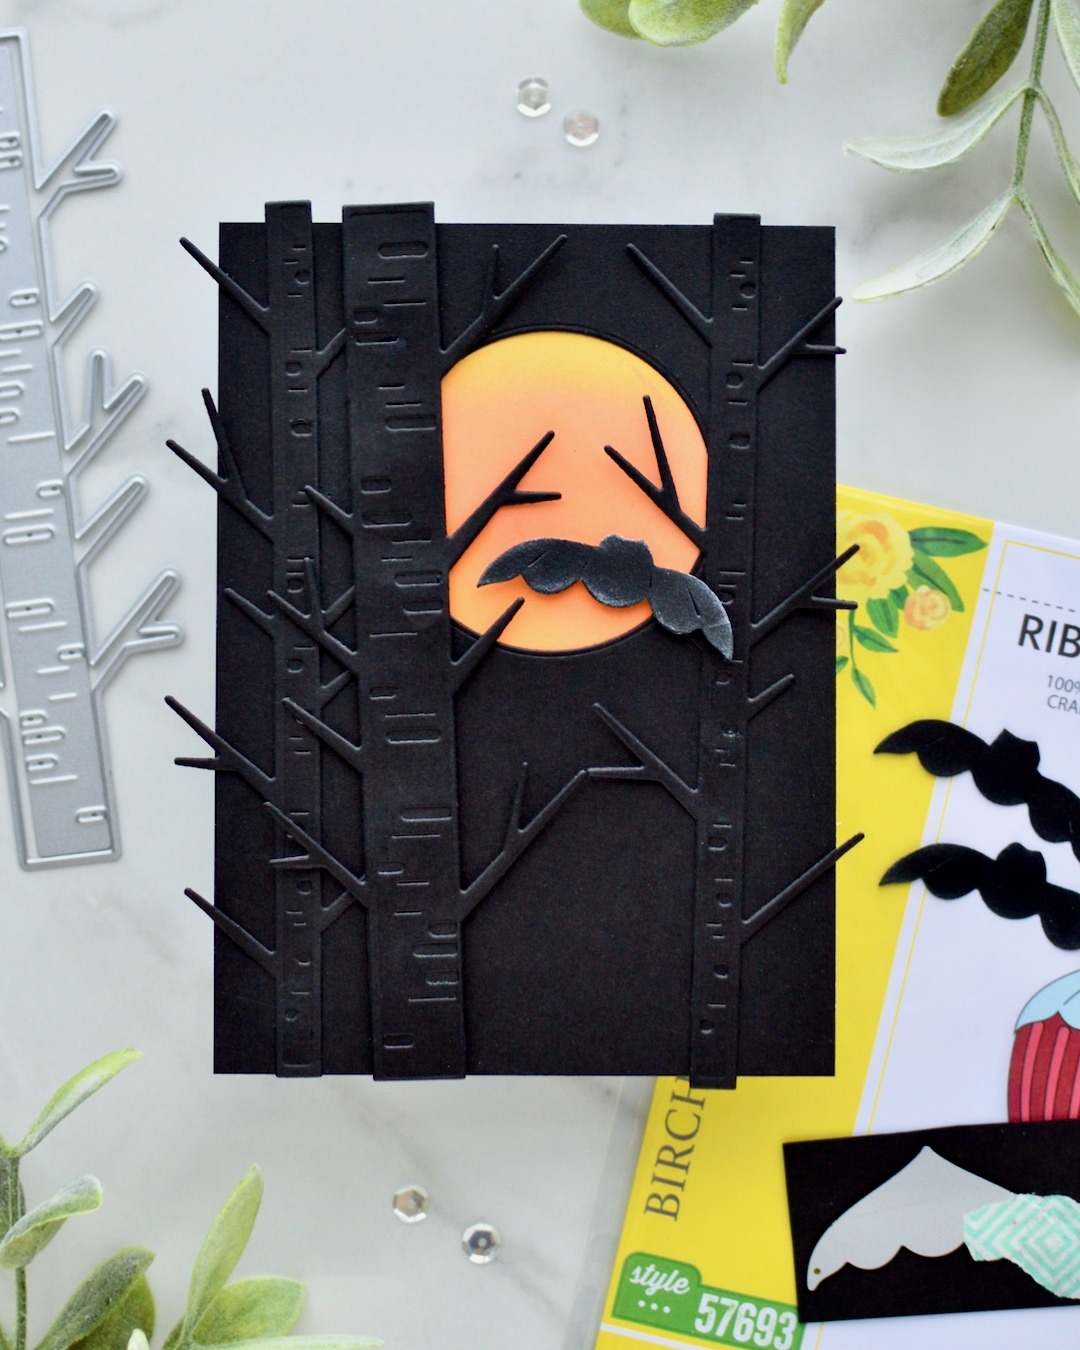
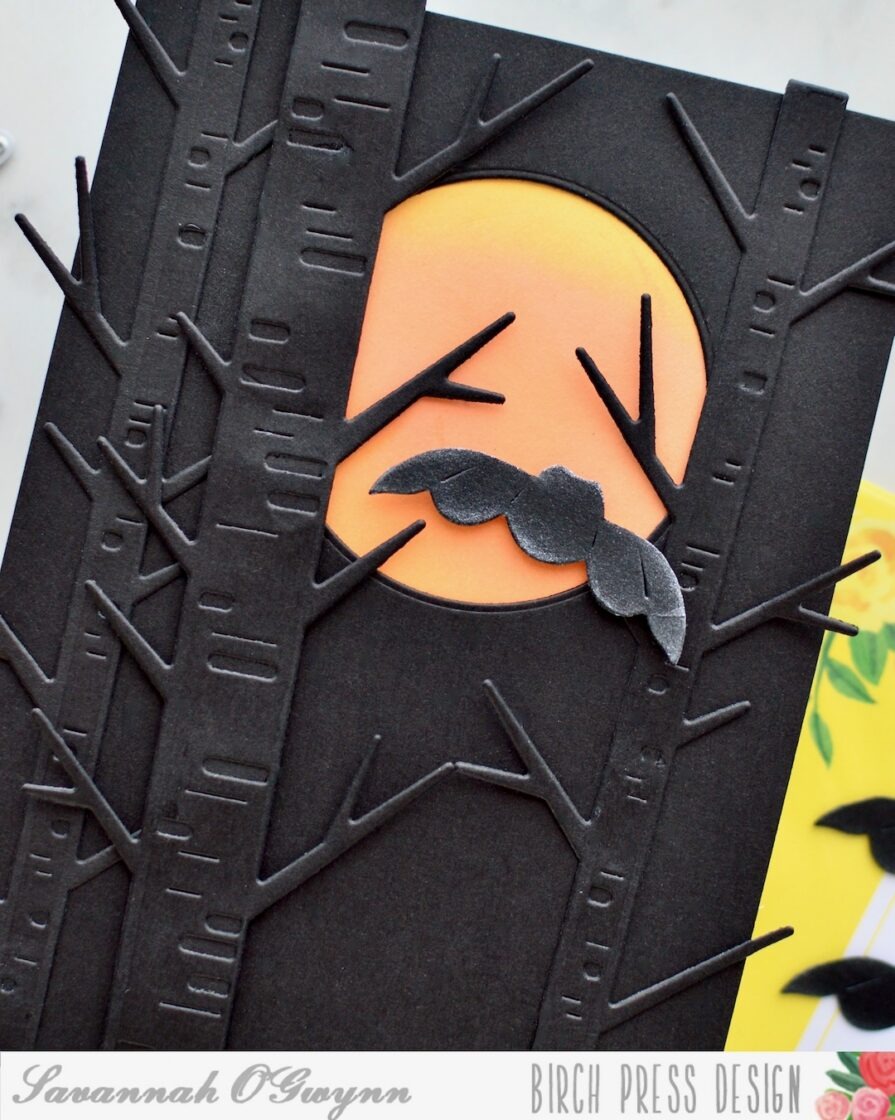
    I am back and excited to share my NEXT Birch Tree Series design using the Block Print Birch Tree dies!

    **Check out my first design HERE– it was a Summer theme.
    **Check out my second design HERE– it was also a Fall theme.
    **Check out my third design HERE– it was also a Fall theme but a bit different!

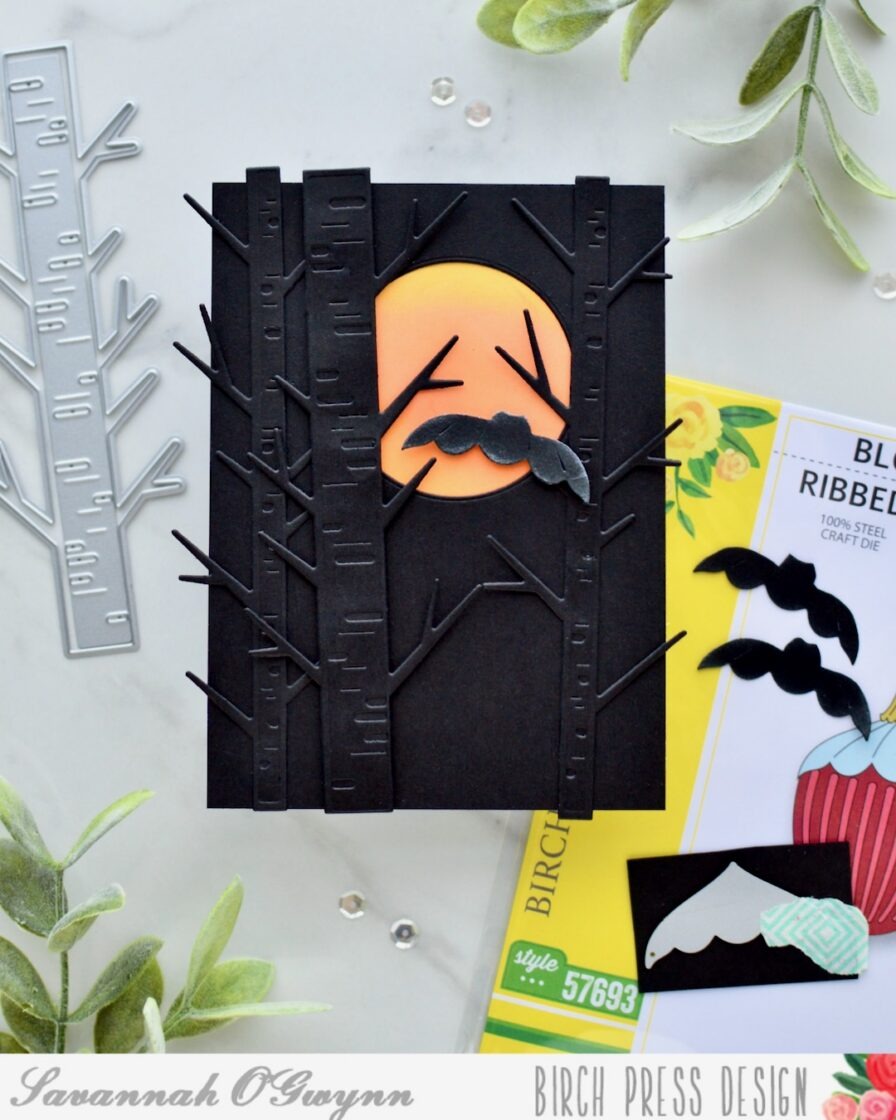
    I cannot even tell you how many ideas I have for the Block Print Birch Tree dies— it’s A LOT! And this idea makes the Birch Trees kind of spooky, which is PERFECT for Halloween🦇
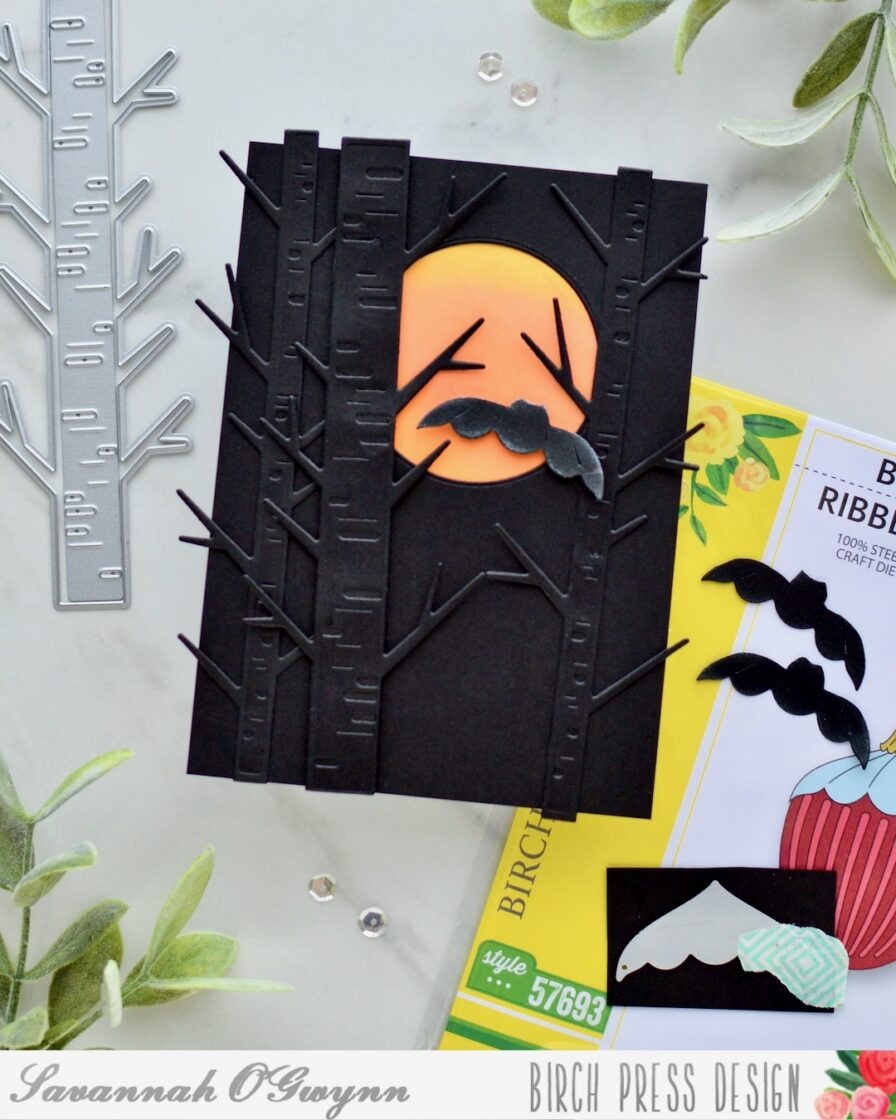
    You might be asking, “Does BPD have a BAT die/image? Or a Moon/Sun die/image?”

    The answer is NO! I custom made this bat using a… CHRISTMAS ornament die piece! And I cut the moon using another Christmas ornament die piece! I highly recommend looking through your stamps/die stash to stretch your supplies🙃

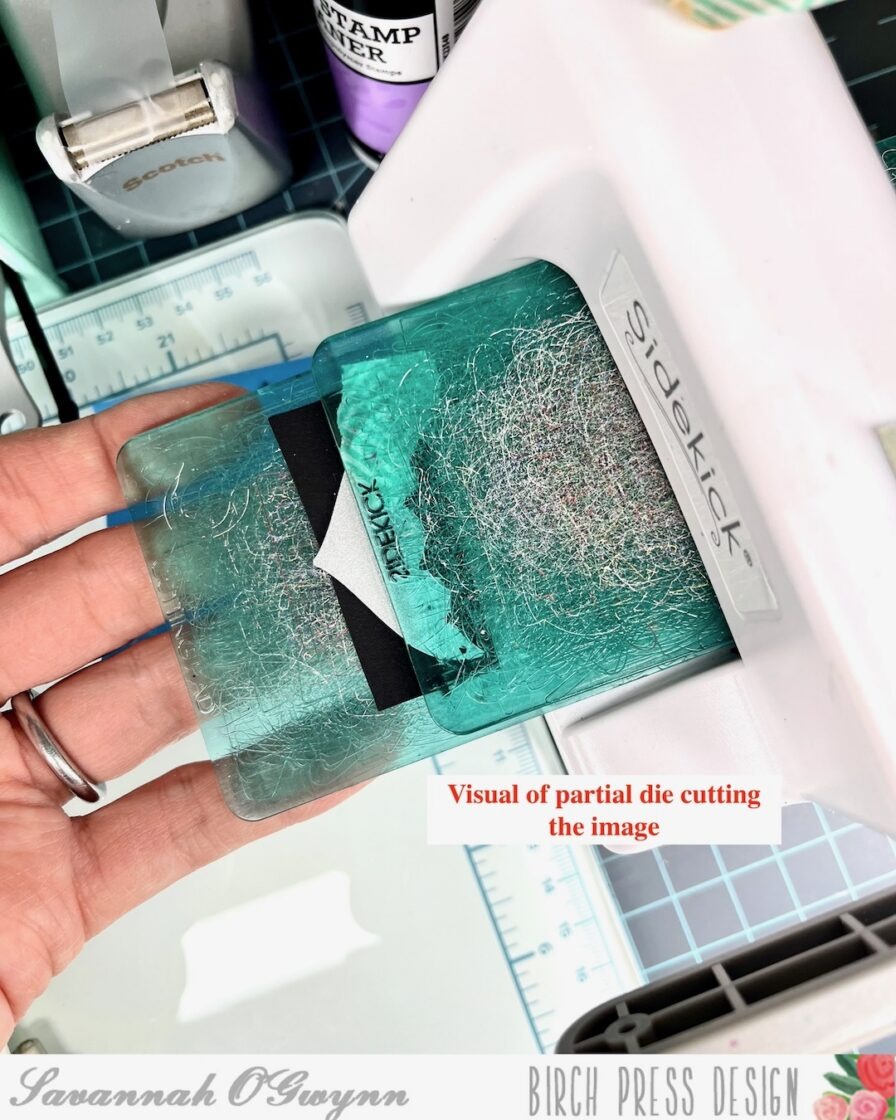
    Here’s how you can recreate this bat –> the technique is called partial die cutting.

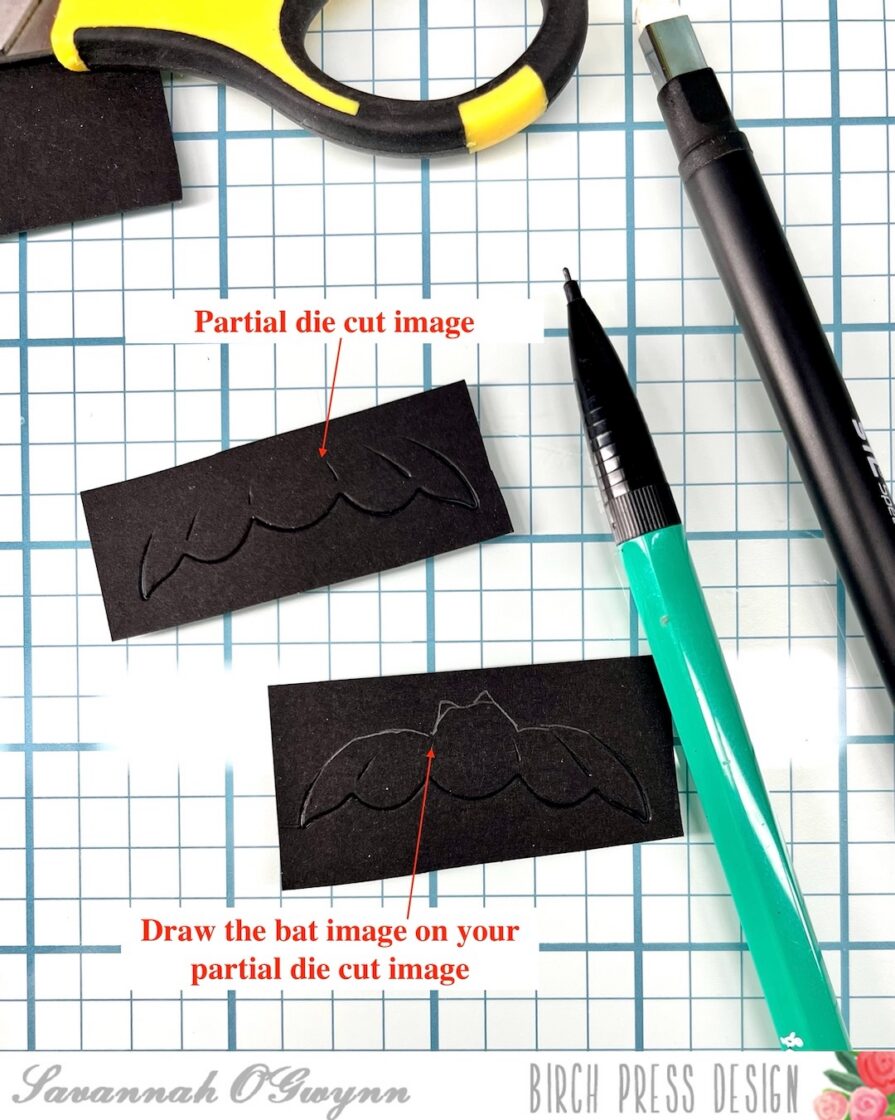
    The bat is created using a part of the Block Print Ribbed Ornament die set. You can see in this photo the original die cut image [top left] and how I partially die cut it [middle] and then drew and cut out the rest of the image, which creates the bat [bottom right]!
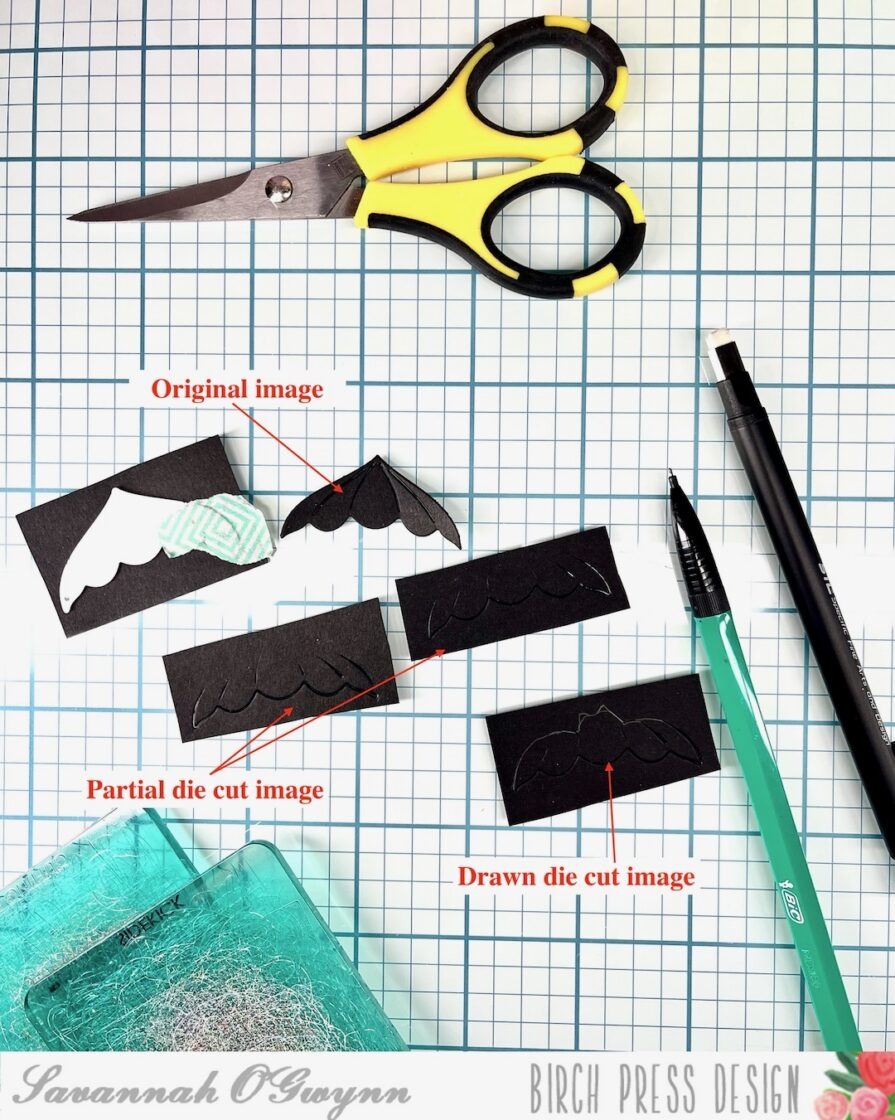
    Partial die cutting allows you to extend your die cuts; I have been extending my shapes and frame dies for YEARS! However, I’ve recently started partial die cutting even small images to create a different image!
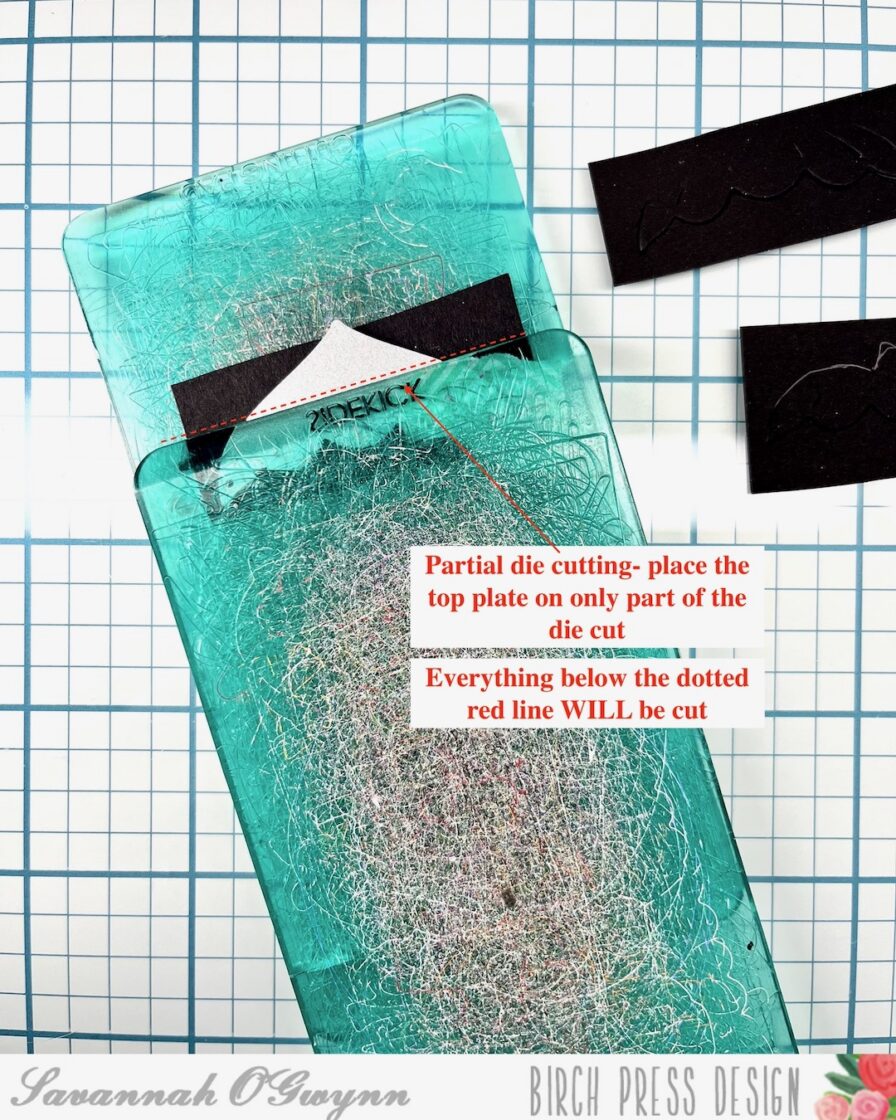
    Once you have your die cut and plates in place for partial die cutting, run your plates through your die cutting machine like normal.
    Here’s a comparison of the partial die cut image and the drawn bat image using the partial die cut design!
    To finish this bat, all I did was cut it out and erase the pencil lines! OH— and I added a bit of silver shimmer ink to make it pop on the black Birch Tree forest background😉
    I hope that you have been inspired by my Birch Tree Series and this Halloween design!

    Please remember to share what you create using these tips, tricks, and techniques or if you were inspired by my creation- I’d love to see what you make with this idea! 

    I’ll be back with MORE soon! 

    THANKS so much for stopping by! Happy crafting:) 


    HUGS <3 Sav
  • A Haunting | by Toni M Maddox

    A Haunting | by Toni M Maddox

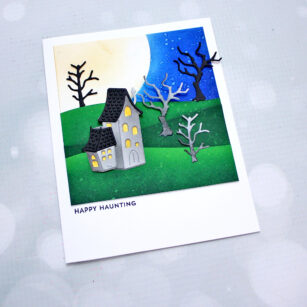
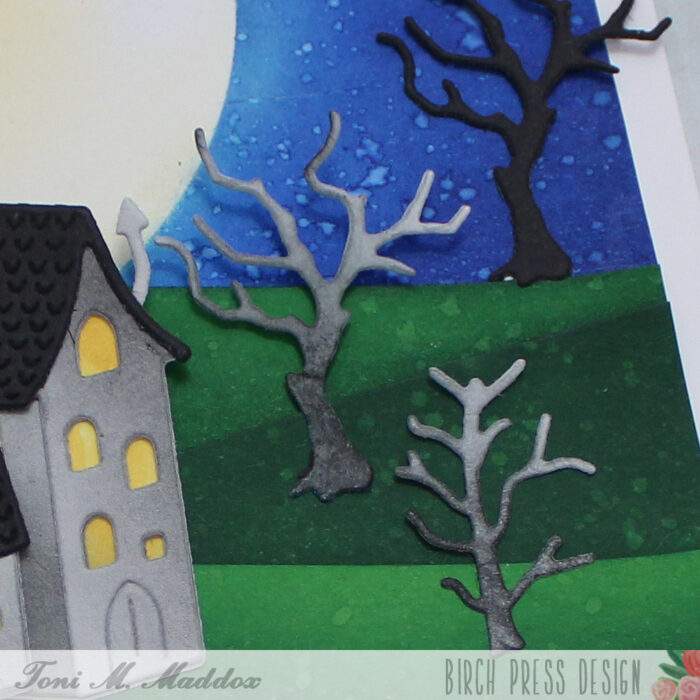
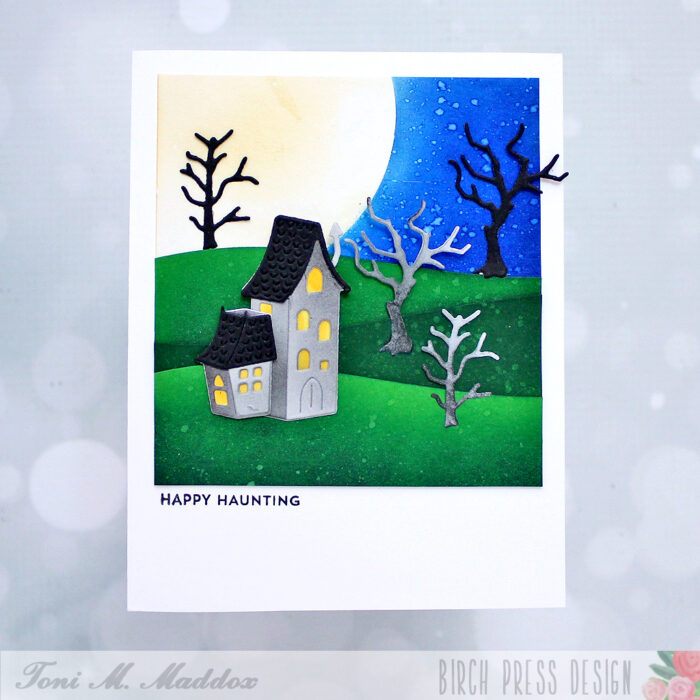
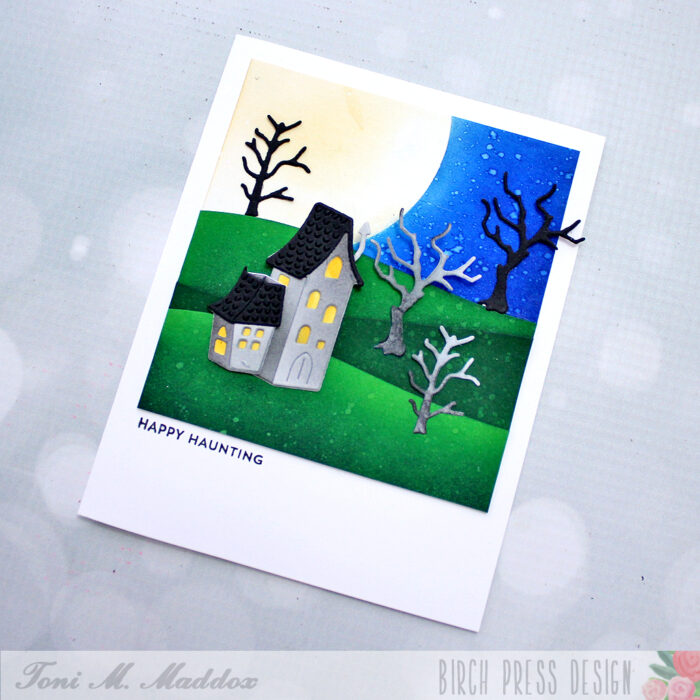
    Hello, friends! Toni here with you today sharing my love of all things spooky!

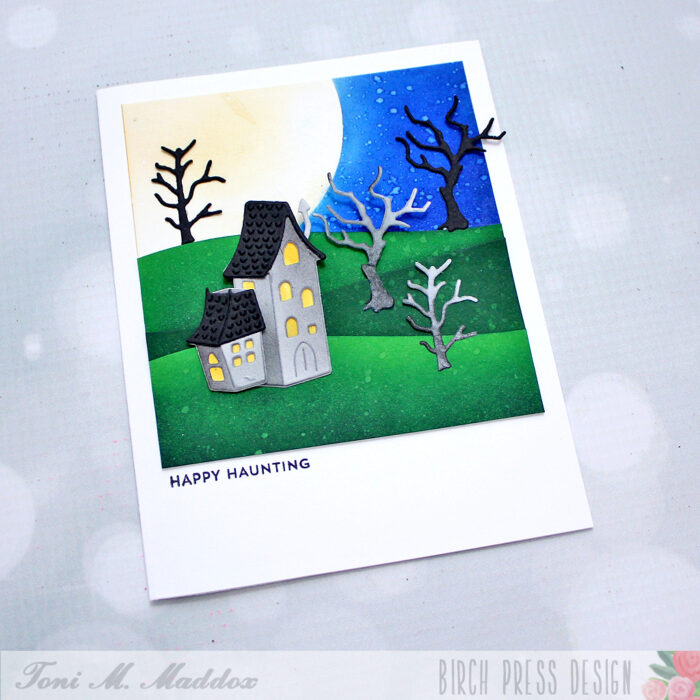
    I masked a moon on the card front and sponged around it with Catherine Pooler Something Borrowed, Suede Shoes, and Dress Blues.

    I cut out the Littletown Spooky Manor and Wavy Hillside dies. I used white cardstock for most of it but used Memory Box Cilantro cardstock for the hills.

    I really like the Wavy Hillside layers as you can easily adjust their position as needed to create the vertical height you want.

    I used Catherine Pooler Grass Skirt and Deck the Halls for the hills. For the trees and house, I used Catherine Pooler Midnight along with Distress Oxide Weathered Wood and Mustard Seed. Of course, I spattered the lot with a tiny bit of water for that worn look I love.

    For a full list of products used and to see my other projects, feel free to visit my blog, Frankie Helps Craft.  Have a great rest of your week!

    I hope you enjoyed today’s card and have a wonderful rest of your week.

    Supplies

  • It’s Fall, Ya’ll | by April Antonio

    It’s Fall, Ya’ll | by April Antonio

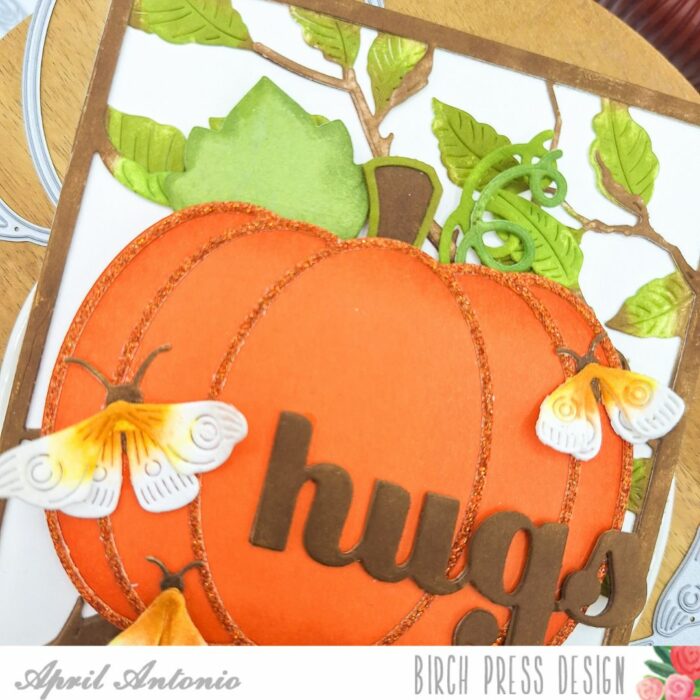
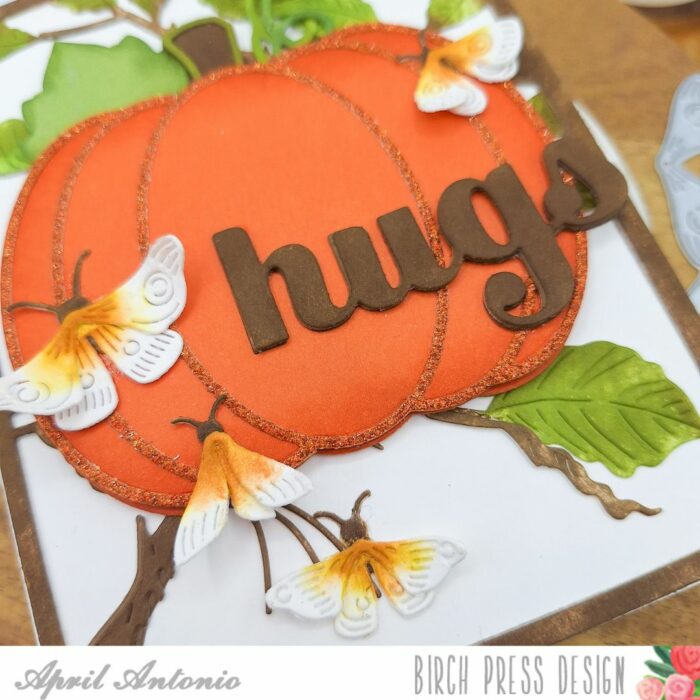
    Hello friends! Design Team member April here today sharing a card in honor of the first day of Fall. Time to light some cozy candles, grab a warm blanket, and sink into a fun afternoon of crafting.

    Here’s how I pulled this card together:

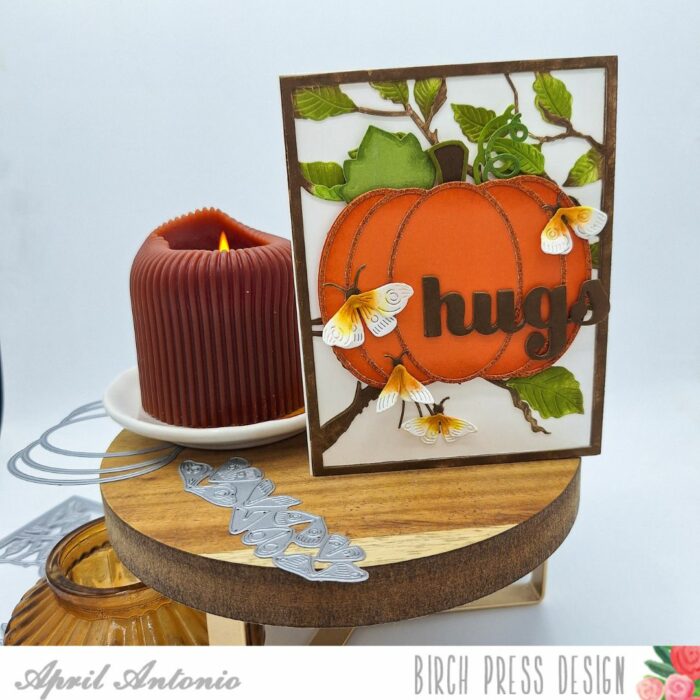
    I used layer A and B from the Forest Canopy Layer set and ink blended on the leaves and branches with green and brown inks. I glued both layers together, and then used a tape runner to attach them to an A2 card front.

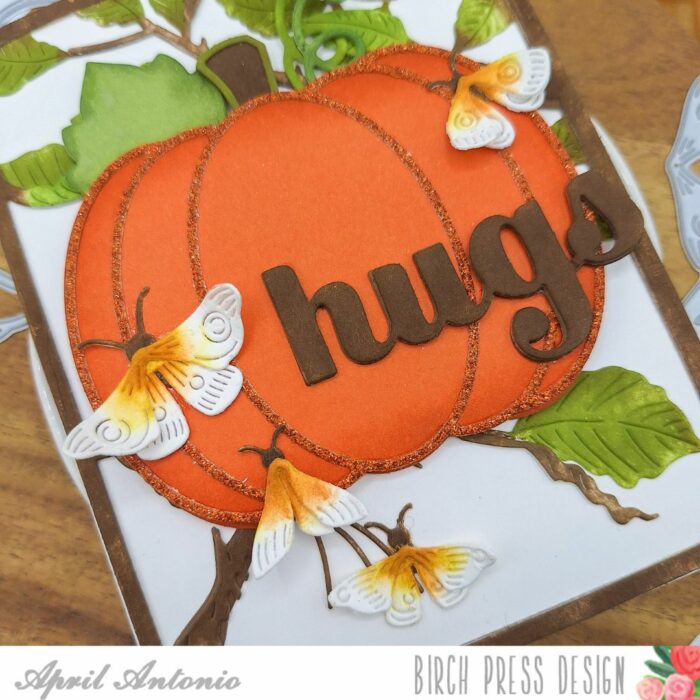
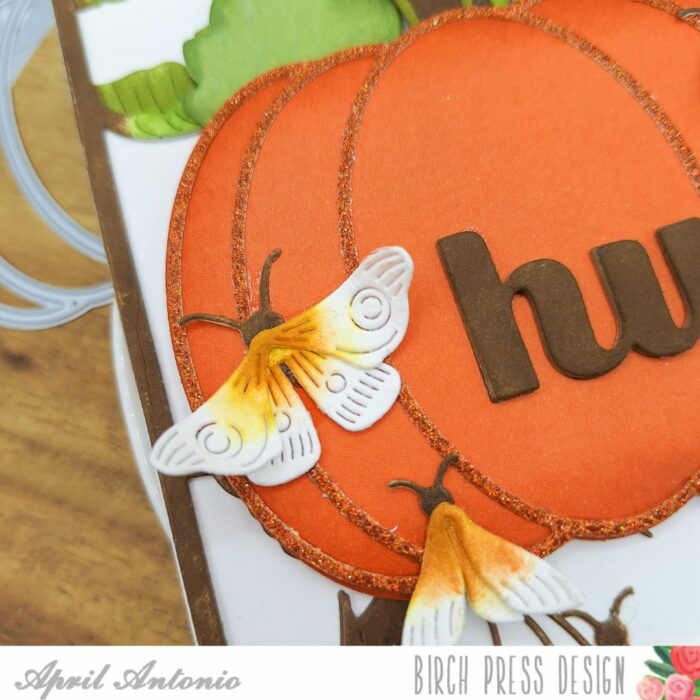
    I then used a sheet of orange cardstock from the Sunny Orange cardstock pack to cut the background of the Adornment Pumpkin die set. I cut this out twice and used foam tape to glue the two pieces together.

    I cut the outline part from a piece of orange cardstock from the Glitzy Glitter pad. I finished off the pumpkin by ink blending the stem and leaves and adding them to the top.

    For my sentiment I used the Big Hugs Sugar Script die, cutting it out three times and ink blending brown onto the layers, and gluing them together.

    Lastly, I cut out all the dies from the Evening Moths die set from white cardstock.

    Supplies

    Supplies