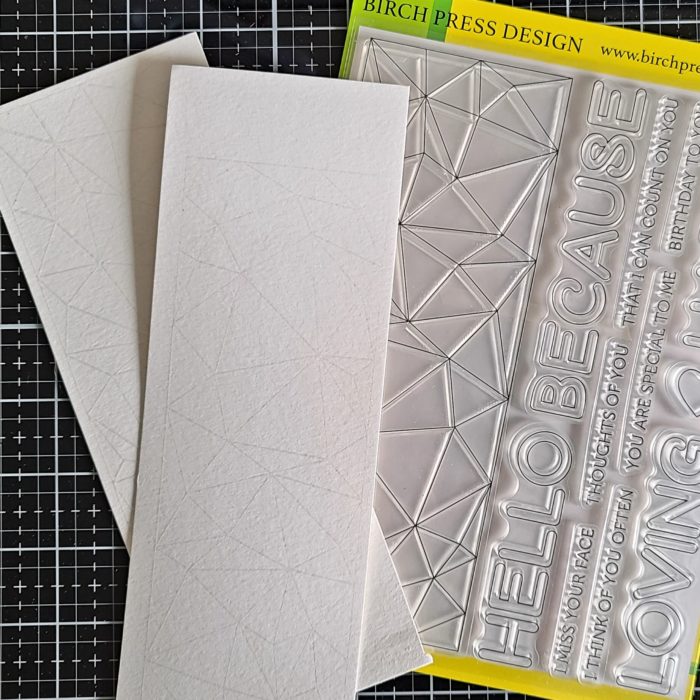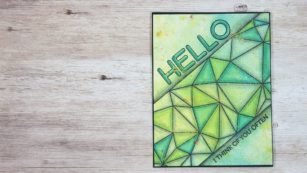
Hi Everyone! Renee from Delaney Jane Cards here today with a super fun project using the Crystal Lingo Stamp Set, Open Studio Watercolor Paper and some messy inky fun.
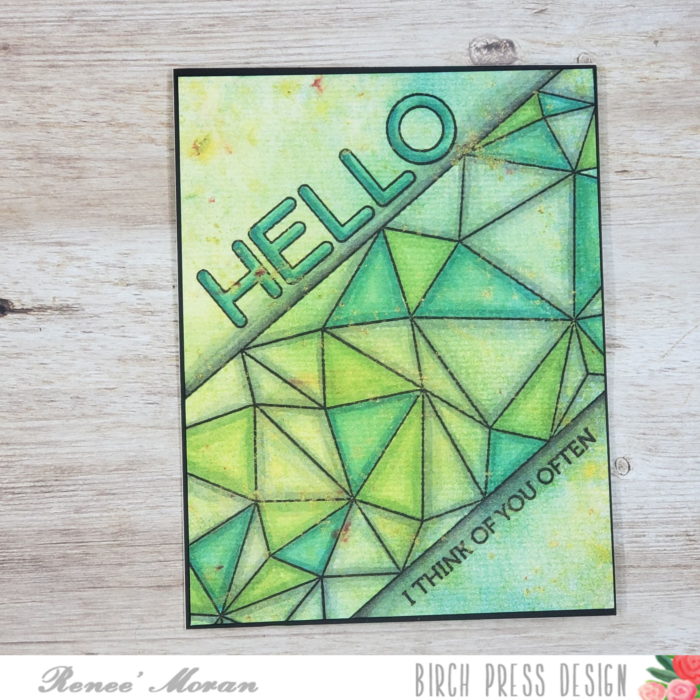
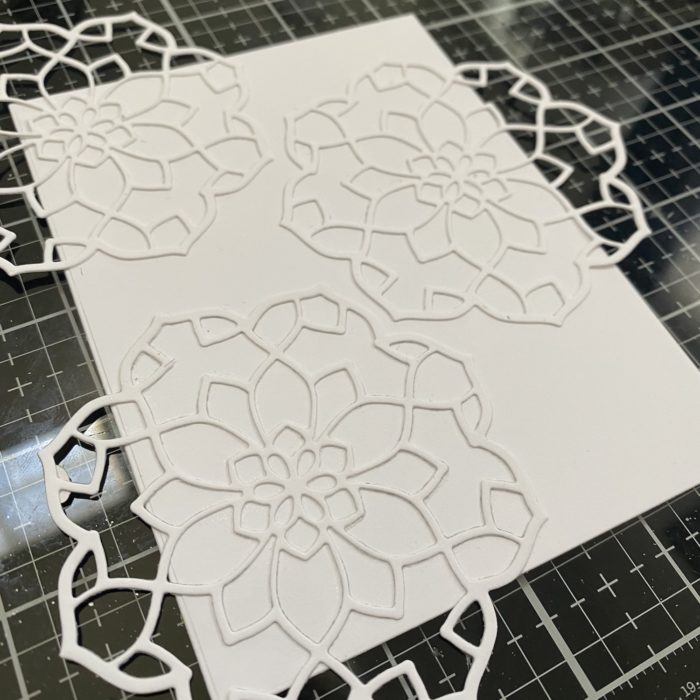
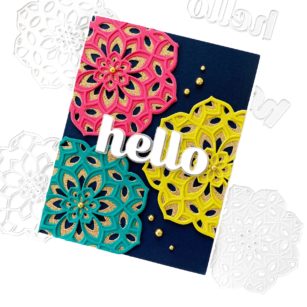
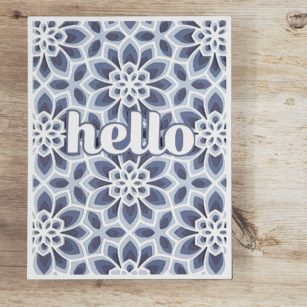
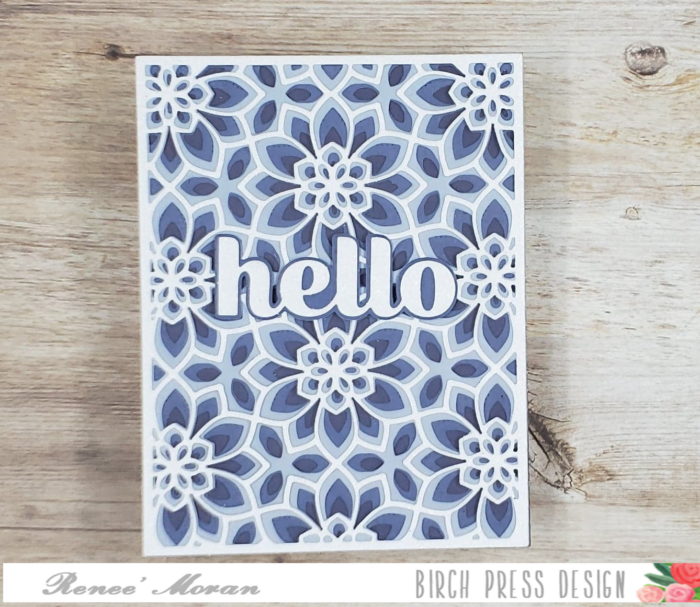
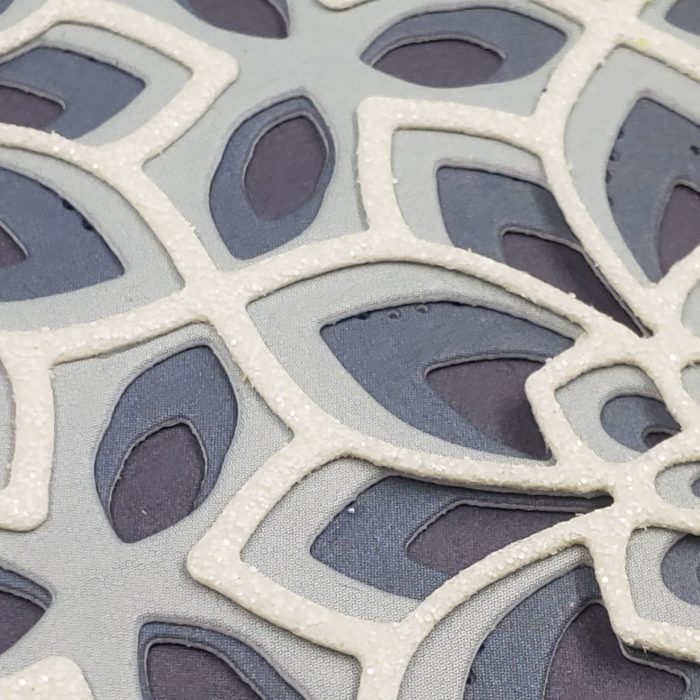
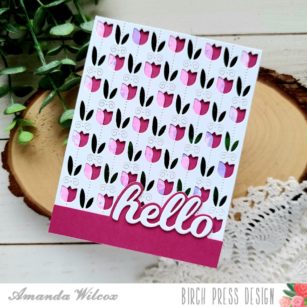
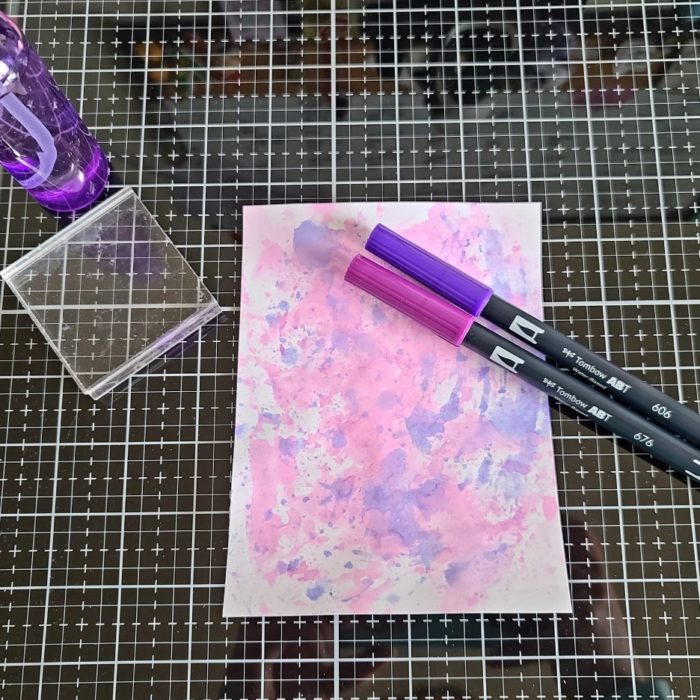
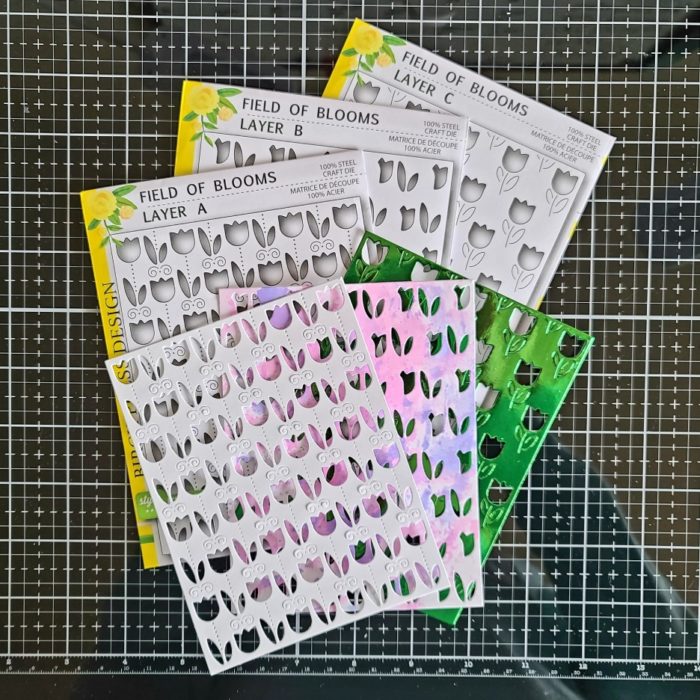
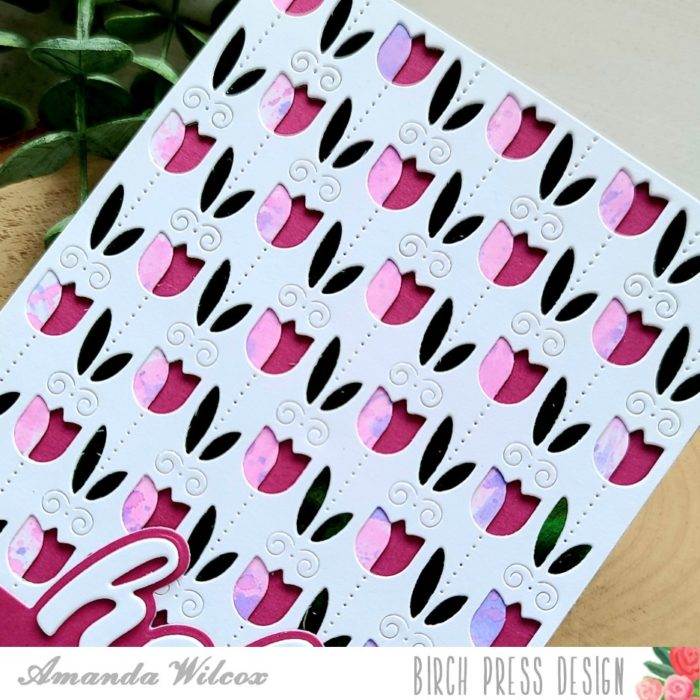
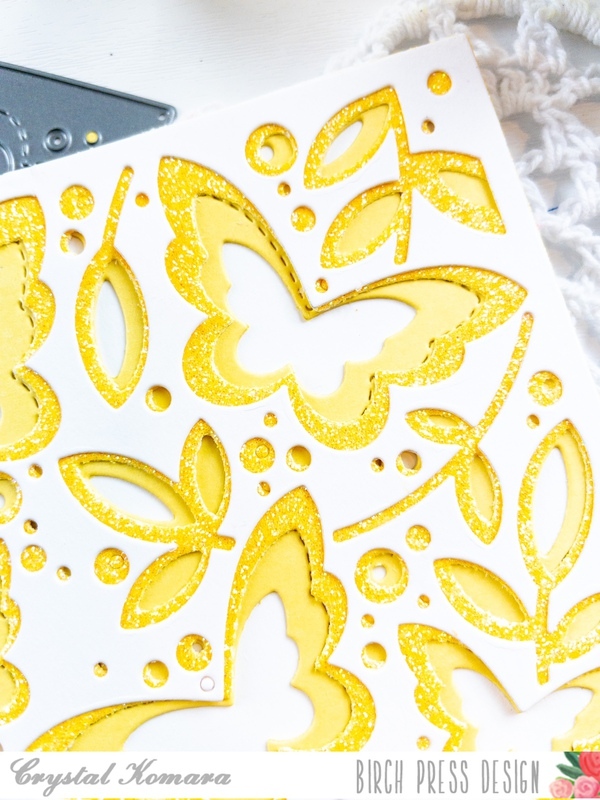
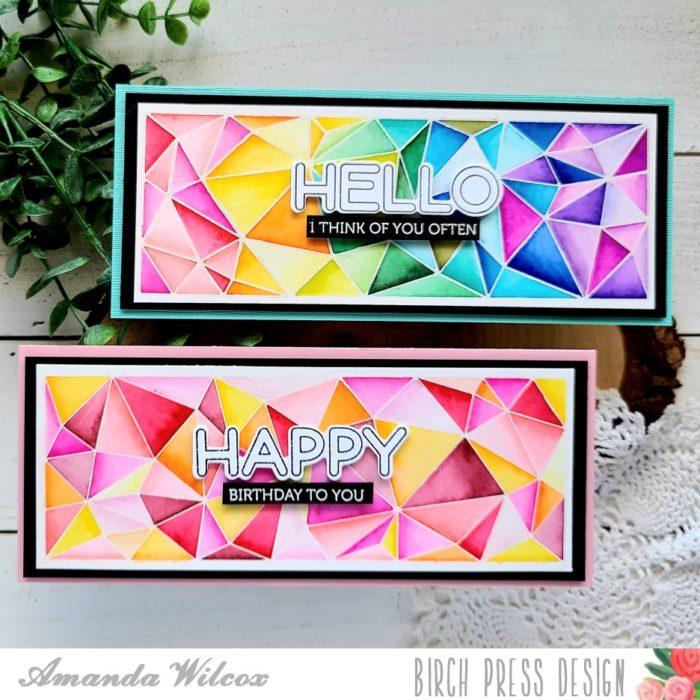
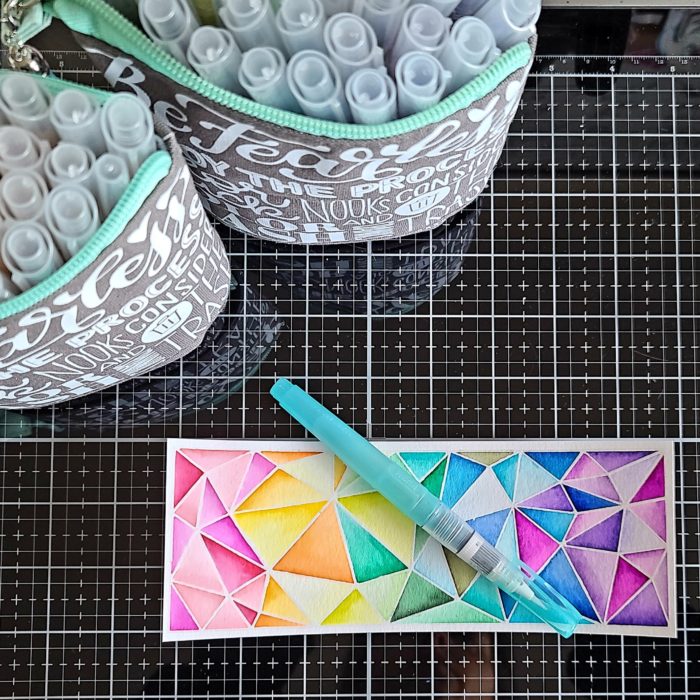
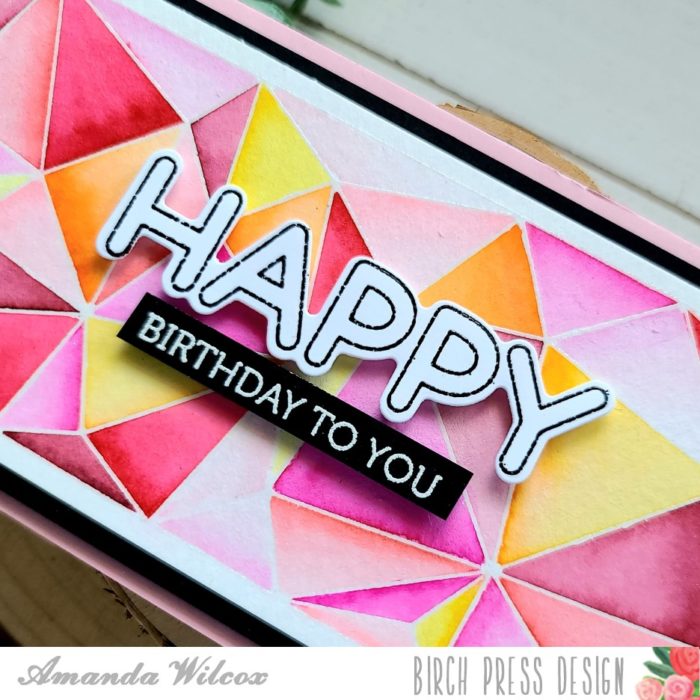
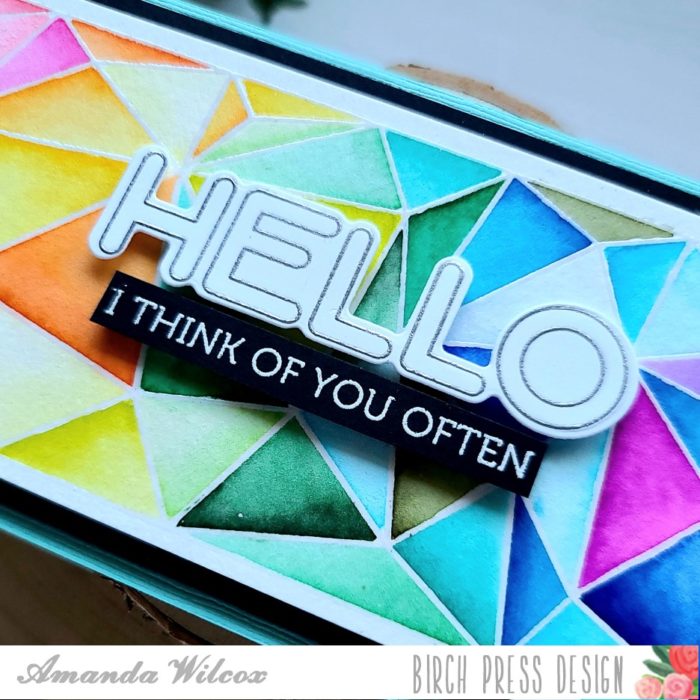
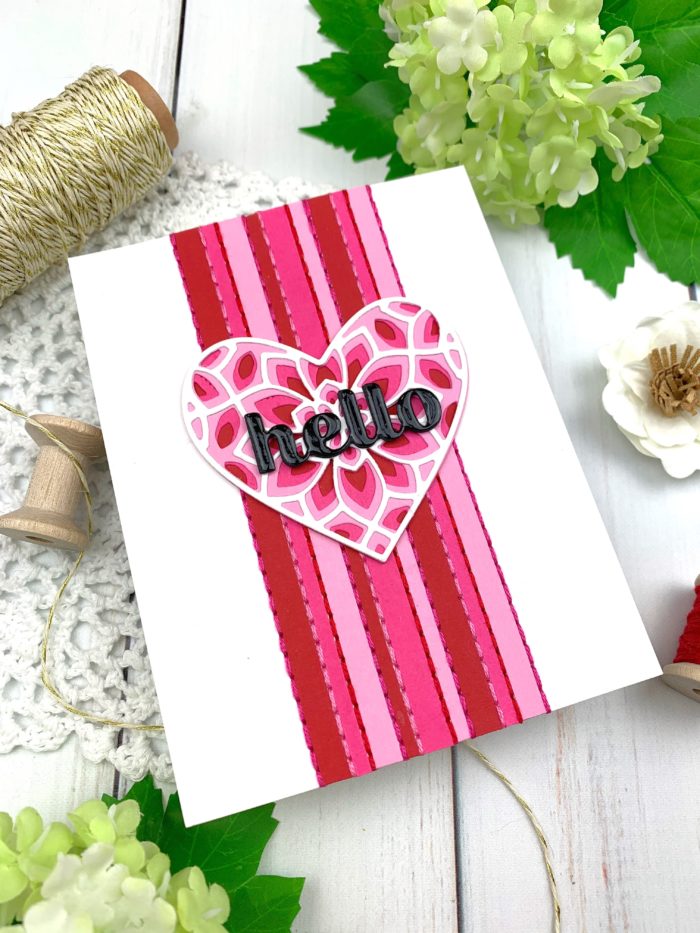
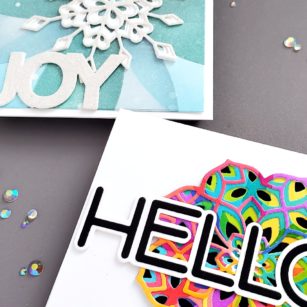
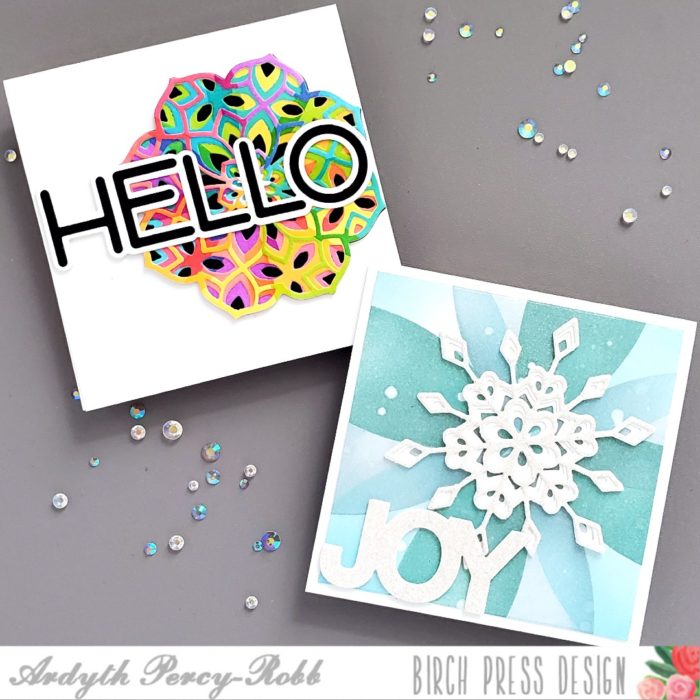
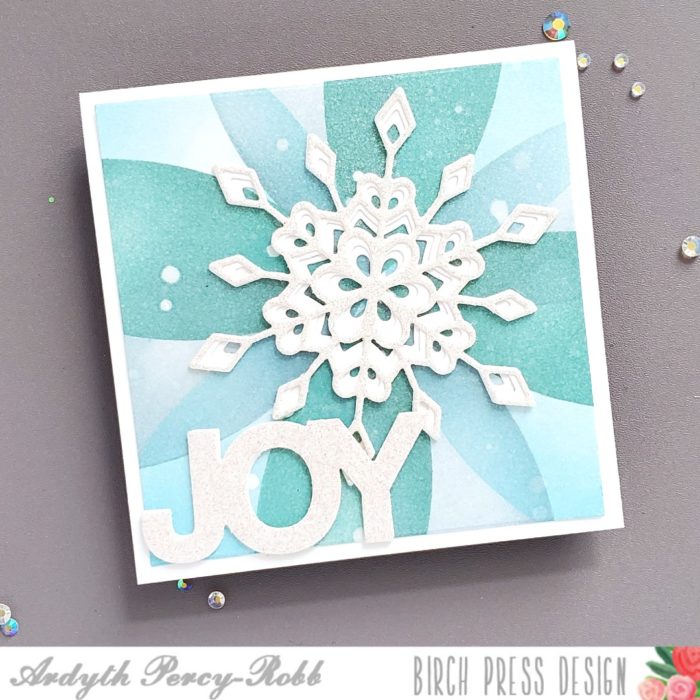
Layering the Ink sprays I have in my stash with some stash shimmer powder created the perfect background to highlight this amazing stained glass-esque Crystal Lingo Stamp. It reminds me of stained glass so much, is that what you see?
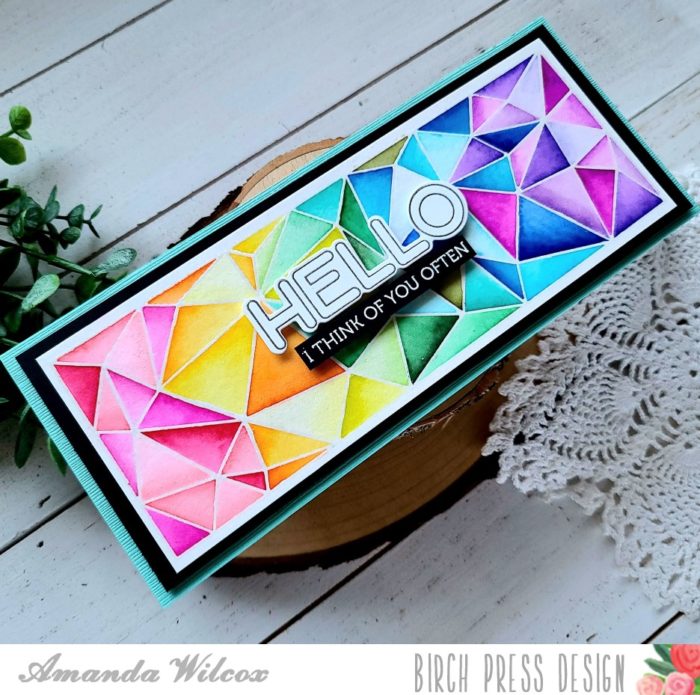
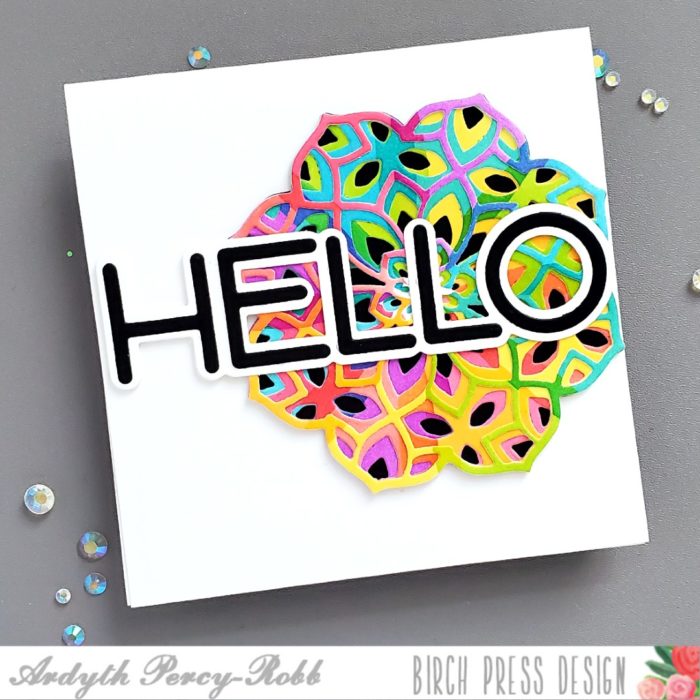
I wanted to leave this looking translucent but add color so I reinforced the colors in the geometric stamp with some Alcohol Markers.
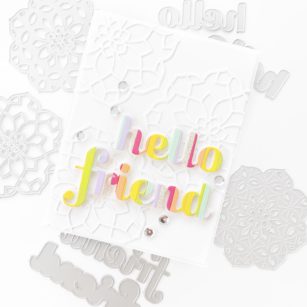
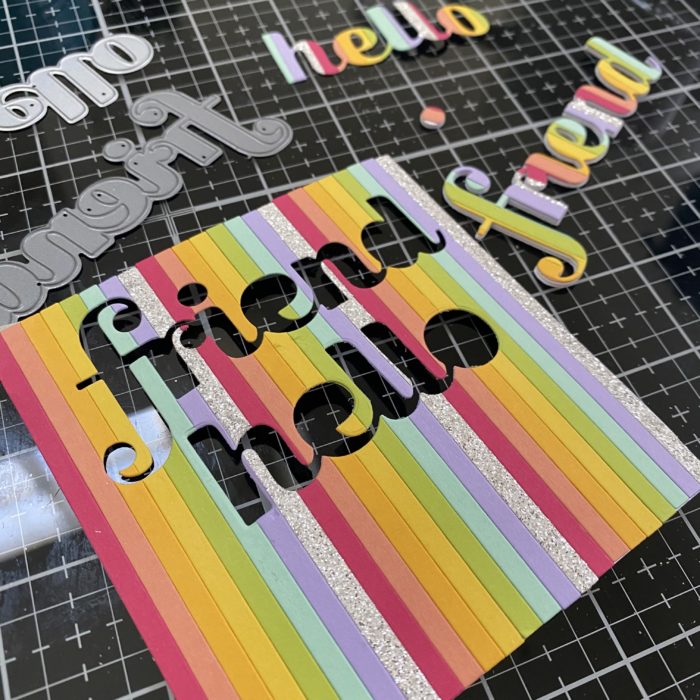
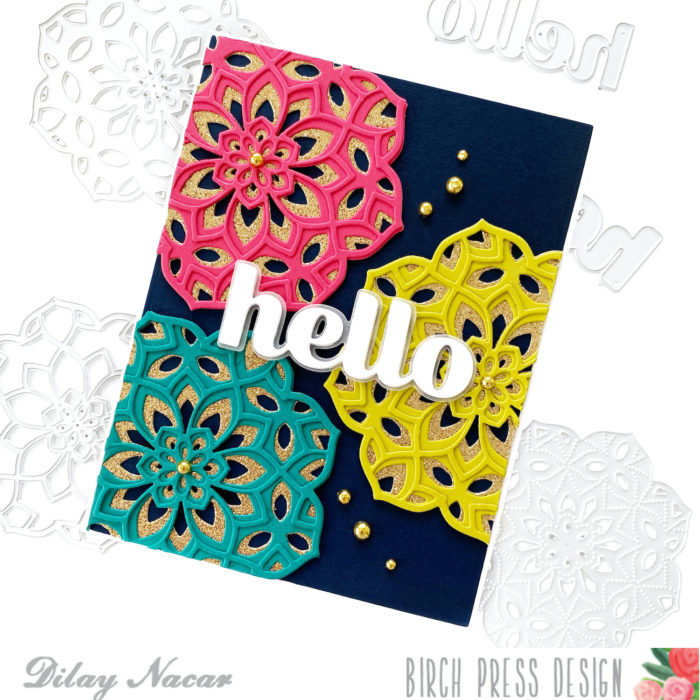
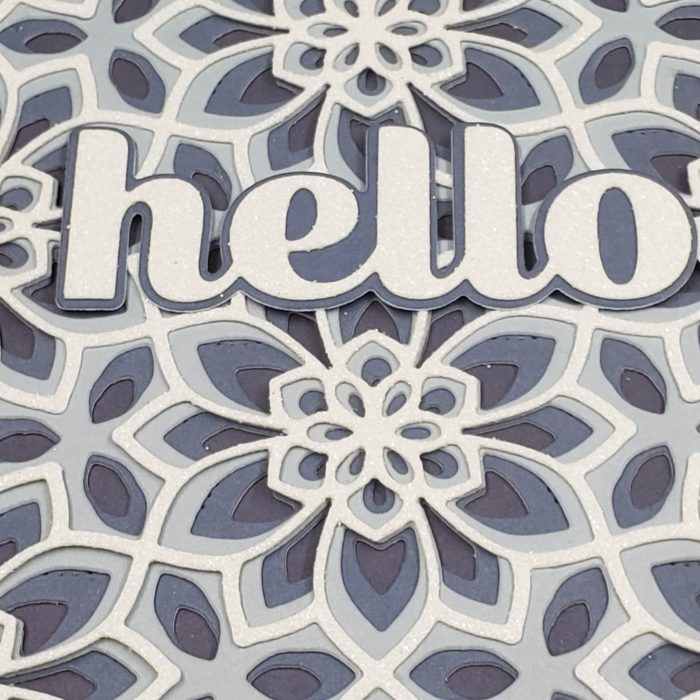
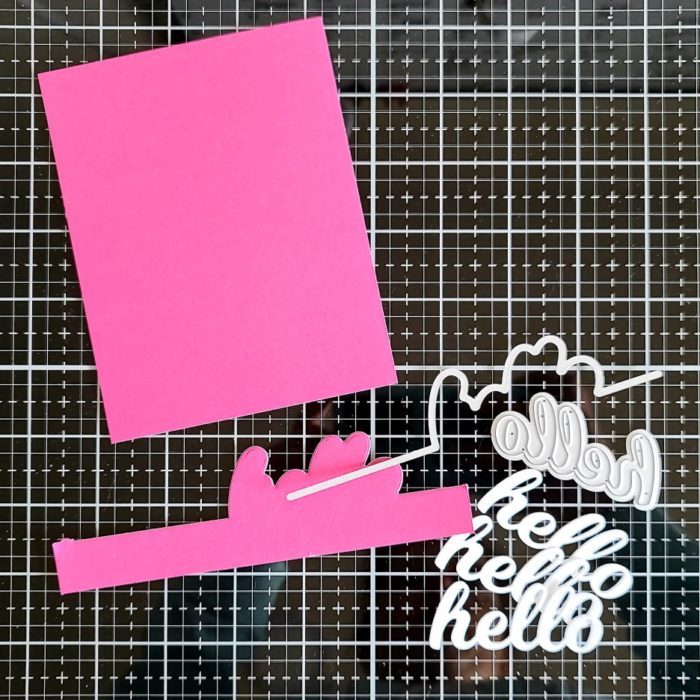
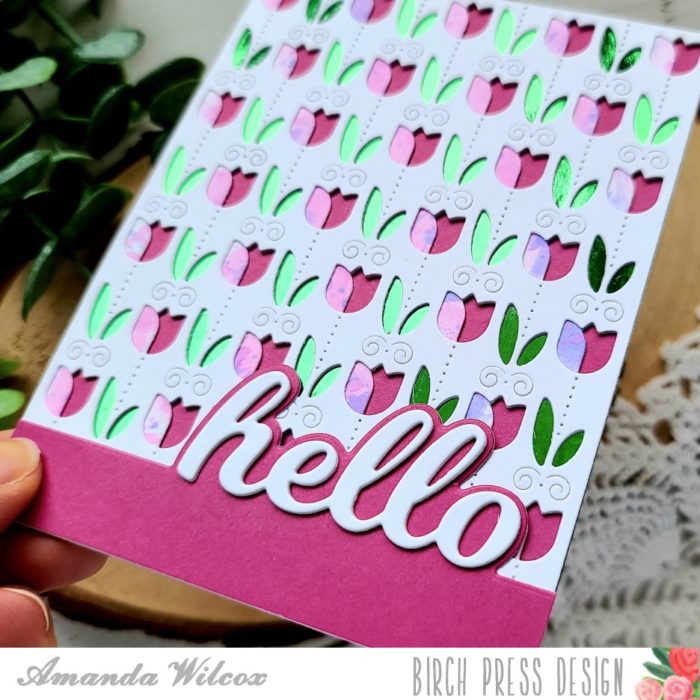
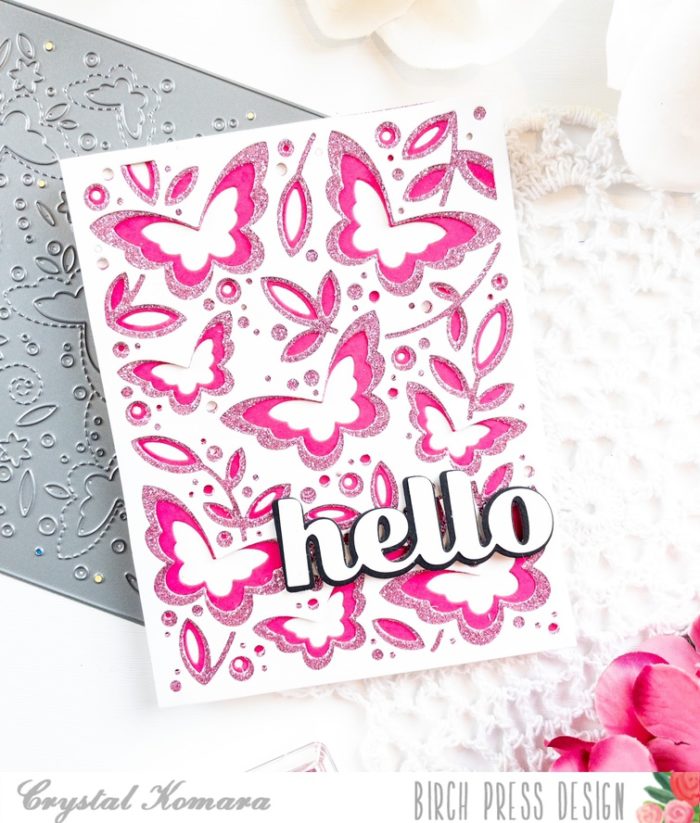
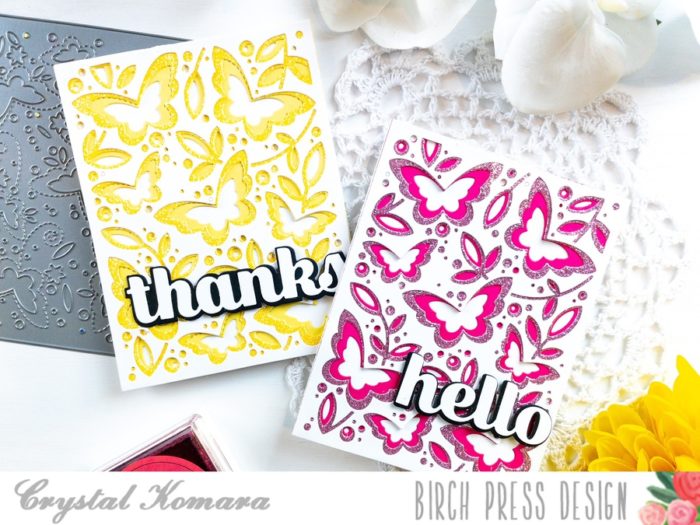
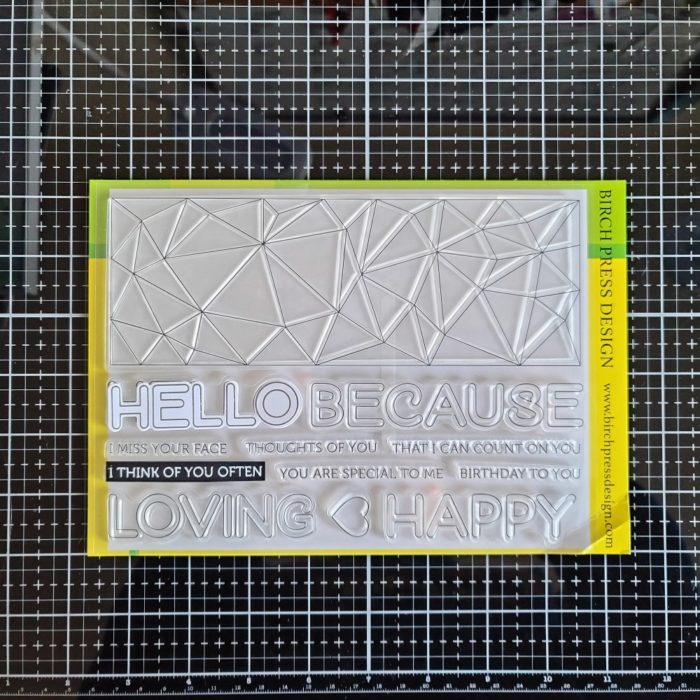
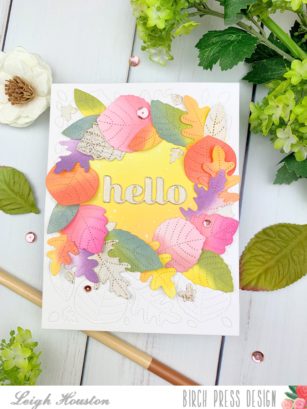
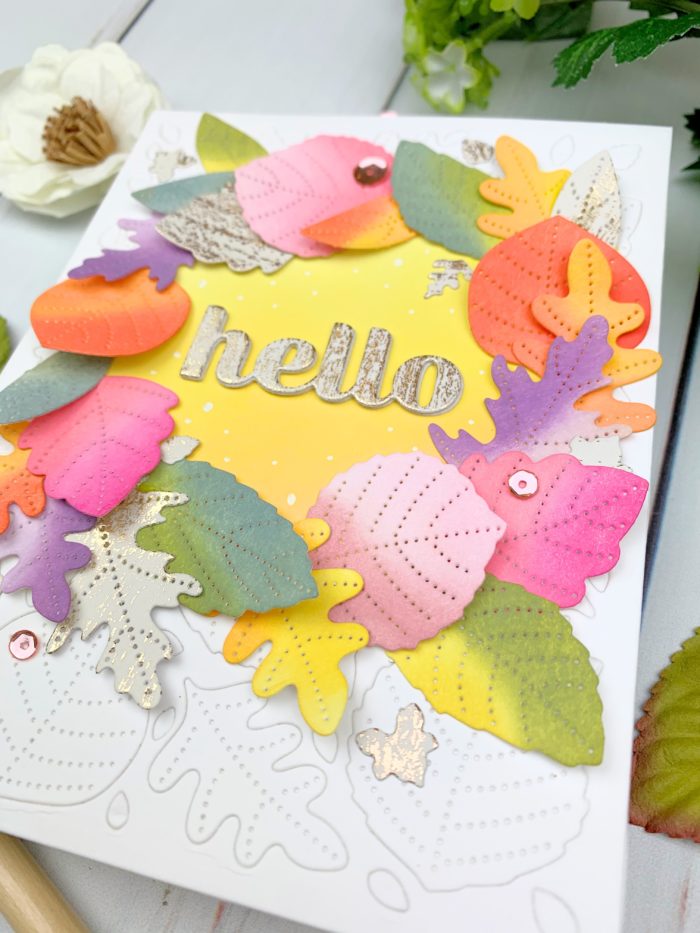
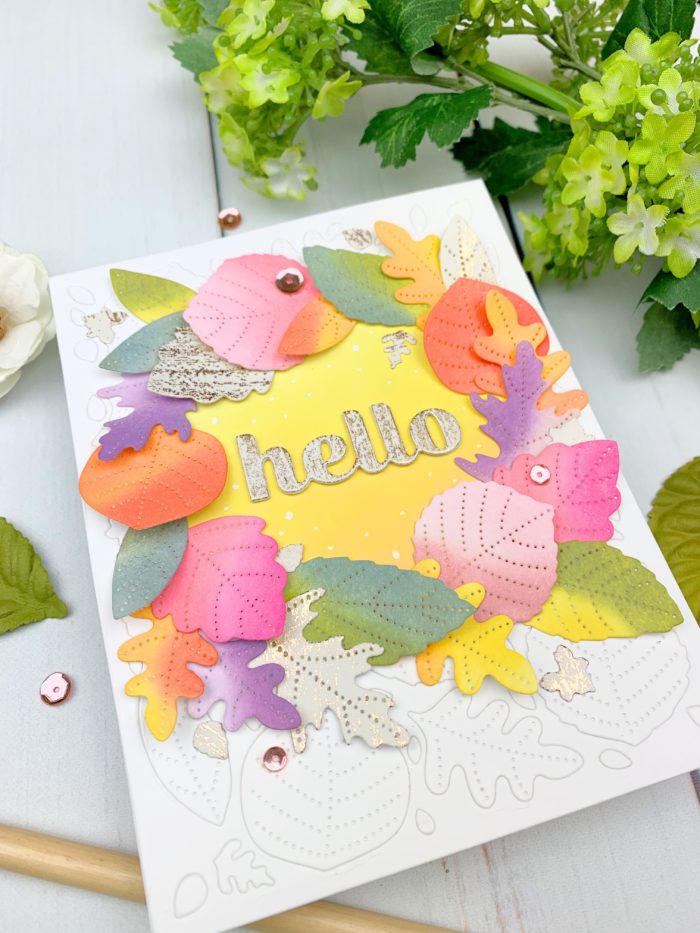
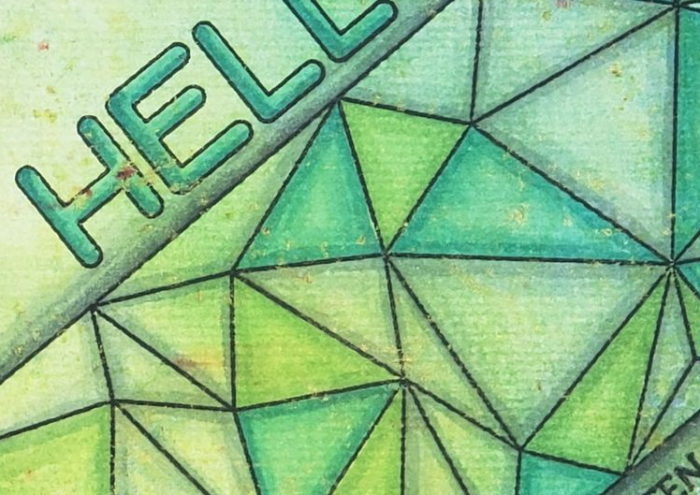
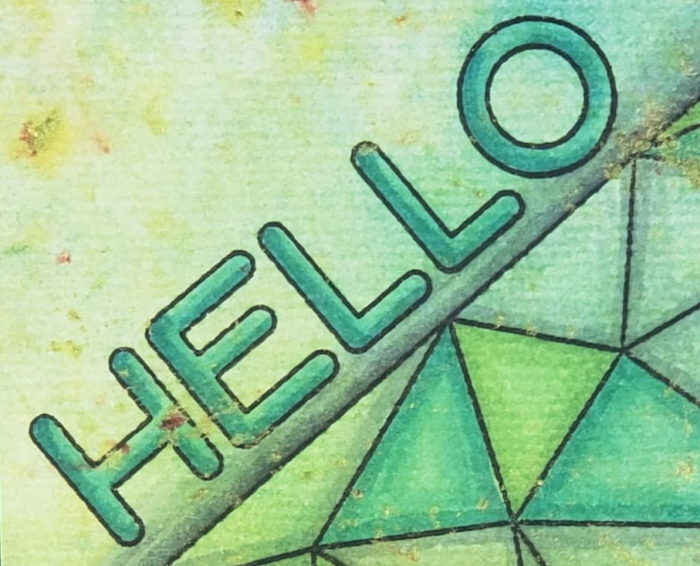
I used the Hello from the larger sentiments in the Crystal Lingo stamp set. I could have die cut it with the coordinating die but I chose to create a one layer panel. I paired it with a coordinating sentiment to frame in the beautiful geometric panel.
I’d love to know what you think of my design and of this gorgeous stamp set. And if you have any ideas on creative ways to use this very versatile Crystal Lingo stamp set. Please let me know in the comments below.
Also, if you’d like to see how my card came together, you can click on the video below.
Thank you so much for checking out my card today.
As I always say,
Give Cards Generously
-Renee’

Supplies