Category: Hot Foil

  • Glittery Snowflake Hugs | By Natasha Vacca

    Hello Birch Press friends! I am excited to be up on the blog today! For today’s card I had a lot of fun creating a glittery snowflake card to share a hug this winter! So let’s get started!

    I started with Herbarium Plate die set. I dry embossed layer A onto a piece of white card stock. I then used several shades of Distress Oxide Ink to add color to the embossed background. Once I had the colors I was looking for, I trimmed the panel a little smaller than an A2 card base. I then set this aside.

    Next I die cut the Snowy Circle die set. I started with Layer C with white card stock, then Layer B using a blue from the Stormy Blue paper pad, and for Layer A I used the Festive Glitter Pad. Once all the layers were die cut, I adhered them together with liquid glue.

    I wanted to add a bit more dimension and interest to my snowflakes, so I chose to the use the leaves from the Dainty Rose and Leaves Contour Layers die set. I love using my dies in different ways and I encourage you to look through your stash too! I die cut the leaves using a blue from the Stormy Blue paper pad. I then added a bit more texture to each leaf using inks. I applied a bit of darker blue in the nooks and crannies of each leaf using a finger dauber. Once dry, I added a silver/white embossing powder for added texture.

    Once the leaves were complete, I used my finger to shape the leaves a bit to add more dimension. Next I glued down my Herbarium Plate embossed panel to an A2 card base using liquid glue. I then added foam tape to my Snowy Circle. Before adhering down the snowflake, I determined the placement of my leaves. I then adhered the Snowy Circle and leaves to my card front using a combination of liquid glue and foam adhesive.

    To complete my card I chose a sentiment from the Sugar Script Sentiments 1 Hot Foil Plate and die set. I foiled the Sending Hugs onto a piece of white card stock. I then used the coordinating die to die cut my sentiment. I die cut 2 more outlines and adhered them together with liquid glue for added dimension. I adhered my sentiment with foam tape and liquid glue.

    Thanks so much for stopping by today! I had a lot of fun and I will be back soon!


    Supplies


  • You Are Loved | By Allison Frazier

    You Are Loved | By Allison Frazier

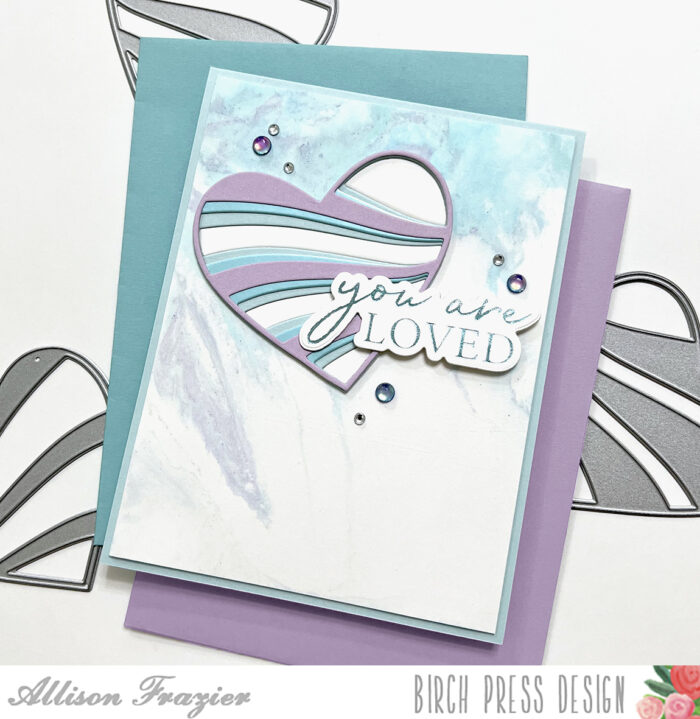
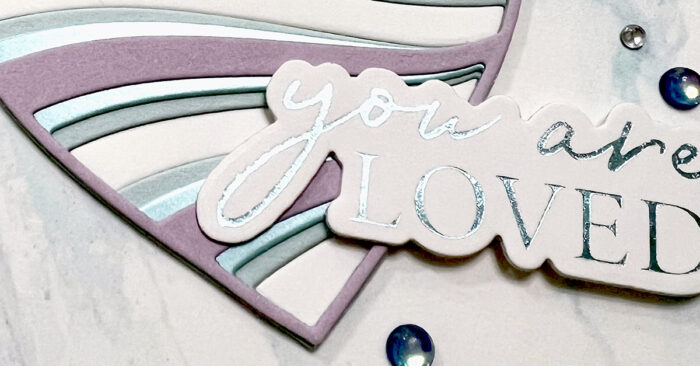
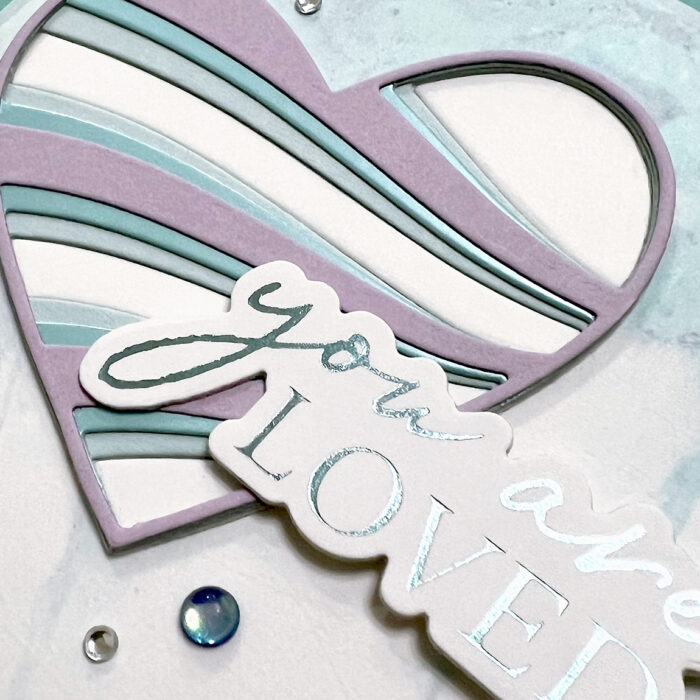
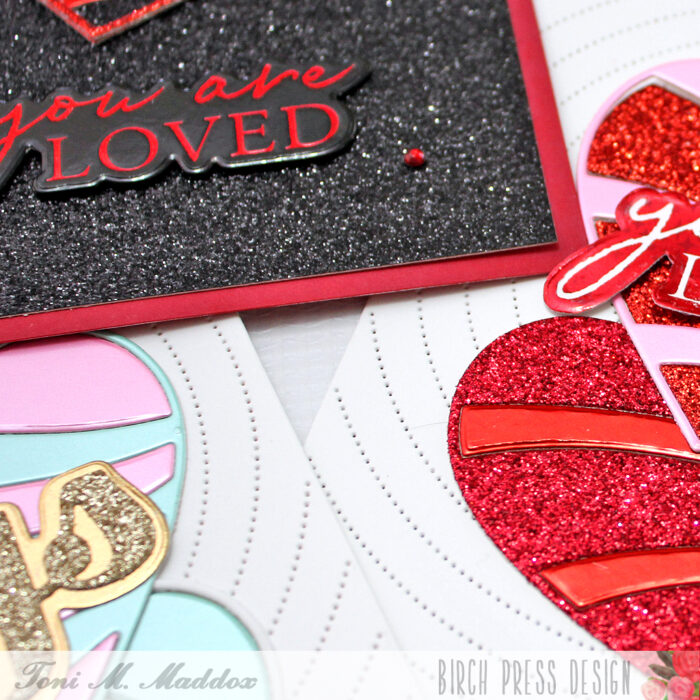
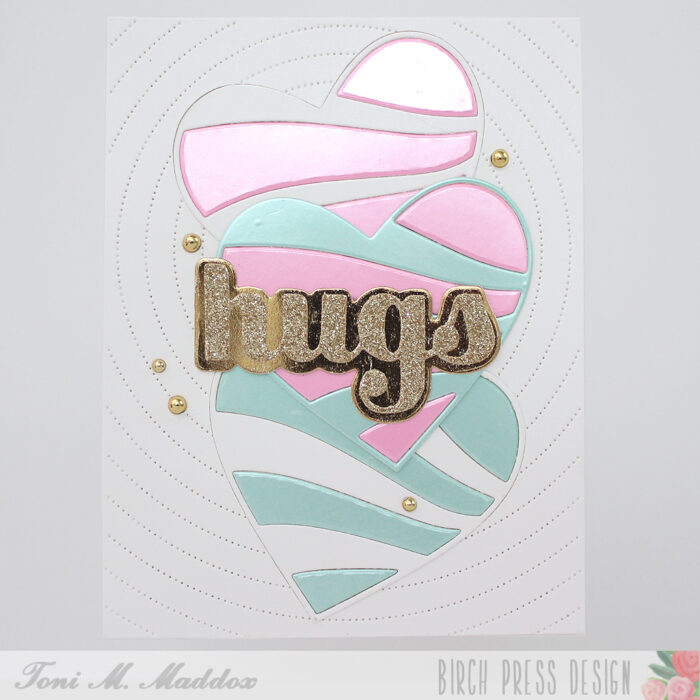
    Hello, Birch Press friends! Have you seen the new products that were recently added to the online shop? I am featuring two of them today – the “Banner Heart” Layer Set and the “You Are Loved Noted Script” Hot Foil Plate/Die.

    This new layering heart set is just gorgeous. And, of course, it will look different every time you change up the colors. My color choices were based on the background that I created. Have you ever tried alcohol ink marbling? It’s really easy and a lot of fun. And the best part is that you never really know what you’re going to end up with. All you do is put some water in a shallow dish, add a few drops of alcohol ink, and then dip your paper in. Once you pull the paper back out, you’ll be amazed, and you’ll also be torn as to which side to use!

    For layers A and C of my Banner Heart, I chose some regular colored card stock. For layer B, I chose a beautiful aqua pearl card stock – it has a matte sheen. I also cut layer C from white card stock and kept the entire piece intact by taping the back side of it. By keeping the negative and positive pieces together, it creates a solid back which you can then adhere all of the other layers on top of.

    For the sentiment, I used Skybright hot foil, which is a pale aqua color. I love how there is a matching die for this hot foil plate. After adhering the heart and the sentiment to my card panel, I finished up by adding some jewels. The Winter Fantasy Fairy Gemstones were the perfect colors for my design.

    Thank you so much for joining us today. I hope this card inspires you and bring a smile to your face! Be sure to check out the other new products in the online store.

    Wishing you a crafty day,
    Allison


    Supplies


    Supplies


  • Be Merry | by Crystal Komara

    Be Merry | by Crystal Komara

    Hello friends! This is Design Team member Crystal Komara here with you today sharing more holiday themed inspiration using products from the latest Birch Press Design Release. Birch Press Design never ceases to amaze me with its elegant layering dies, contour dies and foil plates. Some of my most loved cards have been as a result of these gorgeous and elevated products.

    Card details:

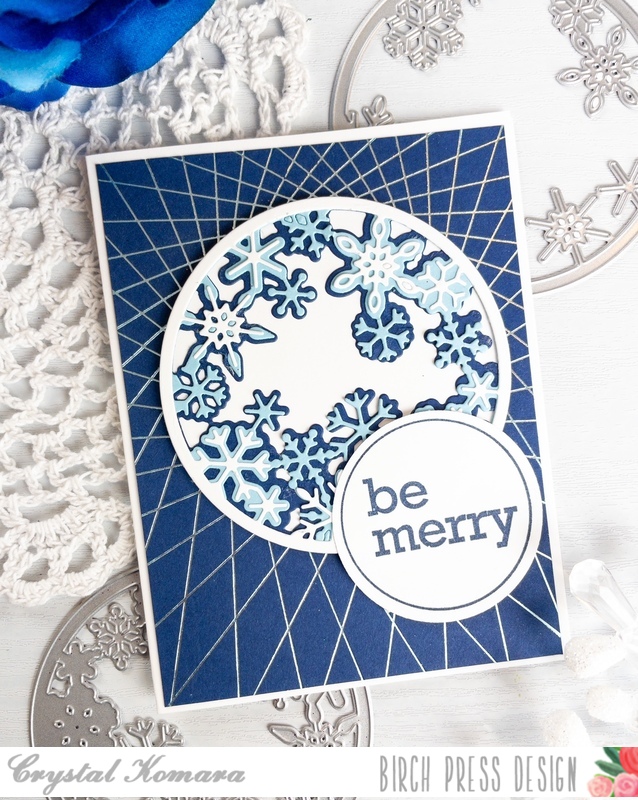
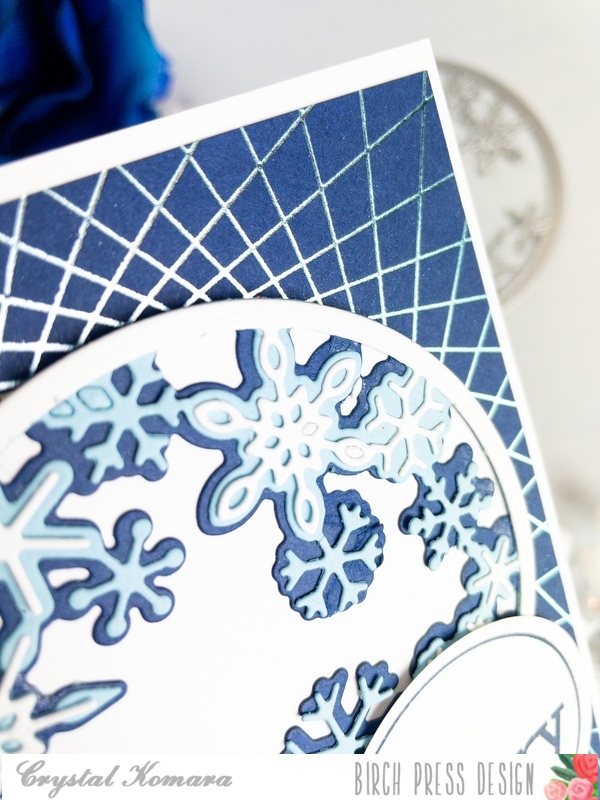
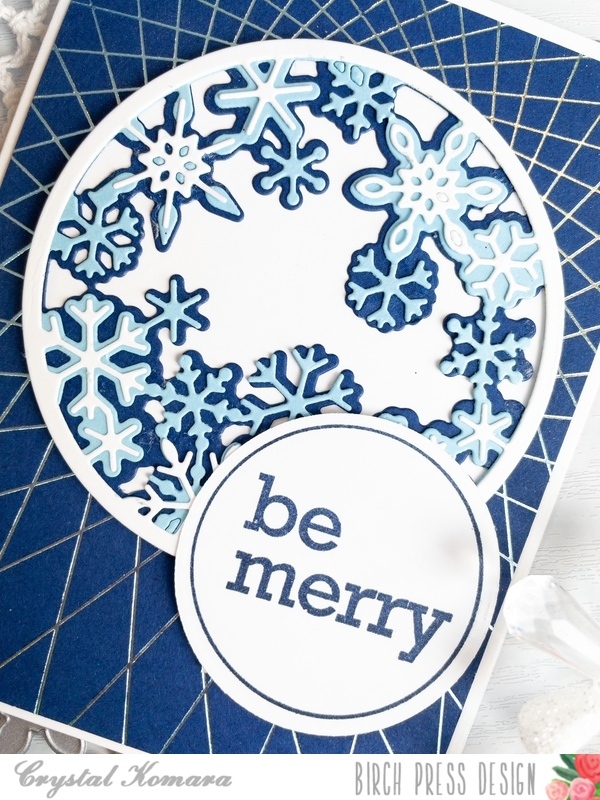
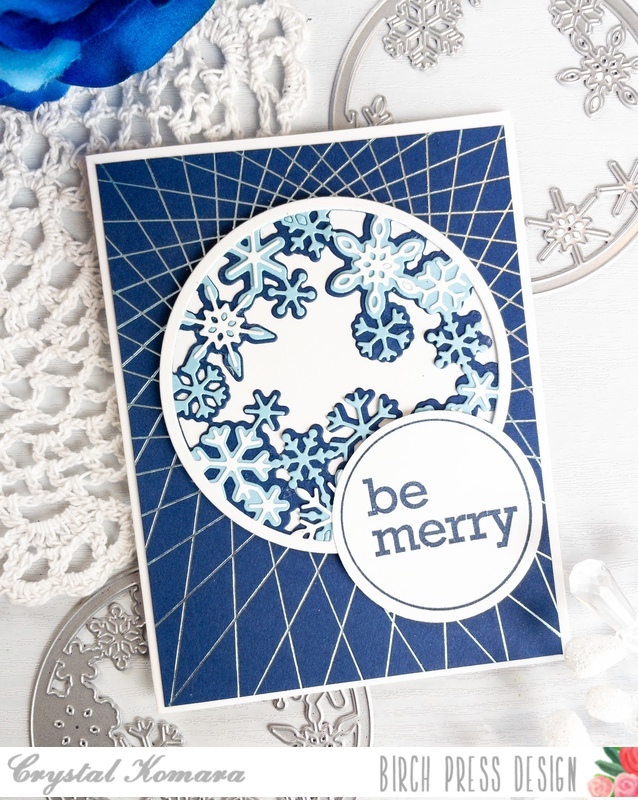
    The base of this A2 sized card is made from 80 lb. Neenah Solar White Smooth cardstock. I cut a 5 1/4″ x 4″ piece of navy cardstock from the 6″ x 6″ Ocean Blue paper pack. Using my Gemini Foilpress machine and the String Art Hot Foil Frame, I heat foiled a cerulean blue foil onto the navy cardstock. I know that it kind of looks like silver foil in these photos, but it is ever-so-slightly more blue tinted in person.

    Using the Snowy Circle Layer Set, I created the center focal piece. I die cut Layer C (bottom layer) from navy cardstock. I die cut Layer B (middle layer) from a sky blue cardstock. I die cut Layer A (top layer) from white cardstock. Again, I used cardstock from the 6″ x 6″ Ocean Blues paper pack. I used a fine-tip liquid adhesive to adhere all three layers together and then I lined the back of the three layers with a solid sheet of white cardstock. I adhered the entire Snowy Circle image to the center of the card using 3M foam adhesive.

    Lastly, I stamped the sentiment “be merry’ in navy ink on white cardstock. This sentiment is from the Contempo Christmas Greetings stamp set. I used the coordinating circle die to die cut the sentiment out. I adhered the sentiment to the lower right side of the snowflakes with 3M foam adhesive.

    I hope you have enjoyed today’s card. Thank you for visiting and have a wonderfully creative day!

    Supplies

  • Just a Note

    Just a Note

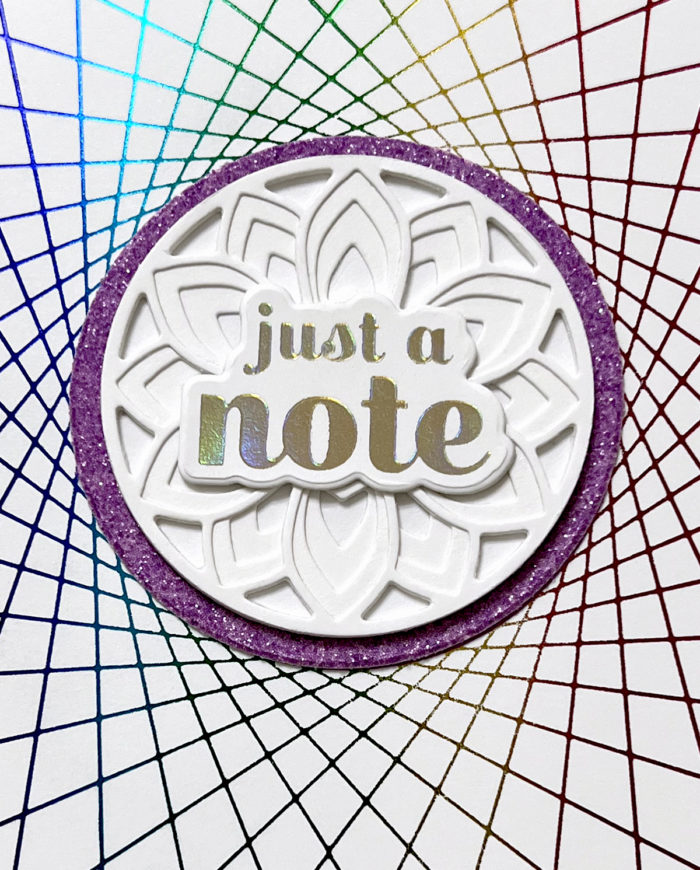
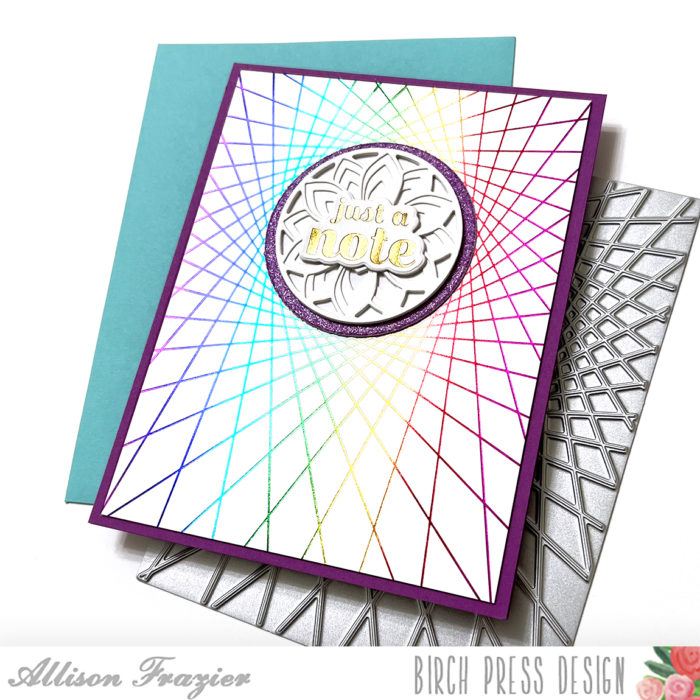
    Hello, Birch Press friends! Today I have just a note for you. But this is not just your average note – this one is hot foiled! I love all of the new hot foil plates, and when you pair them with rainbow foil, you can create some instant and simple magic.

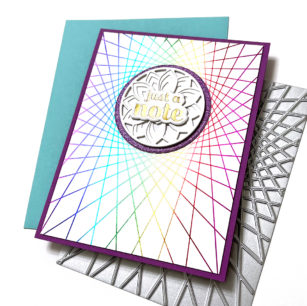
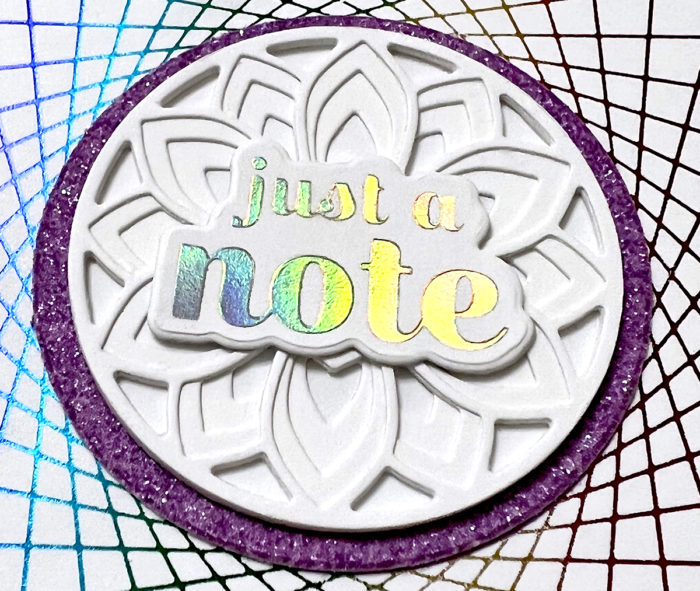
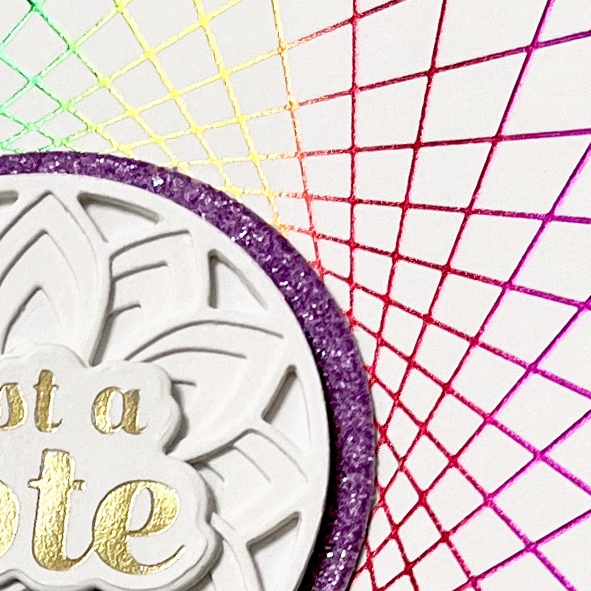
    I started my card with an A2 sized panel of smooth white card stock. I hot foiled it using the String Art Frame plate and rainbow foil. So easy and so amazing! When you turn the panel around in the light, it catches all of the different colors of the rainbow. While I had my hot foil machine on, I also hot foiled the “just a note” sentiment using Aura hot foil. This hot foil color is also magical because it looks gold from straight on, but when it catches the light, it brings out the colors that are around it. I love that this sentiment has a matching die. I cut out a couple extra layers of white card stock with the die, so that I could stack the sentiment for dimension.

    There is a center circle in the String Art Frame design where you can place the focal point of your card. This allows for so many different design options. I chose to use the interior circle of the Epiphany Plate Layer Set, and I cut each of the three layers out of white card stock. I also cut a plain circle out of white card stock that I placed behind the layers.

    I cut the hot foiled panel down to 4″x5.25″ and adhered it to a purple A2 card base. To ground my central element, I cut a larger circle out of purple glitter card stock and then mounted the Epiphany layers and the sentiment on top of that.

    Thank you so much for joining us today. I hope this card inspires you and brings a smile to your face!

    Wishing you a crafty day,
    Allison


    Supplies


    Supplies


  • Holly Wreath | by Crystal Komara

    Holly Wreath | by Crystal Komara

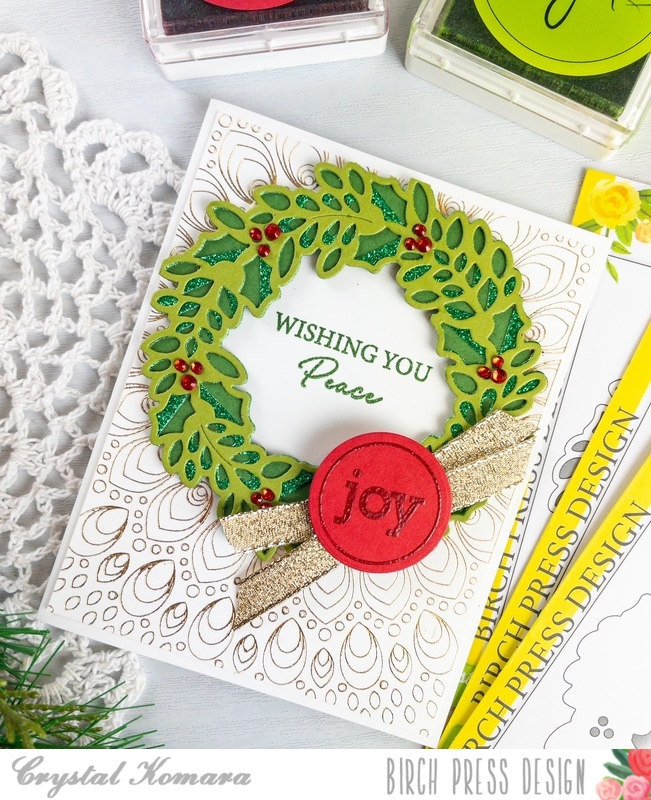
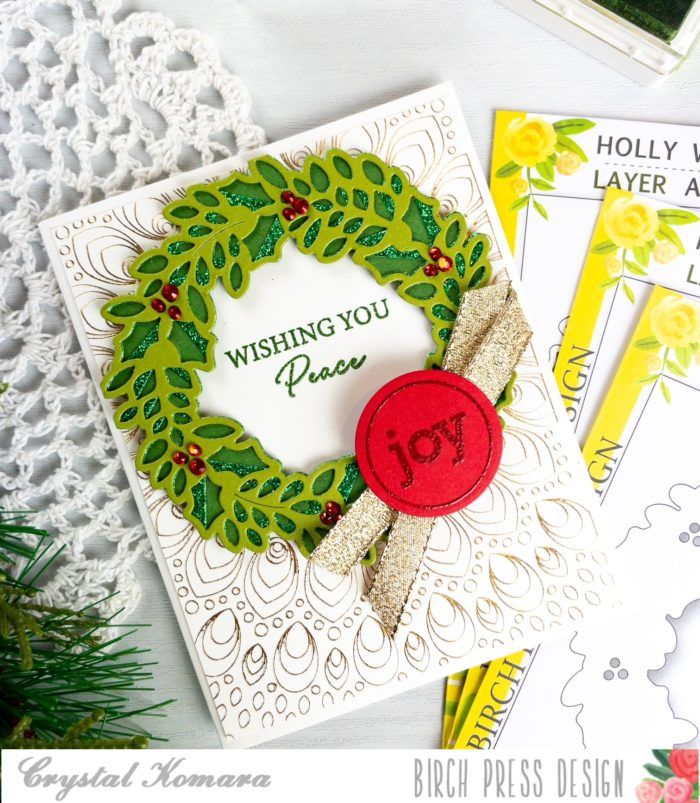
    Hello crafty readers! This is Design Team member Crystal Komara here with you today sharing a holiday card with you featuring the beautiful new Holly Wreath Plate Layer set. But, there’s a lot more going on with this card than just a dimensional wreath, there is also a heat foiled background and heat embossed sentiment too, so read on for all the fun details!

    Card details:

    The base of this A2 sized card is made from 80 lb. Neenah Solar White Smooth cardstock. This is my go-to white cardstock for e-v-e-r-y-t-h-i-n-g! Using the Gilded Grace Hot Foil Plate, I foiled the first layer of the card. I use a Gemini Foilpress machine for my foiling. I used the Crafter’s Companion Foil Press paper in brass. I adhered this foiled layer directly to the card base.

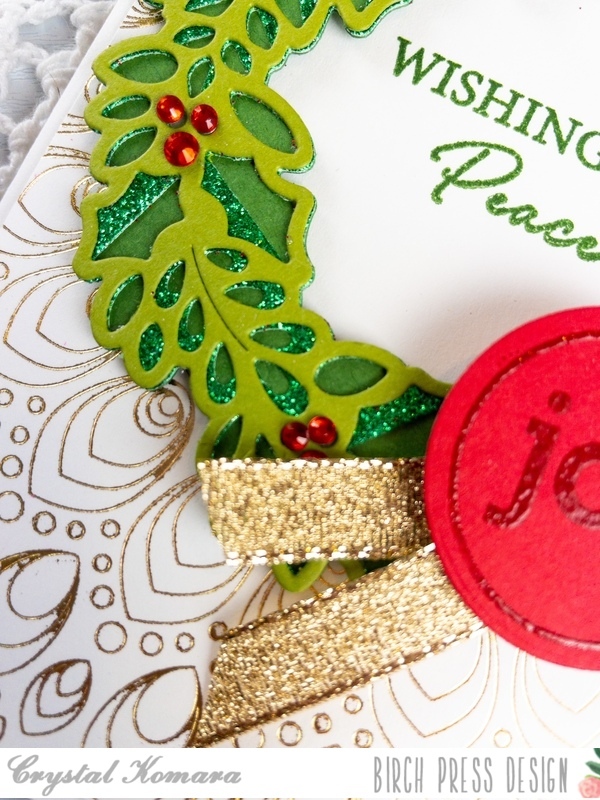
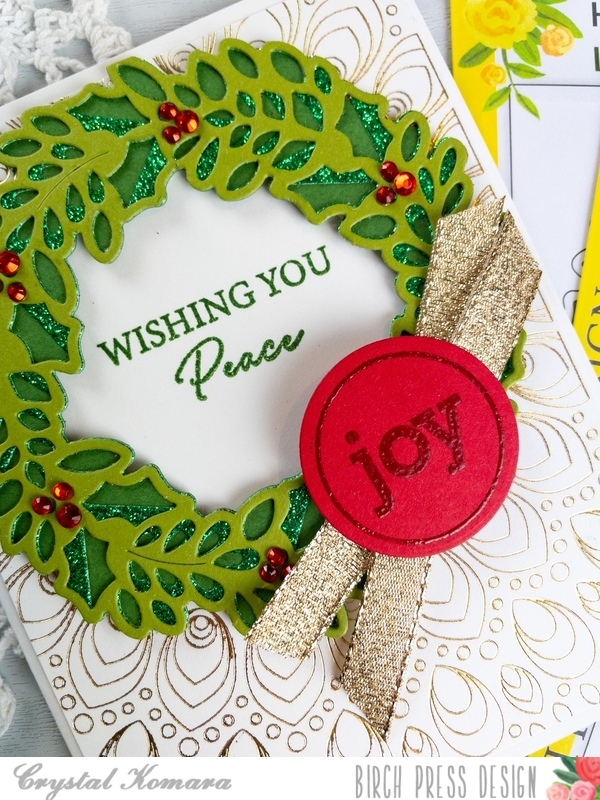
    I did not foil the inner circle of the Gilded Grace Plate, so instead I stamped the sentiment “wishing you peace” in the center of the circle. Next, I created the wreath. I die cut Layer C (bottom layer) of the Holly Wreath from dark green cardstock. I die cut Layer B (middle layer) of the Holly Wreath Plate from green glitter cardstock. Finally, I cut Layer A (top layer) of the Holly Wreath Plate from light green cardstock. The green cardstock is from the 6″ x 6″ Lush Green paper pack and the 6″ x 6″ Glitzy Glitter paper pack. I adhered all three layers of the wreath together with a fine-tip liquid glue.

    I adhered the wreath to the center of the card using 3M foam adhesive for added dimension. I stamped the sentiment “joy” in Versamark ink on a piece of red cardstock. I heat embossed the sentiment with the Red Robin embossing powder from WOW! I used the coordinating circular die to die cut the sentiment out. The “joy” sentiment and die is from the Contempo Christmas Greetings stamp set and coordinating dies.

    Lastly, I adhered a small piece of gold ribbon underneath the “joy” circular sentiment. I also added a couple red rhinestones to the wreath to resemble berries.

    This card has it all – gold foil, sparkly glitter paper and heat embossing! It sparkles AND it shines!

    I hope you have enjoyed today’s card! You can visit me on my website, Instagram and YouTube! Thanks for visiting and have a wonderfully creative day!

    Supplies
  • Stylized Sunflower | by Toni M Maddox

    Stylized Sunflower | by Toni M Maddox

    Hello, everyone! Toni here with you today sharing a card using the Gilded Grace Hot Foil Plate and dies along with the stencil set.
    The first thing I did was to use the Gilded Grace Outside Stencil Set with Distress Oxide Peacock Feathers, Mustard Seed, and Barn Door. On the last color, Barn Door, I also used Versamark with WOW! Primary Fuschia Fusion embossing powder.
    I used Distress Oxide Peacock Feathers and Mustard Seed to color up the center medallion as well. It totally looks like a stylized sunflower, right?!

    My last step was to hot foil the Sugar Script Sentiments 1 in magenta and pop it on top of the center. So pretty.

    I hope you enjoyed today’s card and have a great rest of your week!


    Supplies


  • Finding Joy | By April Antonio

    Finding Joy | By April Antonio

    Happy Saturday Birch Press family! Today I’m leaning far into pre-Christmas card prep and sharing a project using some supplies from the newest release.

    I’m fairly new to hot foiling and have definitely caught the foiling bug. I started this card by hot foiling the Gilded Grace hot foil set — both the cover plate and the insert circle, with Silver foil. I like to use the Spellbinders Silver or Gemini Aurora foil colors for silver. I trimmed the cover plate hot foil sheet down to slightly smaller than an A2 sized card, and then cut out the circle using the coordinating circle die.

    Next I used heavy weight white cardstock to die cut the Adornment Dove. I die cut both the outline and the solid piece. But before cutting out the outline piece, since it is so thin, I covered the cardstock with a double sided adhesive sheet.

    I also cut out the green sprig that came with the Adornment Dove set, using the Lush Green paper pad set.

    For the sentiment, I used the Find Joy die set that comes with the phrase ‘find joy’ and shadow. One thing that is really nice is that all of the words are connected to create only once piece. I cut this out twice and glued them together with liquid glue. I cut the shadow from vellum, and layered it behind the words.

    Lastly, I assembled everything together. I used a white A2 card base, put the background on first, adhered the hot foil circle with foam tape, glued the dove and green sprig on top and adhered the ‘find joy’ with small foam strips.

    Usually at this point I will add some sort of sparkle, but the hot foil background is so decadent this card didn’t need anything else!

    Keep on coming back to see more amazing projects by my fellow design team members, and have a great weekend.

    Supplies

  • Fall Colored Snowflakes | by Toni M Maddox

    Fall Colored Snowflakes | by Toni M Maddox

    Hello, everyone! Toni here with you today sharing a modern holiday/winter card using fall colors. Say what?!

    I cut out the BPD Snowy Circle Layer Set in Memory Box Sunny Orange and Fresh Aqua 6×6 cardstock, and the top layer in white.

    I also cut out a few Felicity Snowflakes in white.

    I adhered the Snowy Circle to the card front, arranging the Felicity Snowflakes as though they were falling from the sky.

    I hot foiled the Sugar Script Sentiments 1 with copper foil and diecut it with the coordinating outline die and popped it on top.

    I hope you enjoyed today’s card and have a great rest of your week!


    Supplies


  • Rainbow Gilded Grace

    Rainbow Gilded Grace

    Hello, Birch Press Friends! I am thrilled to be back with you today sharing a few of Birch Press Design’s new products. Are you ready for some sparkle and shine?

    I started with the gorgeous Gilded Grace Hot Foil Plate set. There are actually two plates in this set, along with a die that cuts the bigger circle. I foiled both plates onto smooth white card stock with gold foil using my hot foil machine. The results, even before coloring, are just gorgeous! But, there are matching stencil sets that help you color the design. There is one set of stencils for the “outside” design (what you see in blue and green on my card) and another set of stencils for the “inside” design (what you see in yellow and pink on my card). These stencils line up with the two different hot plates that come in the set. I used both for my card.

    I started by planning which colors would go where. I wanted a rainbow design, so working my way out, I determined that green and blue would be the “outside” colors. So, I used that stencil set to color the main panel. I did have to be a little careful towards the bottom when I was working on the two different colors, but it was fairly easy to keep them separate by using small blending brushes. I used three different shades of each color, as there are three layering stencils in each set.

    Before coloring the “inside” colors on the panel that I foiled the big circle on, I used a circle die to cut out the inner circle (where you see pink on my card). This made it easier to keep the pinks and yellows separate while ink blending. When I was finished ink blending the yellow piece, I also cut that out with a circle die. I was then able to give dimension to both of these circles by stacking additional circle dies behind them before glueing them onto the main panel. I just love the results of adding that dimension!

    I used some pink paper from the Vintage Pastel Mirror Pad to gold heat emboss the sentiment, which comes from the Rainbow Days Lingo Notes stamp set. I then cut it out with a small circle die and glued it to the center of the pink blended design. I finished the card by adding some fairy jewels in matching colors to tiny circles in the foiled design.

    Thank you so much for joining us today. I hope this card inspires you and brings a smile to your face!

    Wishing you a crafty day,
    Allison


    Supplies


    Supplies


  • Merry Christmas | By Natasha Vacca

    Hello Birch Press Friends! I am super excited to be back today to share a holiday card with you using several AMAZING and beautiful new products from Birch Press Designs latest release! So let’s get started!

    I had so much fun creating today’s card and couldn’t wait to create a sparkly holiday card using several new products! I started with the beautiful new Gilded Grace Hot Foil Plate and Die set! I used my hot foil system and followed the instructions per my machine. I foiled the Gilded Grace plate using a deep brown/gold foil. This foil/die set also has a middle circle you can foil/cut separately as well (I did not use this on today’s project). I wanted to mention this as this provides you with so many options with this set. Next I used the new coordinating/layering stencil. I used the Gilded Grace Outside Stencil set and chose 3 shades of blue ink. I started with the largest layer in the stencil set and the lightest shade of blue. I then continued with the next 2 stencils, using a medium shade and then my darkest shade last.

    Once I had the background panel foiled and ink blended, I set this aside. For the middle of my panel I used the new Snowy Circle die set! This is a gorgeous 3 piece die set. I die cut the bottom layer using white card stock, the middle and top layer were die cut using the Memory Box Ocean Blue Collection paper pad. To add more texture on the middle layer I added some oxide inks to darken the middle layer a bit. Next I added embossing powder to both the middle and top layers. Once these layers were complete, I adhered them together using liquid glue. I then added foam tape to the back of the Snowy Circle layered set.

    I then added a bit of ink blending to my center of the Gilded Grace background panel using Oxide Ink. Next I adhered the Snowy Circle onto the Gilded Grace panel with foam tape. To complete my card I chose the Handwritten Merry Christmas and Outline die set. I die cut the shadow layer using vellum and then die cut the inner script using white cardstock, as well as blue from the Ocean Blue paper pad collection (same blue as layer 2 in the Snowy Circle). I then adhered these layers together using liquid glue and added a bit of Foundry wax for added texture and interest. This completes my card today using several new products from the beautiful new release! Be sure to check out all of the beautiful new dies! I know you will love them!

    Thanks so much for stopping by – I will be back next week!


    Supplies