Category: Jennifer Svare

  • Making Small Gifts Special | by Jennifer Svare

    Making Small Gifts Special | by Jennifer Svare

    This card has been created to hold a small gift. It’s a great way to present “a little something” extra inside a card such as a tea with a packet of honey, or a package of seeds, necklace, small pen, or notepad – anything that is about 1/4″ thick.

    Today I’m going to show how each section of the gorgeous Enchantment Plate can be used to carry the design all the way from the outer sleeve to the inside of the card as it is opened by the recipient. Be sure to check out the video below to see this card in action. I’ve also prepared a written/photo tutorial below for those who prefer to read instructions.
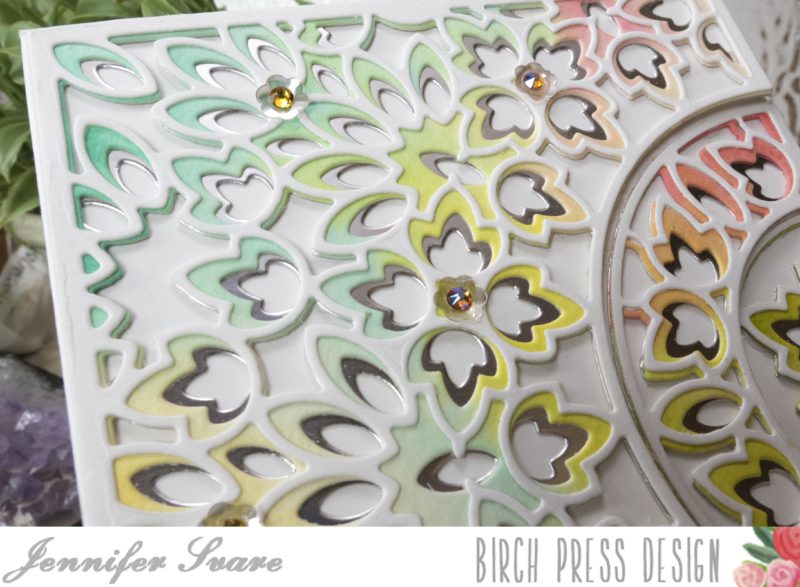
    I used silver for the background, watercolor wash for the middle layer, and white for the top layer. The Enchantment Plate design looks good in any orientation.
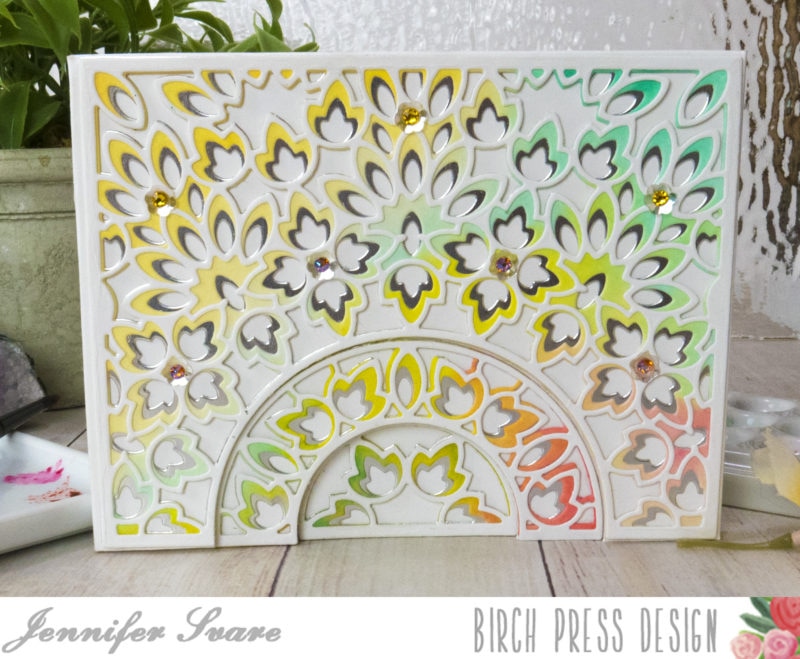
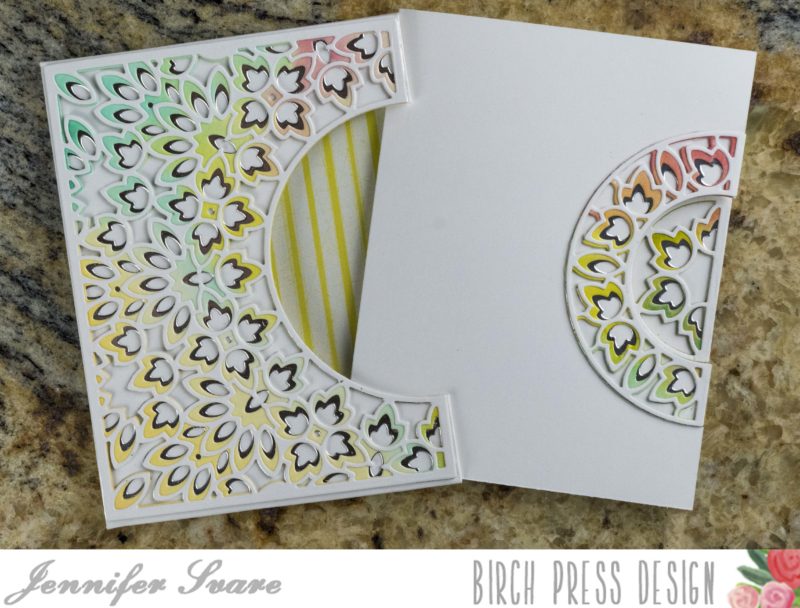
    The main exterior of this card is actually a sleeve that holds an inner card. The design’s sections have been distributed between the outer sleeve, the inner notecard, and the inside of the notecard.
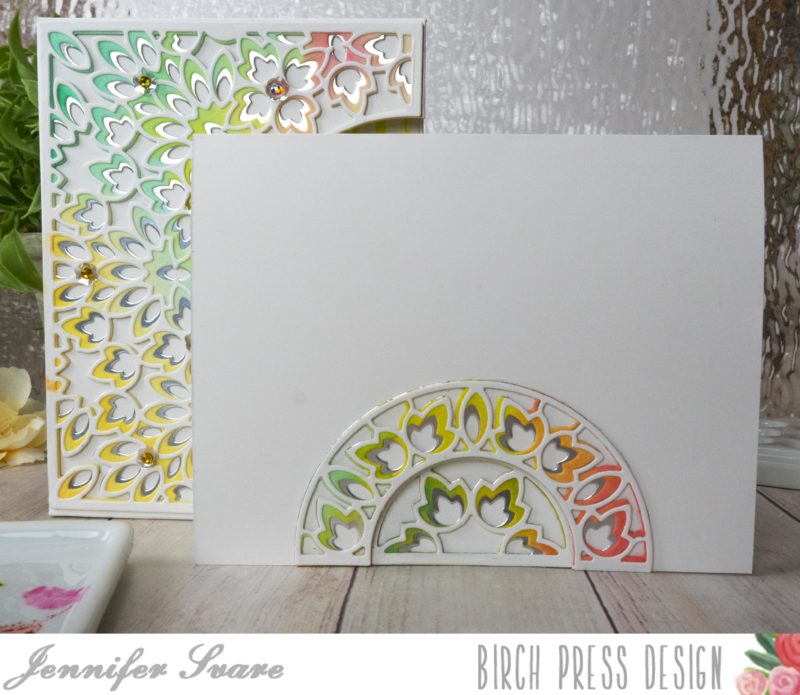
    Here is a photo of what the sleeve looks like with no notecard inside. I love the patterned paper background made from Memory Box Springtime Bouquet – so pretty!

    Here’s a link to a step-by-step video of how I made this card. For a photo and written tutorial, please scroll below the video. If you don’t see the video below, it can be viewed by clicking here. All products used are also linked below. Have a great day!

    TUTORIAL:
    First off, each plate from this set die cuts 3 “sections.” This offers enormous possibilities with mixing colors.
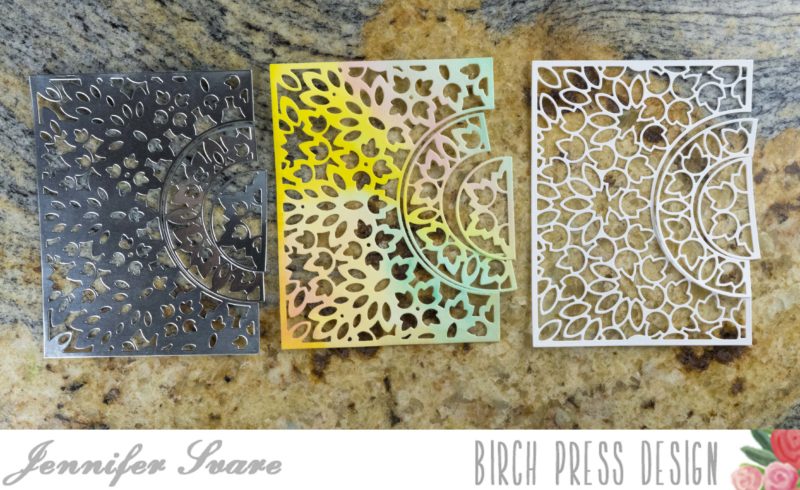
    Base layer is Silver, Middle Layer is Watercolored, Top Layer is White

    As we go along, I’ll refer to each of these sections as outlined in the below photo: Section 1, Section 2, and Section 3.
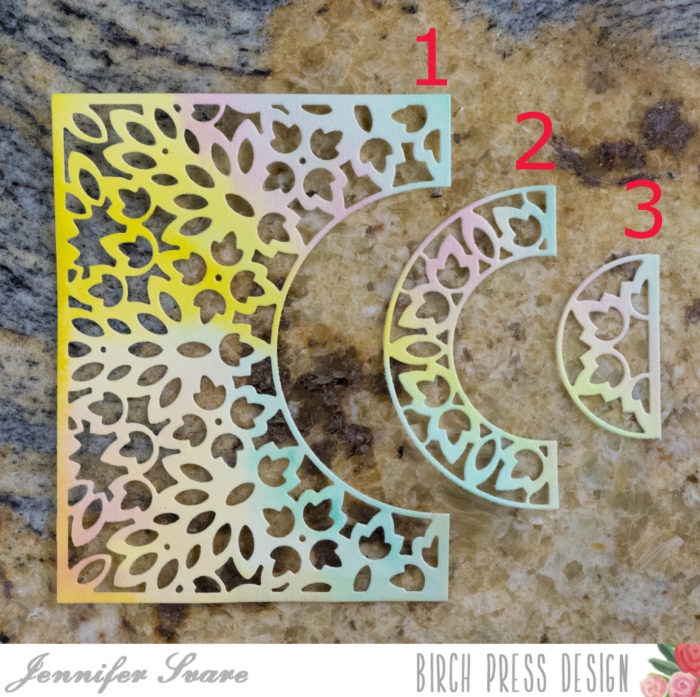
    When looking at this card straight-on, the entire design is visible.

    When the recipient pulls it out of the sleeve, Sections 2 and 3 are attached to the notecard. When the notecard is opened, only the small section 3 shows, and still gives a nice design when the card is opened.

    See the wonderful depth this creates between the card sleeve, the card, and the inside of the card when something bulky is inside?

    The sleeve and notecard are cut from two pieces of white card stock. The first measures 9-3/8″ x 6-1/8″. The second is a standard-sized A2 card base, which measures 8-1/2″ x 5-1/2″ (scored down the middle for a normal side-folding notecard).

    As shown in the photo below, I needed a quick wash of color for the middle layer. I used the new watercolor paper (available here at Birch Press Design) which is a beautiful, thick, 140-lb. paper. It holds all the water needed to create beautifully blended backgrounds. I wasn’t too particular, and this took no time at all.

    While the watercolor background dried, it was time to score the outer sleeve that will hold the notecard. Using the larger piece, I scored 1/4″ all the way around.

    Once it was scored all the way around, with the longer edge against the top of the scoreboard, I needed to score right in between two of the grooves of my scoreboard, which isn’t possible. To get around this, I made a tick-mark at the non-scorable section between 4-1/2″ and 4-5/8″ as shown in the below photo:

    Then I bumped the mark over to the next groove on the right so I could score it there. I then scored two spaces over (1/4″).

    Once all the scoring was done, I laid the piece out so one of the short edges (6-1/8″ side) was on top. To make the space for the design of Section 2 to show through, I made a template from a spare Section 1 and placed it where it will be on the card. Once placed, I traced where the half-circle needed to be. (I used a circle die that happened to fit perfectly from a nested circle set in my stash. This could also be done by hand with scissors.) Notice below that the top of the template only goes to the scored line; not to the top of the card. The very top will be folded under for extra reinforcement, so that’s not going to count.

    Time to do the same thing with the notecard. Since the notecard will open up to the smallest section of the Enchantment Plate, I included the base plus Section 2 of the plate. This served as my template to mark where the smaller half circle needed to be cut.

    That was all that was needed for the notecard – easy! Now, getting back to the larger outer shell, I creased all folds and cut the flaps as shown below:
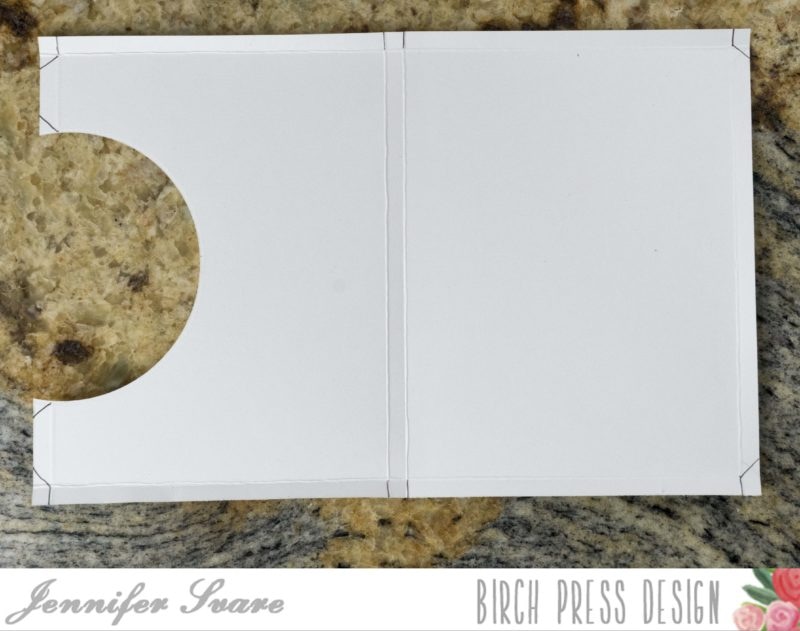
    I then glued each flap of the outer sleeve to form a very skinny box. Notice how the flaps fold from the top toward the back so there are no glued edges showing?

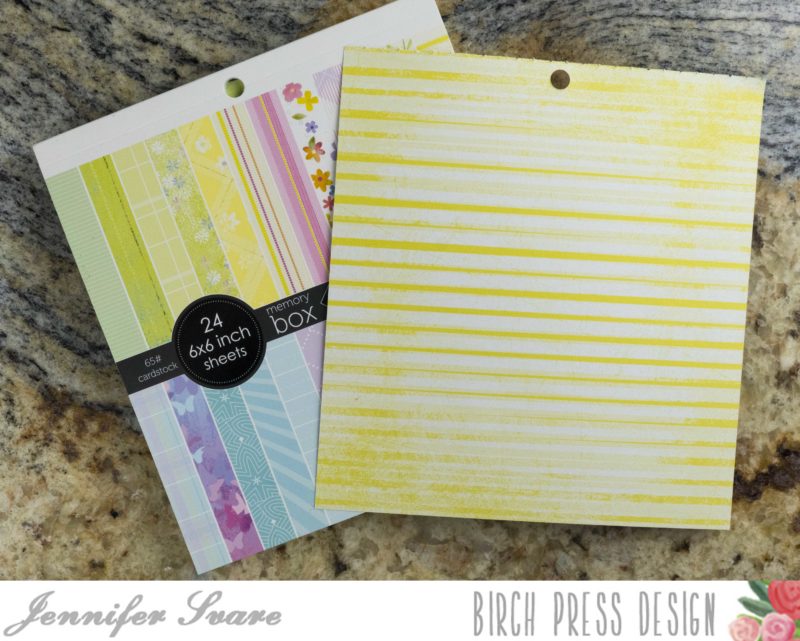
    As can be seen in the photo above, the top flap is glued to the base on the inside for extra strength of the top rim. Left alone, it is a visible seam when the card is removed from the sleeve. To hide this and also provide a pretty backing, I chose a piece of patterned paper from the Memory Box Springtime Bouquet 6 x 6 pad, cut it to just a hair under 4-1/4″ x 5-1/2″ and glued that down.
    After gluing each of the layers together, I adhered them to where they needed to be on the sleeve, outside of the notecard, and inside of the notecard. This would be a great project to make several of to have on hand for those quick “need a little something to give” cards.
    I hope you enjoy this project! It is a very simple way to give a wonderful gift. It’s fast, and it’s fun!


    Supplies

  • Beveled Honeycombs & Wax Seal | by Jennifer Svare

    Beveled Honeycombs & Wax Seal | by Jennifer Svare

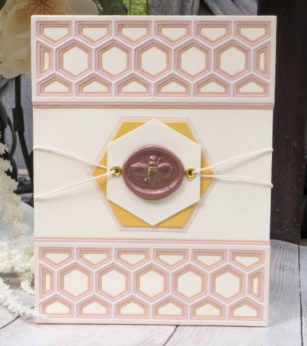
    Hello! The card I’m sharing today is all about the simple elegance of Mini Honeycomb Bevel layers.

    The bevel set is three layers, and I chose soft pinks and corals that sit on an ivory card base. I placed one on the top and one on the bottom of the card front.

    I love how the layers stagger on the inner portion of the card for a unique, finished look.

    For the center space, I used some nested hexagons from my stash to create a base for the wax seal. Ivory twine was run through a gold grommet, and secured to the backside with tape before attaching to the card base.

    I brushed the bee with a gold leafing pen to match the grommets. That extra touch of gold pulled it all together.

    I love the elegance of the honeycombs layered in soft colors, mixed with the wax seal. This card is great for any occasion!

    Check out the video below for a detailed tutorial on how this card was made. Thank you for stopping by today, I hope you have a wonderful day!

    Here is a link to the video if your browser does not show it below: https://youtu.be/sb4URKvInxE


    Supplies


  • Stenciled Color Bars | by Jennifer Svare

    Stenciled Color Bars | by Jennifer Svare

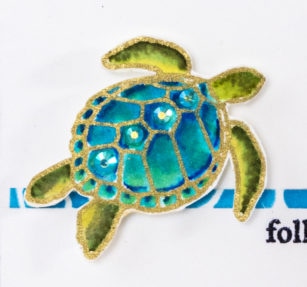
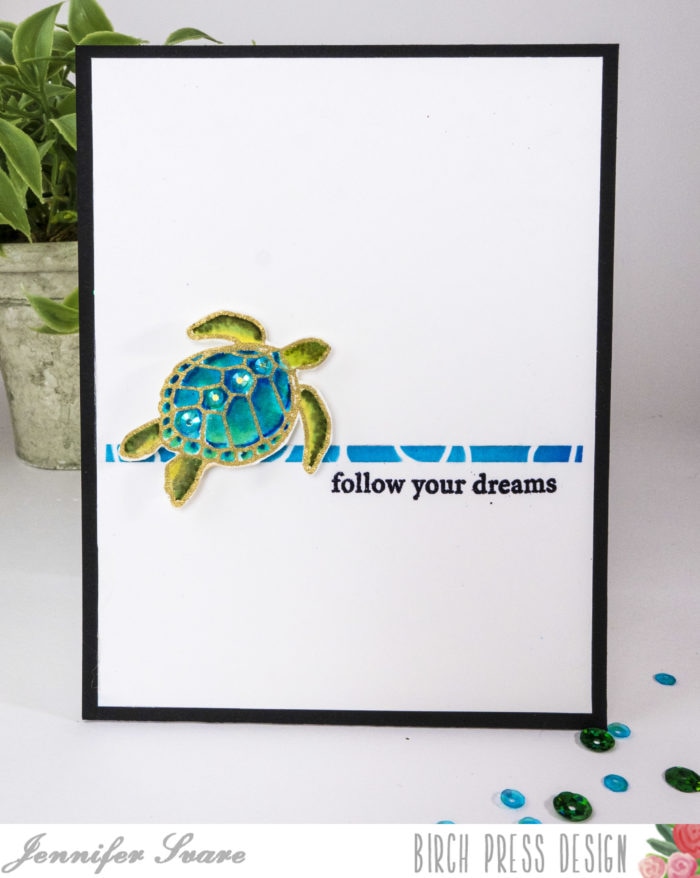
    Hi everyone! Today’s cards were made with graduation in mind, but could be used for anyone starting a new chapter in life! These are watercolored using Zig Clean Color Real Brush pens. The clownfish was created by stamping in a very light ink, and colored in using a no-line watercolor technique. The turtle was stamped and embossed with gold embossing powder.

    The Ocean Fantasy clear stamp set has so many great sea life stamps. I practiced a lot with the clownfish. No-line coloring is new to me and I really enjoy it. The turtle was super quick, because it was simply embossed and colored in with multiple colors. After the colors were scribbled in, I went in with a water brush and simply blended it together. Really fun! A few gems were placed on the turtle’s shell for a little sparkle, and I coated the white parts of the clownfish with a clear glitter brush pen for shimmery scales.

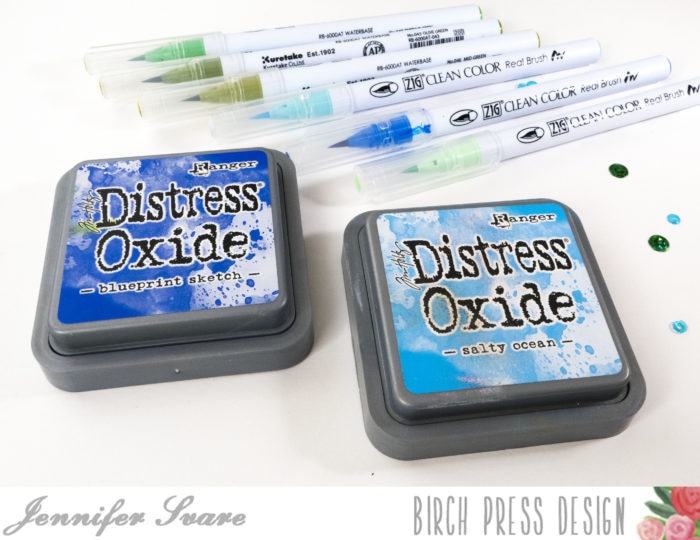
    The thin bars were created using distress oxide inks and the Midnight Mandela stencil. I simply masked off the area that I wanted to color with blue painter’s tape, laid down the stencil where I wanted it to be, and colored it in. The Follow Your Dreams sentiment is part of the Lovely Butterflies stamp set.

    I wanted to show how the stencil works with very thin as well as thicker lines – two very different looks.

    So many of the sea creatures would look great for this style of card, and all are easy and a lot of fun to color in!

    Thanks for checking in today! I hope you have a wonderful day!


    Supplies


  • Shadow Dies as Windows | by Jennifer Svare

    Shadow Dies as Windows | by Jennifer Svare

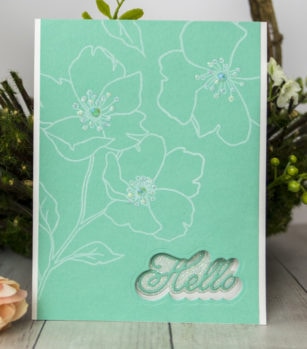
    Hello! Shadow dies are so versatile and can be used as either a background for the letters, a window, or as in this case – both!

    The sentiment is actually on the inside of the card, so is visible when opened.

    Here the shadow die was also used for a background for the word. I used the light green glitter paper from the Delicate Pastel 6 x 6 pad to create the background, along with the Handwritten Hello and Outline.

    These cards were so fast and simple to make, it was fun to use different colors and sentiments. For the card above, I used the Handwritten Just a Note die set. It comes with the words and an outline. It’s not a window in this example, but easily could have been.

    Each card started off the same way, and that was by stamping outlined flowers onto colorful backgrounds. I love the beautiful lines from the Wild Rose Stem clear stamp set by Memory Box. Next, I placed the shadow die where I wanted the window to be, secured it, and then taped the colorful sheet onto the white card base. The die easily cuts through two sheets of paper, so it created the window through the top of the card and base both at the same time. It saved time, but also made sure the windows aligned perfectly.

    I trimmed the sides down for a border on each side, and then it was time to embellish!

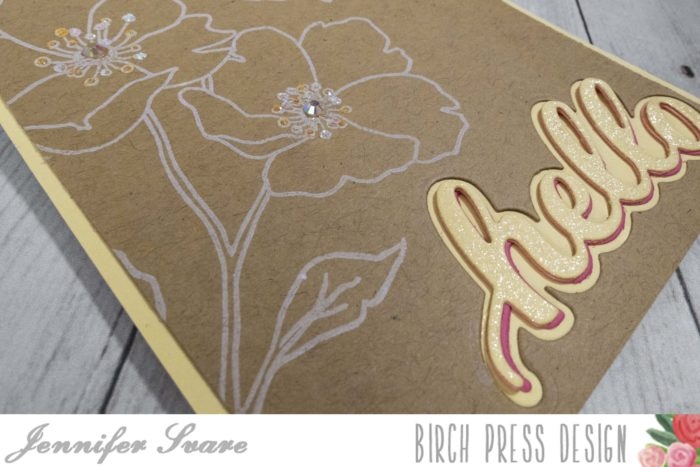
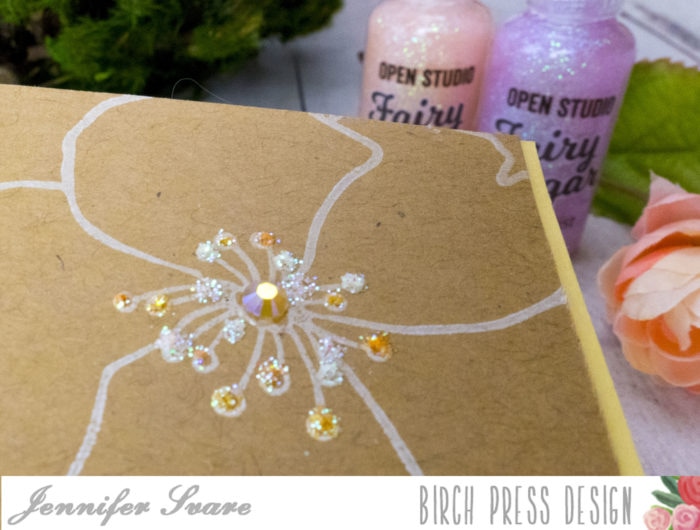
    The insides of the flowers have wonderful outlines of stamen, which is perfect for little dabs of Fairy Sugar.

    Can you see the different colors of the glitter glue? It added such a great, subtle variety in color to make little colorful stamen sparkles.

    These glitter glues from Birch Press Design are such gorgeous colors. The pastels have a subtle look but yet catch the light and show their colors when titled. So beautiful to see in person!

    For the card above, I used the words and shadow die from the Hello Honey Script set. I die cut the letters out of yellow and also pink. I stacked them so there would be an extra shadow layer underneath. So many fun ways to use word dies, along with outlines! I hope you have a wonderful day and thank you so much for stopping by the blog today!


    Supplies


  • Sending Quick Hugs with Nested Dies + Giveaway! | by Jennifer Svare

    Sending Quick Hugs with Nested Dies + Giveaway! | by Jennifer Svare

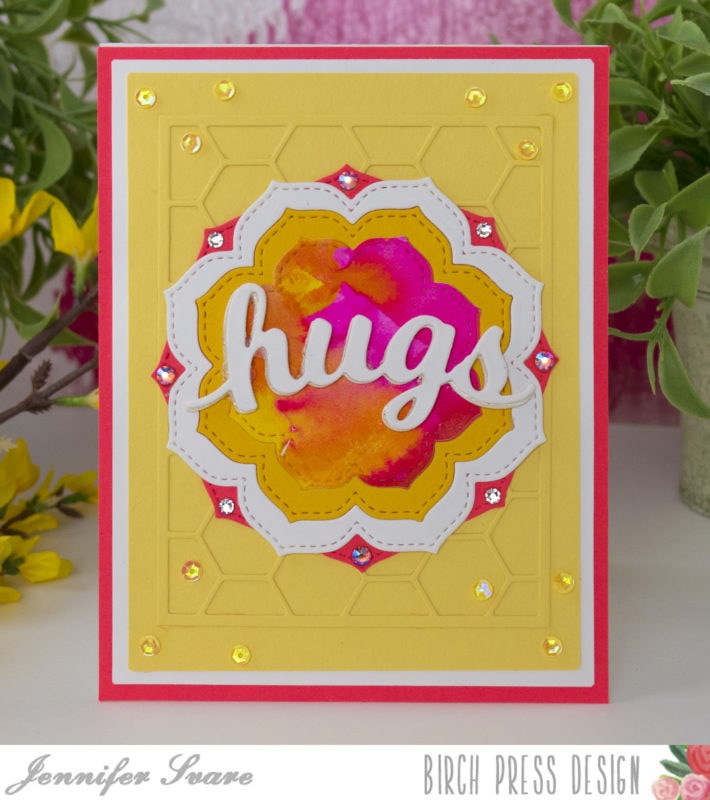
    Hello! Today I’m excited to share some bright, happy cards that are super easy and fun to make! I’ve used the brand new Vivid Bloom Stitched Layer Set to create a couple of different looks with the same basic design. The video below will show the techniques and how-to’s for these cards.

    The Honeycomb Beveled Layer Plate made a great, subtle background that was tone-on-tone for just a little bit of dimension and interest. I also used crystals on each of the base petals. These petals are simply staggered to create a unique look.

    These nested dies can be stacked on top of each other to reveal the layer below, but in this case I created frames by running two of the nested dies through the die cutting machine at the same time. This creates a frame that can be nested in one layer.

    Different looks can be achieved with the same basic design just by using different color combinations and frame sizes. I used a scrap piece of a watercolor. Patterned paper also makes a beautiful center! I used the Cottage Meadow 6×6 paper pad from Memory Box for the middle card above.

    Check out the video below for more info, and keep reading for giveaway info!

    We will be having giveaways on our Instagram Account March 21-29, 2020. One comment will be chosen at random from each of the Instagram posts during the blog blitz. Only one prize per person per giveaway. We use a random number generator to select winners from comments. You have until midnight US EST April 1 to leave a comment on each and every Instagram post that you want to enter. Winners will be announced on the Instagram posts on April 3. 

    For a chance to win the Vivid Bloom Stitched Layer Set…..

    1.) Follow Birch Press Design on Instagram
    2.) Double Tap (LIKE) the post with this giveaway
    3.) Tag A Friend in the comments
    Good luck! And thanks for joining us!  


    Supplies

  • Dimensional Butterfly Bookmark | by Jennifer Svare

    Dimensional Butterfly Bookmark | by Jennifer Svare

    Today, I’m excited to share a happy little bookmark that makes such a wonderful gift. This could be given alone as it is so easy to mail with a handmade card, or could be included with a gifted book.

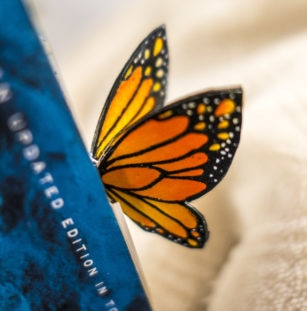
    This bookmark nestles into the book and leaves a butterfly delicately perched on the top (or side) of the pages. I used the Midnight Mandala stencil to create a pattern for the front.

    When the bookmark is taken outside of the book, a colorful design opens up to a mini-booklet for writing notes on!

    These gorgeous flowers come from the Cherry Blossom Wreath stamp set from Open Studio.

    I’ve used just one of the Lovely Butterflies for this bookmark, but there are so many to choose from in this stamp set. I love all of these flowers and butterflies. They are so easy and fun to color, and all of these can be made in so many ways.

    Make sure to check out the video I’ve made to show each step for making this fun bookmark, or check it out right here on the blog! Have a great day!


    Supplies