Category: Layered Background Die

  • Tranquility Layers | By Dilay Nacar

    Tranquility Layers | By Dilay Nacar

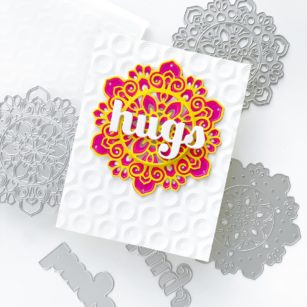
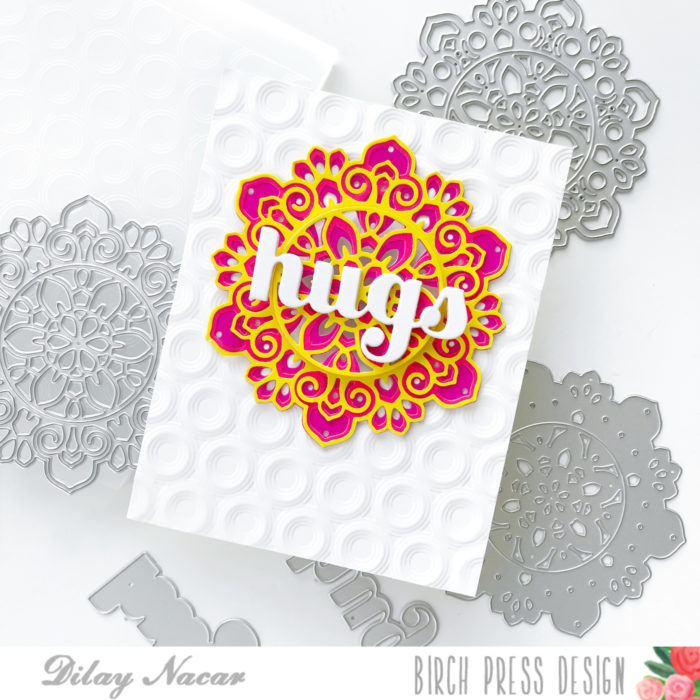
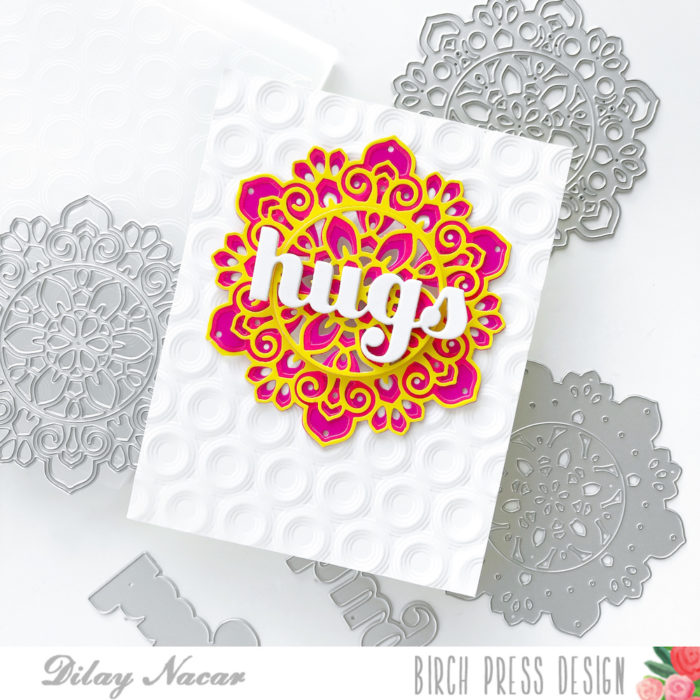
    Welcome back! Dee here today sharing a clean and simple card with lots of white space and a pop of color! 

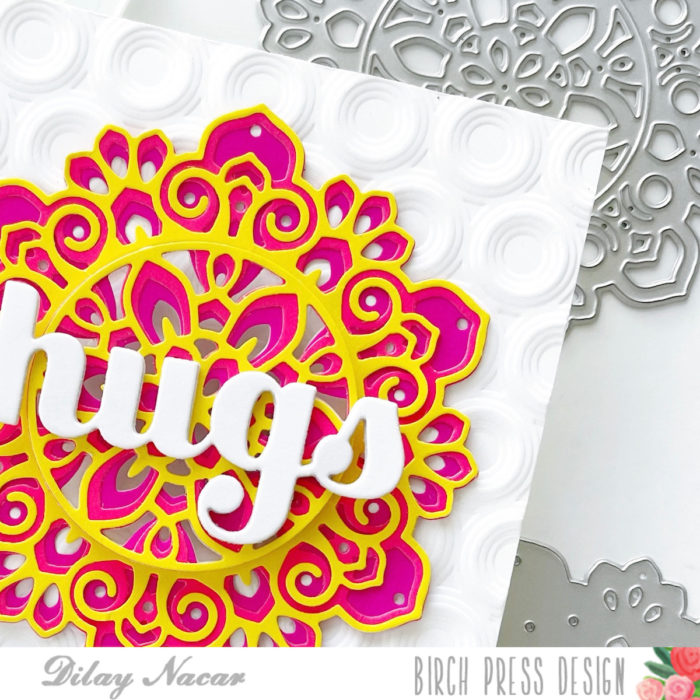
    To begin, I added texture to an A2-sized white card base with the Memory Box Ringadings 3D embossing folder. Next, I cut the Tranquility layering dies (frame and circle center) in three different colors: Layer A in yellow, Layer B in hot neon pink, and Layer c in dark pink/purple. 

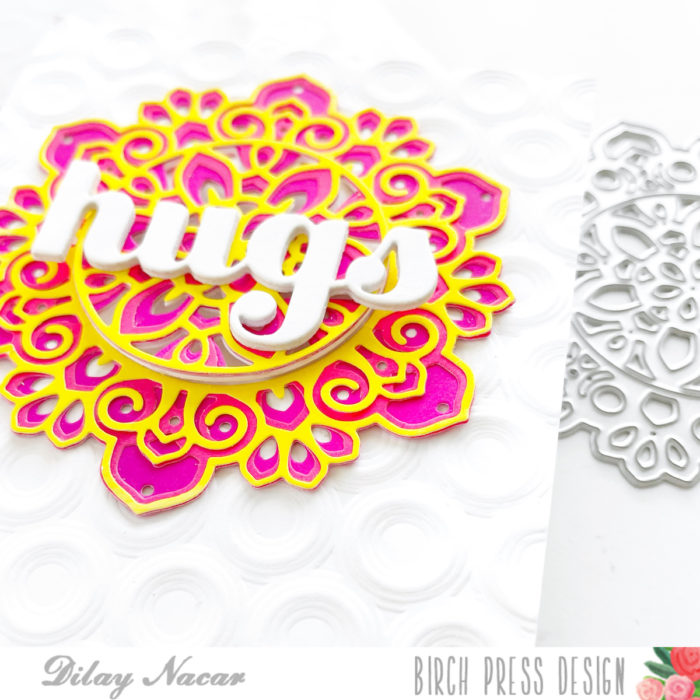
    I adhered the frame portion to the center of the embossed panel, then adhered the circle with foam adhesive

    Next, I cut the Big Hugs Sugar Script die three times in white then stacked and adhered them together. 

    To finish, I adhered the stacked hugs to the center of the circle and mounted the card onto an A2-sized, top-folding card base. 

    Thanks so much for joining me today!

  • Grandma’s Ornaments | by Toni M Maddox

    Grandma’s Ornaments | by Toni M Maddox

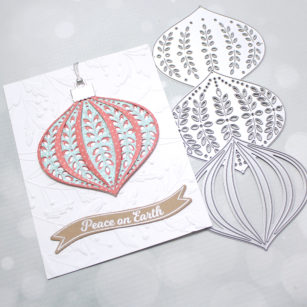
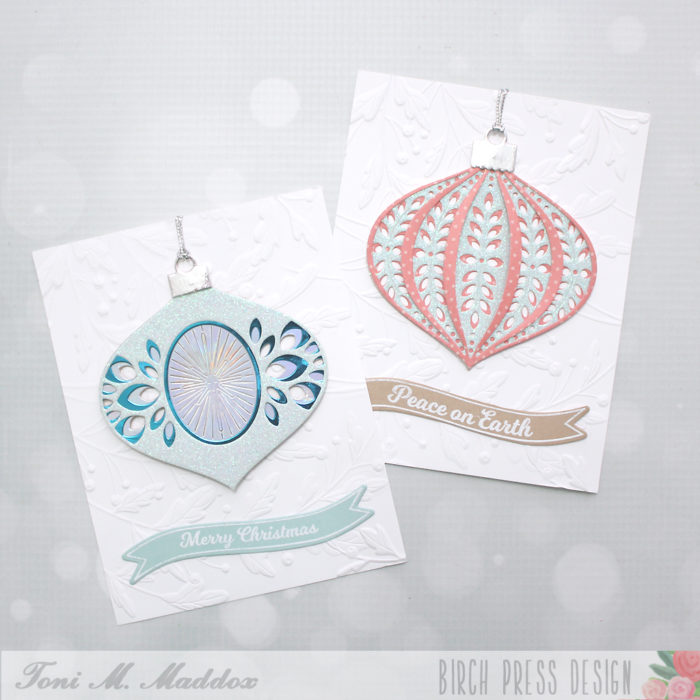
    Hello, everyone! Toni here with you today with a couple of cards inspired by ornaments found on my grandma’s Christmas tree back in the day.

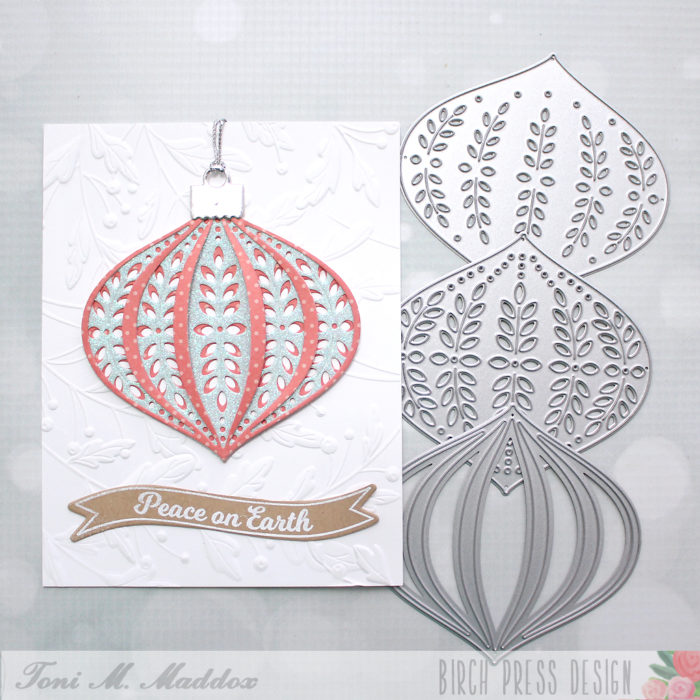
    For the first card, I used the Marisol Ornament Layering Dies cut from Memory Box Delicate Pastel Glitter 6×6 paper and Cottage Stripes & Dots 6×6 paper.

    I embossed the Christmas Ornament and Labels sentiment in white on kraft and cut it out with the coordinating label die.

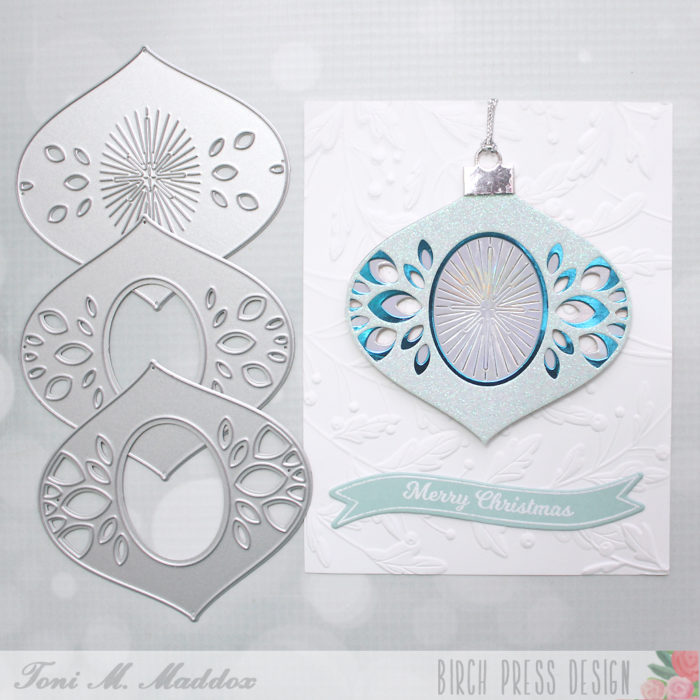
    For the second card, I used the Belle Ornament Layering Dies along with Memory Box Delicate Pastel Glitter 6×6 paper and foil paper from my stash (a great substitute would be Memory Box Polished Foil). I particularly love the patterned center of this ornament.

    I embossed and cut the Christmas Ornament and Labels sentiment for this card as well, this time using Memory Box Fresh Aqua 6×6 paper.

    On both cards I embossed the front with the Memory Box Gracious Leaves 3D embossing folder as the design reminded me of mistletoe. The texture is amazing!

    Fun tip: I attached both ornaments to the card front with removable adhesive dots and included a silver hanging loop in case the receipient wants to hang the ornament in years to come.

    Thanks for visiting and have a wonderful rest of your day!

    Supplies

  • Hello Autumn | by Crystal Komara

    Hello Autumn | by Crystal Komara

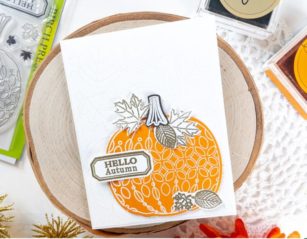
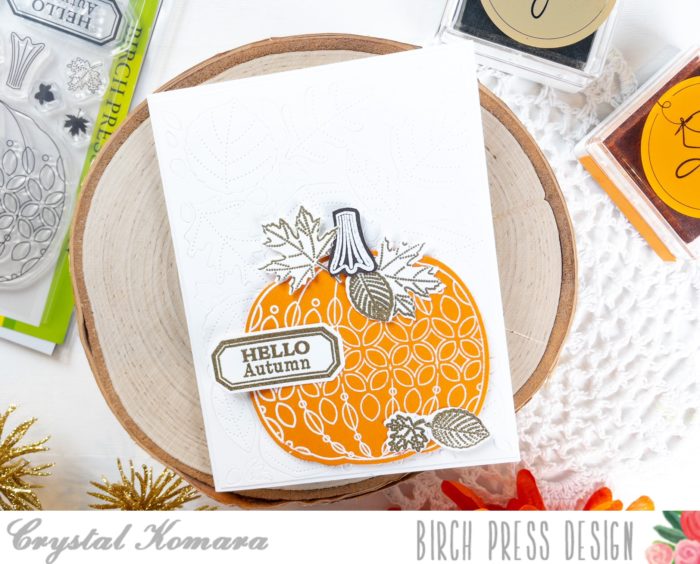
    Hello friends, it’s almost the last day of September and we are officially in the midst of PSL season! That’s Pumpkin Spice Latte for anyone unfamiliar with the popular influencer inspired lingo. This is Design Team member Crystal Komara here today inspiring you to embrace fall (while dreading winter) and I’m sharing a simple, yet elegant card made using my favorite Birch Press Design stamp set called Pumpkin Lacework.

    Card details:

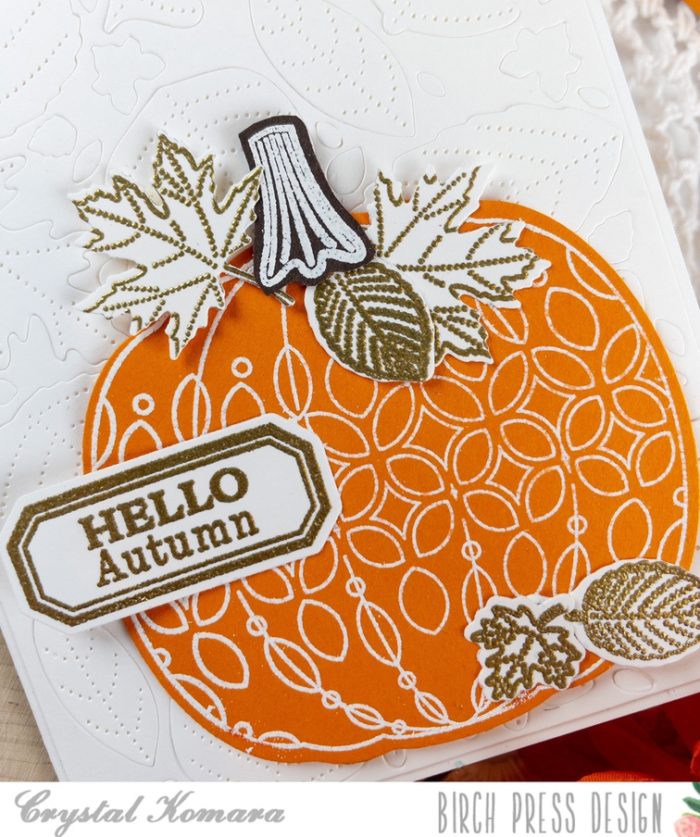
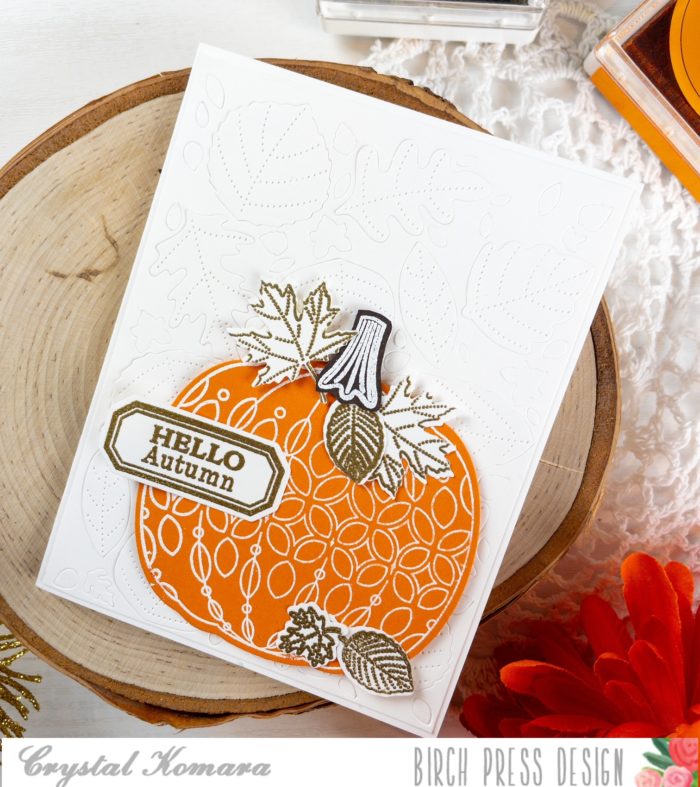
    The base of this A2 sized card is made from 80 lb. Neenah Solar White smooth cardstock. Using Layer B of the Autumn Breeze Layering Plates, I cut the background from white cardstock. I adhered this leafy imprinted background directly to the card base.

    Using the Pumpkin Lacework stamp set, I stamped the large pumpkin in Versamark ink on orange cardstock. I heat embossed the pumpkin with white embossing powder. I used the coordinating Pumpkin Lacework die to cut the pumpkin out. I adhered the pumpkin to the lower right side of the card using 3M foam adhesive. I stamped the pumpkin stem in Versamark ink on brown cardstock and heat embossed it with white embossing powder. I also stamped a variety of the leaves in Versamark ink on white cardstock and heat embossed the leaves with gold embossing powder. I used the Pumpkin Lacework dies to cut all the small images out before adhering them to the pumpkin using a Tombow adhesive runner.

    I stamped the “hello autumn” sentiment from the same Pumpkin Lacework stamp set in Versamark ink on white cardstock. I heat embossed the sentiment with gold embossing powder and used the coordinating die to cut the sentiment out. I adhered the sentiment to the left side of the pumpkin using 3M foam adhesive.

    I hope today’s card will inspire YOU to create some beautiful fall things! Thanks for visiting and have a wonderfully creative day.

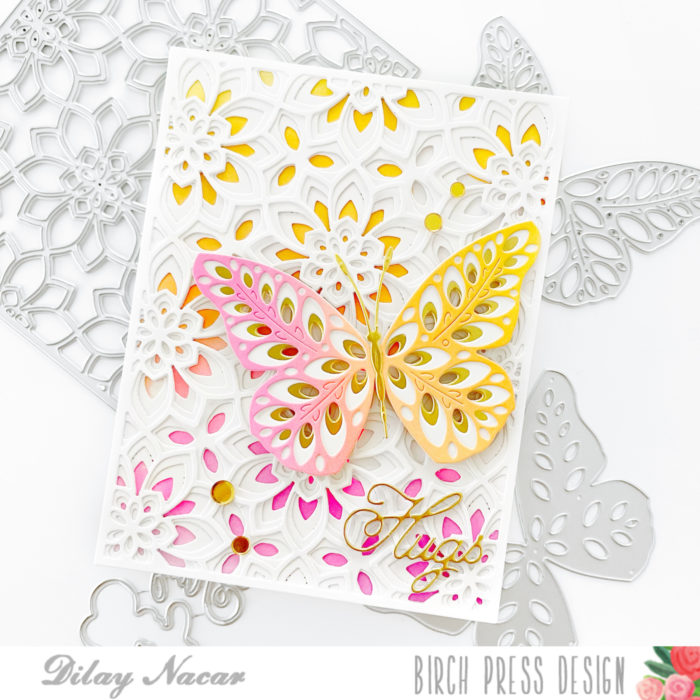
  • Butterfly Hugs | By Dilay Nacar

    Butterfly Hugs | By Dilay Nacar

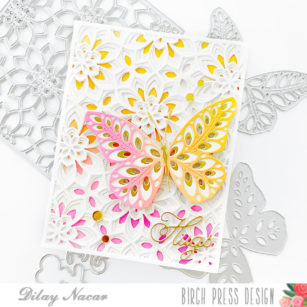
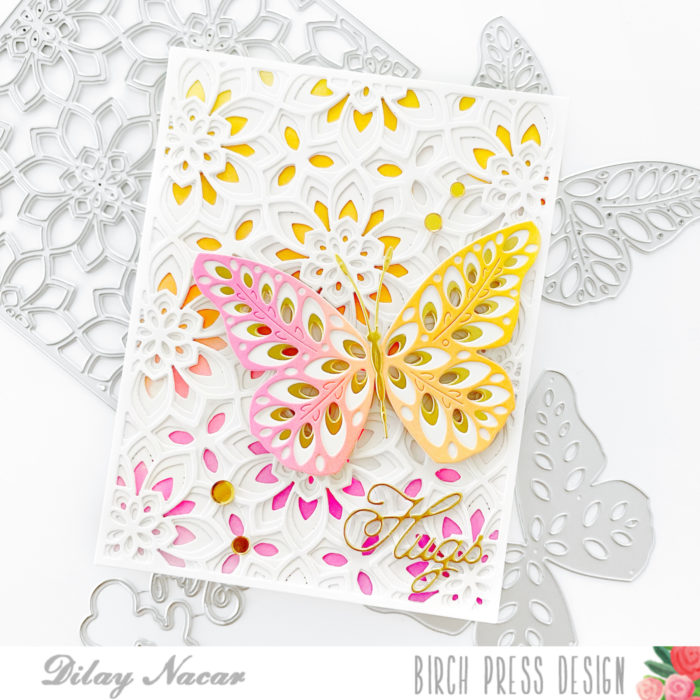
    Hi friends and welcome back! Dee here today sharing a card featuring the Viola and Eloquent layered dies that I combined with a simple ink blending combo for pops of color!

    To begin, I first cut the Viola Plate dies (layers a, b, and c) in white, then stacked and adhered them together. Next, I watered colored two A2-panels in yellow, To begin, I cut the Viola dies (layers a, b, and c) in white, then stacked and adhered them together.

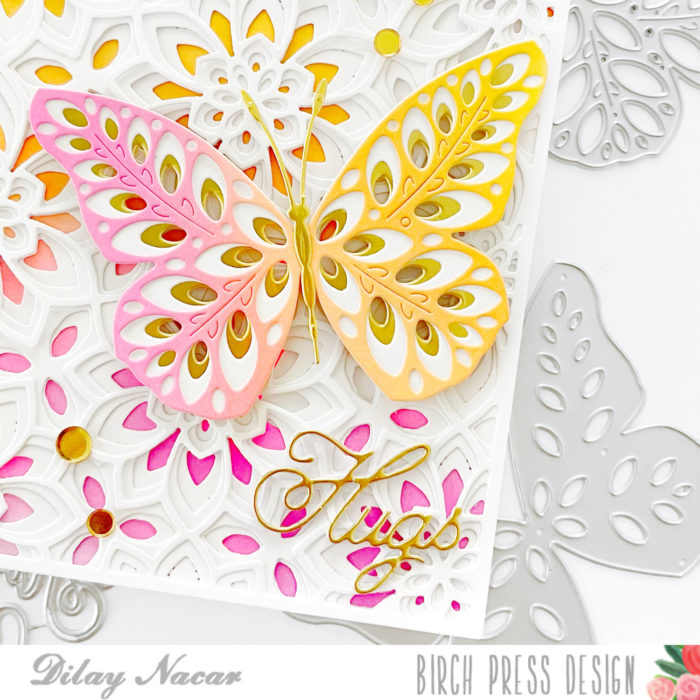
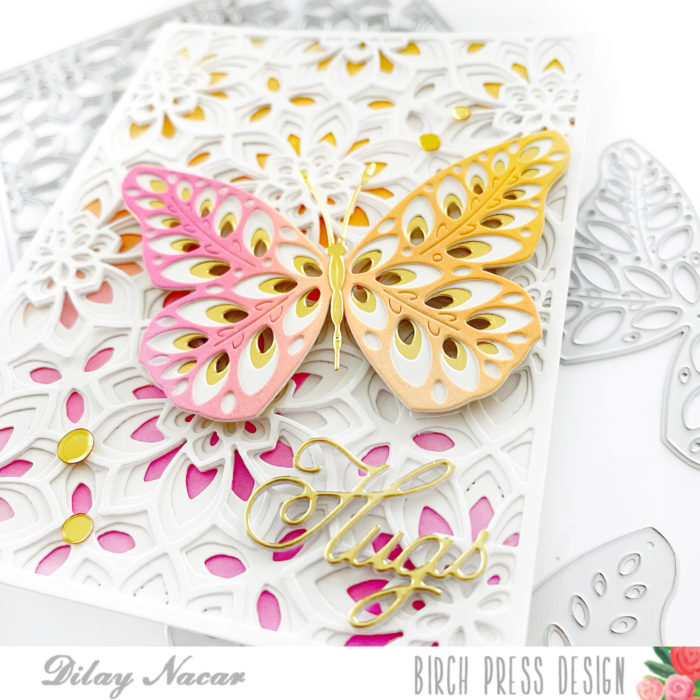
    Next, I watered-colored two A2-panels in yellow, orange, and pink, adhering one panel behind the Viola layers and die cutting the other panel with layer a of the Eloquent butterfly set. I then die cut layers b and c of the Eloquent set in gold and white, then adhered the three layers together.

    I then die cut layer b and c of the Eloquent set in gold and white then adhered the three layers together. To finish the butterfly, I die cut the body of the butterfly from the Butterfly Basics set in gold and adhered it to the center. 

    Once the layers were complete, I adhered the butterfly to the front with foam adhesive. To finish, I die cut the sentiment from the Handwritten Hugs in gold, added gold embellishments, and mounted the panel onto an A2-sized card base. 

    Thanks so much for joining me today!

  • Close to the Heart | by Toni M Maddox

    Close to the Heart | by Toni M Maddox

    Hello, crafty friends! Toni here with you today to celebrate fall, my favorite season.

    I’ve used the Enchantment Layering Dies to form the leafy design on the card. I used papers from the Sunny Orange pad: layer A = yellow, layer B = orange, layer C = off white. The green is from my stash. I love these rather retro colors!

    I left off the interior arch of the Enchantment Layering Dies which created the perfect spot to emboss the Brush Sentiment in white. I also used the Big Hugs Sugar Script dies to supplement the Brush Sentiment.

    To finish off the card I used a few Bright Jewels as well as a few of the leaves leftover from cutting the Enchantment Layering dies. I’ll be saving the other leaves for more fall cards for sure. What an easy way to create a pile of leaves!

    Thanks for visiting today and have a wonderful rest of your week!

    Supplies

  • Leaf Wreath | by Crystal Komara

    Leaf Wreath | by Crystal Komara

    Hello friends! Happy Wednesday, I hope your week is going good so far. Friday is coming! This is Design Team member Crystal Komara here with you today sharing a fun way to use Layering Plate B of the Autumn Breeze Layering Plates.

    Card details:

    The base of this A2 sized card is made from 80 lb. Neenah Solar White Smooth cardstock. Using a separate sheet of this same white cardstock I die cut Layer Plate C of the Delfina Layering Plates (retired) which became the background. I cut this twice (because I was making two cards):

    Next I die cut Layer B of the Autumn Breeze Layering Plate four times, one each in red, orange, yellow and green cardstock. This would give me all the leaves I needed to complete these two cards. (*Note, I actually had enough leaves to create a third card).

    I created a circular frame to act as a guide to adhere all the leaves to. I did this by placing a smaller circle die inside of a larger one:

    Then I began to adhere the leaves to the frame in a circular pattern using a Tombow adhesive runner:

    Using the Thanks Honey Script dies and the Blessed Honey Script dies, I die cut the larger shadow sentiment from white cardstock and the thinner sentiment from gold glitter cardstock using the 6″ x 6″ Holiday Glitter pad.

    I hope you have enjoyed this different way to use the Birch Press Design layering plates. Thanks for visiting and have a wonderfully creative day!

  • Happy September | by Crystal Komara

    Happy September | by Crystal Komara

    Hello crafty readers and happy 1st of September! For those of us who love fall (ME ME ME!) then let the pumpkin spice season begin! If you’re still sippin’ on your summer ‘ritas, no shade here, you do you! But, I’m full speed ahead to apple pies, sweater weather and all things fall. This is Design Team member Crystal Komara here with you today sharing a fun (and mildly Halloween inspired) card using the Autumn Breeze Layering plates:

    Card details:

    The base of this A2 sized card was made from 80 lb. Neenah Solar White Smooth cardstock. Using two out of three layers of the Autumn Breeze Layering Plates, I used a piece of garden green cardstock as the bottom layer (in lieu of Layer B). For Layer C I die cut the plate using pumpkin orange cardstock. Layer A was cut from basic black cardstock. You can see my photo below for all three layers:

    I adhered all three layers together using a Tombow adhesive tape runner before gluing the three layers down to the card base. I cut a 3″ circle from vellum cardstock, cutting of the right side just a bit before adhering it to the card. Using the Big Thanks Sugar Script dies, I die cut the large shadow sentiment from garden green cardstock and the thinner sentiment from gold glitter cardstock from the 6″ x 6″ Holiday Glitter Pad. I adhered the two layers together with Tombow adhesive before adhering the enticement sentiment strip to the card using 3M foam adhesive for added dimension.
    On a thin strip of white cardstock I stamped the sentiment “for your friendship” in Memento Tuxedo black ink. This sentiment is from the Lingo Thanks stamp set. I adhered this sentiment strip below the large “thanks” using 3M foam adhesive for added dimension.
    I hope you have enjoyed this card! Thank you for visiting and have a wonderfully creative day.

  • Rainbow Hello | By Seeka

    Rainbow Hello | By Seeka

    Hello and welcome! It’s Seeka here today sharing a card featuring the Viola Plate Layer die set. These intricate layers are standouts on their own, or they can be a great way to finish off a ink-blended panel, as I’ve done here.

    I started off by using foam blending tools to blend a rainbow (minus a couple of colors) onto a 4.25″ x 5.5″ panel of Bristol Smooth cardstock. For this background, I used Distress Oxide inks: Cracked Pistachio, Twisted Citron, Squeezed Lemonade, Wild Honey, and Abandoned Coral.

    Next, I used Viola Plate Layers A and B to die cut white cardstock.

    Next, I adhered the layers together.

    Using the Big Hello Sugar Script die set, I die cut the sentiment from blue cardstock and its shadow layer from white cardstock. I adhered the two pieces together and then used foam tape to adhere the sentiment to the background. To finish, I adhered the card front to a card base.

    Thank you so much for visiting!


    Supplies


  • Sending Rainbow Wishes | by Crystal Komara

    Sending Rainbow Wishes | by Crystal Komara

    Hello crafty readers! This is Crystal here with you today sharing a colorful card using the Dahlia Heart Layering Dies and some fun rainbow colored paper.

    Card details:

    The base of this A2 sized card is made from 80 lb. Neenah Solar White Smooth cardstock. For the first 5 1/4″ x 4″ paper, I dry embossed a piece of white cardstock using a basket weave embossing folder. I adhered this embossed paper directly to the card base.

    To create the two hearts, I die cut Layer A (the top layer) of the Dahlia Heart Layering Dies from white cardstock. I die cut two of these pieces as I have two hearts. I layered the Dahlia Heart outline over some scrap pieces of rainbow paper and fussy cut around the hearts:

    I adhered the two hearts to the card using 3M foam adhesive for added dimension. Lastly, I stamped the sentiment “sending rainbow wishes” in Tuxedo Memento Black ink. This sentiment is from the Rainbow Days Lingo stamp set. I adhered the sentiment to the front of both heart using a Tombow adhesive runner.

    I hope you have enjoyed this cheerful card. Thanks for visiting and have a wonderfully creative day!

    Supplies
  • All the Happiness | by Crystal Komara

    All the Happiness | by Crystal Komara

    Hello friends and happy Monday! Welcome back from the weekend. This is Crystal here with you and I’m excited to be sharing STAMPED projects with you today and not the usual beautiful layering dies that Birch Press Design is known for. Do you even know that Birch Press Design also sells stamps?! Surprise, they do!
    Card details:

    The base of this A2 sized card is made from 80 lb. Neenah Solar White Smooth cardstock. This is my go-to white cardstock for everything. Using the Delfina Layer A die, I die cut the lattice background from white cardstock. I adhered this directly to the card base. I stamped the flowers from the All the Happiness stamp set in Versamark ink on Distress Watercolor cardstock and heat embossed the image with gold embossing powder. I then watercolored the flowers using Zig Clean Color Real Brush markers in Scarlett Red, Bright Yellow, Persian Blue, Pale Green and Light Green.

    Once the watercolor was dry, I die cut the image using the coordinating All the Happiness dies. I adhered the flowers in the lower right corner of the card using 3M foam adhesive. I stamped the sentiment “celebrate today” from the Classic Sentimental Wreath stamp set. I punched the sentiment out using a label punch and adhered it to the card with 3M foam adhesive.

    I also created a second card using the same stamp set and watercolor colors:

    The base of this A2 sized card is made from 80 lb. Neenah Solar White Smooth cardstock. Using Layer A from the Delfina Layering Dies, I die cut the lattice background from white cardstock. I adhered the lattice background directly to the card. I stamped the flowers from the All the Happiness stamp set in Versamark ink on Distress Watercolor cardstock. I heat embossed the image with gold embossing powder and then I watercolored the image using Zig Clean Color Real Brush markers (the same colors are listed above).

    I die cut the flowers using the coordinating die and adhered the flowers to the card using 3M foam adhesive. I stamped the sentiment “celebrate today” from the Classic Sentimental Wreath stamp set in blue ink on white cardstock. I punched the sentiment out with a 2″ circle punch. I also adhered the punch to the card using 3M foam adhesive.

    I hope you have enjoyed seeing products OTHER than dies that Birch Press Design has to offer. Thanks for visiting and have a wonderfully creative day!
    Supplies