Category: Leigh Houston

  • Autumn Leaves Card | By Leigh Houston

    Autumn Leaves Card | By Leigh Houston

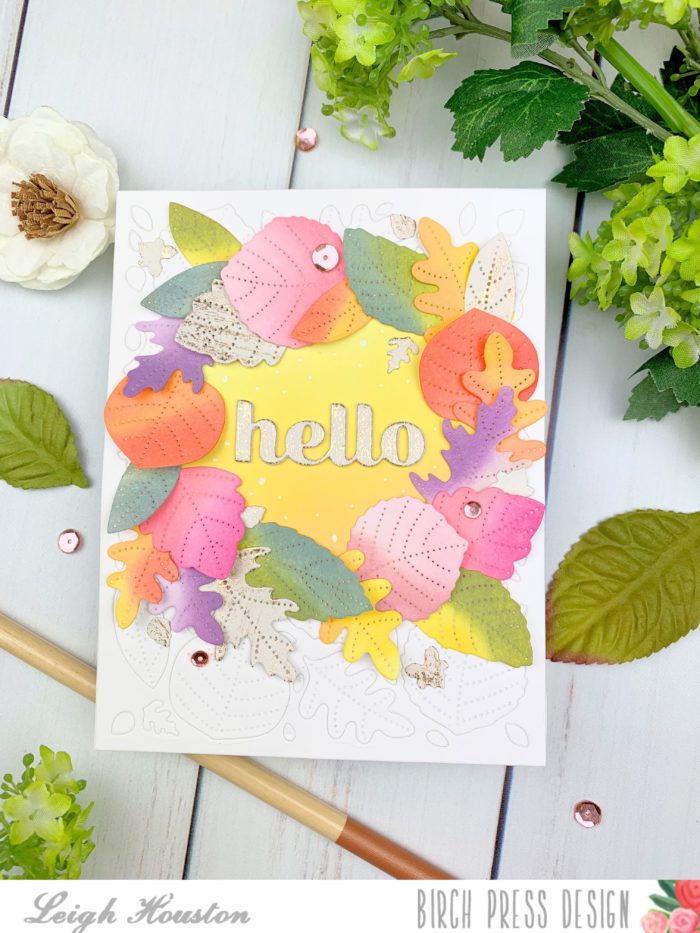
    Hello, friends! I am so happy to be here today sharing this fall-themed card I made with Birch Press Designs’s Autumn Leaves Layer Plate. This plate creates the most beautiful stitched leaves and made this card such a dream to make!

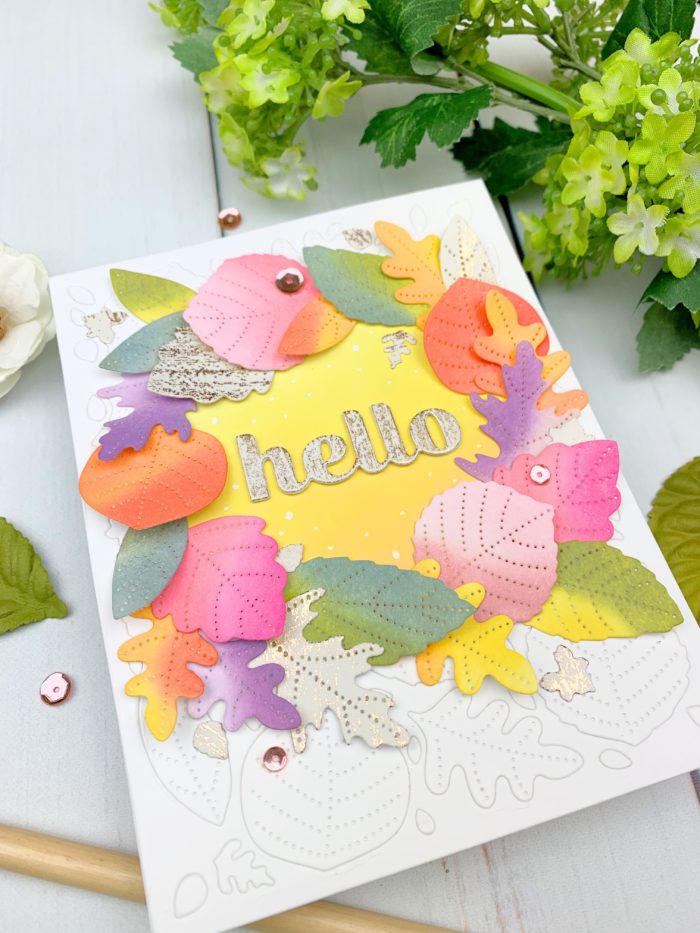
    I started my card by die cutting my panel using a sheet of bristol smooth paper. I cut a circle out of my panel and traced that circle onto a white card base, onto which I blended Mustard Seed and Squeezed Lemonade Distress Oxide Inks. After adhering the panel onto the cad base, I got on with the fun… coloring the leaves! I used Distress Oxide inks and sponge daubers to color the leaves in fun pink, orange, purple and green hues, mixing different colors on each leaf to create interest. I adhered each leaf around the circle on the base of the leaf, allowing me to create some extra dimension by curling the leaves upward.
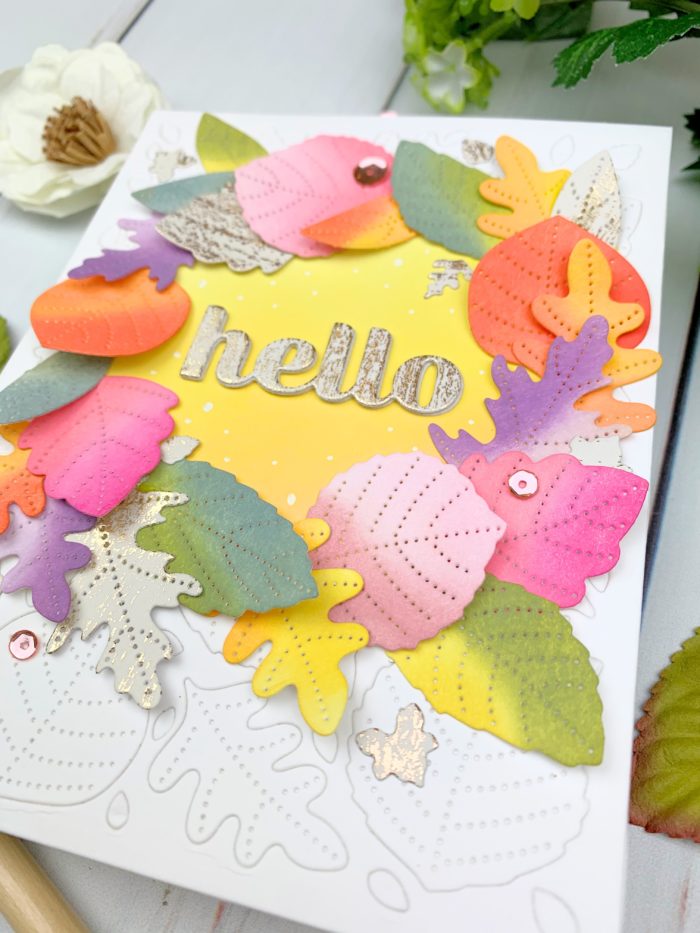
    I can’t seem to finish any card without some sparkle, so I die cut some extra leaves from a gold-embossed woodgrain cardstock. After adding those leaves to my wreath, I die cut my “hello” sentiment from the same cardstock using the Hello Sugar Script die. A few white splatters into the center of the card and some rose gold sequins dotted here and there, and this card was finished!
    I hope you enjoyed this project! Links to the products I used are below. I’ll see you again soon with another fun Birch Press Designs project!


    Supplies

  • Stitched Pumpkin Lacework Card | By Leigh Houston

    Stitched Pumpkin Lacework Card | By Leigh Houston

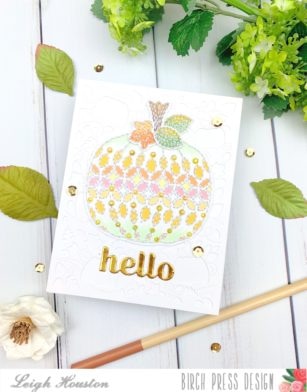
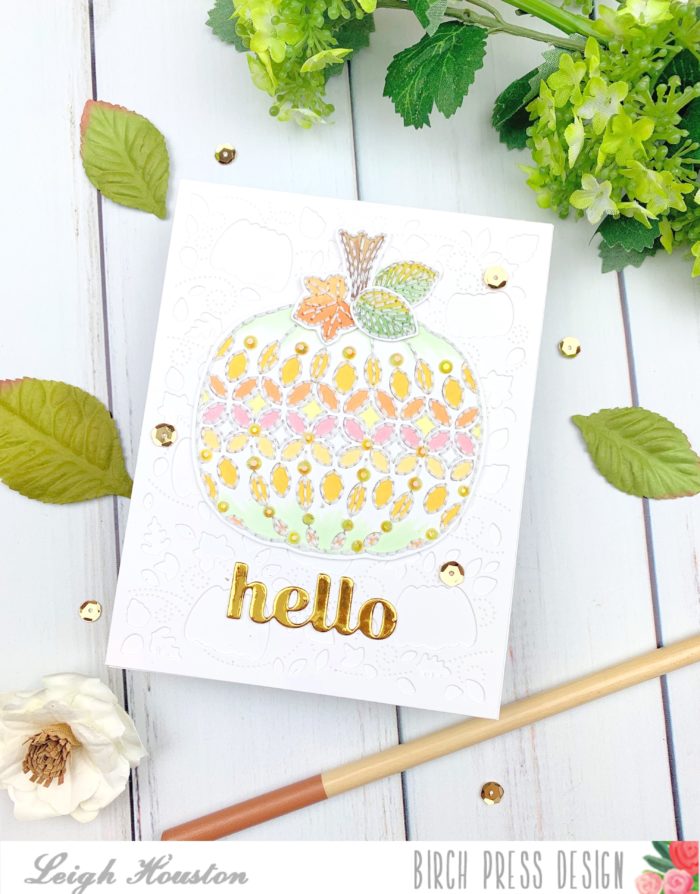
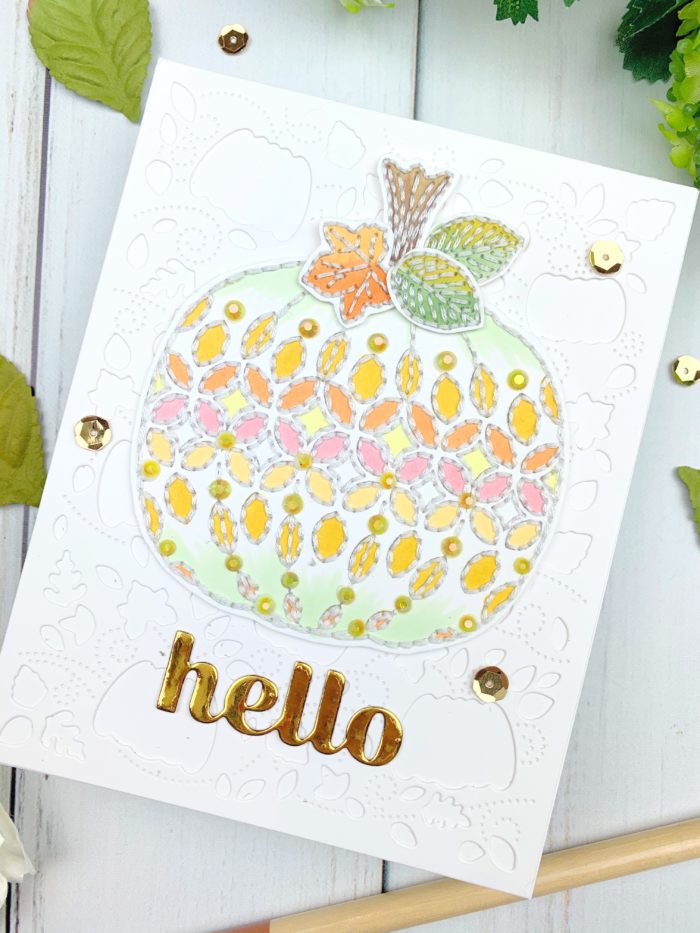
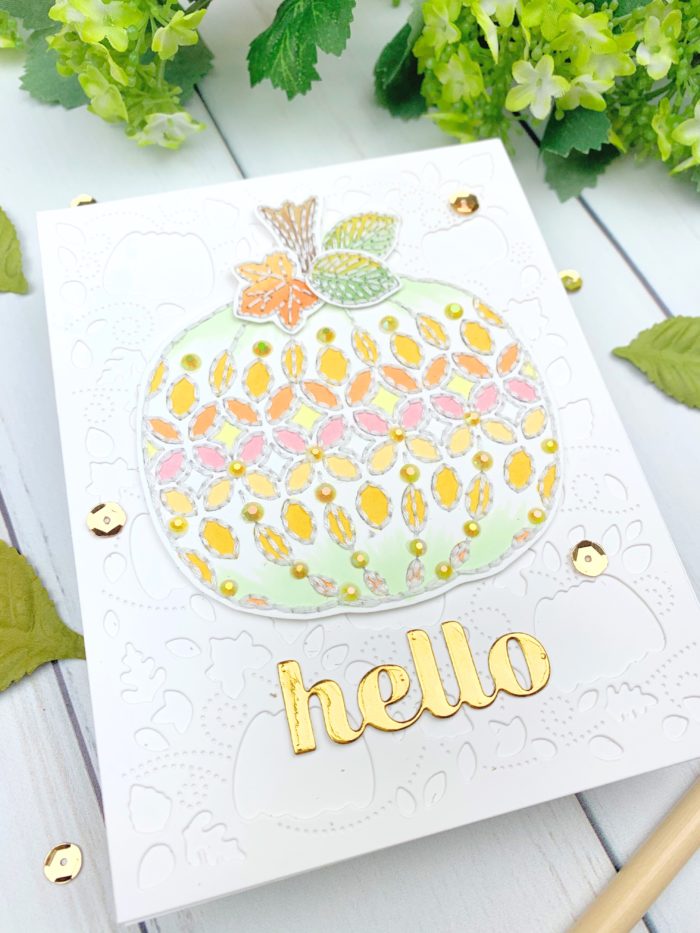
    Hello, friends! I am so happy you stopped by today. I am here sharing how I made this stitched card using Birch Press Designs’s new Pumpkin Lacework card. This gorgeous design lends itself to so many mediums from beautiful and delicate coloring to simple stitching.

    I started my card by stamping my pumpkin, stem, and some leaves in alcohol-marker friendly ink. I then did super simple Copic coloring in soft shades of yellow, orange and green. To add texture to the card, I poked holes along the stamp lines and stitched the images using a simple backstitch with white embroidery floss. This was the perfect project for TV nights with the family! I finished the pumpkin with some yellow gems for some sparkle.

    After cutting out my images, I cut out a panel using the new Autumn Breeze Plate Layer A and attached it to my card base. I adhered the pumpkin and leaves to the card base and added my “hello” sentiment cut from gold mirror cardstock. A few gold sequins and this card was finished!

    I hope you enjoyed this project! Links to the products I used are below. I’ll see you again soon with another Birch Press Designs card project!


    Supplies


  • Stenciled and Stitched Balloon Card | By Leigh Houston

    Stenciled and Stitched Balloon Card | By Leigh Houston

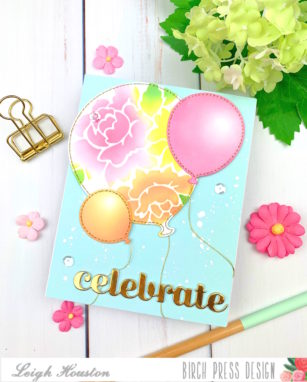
    Hello, friends! I am so happy you stopped by today. I’m here sharing how I made this stenciled and stitched balloon card using Birch Press Design’s Party Balloon dies.

    These Party Balloon dies are truly a must-have for creating birthday or celebratory cards. I love their stitched details! To start my card, I die cut my largest balloon and added stenciled details using Poppystamps’s Romantic Blooms stencil and Distress Oxide Inks. I then die cut two smaller balloons and added color with the same shades of Distress Oxide inks, being sure to keep a highlight area for some realism.

    To add some more interest to the balloons, I stitched through the stitch holes using gold metallic thread and a simple backstitch. I then adhered some of the same thread to the back of the balloons to create their strings.

    To finish the card, I splattered a sky-colored background panel with some white paint. I then cut my “celebrate” sentiment from gold mirror cardstock. I popped up my largest balloon with foam tape and adhered my balloons to the cards, wrapping their strings somewhat loosely around the back of the panel to add to the floating effect. A few sparkly sequins and this card was finished!

    I hope you like this simple but pretty celebration card! Links to the products I used are below. Thanks again for stopping by and I’ll see you again soon with another card project!


    Supplies


  • Adding Dimension with Simple Stitching with Birch Press Designs’s Viola Dies | By Leigh Houston

    Adding Dimension with Simple Stitching with Birch Press Designs’s Viola Dies | By Leigh Houston

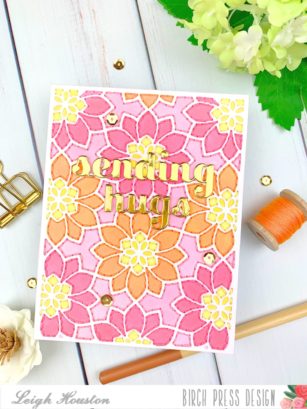
    Hello, friends! I’m so thrilled you’ve joined me today for this cheery, summery card. I added some texture and dimension to the gorgeous Birch Press Designs Viola die set and I’m excited to share the process with you!

    I started my card by die cutting Layer A from the Viola Layering Die Set twice: once from inexpensive cardstock, and once from Neenah Classic Crest Solar White #110 cardstock. I used my inexpensive die cut panel as a stencil, using alcohol markers to color in the negative spaces. When I was finished, I discarded the stencil and adhered the clean 110# layer on top of my colored card base using a strong liquid adhesive.

    After the adhesive had dried, it was time for the stitching. I used a paper piercer to poke holes inside the die cut lines. I then used coordinating embroidery floss (I used 4 strands) and a simple backstitch to stitch inside these spaces. This went surprisingly quickly… a couple of episodes of bad TV and I was finished!

    To finish my card, I die cut my sentiments from the Sending and Hugs Sugar Script dies from gold mirror cardstock. A few sparkly gold sequins and this card was finished!

    I hope you enjoyed this project! Links to the products I used are below. Thanks again for stopping by today, and I’ll see you again soon with another card project!


    Supplies

  • Stitched Dimension with Birch Press Designs Kinsley Die | By Leigh Houston

    Stitched Dimension with Birch Press Designs Kinsley Die | By Leigh Houston

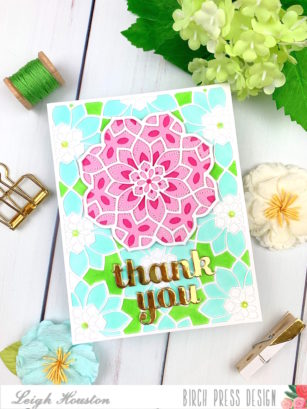
    Hello, friends! I’m so happy you stopped by today! I’m here sharing a new stitched card made with Birch Press Designs’s new Kinsley and Viola dies. These two dies work so beautifully together and combined to make the perfect summery thank you card.

    I started my card by die cutting my center medallion from Kinsley Layers A (in white) and C (in a medium pink). After adhering these two layers together, I decided to add some stitching along the stitch lines from layer C. I accomplished this by poking through the holes to enlarge them ever-so-slightly, then using a simple backstitch with two strands of white DMC floss. This was really fast and easy and added some pretty texture to the medallion. I then cut a backing piece from Birch Press’s Vivid Bloom Stitched Layer Set (this set cuts the perfect backing for the Kinsley Layering dies).

    To create my background panel, I die cut the Viola Layer Plate A from thin cardstock, and used this piece as a stencil to color a background panel using alcohol markers in lime green and pool shades. I then cut a new Viola Layer A and attached this clean piece over the colored panel using strong liquid adhesive.

    All that was left to do was assemble the card! I adhered my center medallion to the panel, then die cut my thank you sentiment from the Sugar Script “thanks” (I cut off the “s”) and you dies. Some little gems in the centers of the florals finished the card.

    I hope you enjoyed this project! I had such fun creating it. Thanks again for stopping by today, and I’ll see you again soon with another fun Birch Press Design card!


    Supplies


  • Dimensional Butterfly Card | By Leigh Houston

    Dimensional Butterfly Card | By Leigh Houston

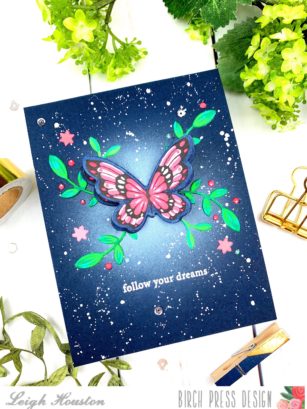
    Hello, friends! I’m so happy to be here today to share this dimensional butterfly card I made with Birch Press Designs’s Lovely Butterflies stamp set. This set is perfect if you’re a butterfly lover like me!

    I started this card with a panel of dark blue cardstock. I used white pigment ink to blend a halo in the center of the card where my butterfly would be. I then embossed my sentiment from the Lovely Butterflies set with white embossing powder and added white splatters to give the card a night sky look.

    I always keep my leftover negative die cuts from my Birch Press dies, so I chose some foliage and stars from the Avalon Layer A die. I colored the pieces with alcohol markers and accented them with layers of gouache on top.

    For my butterfly, I stamped the image on white 110# cardstock. I then used gouache paint to paint the butterfly’s wings. I decided I wanted to make the butterfly look like it is flying, so I stamped the image once again and colored it with markers matching the gouache paints I had selected (this was a time-saver over painting a second butterfly).

    To assemble my card, I adhered the marker-colored butterfly and my foliage onto my card base. I then folded my painted butterfly up the middle and adhered it to the bottom butterfly along the crease. This creates such a beautiful effect of the butterfly’s wings rising up from the card.

    I hope you enjoyed this project! Links to the products I used are below. Thank you for stopping by today, and I’ll see you again soon with another card project!


    Supplies


  • Highlighting Sentiments | By Leigh Houston

    Highlighting Sentiments | By Leigh Houston

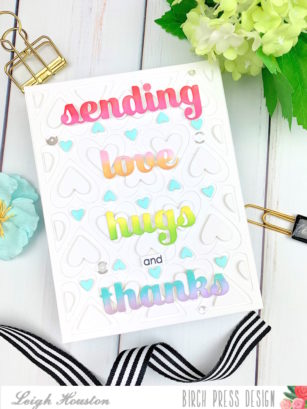
    Hello, friends! I am so happy to be here today to share this card I made featuring my favorite Birch Press Designs sentiments. I really wanted the sentiments to take center stage on this clean and simple card!

    To start my card, I made a card base using the Birch Press Designs Amour Layering Set. I cut the base using Amour Layer A, then layered smaller hearts mounted with foam tape from Amour Layers B and C. I colored in the smallest hearts using an aqua alcohol marker. This provided the perfect simple but pretty card base for the sentiments.

    I then die cut my sentiments from heavy 110# cardstock. I used small sponge daubers and my favorite shades of Distress Oxide Inks to ink blend a rainbow gradient onto the sentiments. I stamped the “and” from Birch Press’s You Are Awesome stamp set, which has such a wonderful array of sentiments (this one definitely makes my “most used” list of stamp sets!) A few sparkly sequins and this clean and simple card was finished!

    I hope you enjoyed this project! Products used are listed below. I’ll see you soon with another card project. Thanks so much for stopping by and have a wonderful day!


    Supplies


  • Birch Press Designs Stitched Dahlia Heart Cards | By Leigh Houston

    Birch Press Designs Stitched Dahlia Heart Cards | By Leigh Houston

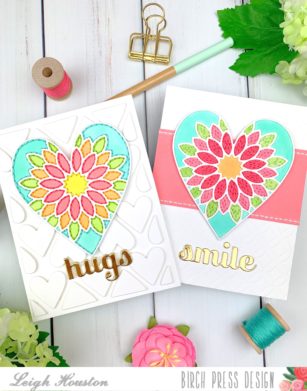
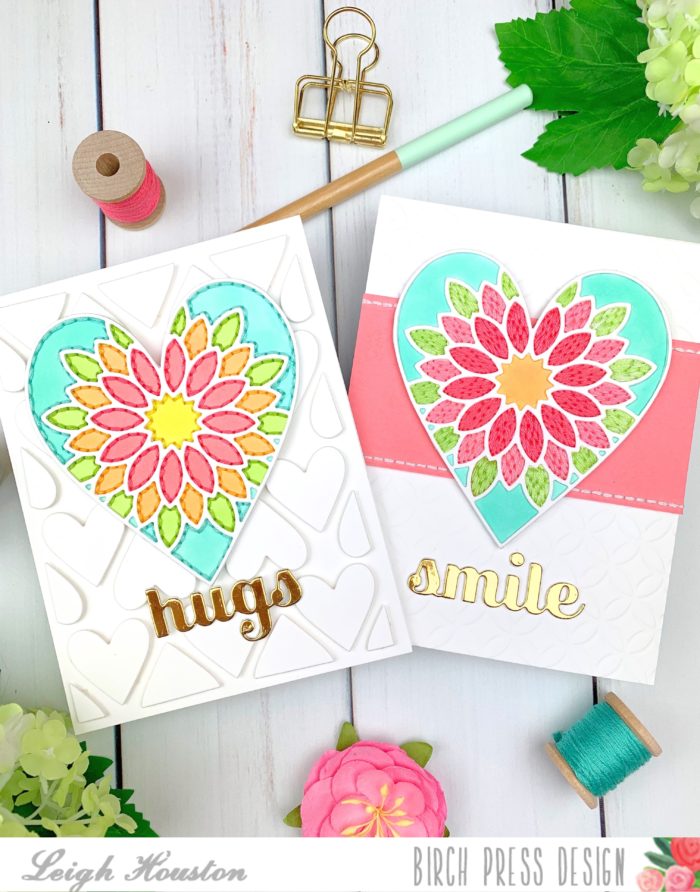
    Hello, crafty friends! I am so happy to be here today sharing two stitched cards I created with Birch Press Designs’s Dahlia Heart die. I had so much fun making these cards!

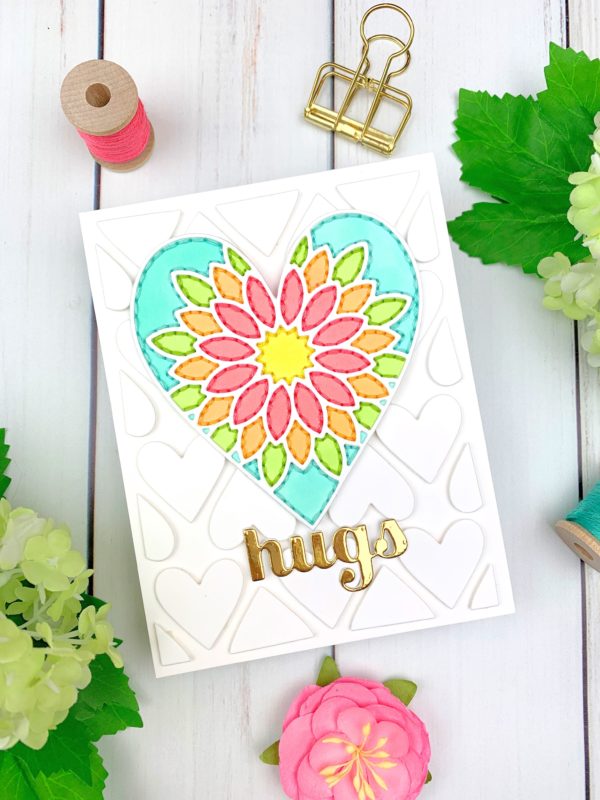
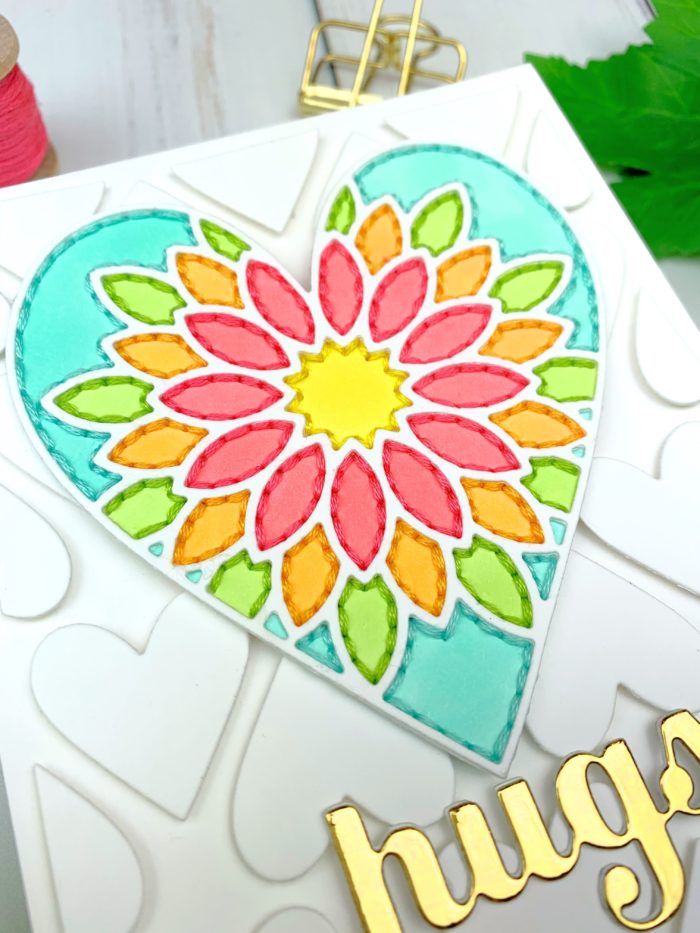
    I created these cards using Dahlia Heart Layer A. I started my first card by die cutting the heart with a scrap piece of cardstock. I then used this scrap piece as a stencil, coloring in the segments with alcohol markers. I then cut a fresh piece of the heart shape with clean cardstock and affixed it over the colored base with strong liquid adhesive. After the glue dried, it was time to stitch! I poked holes along the inner edges of each segment then used a simple backstitch in coordinating thread.

    After the stitching was complete, I trimmed around the perimeter of the heart. I affixed it to a cardstock base I made with Birch Press’s Amour Layer A die. I die cut my sentiment from gold foil cardstock using Birch Press’s Hugs Sugar Script die.

    My second card takes the stitching to another level. I started my card in the exact same way as the first, coloring in the segments using the stencil then affixing a clean heart over top. I then filled in the flower segments using a brick stitch. This stitch is another simple backstitch in rows, with each row staggered. This was the perfect project for a night of watching bad TV! LOL To finish this card, I embossed a white cardstock base using Birch Press’s Ring Tile Stencil and added a stitched coral cardstock strip behind the heart. The gold Sugar Script Smile sentiment finished the card off perfectly!

    I hope you enjoyed these projects as much as I loved making them! Links to the products I used are below. I’ll see you soon with more card projects!


    Supplies