Category: Renee Moran

  • String Art Circle Three Ways | By Renee Moran

    String Art Circle Three Ways | By Renee Moran

    Hi Everyone, It’s Renee’ from Delaney Jane Cards here. I had the opportunity to play with the String Art Circle Collage die and created 3 different cards showing just a couple ways you can use this really fun die.
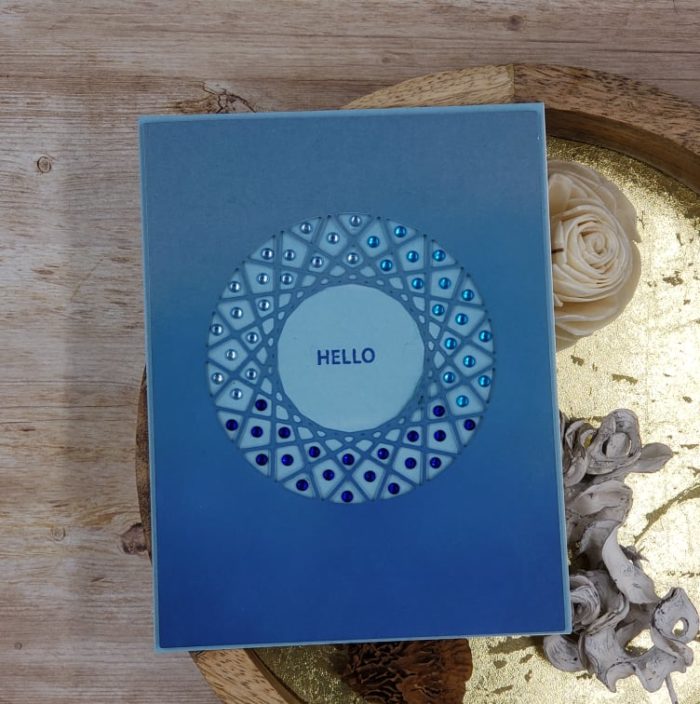
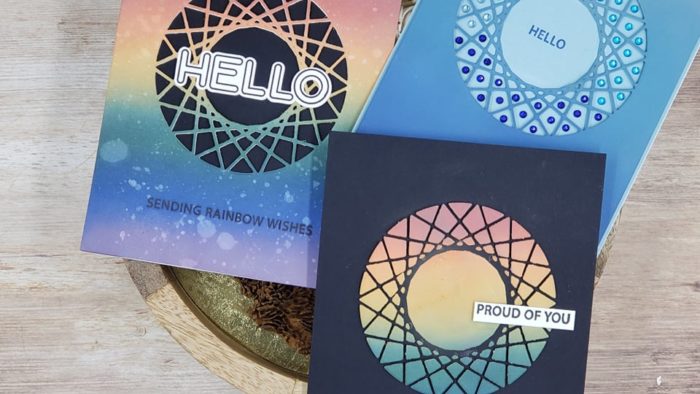
    The first card I created was simply die cut from a piece of deep blue cardstock from the Ocean Blue 6×6 Paper Pad. I ink blended a couple of oxide inks over the top to give the front panel an ombre look.
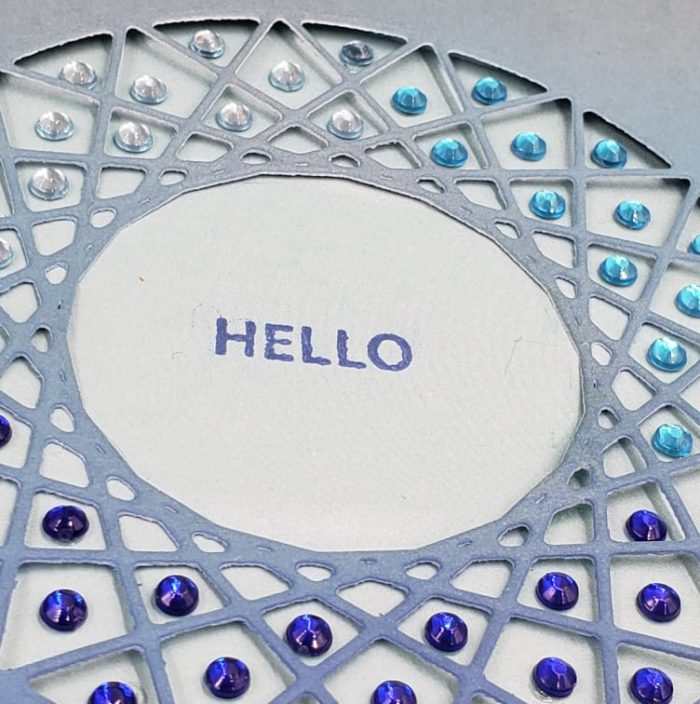
    To further the ombre feel I added fairy jewels to the larger openings in three different shades of blue, using both the pastel and brights Fairy Jewels. And I stamped the simple sentiment Hello in the center of the center circle from the Rainbow Days Lingo Notes Stamp Set. I adhered down that inner rim of the circle and popped the panel up with foam adhesive to create some cool dimension.
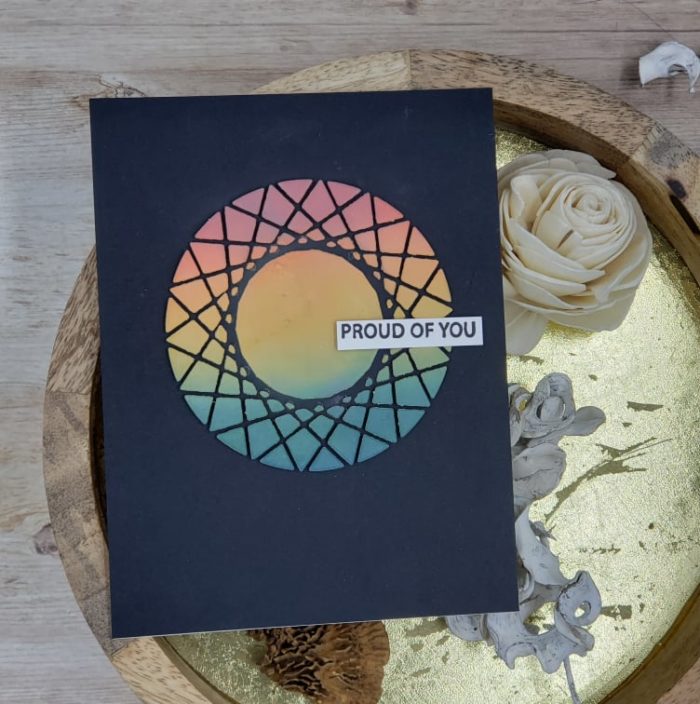
    Cards two and three were created at the same time but look drastically different. I used the negative cuts from the String Art Circle Collage die to create this card here, featuring the Proud of You sentiment from that same Rainbow Days Lingo Notes stamp and die set. I added foam adhesive to the larger of the shapes, so the outer three rows. The inner two rows were adhered directly to the card front as was the center circle.
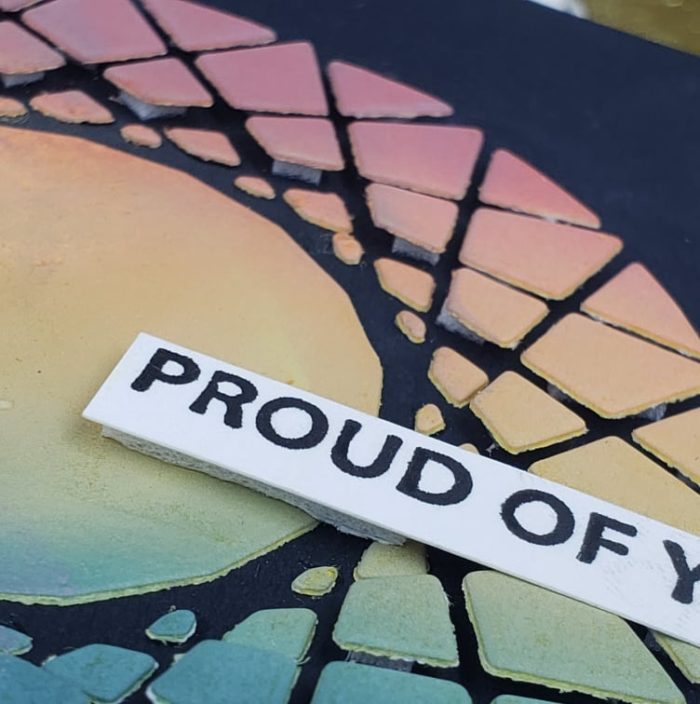
    This created a super cool textural feel to this very sleek card.
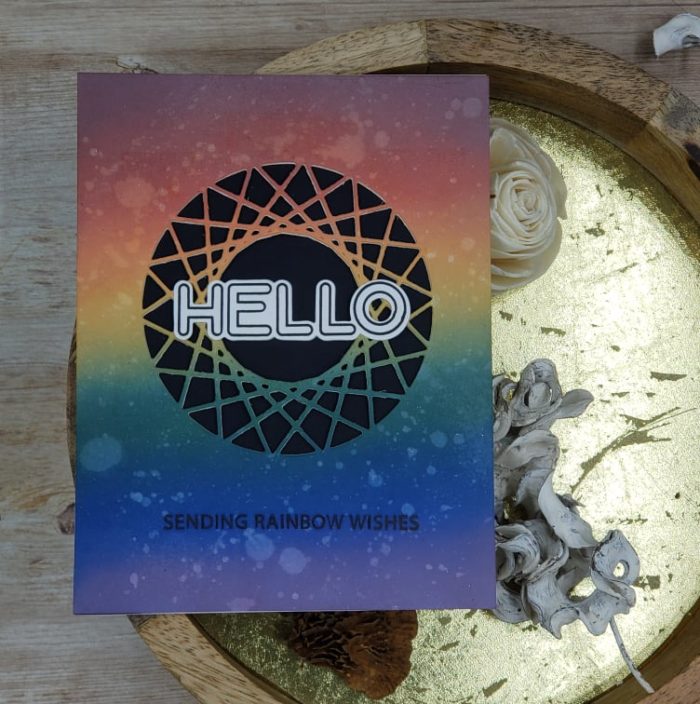
    Card three was created from a deep toned rainbow blended panel. I cut two additional panels with the String Art Circle Collage die cut in the same exact position so I could stack them for a bit of dimension. I splattered the background with shimmer spray and some plain water drops.
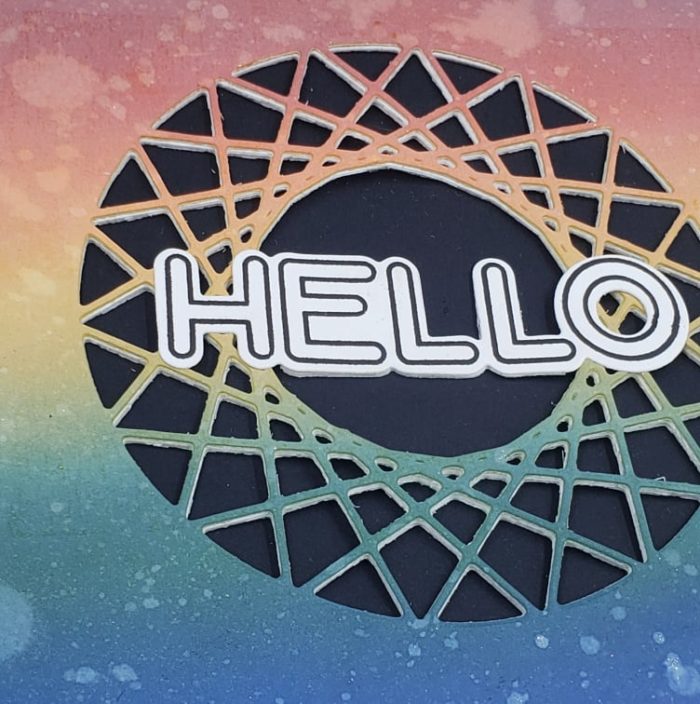
    I stamped a sub-sentiment below the die cut window I created with the String Art Circle Collage die. A stamped and die cut a main sentiment on white cardstock was layered and adhered to the center of the design, both featuring the Rainbow Days Lingo Notes Stamp and Die set.
    Also, if you’d like to see how my card came together, you can click on the video below.

    Thank you so much for checking out my card today.

    As I always say,

    Give Cards Generously

    -Renee’

    Supplies
  • Eclipse / Inlay Tranquility | By Renee Moran

    Eclipse / Inlay Tranquility | By Renee Moran

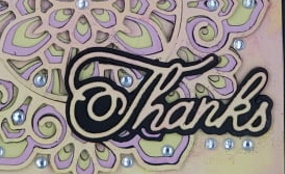
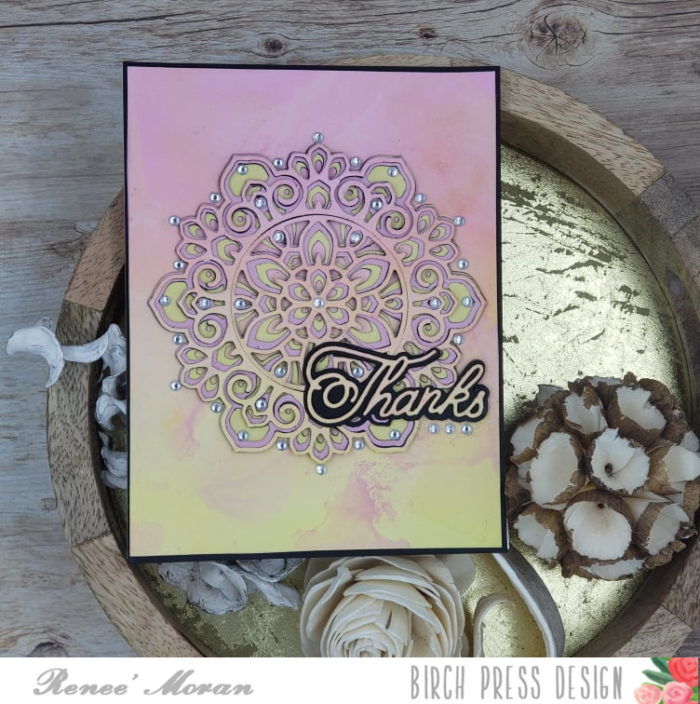
    Hi Everyone, It’s Renee’ from Delaney Jane Cards here with a different take on the eclipse technique. Many times we see it done with words but I thought I could achieve something similar with the beautiful Tranquility Layering Dies and Handwritten Thanks. When I’m feeling stuck I often try to use a favorite technique or product in a new way.

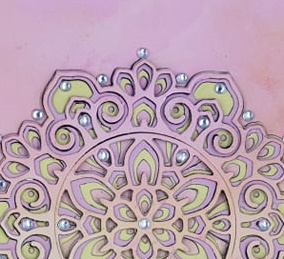
    Today that technique was similar to the Eclipse technique but could also qualify as Inlay. These layering dies, they create so much opportunity for experimenting and stretching not only your supplies but skills as well!

    For this card I ink blended an 8 1/2″ x 5 1/2″ piece of cardstock using the Kitch Flamingo and Squeezed Lemonade Distress Oxide Colors. Then I trimmed this into two separate panels.

    I die cut the Handwritten Thanks die from the panel where I wanted it to be on the finished card.

    I removed the die cut and placed the tranquility Layer A from the same piece of cardstock where the final piece will be on that card panel.

    This cut the place holder for the finished layered tranquility layered die set. I die cut each of the layers from both black and a coordinating cardstock. Layer C from yellow and Layer B from Pink.

    I die cut the shadow layer from the Handwritten Thanks from black cardstock when I did all my die cutting. After I had all my layers, I adhered each layer to a coordinating black piece of cardstock. This will create additional drama in the final die cut design. These layers will not only add additional depth but by using black it will add a visual outline for each layer as it is viewed from the side.

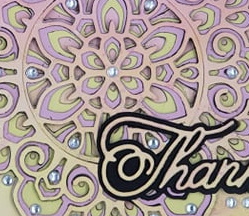
    By cutting the top layer, Layer A, from that initial panel, this creates the basic eclipse pattern. If I had simply stacked black die cuts under the top layer and then put it back exactly where I die cut it from, I’d have created an eclipse design. By putting the entire stack of die cuts in this layer die set together, I also achieve the inlay die cut technique, the eclipse technique and I create additional depth in the design.

    I finished this card off by layering that thanks onto the edge of the tranquility medallion and added sparkle and shine with the fairy jewels in clear by Open Studio.

    I’d love to know what you think of my design and of this super fun attempt at adding a twist to the eclipse technique. Please let me know in the comments.

    Also, if you’d like to see how my card came together, you can click on the video below.

    Thank you so much for checking out my card today.

    As I always say,

    Give Cards Generously

    -Renee’

    Supplies

  • Using Layering Dies for Dimension | By Renee Moran

    Using Layering Dies for Dimension | By Renee Moran

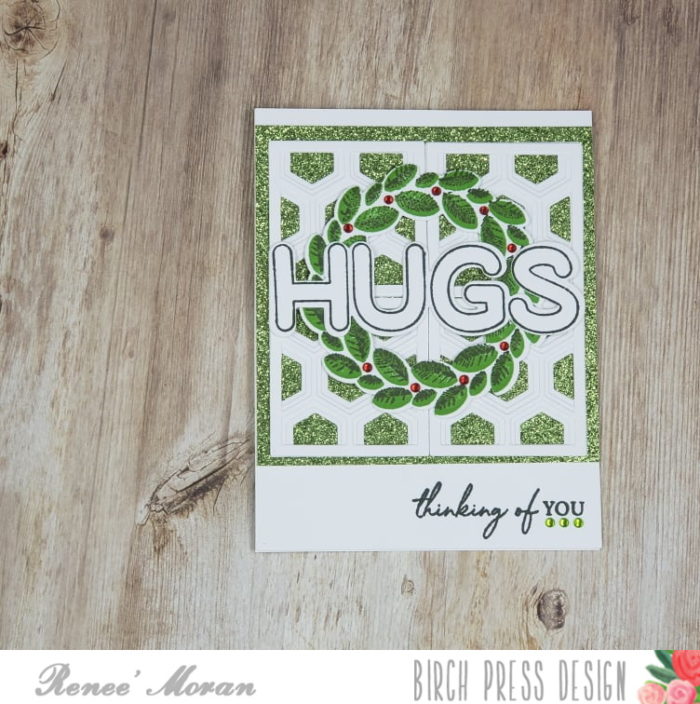
    Hi Everyone, It’s Renee’ from Delaney Jane Cards here with a Dimensional card using small layering dies.I wanted to create something that could feel a little Christmas but could be used any time of year. I also enjoyed the challenge of using these small dies to make an entire card. Sometimes it is about stretching your dies to make them really worth owning.

    I keep reaching for this small square layering die set called Honeycomb Mini Tile Layer Set. I often pull this out and then set it aside thinking, This can’t make that much impact on a card, can it? It can!

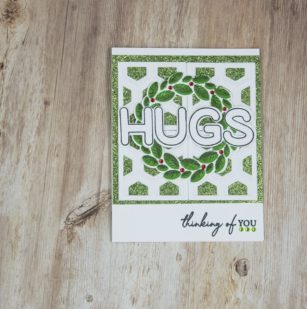
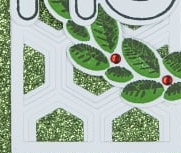
    I die cut the three pieces of this honeycomb mini tile layer set from white cardstock, four times. I layered those all together to create four individual layered tiles.

    I used the Happy Lingo Stamp and Die set to create the Hugs sentiment. I die cut it from white cardstock and stamped in some deep green ink. I chose to stay away from black in this card design because I felt it was a softer look.

    I also used the Classic Sentimental Wreath Stamp and Die set to create a wreath with the layer stamping stamps. And I cut the wreath out with the coordinating die. I stamped the sentiment from the same Classic Sentimental Wreath Stamp set in that deep green to finish my design.

    I added shine with some glitter cardstock from the Memory Box 6×6 Graceful Garden Glitter Pad and green and red jewels from the Open Studio Fairy Jewels Bright Jewels Pack.

    I’d love to know what you think of my design and of this super fun attempt at creating an entire card using a small die and layered die cuts. And if you have any ideas on creative ways to use the Honeycomb Mini Tile Layer Set. Please let me know in the comments below.

    Also, if you’d like to see how my card came together, you can click on the video below.

    Thank you so much for checking out my card today.

    As I always say,

    Give Cards Generously

    -Renee’

    Supplies

  • Christmas In July | Marisol Ornament | By Renee Moran

    Christmas In July | Marisol Ornament | By Renee Moran

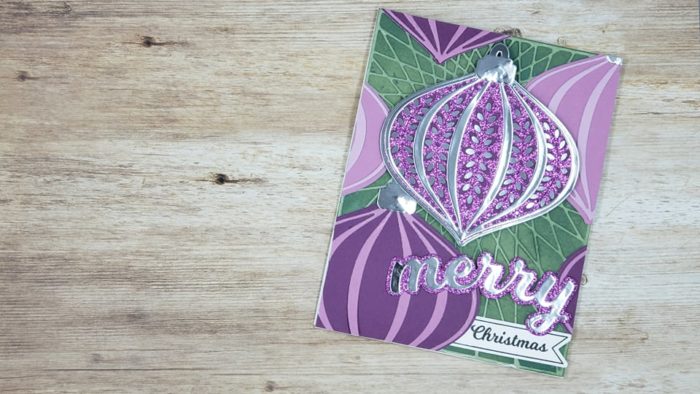
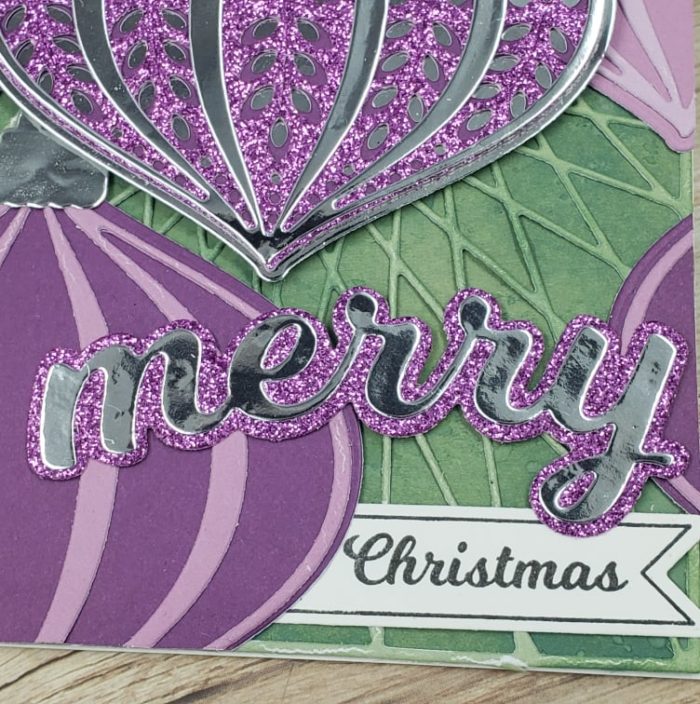
    Hi Everyone, It’s Renee’ from Delaney Jane Cards here with a Christmas in July card! Yes, Christmas in July. I also used an unexpected background die to create the “tree”! Sometimes it is about stretching your dies to make them really worth owning.

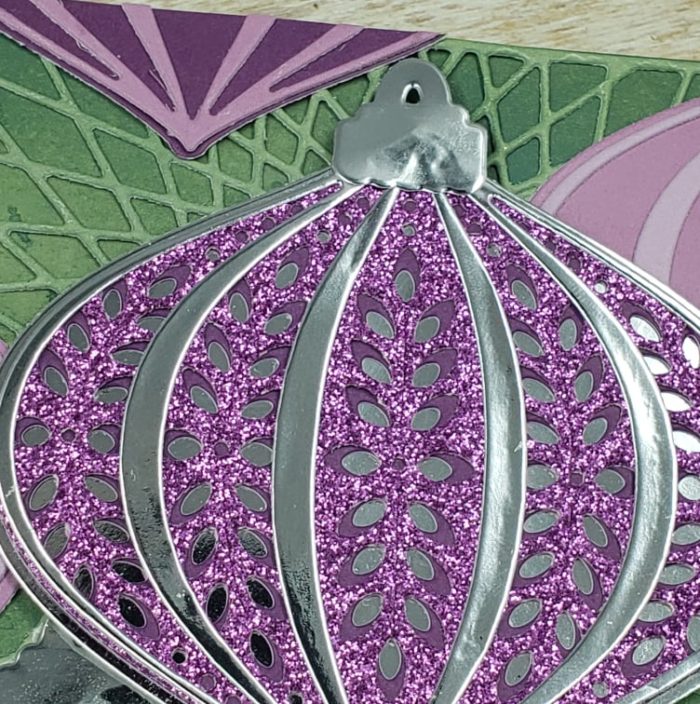
    I really wanted to use the Marisol Ornament layering dies because, let’s face it, they are so beautiful!!! I decided on purple, silver and green for my color scheme.

    I picked out some glitter cardstock, polished cardstock and some purple and green from the cardstock 6×6 stacks.

    I created one entire Marisol Layering Die set and used the top layer (a) to create two other ornaments. The Christmas Ornaments and Labels Stamp and Die set has this solid die that works so well with the Marisol Ornament Layering Dies and the topper for the ornament. I used that solid die to back all three ornaments.

    I added foam tape to the main image and adhered the other two down using liquid adhesive. Then snipped the excess off and adhered them to to other areas on the card. No need to create multiple ornaments when you can use just a few and place the bits and pieces in the blank spaces.

    By being creative with how I layered them atop of the String Art Nativity Star background die I was able to “hide” the star and create the look of the branches of a pine tree. What a cool way to stretch that die, am I right?

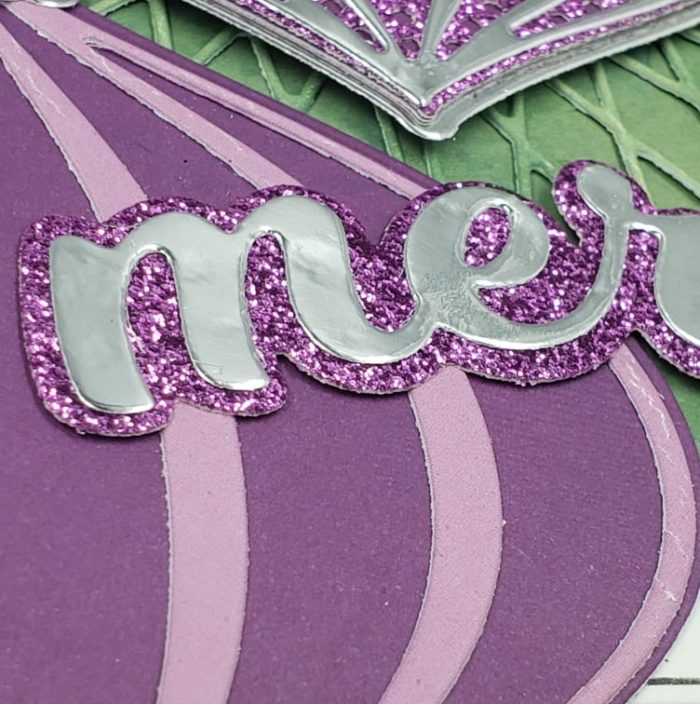
    I even stretched the Christmas Ornament and Label Stamp and Die Set and to selectively stamp the sentiment. I wanted to use the Merry Die so I only stamped the word Christmas.

    You’ll have to let me know if you think this “feels” like a closeup of a Christmas tree because I think it does. Also, if you’d like to see how my card came together, you can click on the video below.

    Thank you so much for checking out my card today.

    As I always say,

    Give Cards Generously

    -Renee’

    Supplies

  • Stretch Your Stamp Sets! | By Renee Moran

    Stretch Your Stamp Sets! | By Renee Moran

    Do you get stuck in a rut? You know, flowers, flowers, hearts, rainbows, flowers, more flowers and maybe a cute critter or two? Yep, me too! I’m often searching for ways to create masculine cards with what I have on hand, or looking to find ways to stretch my stamp sets to do more for me than I originally thought.

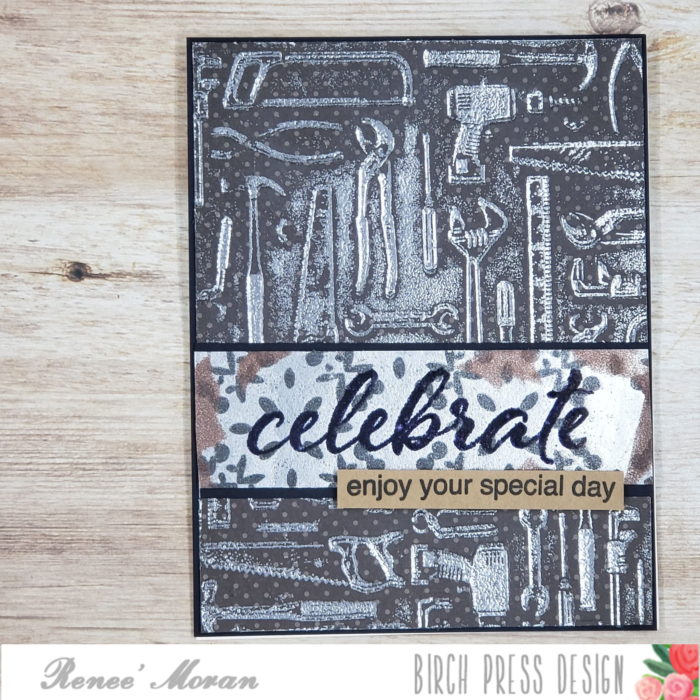
    I created a super masculine card using a super feminine stamp set. It was a super fun challenge and I adore the outcome!

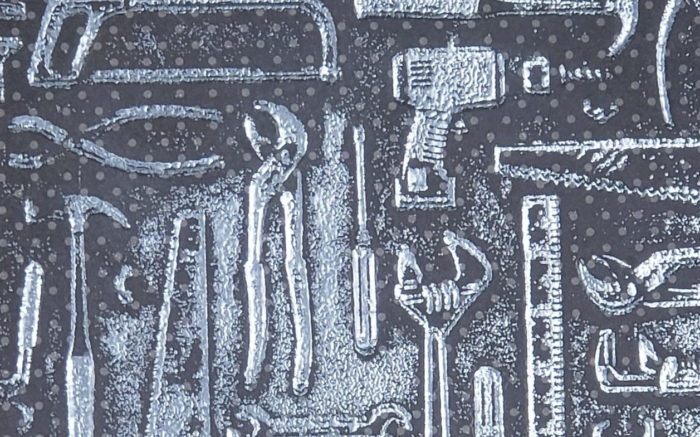
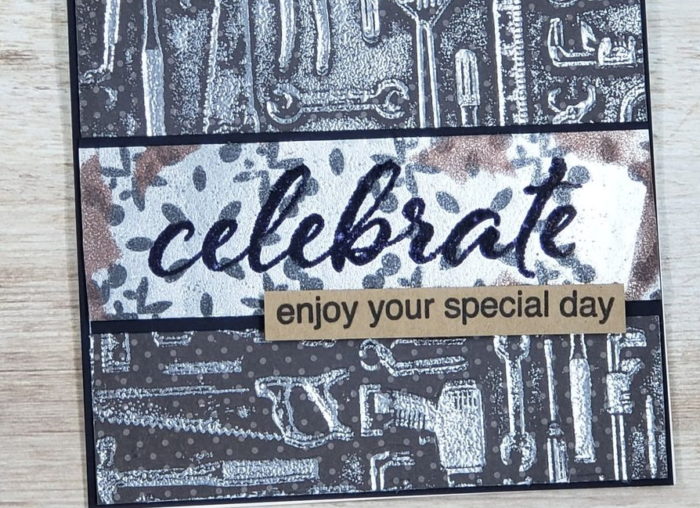
    I dry embossed the Toolshed Embossing folder onto this dots paper from the Garland Stripes and Dots 6×6 but instead of using the embossed side, I used the debossed side. (the side that is pushed in instead of raised)

    By using a watermark ink on the embossing folder I was able to apply ink to the debossed areas and then heat emboss this with silver embossing powder.

    For my sentiment I wanted to create a “piece of metal” and I started by cutting a piece of the polished foil cardstock. That stuff is so shiny and I left a silly little clip in my video showcasing this card. You’ll have to check that out.

    I started by heat embossing the background from the Celebrate Tile stamp set onto a strip of the polished foil cardstock using some gunmetal embossing powder. After that I heat embossed the sentiment over-top with black embossing powder. I kept adding layers of embossing powder to create “rust” and used a copper embossing powder to add “rust” spots. I finished the entire sentiment strip off with some Matte embossing powder. Over the shiny finish from the polished foil cardstock it created a hammered metal type finish with the depth. It really looks like metal!

    I added a tiny sentiment strip with a coordinating sentiment. I stamped the sentiment on some kraft cardstock to keep with the more masculine feel of this card.

    I’d love to know what you think of my design and of this super fun attempt at creating a masculine card from a feminine stamp set. And if you have any ideas on creative ways to use Celebrate Tile Stamp set. Please let me know in the comments below.

    Also, if you’d like to see how my card came together, you can click on the video below.

    Thank you so much for checking out my card today.

    As I always say,

    Give Cards Generously

    -Renee’

    Supplies

  • Steam Punk Meets Butterfly | By Renee Moran

    Steam Punk Meets Butterfly | By Renee Moran

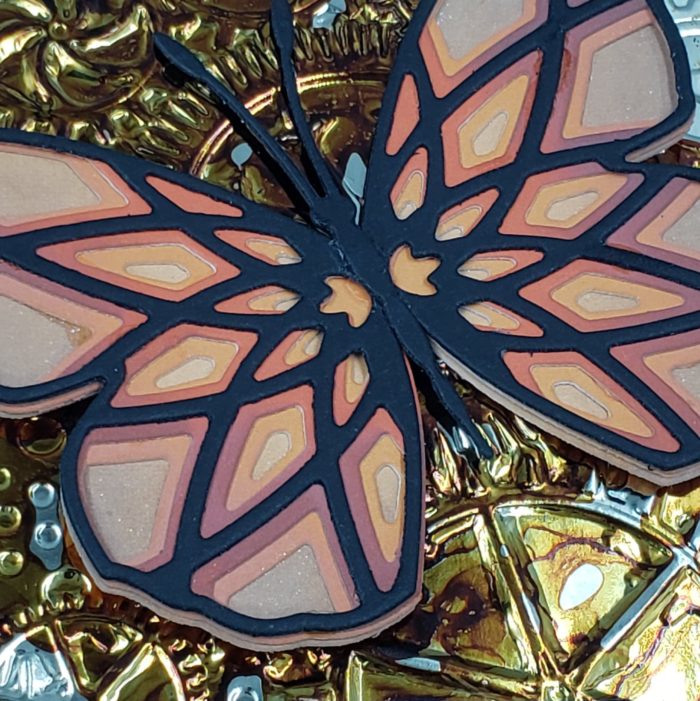
    Hi Everyone, It’s Renee’ from Delaney Jane Cards here with a fantastic challenge. Can A Butterfly Be Steam Punk? The answer: YES!

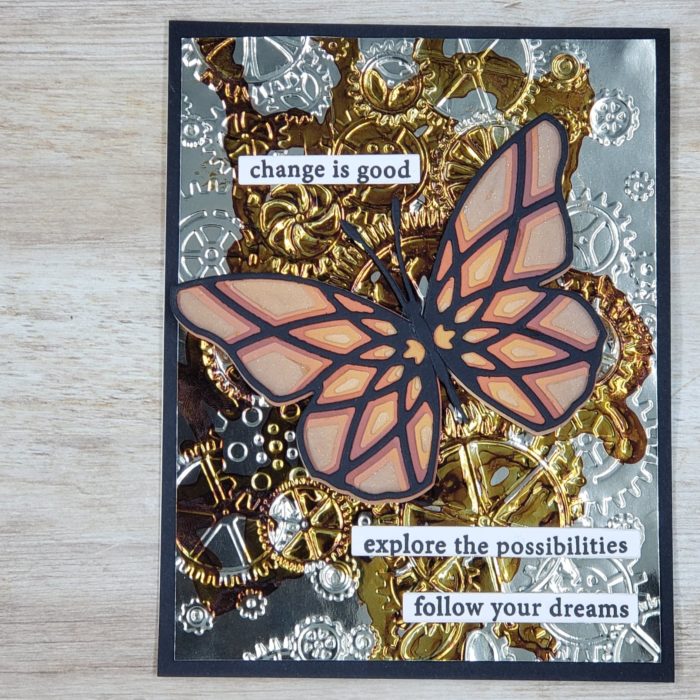
    I used the amazing Starlight Butterfly layering set, the Butterfly Basics, Lovely Butterflies Stamps, The Sunny Orange 6×6 cardstock, Polished Foil paper, Alcohol inks and an embossing folder Put It In Gear by Memory Box.

    I layered the butterfly layering dies from the Starlight Butterfly die over the Solid butterfly from the butterfly basics set. I also die cut the butterfly body to finish off my butterfly. All done with the 6×6 paper pads. I love the weight of that cardstock. It cuts like BUTTAH!

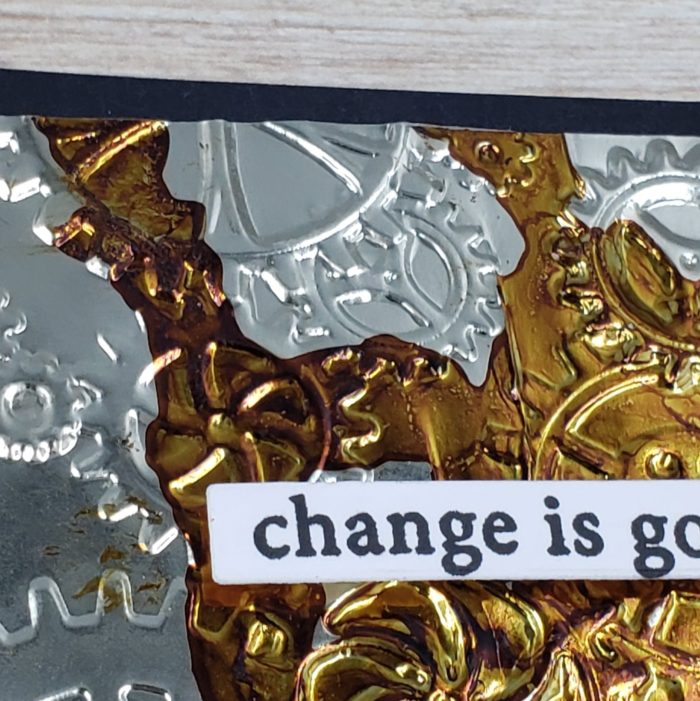
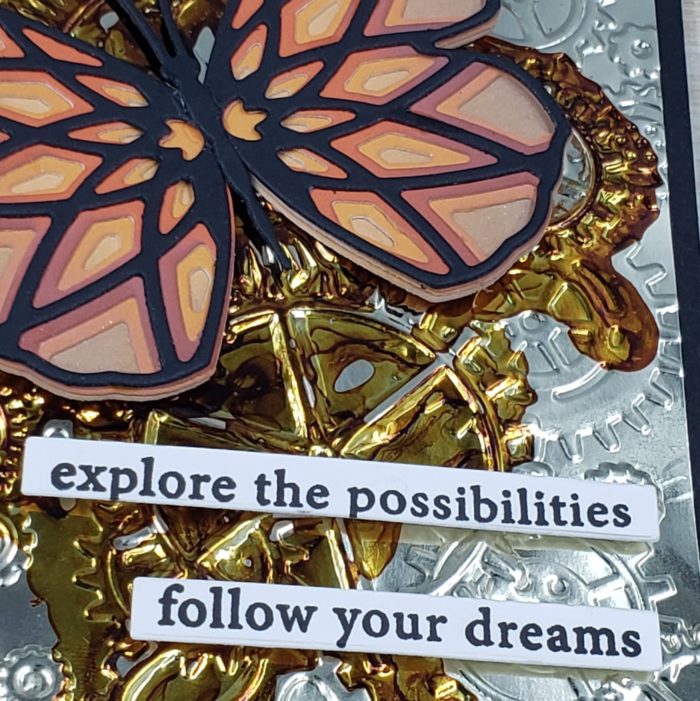
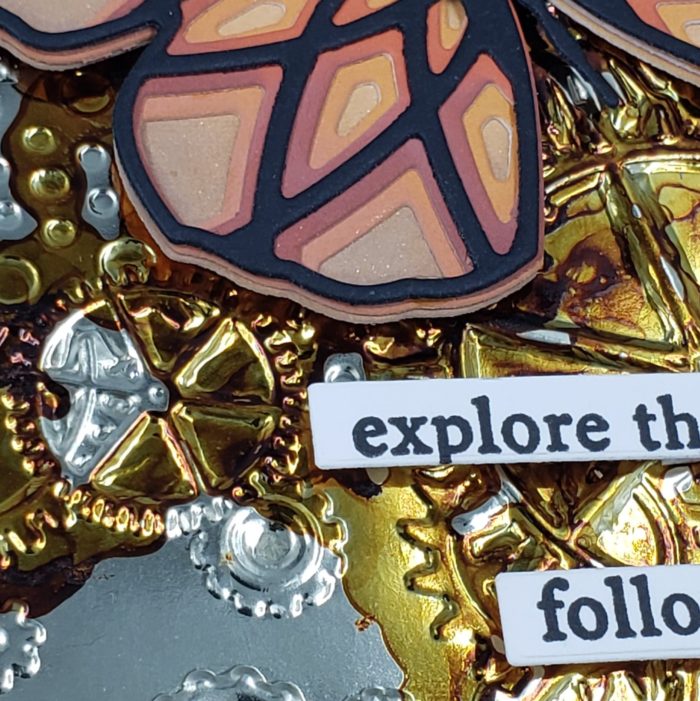
    I wanted to highlight this super cool texture but also tone down this amazing polished foil cardstock. I loved the metallic feel but it needed a bit of grunge. I added a little bit of alcohol ink over this. This polished foil cardstock works so well with alcohol inks, if you are looking for a fun new technique.

    And a single sentiment wasn’t enough, clearly! So I added 3!!! I think they all work well with this card design. These sentiments are in the Lovely Butterfly Stamp Set.

    Oh my creative heart! This card has everything, this photo showcases it so well. Shine, depth, clean lines, graphic sentiments. I’d love to know if this card does the same for your creative heart as it does mine.

    Also, if you’d like to see how my card came together, you can click on the video below.

    Thank you so much for checking out my card today.

    As I always say,

    Give Cards Generously

    -Renee’

    Supplies

  • Quick & Easy Watercolor Rainbow Card | By Renee Moran

    Quick & Easy Watercolor Rainbow Card | By Renee Moran

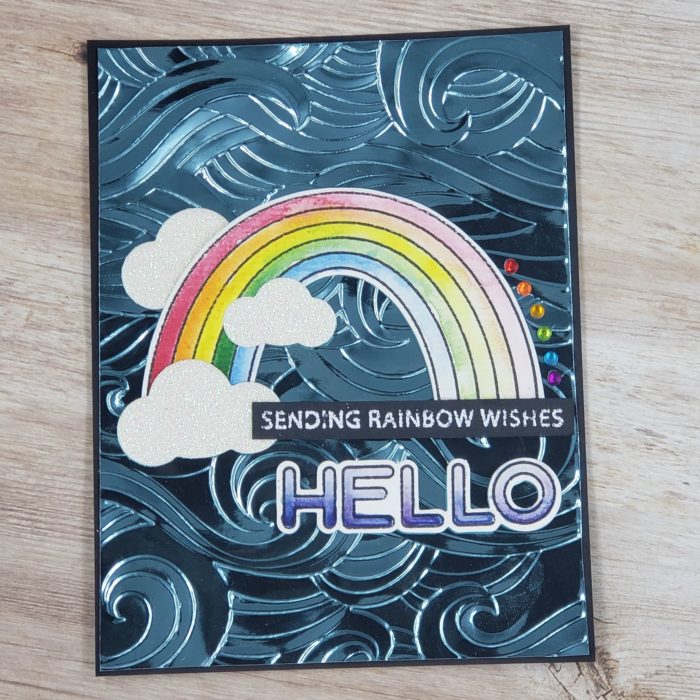
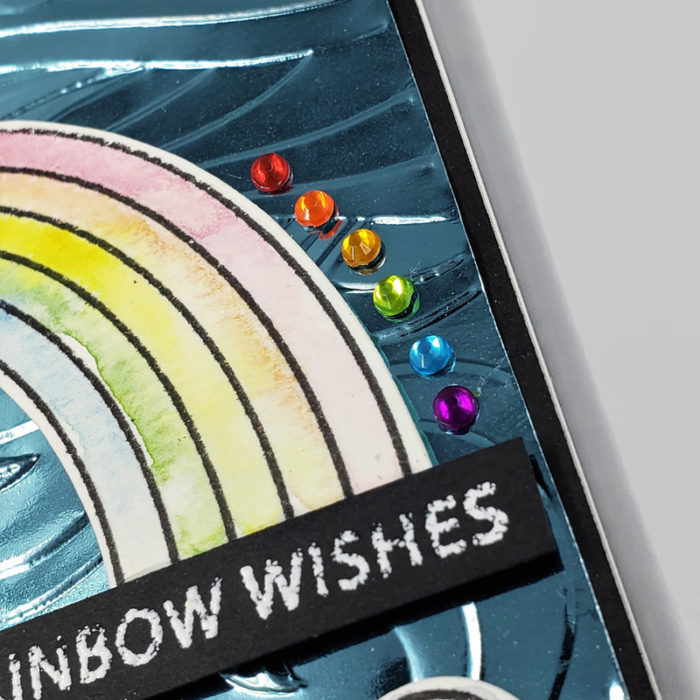
    Hi Everyone! Renee from Delaney Jane Cards here today with a quick and easy project using the Rainbow Days Lingo Notes Stamp Set, Coordinating Dies, Open Studio Watercolor Paper, A fantastic Embossing folder called Waves, Polished Foil Paper and some watercolor fun.

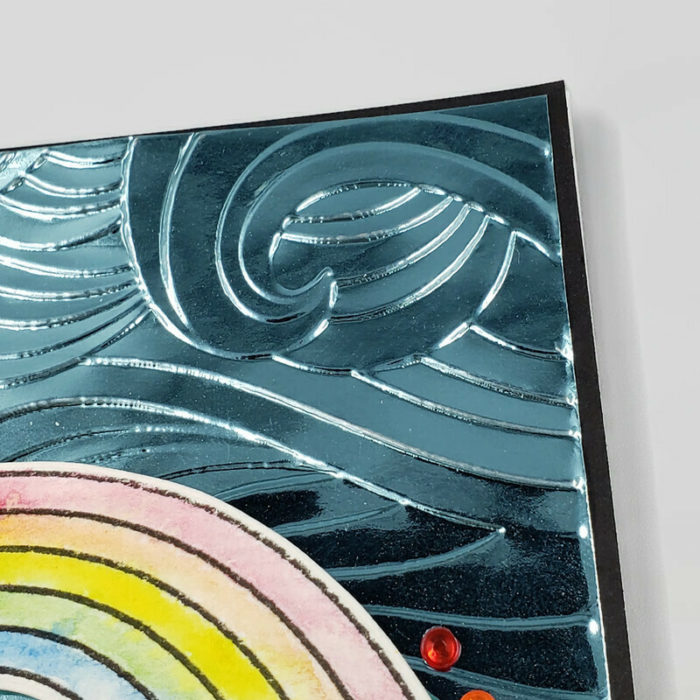
    I thought this embossing folder was reminiscent of blowing wind so I thought it was a good backdrop for this fun watercolored rainbow, especially on this polished foil paper.

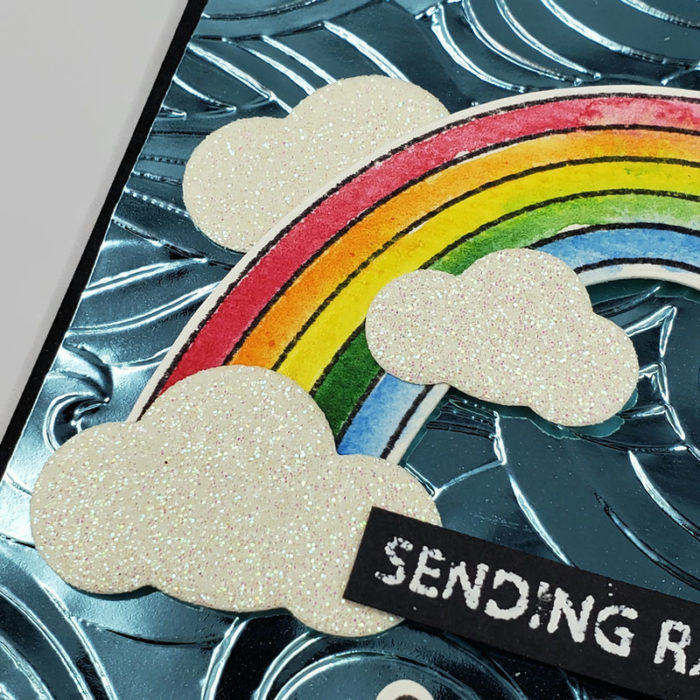
    I used the coordinating dies to cut out the rainbow as well as the hello and even the clouds. A very versatile set for sure! Can you imagine adding a cloud or two to a sweet little scene with these? I cut them from glitter cardstock, from the frosted glitter pad but imagine the possibilities!!!

    I’d love to know what you think of my design and of this gorgeous stamp set. And if you have any ideas on creative ways to use Rainbow Days Lingo Notes Stamp or Stamp and Die set. Please let me know in the comments below.

    Oh, before I forget, I finished the rainbow with these beautiful gems called Fairy Jewels in the Brights collection. These were absolutely perfect for some shine and I was able to follow the curve of the rainbow.

    Also, if you’d like to see how my card came together, you can click on the video below.

    Thank you so much for checking out my card today.

    As I always say,

    Give Cards Generously

    -Renee’

    Supplies

  • Ink Sprays, Shimmer Powder & Crystal Lingo | By Renee Moran

    Ink Sprays, Shimmer Powder & Crystal Lingo | By Renee Moran

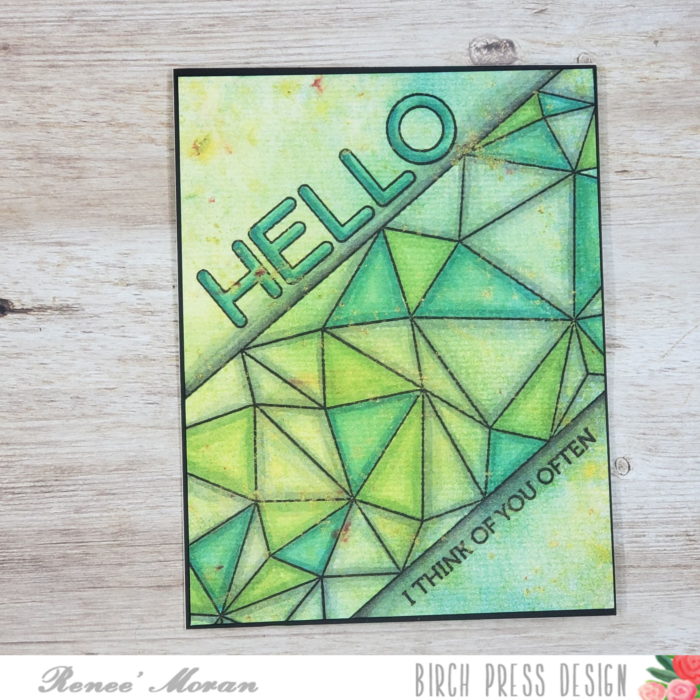
    Hi Everyone! Renee from Delaney Jane Cards here today with a super fun project using the Crystal Lingo Stamp Set, Open Studio Watercolor Paper and some messy inky fun.

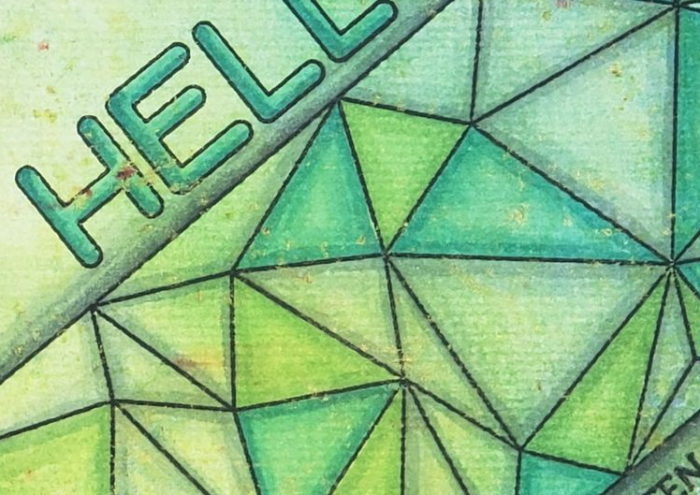
    Layering the Ink sprays I have in my stash with some stash shimmer powder created the perfect background to highlight this amazing stained glass-esque Crystal Lingo Stamp. It reminds me of stained glass so much, is that what you see?

    I wanted to leave this looking translucent but add color so I reinforced the colors in the geometric stamp with some Alcohol Markers.

    I used the Hello from the larger sentiments in the Crystal Lingo stamp set. I could have die cut it with the coordinating die but I chose to create a one layer panel. I paired it with a coordinating sentiment to frame in the beautiful geometric panel.

    I’d love to know what you think of my design and of this gorgeous stamp set. And if you have any ideas on creative ways to use this very versatile Crystal Lingo stamp set. Please let me know in the comments below.

    Also, if you’d like to see how my card came together, you can click on the video below.

    Thank you so much for checking out my card today.

    As I always say,

    Give Cards Generously

    -Renee’

    Supplies
  • Get the Ahhhs from Viola | Using Viola Plate Layering Dies | By Renee Moran

    Get the Ahhhs from Viola | Using Viola Plate Layering Dies | By Renee Moran

    Hello Everyone and Welcome Back!

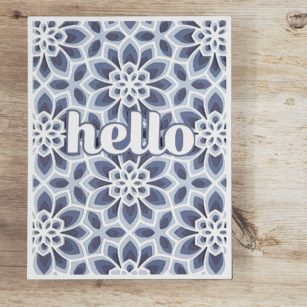
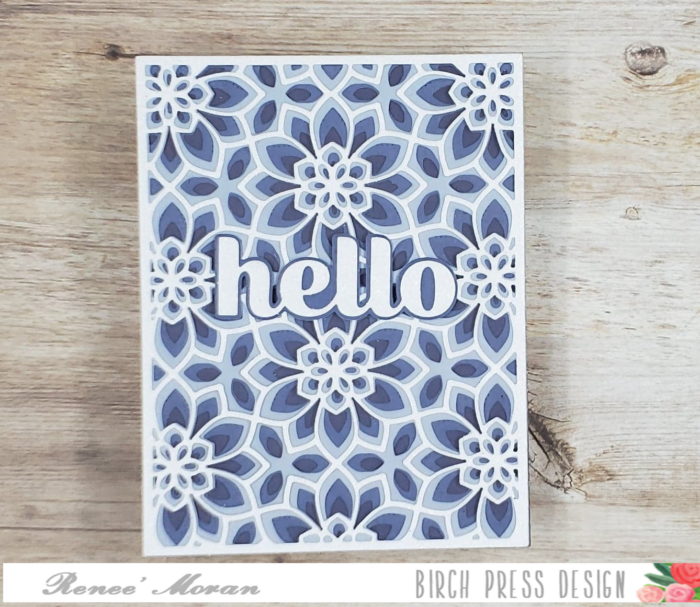
    The project I have for today features the Viola Layering dies from Birch Press Designs, some Memory Box cardstock and some frosted glitter paper.

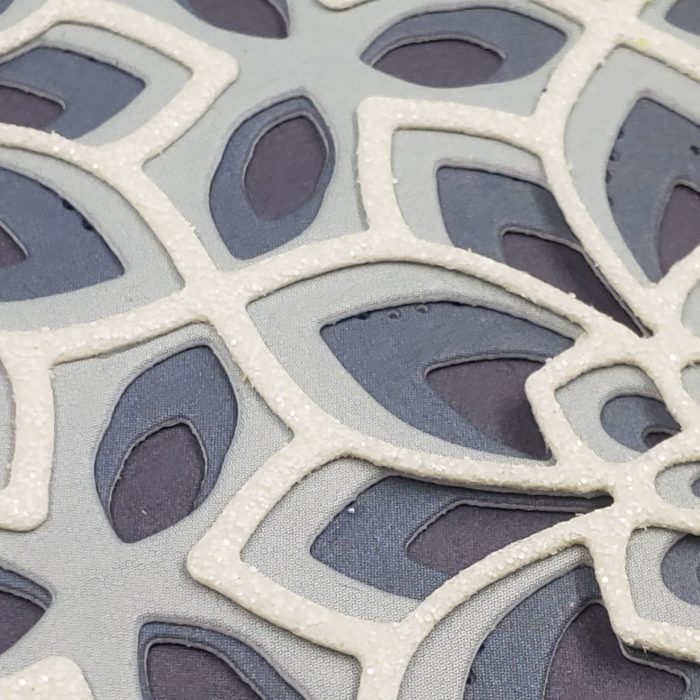
    I started by die cutting the Viola Plate Layer A out of a 4 1/4″ x 5 1/2″ panel of frosted glitter paper. I chose the white.

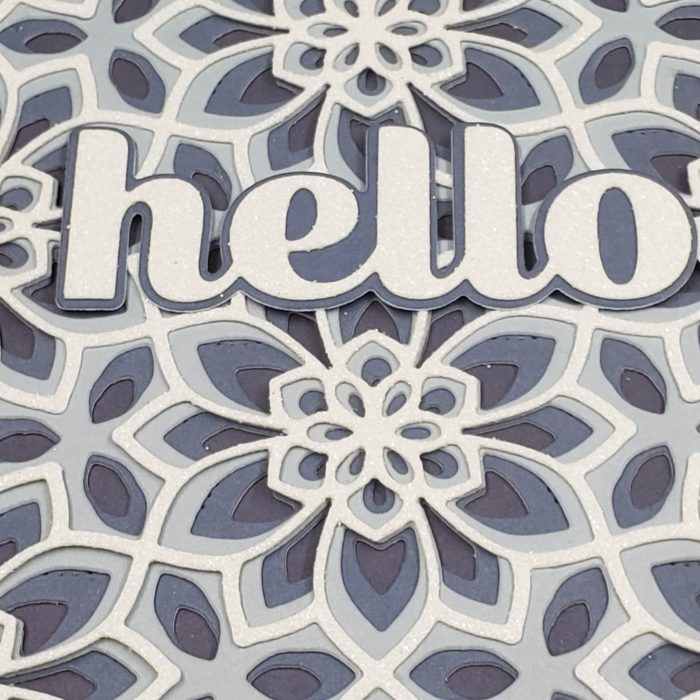
    After I die cut the the first panel, I die cut the B and C plates out of some darker blue and aqua color cardstocks from the Memory box Fresh Aqua and Stormy Blue Cardstock 6×6 pads. I also cut one 4 1/4″ x 5 1/2″ panel of a deeper blue cardstock from that same Stormy Blue Cardstock 6×6 pad to use as a back layer.

    I die my sentiment from some scraps of the deep blue and white glitter cardstocks and mounted it in the center of the panel design. It fit absolutely perfectly between the two floral motifs. I mounted everything on a top folding A2 card base.

    Thank you for stopping by and as I always say, Give Cards Generously!

    If you’d like to see how this card came together, you can check it out by clicking the video below.

    Thank you so much for checking out my card today.

    As I always say,

    Give Cards Generously

    -Renee’


    Supplies
     

  • Lotus Flower Inlay on Wood Grain | By Renee Moran

    Lotus Flower Inlay on Wood Grain | By Renee Moran

    Hello Everyone and Welcome Back!

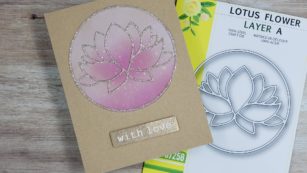
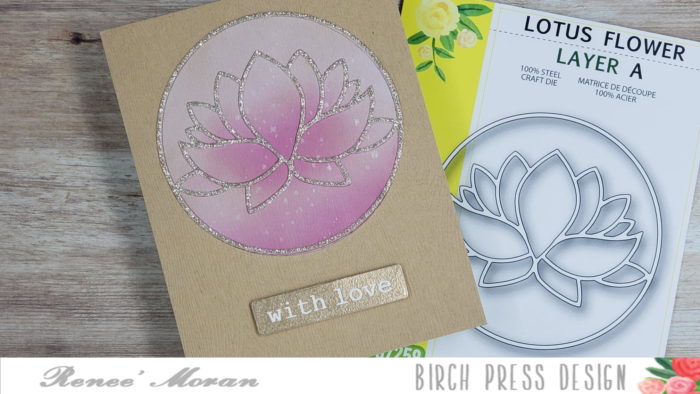
    The project I have for today features the Lotus die but the A layer only, some glitter paper and some super cool wood grain paper.
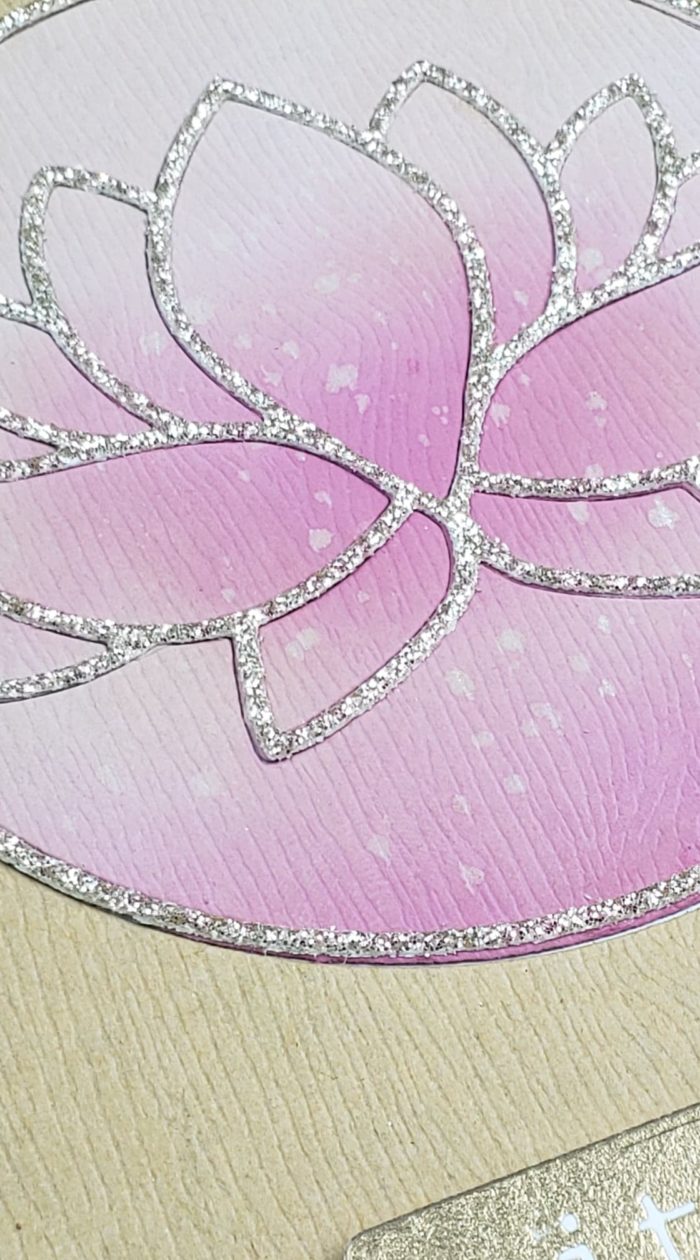
    I started by die cutting the Lotus Flower Layer A out of a 4 1/4″ x 5 1/2″ panel of some wood grain paper as well as some glitter paper 6 x 6 glitter Holiday Glitter Pad. I know it isn’t anywhere near those normally sparkly holidays but this paper works any time of year!

    After I die cut the two pieces I ink blended over the wood grain flower with some light pink ink and some more intense pink ink. I wanted to add some softness and color to this gorgeous flower.

    I only used the outline from the glitter die cut. I layered it over the ink blended die cut image and inlaid it inside the original panel. What a beautiful way to finish a die cut design!

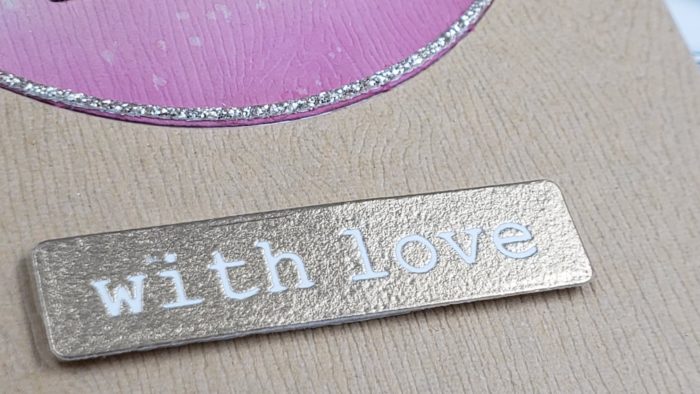
    I heat embossed my sentiment and mounted it center below my die cut image. I mounted everything on a top folding A2 card base.

    Thank you for stopping by and as I always say, Give Cards Generously!

    If you’d like to see how this card came together, you can check it out by clicking the video below.


    Supplies