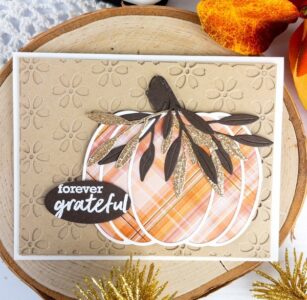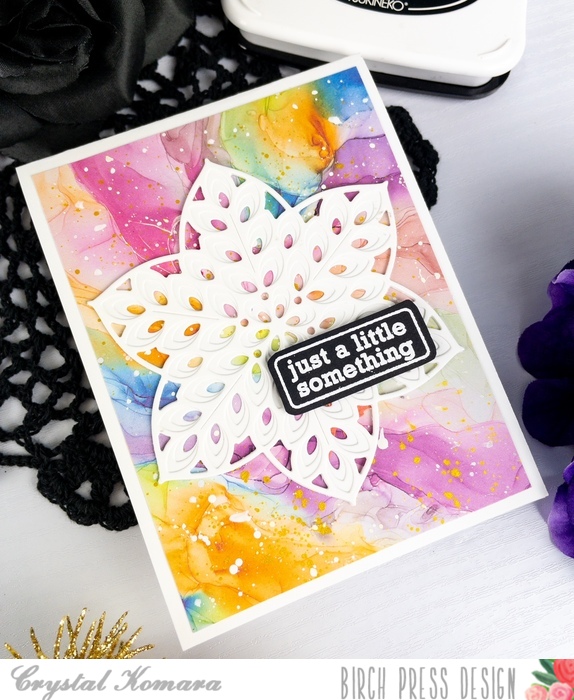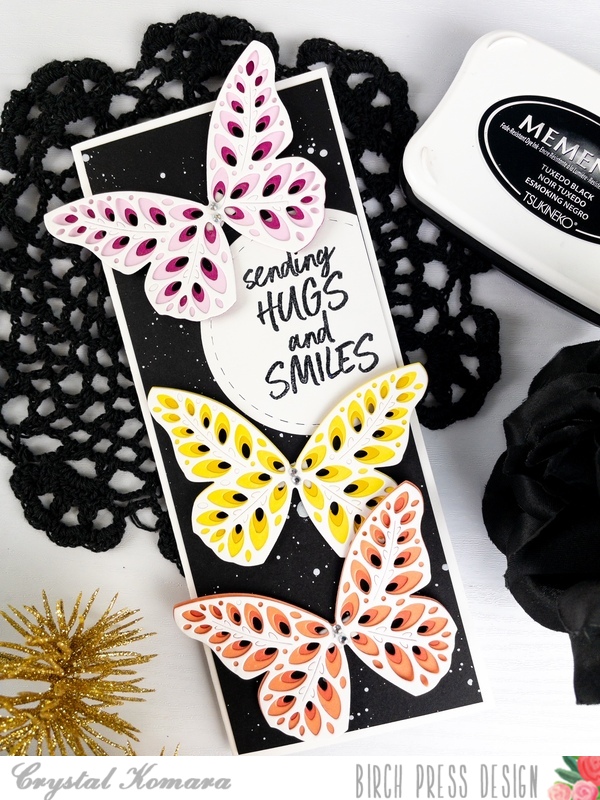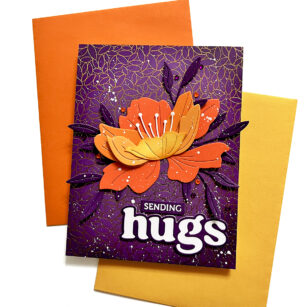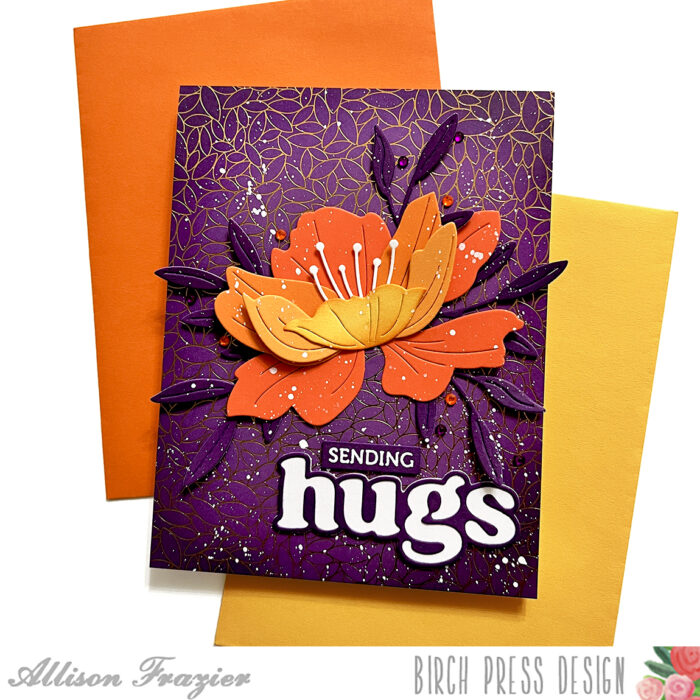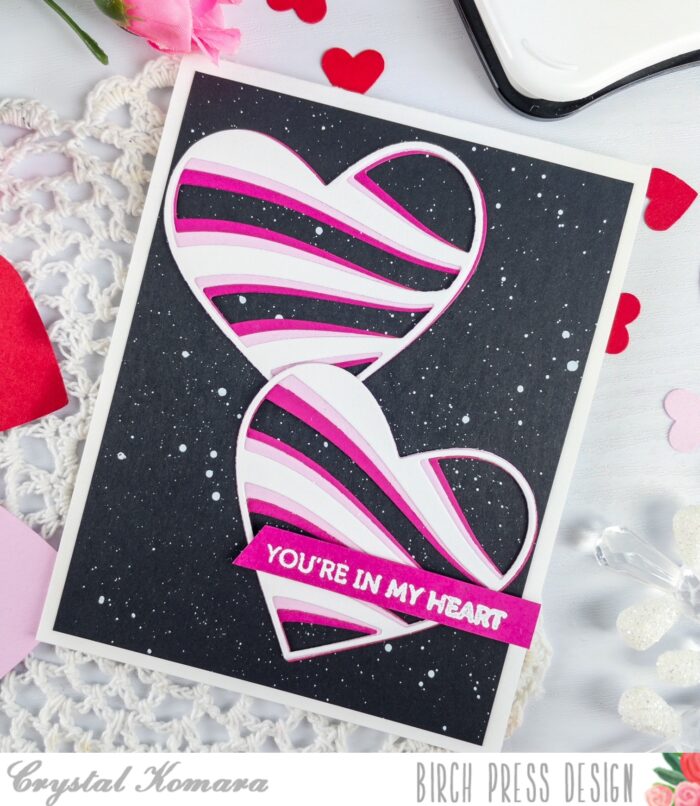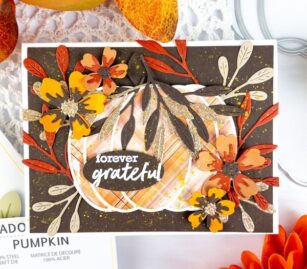
Hello crafty friends! This is Design Team member Crystal Komara here with you today sharing the first of a few fall themed pumpkin cards that I have made featuring the Adornment Pumpkin Set.
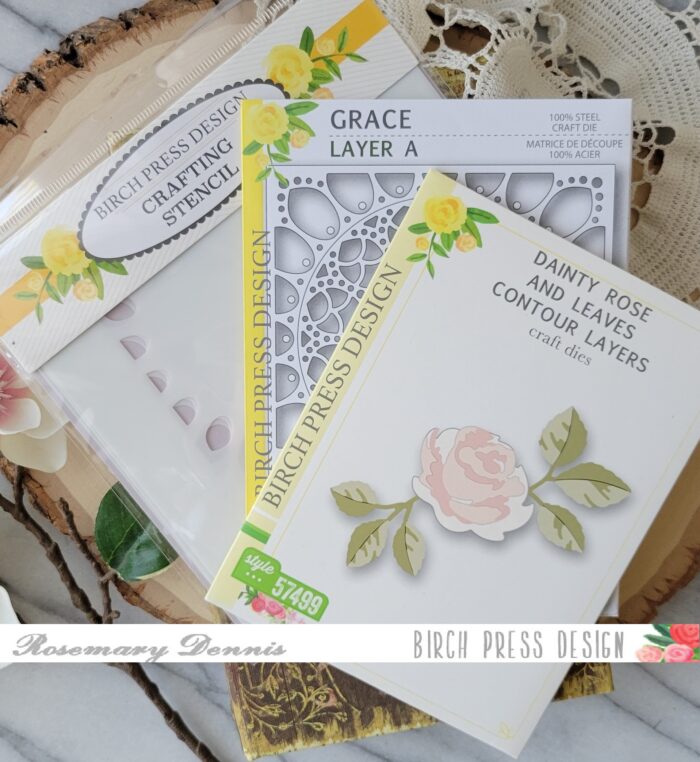
The Adornment Pumpkin Layer Set is one of my go-to products for fall cards. I love the large size of the layering pumpkin. Plus, it comes together easily with only two dies – a solid inside layer and a thin outline layer. For this card, I combined it with a variety of other products from Birch Press Design to include:
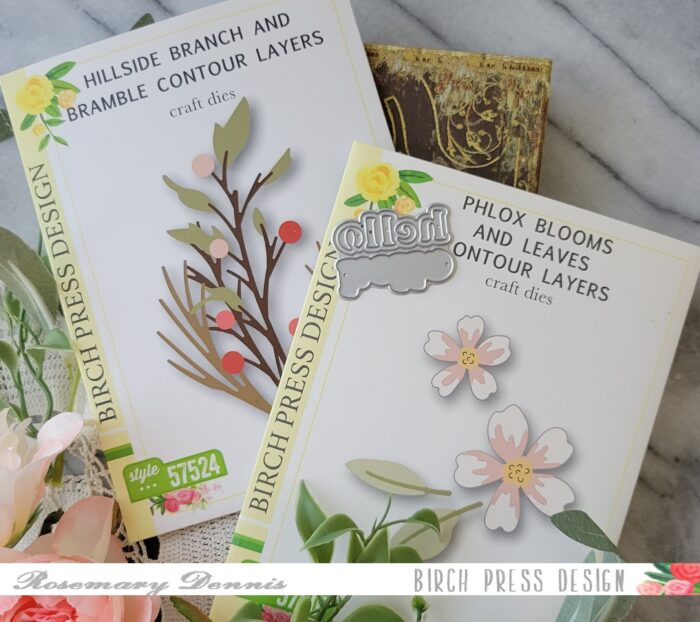
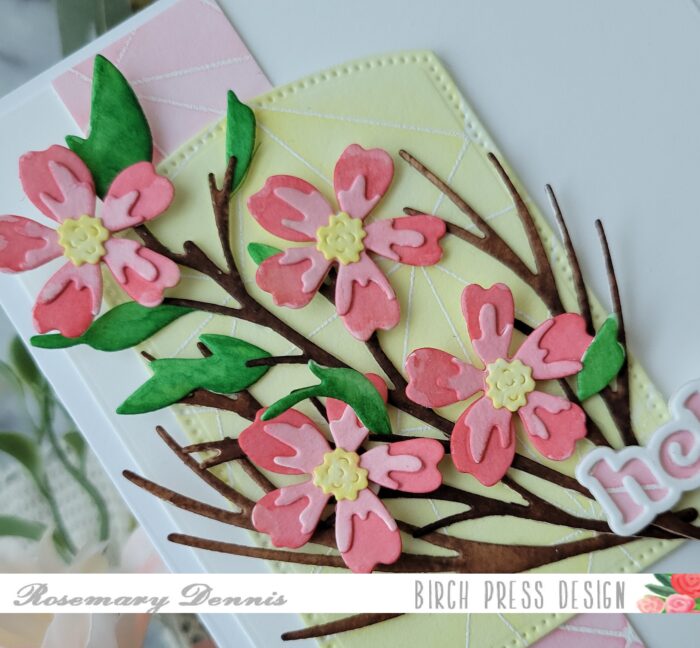
~Phlox Blooms and Leaves Contour Layers
Card details:
There is a lot to this card, so let’s break it down:
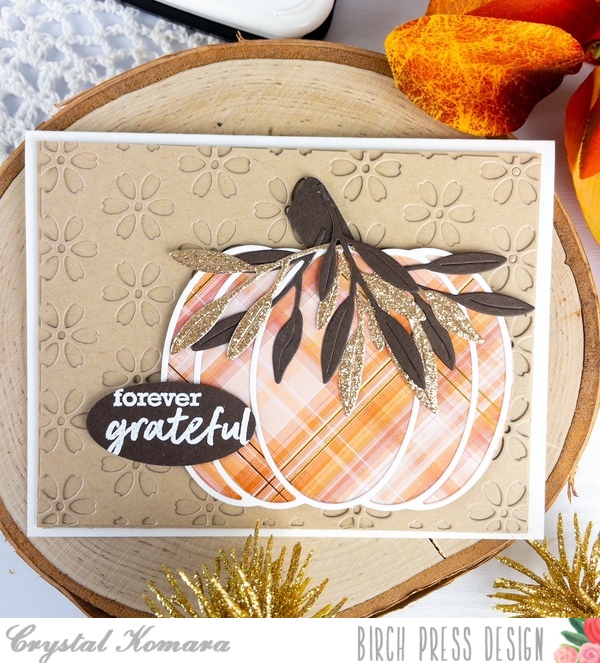
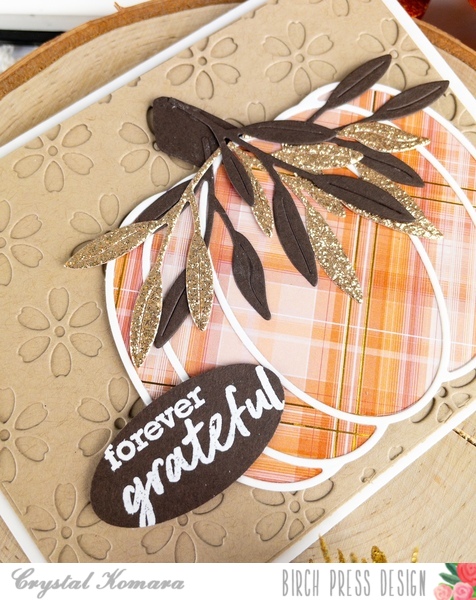
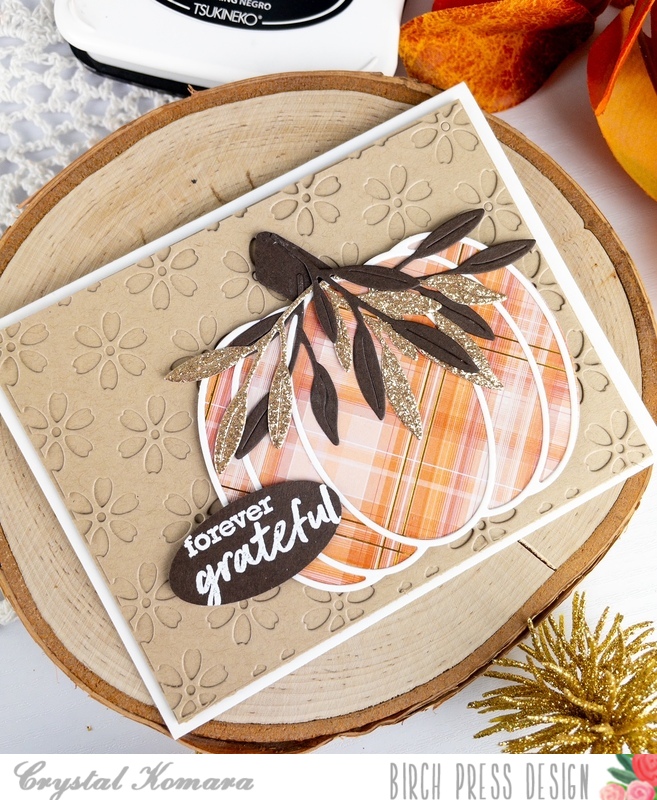
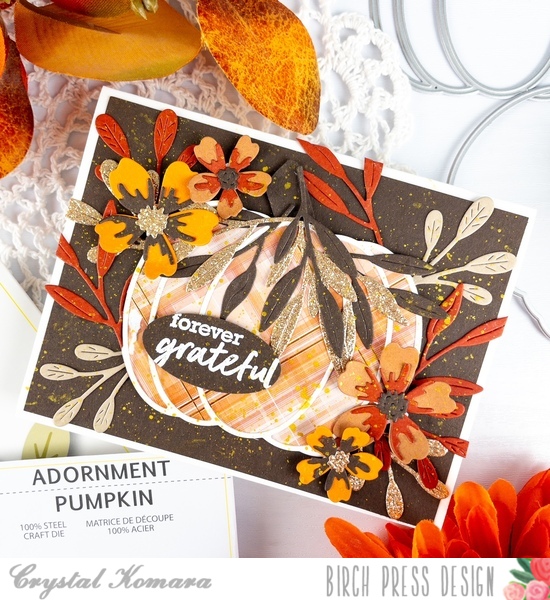
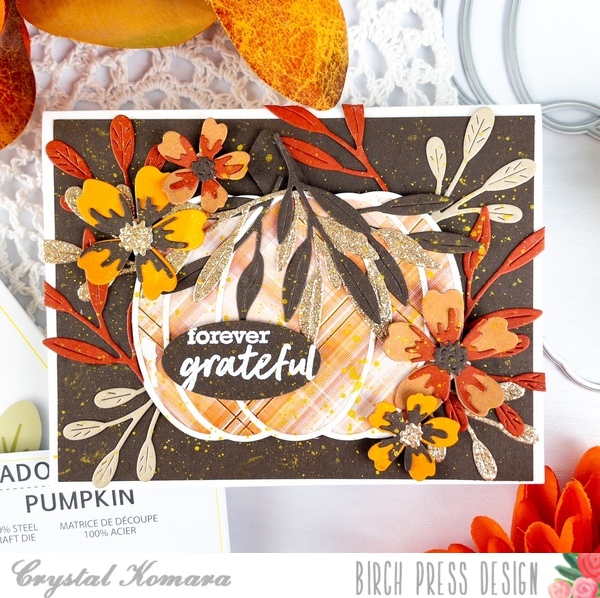
- To create the pumpkin, using the Adornment Pumpkin die, I die cut the large solid pumpkin from the 6″ x 6″ Gladiola paper pack from Memory Box Company. I die cut the outline layer from white cardstock. I adhered the two together with a fine tip liquid glue.
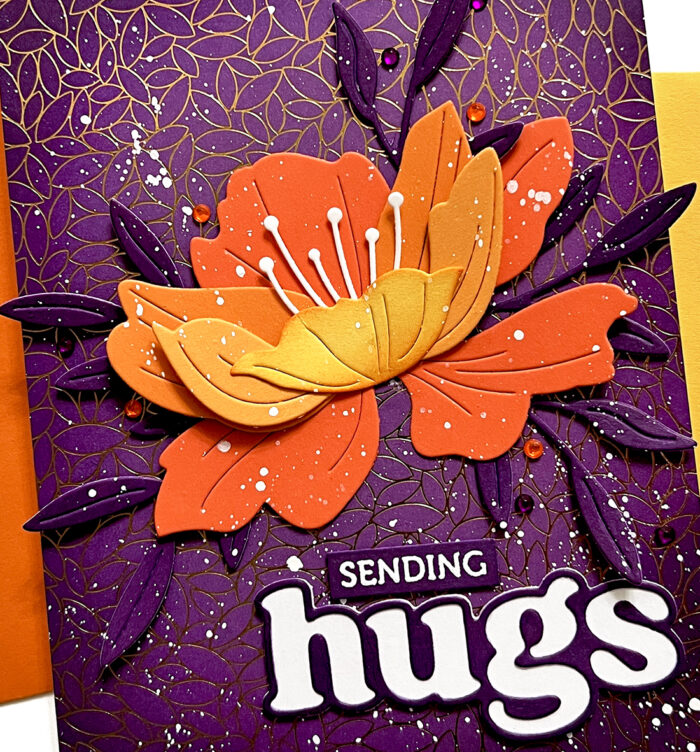
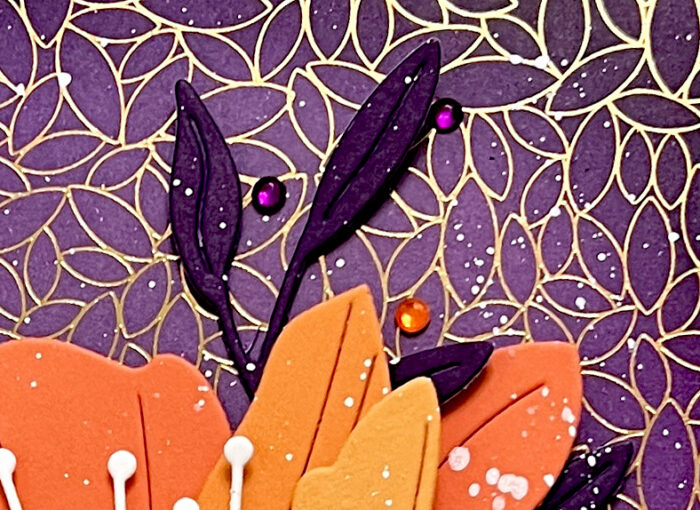
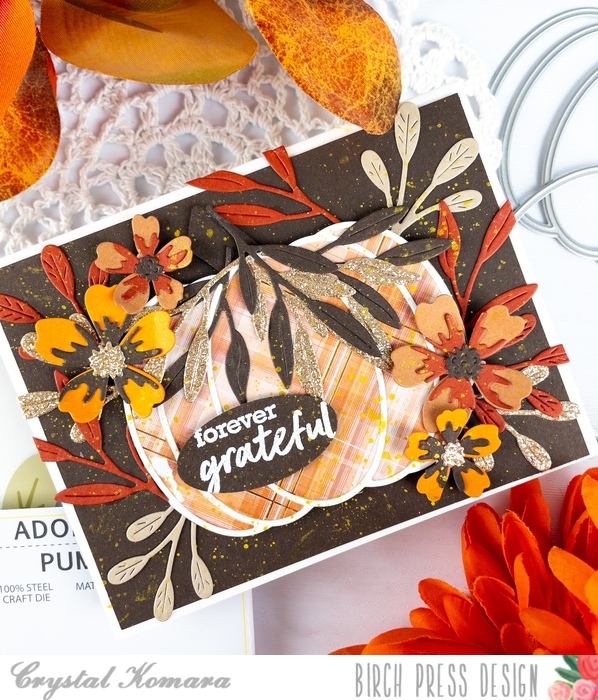
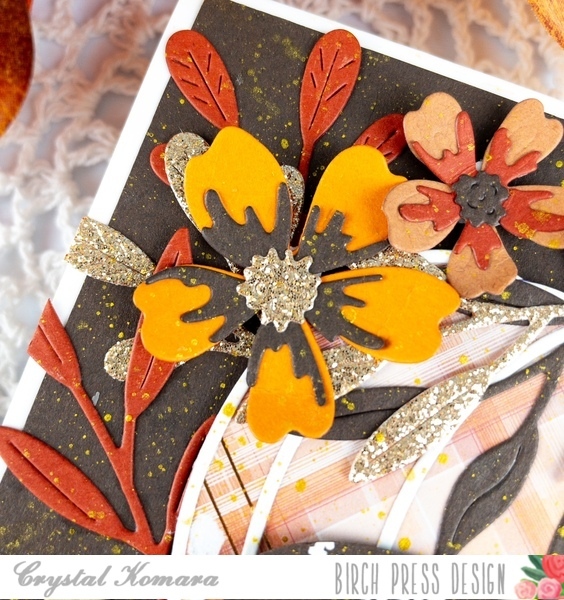
- Using the Phlox Blooms and Leaves contour layer set, I die cut a bunch of flowers from a mustard orange and rust colored cardstock. I also cut the inside of the flowers from chocolate brown cardstock and the center of of the flowers from gold glitter cardstock. For each flower, I layered the three colors togethers with a fine-tip liquid glue.
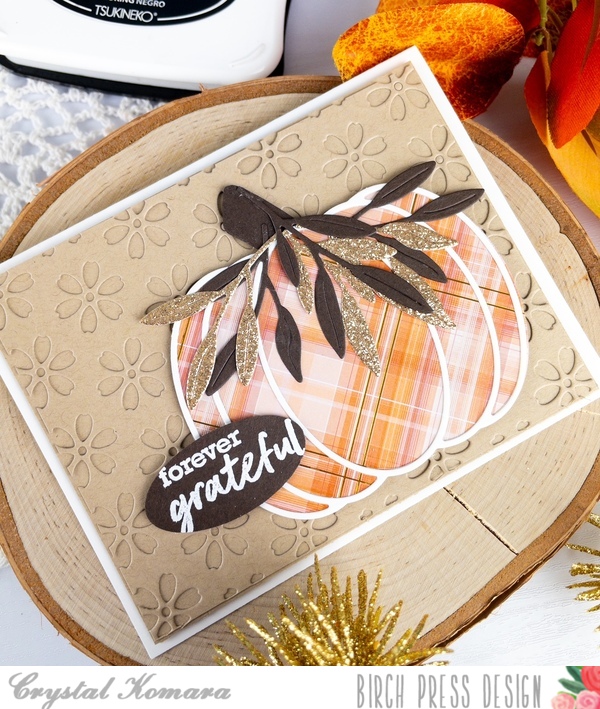
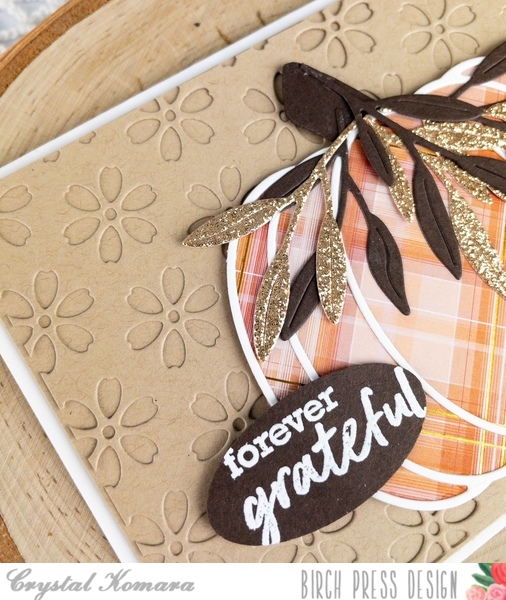
- Next I simply die cut a bunch of orange, yellow, mustard, gold and brown leaves from the Tiny Tufts Flowers and Leaves contour die and tucked them in and around the pumpkin.
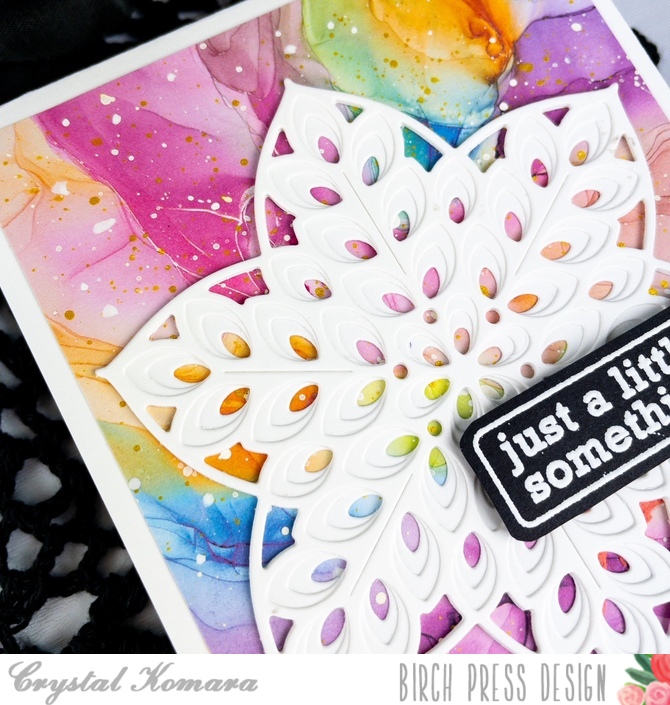
- I splattered gold paint all over the card for some “distressing” or a “mixed media” look.
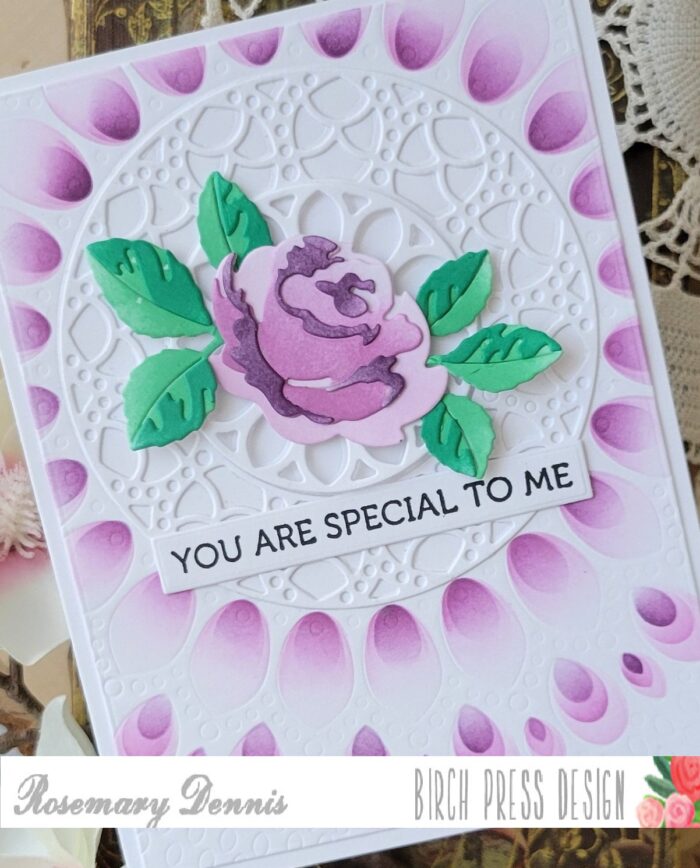
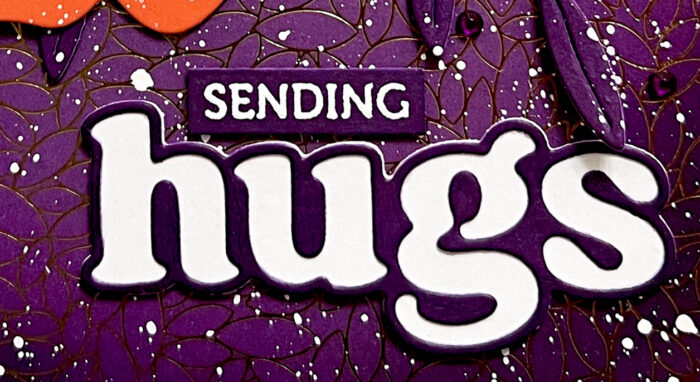
- Lastly, I stamped the sentiment “forever grateful” using the Brush Sentiment stamp set. I stamped the sentiment in Versamark ink and heat embossed it with white embossing powder. I used an oval punch to punch the sentiment out and adhered it to the card using foam adhesive for added dimension.
I know at first glance that a lot of these intricate layered cards can seem intimating, but all it really entails is a LOT of die cutting. My little tip* – I don’t even count or measure as I’m die cutting, I just keep cutting until it seems like I have a lot. Any extra pieces can be used on the inside or saved for another card!
Thanks for visiting and have a wonderfully creative day!

Supplies


Supplies