 Hi I have a fun video for you today using the Joy and Peace clear stamp set as the main product for my card! It is time to get into high gear with my Christmas cards and this card is a perfect example of a card that you can easily mass produce.
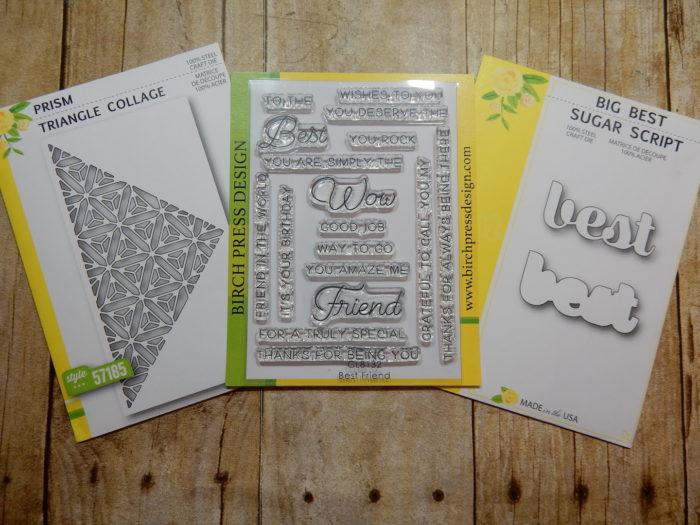
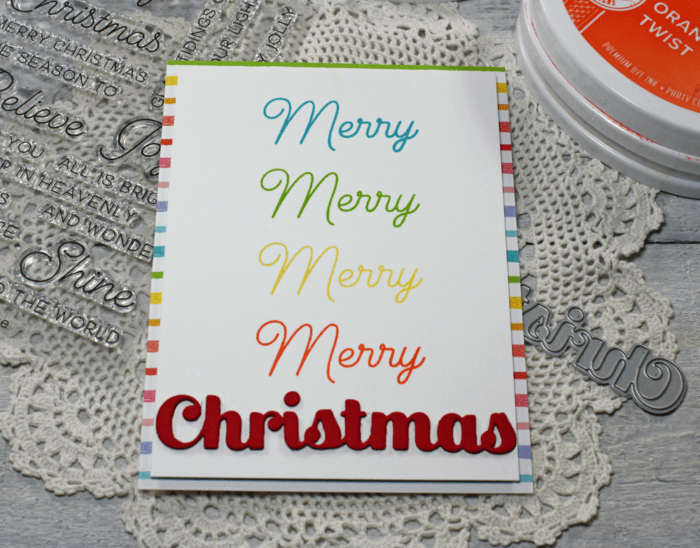
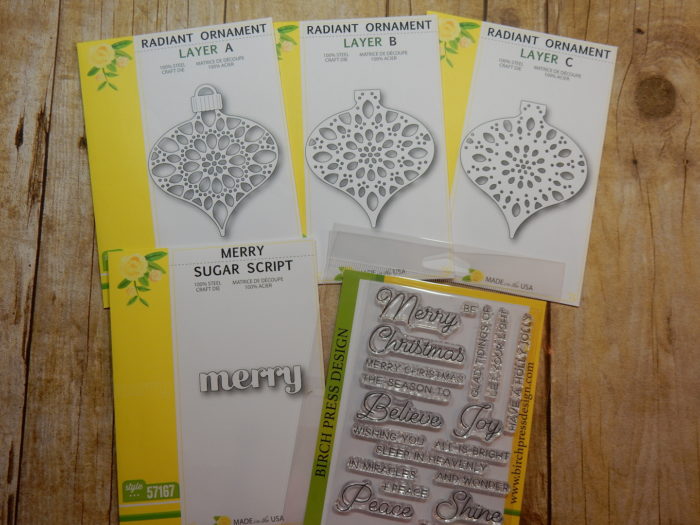
 Here are the products that I used for my card, you can use any inks that you have as well as any patterned paper you have in your collection.
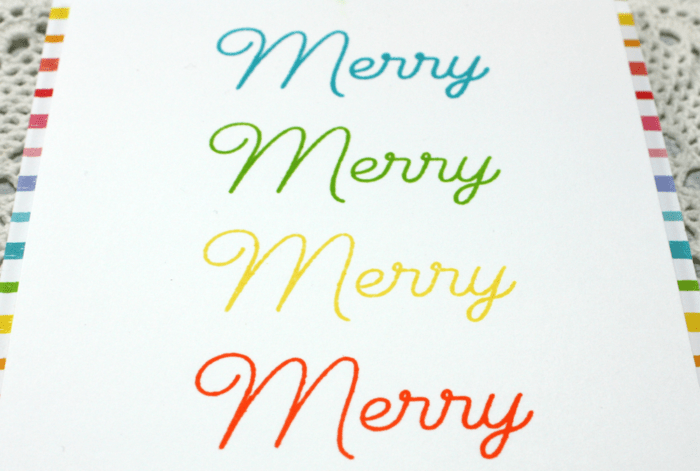
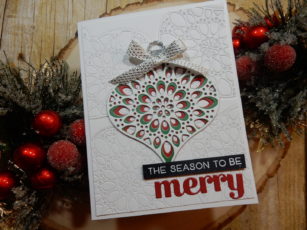
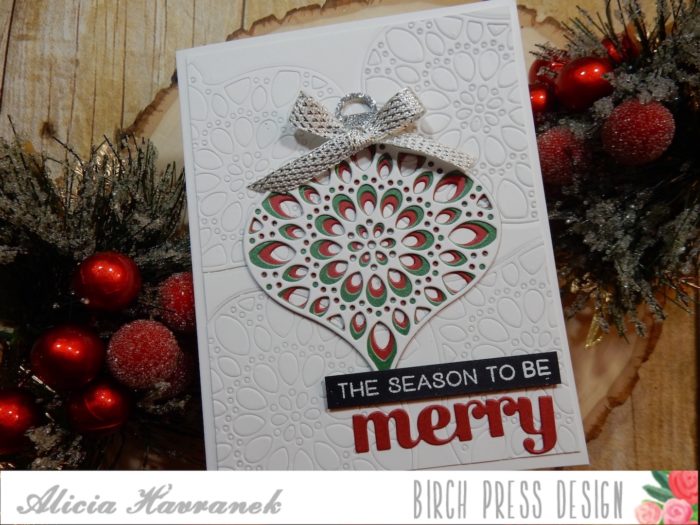
 The stamp platform tools that are available today make stamping almost foolproof. For my design I used one sentiment from the set and stamped it in a rainbow of colors to fit on the front of the card. I started with a 5 1/4″ x 4″ piece of white cardstock that I place in the top left of my MISTI stamping platform. I did this so that once I decided where my sentiment stamp was going to go I just needed to keep moving my paper down by an inch and then stamping in the next colour in the exact alignment to the left of the card front. The following video shows you the process I used, enjoy!
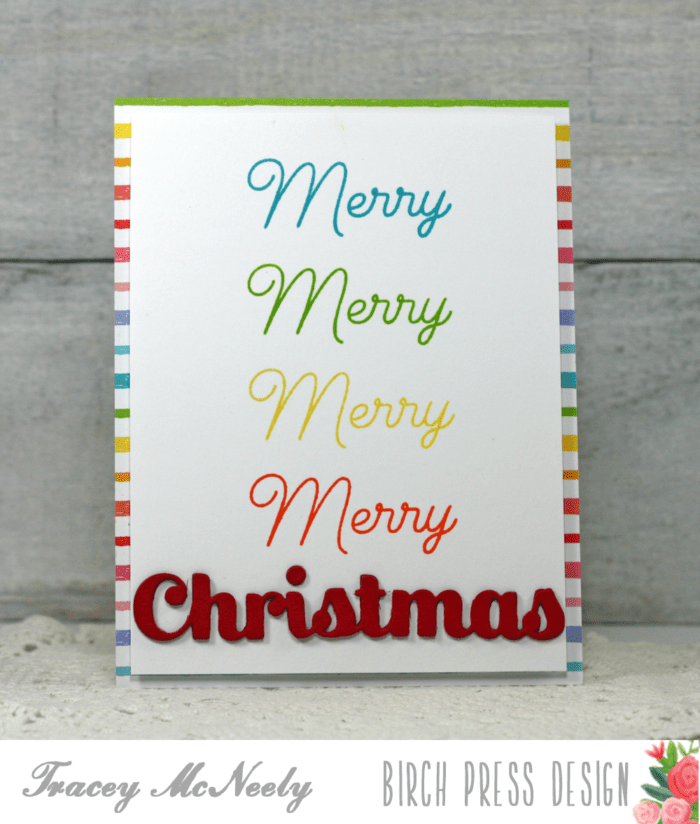
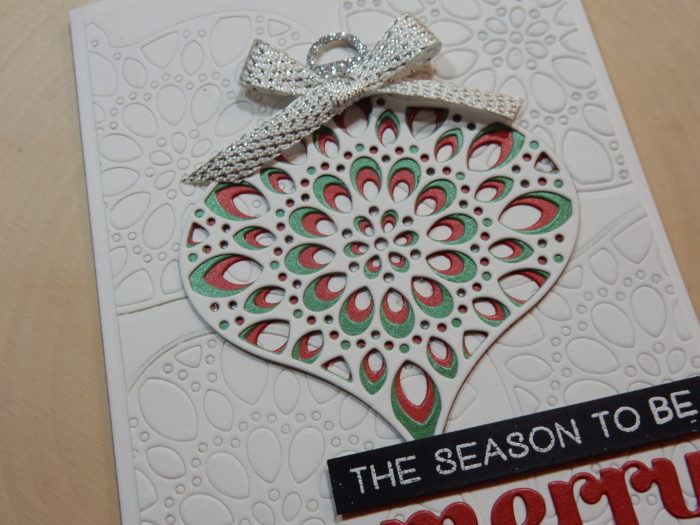
The Christmas Sugar Script die was cut three times with red cardstock and then glued together to create a thick sentiment for the bottom of my rainbow!
 Tthe rainbow patterned paper is the perfect base to make the rainbow of Merry’s pop!
 One more look at the card.
 Thanks so much for popping in today and I hope that maybe I have inspired you to get going on those Christmas cards and use this technique for mass producing. Have a great day and we will see you next time!

Supplies


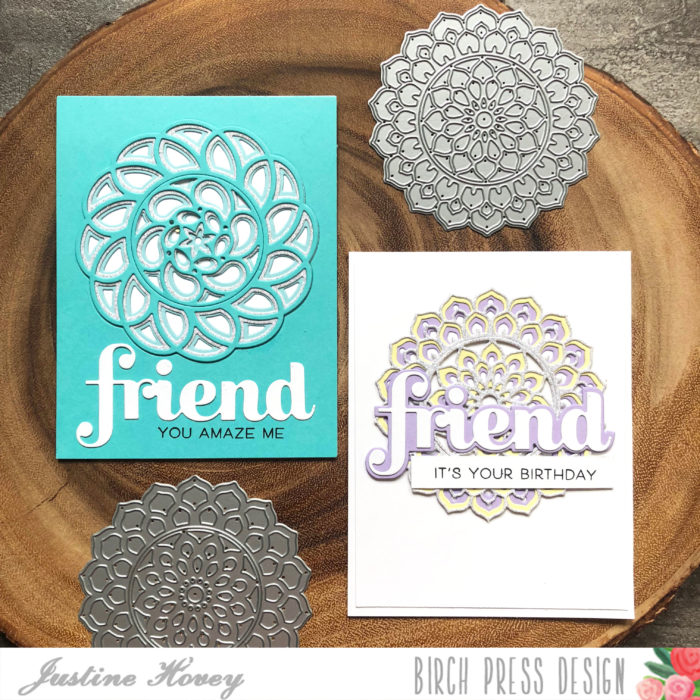
 Welcome back for another inspiration post at Birch Press Design. Today I have a fun card to share with you using the
 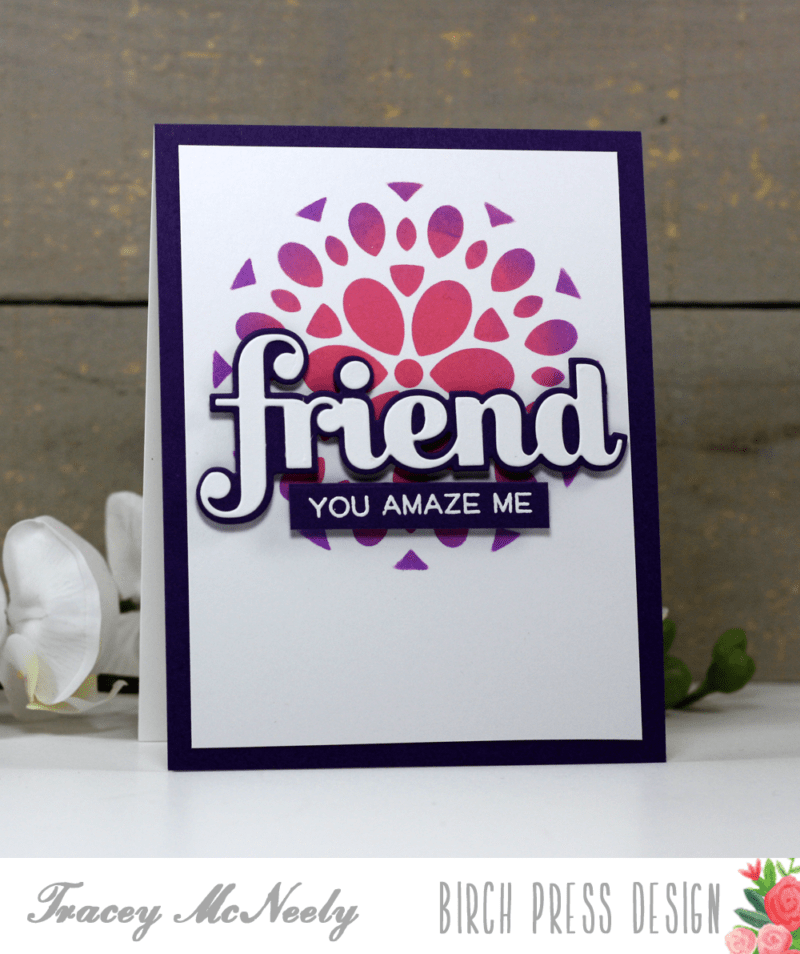 I gathered my supplies together and made a short video to show you how I used the
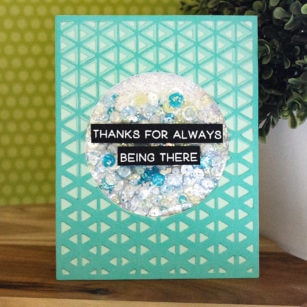
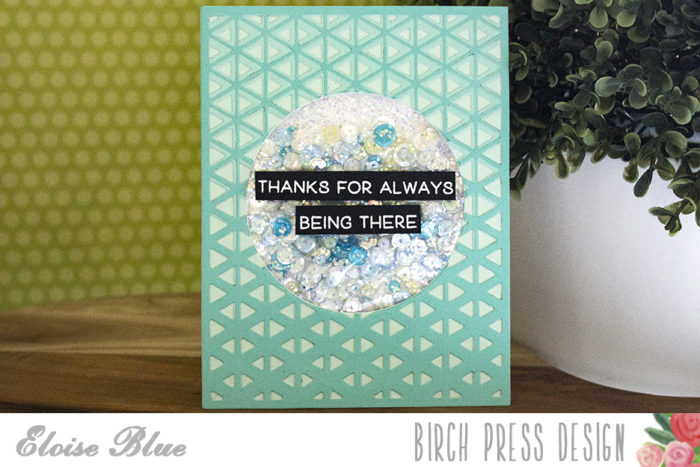
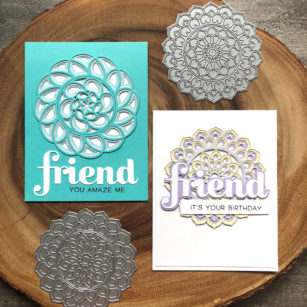
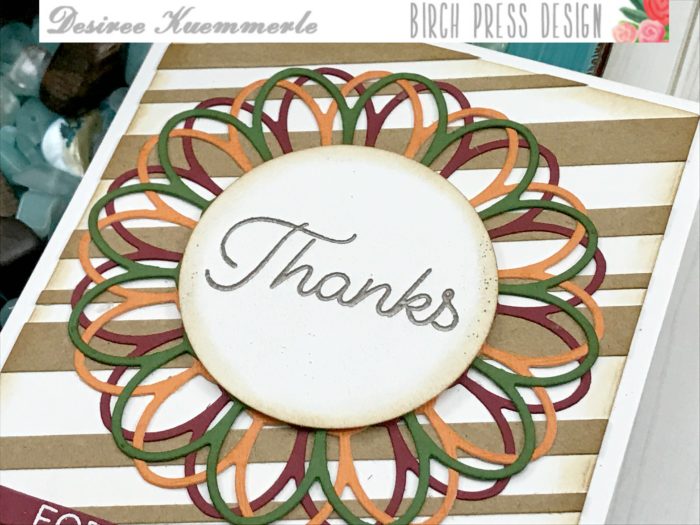
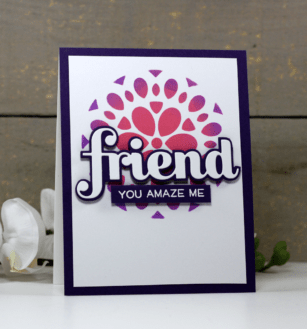
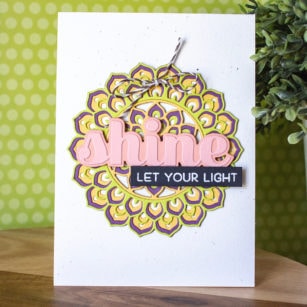
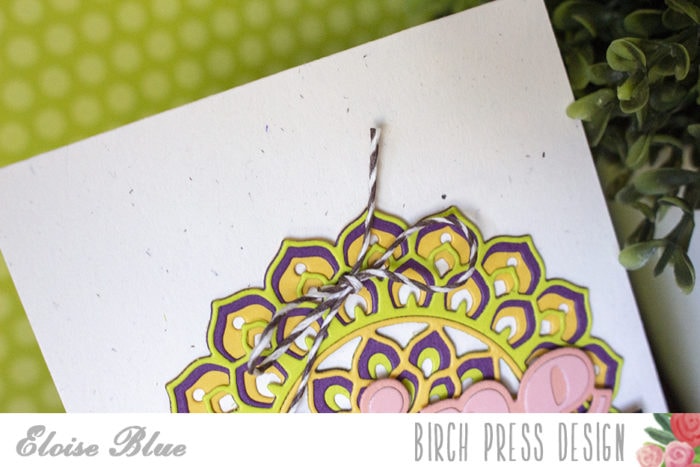
 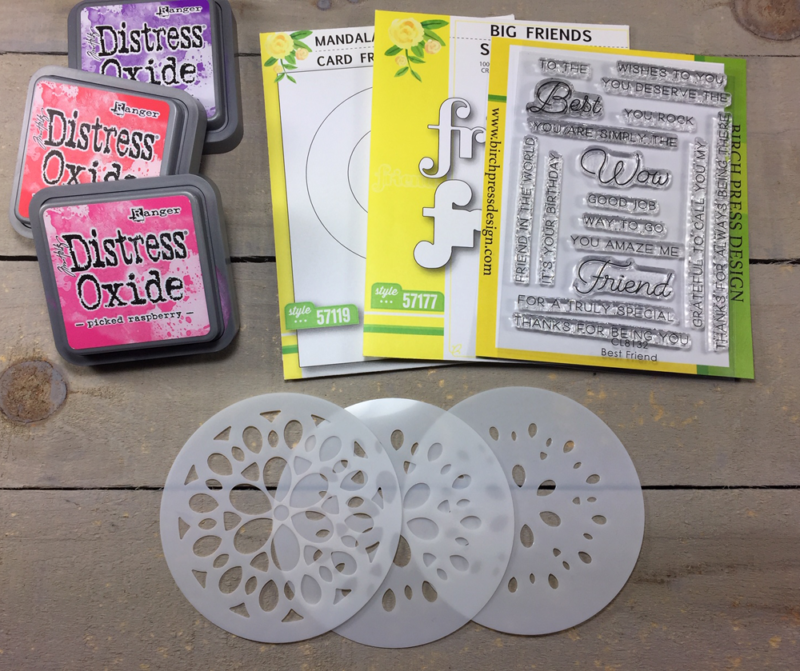 Armed with my Frog Tape I taped the Mandala Card Frame, that was cut with very thin white cardstock, over my 5 1/4″ x 4″ panel of Bristol Smooth cardstock. Once I secured the top and both sides down I lay the stencil over the circle and then taped the stencil down on the top bottom and both sides so that it would not move when I was blending ink over it. It might seem a bit much but there is nothing worse than a stencil shifting when blending ink on it. Lets have a look at how I created this card…
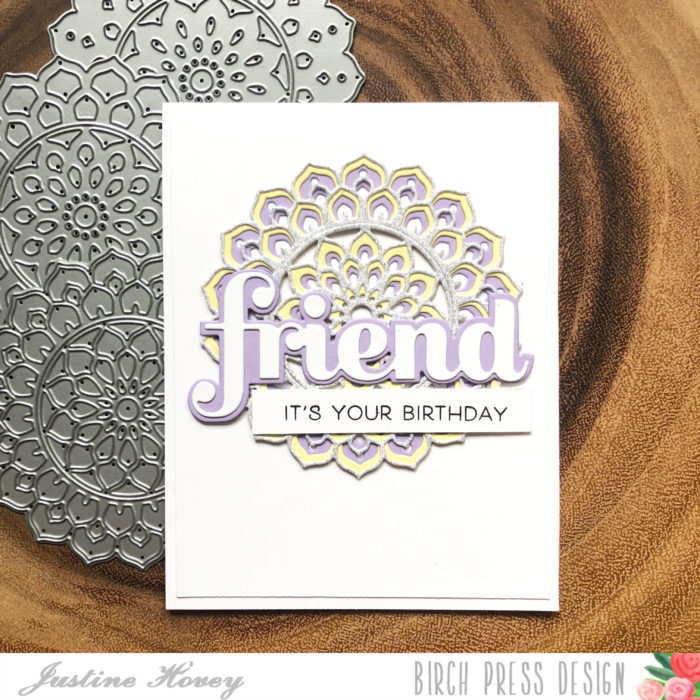
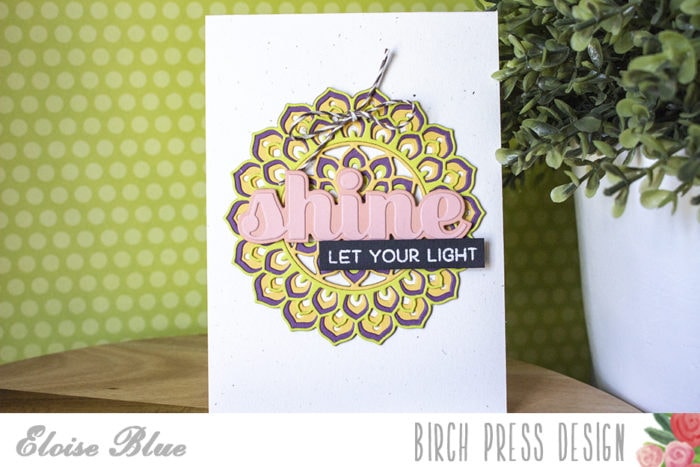
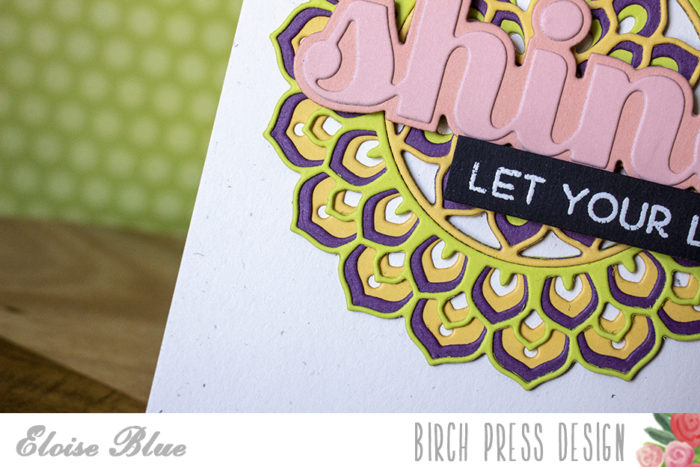
 I used a sentiment from the Best Friends clear stamp set which I embossed in white on the same purple cardstock, that I used for the shadow on the Big Friend Sugar Script die and for mat behind the main panel. The purple really picks up the purple in the design.
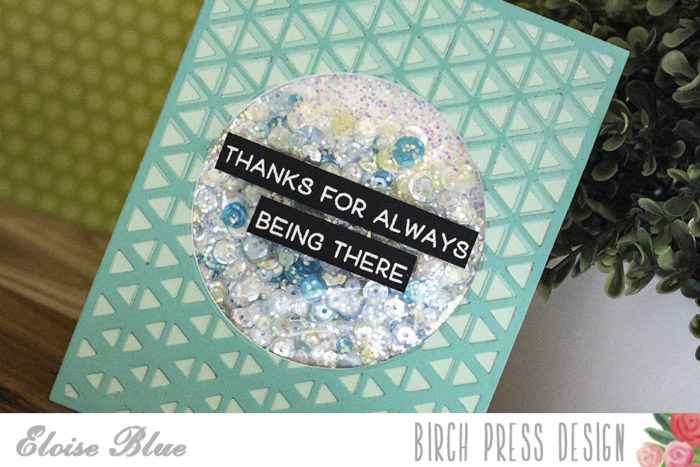
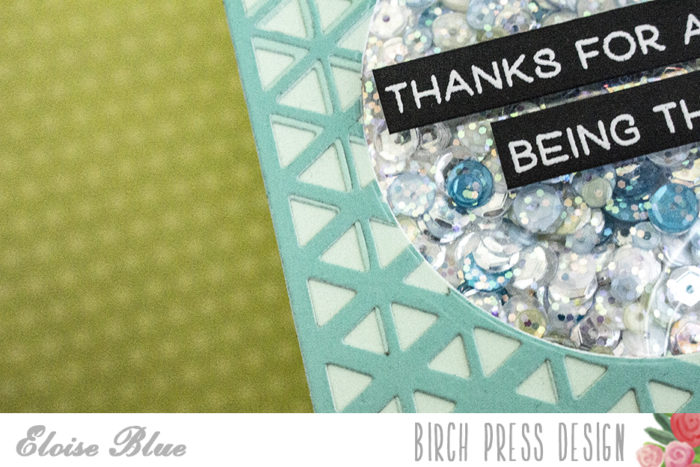
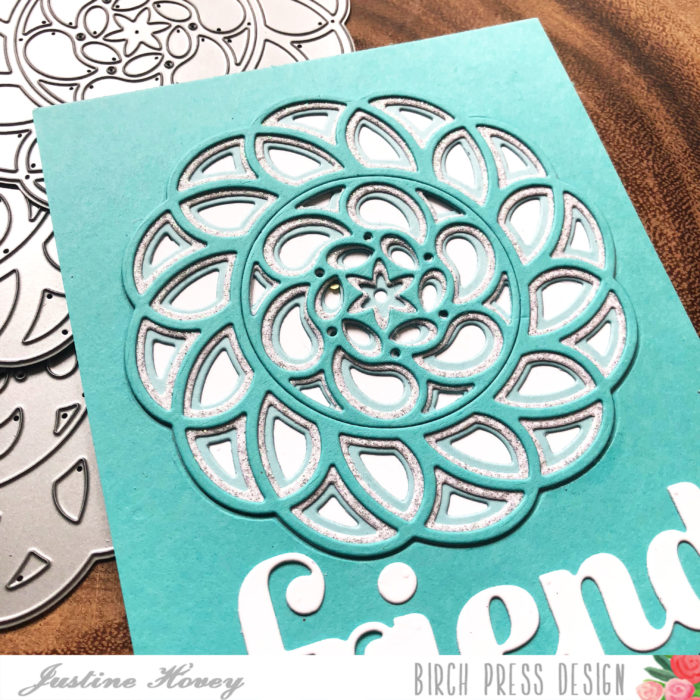
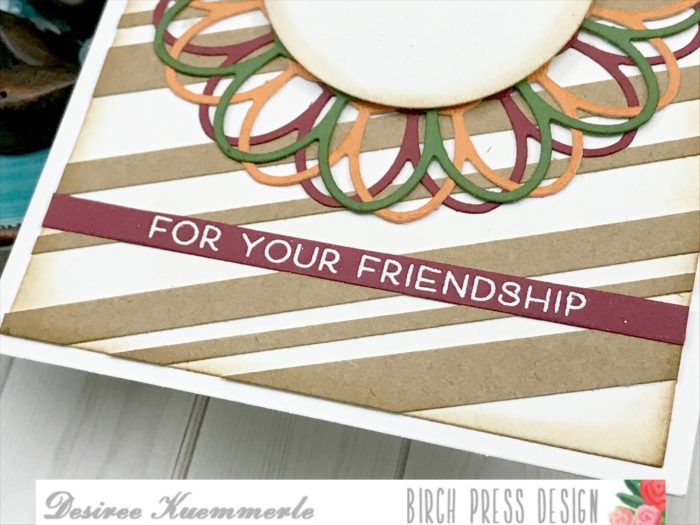
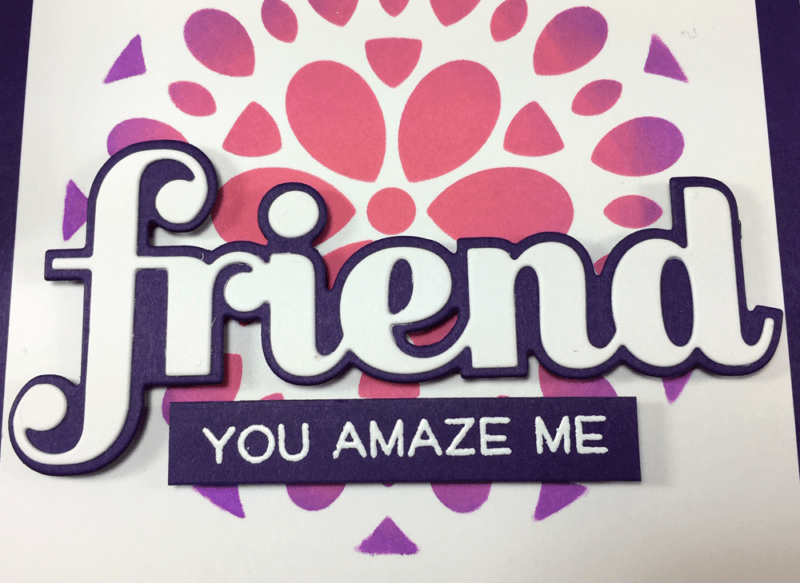
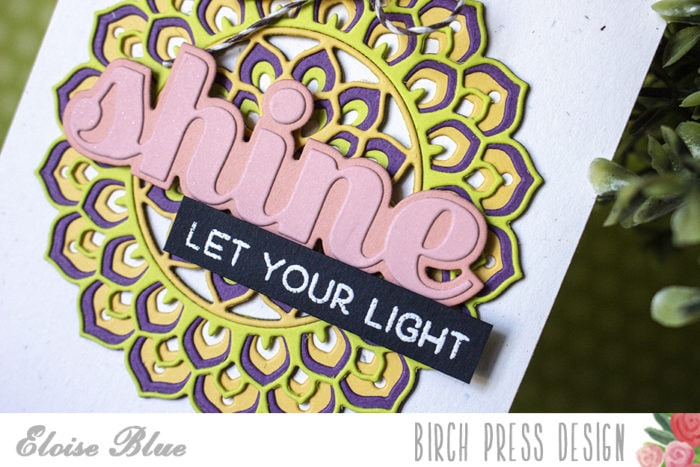
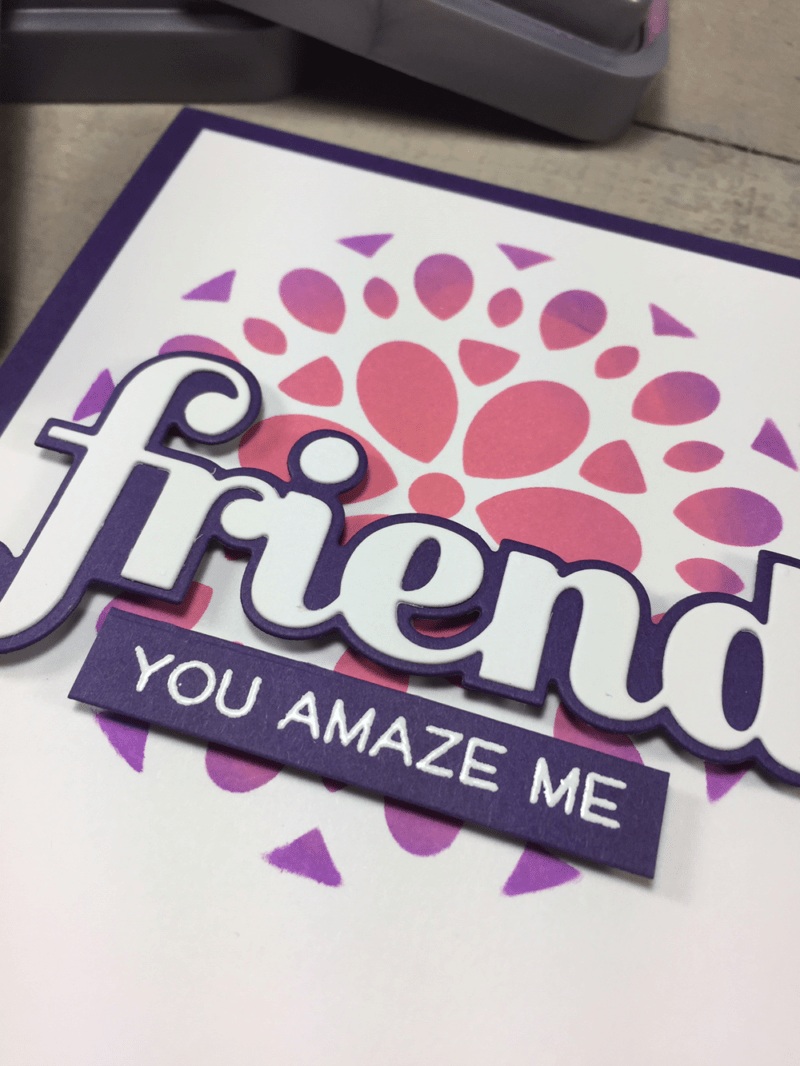 A closer look at the blended colours from the stencil.
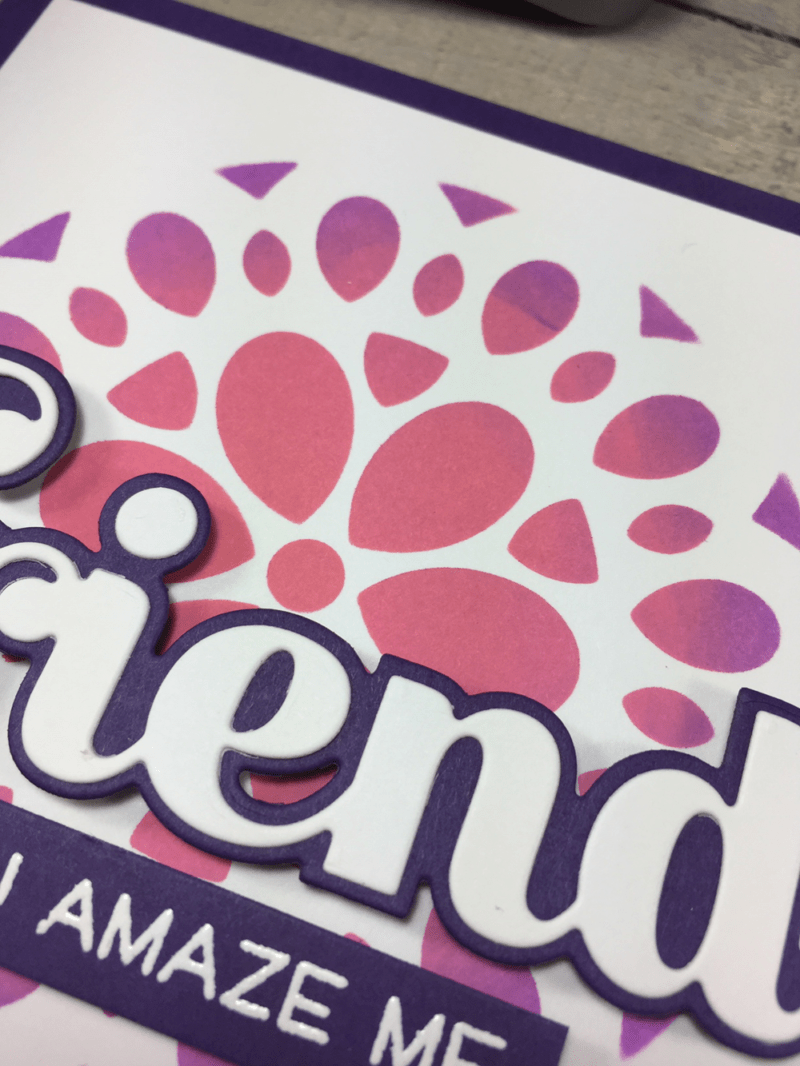 Thanks for stopping in today to create a card with me. All of the stencil sets at Birch Press Design open up so many options for colours and design. Have a wonderful day and we’ll see you next time.


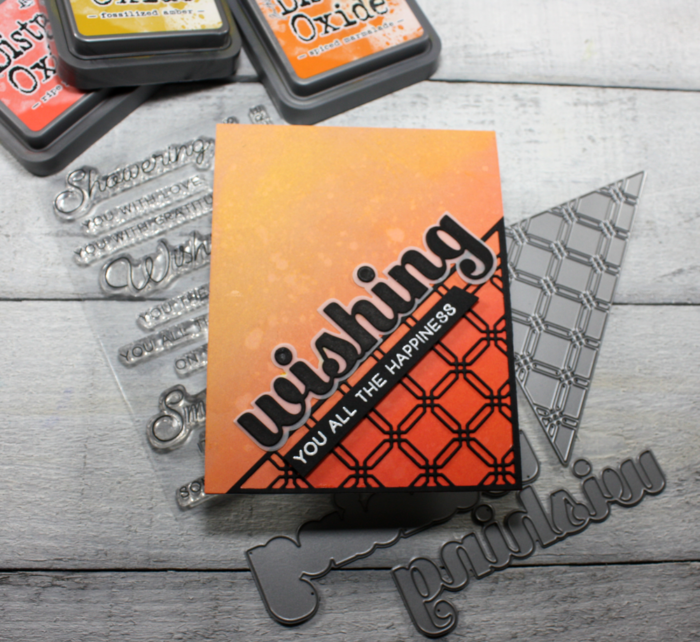
 Welcome back for another inspiration post at Birch Press Design. Today I will be creating a card using the new
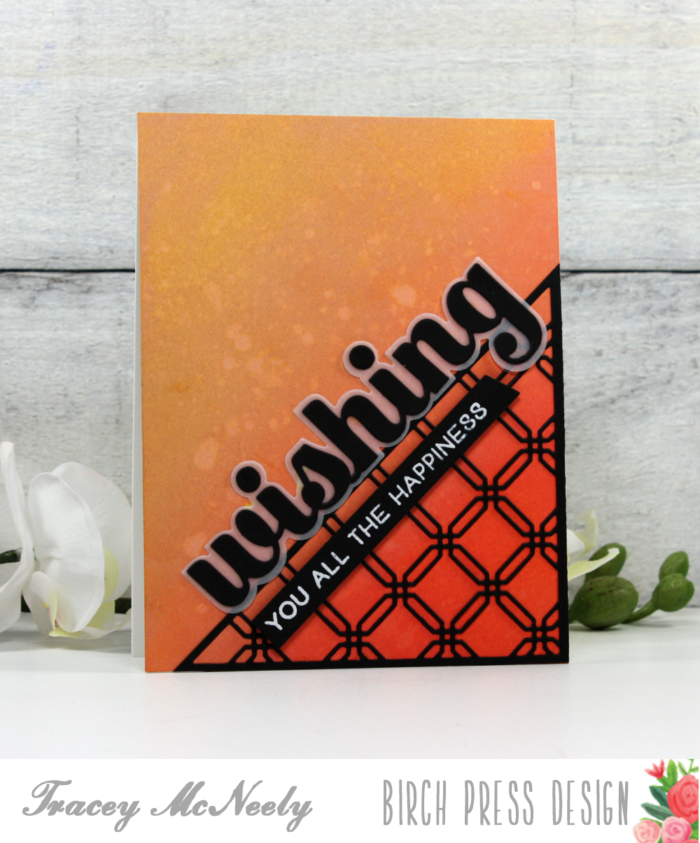
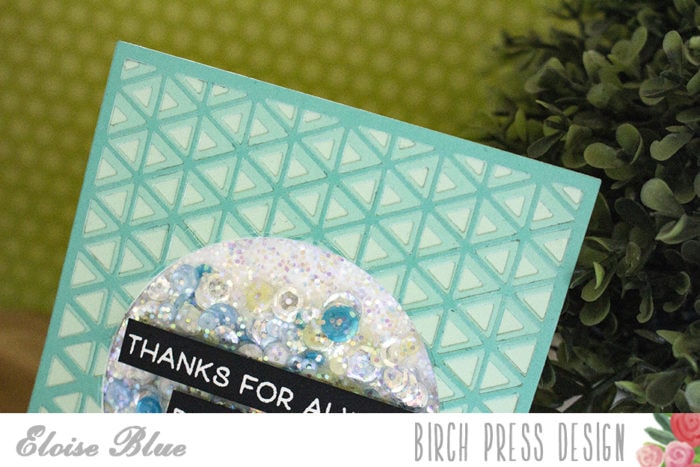
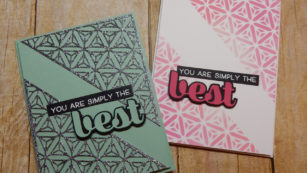
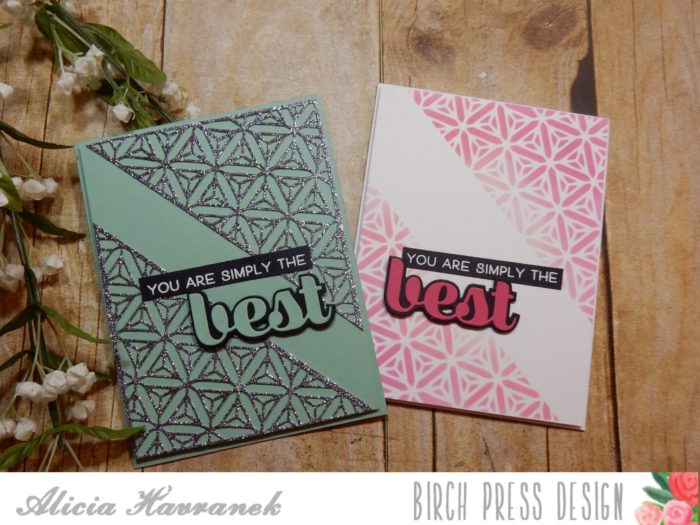
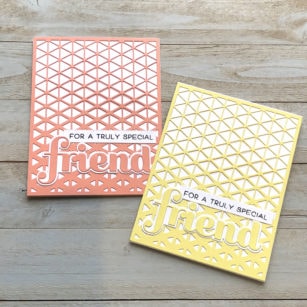
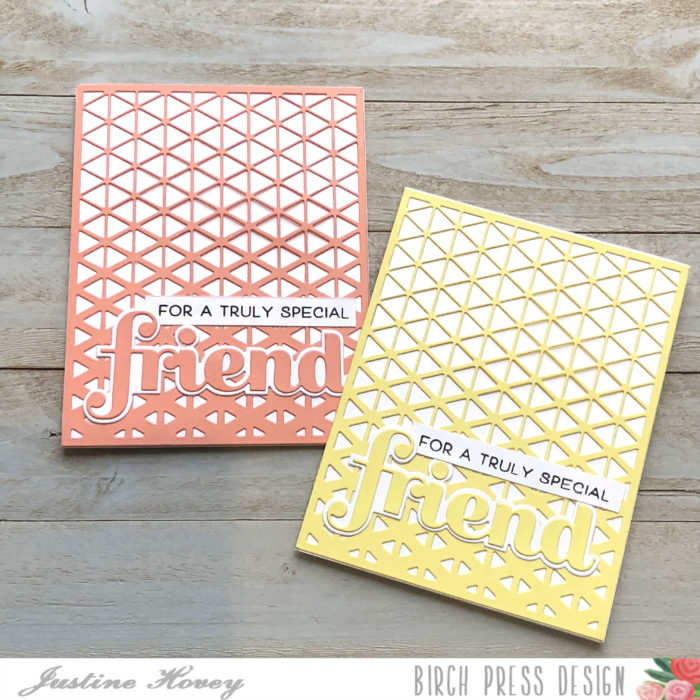
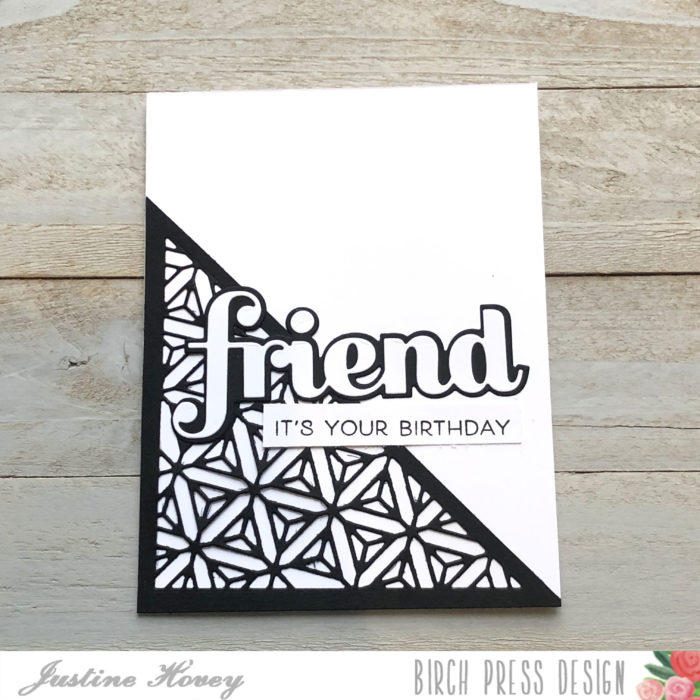
 The Ludlow Triangle craft die cuts all the detail of the die but does not does not cut the outer edges of the die. For my card today I wanted to cut the die so that all the lovely detail would sit in the corner of my ombre ink blended panel. I did this by cutting the die in the bottom corner of a piece of black cardstock and then trimming it off with my cutter. Let’s have a look…
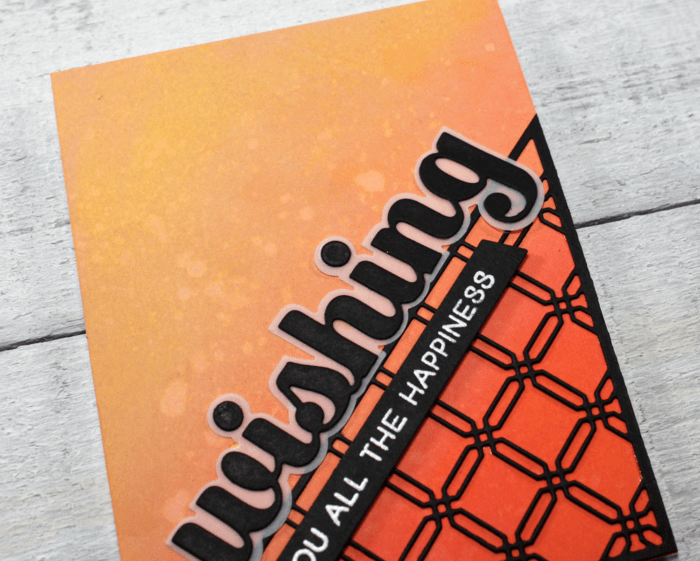 The Big Wishing Sugar Script die set will cut both a sentiment and a shadow for when you want to add extra depth to the design. The sentiment from
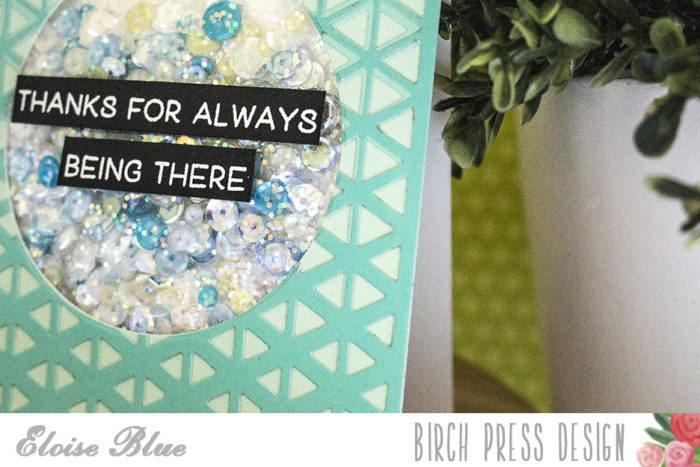
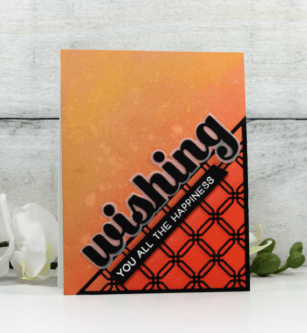
 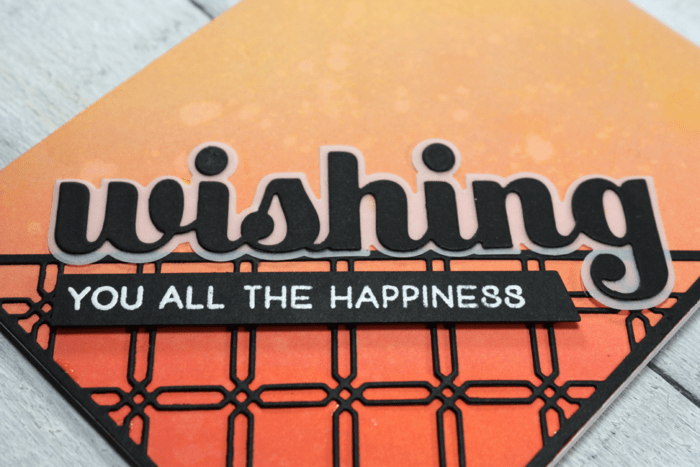 The ombre background really showcases the elegance of the Ludlow Triangle’s design.
 Thanks so much for coming by today and I hope I’ve inspired you to do something creative today. See you again next week and have a wonderful weekend.