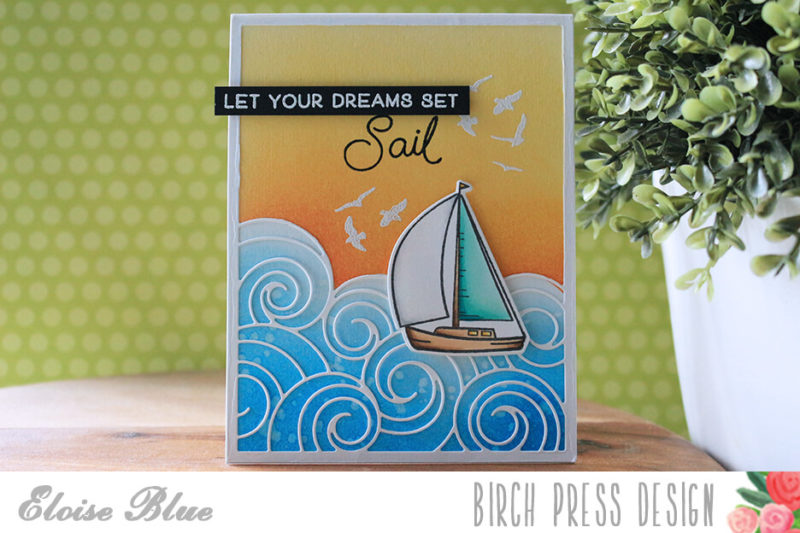
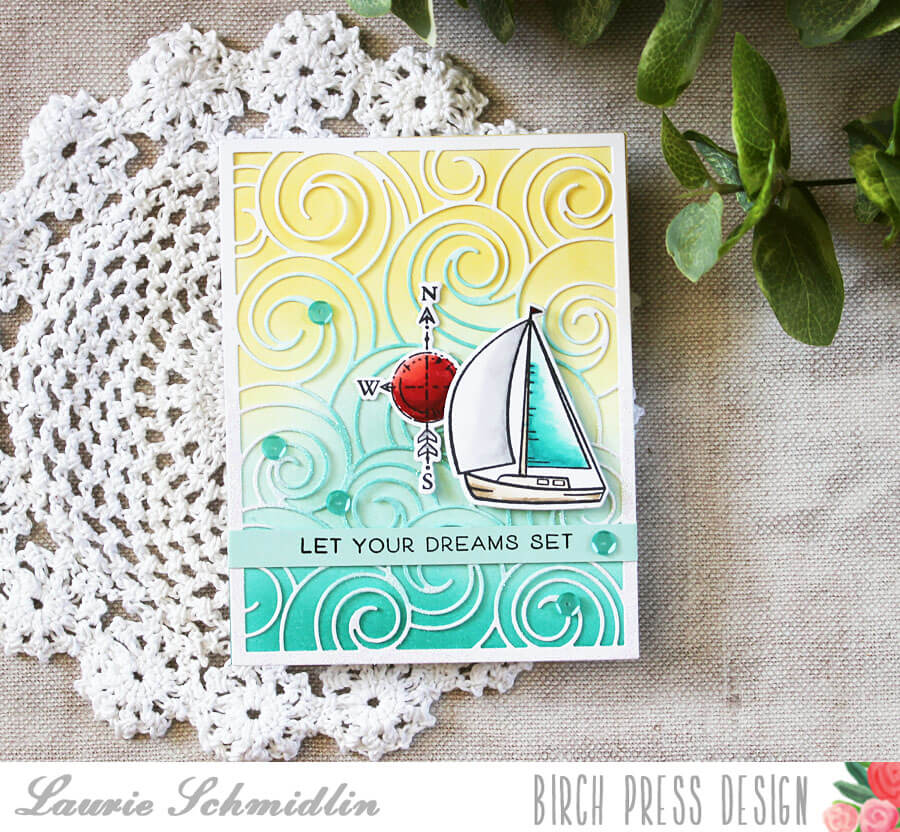
Hi friends, Eloise here and today I have a card to share with you all using the Let Your Dreams Sail Stamp Set along with just the A Plate from the Waves Plate Die. I’ll also be pulling in some Distress Inks to create a simple sunset background.
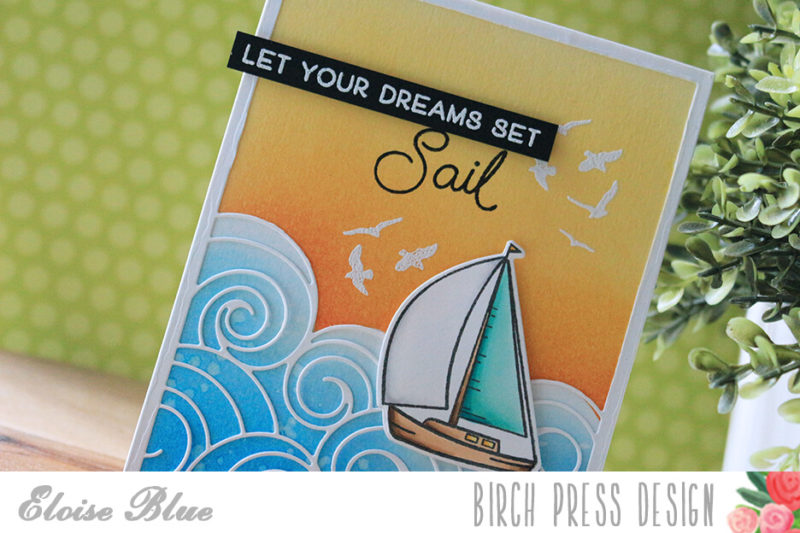
To begin my card today I started off with die cutting my background panel. I used the Waves Plate A Die and die cut it from some white cardstock. I used an exact knife to cut away some of the top excess waves, since I only wanted the waves to be focused along the bottom of the panel. I kept the frame in tact though, since I wanted it to frame off my design. Now my frame had been altered, I stamped out my sailboat from the Let Your Dreams Sail set and coloured it in with Copic Markers. I used the coordinating die to cut it out.
(Copic Markers Used: BG11, BG32, BG23, BG49 / N0 N2, N4 / 0 / E53, E55, E57 / Y11 Y15, Y19)
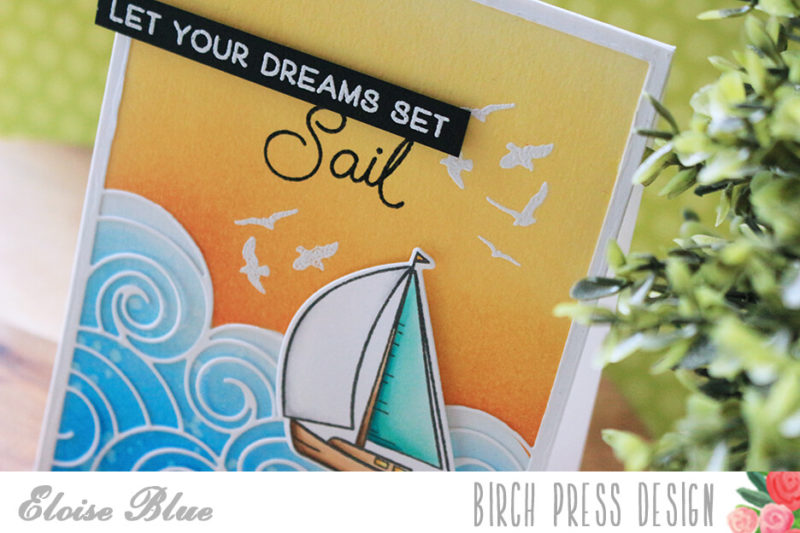
Now I was ready to work on the background. I first used the Waves Plate Die Cut as a template and traced the top of the waves onto some masking tape. I then cut it out with scissors and used it to mask off some watercolour paper. I used Abandoned Coral, Spiced Marmalade and Mustard Seed for the sunrise/sunset part of the background. I then used the negative mask and ink blended some Tumbled Glass and Salty Ocean at the bottom section.
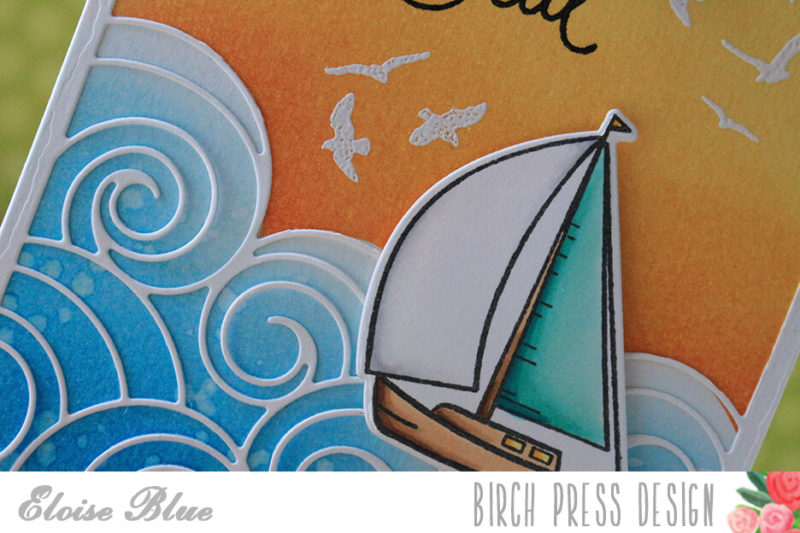
Now my background was done, I adhered my Waves background over the top. I then stamped some of the birds from Let Your Dreams Sail Stamp Set around the background and white heat embossed those. I then adhered my sailboat over the top as well. To finish off, I stamped the ‘Sail’ sentiment directly on the background with black ink and then white heat embossed the additional ‘Let Your Dreams Set’ sentiment onto a thin strip of black cardstock and adhered it to my card as well.
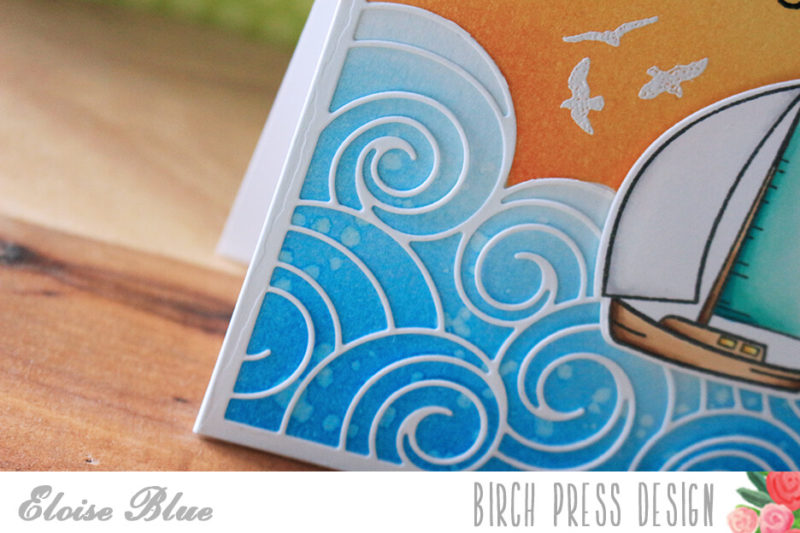
That finished off my card for today, I hope you enjoyed. The video is linked down below if you would like to watch it.
Thanks so much for stopping by today and I’ll catch you next time.

Supplies








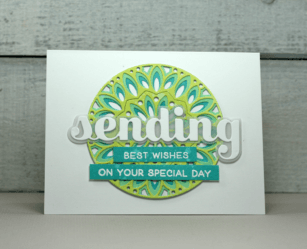
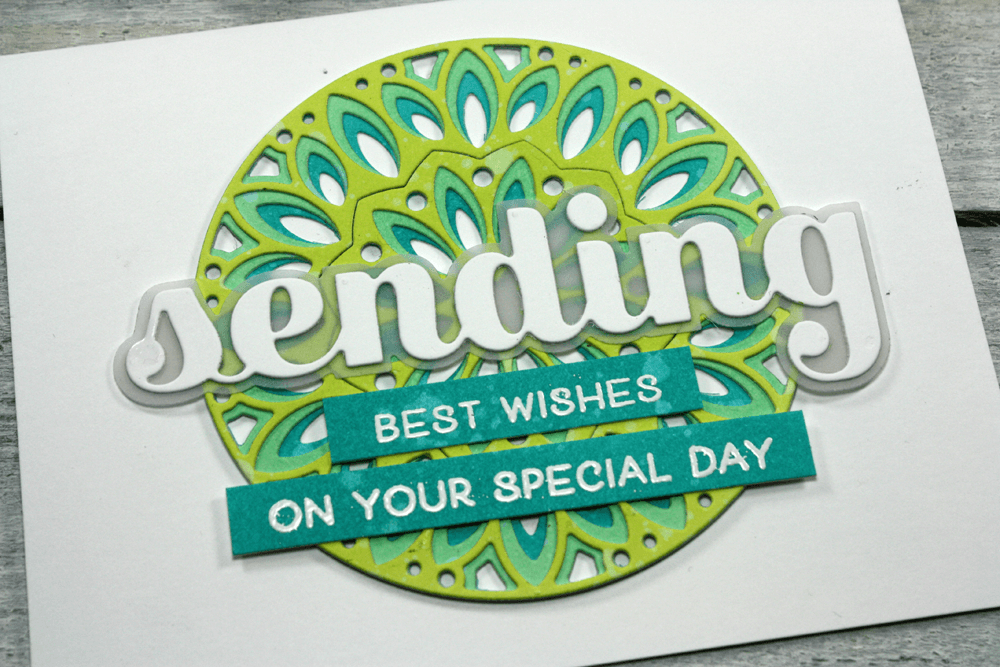
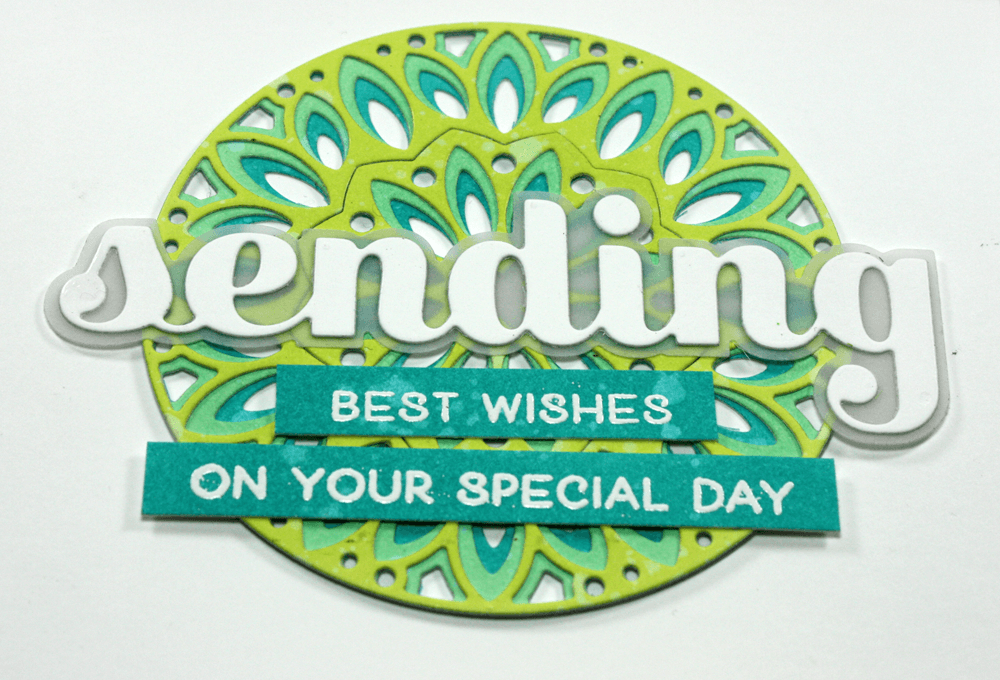 Welcome to another inspiration post here at Birch Press Design. I just can seem to get enough of the new Mandala dies and today I have a video tutorial to create a pretty wedding card. I am using the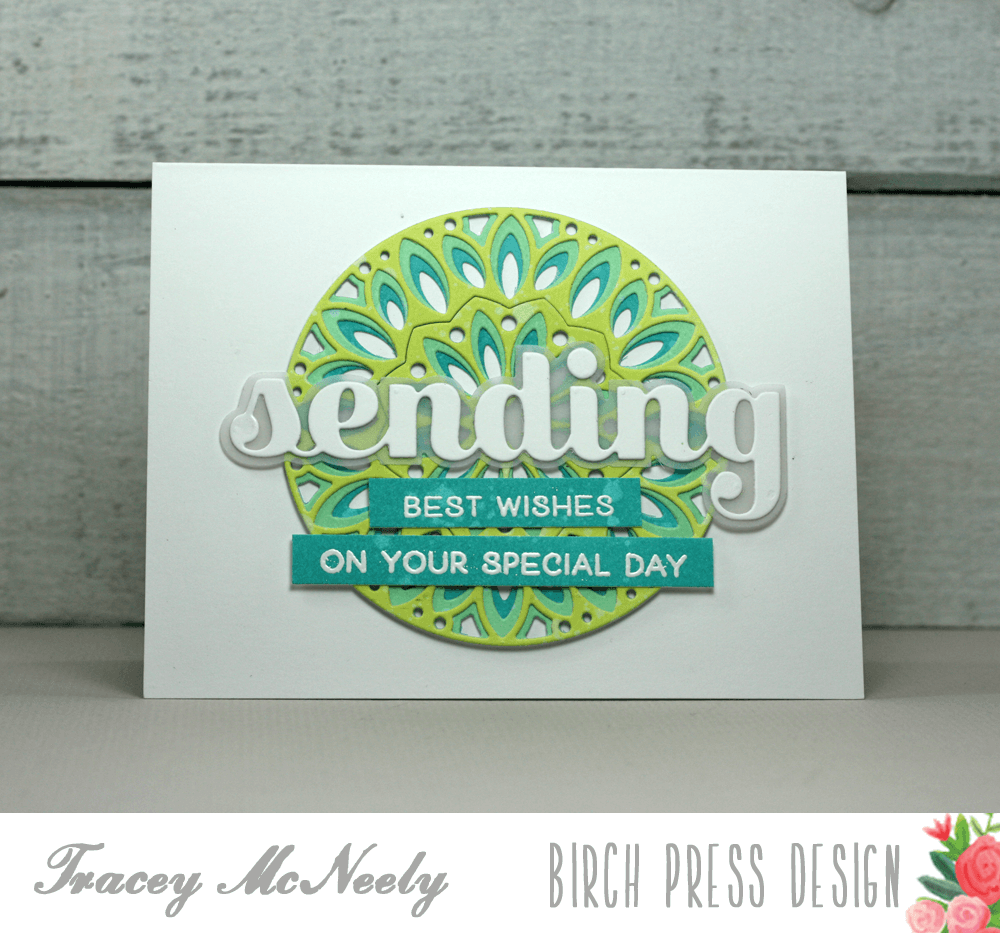
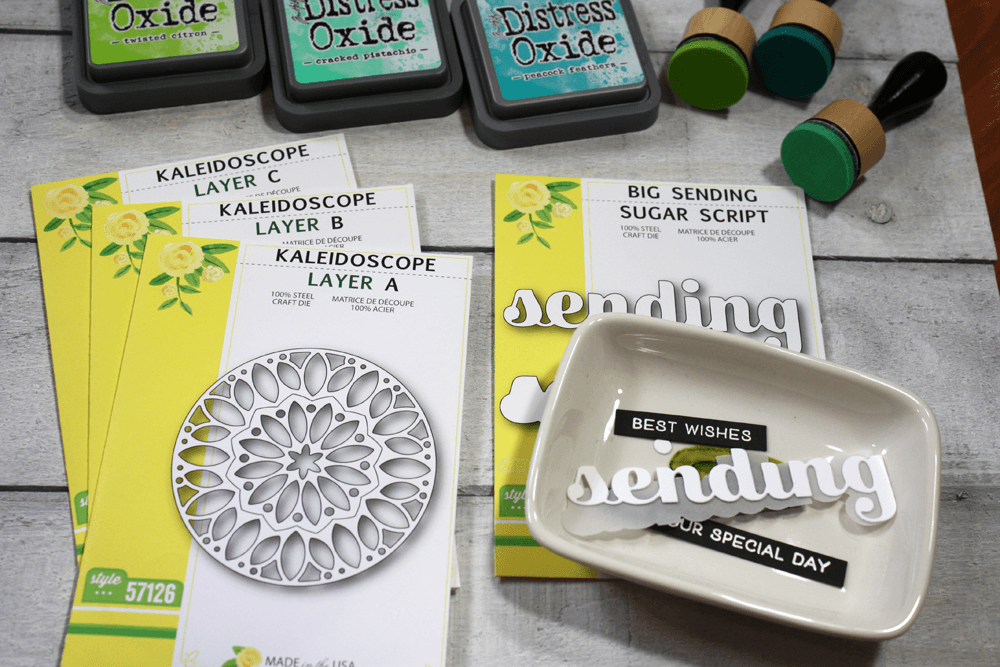 The video below will show you how I created all the elements for my cards using Distress Oxide inks and Bristol Smooth cardstock to create my own custom coloured cardstock to use with the dies.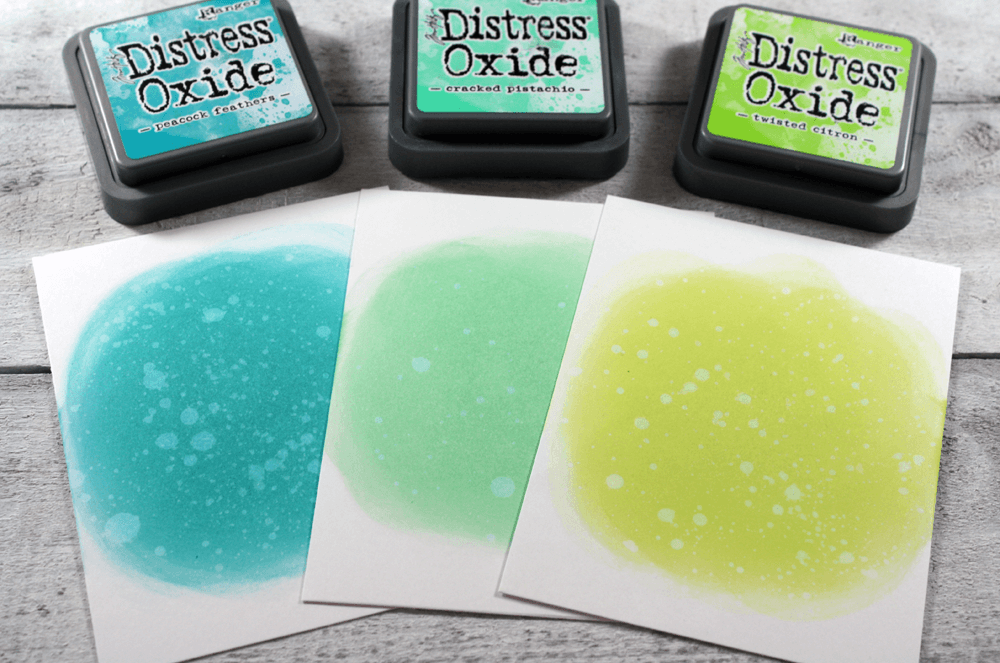







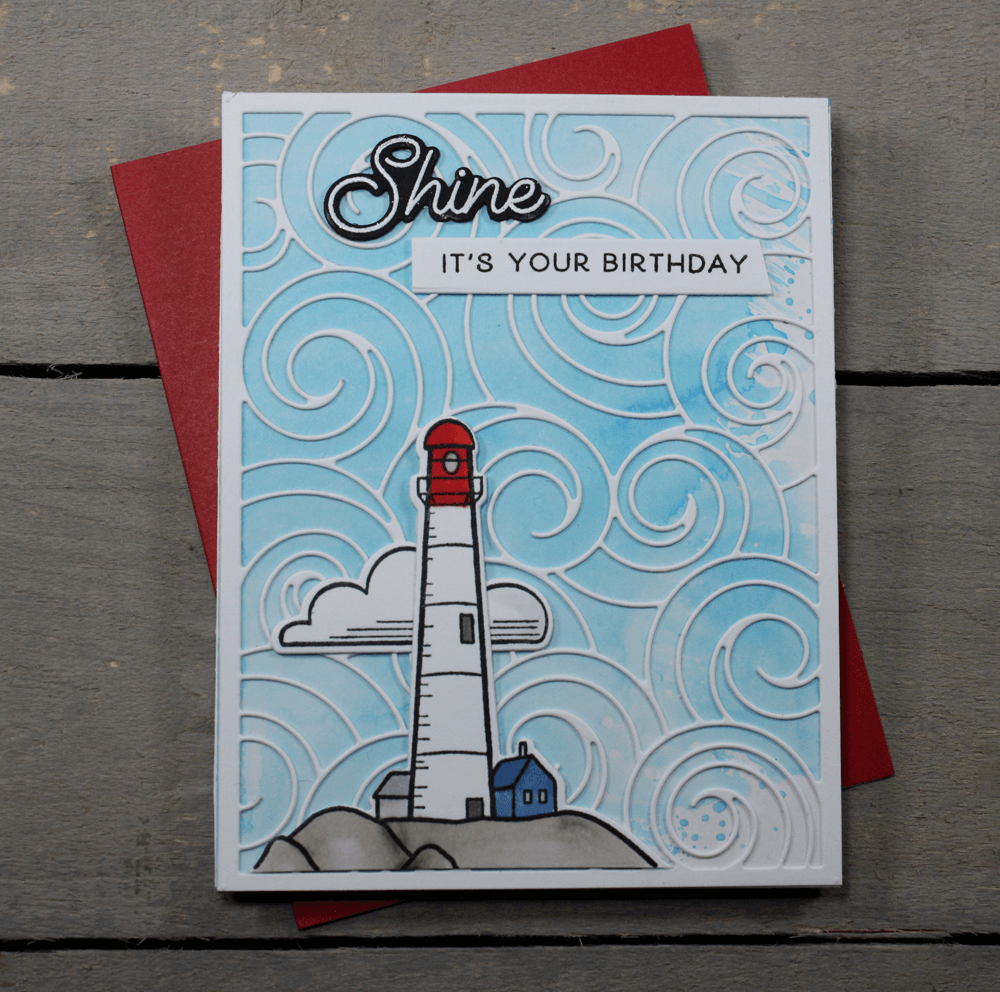





 What a great day for a visit! We’re kicking off a blog blitz today!! What’s a blog blitz? It’s time we set aside on the blog to show you projects made with the newest products. We hope that you love everything just as much as we do! What makes a blog blitz extra special is that we have a prize on every blog blitz post!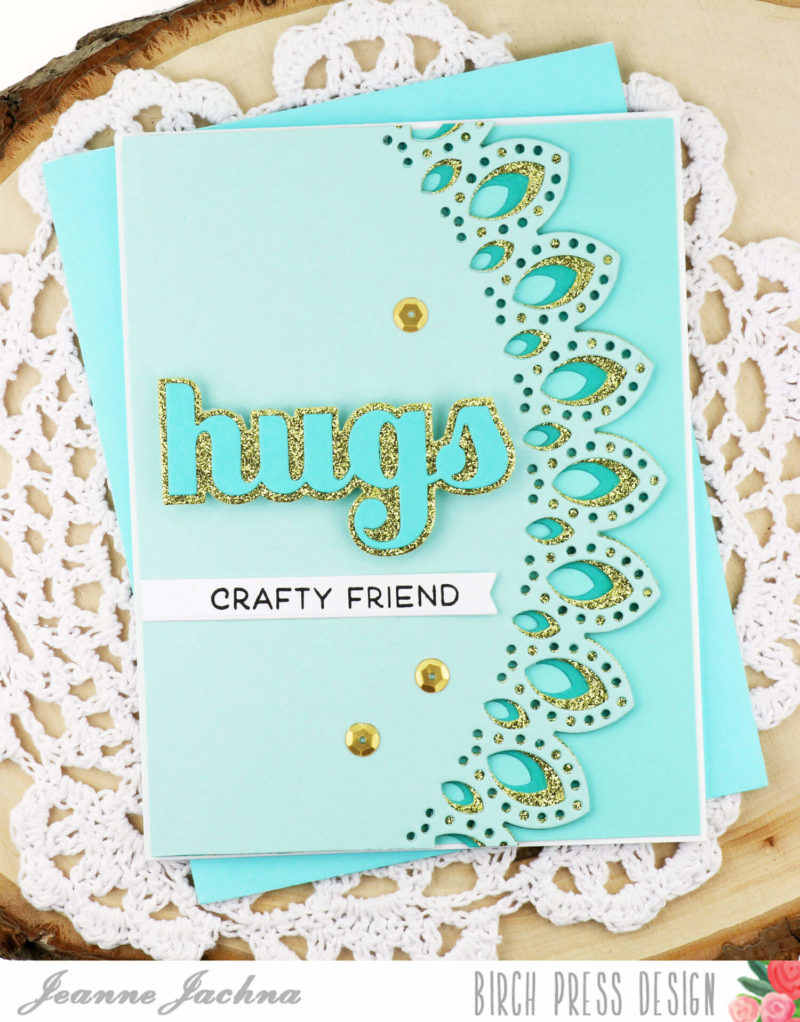
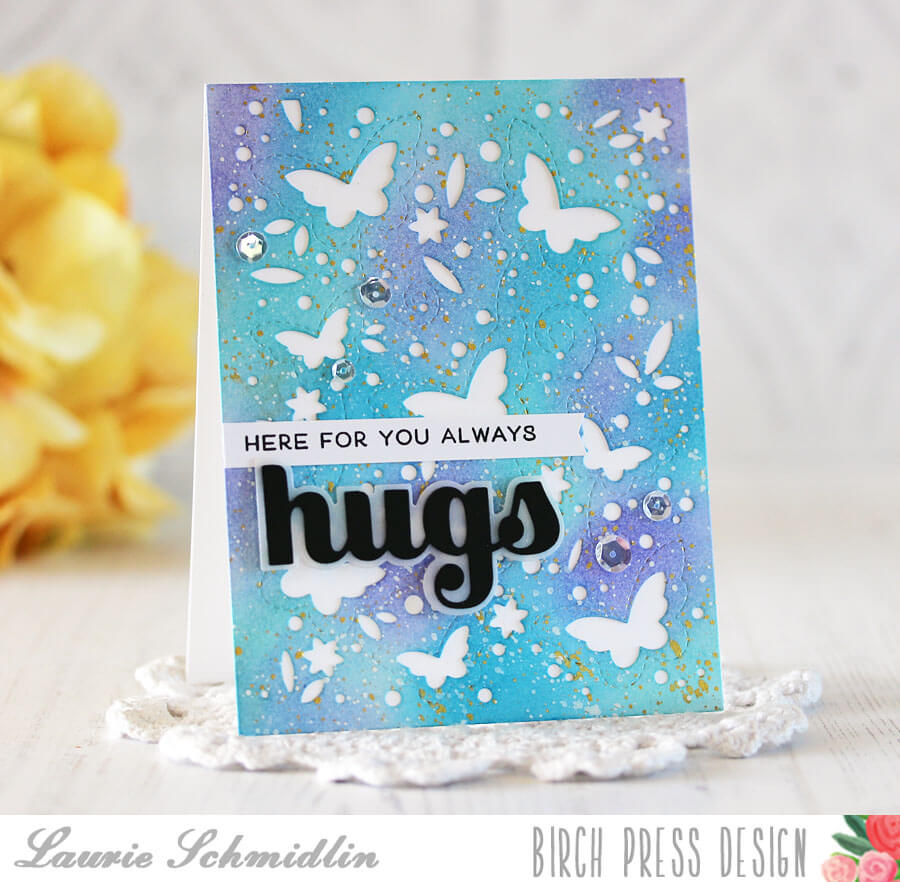
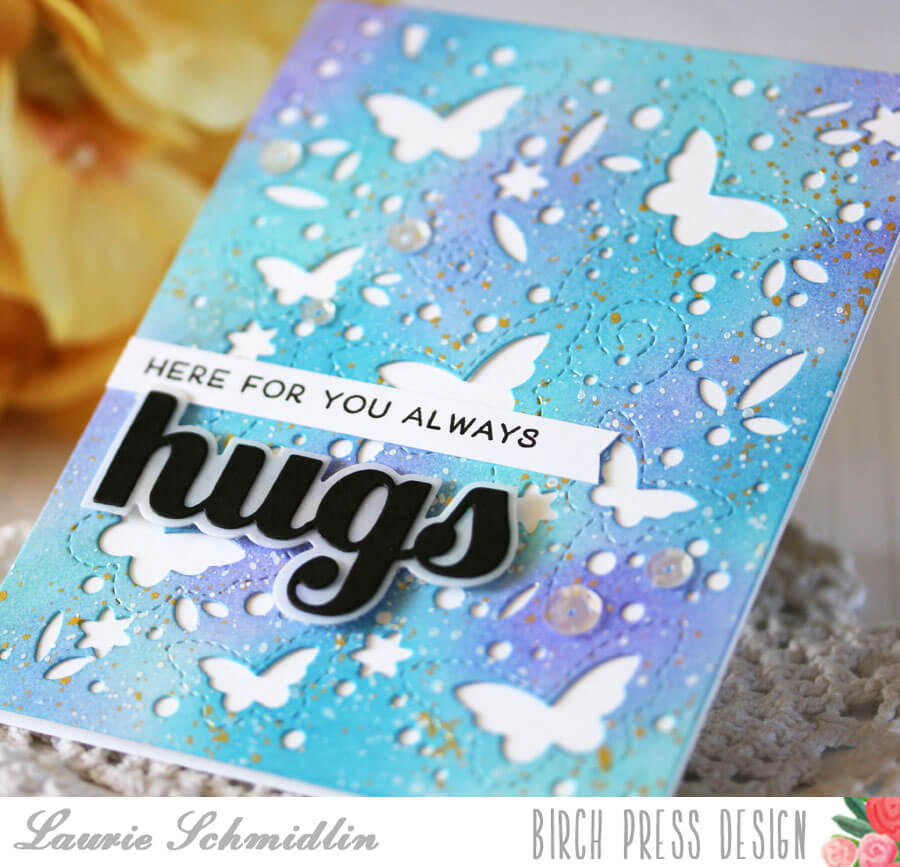
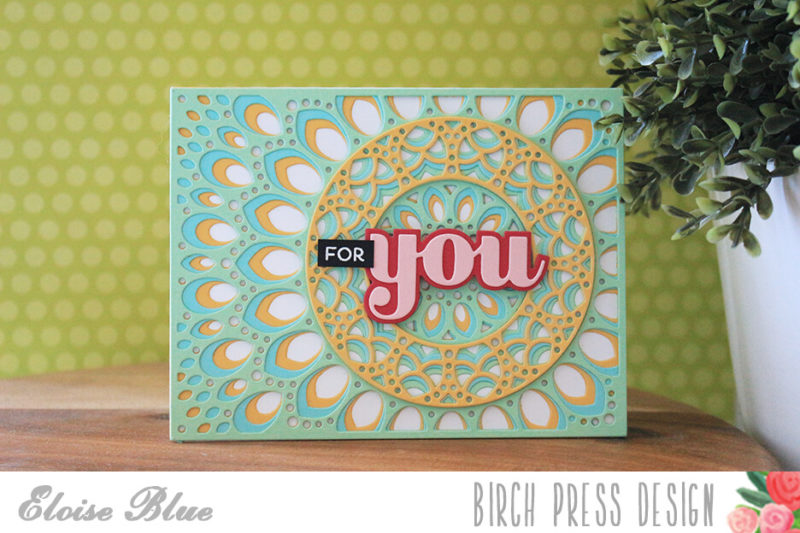
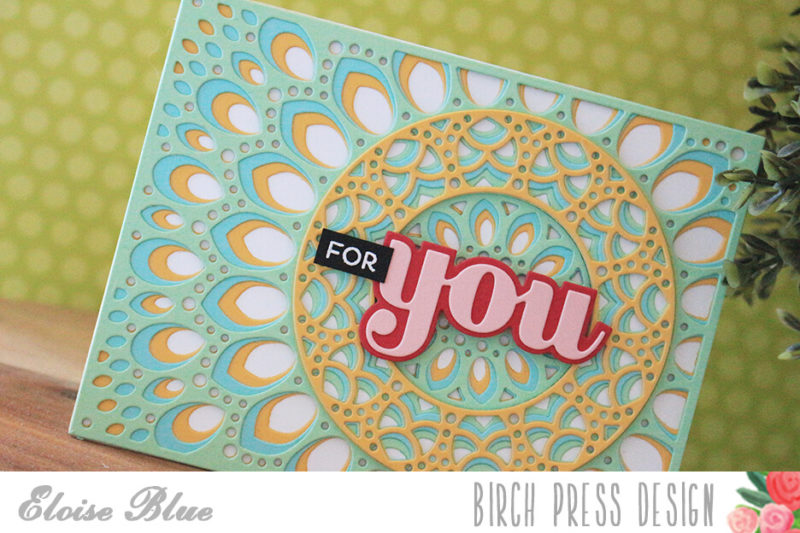
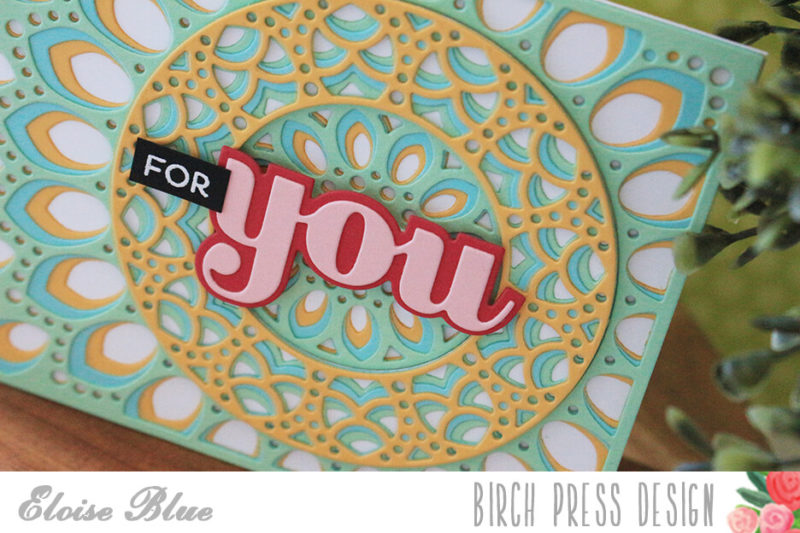
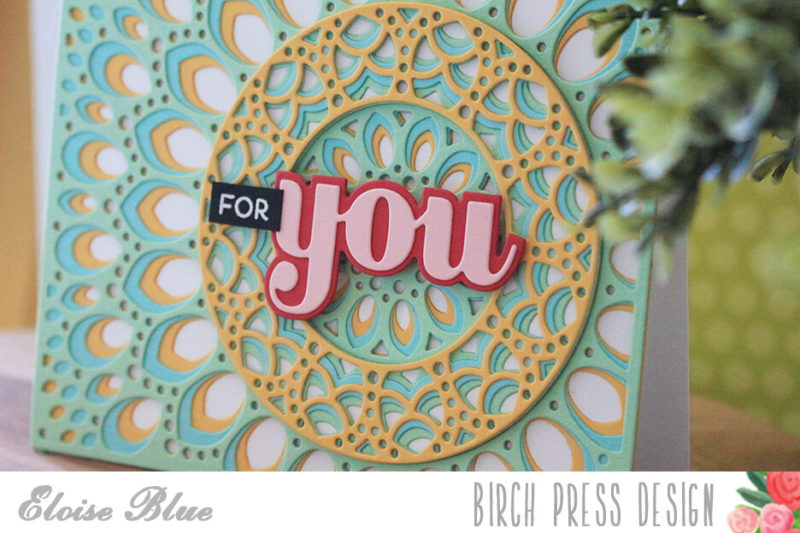
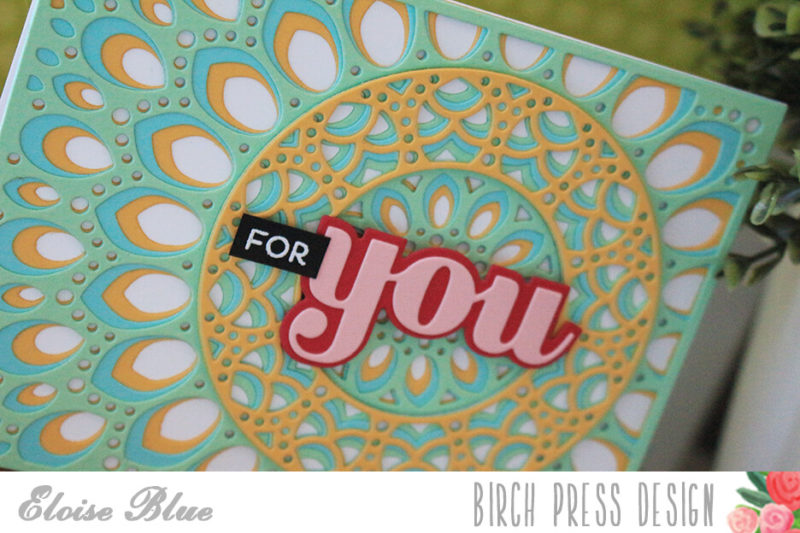
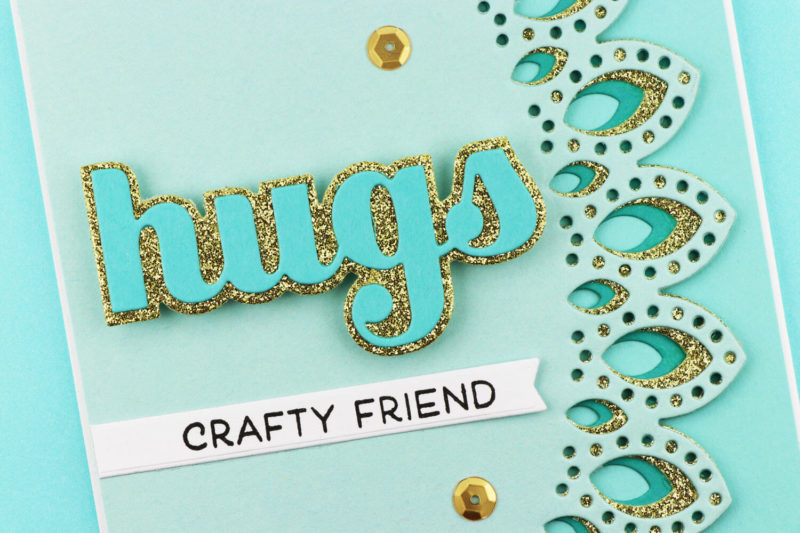
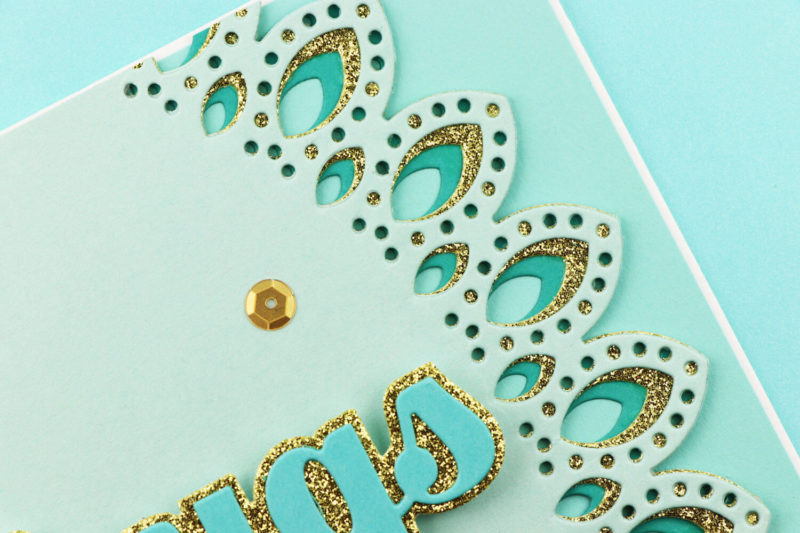 You can see how some of the die cut holes go all the way through while others let some of the second gold layer peek through.