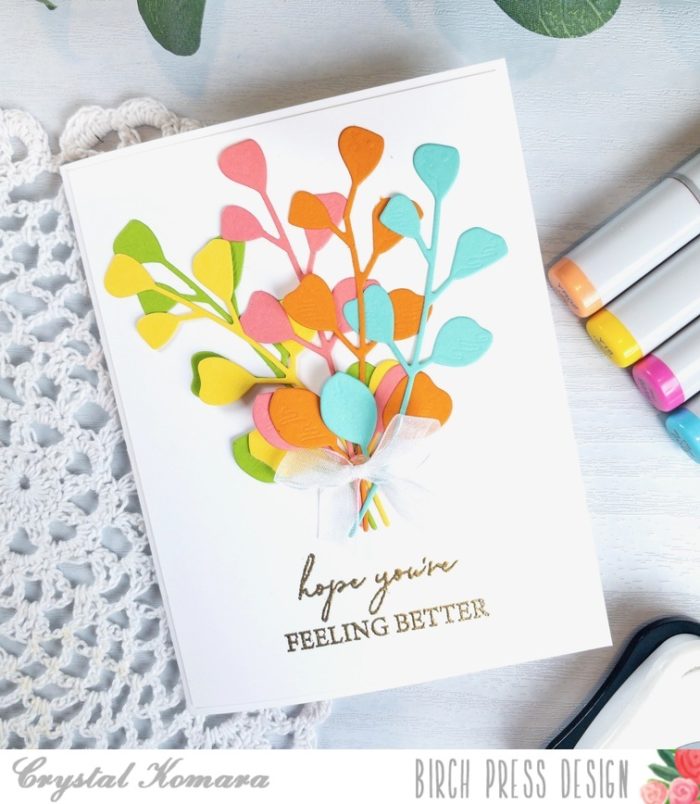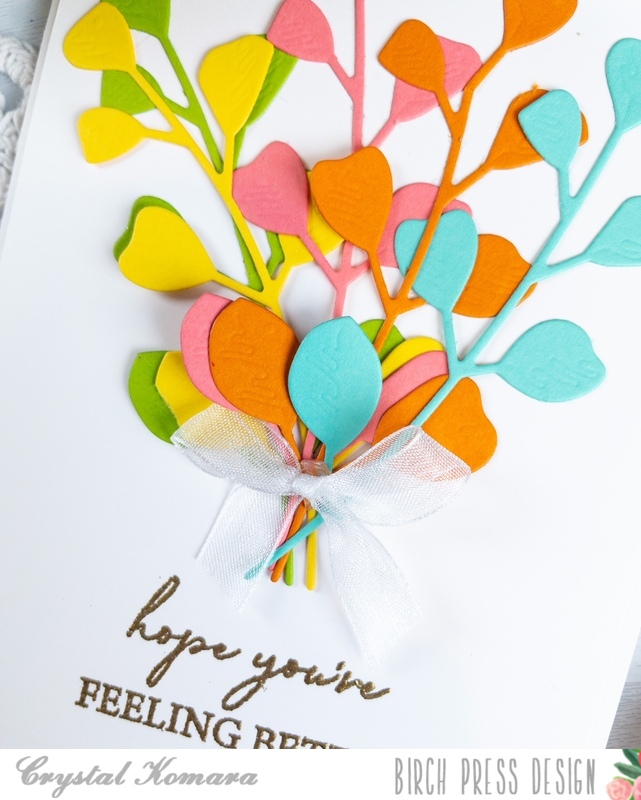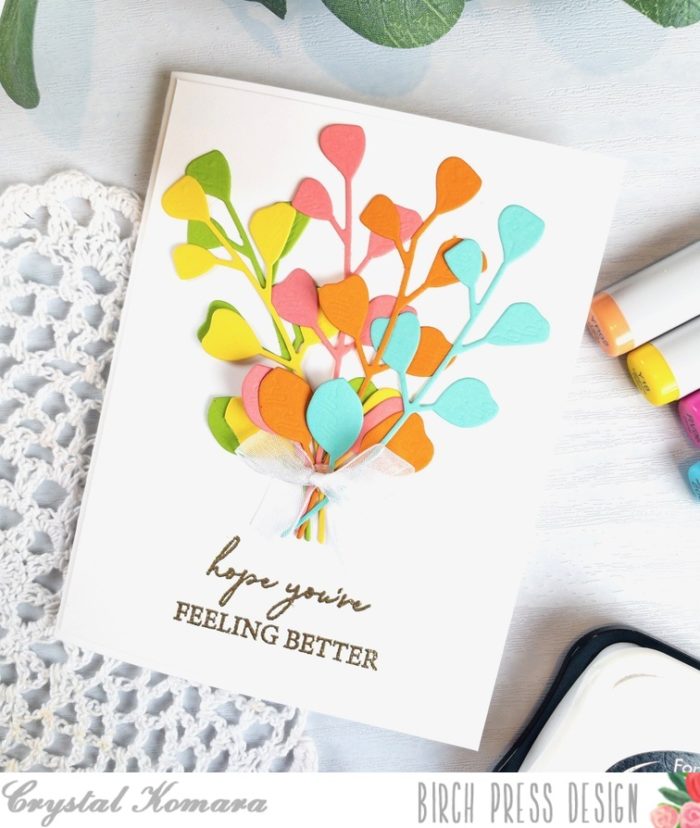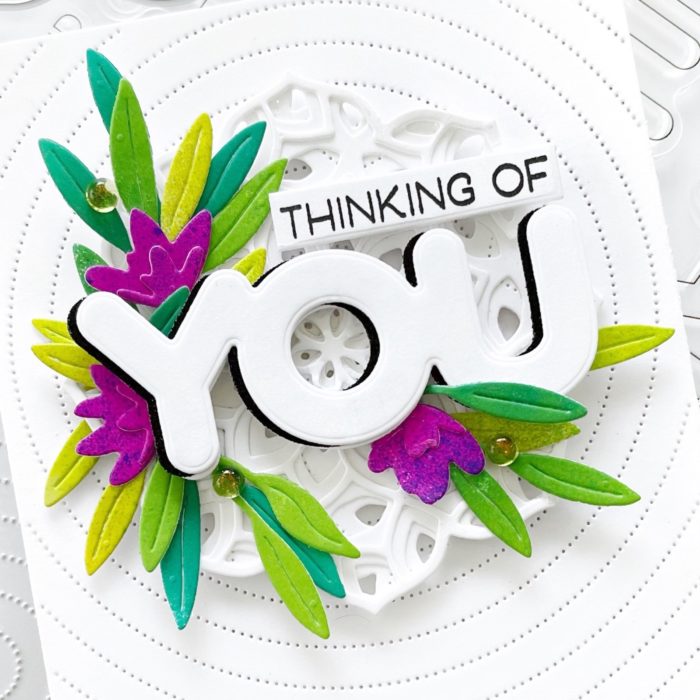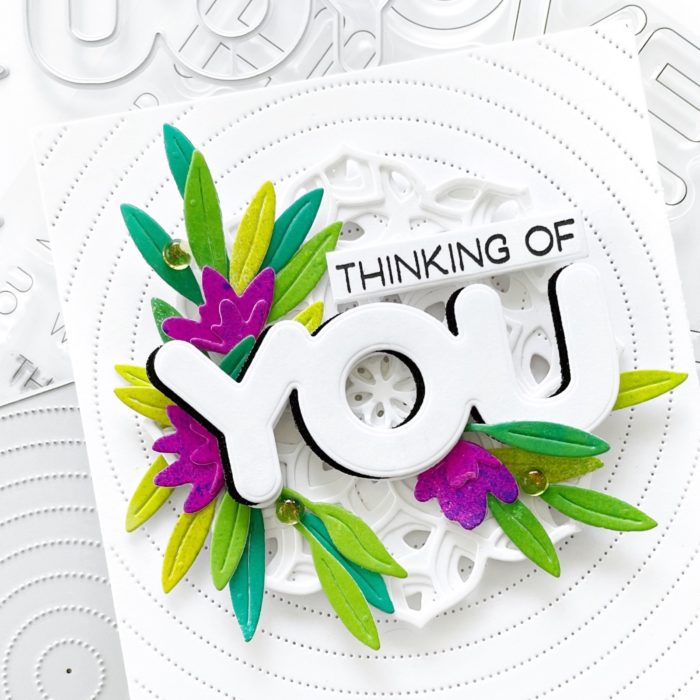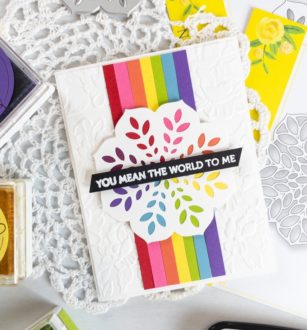
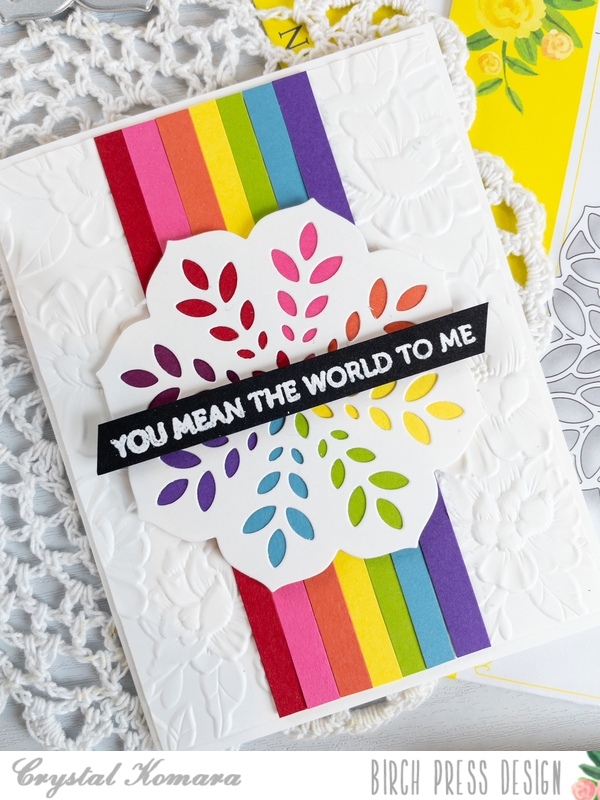
Hello readers and happy Monday! Welcome back from the weekend! This is Design Team member Crystal Komara here with you today sharing a cheerful rainbow themed card made using just layer plate B of the Floral Star Layering dies.
Card details:
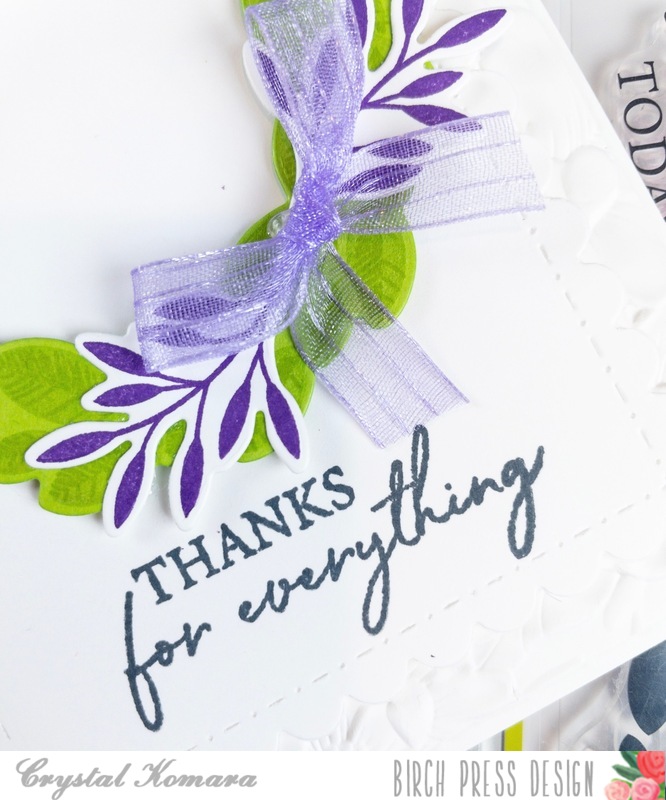
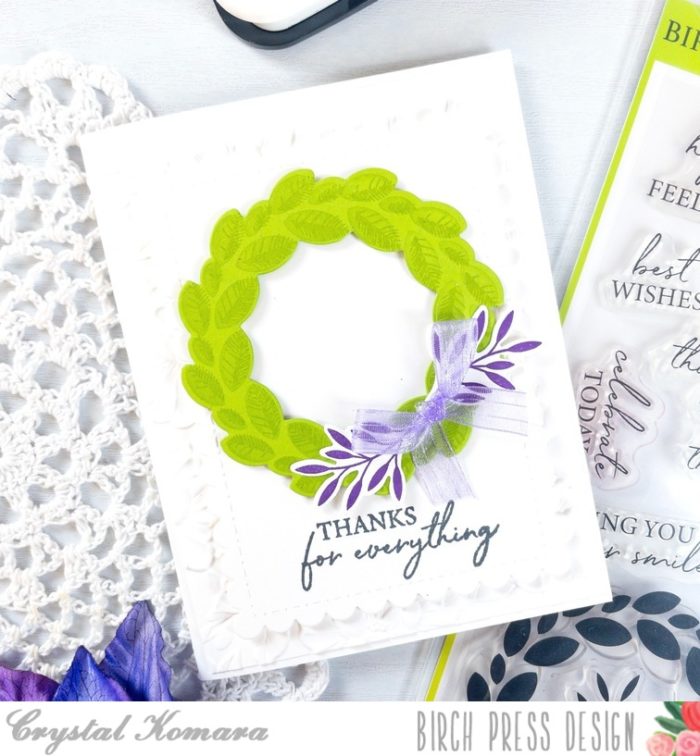
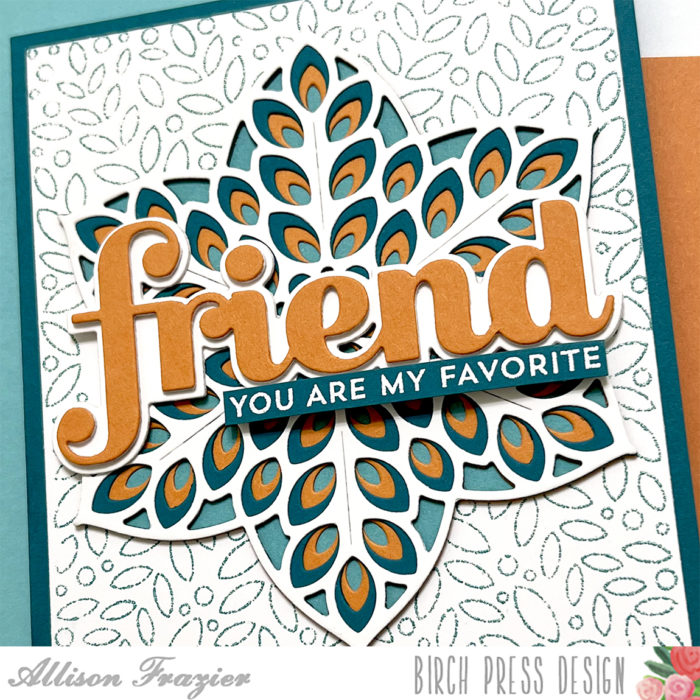
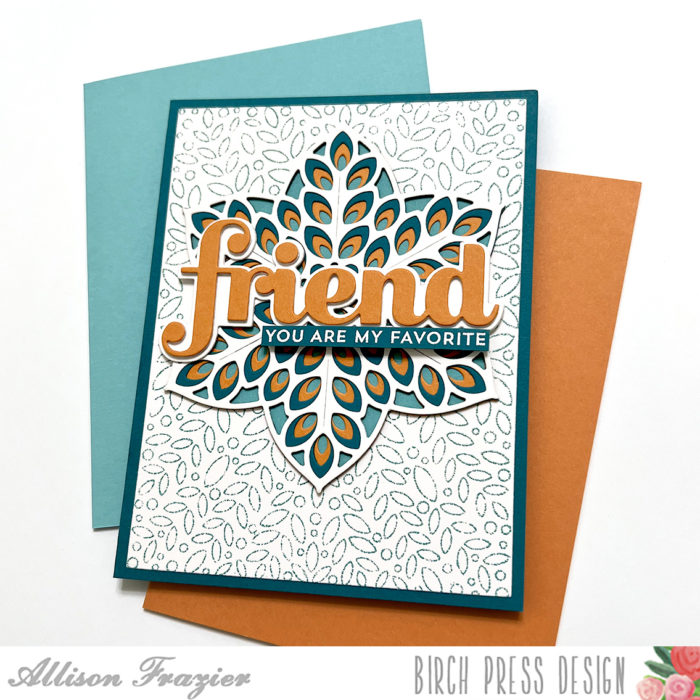
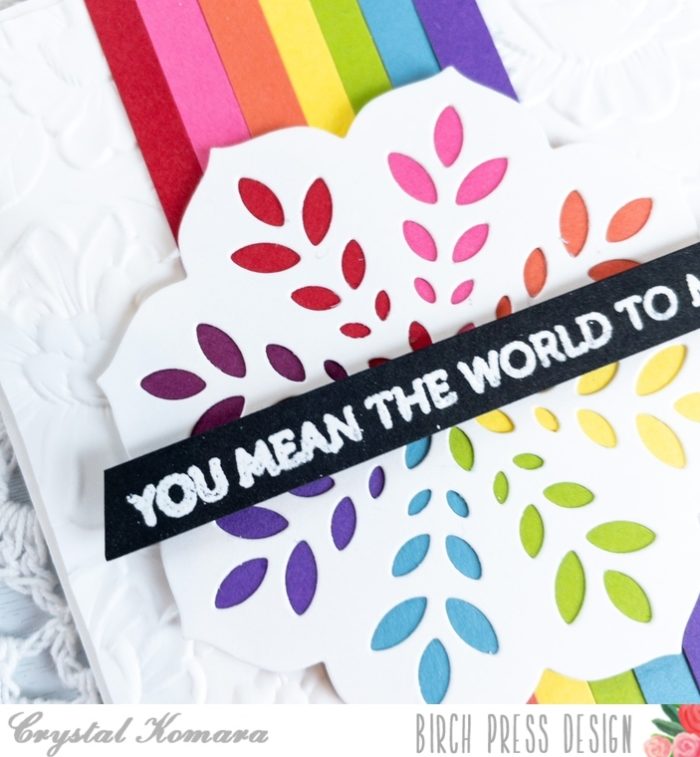
The base of this A2 sized card is made from 80 lb. Neenah Solar White smooth cardstock. I cut a 5 1/4″ x 4″ piece of the same white cardstock and ran it through my Big Shot using the Memory Box Blooming 3D embossing folder. This is one of my favorite embossing folders as the detail is impeccable and the result is always gorgeous.
I cut 5 1/2″ x 1/4″ strips of cardstock in a rainbow array of colors. I used cardstock from the following 6″ x 6″ paper packs:
I adhered the strips of cardstock down the center of the card. I die cut Layer B of the Floral Star Layering dies from white cardstock. I then fussy cut small pieces of the colored cardstock and adhered it behind sections of the floral star to continue the rainbow theme. I adhered the floral star to the center of the card using 3M foam adhesive for added dimension.
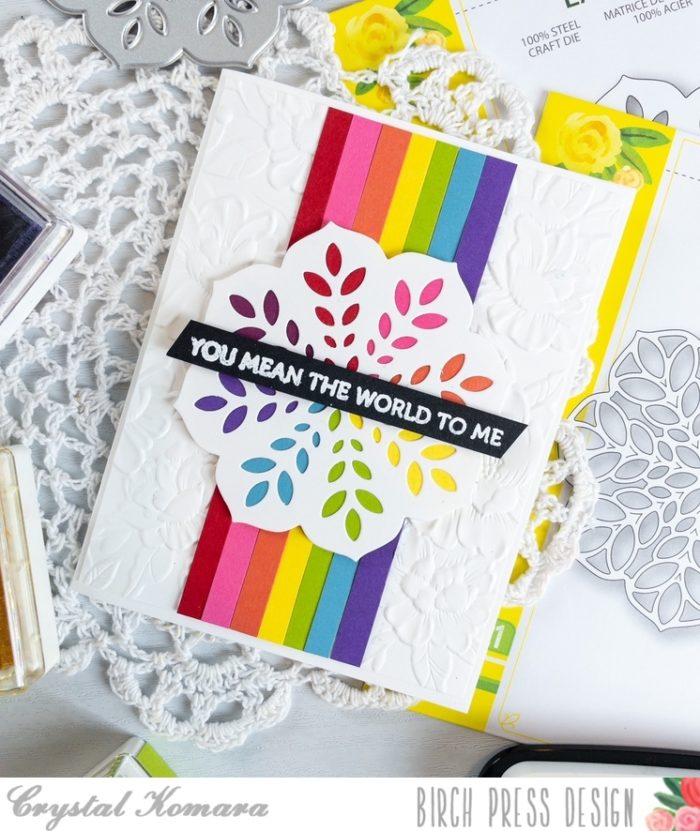
Lastly, using the Lingo Thanks stamp set, I stamped the “you mean the world to me” sentiment in Versamark ink on black cardstock. I heat embossed the words with white embossing powder. I adhered this thin sentiment strip across the center of the card.
I love creating cards with rainbow themes. I just think they are so colorful and cheerful. Thanks for visiting and have a wonderfully creative day!

Supplies