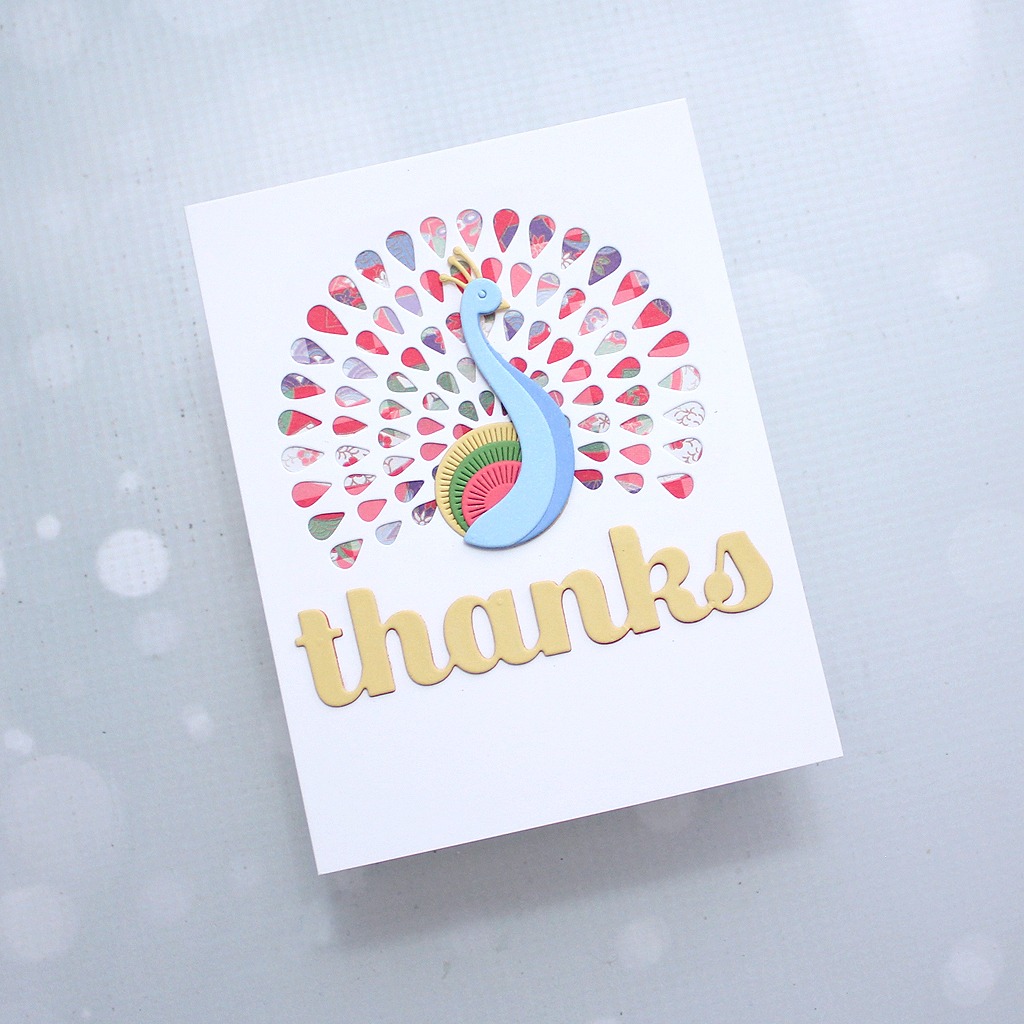
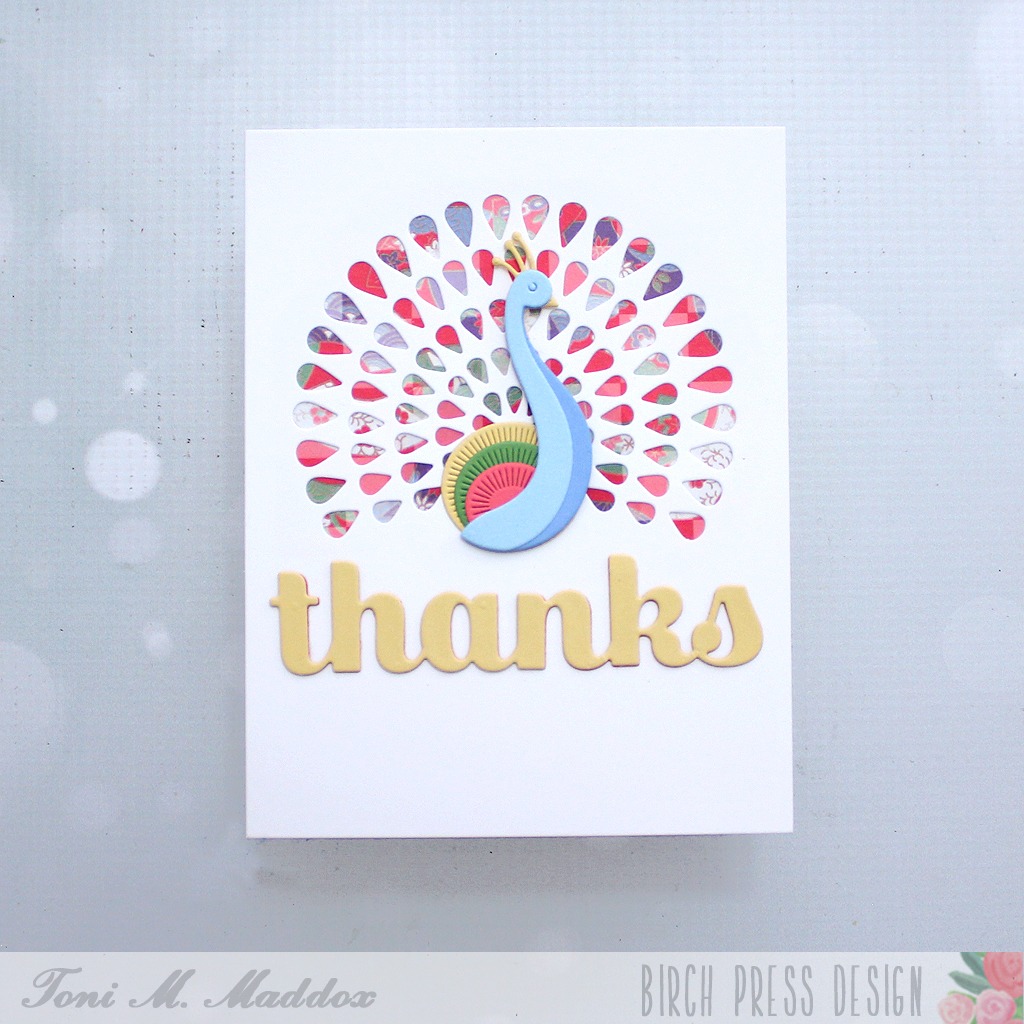
Hello, friends! Toni here with you today with a couple of thank you cards using the Block Print Pretty Peacock from the latest release.
I used an “ugly” origami paper behind the tail fan. It’s just one I didn’t prefer but looks amazing through those feathers.
I chose the colors of the Block Print Pretty Peacock from it, using Memory Box 6×6 cardstocks.
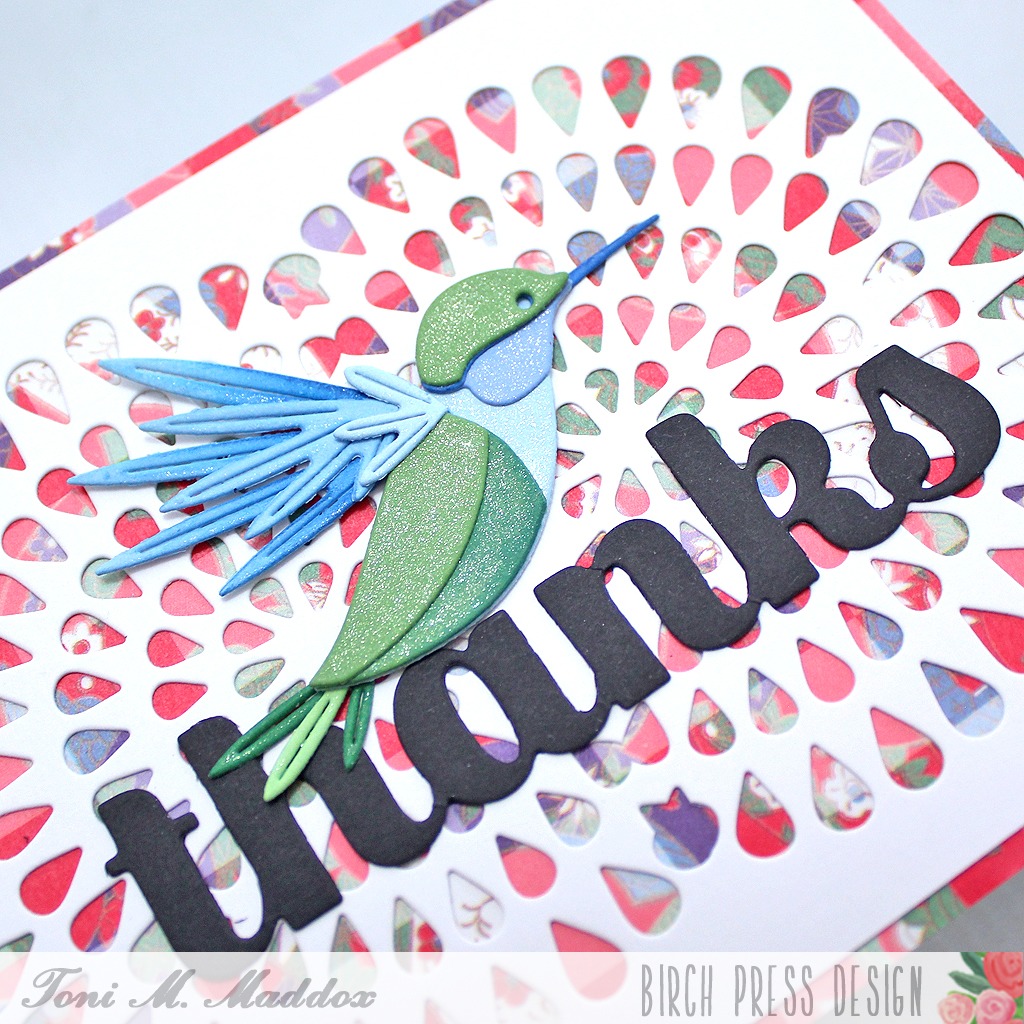
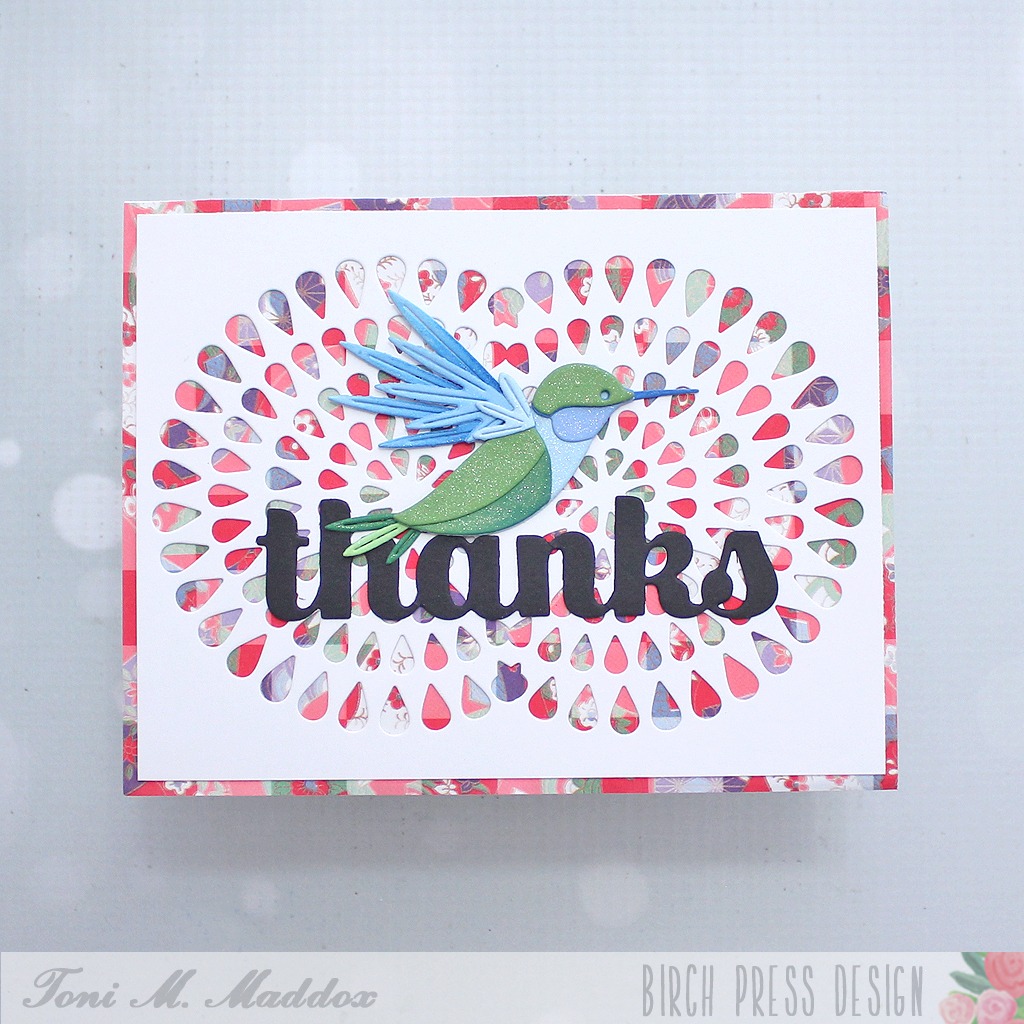
It occurred to me that the tail fan could be used twice to create a cool symetrical background. I decided they looked like mums that the Block Print Soaring Hummingbird is exploring.
For both cards, I used the Sugar Script Big Thanks die which is one of my favorites–such a great size and font!
I hope you enjoyed today’s cards and have a great rest of your week!
Feel free to visit my blog, Frankie Helps Craft, for a full list of supplies used and to check out my other creations.
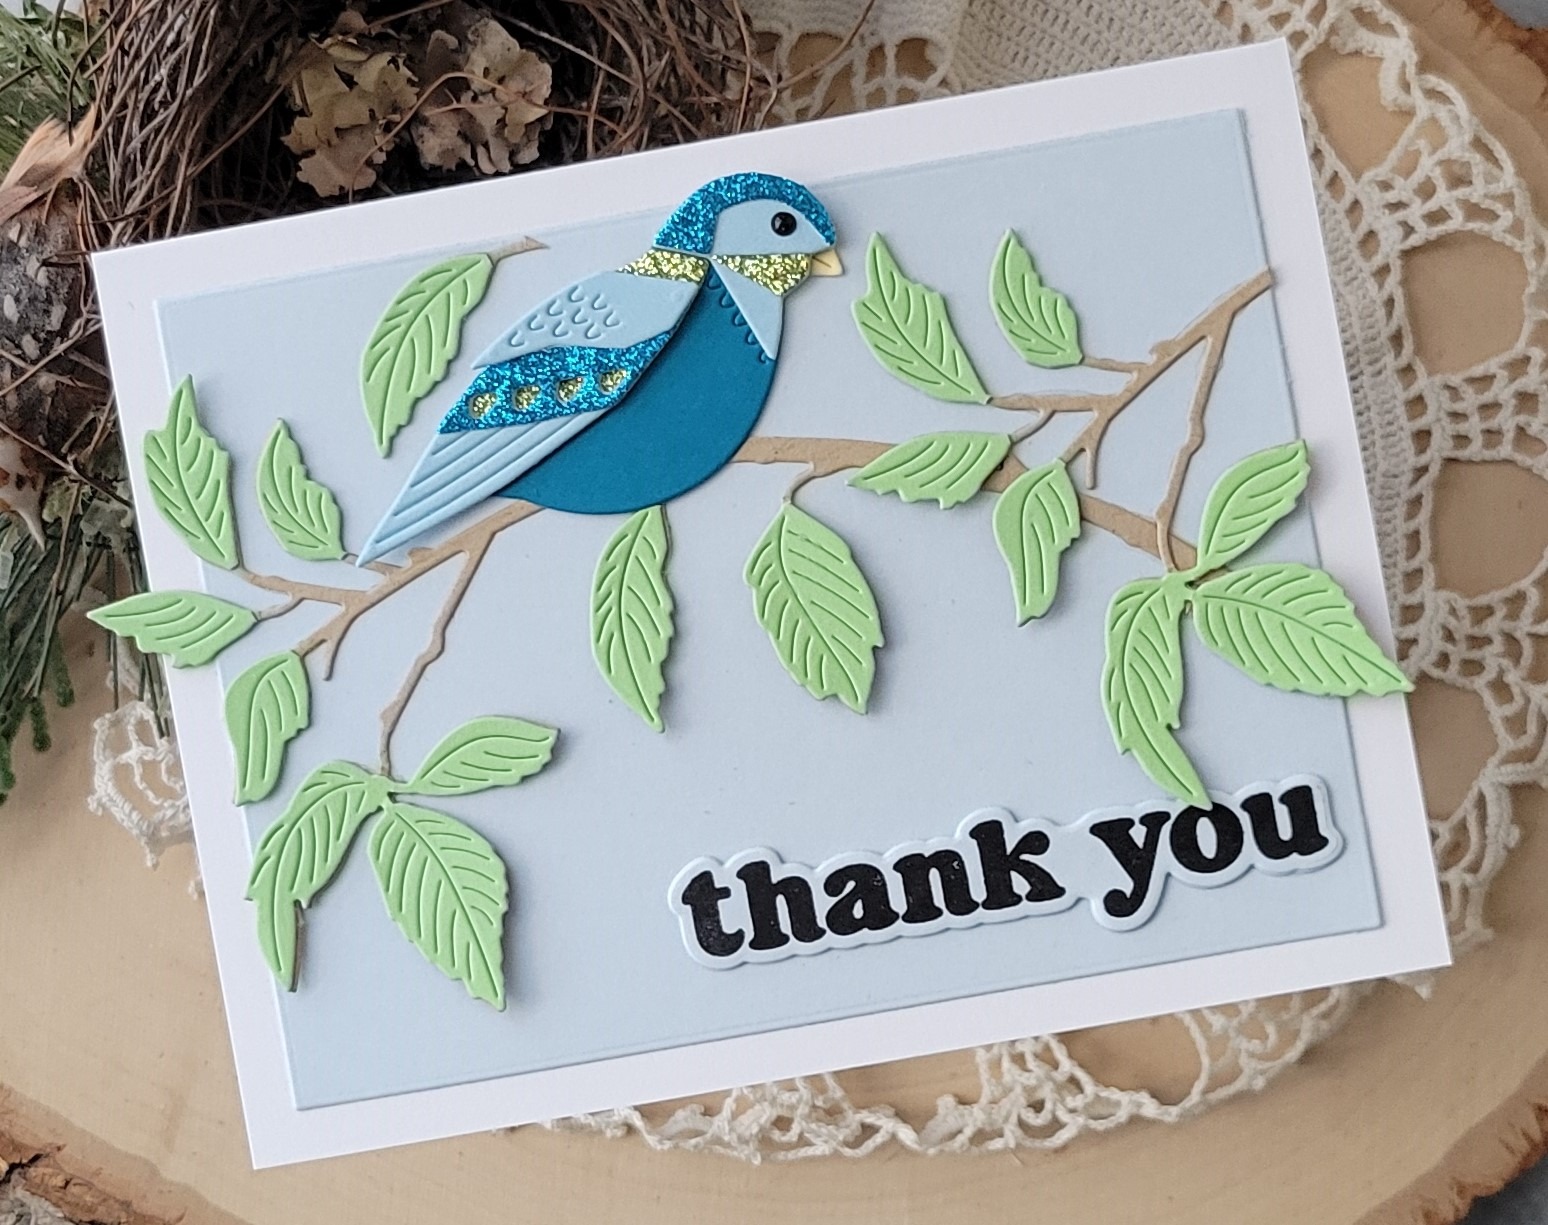
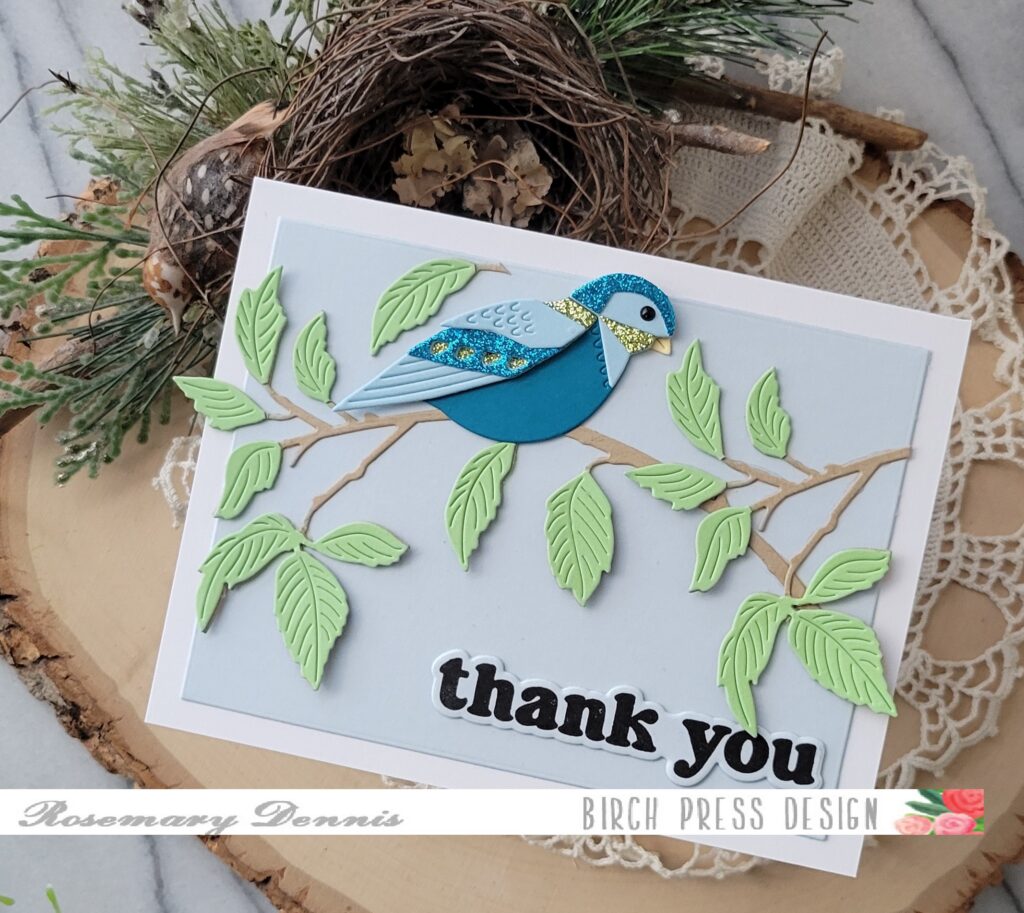
Hello everyone! Rosemary here on the blog today with a thank you card featuring the new Block Print Festive Bird die set, as well as two older products. Let’s have a look at what I created.
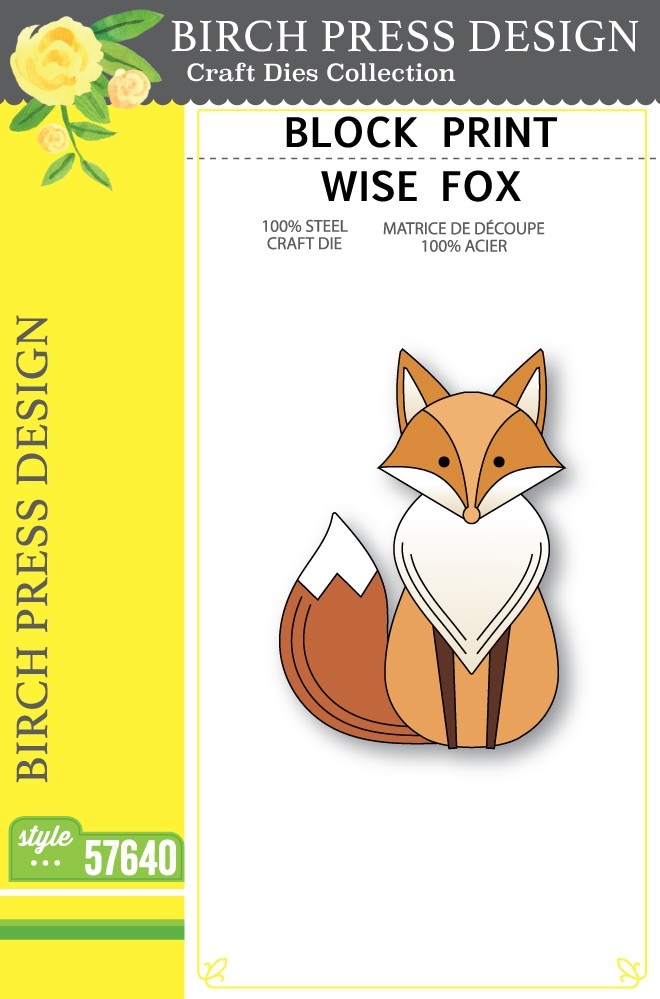
One of the things I like about the packaging for all of the Birch Press Design products is that it shares an image of the finished design in color. This provides you with a great jumping off point for creating your own little bird. I have done that in the past, but this time I decided to use colored cardstock and glitter cardstock to create my little bird. I kept my color scheme fairly simple.
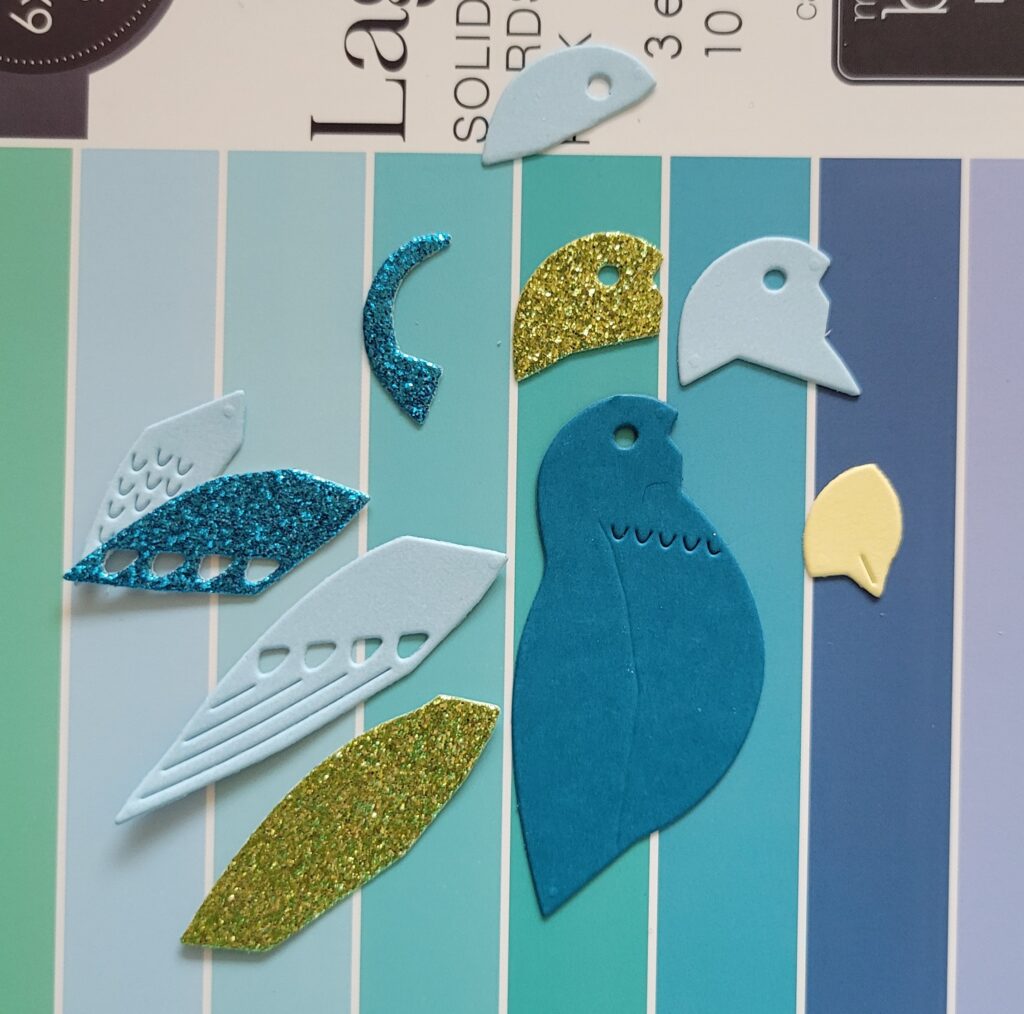
You can see all the pieces of my bird laid out above. I used cardstock from the Memory Box Lagoon 6×6 pad, as well as glitter cardstock from my stash and a tiny piece of yellow cardstock for the beak.
I did want to mention that before I started making color choices for my little bird I did die cut all the pieces from a scrap of cardstock so I could make sure I knew how all the pieces fit together.
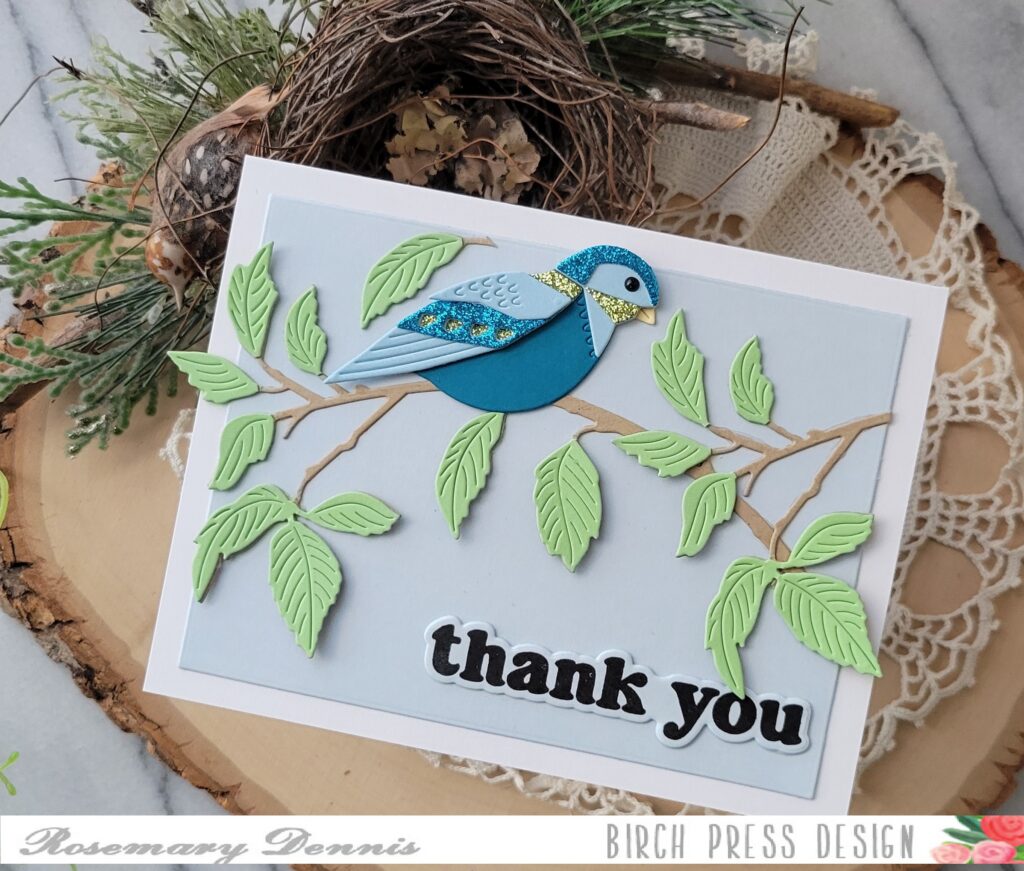
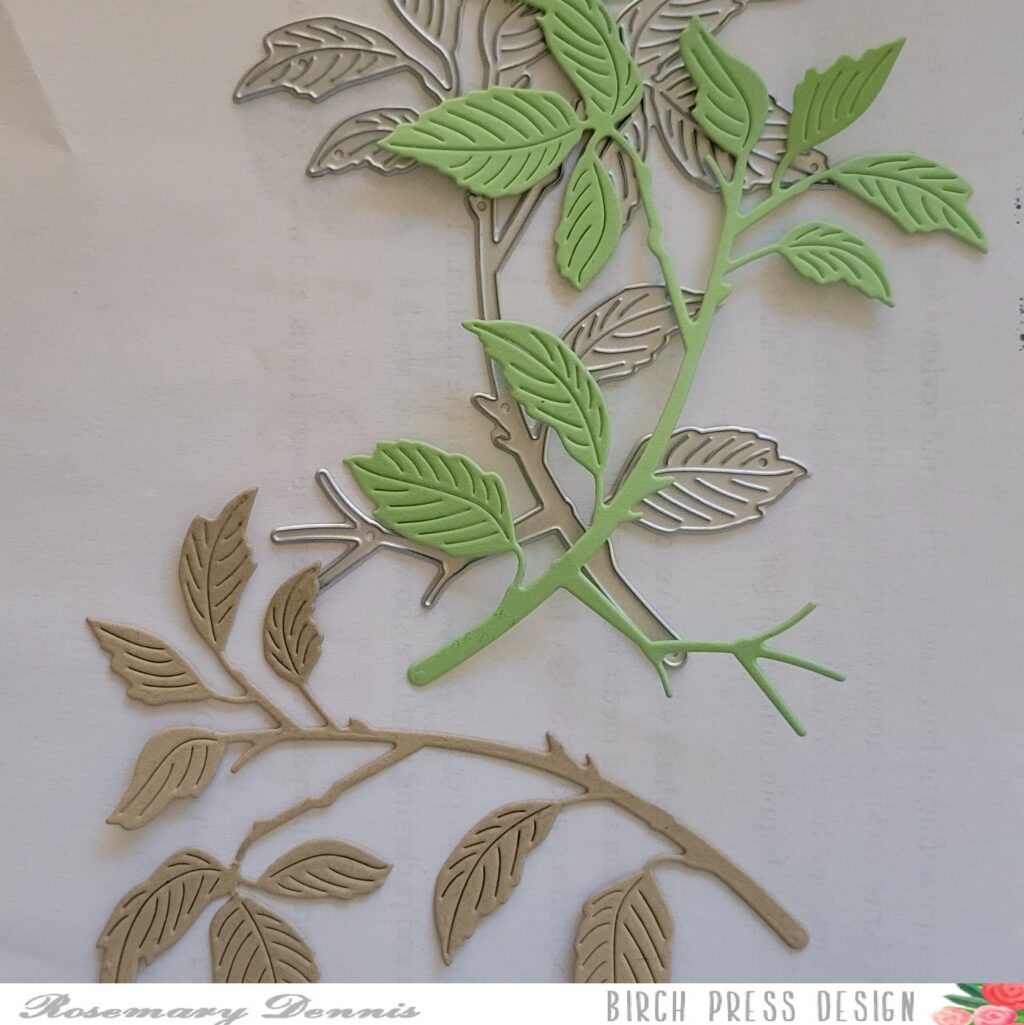
I used liquid adhesive to adhere my bird together. Once I had the bird finished I set it aside to figure out the rest of my card. Originally I was going to have the bird perched on a large die cut sentiment, but nothing was working. So, I decided to go through all my BPD dies and came across the Abundant Branch die. Perfect for my little bird to perch on!
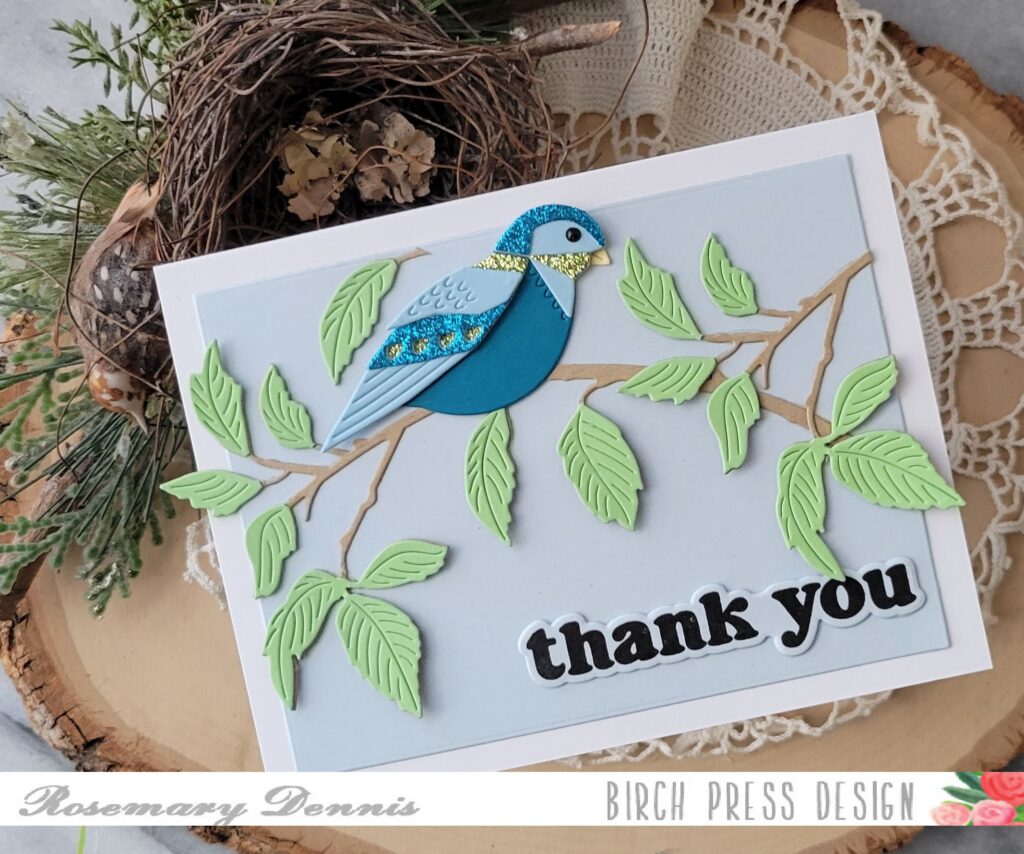
I die cut the branch from kraft cardstock and then from green cardstock. I trimmed the leaves off the green branch and adhered them with liquid glue to the kraft cardstock branch. I did that a second time and then trimmed apart that branch to I could position the pieces as you see. Then adhered my little bird on the branch.
The sentiment is from the Vintage Everyday Greetings stamp set and was stamped on the same light blue cardstock I used for the background. I die cut it, a second layer, adhered them together with liquid adhesive and added it to my card front.
I hope you enjoyed today’s project. Thanks for stopping by and have a lovely day!
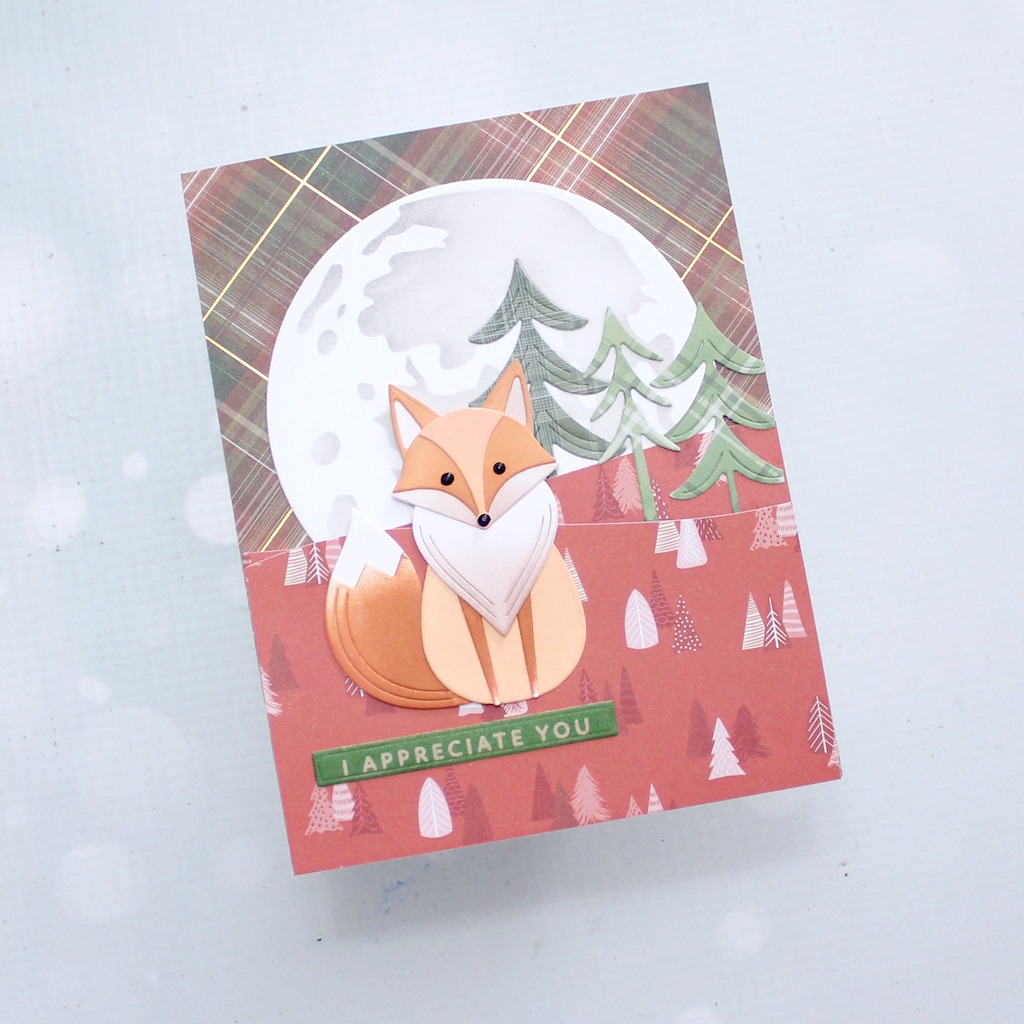
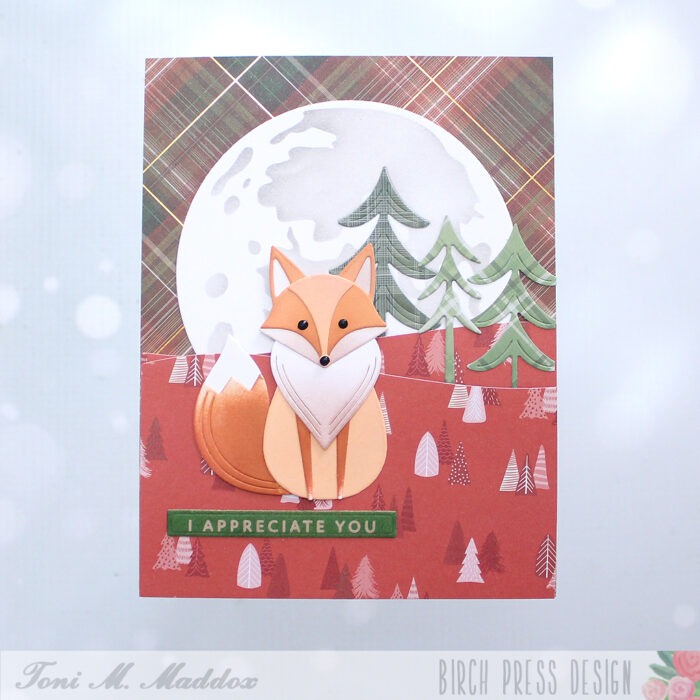
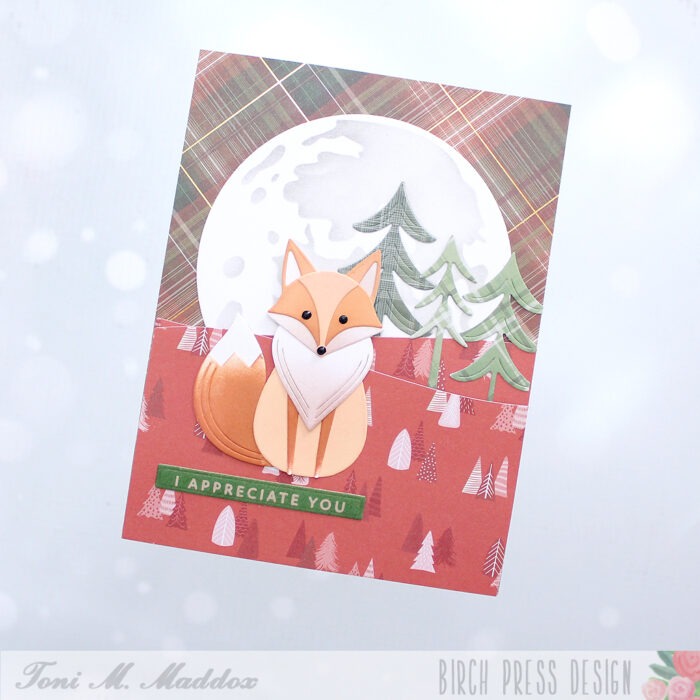
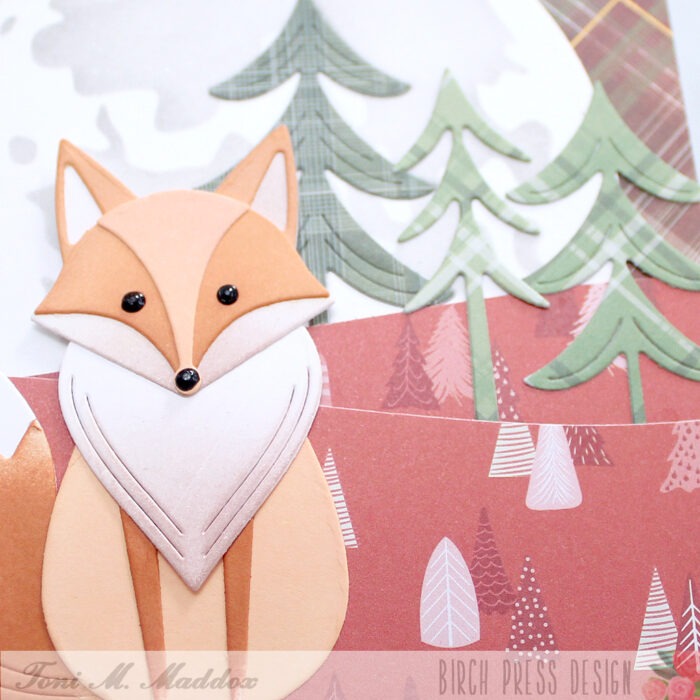
Hey, my foxy friends! Toni here today sharing the first of many projects using the latest release. You are going to love it!
I cut out the Block Print Wise Fox and sponged it using Catherine Pooler inks. I used black Enamel Accents for the eyes and nose.
While that was drying, I cut out the Wavy Hillside, Block Print Evergreen Trees, and Block Print Forest Scene elements using Memory Box Nutmeg Forest and Nutmeg Plaid 6×6 papers.
I used the Tim Holtz Moon Mask on the Block Print Forest Scene moon using Catherine Pooler inks.
I think the sentiment is from Spellbinders but not positive.
Feel free to visit my blog, Frankie Helps Craft, for a full list of supplies used and to check out my other creations.
I hope you enjoyed today’s card and have a great rest of your week!
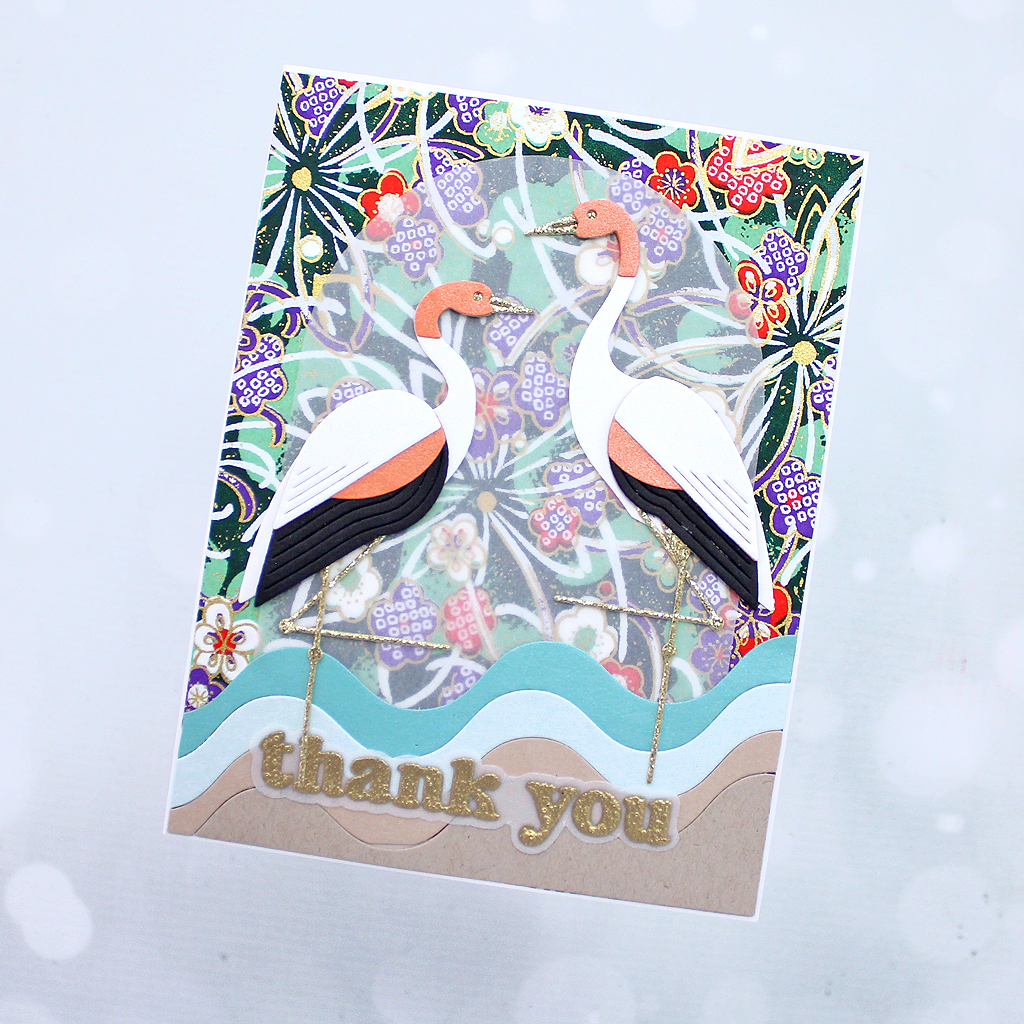
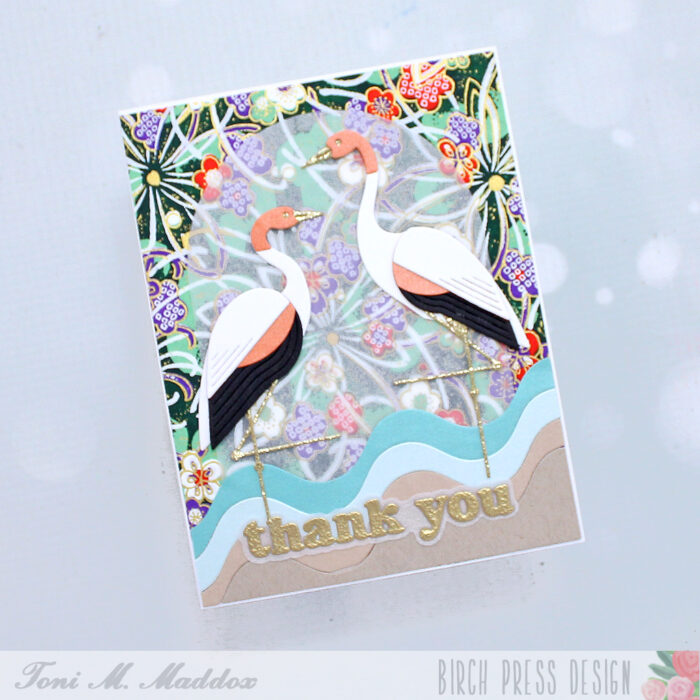
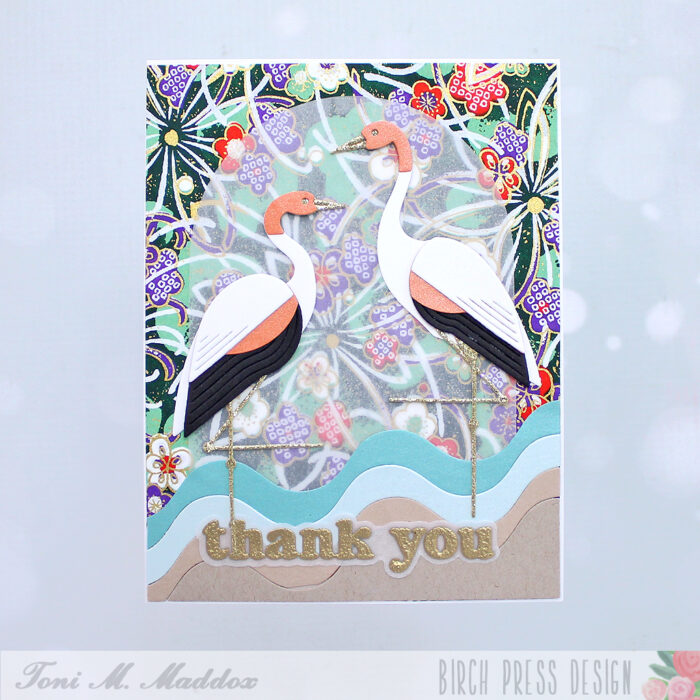
Hi, everyone! Today’s card has an Asian flavor with its papers and cranes.
I chose an origami paper from my stash that reminded me of lily pads and lotus pods. It’s a rather busy pattern so I cut an arch from vellum and layered that on top to soften the area behind the birds.
Next, I cut Corner Waves in two neutral colors to represent sand and two from shimmery blue for water.
With the background set, it was time to work on the Block Print Seaside Crane and Block Print Standing Crane.
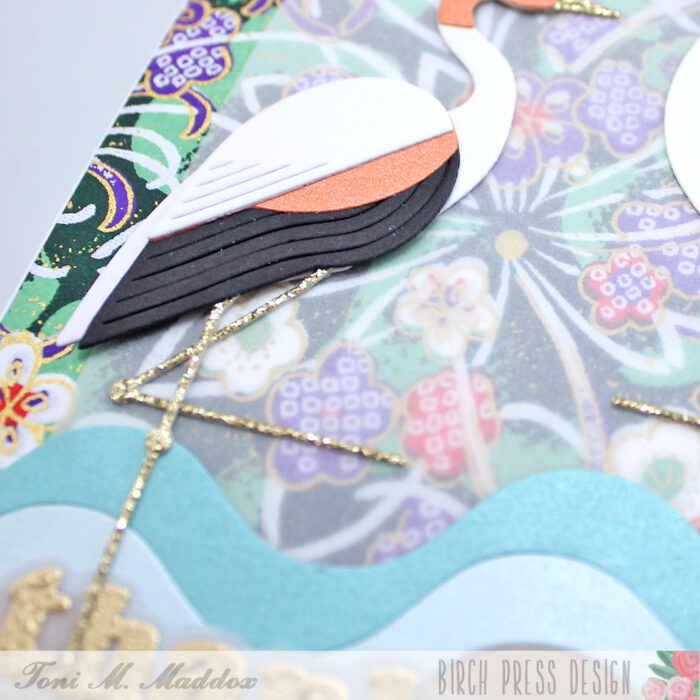
I used a shimmery orange for the flashy bits of the herons and a glittery gold cardstock for the legs and beaks to pull in the gold from the origami paper.
I pulled one of my favorite Vintage Everyday Greetings sentiment stamps out and embossed it in Ranger Princess Gold on vellum. I accidentally overheated it just enough to create a sandy texture. A good oops!
Feel free to visit my blog, Frankie Helps Craft, to see the full list of supplies used as well as check out my other projects.
I hope you enjoyed today’s card and have a great rest of your week!
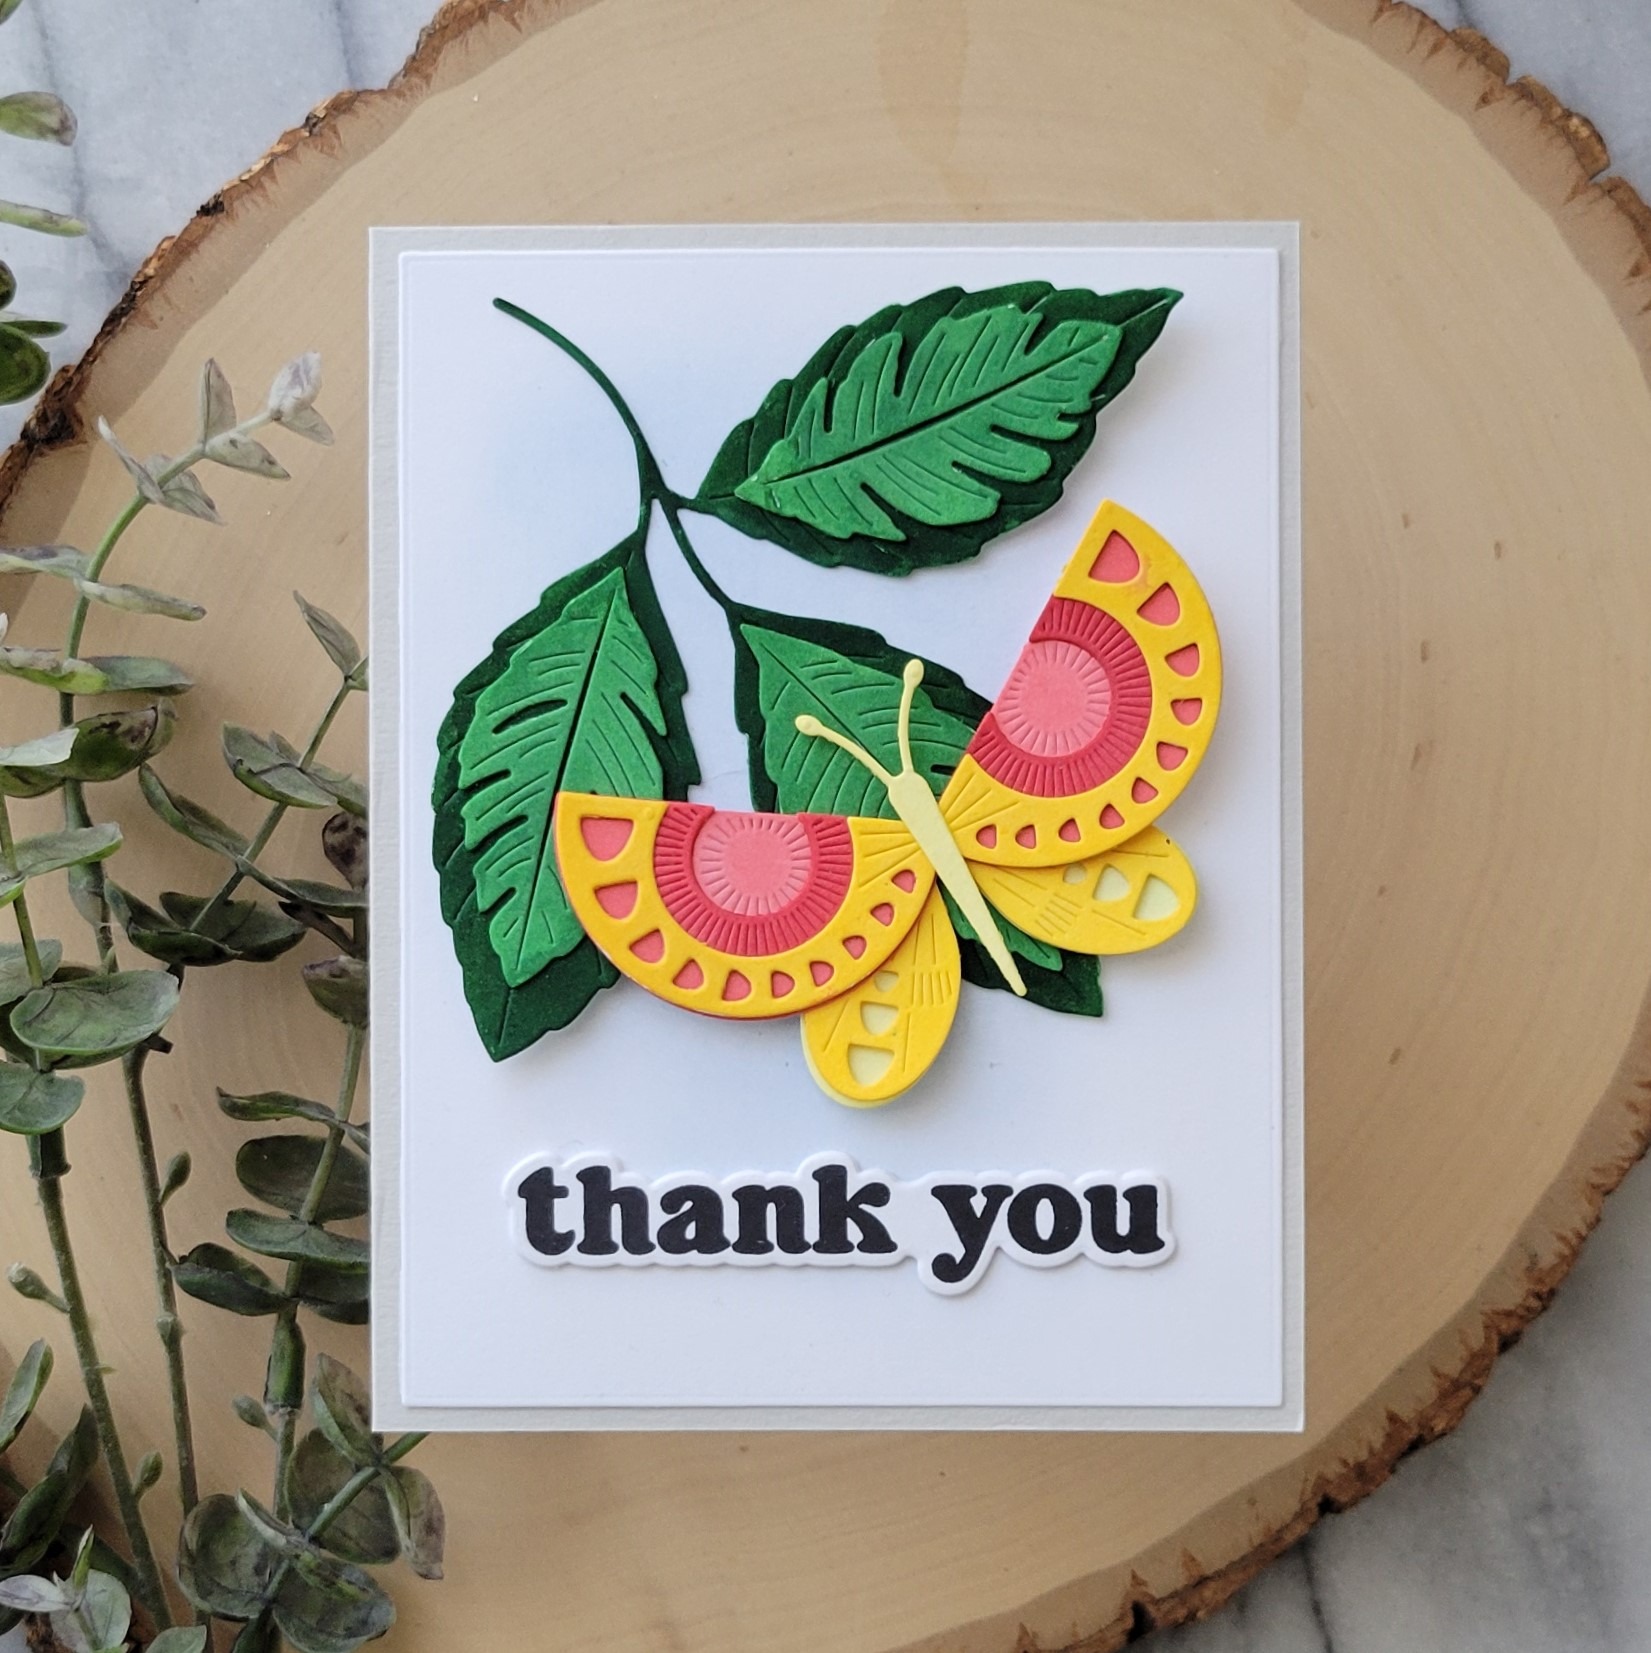
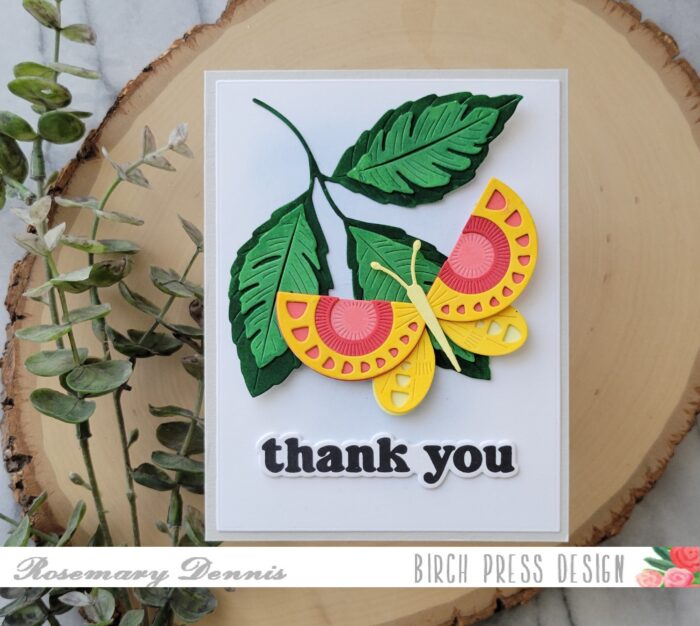
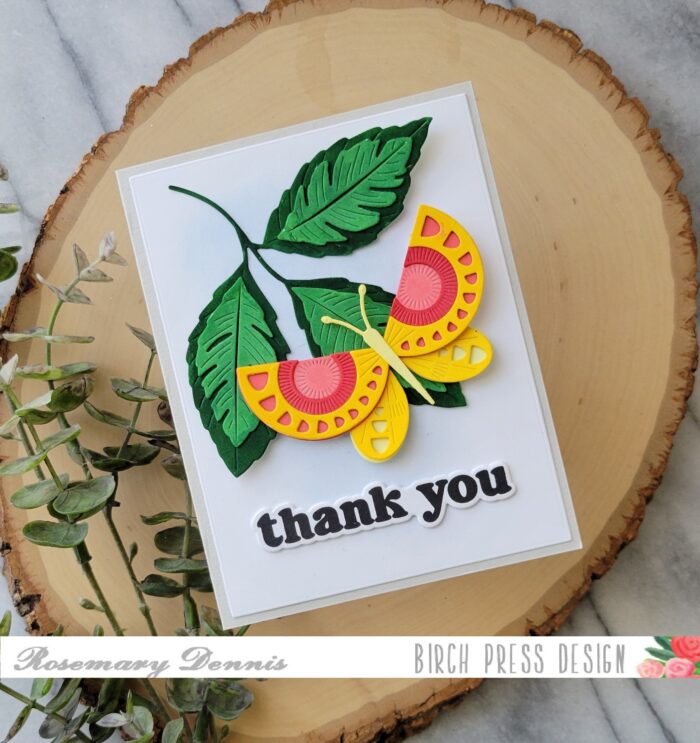
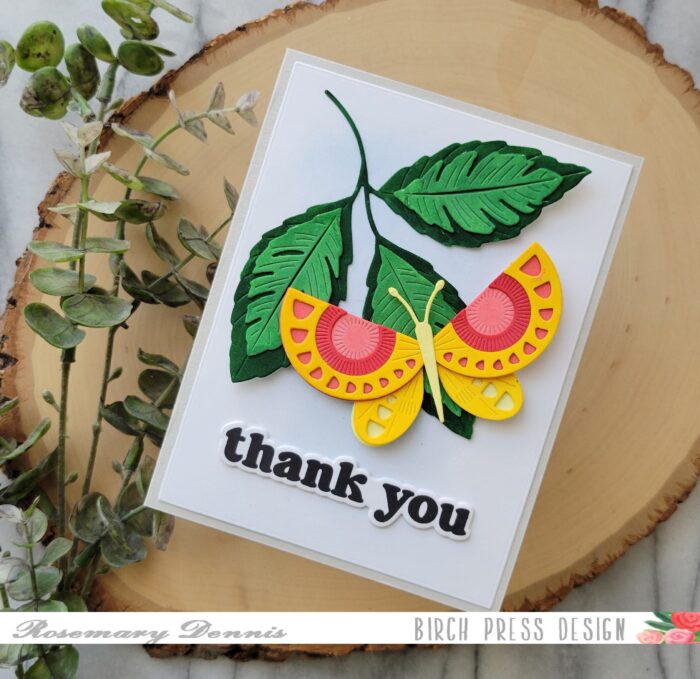
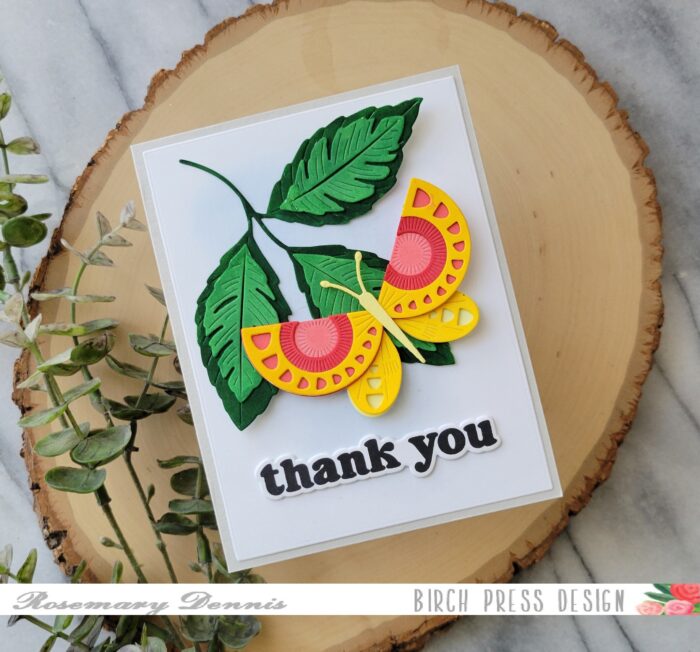
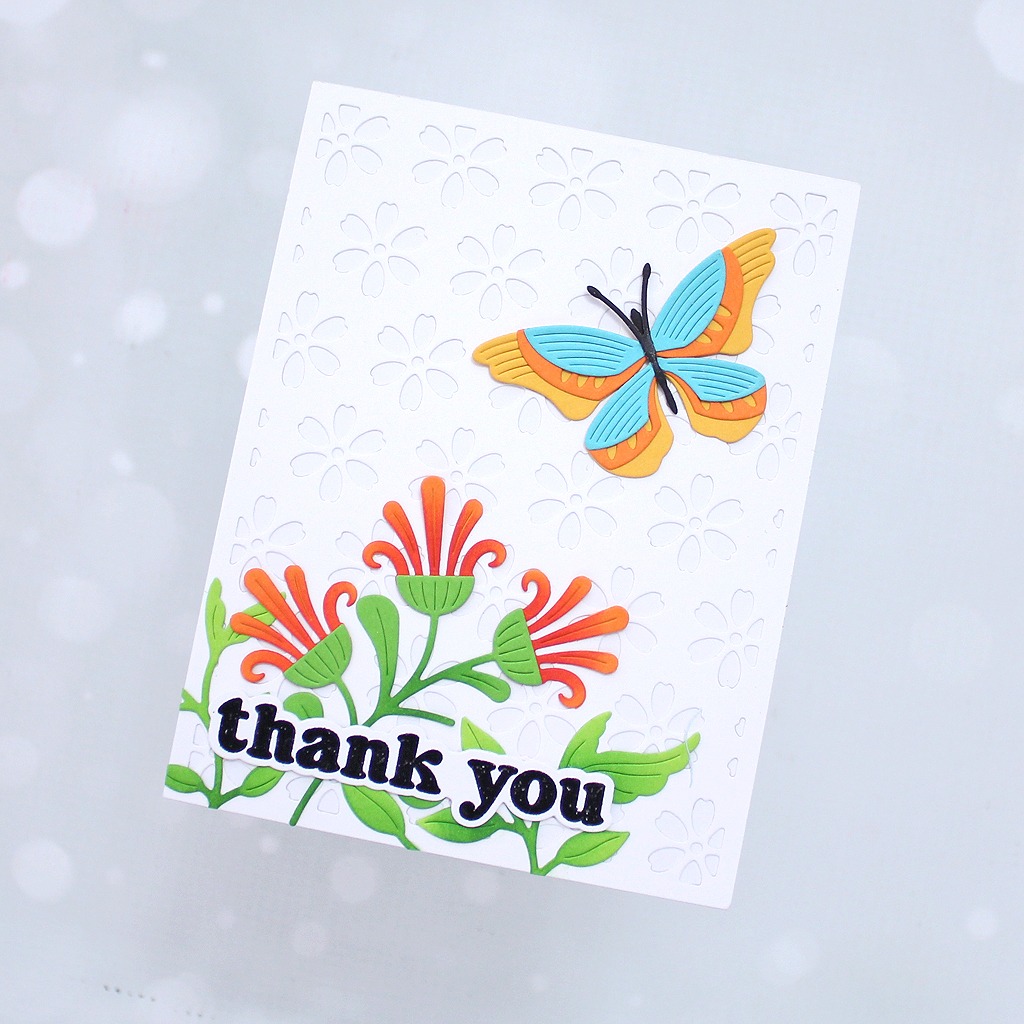
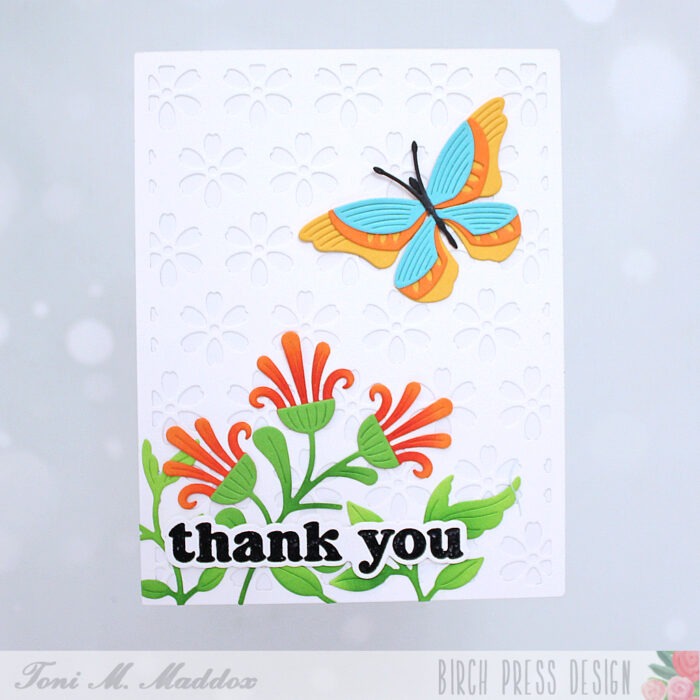
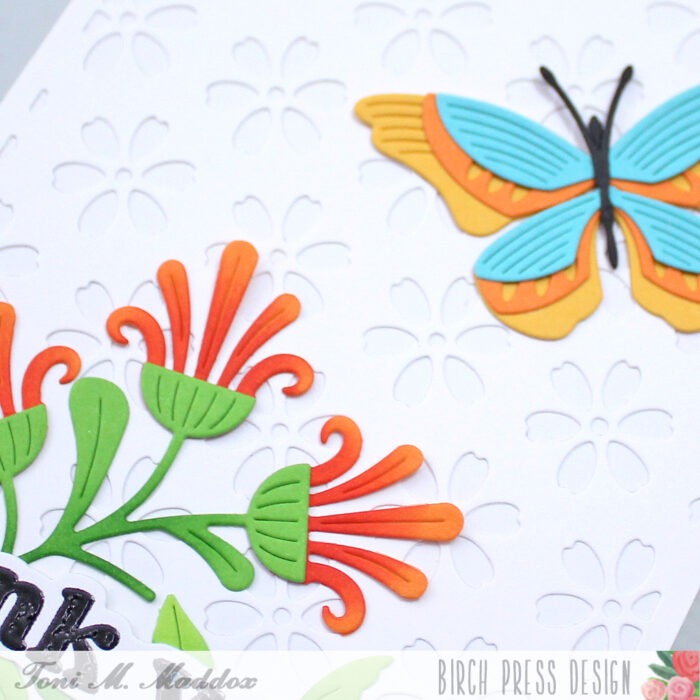
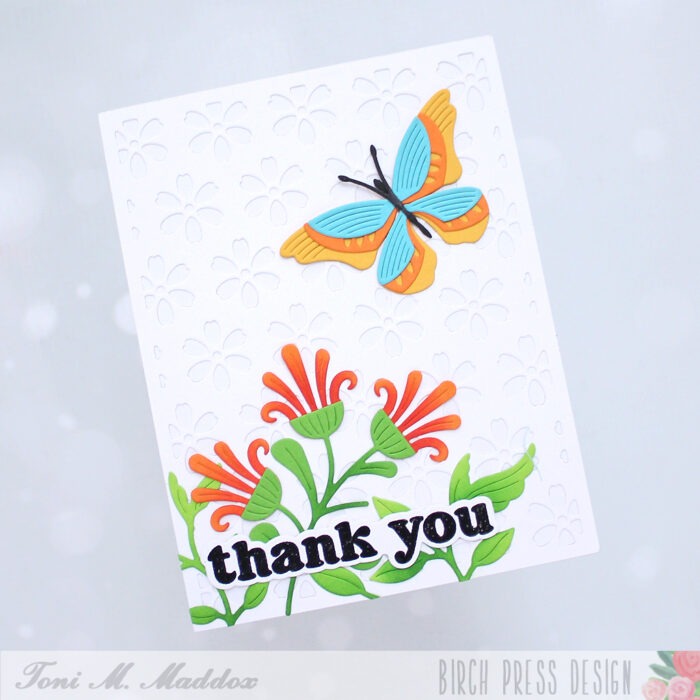
Hello everyone! Rosemary here and today I am here to say that I LOVE the Block Print butterflies! They are sooo cool. Today’s card features the amazing Block Print Radiant Butterfly. Let’s have a look.
Many times when I start making my card I don’t think about taking photos of my process. That is the case with this card. I’m always trying to come up with new ideas or mediums that I can use when creating my cards. With this card I decided to die cut the pieces of my butterfly from watercolor cardstock and then color them with watercolor pens.
I thought that this bold butterfy needed to be paired up with something equally as bold and so I went with the Wiegela Leaf Contour Layers die. That was also die cut from watercolor cardstock and the pieces colored with watercolor pens.
For the butterfly I went with a bright yellow and red combo. The watercolor pens I have are limited in colors so I achieved the variants by mixing colors. Wished I had taken photos, but I was so caught up in the process that I forgot. Once all the pieces were dry I assembled them using liquid adhesive.
With the bold butterfly and leaf cluster I thought a simple white background with just a touch a light blue inking was the best. After inking up the background I adhered the panel to a light gray cardstock base. I arranged my leaf cluster and butterfly, adhering both with liquid adhesive. The sentiment is from the Vintage Everyday Greetings stamp and die set. I stamped it in black and die cut it with the matching die. I did die cut several additional layers that I adhered to the sentiment to give it some depth. The sentiment was also adhered with liquid adhesive.
I just love the graphic look of the butterfly mixed with the more natural look of the leaf cluster. I hope you enjoyed today’s project. Thanks for stopping by and have a lovely day!
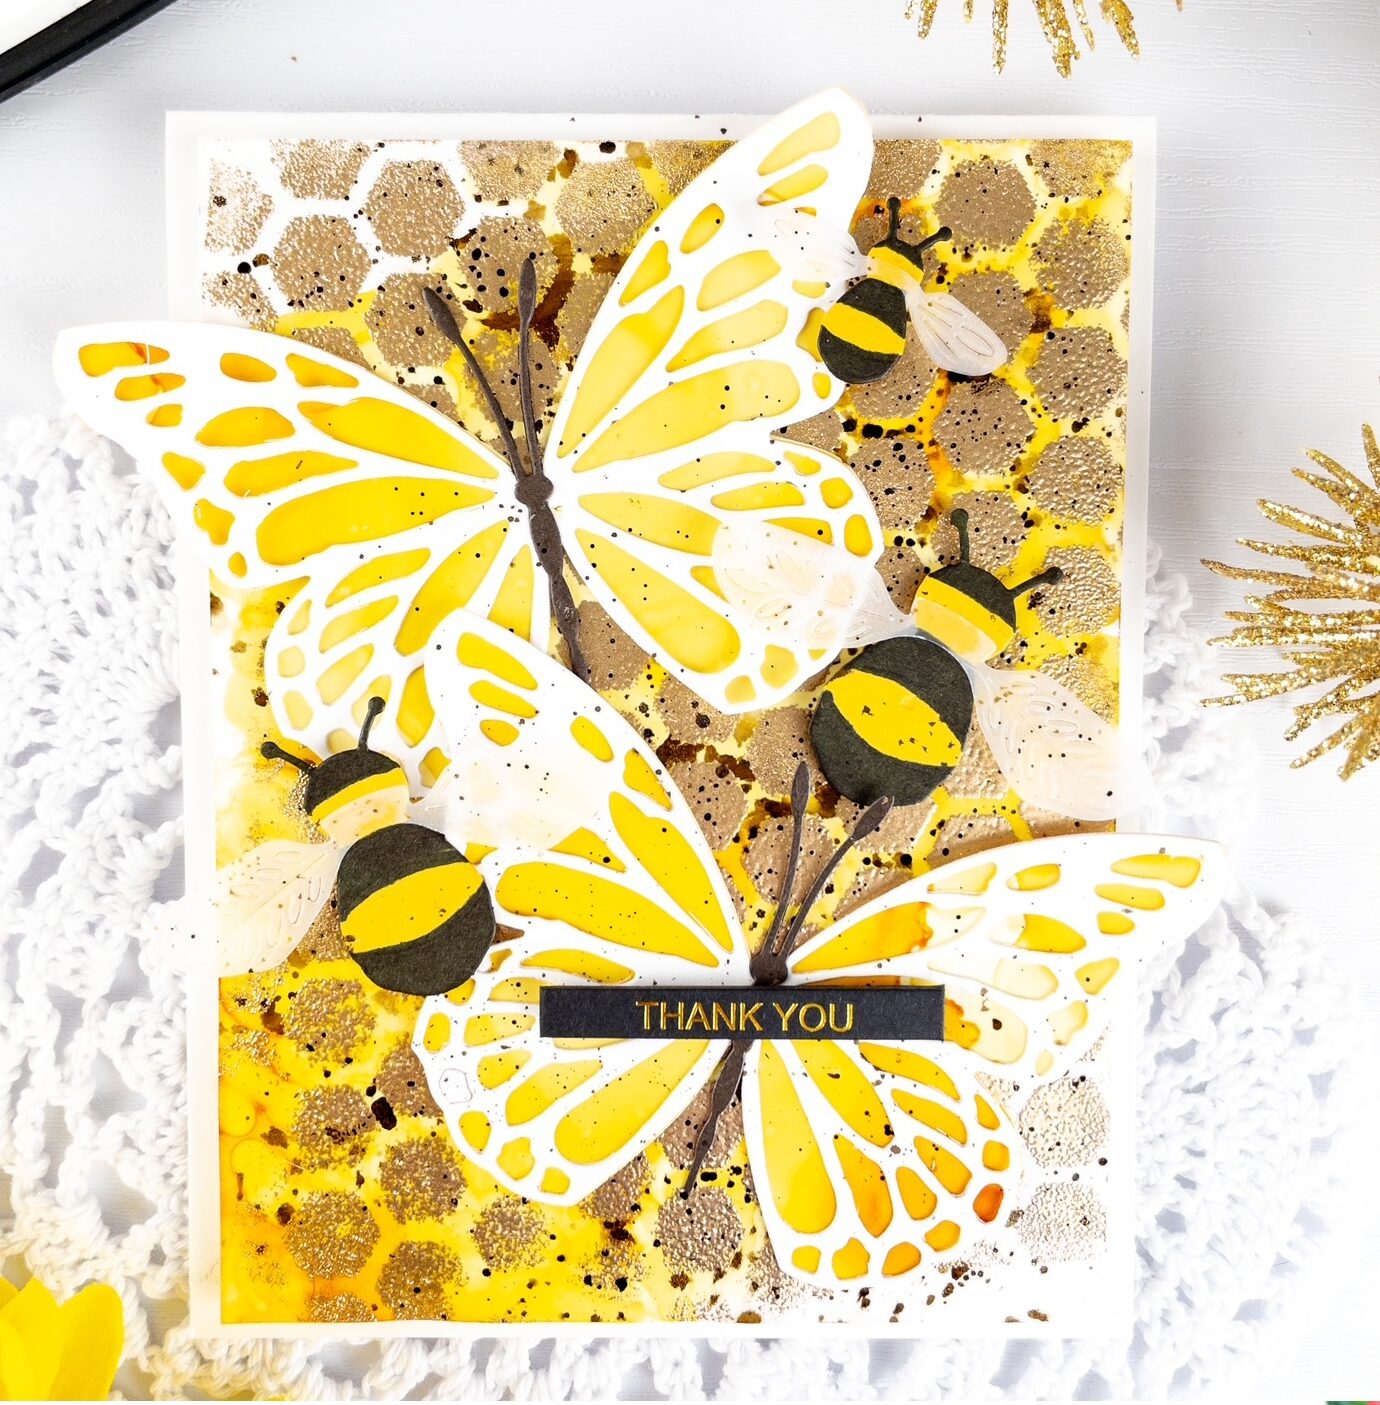
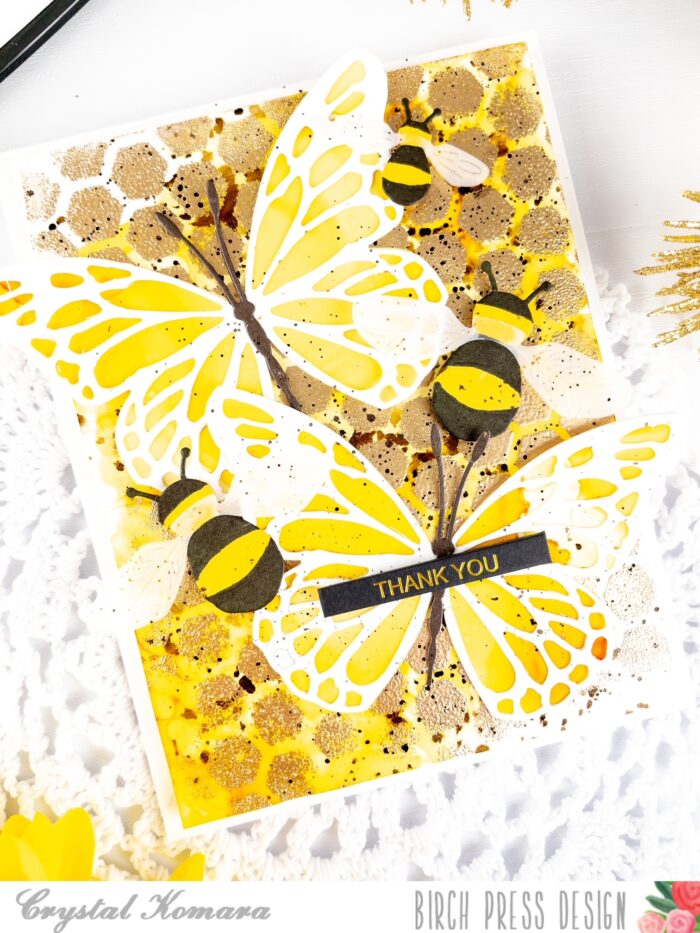
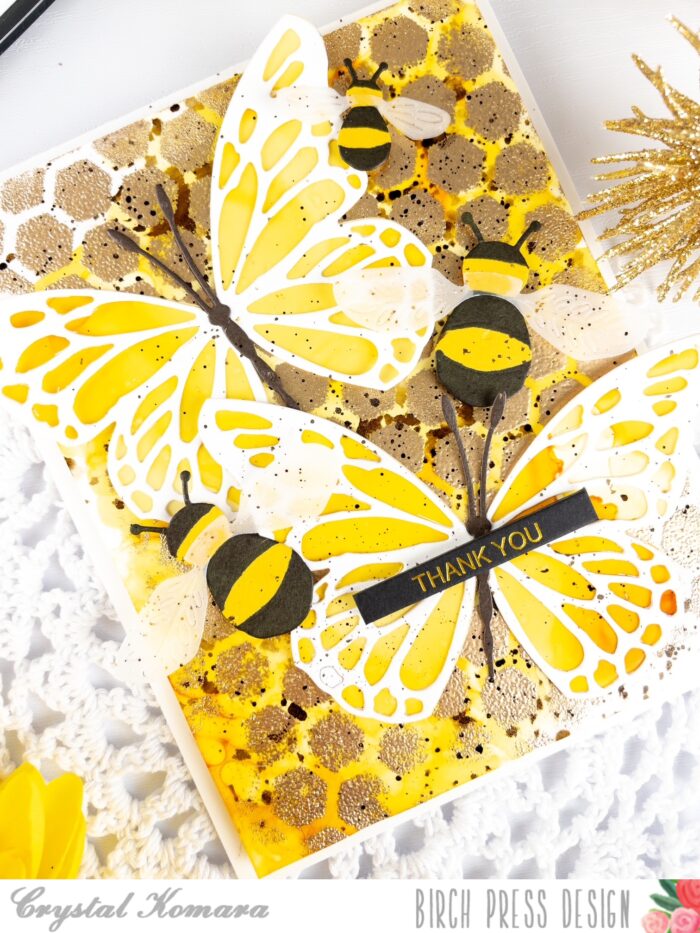
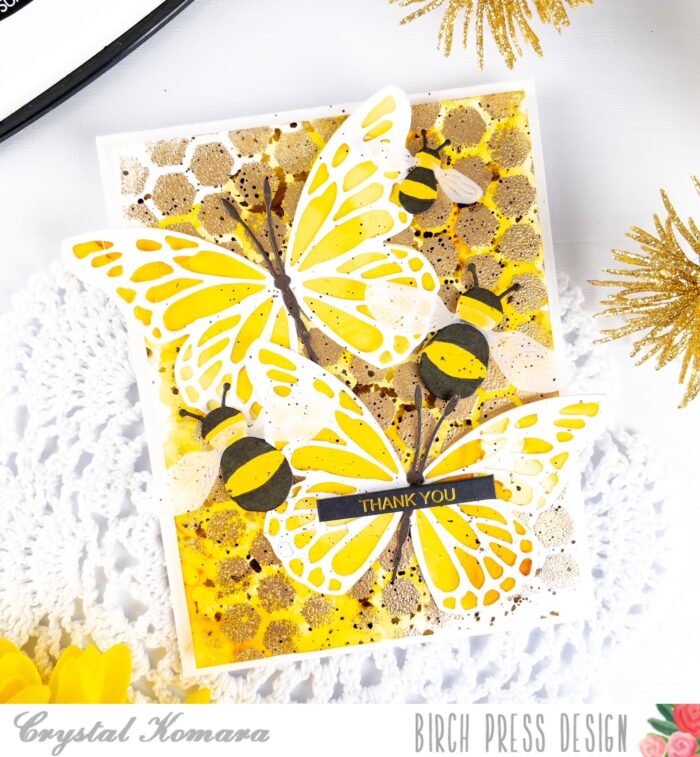
Hello friends and happy Tuesday! This is Design Team member Crystal Komara here with you today sharing a vibrant card made with some of the latest products from Birch Press Design – the Honeycomb Plate, the Block Print Buzzing Bumblebee and the previously released Butterfly Basics.
The base of this A2 sized card is made from 110 lb. Neenah Solar White smooth cardstock. I created an alcohol ink background using Butterscotch Ranger Adirondack alcohol ink on Yupo paper. Once that alcohol ink dried, I used the new Honeycomb Stencil and sponged Versamark ink over the alcohol ink. I then applied gold embossing powder and heated that with a heat tool being careful not to burn the synthetic Yupo paper.
Using the Butterfly Basics, I die cut the first layer of the two butterflies from a piece of the alcohol ink background. I then die cut the second layer from white cardstock and adhered the two layers together with a fine tip liquid glue. Using the Block Print Buzzing Bumblebee, I die cut the bumblebee from yellow cardstock and then used a fine tip sharpie to “color” the black body. I die cut the wings from vellum cardstock.
I adhered everything to the card and then splattered the entire image with an espresso (dark brown) ink.
The “thank you” sentiment is a foil greeting from sister company Memory Box. You can find those sentiment strips here.
I hope you have enjoyed this vibrant butterflies and bees card. Thanks for visiting and have a wonderfully creative day.
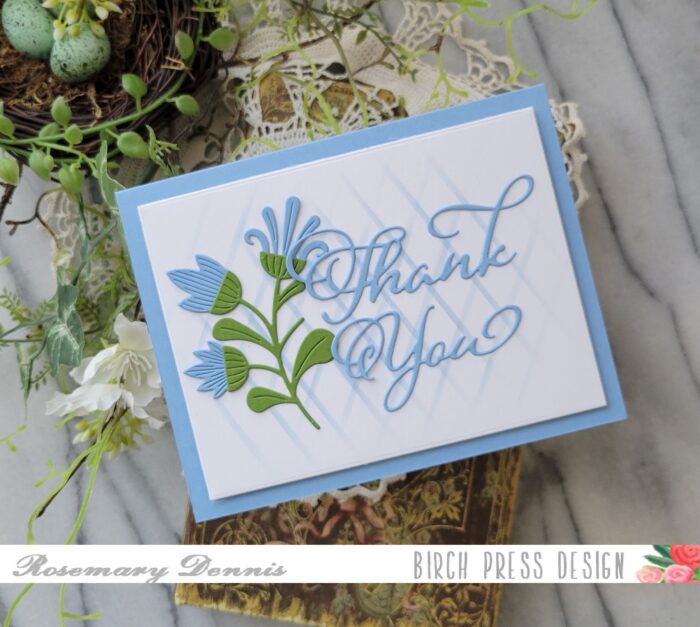
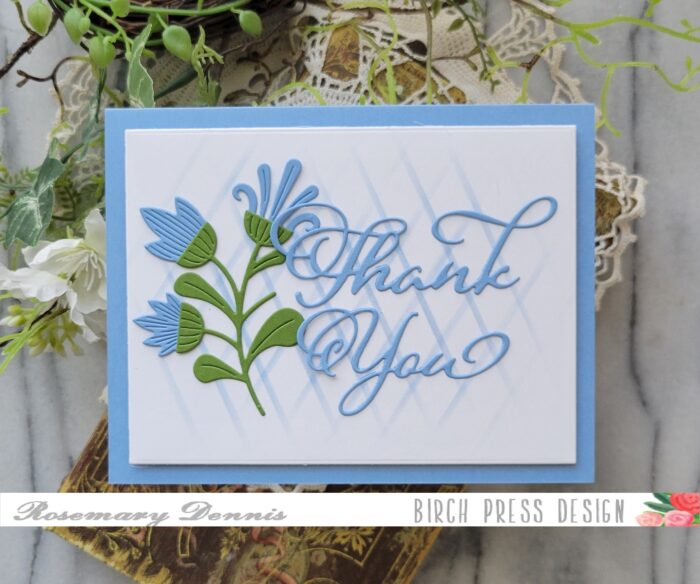
Hello and happy May! Rosemary here on the blog today with a fun and some what elegant thank you card. Let’s have a look at what I made.
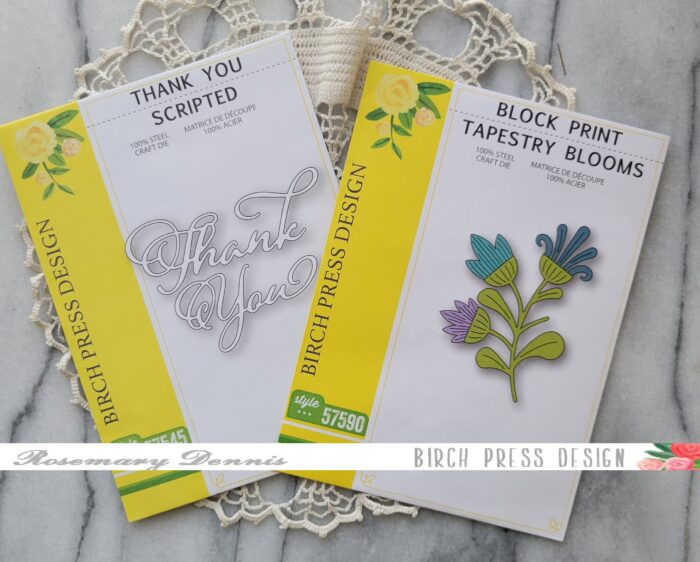
For this card I used the super pretty Block Print Tapestry Blooms die and the elegant Thank You Scripted die set. I went with a light blue and green color combo for this card.
To keep things simple I die cut all the flowers from a light blue Memory Box cardstock and the stem from the dark green. Then I assembled my flower stem. The sentiment was also die cut from the same light blue.
Time to figure out my layout and it was at this point I decided to pull out the Linear Lines stencil and create a simple partial diamond pattern on my white cardstock base. I used a light blue ink that coordinated with the blue cardstock I used for the flowers and the sentiment.
Now it was time to put the card together. I used cardstock in the same blue for my card base and adhered the background panel with thin foam squares. I then adhered the flower stem with liquid adhesive. Finally I added the sentiment. I purposefully only added glue to the main part of the sentiment to allow for some appearance of movement in the swirls on the sentiment.
I really like the slightly monochromatic look of the card and the simplicity. I hope you enjoyed today’s project. Thanks for stopping by and have a wonderful day!
Hello, my friends! Toni here with a heavily layered floral thank you.
I especially enjoyed making today’s card because I used up some leftovers, including the sentiment and the background coverplate, in addition to working with fabulous new dies!
To start, I adhered the Flora Layer Plate to a white card base.
Next, I assembled the Block Print Brilliant Butterfly and Block Print Tapestry Blooms using Memory Box Key Lime, Leaf Sprout, Orange Peel, Pool Party & Summer Squash cardstock with Catherine Pooler Inks.
I decided the bottom of the card needed a bit of filler behind the embossed Vintage Everyday Greetings sentiment. So, I cut out Foliage Bunch from Memory Box Key Lime and sponged it before adhering it to the bottom of the card front.
I hope you enjoyed today’s card and have a great rest of your week!
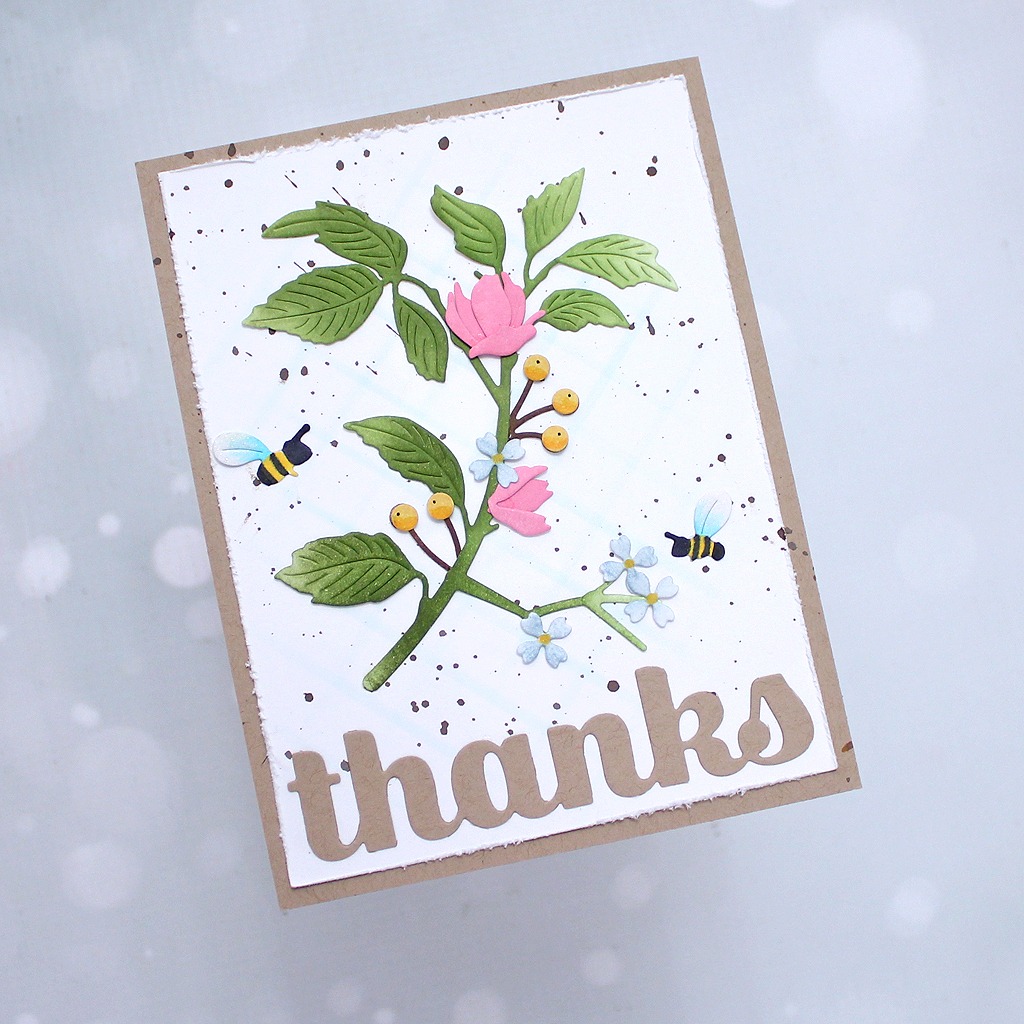
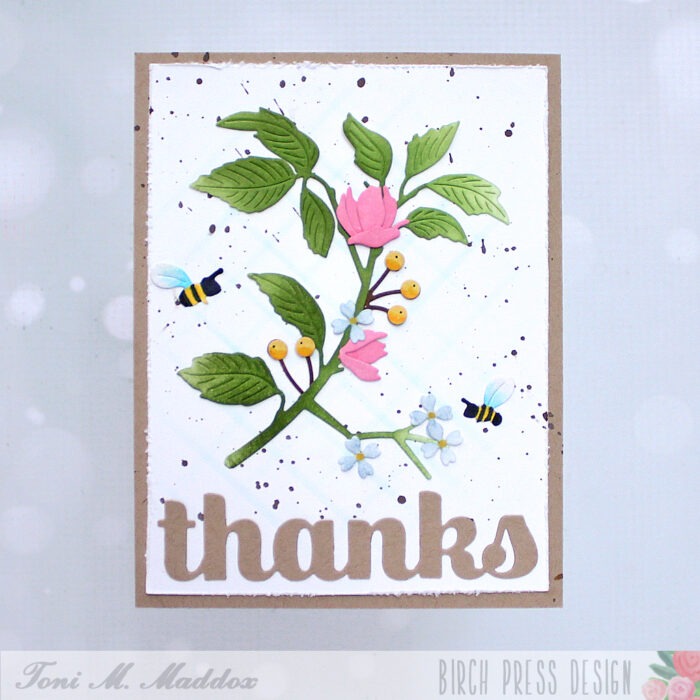
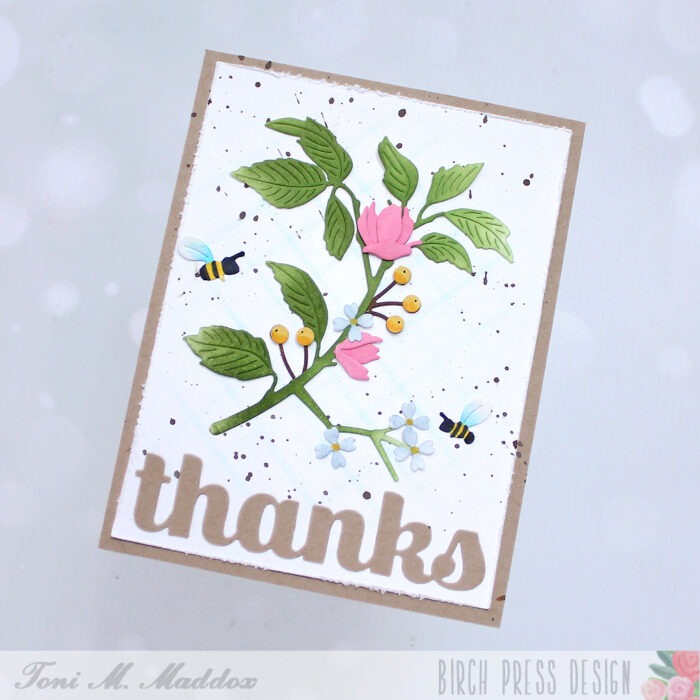
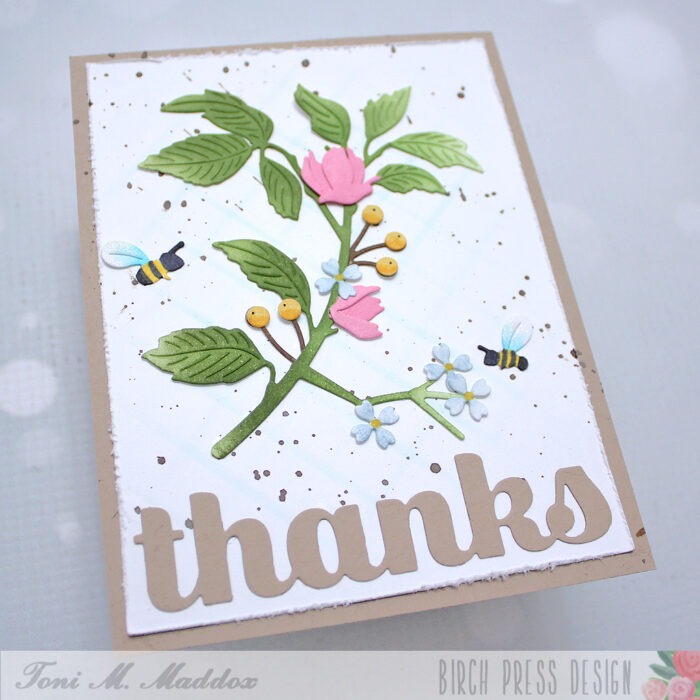
Hello, everyone! Toni with you sharing a pretty in pink floral thank you card.
I started my card by cutting out the Abundant Branch mostly in white with the exception of Memory Box Leaf Sprout for the leaves and Summer Squash for the berries.
I sponged Catherine Pooler inks on the elements to create a really soft watercolor look.
Next, I cut out the Flickering Fireflies, hand-trimmed them a bit, then colored them with Copics to transform them into bees.
I added a subtle check pattern on the background using the Linear Stripes stencil with Distress Oxide Salvaged Patina.
I distressed the edges of the card front and spattered it with Distress Oxide Vintage Photo before adhering the dies to it.
Finally, I attached the single layer Sugar Script Big Thanks sentiment cut from kraft, which blends in nicely with the mood of the card.
I hope you enjoyed today’s card and have a great rest of your week!
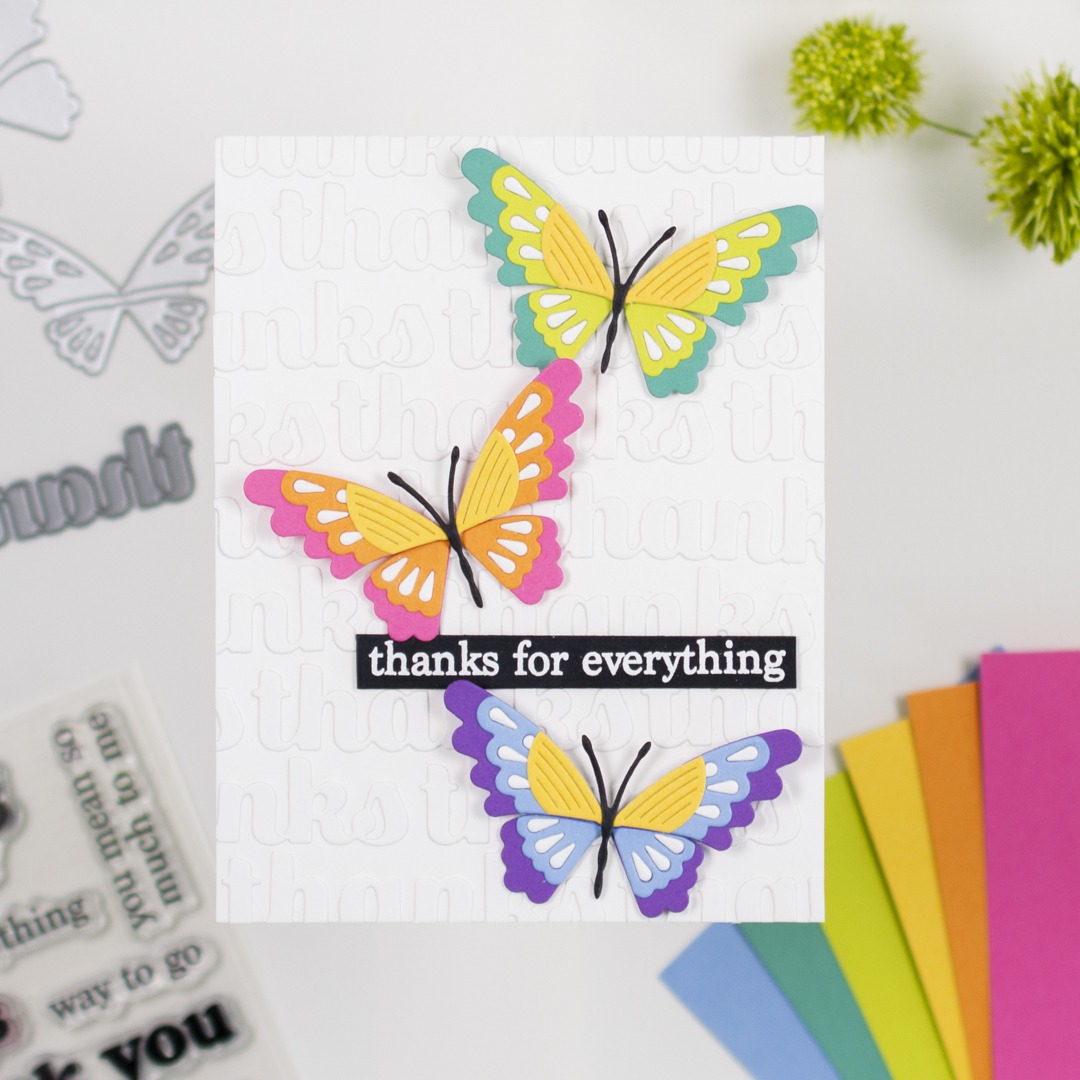
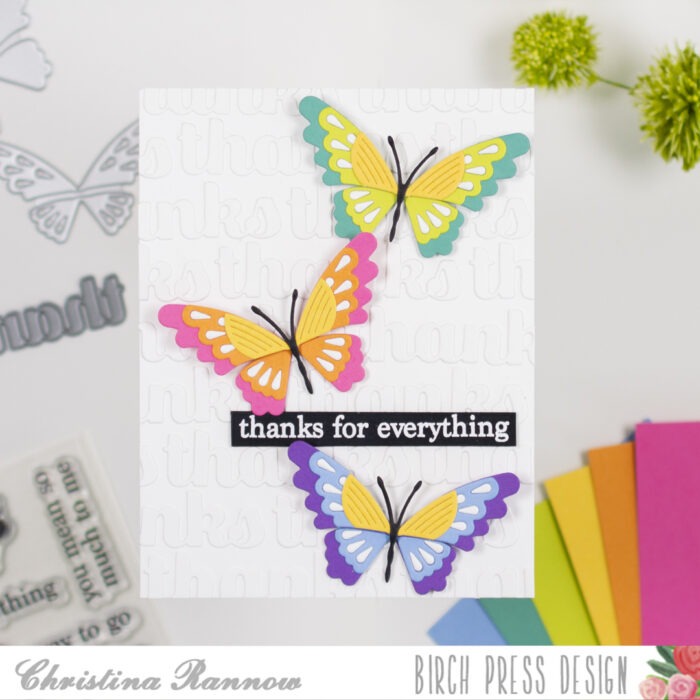
Hello! Christina here to share with you my latest project, a thank you card featuring a unique background that showcases a rainbow of the beautiful new Block Print Scalloped Butterflies. Follow along below with the steps I took to create my version of a clean and simple card design. Let’s get started!
My first step was to create the background panel. I started by die cutting the Thanks-Sugar Script multiple times from white cardstock and then attached them all across a white A2 cardstock panel with liquid adhesive. I chose to run them horizontally in evenly spaced rows (I didn’t use a ruler or anything – I just used the lines on my glass mat as a guide for placement) and shifted the die cuts for each row to stagger them across the panel. But you could easily place these vertically for a slightly different design. I trimmed any of the die cuts that overhung the edges of the panel and set it aside while I worked on the butterflies.
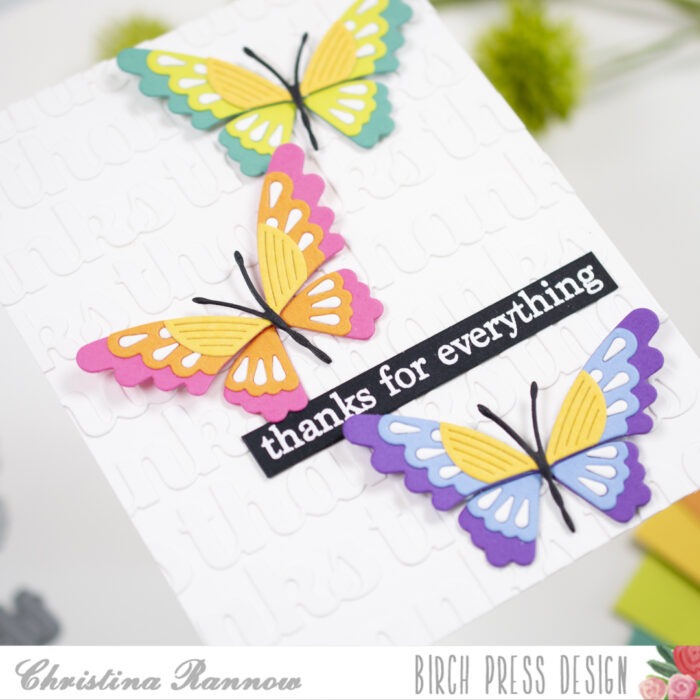
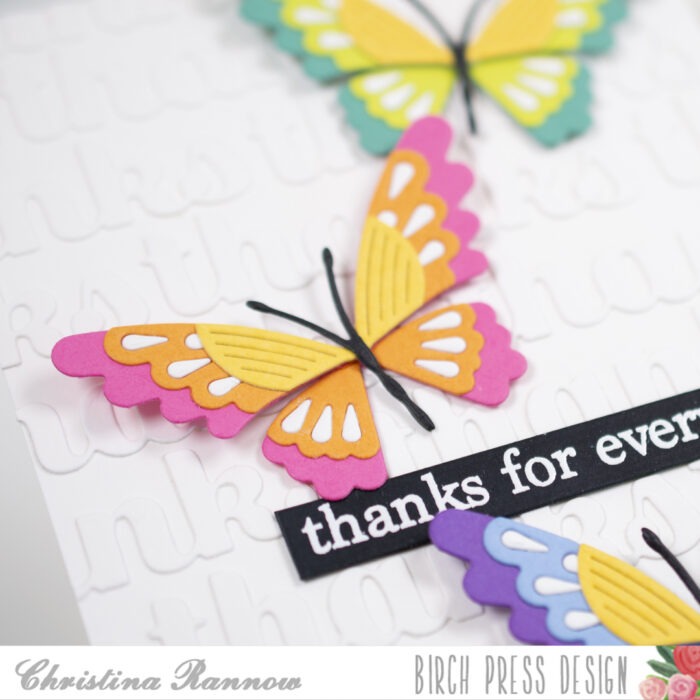
Using the Block Print Scalloped Butterfly dies and some of my favorite rainbow cardstock colors, I created three different butterflies for my card design. I love how simple the assembly of these butterfly die cuts is yet they create such an impact!
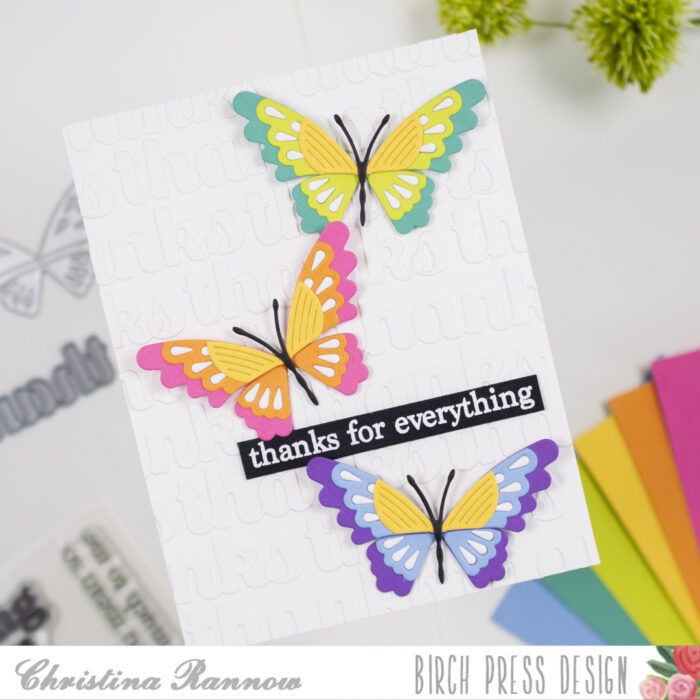
I attached the butterflies to the background panel using foam squares under the wings and liquid adhesive under the body. This gave the butterflies plenty of dimension and movement on the card front. My last step was to add a sentiment. I chose one from the Vintage Everyday Greetings stamp set and heat embossed it in white on black cardstock. Then I die cut this with a sentiment strip before attaching it to my card design.
And that’s it for my version of a clean and simple thank you card showcasing a rainbow of the Block Print Scalloped Butterflies. Thanks for reading and see you soon!