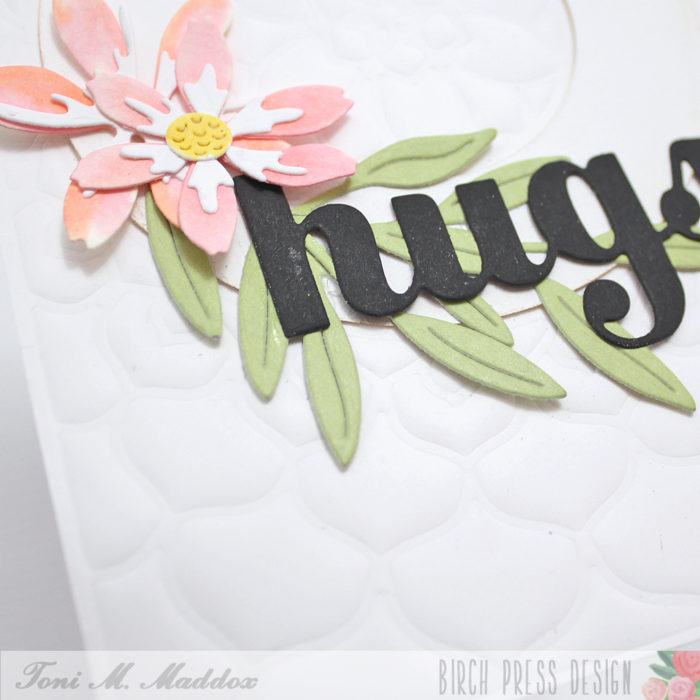
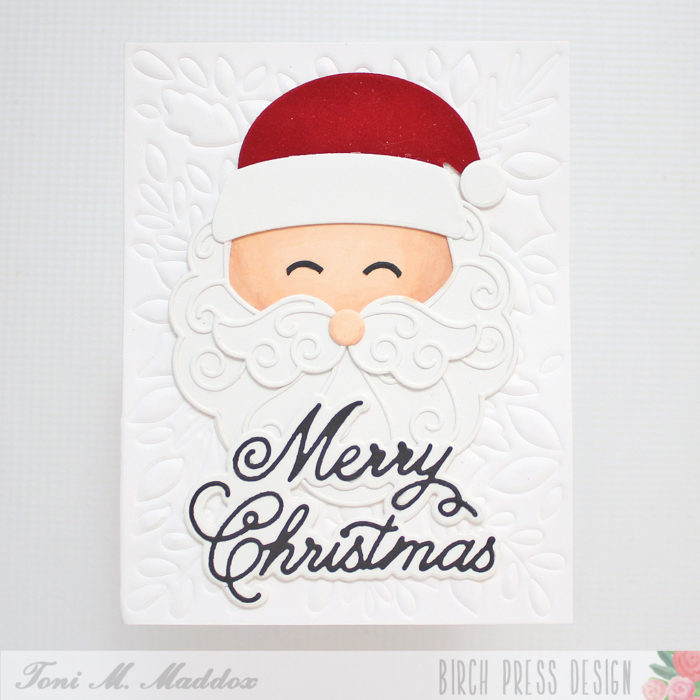
Hello, Birch Press fans! Toni here with you today sharing a simple holiday card using the BPD Adornment Santa. Isn’t he super cute?!
I colored him up with Copic E00 and E11 and used a flocked red cardstock for his hat. Yes, I have flocked cardstock that’s been in my stash for years as I used it primarily at Christmas-time.

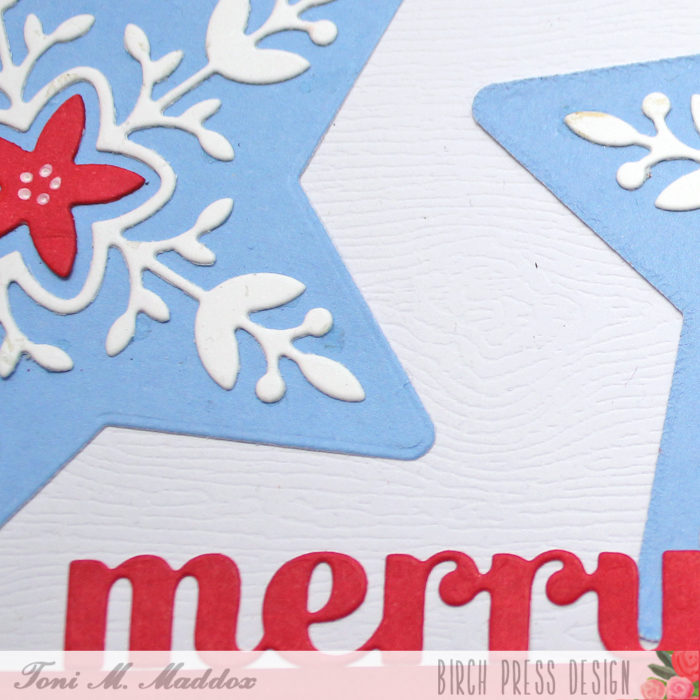
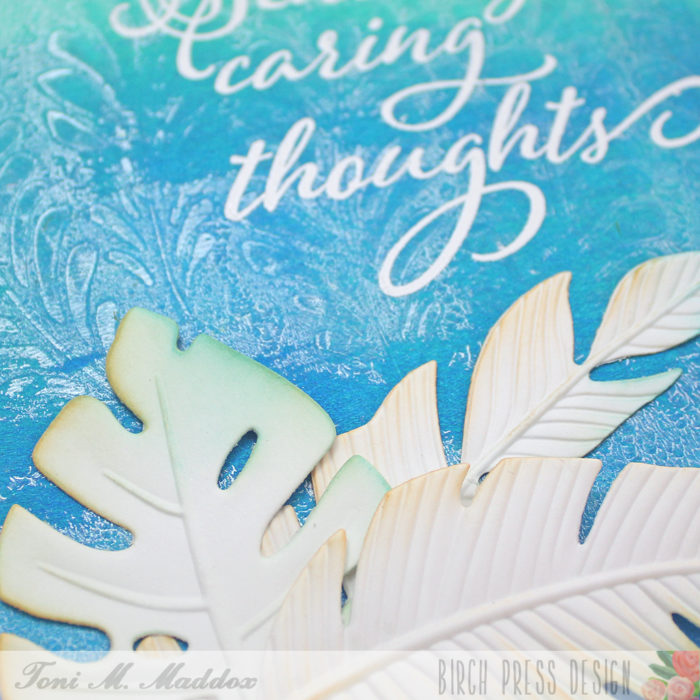
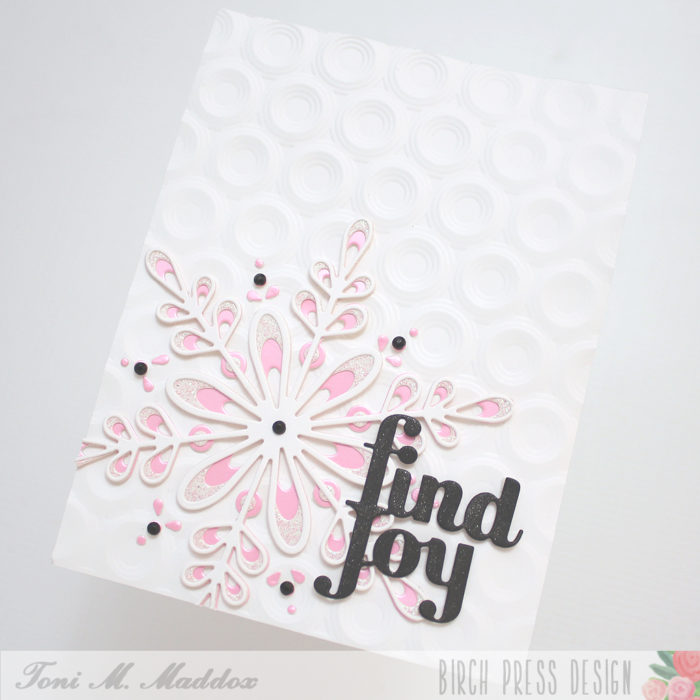
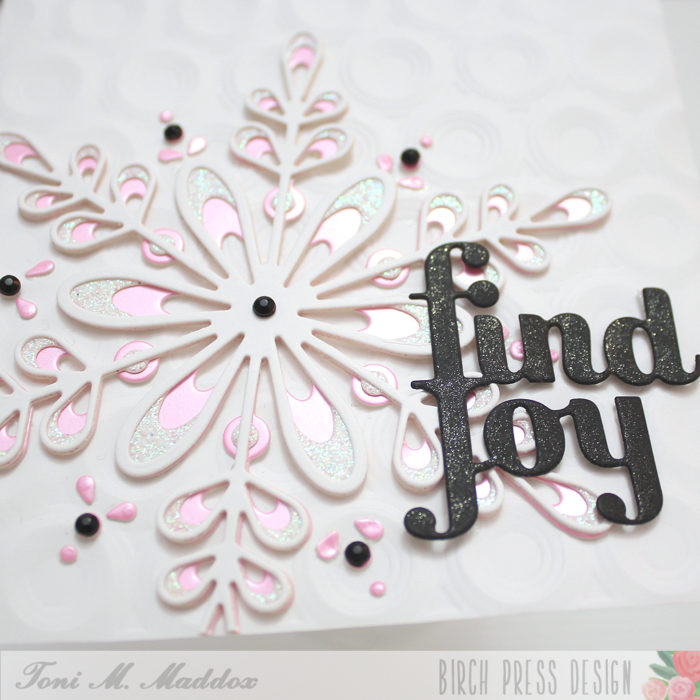
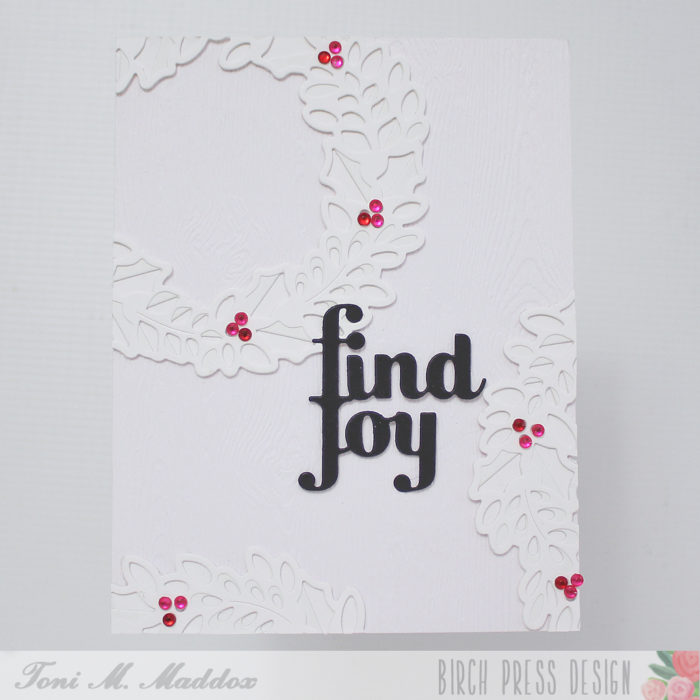
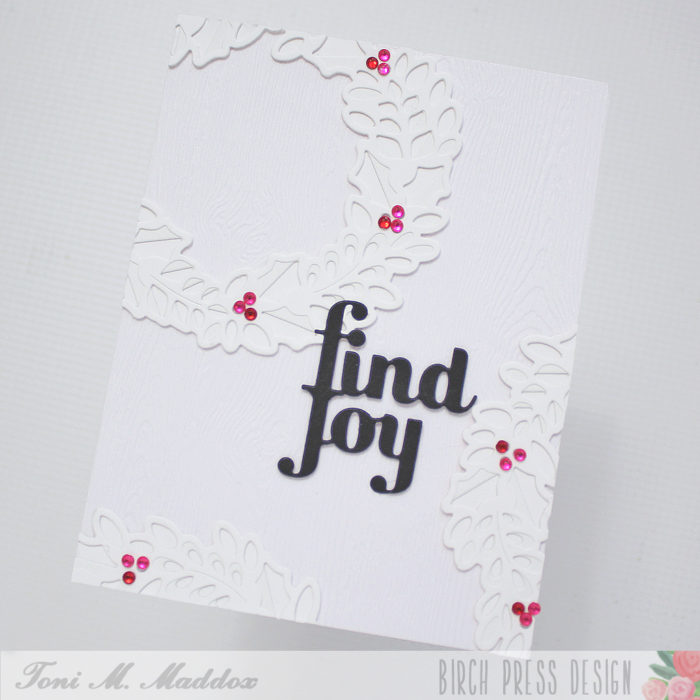
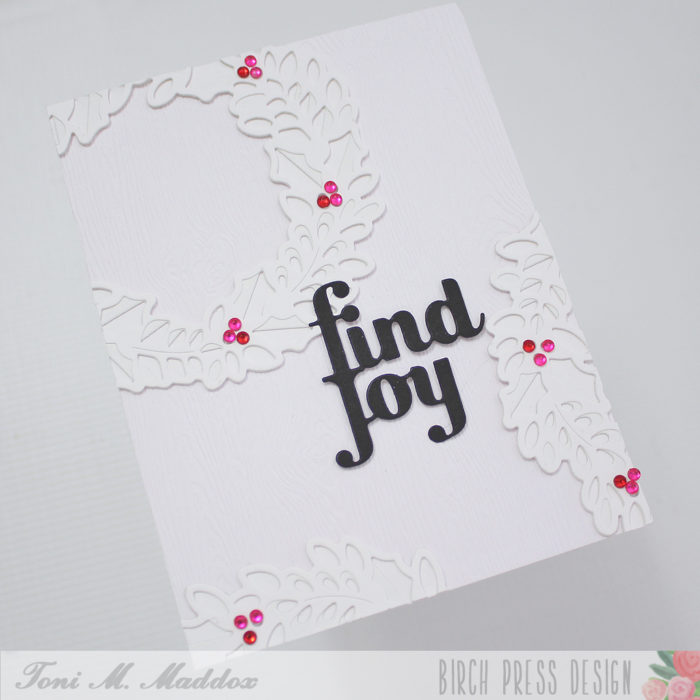
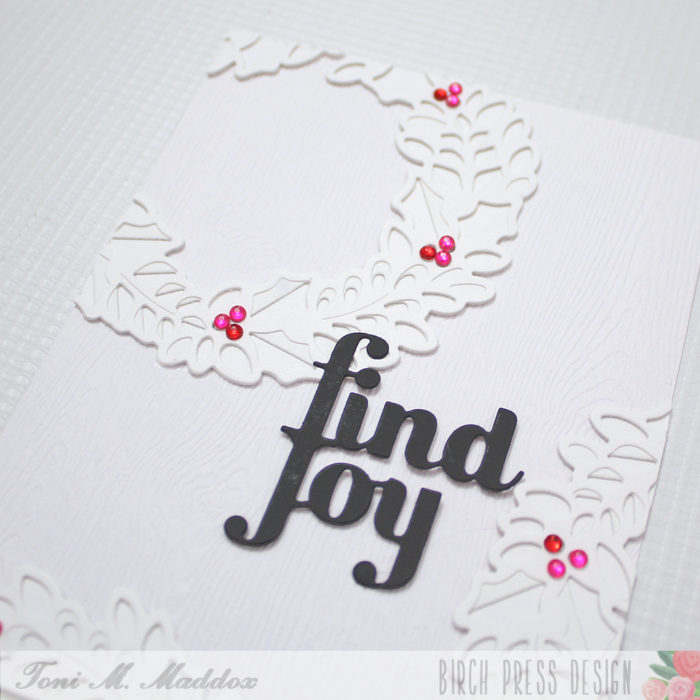
I used the BPD Herbarium Plate A as an impression plate on the card base. You know I love adding texture this way–subtle but adds a lot of interest.
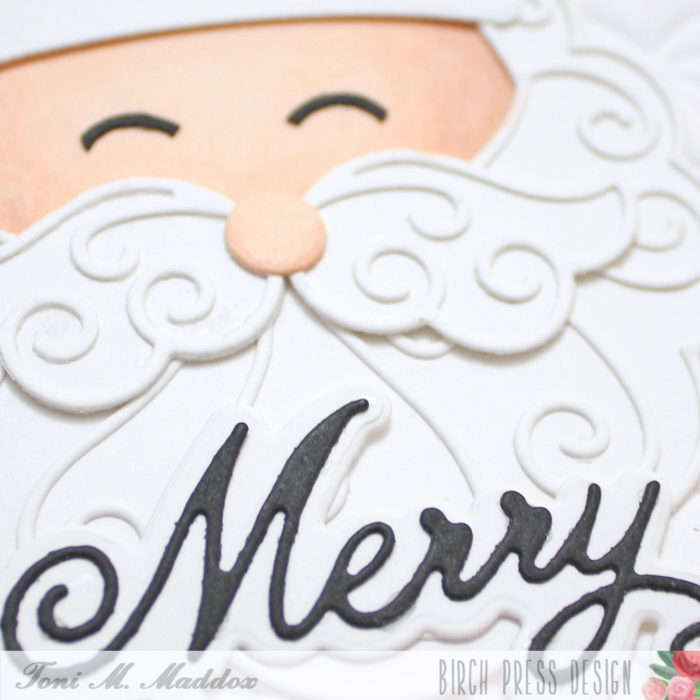
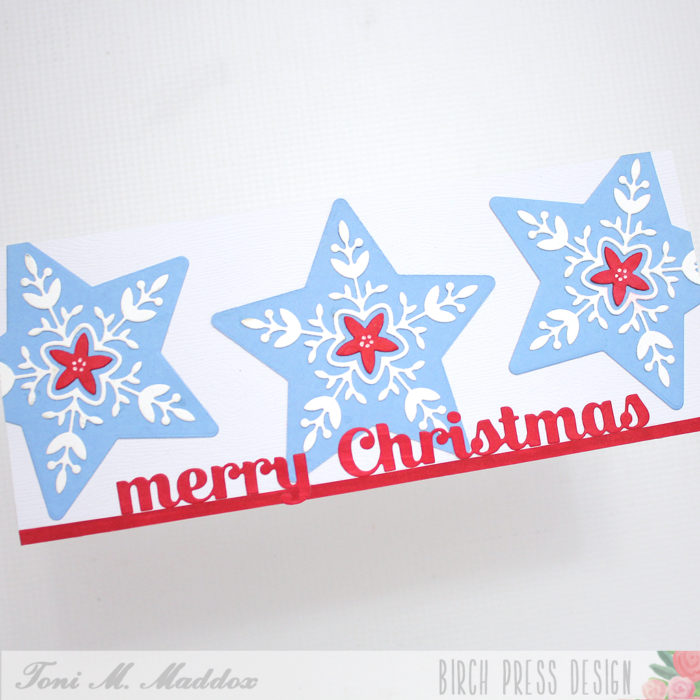
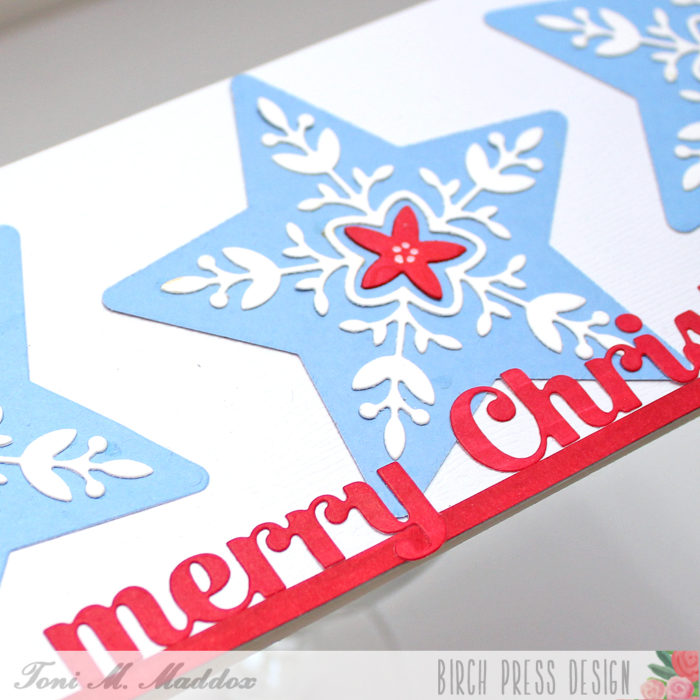
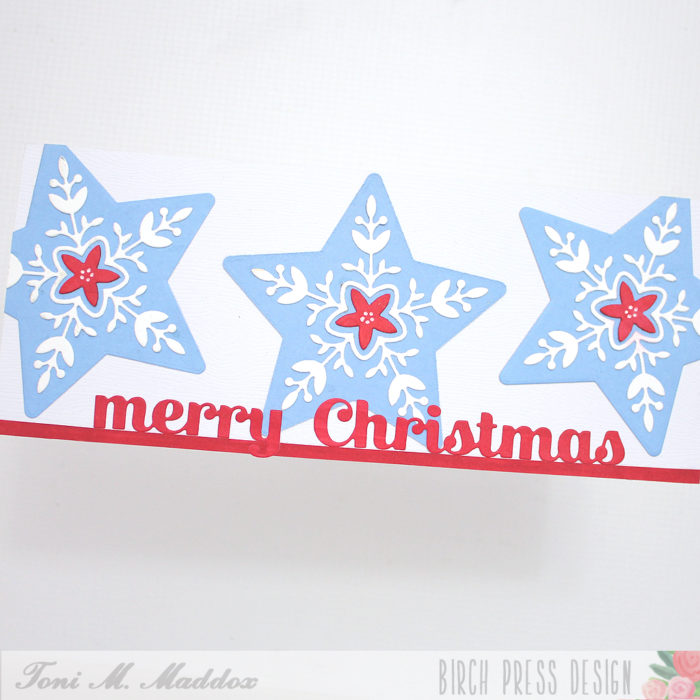
I finished the card using the BPD Handwritten Merry Christmas & Outline. I was very pleased with how easy it was to line up the outline die with the stamped sentiment.

I hope you enjoyed today’s card and have a great rest of your week!

Supplies