Category: Tracey McNeely

  • Missing You | by Tracey McNeely

    Missing You | by Tracey McNeely

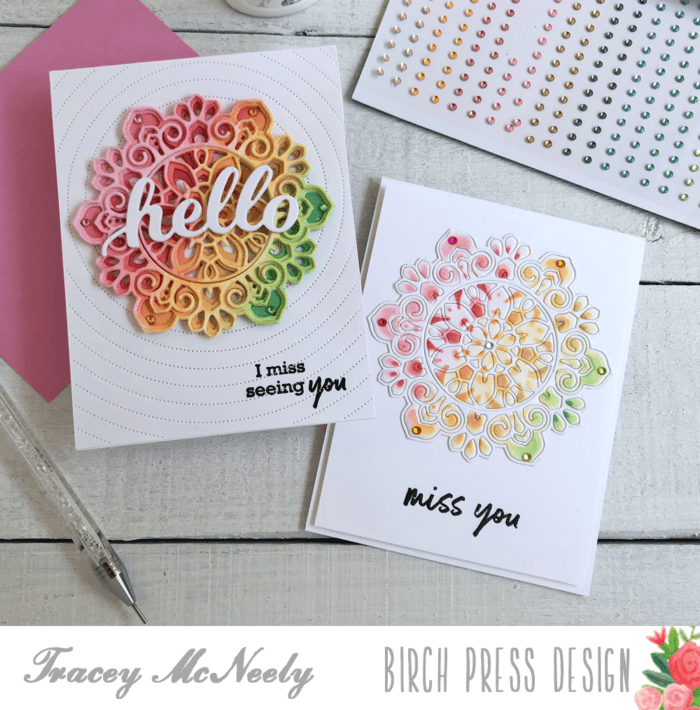
    Hi There, it’s Tracey back today with a couple of cards that are perfect to send out to someone that you have been missing throughout the pandemic!
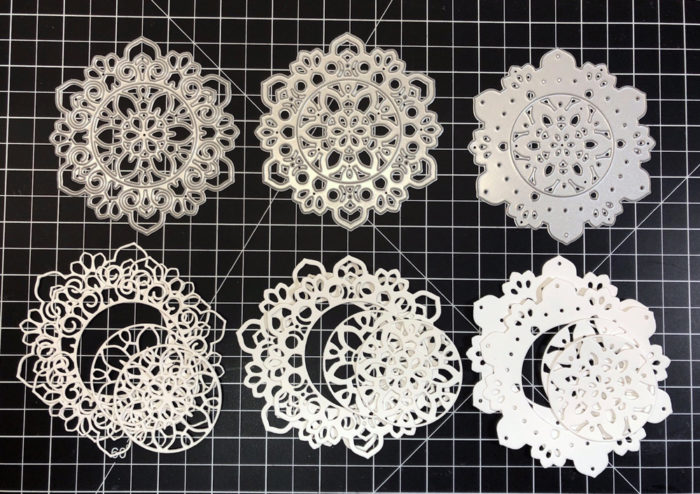
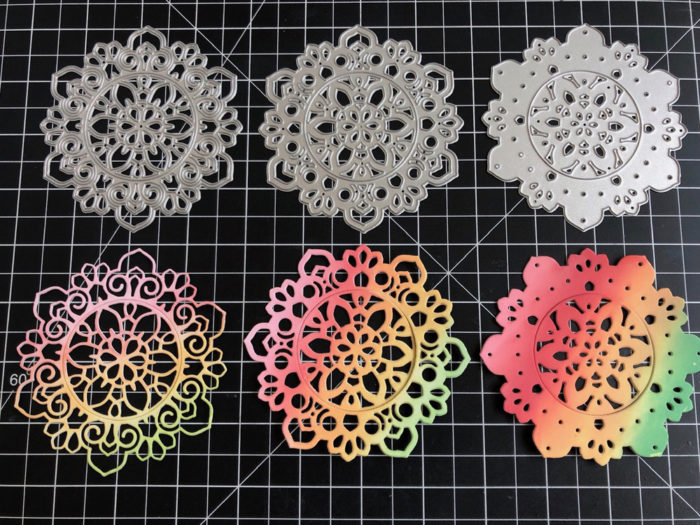
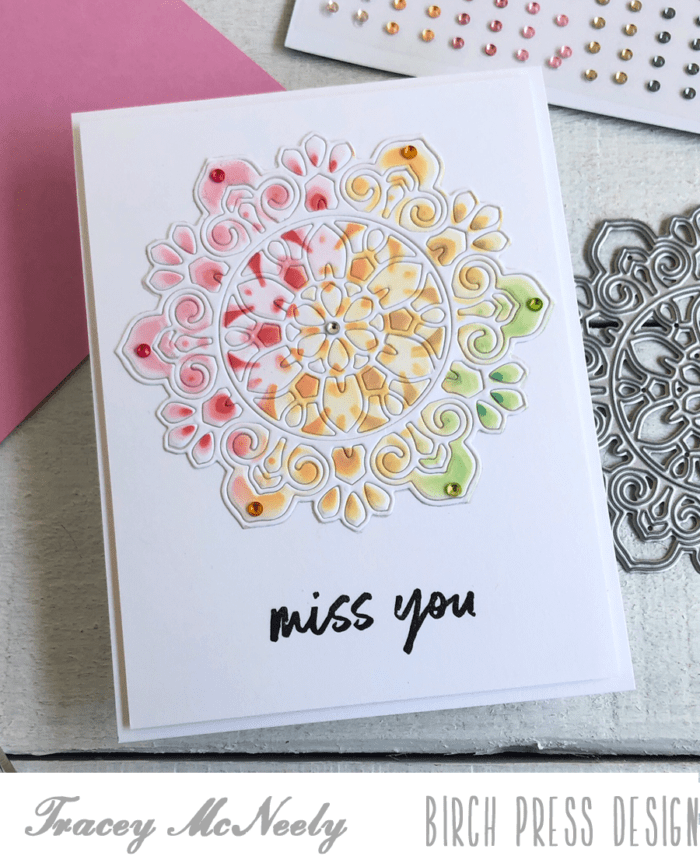
    I began by cutting two each of the Tranquility Layers die set using white heavyweight cardstock. I usually save this cardstock for my card bases. However when I want the main die cut image or sentiment to really stand out I do use the heavier weight cardstock.
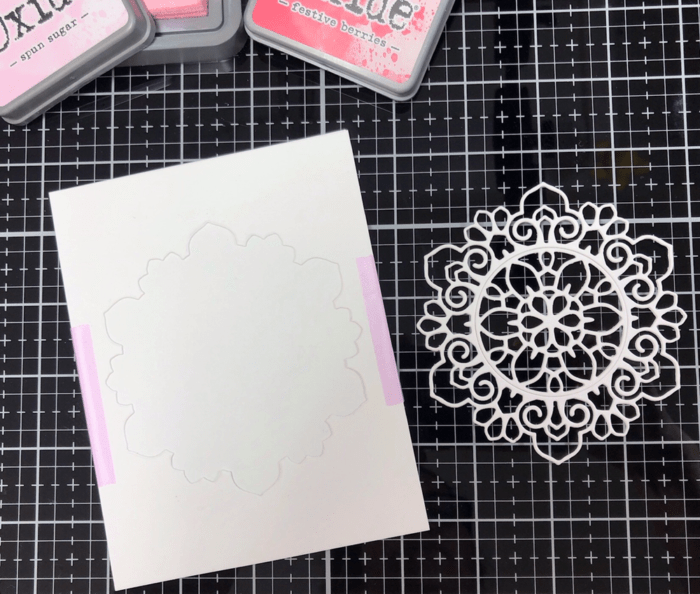
    I cut one die from the Tranquility Layers die set through a 5 1/2″ x 4 1/4″ panel of white cardstock. Then I taped the panel to another panel of the same size with low tack tape. This creates a well for the die cuts for blending colour on to them.
    I glued each layer together before I added colour to them, I usually do the gluing after but I am trying something different. Starting with Layer A, the one with the largest openings, I set the die cut into the well so that it doesn’t move around while I blend colour on to it. I kept the centre in place when blending my colours. You could do the centres in a completely different colour but for today I am treating it as a whole. I started with a very light hand blending a rainbow of pink, red, peach, yellow and green on a diagonal. I used Distress Oxide inks.
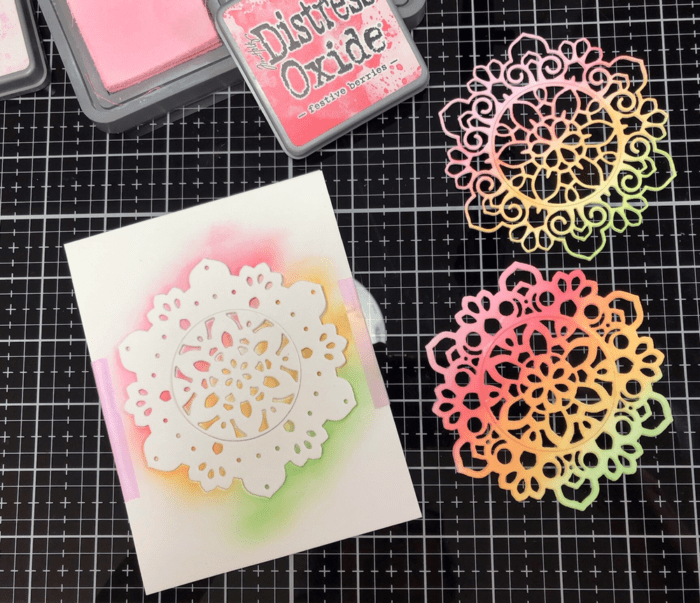
    Next I moved Layer B into the well and did the same colours this time putting more colour down but still not heavy handed.

    Finally I put Layer C into the well, this is the die cut that has the smallest size of holes. I used the same colours but I put these on with a heavy hand to really show the depth of the colours.
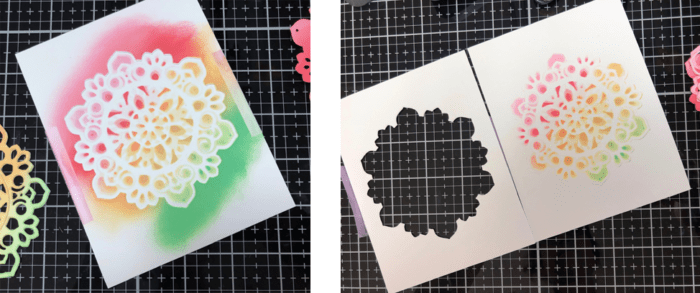
    This is what my stencil well looked like after blending. then after I removed the top panel! To pretty to toss away. Can you see that while I was blending over the layers that it created another image on the bottom panel under the well. We will get to that later on. I will set it aside for now.
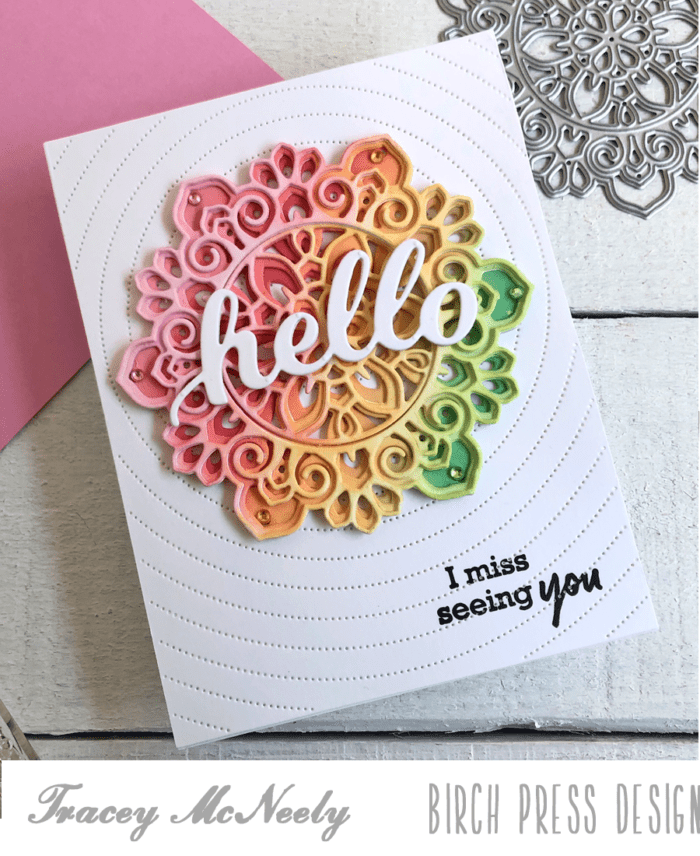
    To finish out this card I glued the three thick layers together and the results are gorgeous. The double thick die cuts add so much more dimension. Thanks Jennifer McGuire for the tip!
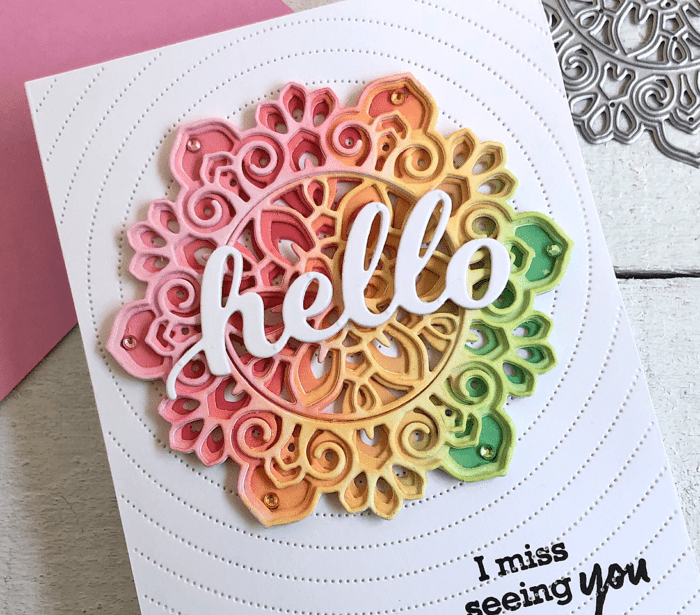
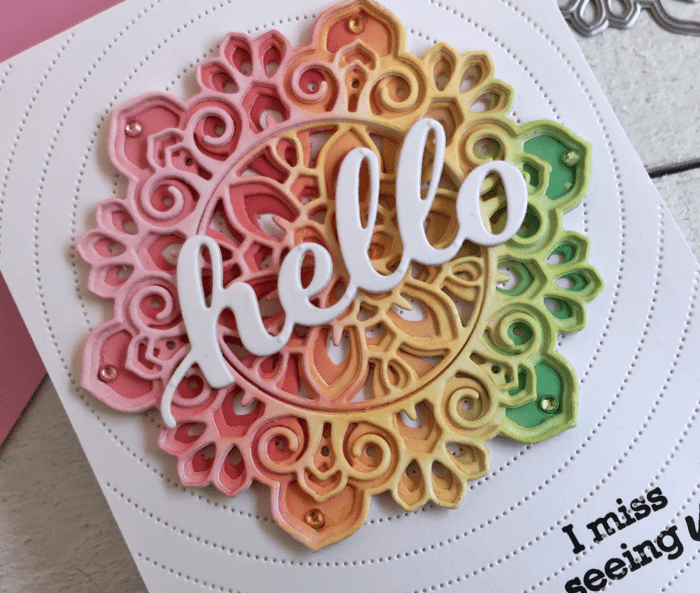
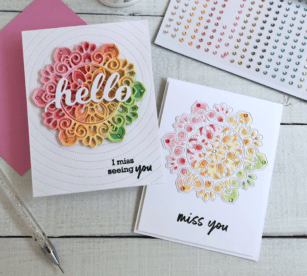
    I cut a 5 1/4″ x 4 1/4″ panel using Radial Pinpoint cover die as a background for my mandala. Next I cut the Hello Honey Script die three times with heavyweight while cardstock and glued it together. I did not use the shadow, only the word. This will sit in the centre of the mandala. Before gluing everything down I stamped the sentiment “I miss seeing you’ from the Brush Sentiments clear stamp set on the bottom right corner of the Radial Pinpoint cover die. I added a few Pastel Fairy Jewels to finish it off.
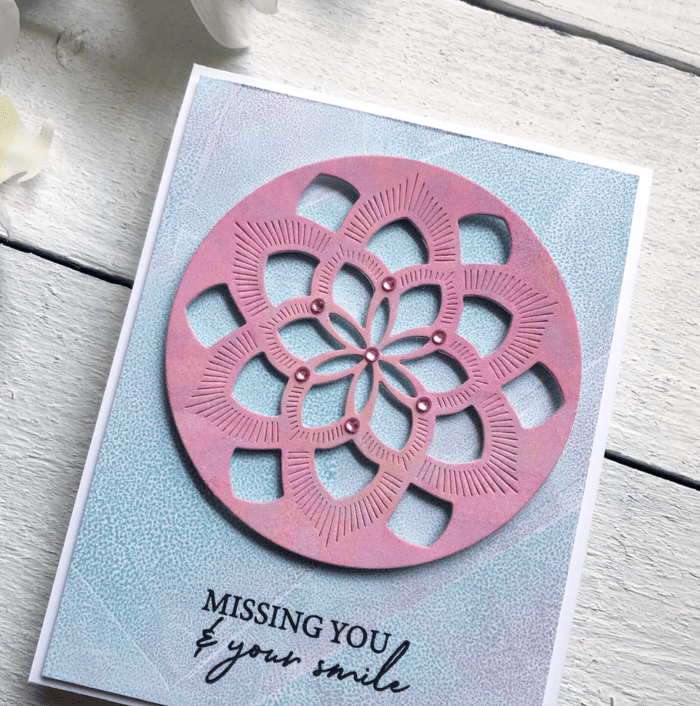
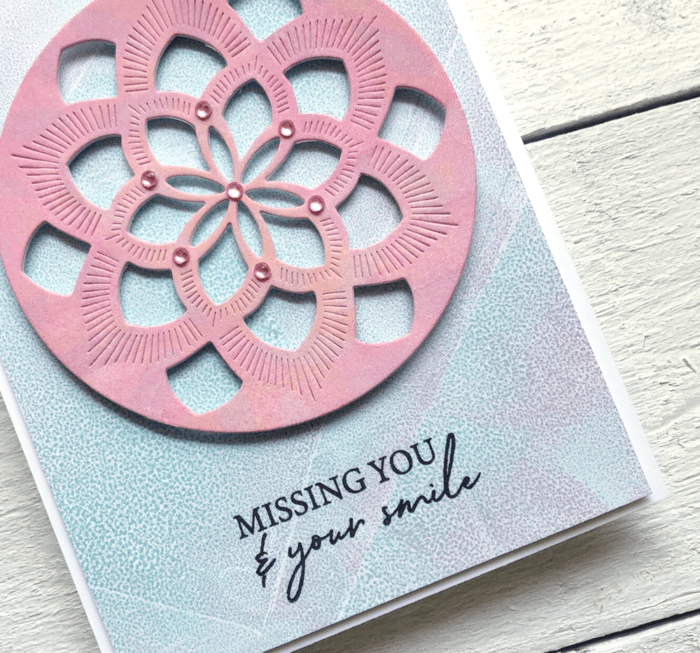
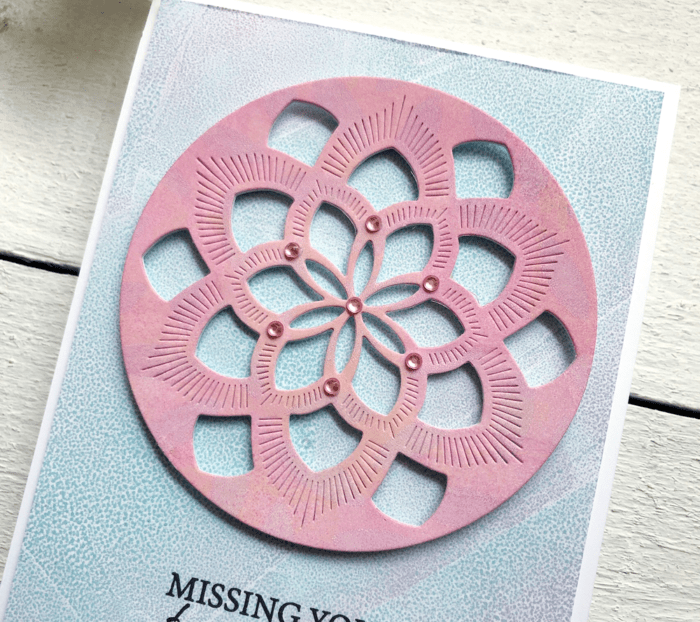
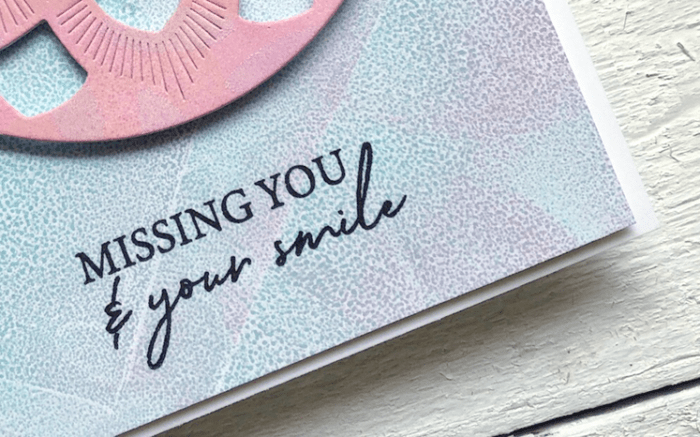
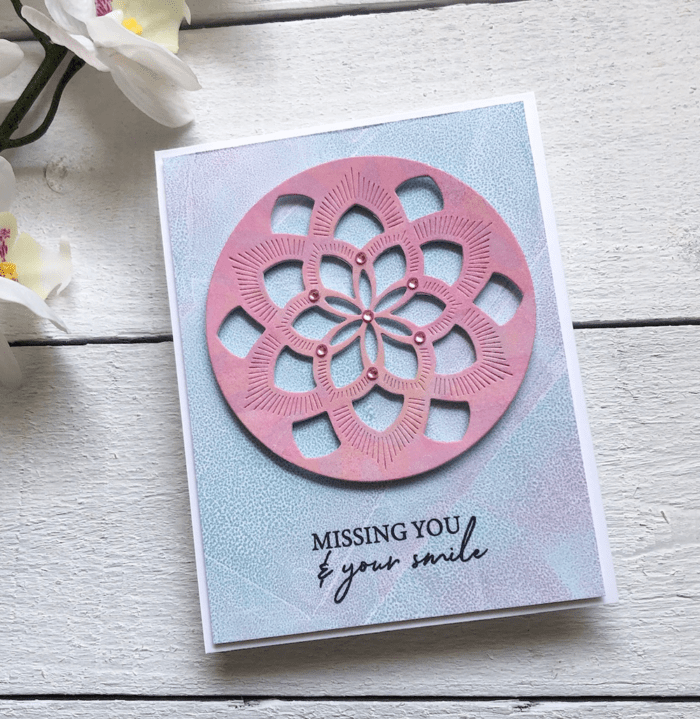
    I didn’t think I was going to use the panel that underneath my well, but it was too pretty not to use. what happened next was an embossing mistake I think all of us have made at one time or another. I had my plates mixed up in my sandwich and instead of embossing over the image I cut it with the Layer A die and all the teeny tiny pieces! I was too far into it now to back out, so I put a piece of double sided adhesive paper on to the back of the die cut to pick all the pieces up together. That worked great but now the front of my die cut was surrounded by adhesive. Out came the scissors and I fussy cut around the outside of the die to get rid of it. Then I put the mandala onto a panel of cardstock that was a bit smaller than the card base, added a sentiment also from the Brush Sentiments clear stamp set and added some Bright Fairy Jewels.
    So the process yielded two beautiful and yet similar cards. Thank you so much for joining me today and crafting with me. Have a fabulous day.

    Supplies
  • No Cardstock? Create your own with a Gel Press | by Tracey McNeely

    No Cardstock? Create your own with a Gel Press | by Tracey McNeely

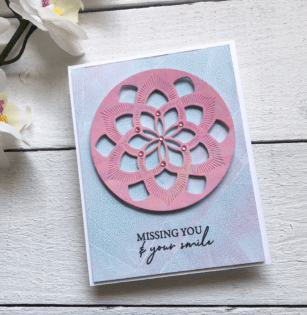
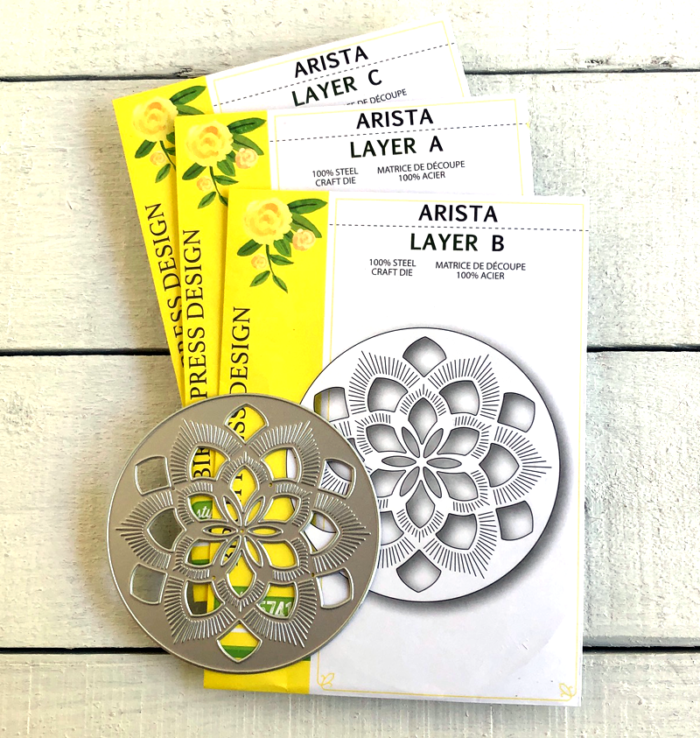
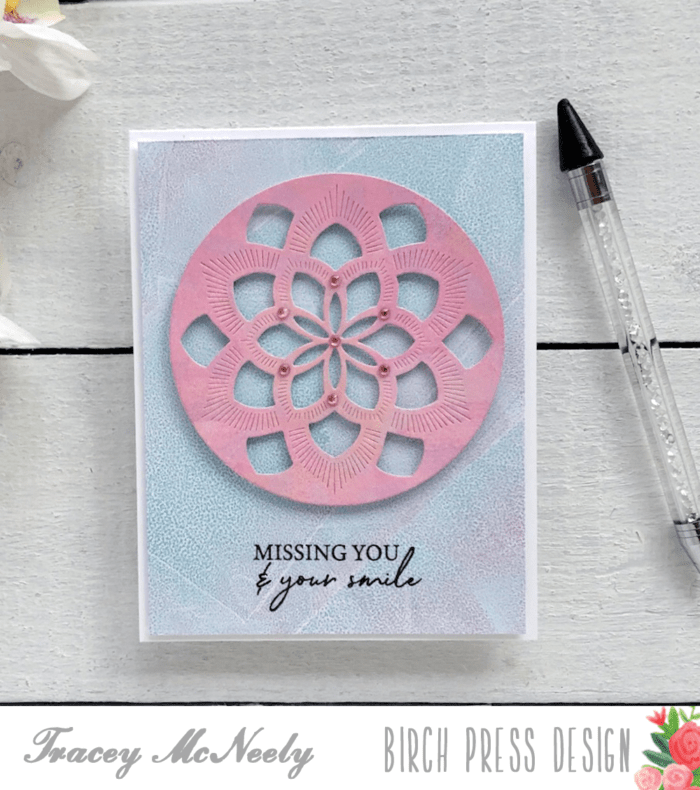
    Hi there crafty friends, it’s Tracey here today and I have the pleasure of sharing a card I made using the new Arista Layer die set!

    I created my own paper to use on my project using a gel press.

    After making my card I realized that a lot of people are unfamiliar with what a gel press is? It is literally a clear piece of gel that you can put ink on, then lay your paper down on it and when you lift it up it transfers the ink to the paper in unique ways! I made a quick little video to show you the process I used for my background.

    I used using Kitsch Flamingo and Salvaged Patina Distress Oxide inks to create the background panel. The fun with using the gel press is that every single print you make will be 100% unique. I set the panel aside to work on the focal die cut.

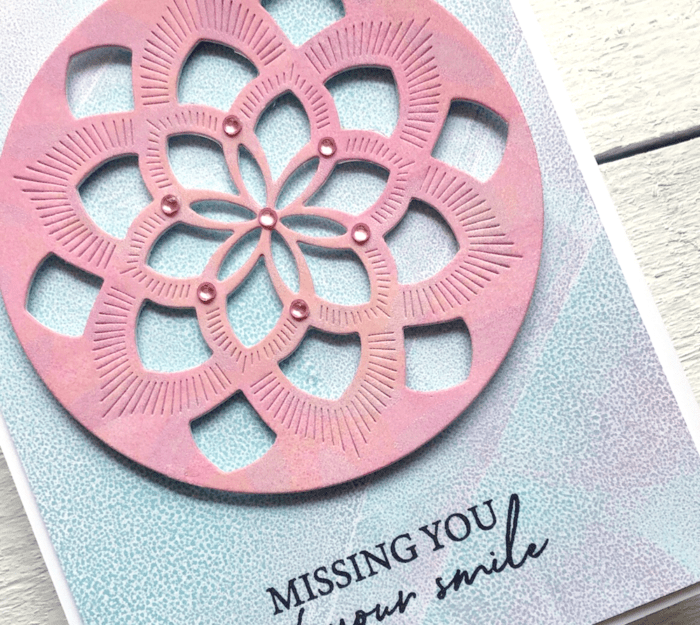
    I had already made a panel using pink and yellow Distress Oxide inks–Kitsch Flamingo and Scattered Straw . I cut the Arista medallion, using only Layer B to showcase the amazing embossed detail on the die. I die cut it once from the pink/yellow panel and then two more times in white. I glued the three layers together to give it a bit of dimension.

    The background was trimmed down to 5 1/4″ x 4″ and adhered to a white top folding card base for foam tape for even more dimension. Trimming the panel down leaves a nice 1/8″ border around it. A simple detail that really steps up your overall clean and simple card design.

    A sentiment from the new Classic Sentimental Wreath stamp set was stamped on the front of the card, leaving room above for the Arista medallion.

    The medallion was attached using foam tape which gives it even more fabulous dimension. I added a few of the pink Open Studio Fairy Jewels to the medallion for just a bit of sparkle! These self adhesive jewels are a great addition to your craft supplies.

    Thank you so much for crafting with me today and I hope I’ve inspired you to make something pretty!

    Supplies

  • Rainbow Wishes | by Tracey McNeely

    Rainbow Wishes | by Tracey McNeely

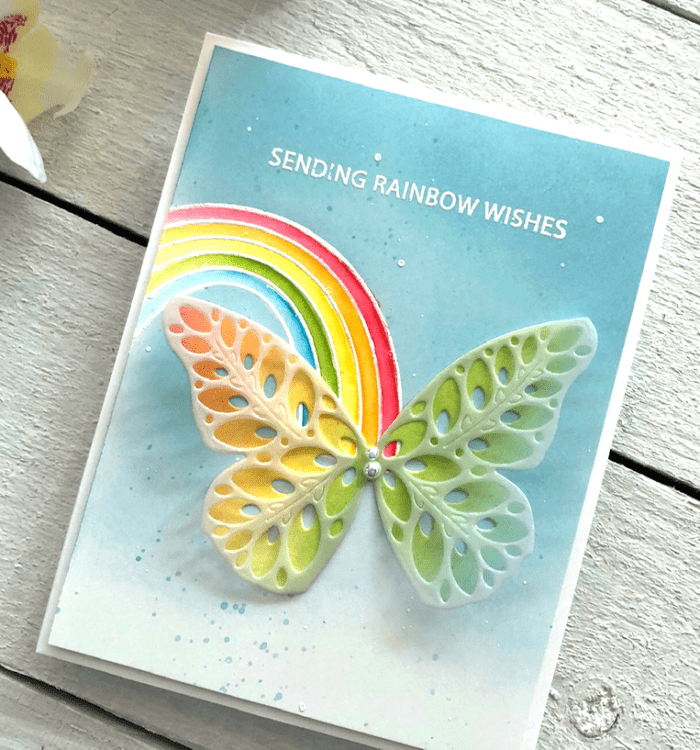
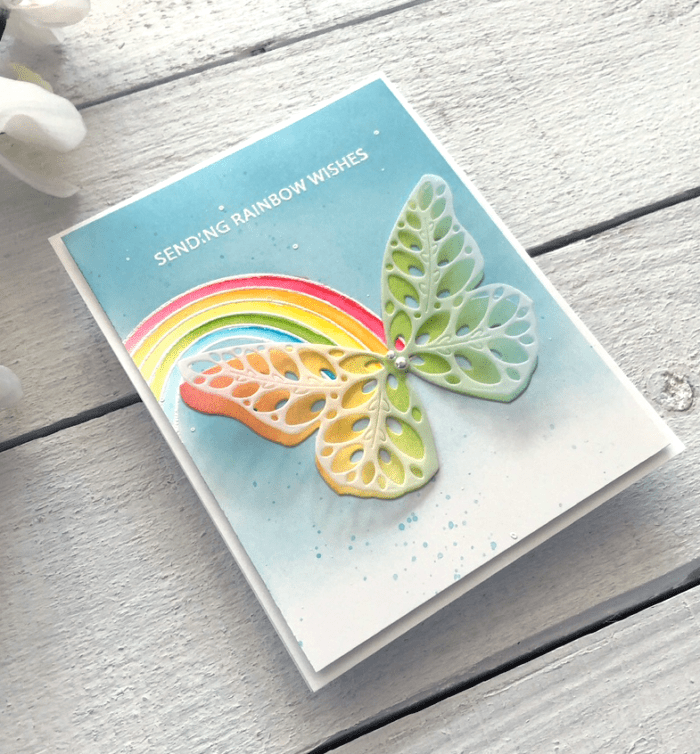
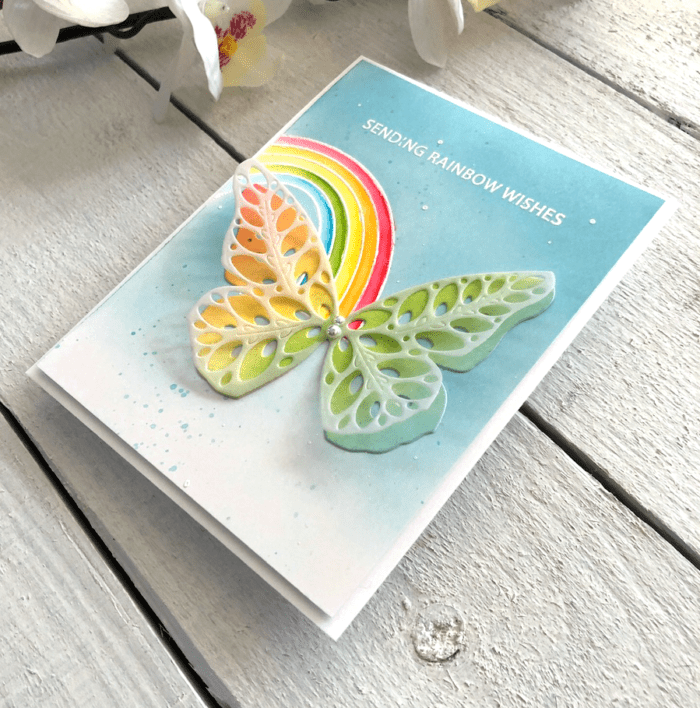
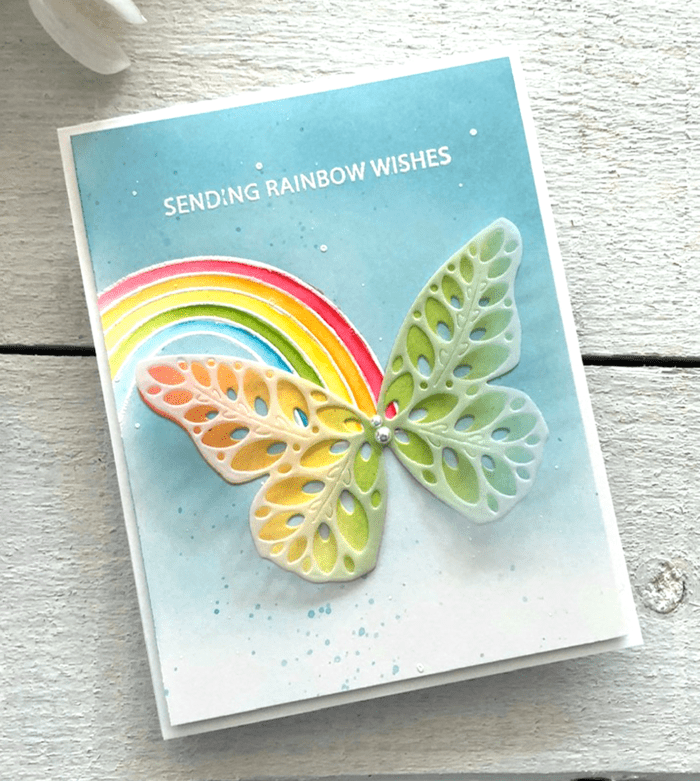
    Hi there and Happy Mother’s Day to all the mother’s visiting here today. It’s Tracey and I am very excited to share a project using a couple of newly released products from Birch Press Design!

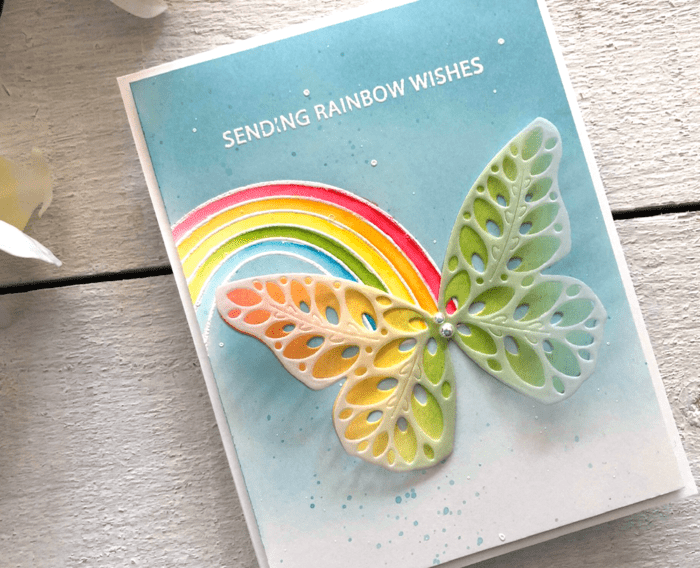
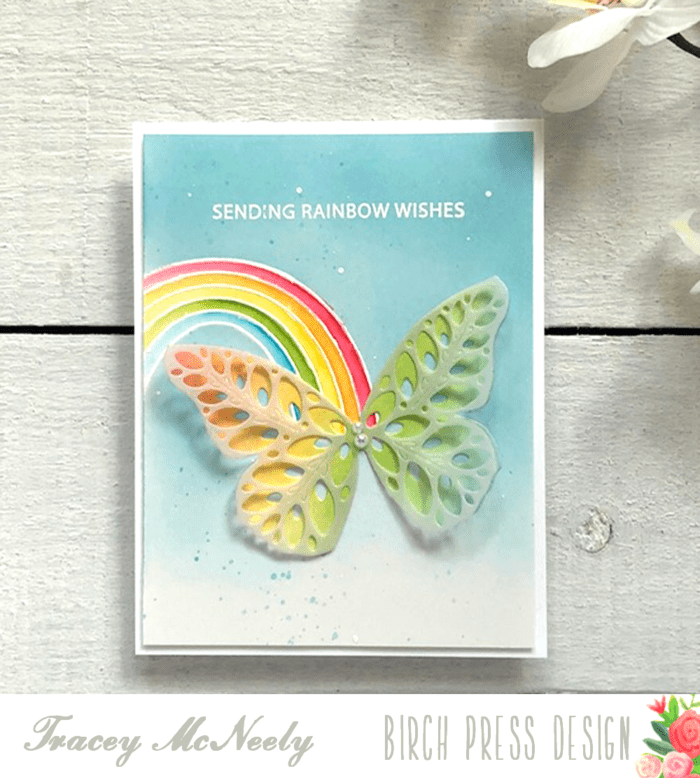
    The new Rainbow Days Lingo Notes stamp set was starting point for my card. I stamped the rainbow off the card on the left side with embossing ink and white heat embossed it.

    I stamped the rainbow on to a full adhesive Post-it Note and trimmed it use as a mask. I masked off the rainbow and then ink blended a sky with Broken China and Tumbled Glass Distress Oxide inks. Once the blend was done I splattered some diluted white acrylic paint on to the panel. When that was dry I smooshed some Broken China Distress Oxide ink on to an acrylic block with a bit of water and then splattered that on to the panel.

    Once the mask was removed I coloured the bands of the rainbow using my ZIG Clean Color Real Brush watercolor markers blending the colours out with a water brush and set aside to dry.

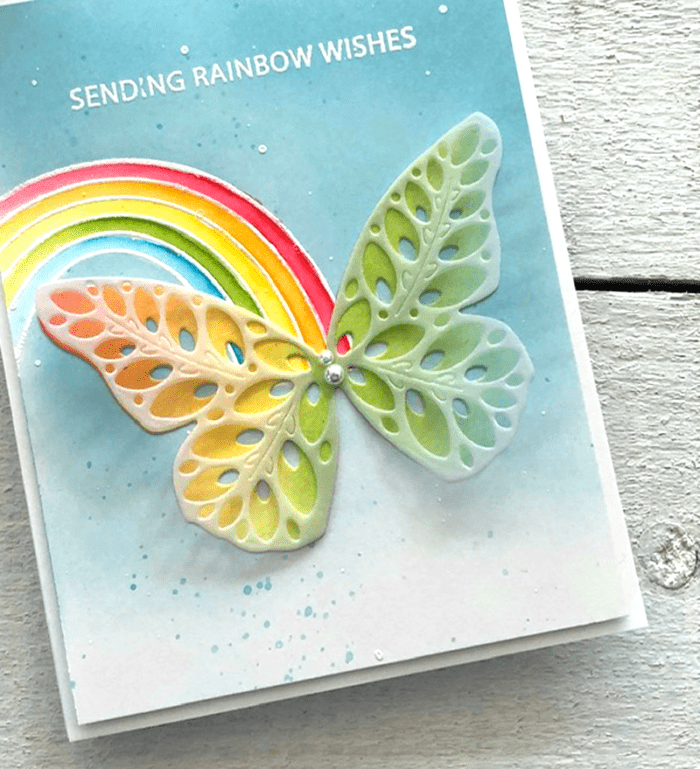
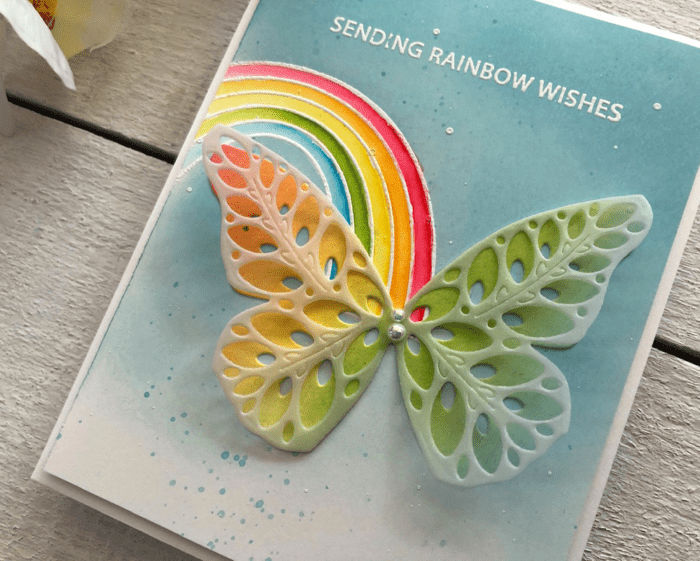
    I blended a panel of Bristol Smooth cardstock about the size of the butterfly in the Eloquent Butterly Layer die set. I blended on an angle a rainbow of Festive Berries, Spiced Marmalade, Wild Honey, Mowed Lawn and Tumbled Glass Distress Oxide inks. I cut Layer C of the Elequent Butterfly from the ink blended panel. Then I cut Layer A of the Eloquent Butterfly from Vellum. Layer A has beautiful embossed details on it that look stunning on the vellum. It was glued to the centre of the Layer C ink blended butterfly and set aside.

    Now that all the pieces were completed I white embossed a sentiment from the Rainbow Days Lingo Notes stamp set on the top centre of the sky. Then the butterfly was attached to the end of the rainbow on a slight angle.

    The panel was attached to a white top folding card base with foam tape for some life and the final touch was to add to pearls to the body of the butterfly.

    This was such a fun card to make, a few different techniques with such a pretty end result.

    Thank you so much for crafting with me today and enjoy the rest of your weekend.

    Supplies

  • Spread Kindness this Easter | by Tracey McNeely

    Spread Kindness this Easter | by Tracey McNeely

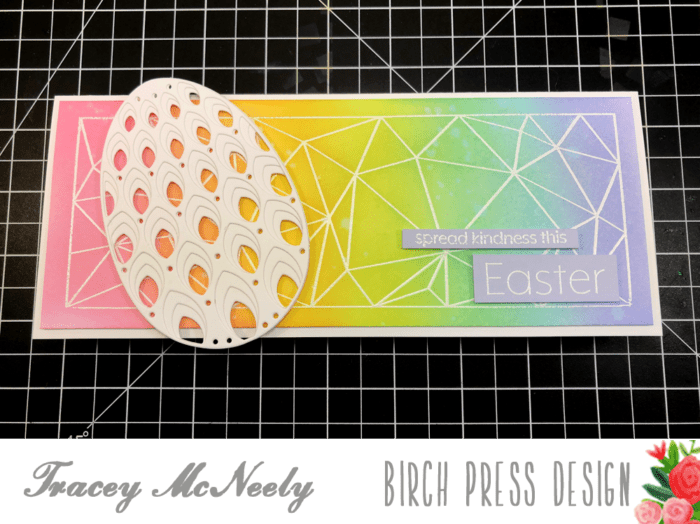
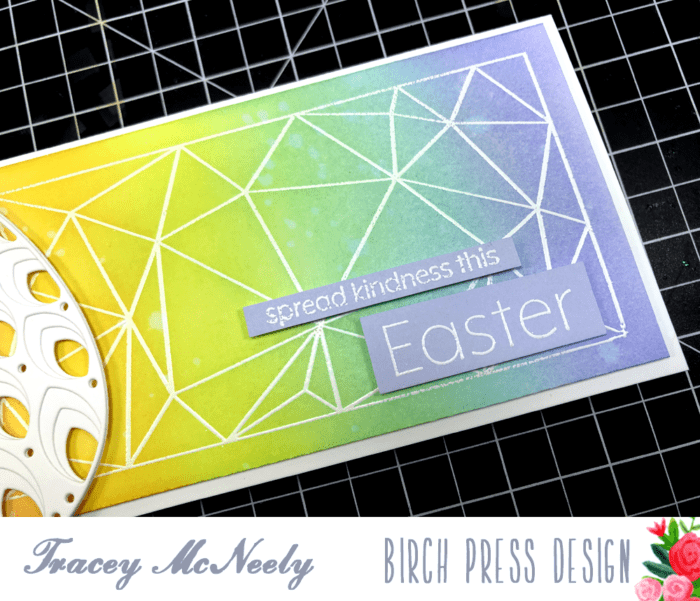
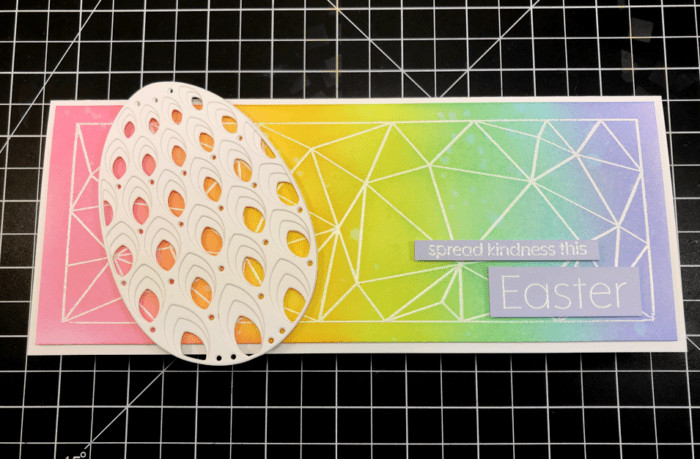
    Hi there crafty friends, I’m back today with a landscape slimline card showcasing the fabulous Crystal Lingo stamp set and the beautiful Petal Egg Layer die set.

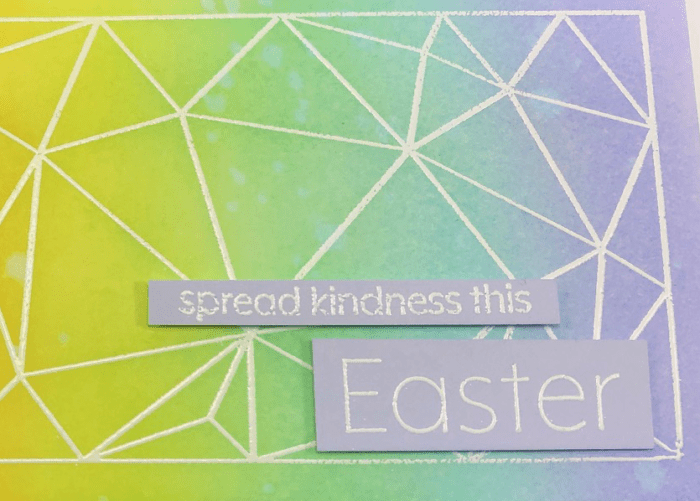
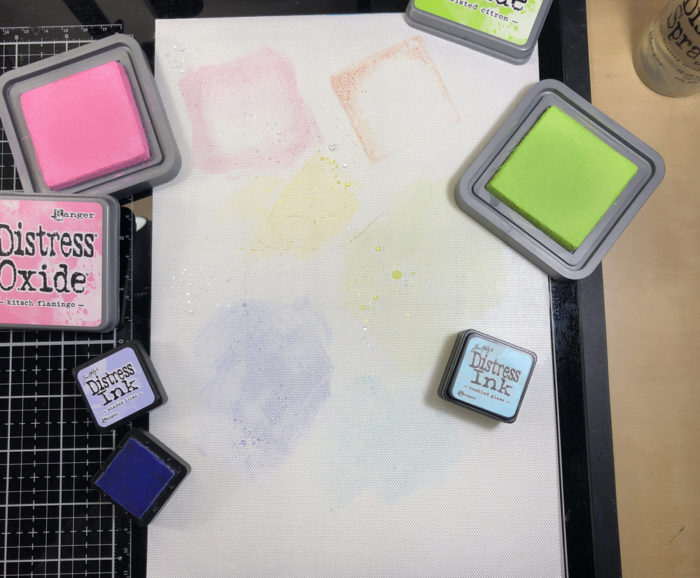
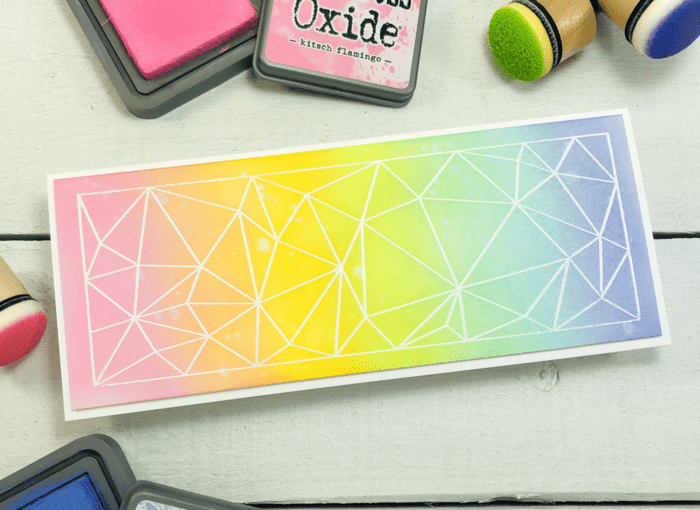
    The faceted rectangle from the Crystal Lingo stamp set was white heat embossed on to a 8 1/2″ x 3 1/2″ panel of Bristol Smooth cardstock. I ink blended over the panel in a rainbow using Distress Oxide inks. The colours are Kitsch Flamingo, Carved Pumpkin, and Twisted Citron Distress Oxide inks and Mustard Seed, Tumbled Glass and Shaded Lilac Distress ink.

    The panel was trimmed down to 8 1/4″ x 3 1/4″ and it was attached to an 8 1/2″ x 3 1/2″ white card base with foam tape to add a bit of dimension.

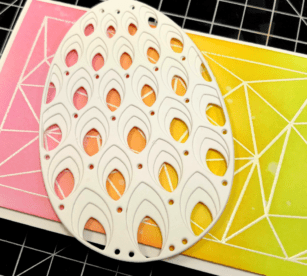
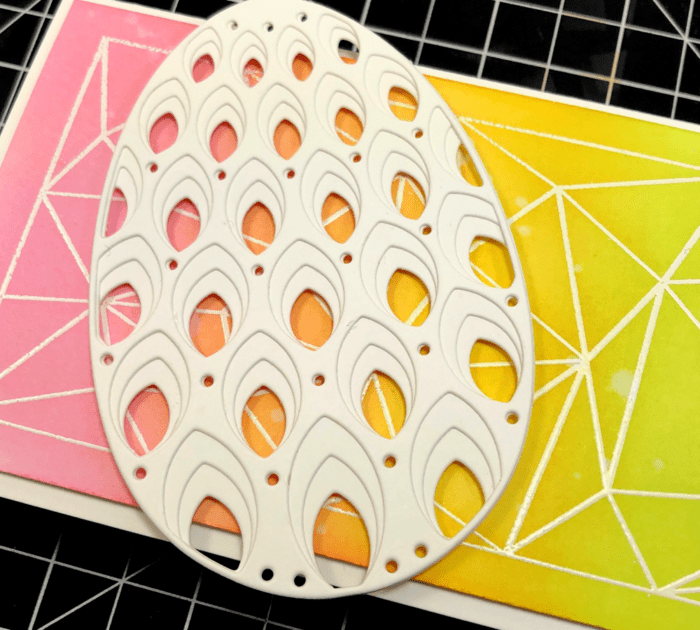
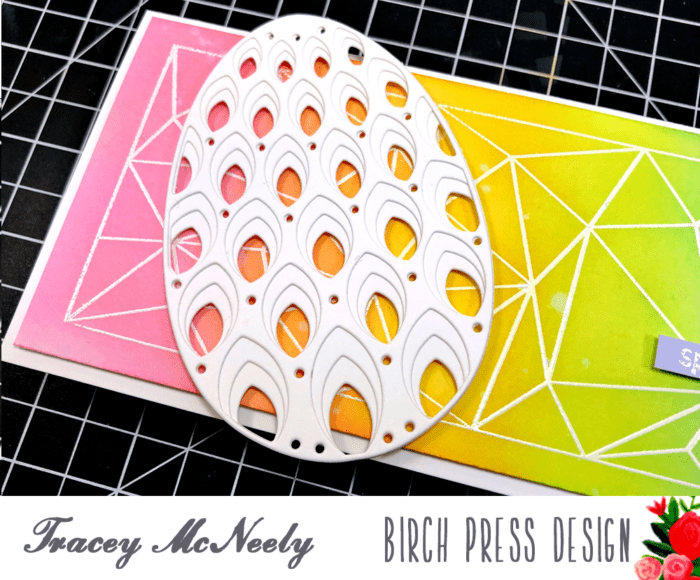
    I wanted to use the pretty background along with the Petal Layers die set in a way that one wouldn’t overpower the other. I cut all three layers from heavyweight white cardstock. I adhered the layers together with liquid adhesive and once dry.

    I decided to use pinks and oranges as my egg colour from the background. You can place your egg anywhere on the card depending on the colours that appeal to you or your recipient. I chose to place the dimensional egg on a angle. I placed small pieces of foam tape behind the egg to pop it off the background.

    The sentiment from the Blooming Spring clear stamp set was heat embossed and trimmed down and added to he panel with foam tape.

    I love the idea of sending someone a landscape, slimline card. So easy to be displayed without tipping over.

    Thank you so much for creating with me today. Wishing you a happy and safe Easter.

    Supplies
  • Do the Slimline with Crystal Lingo | by Tracey McNeely

    Do the Slimline with Crystal Lingo | by Tracey McNeely

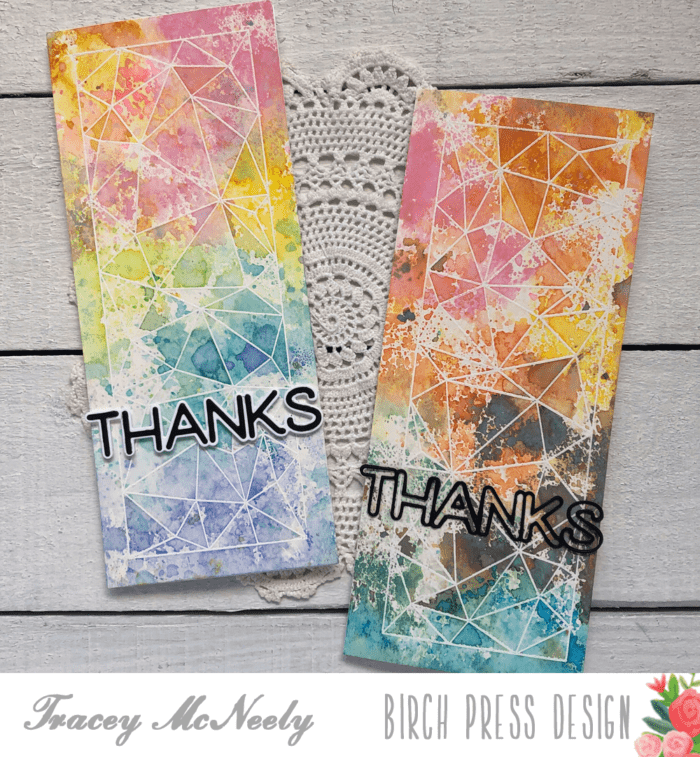
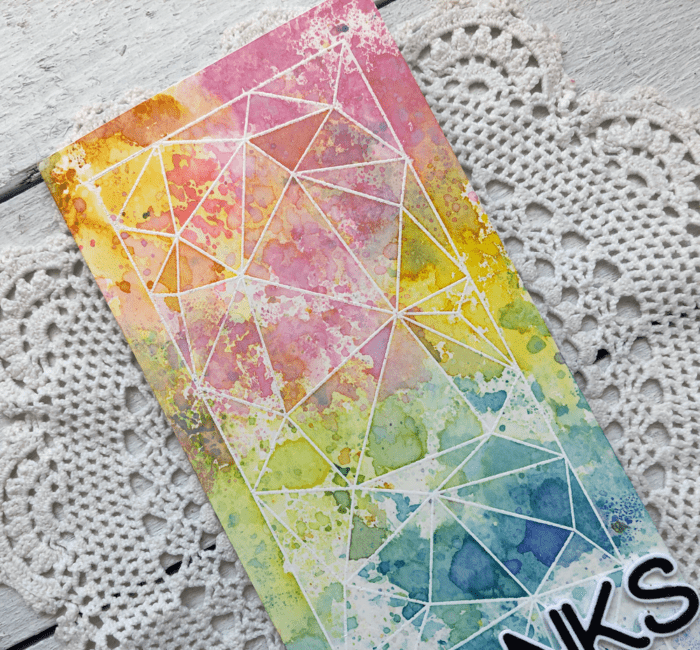
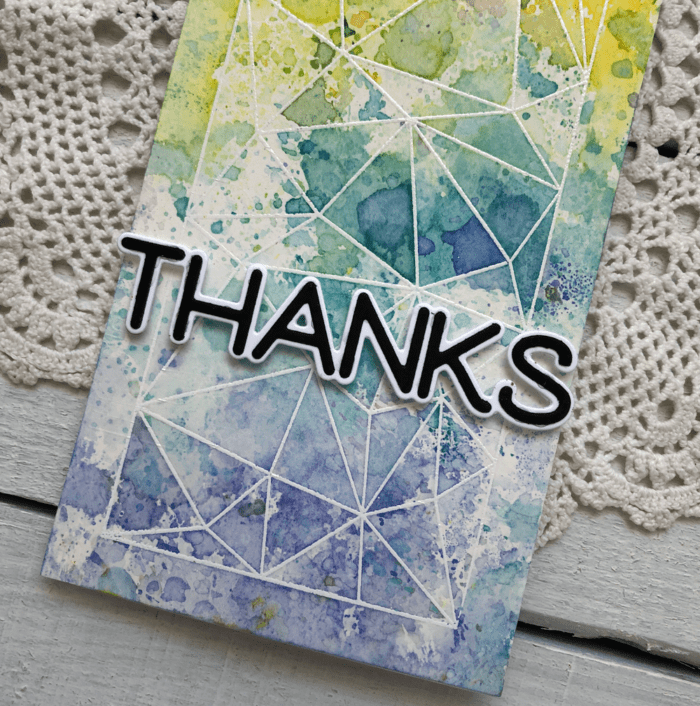
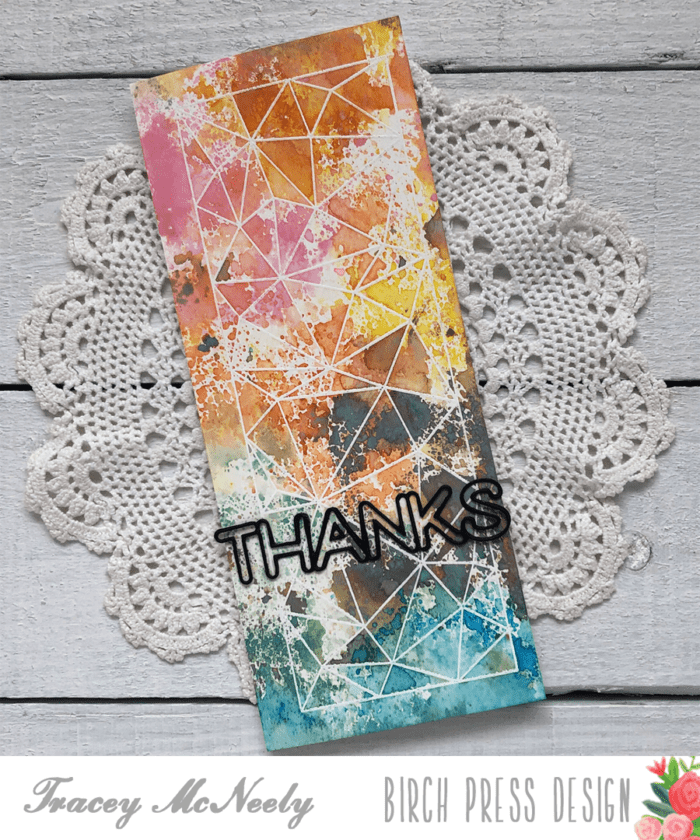
    Happy Spring crafty friends! Today I’m creating two slimline cards using the Crystal Lingo Stamps and dies.

    The faceted rectangle stamp in the Crystal Lingo clear stamp set is the perfect size for 8 1/2″ x 3 1/2″ slimline cards.

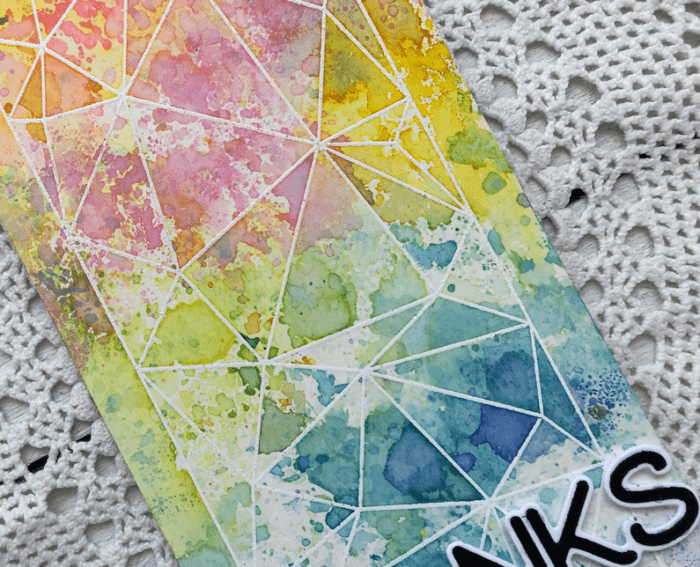
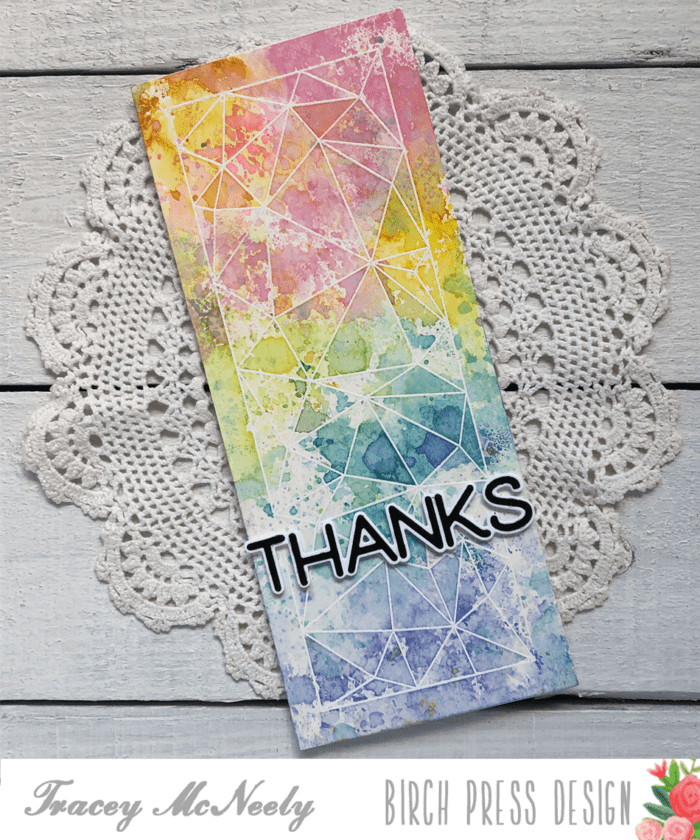
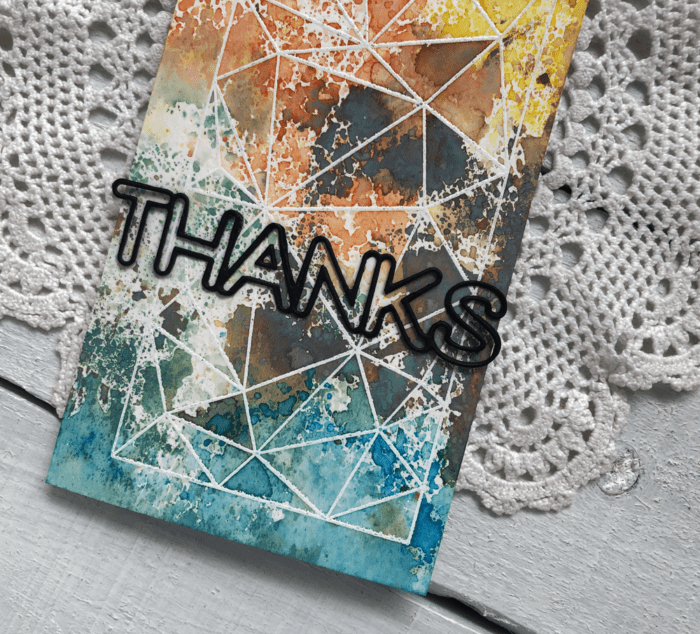
    For both of the my cards today I started off by white heat embossing the faceted rectangle from Crystal Lingo on to two panels of watercolour cardstock cut to 8 1/2″ x 3 1/2″.

    TIP: When embossing on watercolour cardstock I always make sure I prep the paper well with my embossing buddy and I always double stamp my embossing ink.

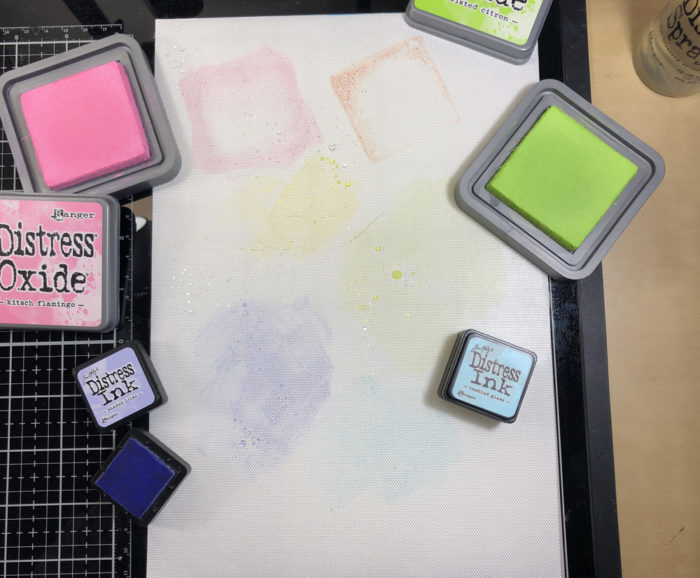
    I laid down a combination of Distress Ink and Distress Oxide inks on to my craft mat in a staggered rainbow. I used Kitsch Flamingo, Carved Pumpkin, and Twisted Citron Distress Oxide inks and Mustard Seed, Tumbled Glass and Shaded Lilac Distress ink.

    I spritzed some water onto the mat and then put my panel facedown into the ink and picked it up right away. I did not smoosh the ink, just straight on and off. I dried the panel thoroughly and then went back to the mat and tapped the panel around putting on a second layer. I spritzed a bit of water on my panel where the Distress Inks were to disperse them a bit more.

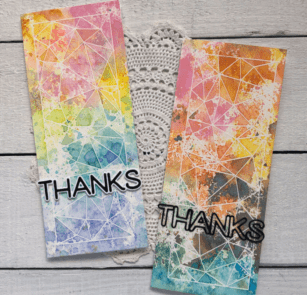
    Once again I dried the panel thoroughly and went back to the mat one more time but before tapping down I spritzed the craft mat a bit more to reactivate the ink and did one final layer by tapping the panel on the craft mat. I stamped and die cut the Big Lingo Type Thanks die in white and black and attached it to the card with foam adhesive!

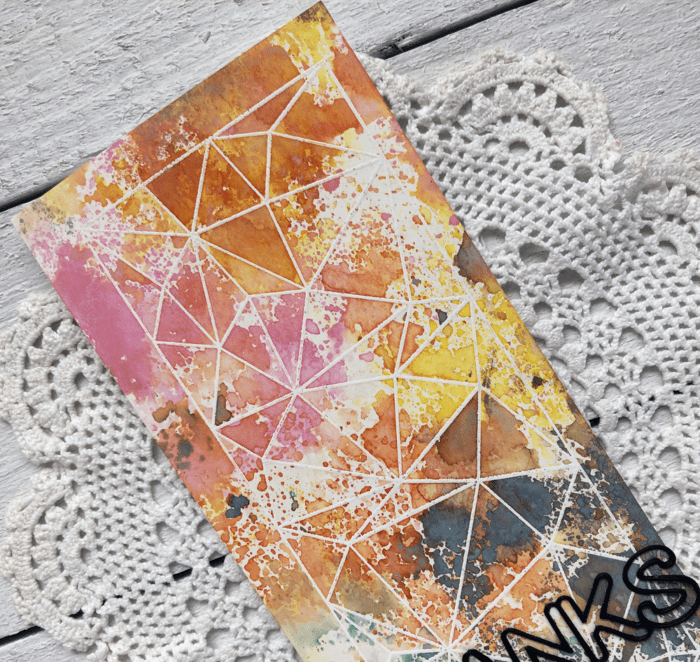
    The second panel was actually the first panel but a little bit of Frayed Burlap was all it took to muddy up my rainbow.

    Rather than toss it away I kind of liked the masculine vibe that the brown gave to the card. So I did the same as I did for the other card.

    I dried it and added more ink until I had three layers! I die cut the Big Lingo Type Thanks using only the detailed die three times for the sentiment. I adhered the three layers together to give the die cut some stability. Trust me this takes some patience–lol! I adhered the die cut directly to the card front.

    It’s so much fun to take an image like this, emboss it and then have some fun with your inks. This technique can be done with most inks and of course a little bit of water.

    Thanks so much for joining me today and we’ll see you next time!

    Supplies
  • Any Time Layered Hearts

    Any Time Layered Hearts

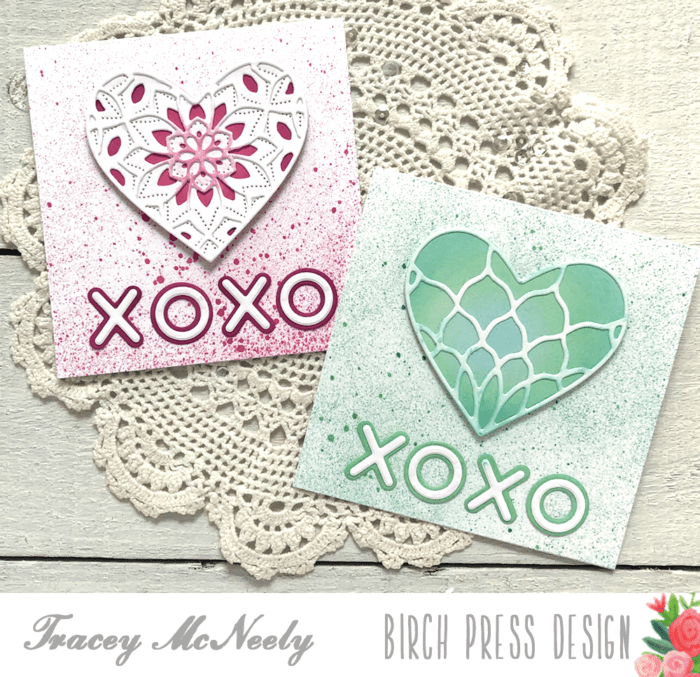
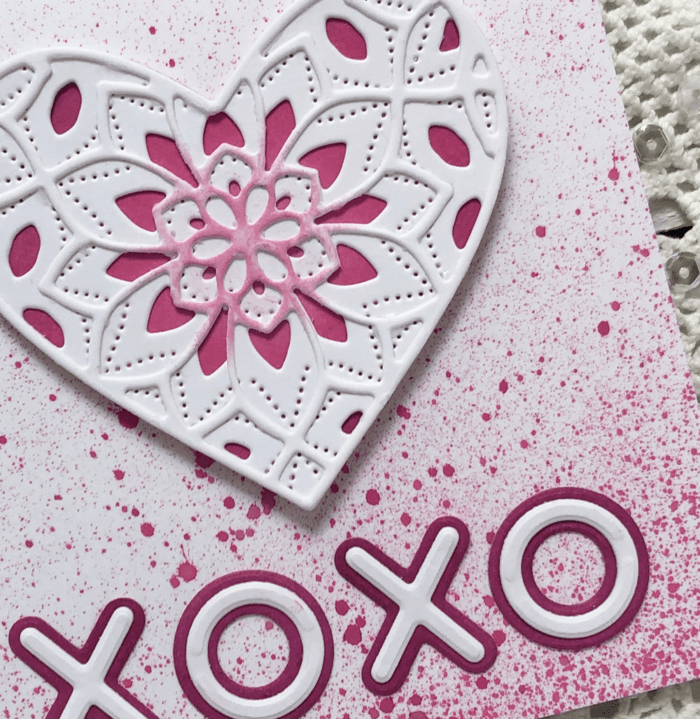
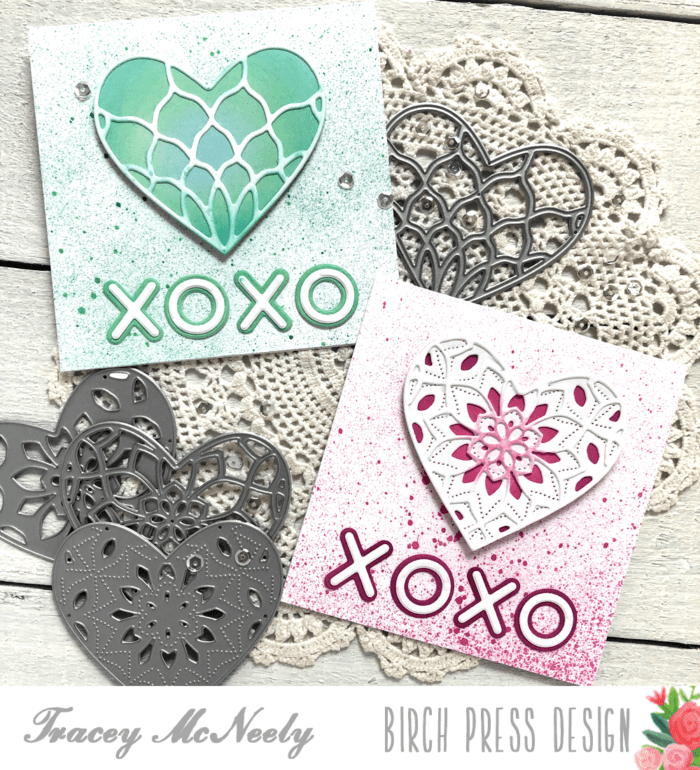
    Hi there, it’s Tracey here today with a couple square cards using the Layered Hearts dies. These began as cards for Valentines, but time got away from me. So they were finished after the 14th as cards that you can send any time of the year. Both of today’s cards are 4 1/4″ x 4 1/4″ square and although the cards are different, they both use the same process.

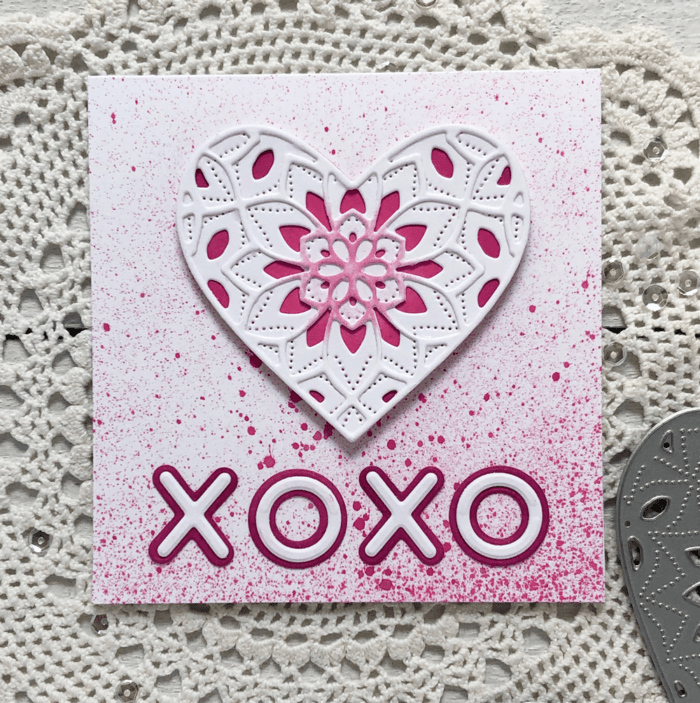
    The Kinsley Heart and the Petal Heart layer sets are beautiful whether you use all three layers together or just the top for a delicate look! I love this die set because even with all three layers you can still see the amazing stitched lines on the bottom layer!

    To make the pink heart using all three layers of the Kinsley Heart layers dies. I began by blending a panel with Distress Oxide Inks–Spun Sugar, Picked Raspberry and Seedless Preserves. This will be the background for the layered heart and the bottom layer of the letter dies. It was cut with the largest heart in the Perfect Hearts die set. The layers of the Kinsley heart were cut from white cardstock and glued together. The ‘xoxo’ was cut using the Mod Alphabet die set. The bottom layer from the ink blended panel and the top from white cardstock.

    Before attaching the layered heart and ‘xoxo’ to the card base it was spritzed with Distress Oxide Spray in Picked Raspberry. I sponged a bit a pink ink on the centre of the heart for interest.

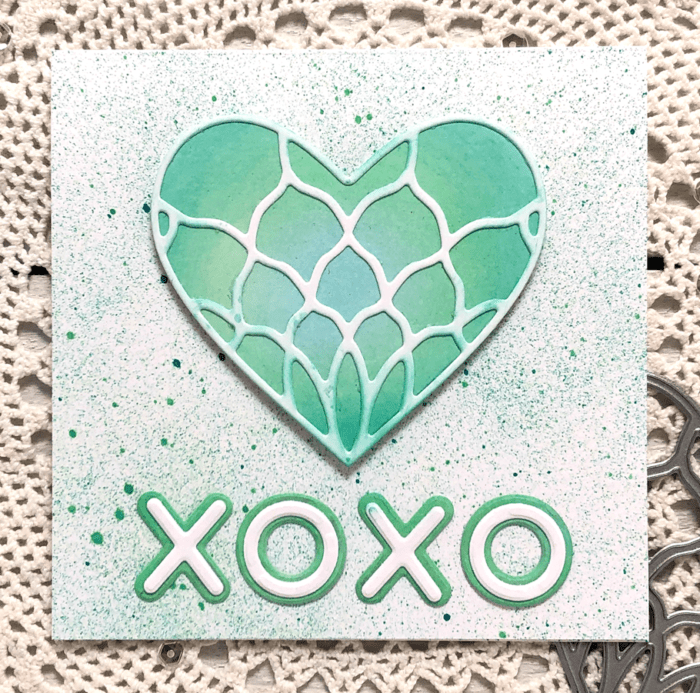
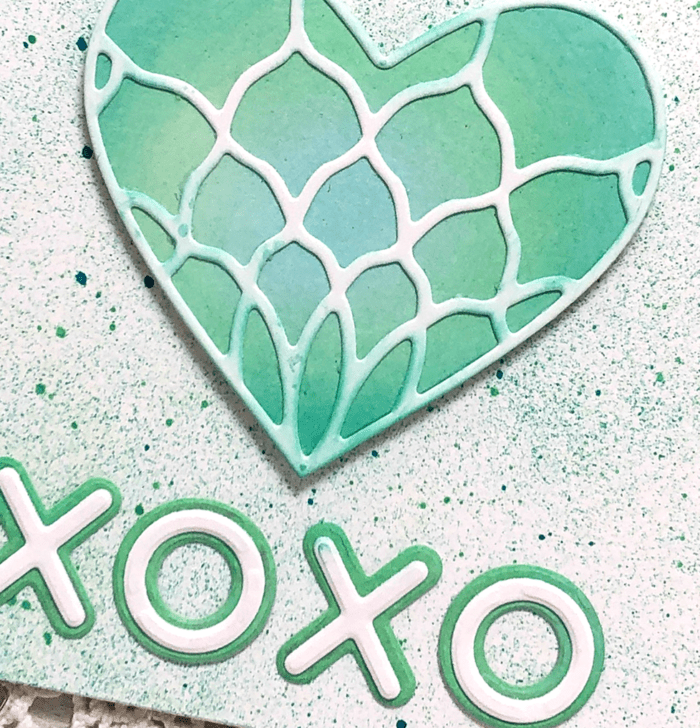
    The green card used the Petal Layers die set, but only Layer A for a more delicate design.

    Just like with the pink card I blended a panel with Distress Oxide Inks, this time I used Tumble Glass, Cracked Pistachio and Peacock Feathers. I used the panel once again for the layered heart and the bottom layer of the letter dies. Layer A of the Petal Heart layer set was cut from white cardstock. The ‘xoxo’ was cut using the Mod Alphabet die set. The bottom layer from the ink blended panel and the top from white cardstock.

    This time before attaching the heart and ‘xoxo’ to the card base it was spritzed with Cracked Pistachio and Peacock Feathers Distress Oxide Spray.

    So quick and so fun to use similar supplies and the same basic techniques to make two cards to you can use to Share Handmade Kindness!

    Thank you so much for stopping in to craft with me, see you next time.

    Supplies
  • Hugs and Kisses | by Tracey McNeely

    Hugs and Kisses | by Tracey McNeely

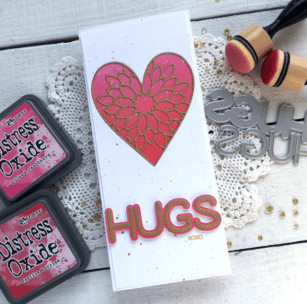
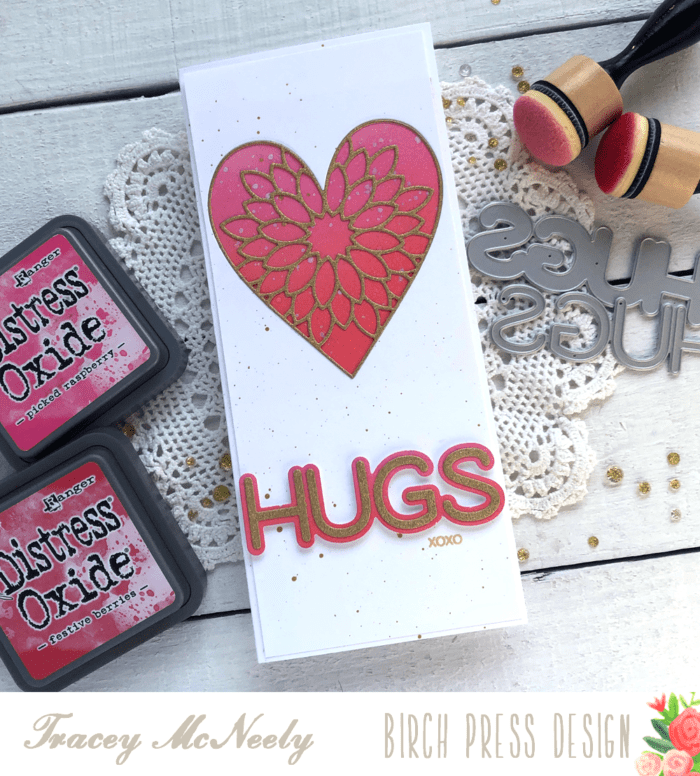
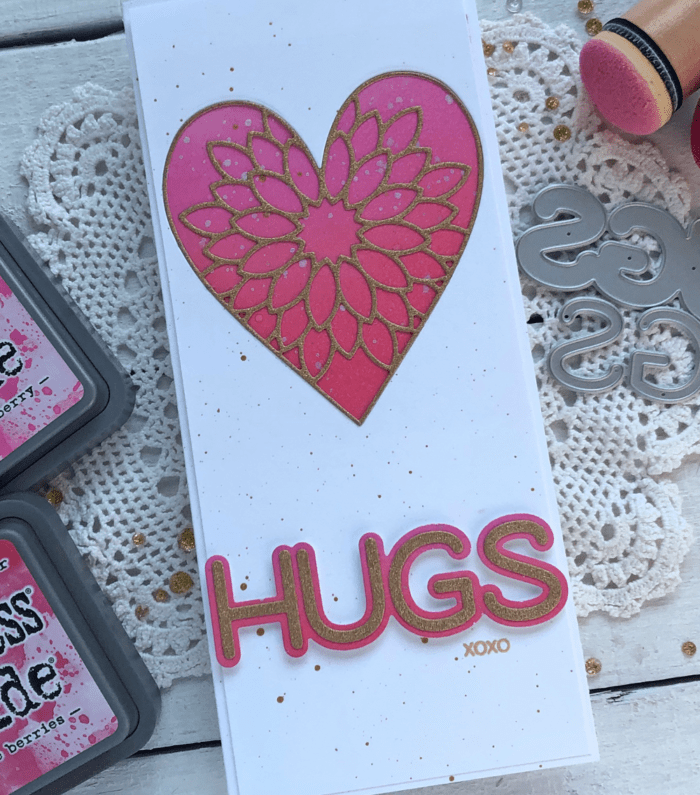
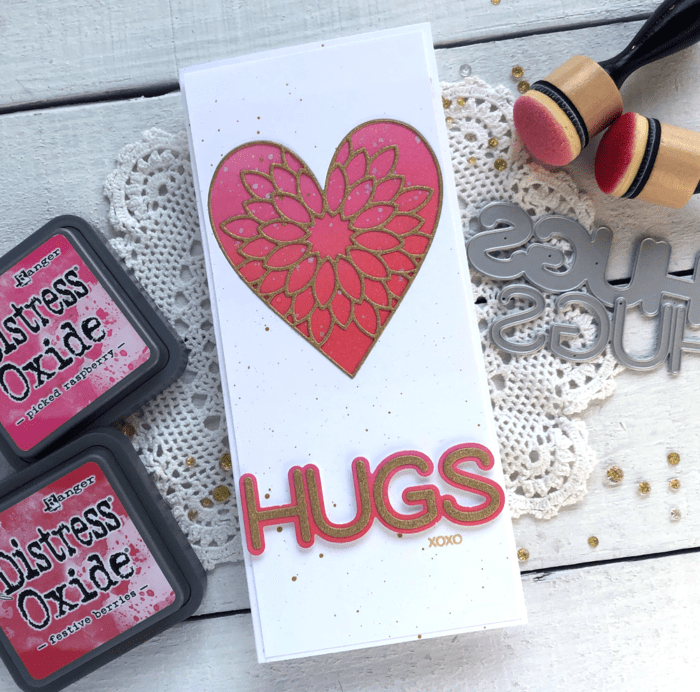
    Hi there crafty friends, it’s Tracey here with you today. I used the Dahlia Heart Layer dies to create a slimline Valentines card. Using one sheet of white cardstock I was able to make my card base which is 8 1/2″ x 7″. The remaining piece of cardstock left was 8 1/2″ x 3 1/2″. I trimmed a 1/4″ off of the length and now had the perfect sized mat for the front of my card.

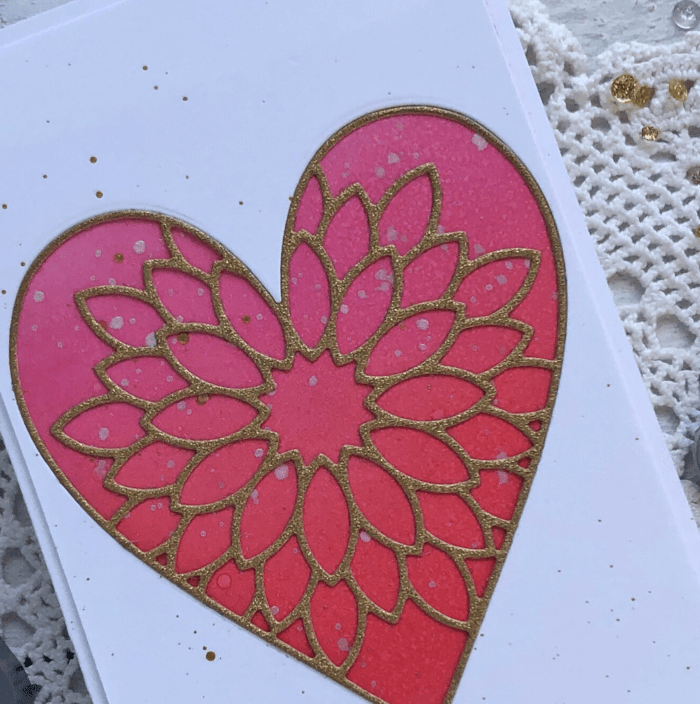
    I started by ink blended a panel of Bristol Smooth cardstock using Distress Oxide Inks–Spun Sugar, Picked Raspberry and Festive Berries. Once the panel was blended I tapped some watered down Perfect Pearls over the panel to add some interest and set it aside for now.

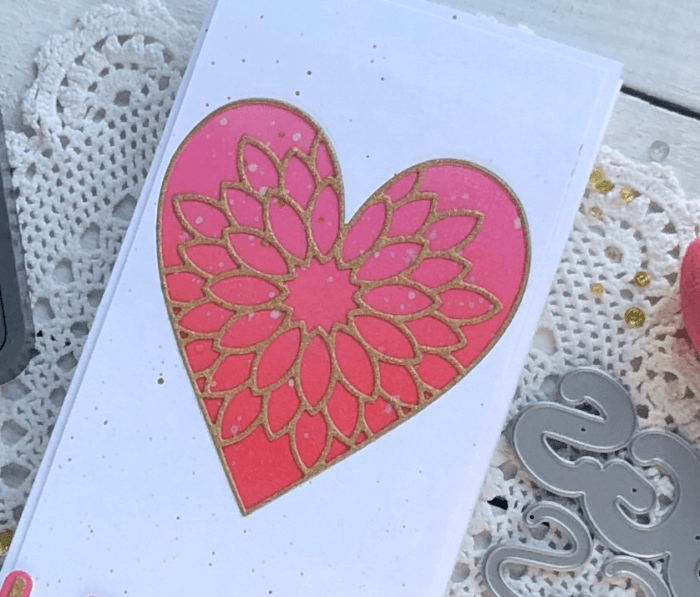
    Using the Dahlia Heart Layer A die, I cut a heart near the upper portion of the 8 1/2″ x 3 1/2″ panel.

    I trimmed my ink blended panel down and adhered it to the back of the front panel that I cut the heart from.

    Next I used the Dahlia Heart Layer A die and cut it from gold sparkle cardstock. I added liquid adhesive to the back of the gold sparkle heart and I inlaid it into the heart cutout. I panel was adhered to the card base leaving a small 1/8″ border.

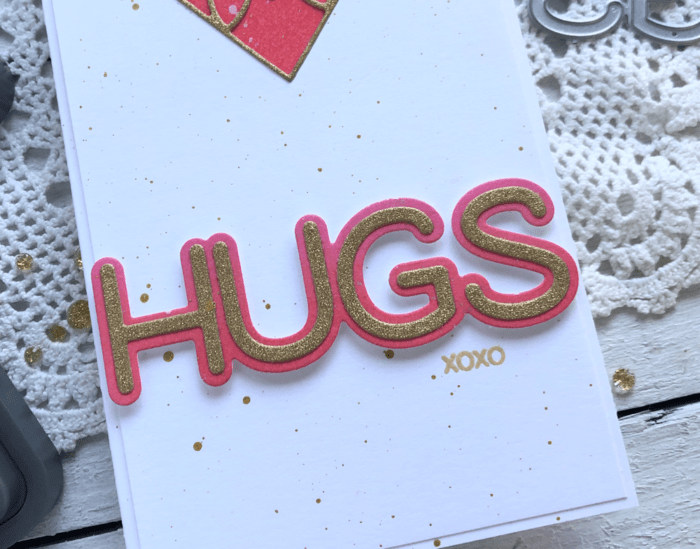
    The hugs sentiment is from the Jumbo Lingo Hugs die. I cut the base layer from my ink blended panel and the top layer with the same gold sparkle cardstock I used for the heart. It was attached to the card using small pieces of foam tape.

    To finish off the card I splattered a bit of yellow gold metallic watercolour on to the card front. Then I embossed the XOXO using gold pearl embossing powder.

    Thanks so much for stopping in today and crafting with me. There is lots of time to make some Valentines cards for your loves or for friends. Have fun and get creative with your Birch Press Design dies. Enjoy the rest of your day and well see you next time!

    Supplies
  • A Few More Foil Christmas Cards | Tracey McNeely

    A Few More Foil Christmas Cards | Tracey McNeely

    Hi crafty friends, it’s Tracey here today and Happy New Year! Before putting Christmas stamps and dies away for next year, make a few cards while you still feel the holiday spirit. Life in quarantine doesn’t always mean that your ahead of the game and then Christmas shows up. So it’s always good to have a bit of a head start.

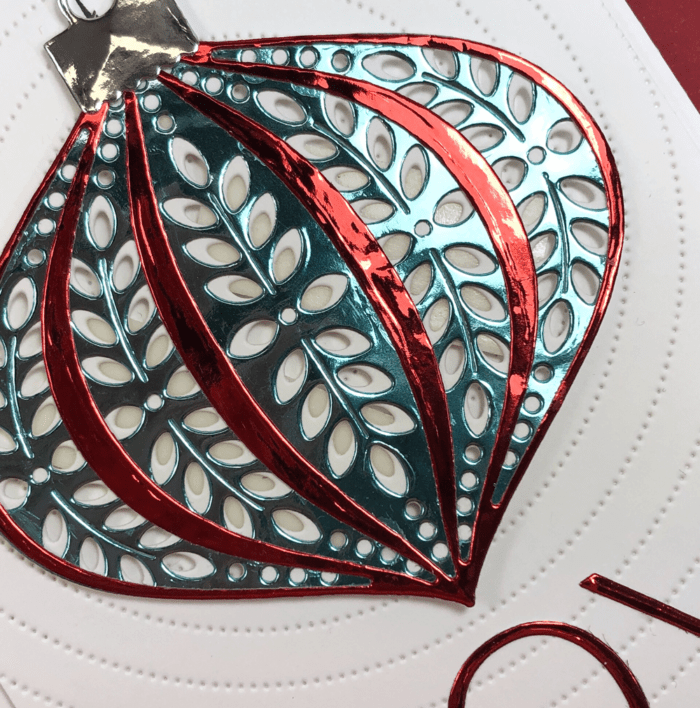
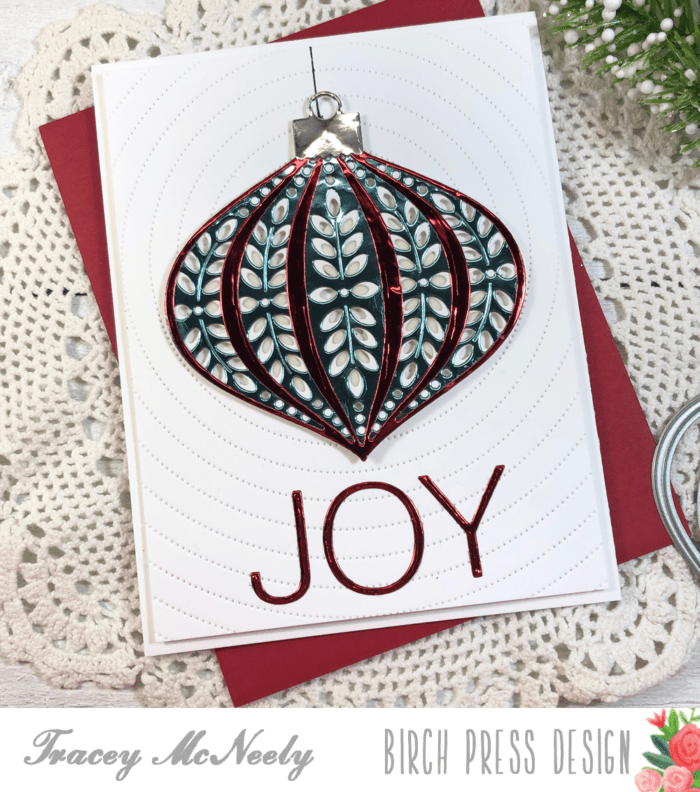
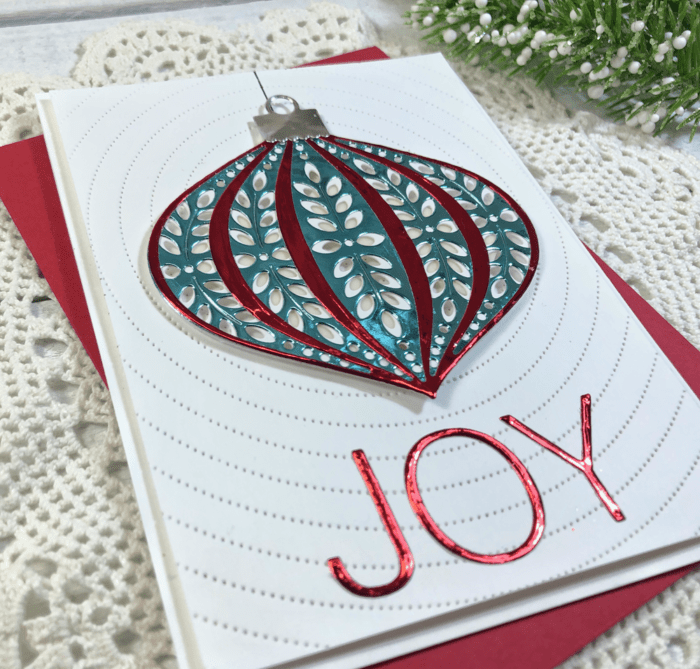
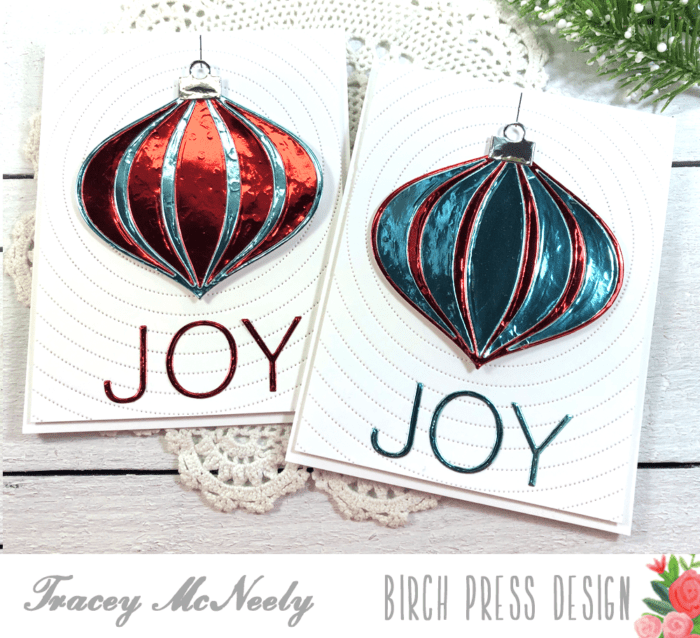
    I wanted to make some of the Birch Press Design Ornaments using foil paper. I chose to make all of my ornaments primarily using the Marisol Ornament Layer Set. I chose red, light aqua and silver foil from the Memory Box Polished Foil Pad and made three cards all using the same three colours each with a different outcome.

    To start off I prepared three top folding card bases. I die cut the Pinpoint Radial Plate from white cardstock then trimmed them down to 5 1/4″ x 4″. I adhered the panels to card bases using foam tape and set them aside.

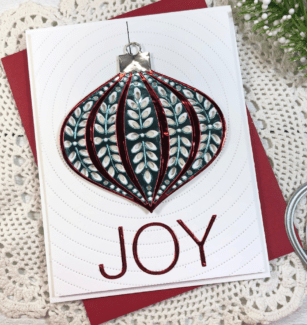
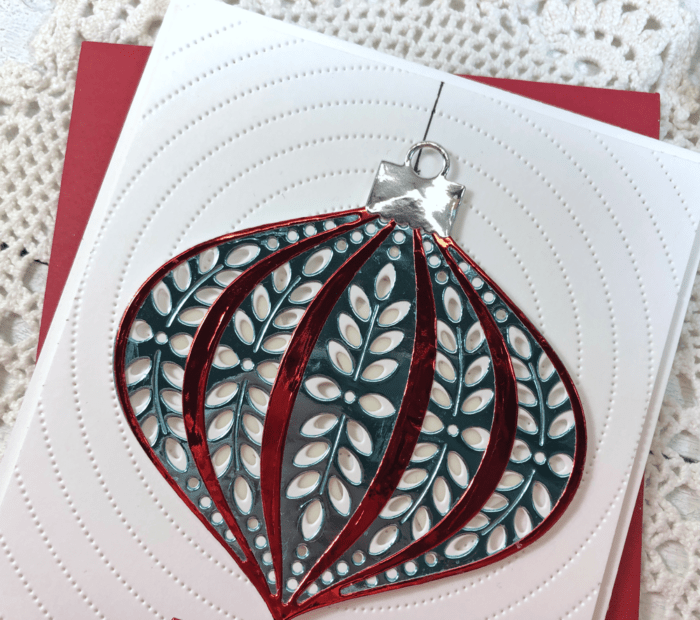
    For the first card I die cut Layer C of the Marisol Ornament Layer Set from white cardstock. Using the polished foil paper I cut the Marisol Ornament Layer B from the light aqua and Marisol Ornament Layer A from red. The ornament cap was die cut in silver foil using the Ornament Basics die set. I carefully assembled the ornament using liquid adhesive.

    TIP: If you get any glue onto your foil die cuts while assembling, set it aside to allow the glue to dry slightly. Then gently use a microfibre cloth to wipe the marks away.

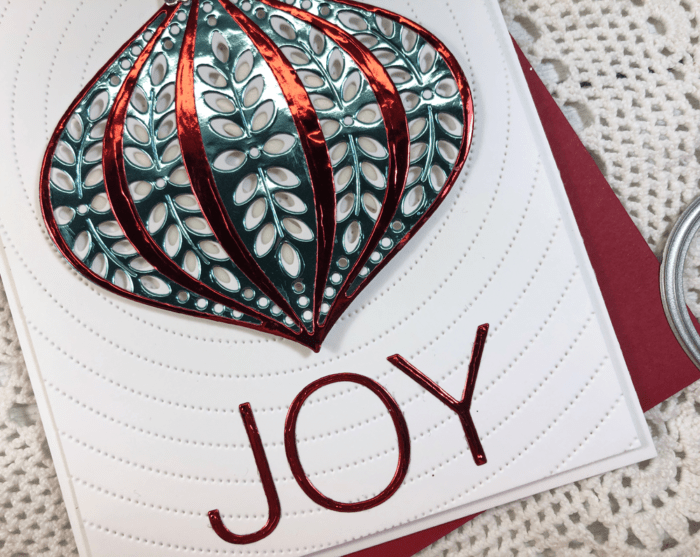
    I drew a string for the ornament onto the Pinpoint Radial panel with a Copic Mutiliner and adhered the ornament with foam tape. The word ‘Joy’ was die cut in red foil using the Simple Joy die set.

    The foil papers work just beautifully with the layered ornaments.

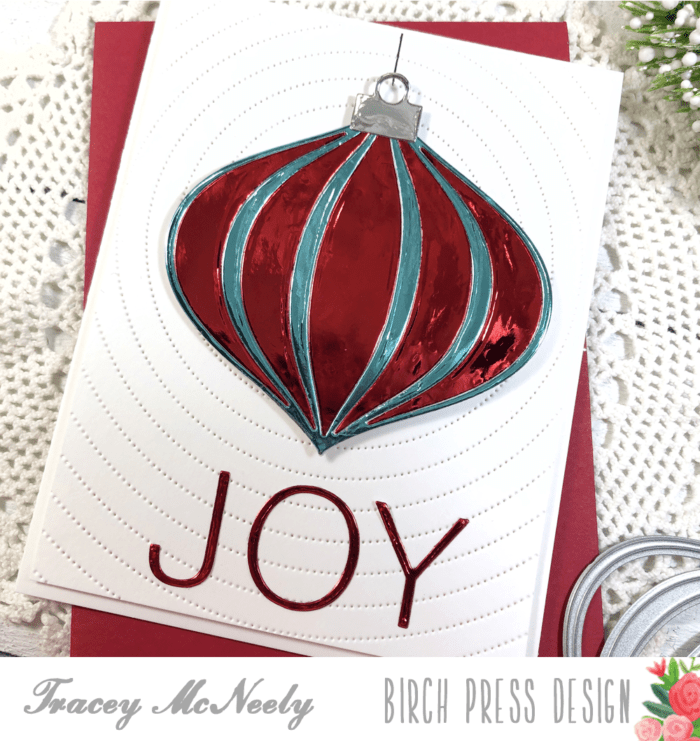
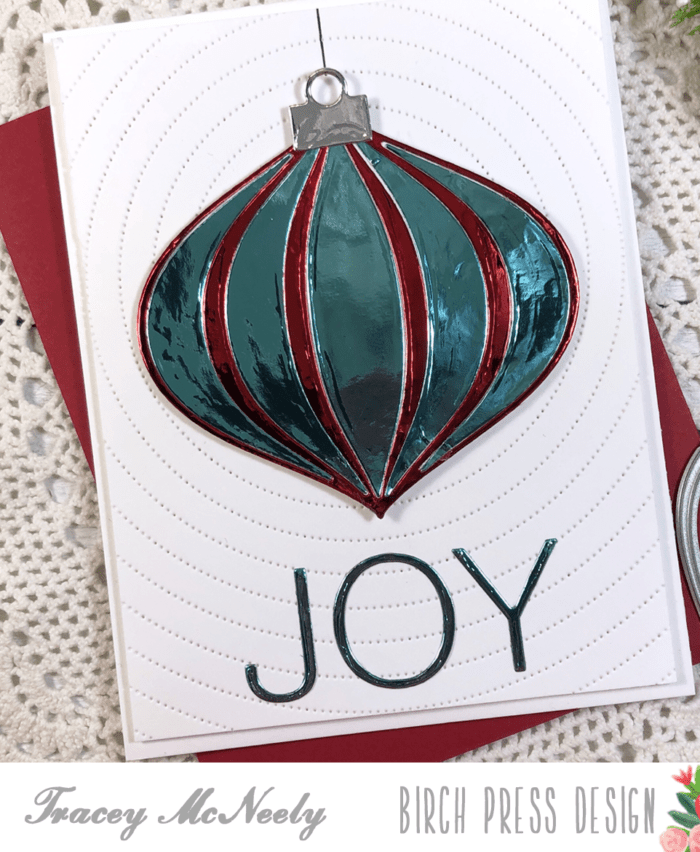
    For the next two cards I cut the ornament shape from the Ornament Basics die set in white carstock. I cut the Marisol Ornament Layer A in both light aqua and red saving the interior pieces so I could inlay the red pieces into the light aqua bauble and the light aqua pieces into the red bauble.

    The ornament caps were die cut in silver foil using the Ornament Basics die set. I drew the ornament strings with a Copic Mutiliner and adhered the ornaments with foam tape. The word ‘Joy’ was die cut in red foil using the Simple Joy die set for the red inlay card and the light aqua for the light aqua inlay card.

    These cards turned out even more elegant than I thought they would. There is something so beautiful about cardmaking with foil.

    Thank you for stopping in today to craft with me. I hope I have inspired you to make a few more cards before for close the door on Christmas for 2020. Come back again for more inspiration here on the Birch Press Design blog!

    Supplies
  • Using Your Dies to Create a Scene

    Using Your Dies to Create a Scene

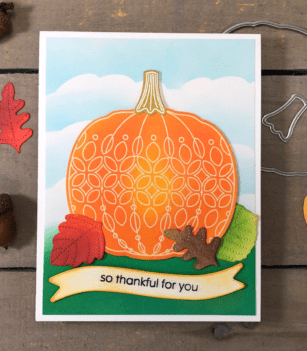
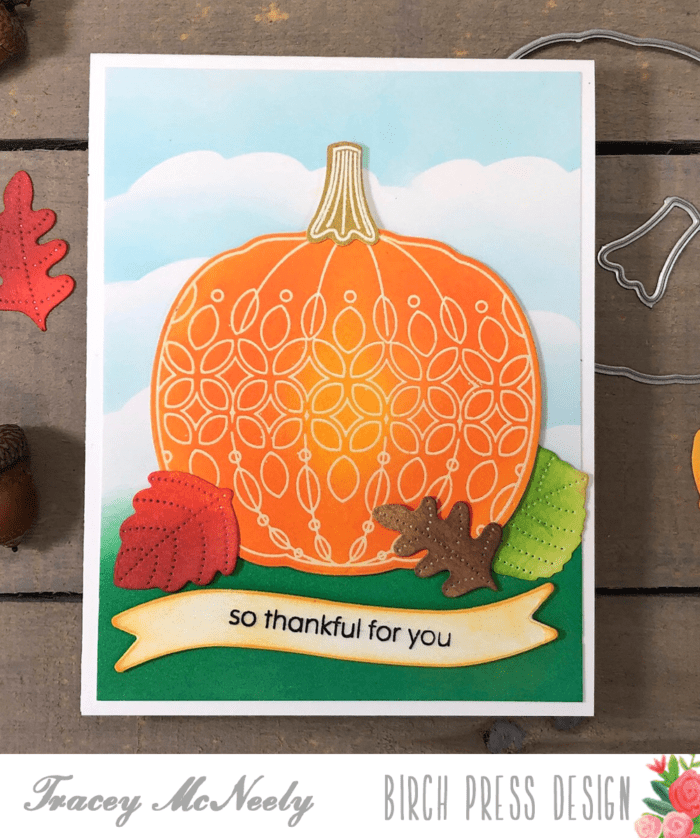
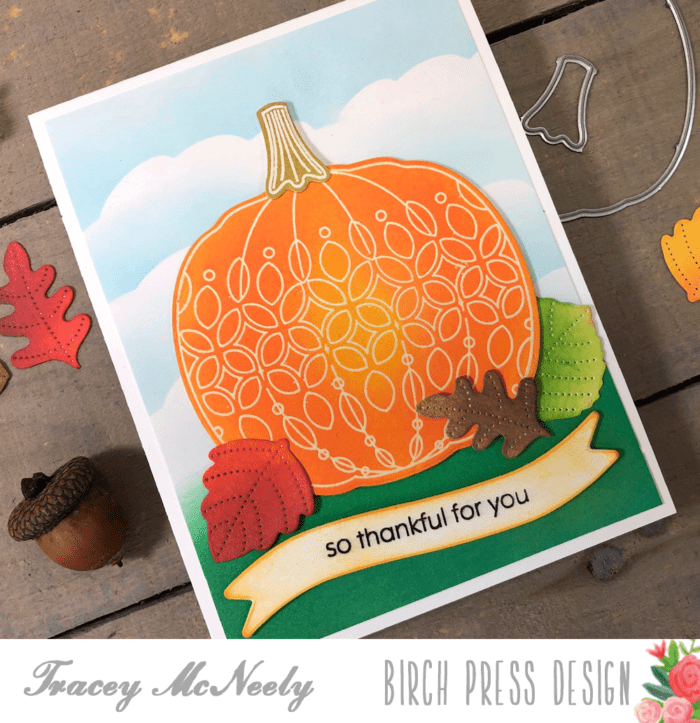
    Hi there, it’s Tracey back here today and I have a quick tutorial to show you how I got inventive with my dies to help me create a scene on a grassy field.

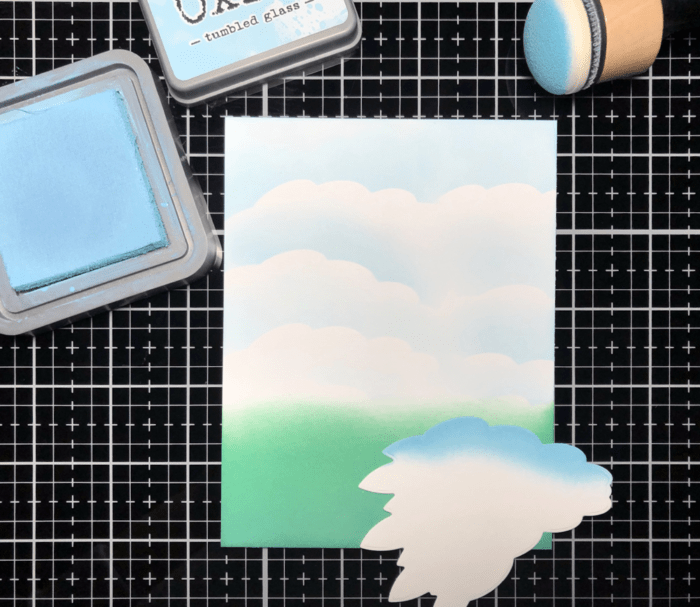
    I started off with a panel of Bristol Smooth cardstock, my favourite for use with Disress Oxides inks. All my colouring today was done with Distress Oxide inks. I ink blended my grass at the bottom of my panel using Pine Needles and Lucky Clover inks.

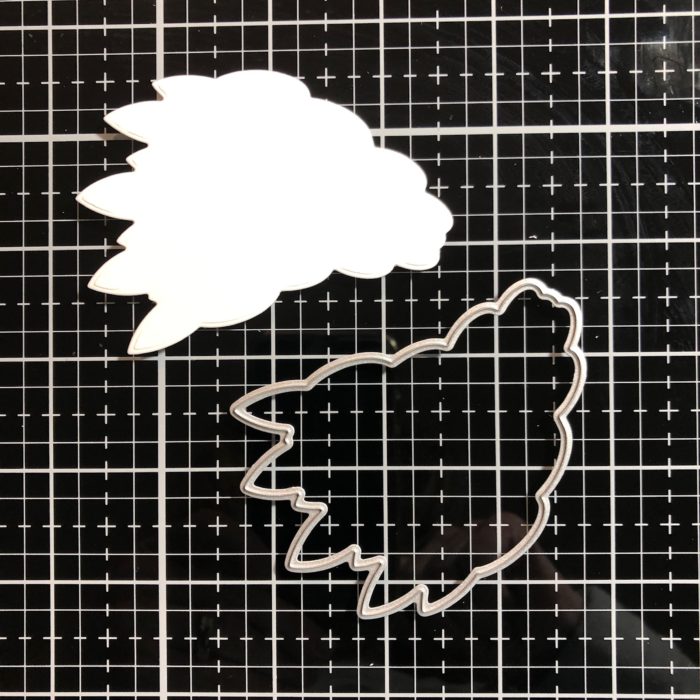
    I wanted to create clouds for my sky but I didn’t have a cloud stencil or die. So I used the Regal Peacock dies set, Layer A to make my own stencil.

    I cut the tail using lightweight cardstock, and turned the tail on it side and blended a cloudy sky using Tumbled Glass ink. Moving the stencil along from left to right, carefully turning it to fit the cloudy scene I was trying to make. Now that my background is done I set it aside to dry while I worked on the rest of the card.

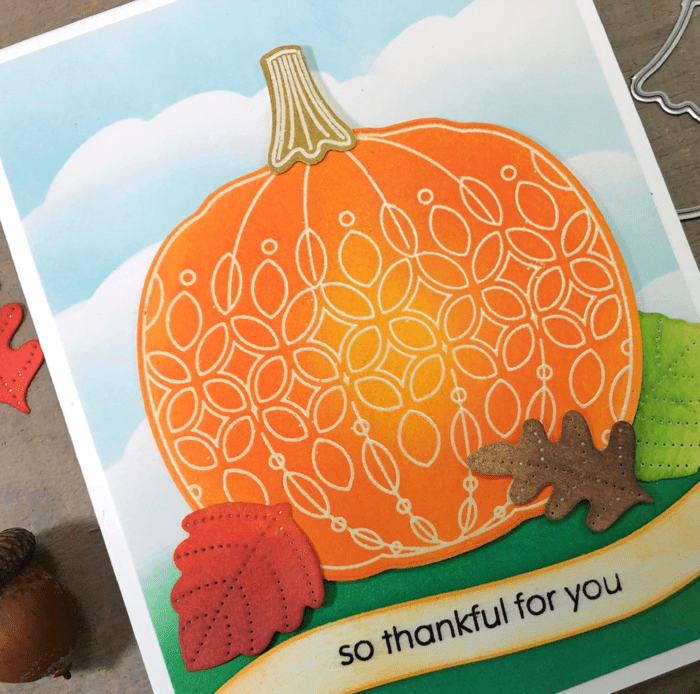
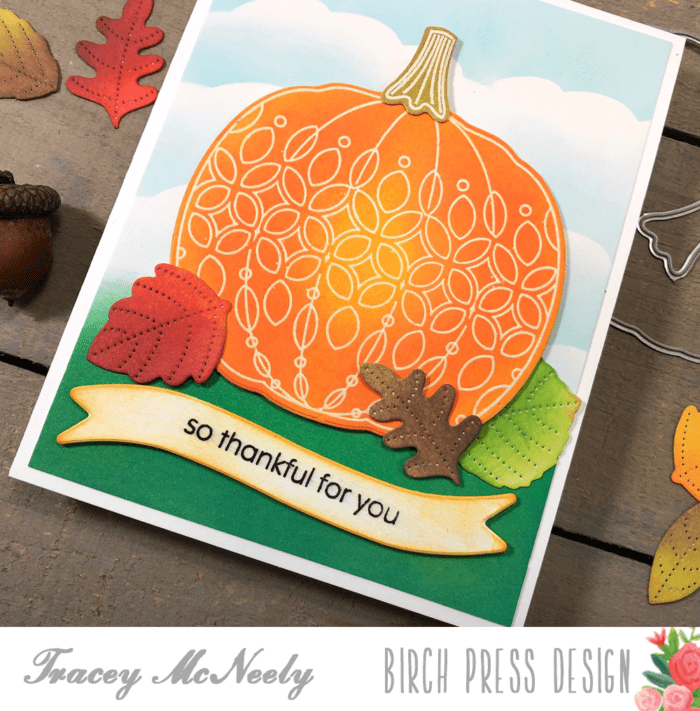
    The pumpkin and stem from the Pumpkin Lacework stamp set were stamped and clear embossed on Bristol Cardstock once again. I blended Wild Honey, Spiced Marmalade and Carved Pumpkin ink over the embossed pumpkin to add a bit of shading and dimension. I blended Peeled Paint and Frayed Burlap ink over the pumpkin stem. I cut the ink blended shapes out with the coordinating dies.

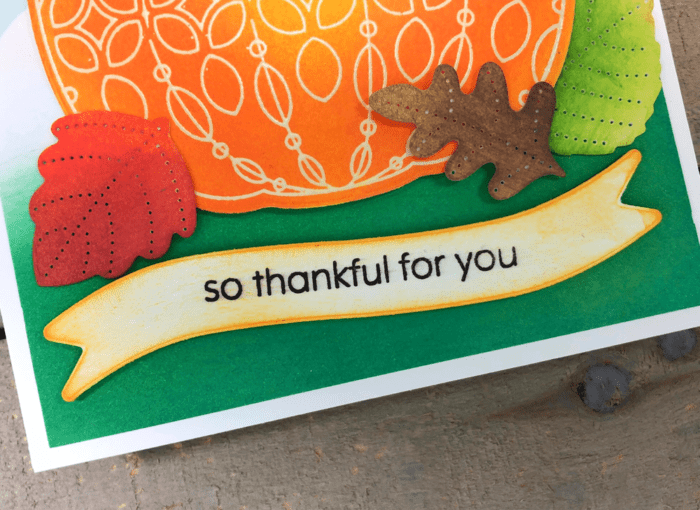
    The leaves that are around the base of the pumpkin are from Layer B of the Autumn Breeze dies set. After I cut the panel, with Bristol Smooth cardstock, I ink blended the individual leaves in autumn colours.

    I cut the wavy banner die from the Christmas Ornaments and Labels stamps set from white cardstock. Then I stamped a sentiment is from the You Are Awesome stamp set on to the banner. When I picked up the banner I got a bit of orange ink on to the one side of the banner. No need to start again, I just blended orange ink all around the banner. So now it is just between you and me!

    It was so fun to create a my scene using just what I had on hand. The peacock tail die came in handy to create those clouds in my scene. I  hope I have encouraged you to look at your supplies a bit differently. Just another way to maximize the use of what you have.
    Thanks so much for stopping in today and have a wonderful week!

    Supplies
  • Rainbow Joy Snowflake | by Tracey McNeely

    Rainbow Joy Snowflake | by Tracey McNeely

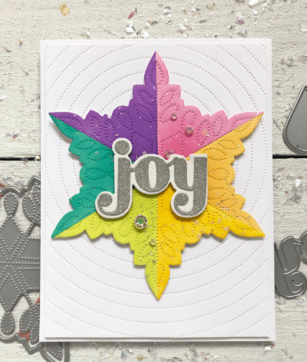
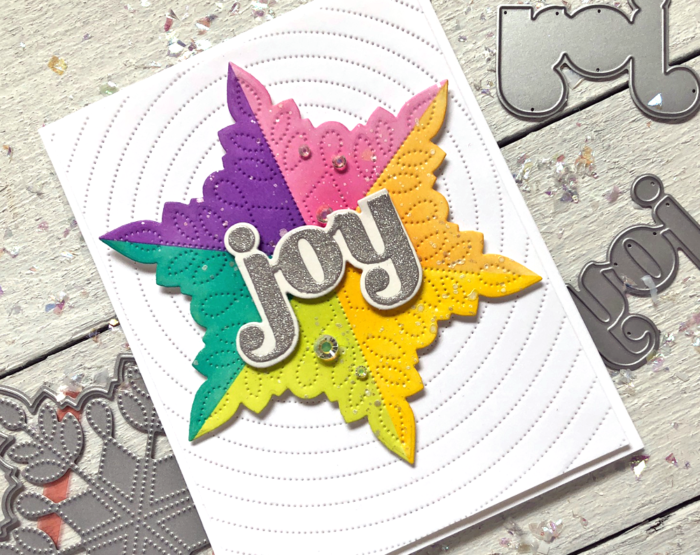
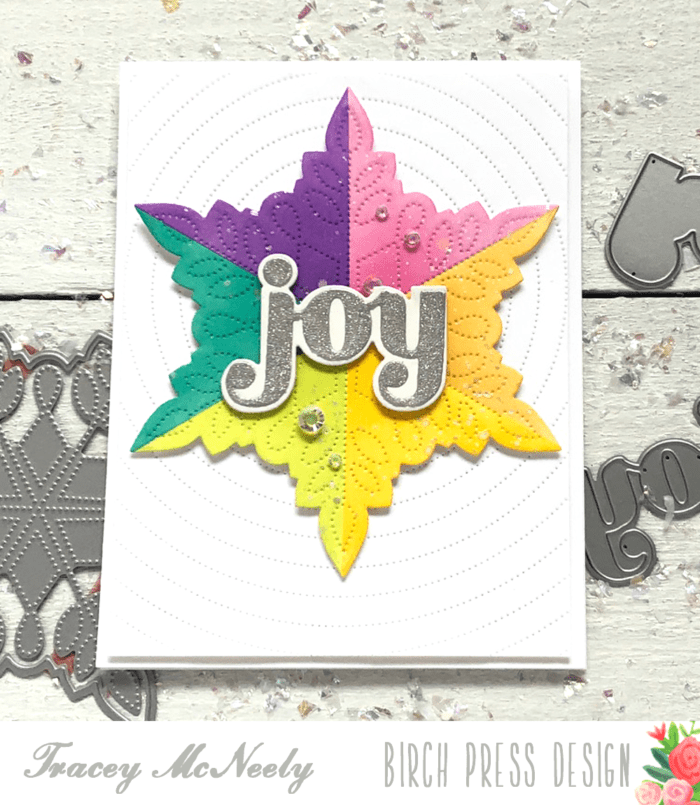
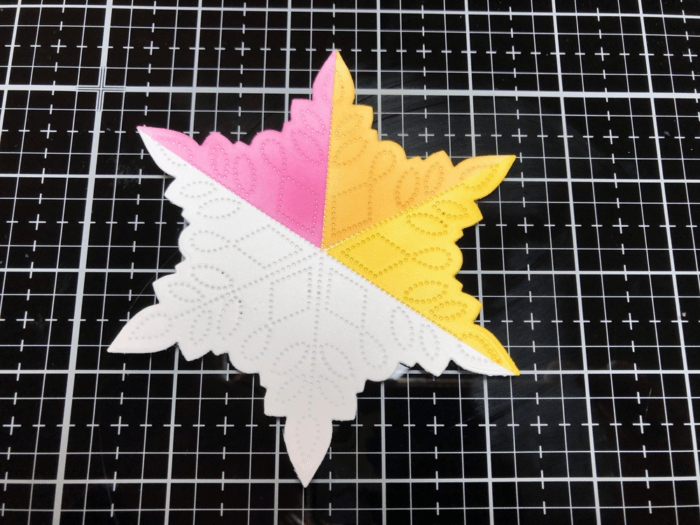
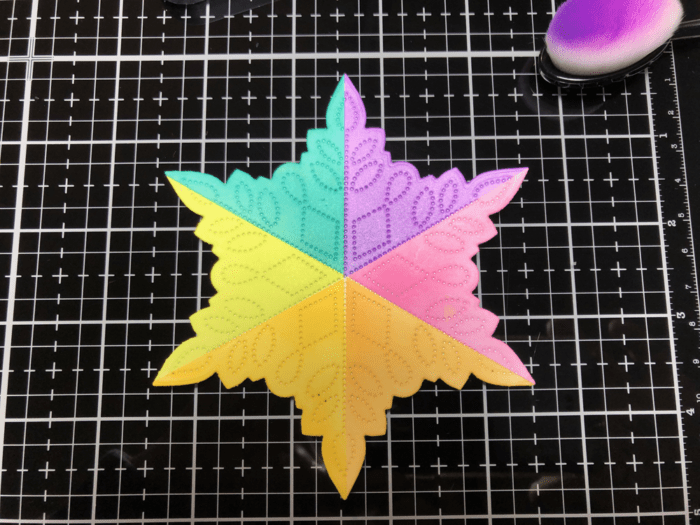
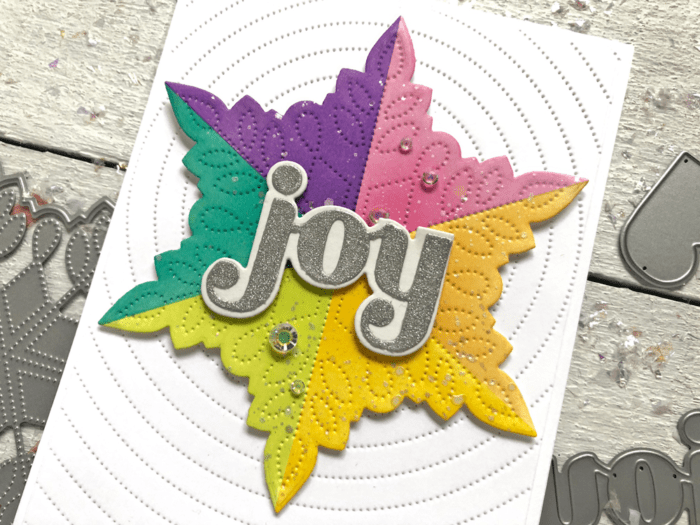
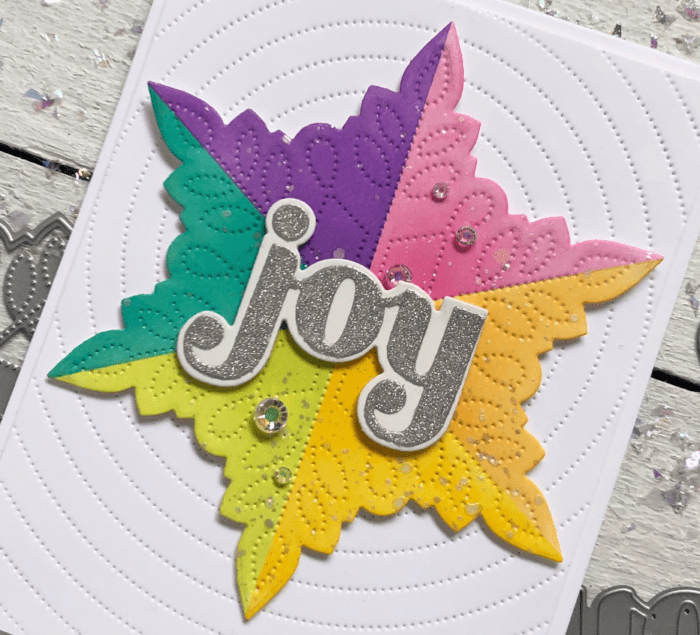
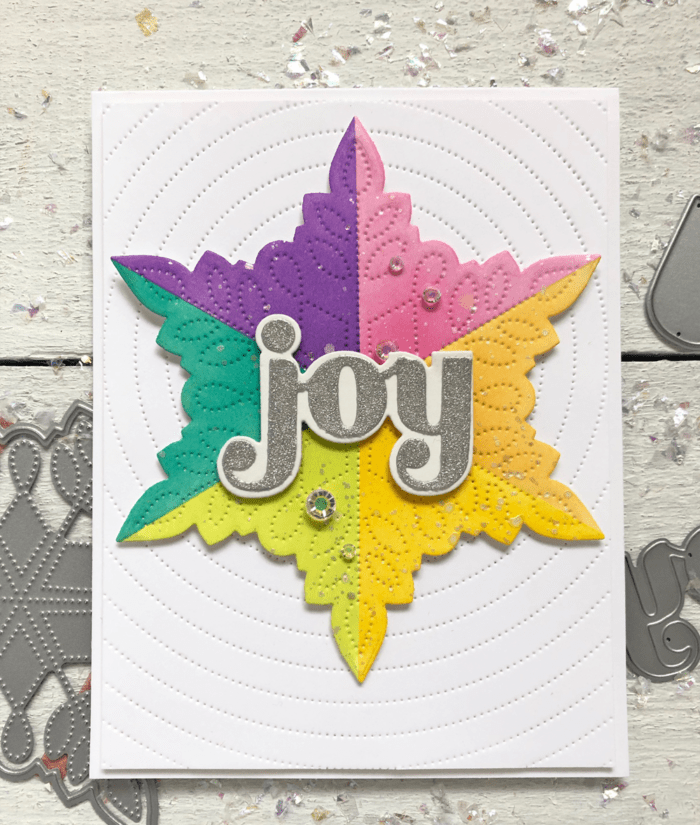
    Hi there crafty friends, its Tracey here today with a tutorial on how I created this pretty rainbow snowflake using the newly released Pinpoint Snowflake die.

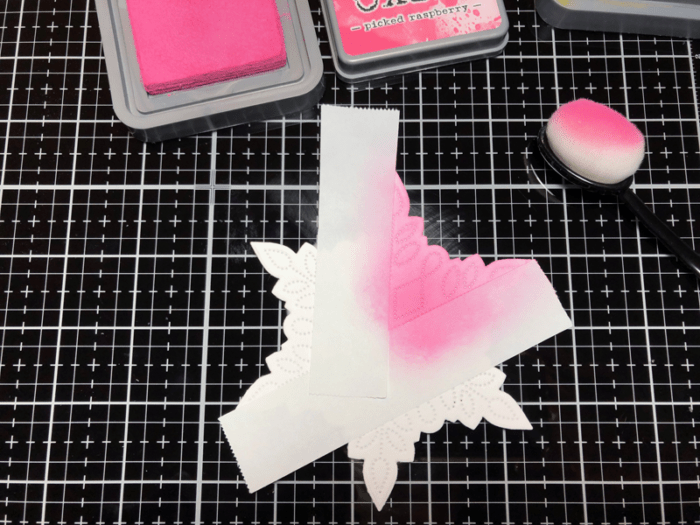
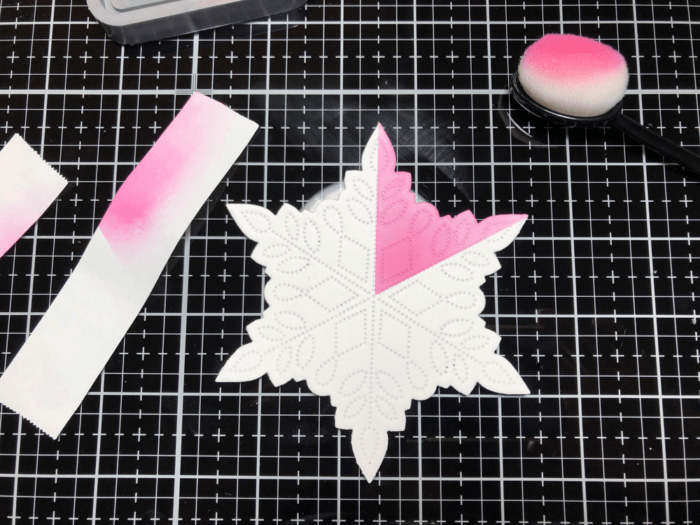
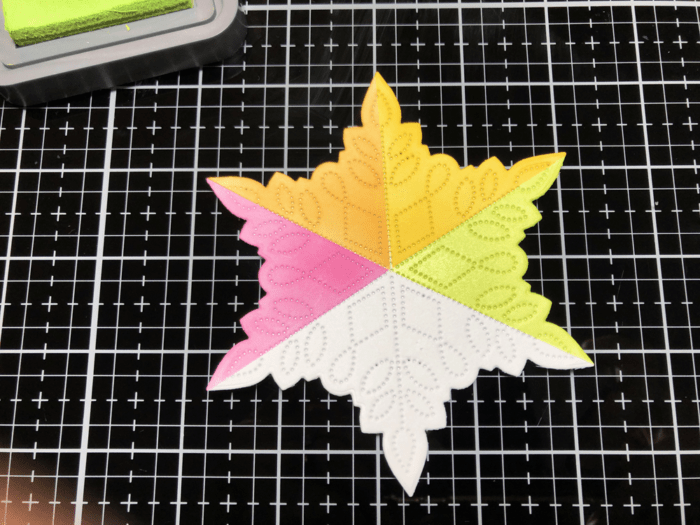
    I divided up the snowflake into 6 equal parts. Using Post-it Tape for masking along the straight pierced lines I ink blended each section with a different colour of Distress Oxide ink.
    After I ink blended the first section using Pink Raspberry and then I removed the tape to reveal a crisp line.

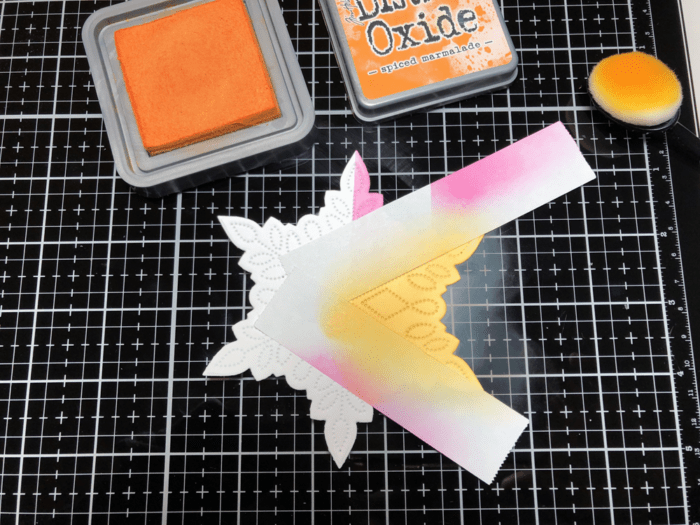
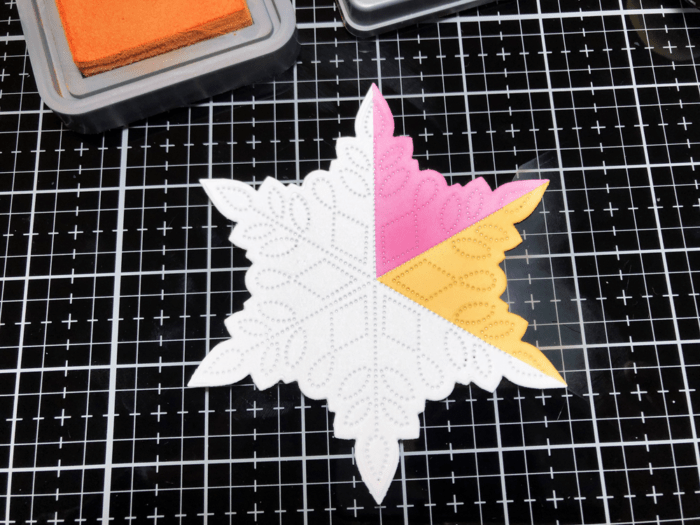
    I moved the tape to cover the section I just blended and masked off the second section. I ink blended the next section with Spiced Marmelade using the same Post-it tape. Removed the tape and set up for the next section using the same Post-it tape once again.

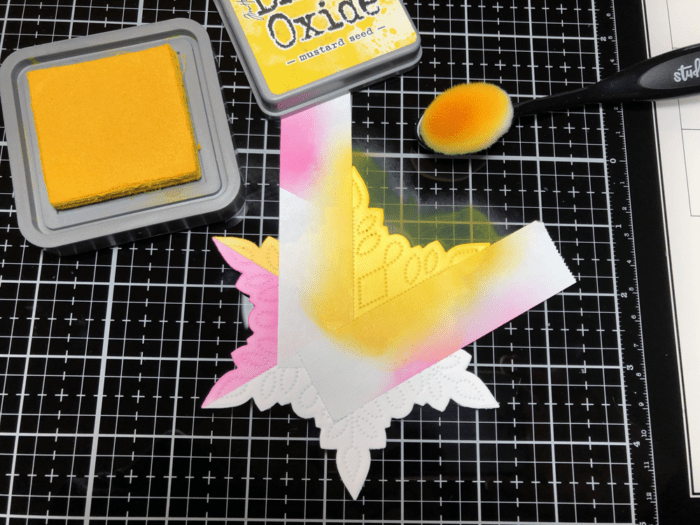
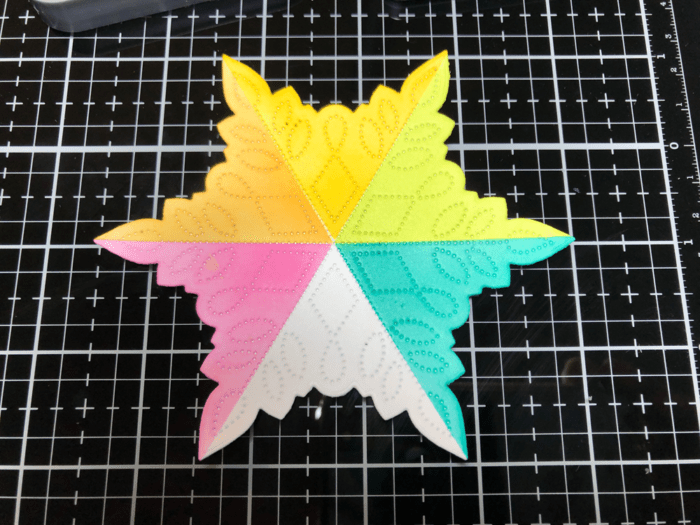
    I continued around the snowflake for the remaining three sections–Twisted Citron, Peacock Feathers and Wilted Violet. I used new Post-it tape for the last three sections so there was minimal contamination of colours.

    Ooops took this next photo from the wrong angle!

    To make this snowflake into a card I die cut the Pinpoint Radial Plate from white cardstock. I trimmed it down to 5 1/4″ x 4″. Taking an 1/8″ of of each side so the centre of the radial is still in the centre. I finished by adhering the snowflake to the radial panel over the card base with foam tape.

    For the sentiment I used the Big Joy Sugar Script dies. The word was cut with silver sparkle cardstock and the shadow cut from white. They were glued together and then adhered to the centre of the snowflake with foam tape once again.

    To finish it off I tucked a few sparkling crystals around the sentiment.

    Thanks so much for stopping in today I hope you give this technique a try. You can mask off and ink blend any shape or cover die that you have. It’s addictive, I promise. See you next time!

    Supplies