
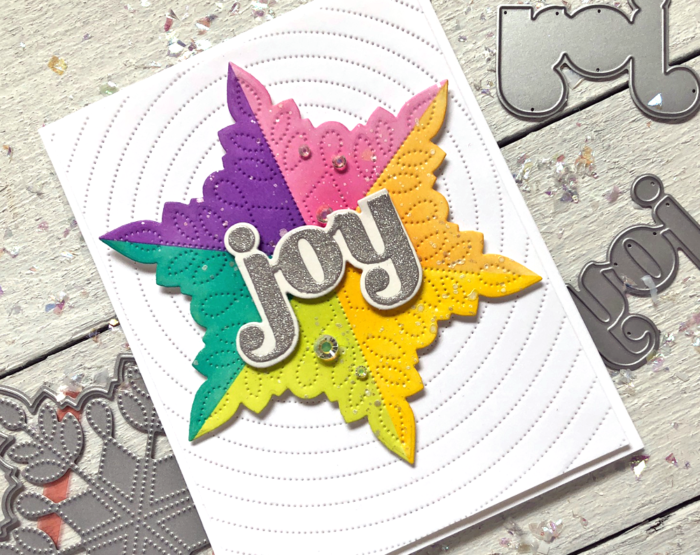
Hi there crafty friends, its Tracey here today with a tutorial on how I created this pretty rainbow snowflake using the newly released Pinpoint Snowflake die.
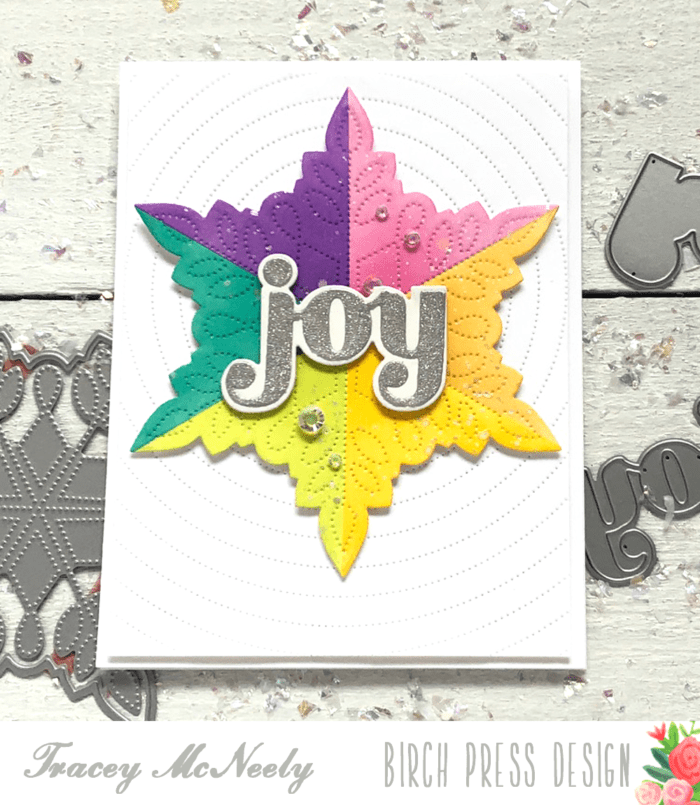
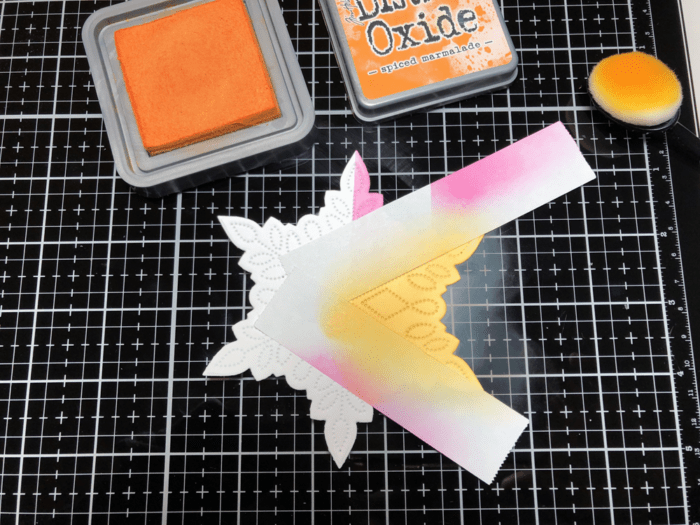
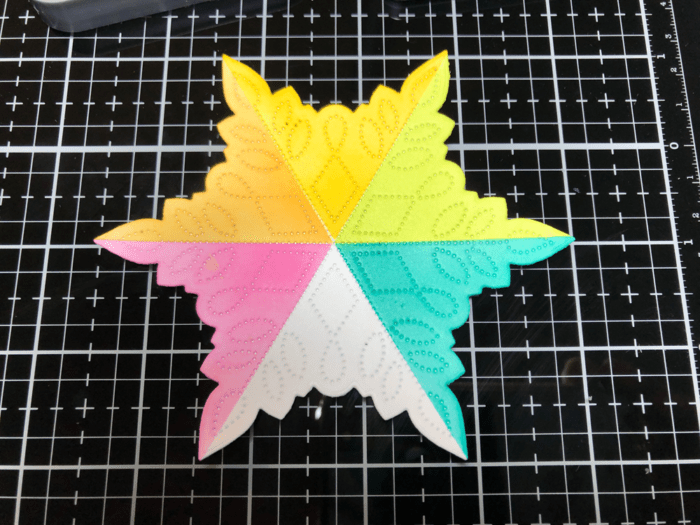
I divided up the snowflake into 6 equal parts. Using Post-it Tape for masking along the straight pierced lines I ink blended each section with a different colour of Distress Oxide ink.
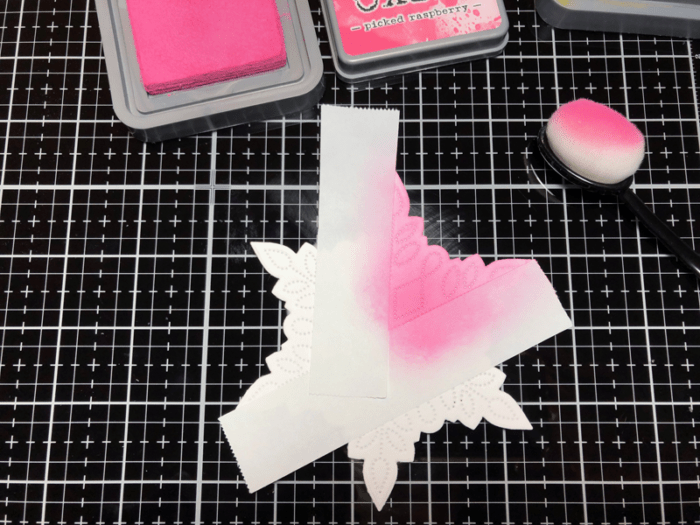
After I ink blended the first section using Pink Raspberry and then I removed the tape to reveal a crisp line.
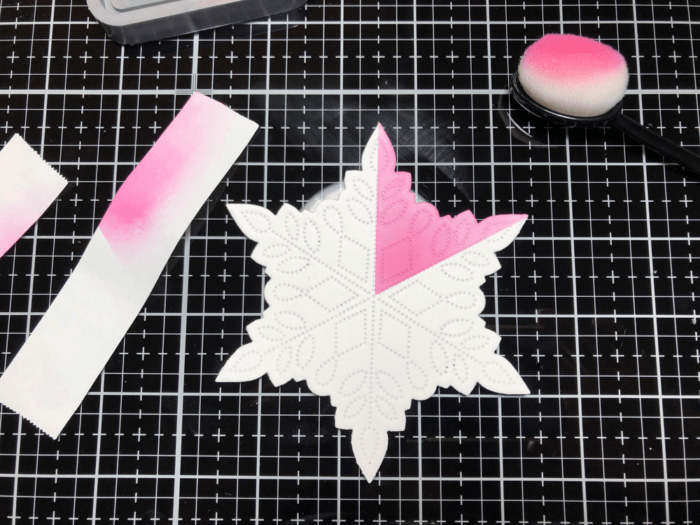
I moved the tape to cover the section I just blended and masked off the second section. I ink blended the next section with Spiced Marmelade using the same Post-it tape. Removed the tape and set up for the next section using the same Post-it tape once again.
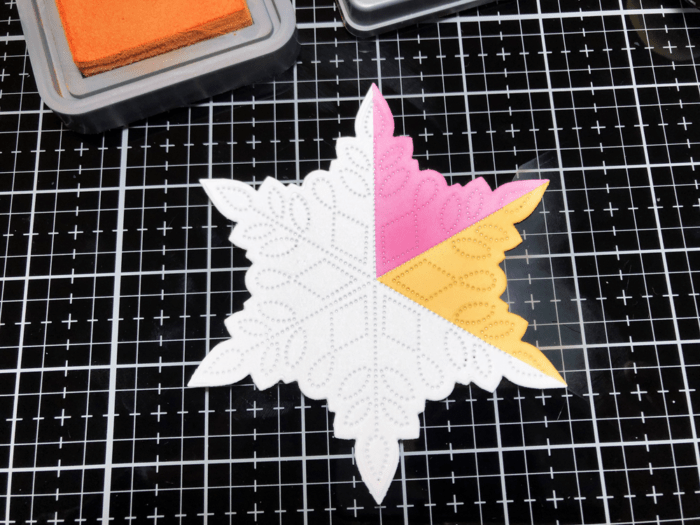

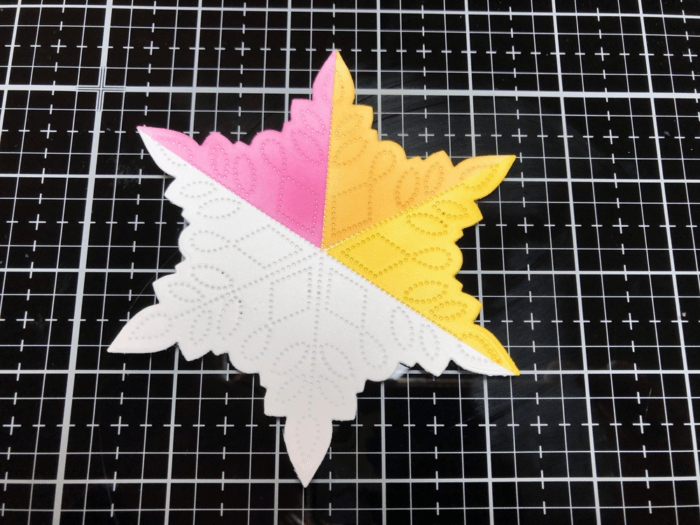
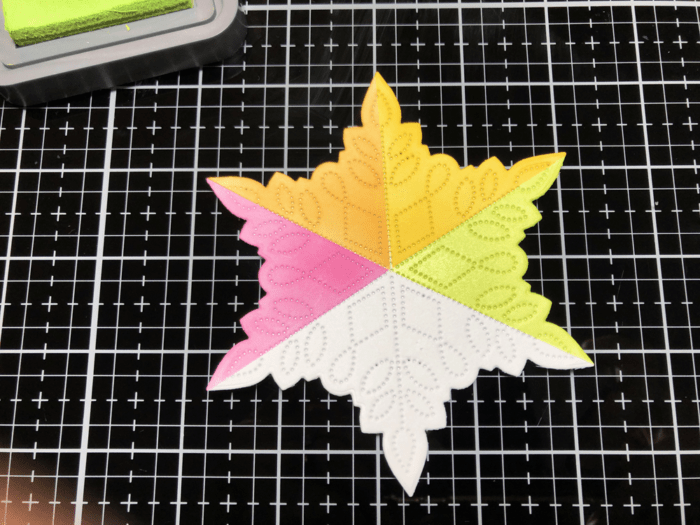
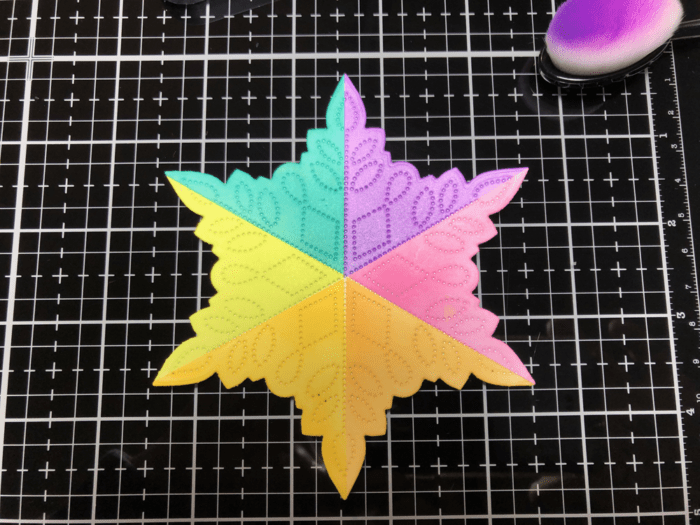
I continued around the snowflake for the remaining three sections–Twisted Citron, Peacock Feathers and Wilted Violet. I used new Post-it tape for the last three sections so there was minimal contamination of colours.
Ooops took this next photo from the wrong angle!
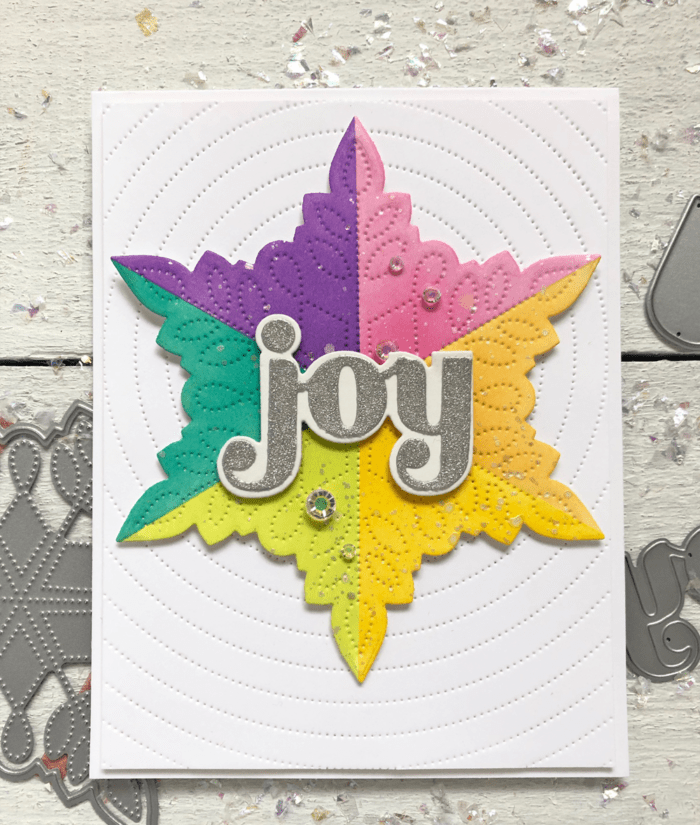
To make this snowflake into a card I die cut the Pinpoint Radial Plate from white cardstock. I trimmed it down to 5 1/4″ x 4″. Taking an 1/8″ of of each side so the centre of the radial is still in the centre. I finished by adhering the snowflake to the radial panel over the card base with foam tape.
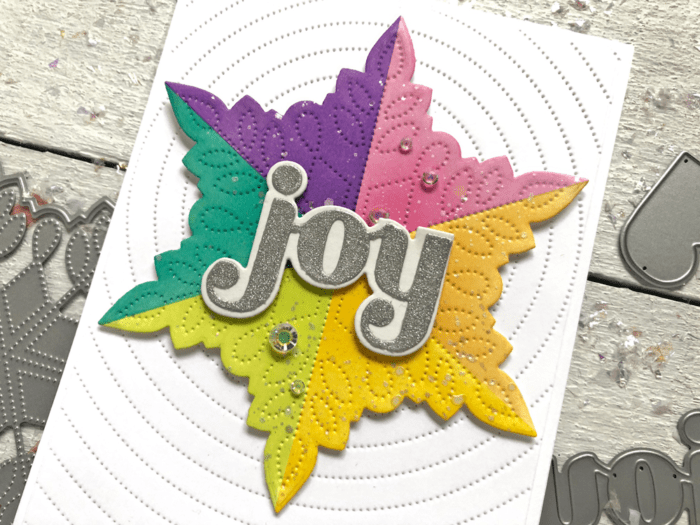
For the sentiment I used the Big Joy Sugar Script dies. The word was cut with silver sparkle cardstock and the shadow cut from white. They were glued together and then adhered to the centre of the snowflake with foam tape once again.
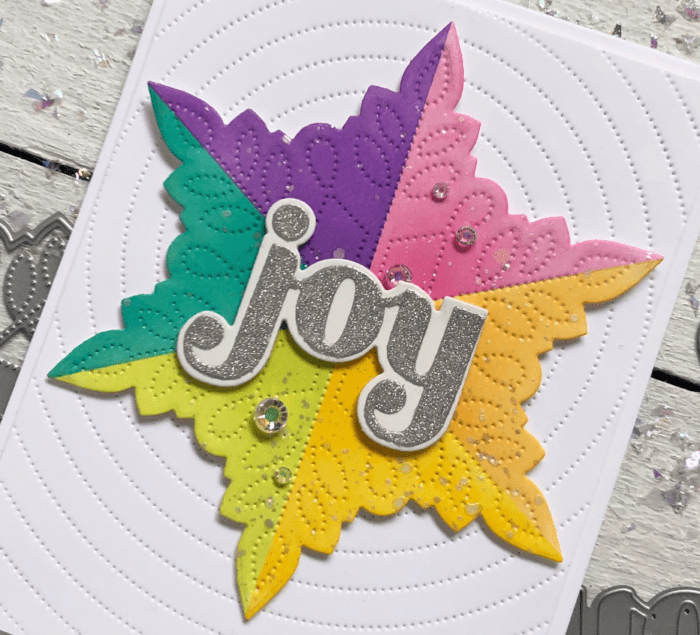
To finish it off I tucked a few sparkling crystals around the sentiment.
Thanks so much for stopping in today I hope you give this technique a try. You can mask off and ink blend any shape or cover die that you have. It’s addictive, I promise. See you next time!

Supplies


Comments
One response to “Rainbow Joy Snowflake | by Tracey McNeely”
Oh how fun! The colors are marvelous Tracey, what a great card!