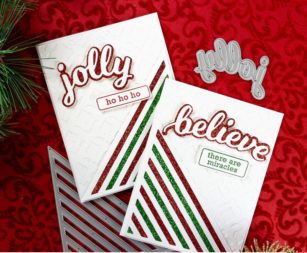
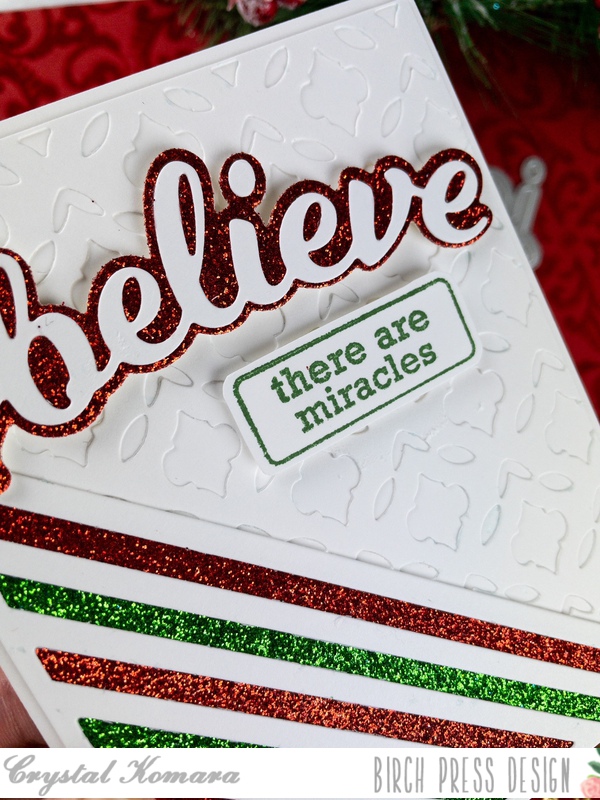
Hello readers! Happy Monday! I hope you all had a wonderful weekend and hopefully found the time to do something crafty. This is Design Team member Crystal Komara here with you today sharing two cards using the Honey Script Holiday sentiments “Jolly” and “Believe” and the Linear Triangle Die in festive red and green glittery colors!
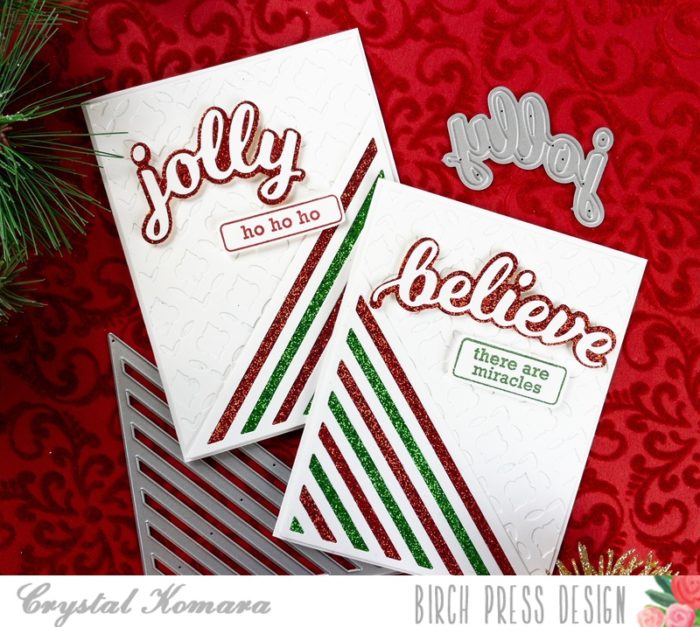
As much as I like using non-traditional colors for my holiday cards, you can never go wrong with red and green, especially when it is red and green glitter cardstock! Glitter adds so much extra sparkle and cheer!
Card details:
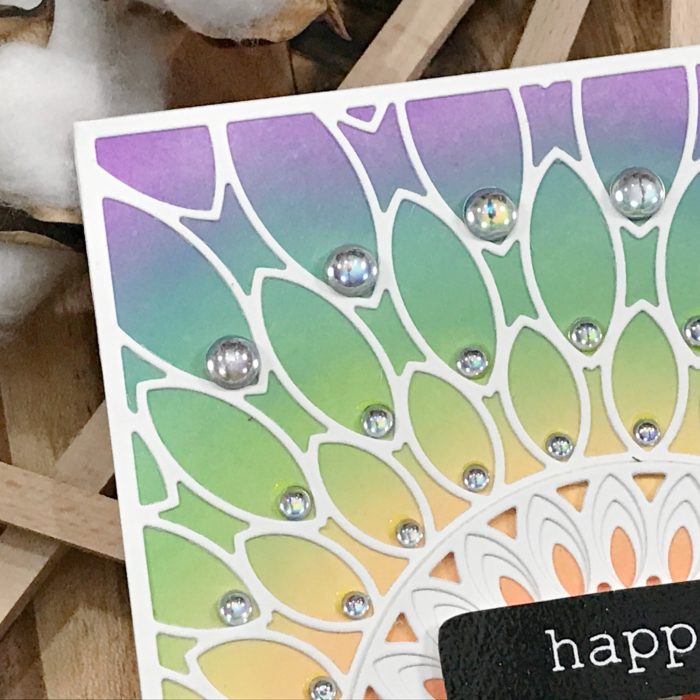
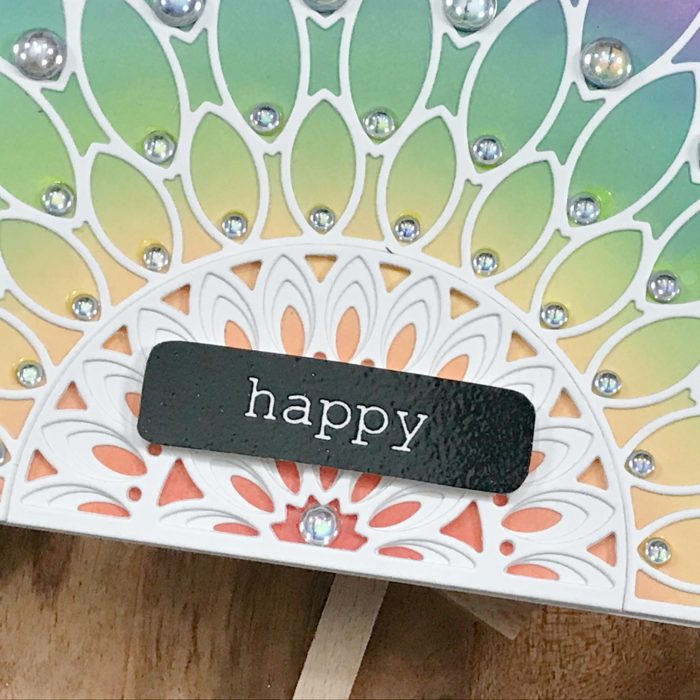
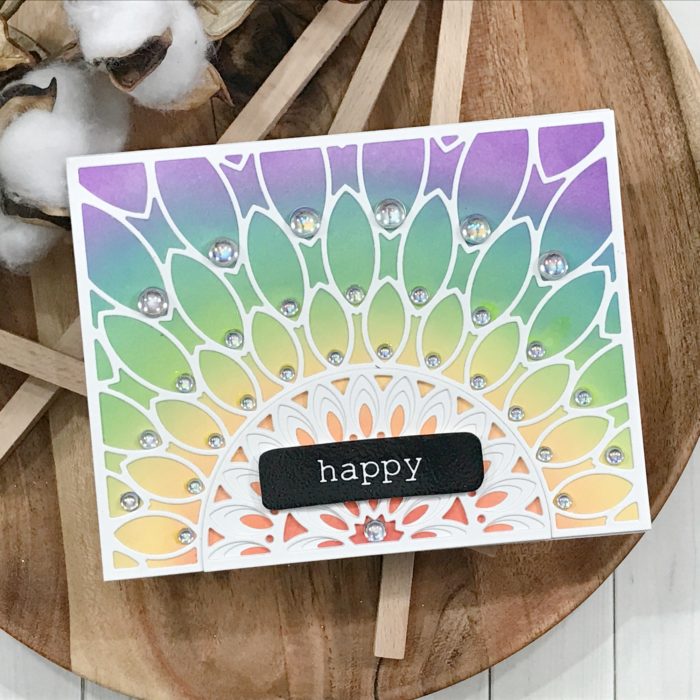
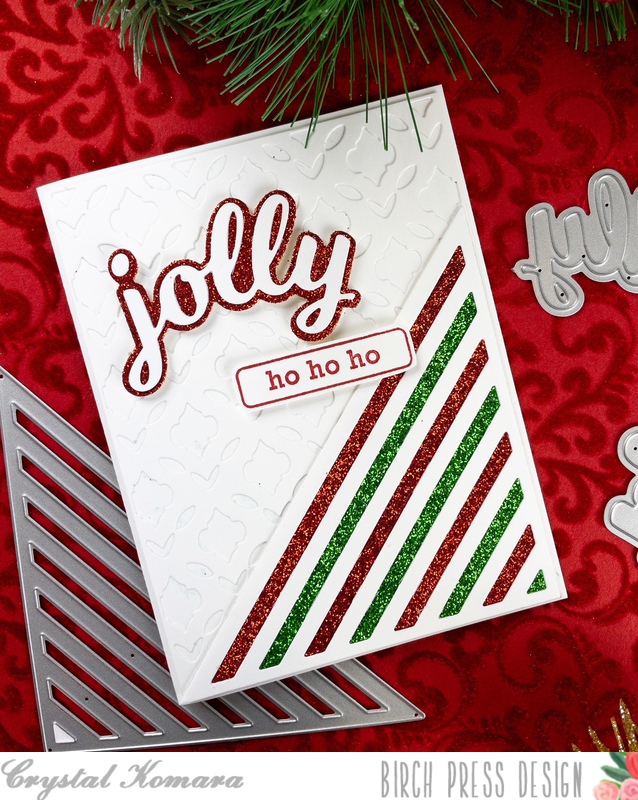
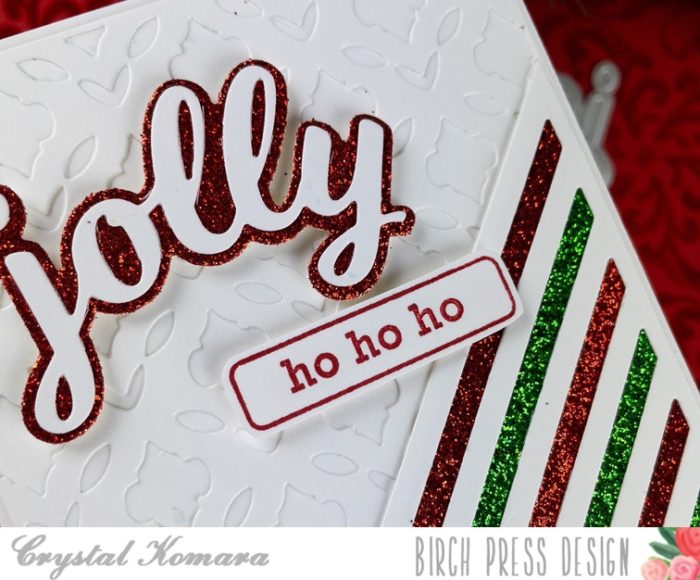
The base of this A2 sized card was made from 80 lb. Neenah Solar White Smooth cardstock. Using Layer C of the Delfina Layering die, I cut this from white cardstock and adhered it to the card as my “background.” I die cut the word “Jolly” from the Jolly Honey Script sentiment die. I die cut the larger shadow from red glitter cardstock and the thinner sentiment from white cardstock. I layered the two words together using a fine tip liquid adhesive and then adhered the sentiment to the card using 3M foam adhesive. I die cut the Linear Triangle die from white cardstock and placed strips of alternating red and green glitter paper behind each stripe. The glitter cardstock was from the Frosted 6 x 6″ paper pack. I then adhered the triangle to the lower right corner of the card. Lastly, I stamped the “ho ho ho” sentiment from the Contempo Christmas Greetings clear stamp set in red ink on white cardstock. I used the coordinating Contempo Christmas Greetings die to cut the sentiment out and adhered it to the card with 3M foam adhesive.
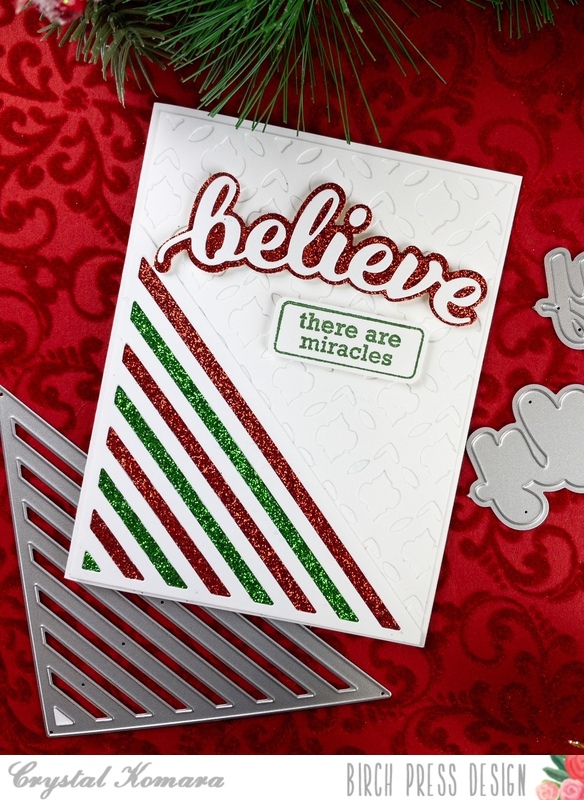
For this second A2 sized card, I followed all the same card instructions as those shown above, I simply swapped out the “jolly” sentiment for a different sentiment “believe” from the Believe Honey Script die.
I hope you have enjoyed these festive cards using lots of glitter cardstock. Thanks for visiting and have a wonderfully creative day!