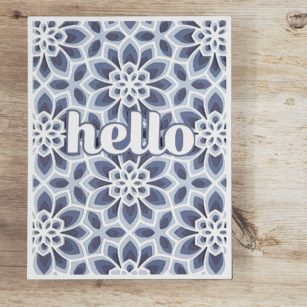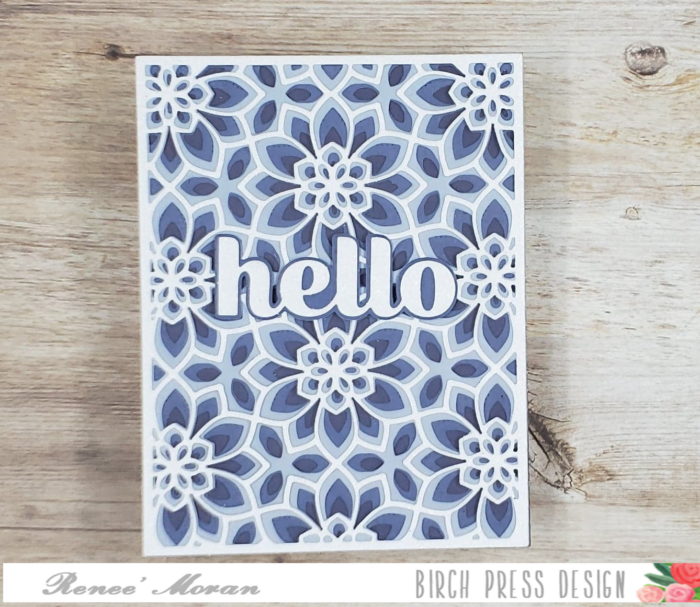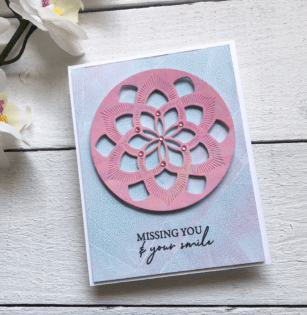

Hi there crafty friends, it’s Tracey here today and I have the pleasure of sharing a card I made using the new Arista Layer die set!
I created my own paper to use on my project using a gel press.
After making my card I realized that a lot of people are unfamiliar with what a gel press is? It is literally a clear piece of gel that you can put ink on, then lay your paper down on it and when you lift it up it transfers the ink to the paper in unique ways! I made a quick little video to show you the process I used for my background.
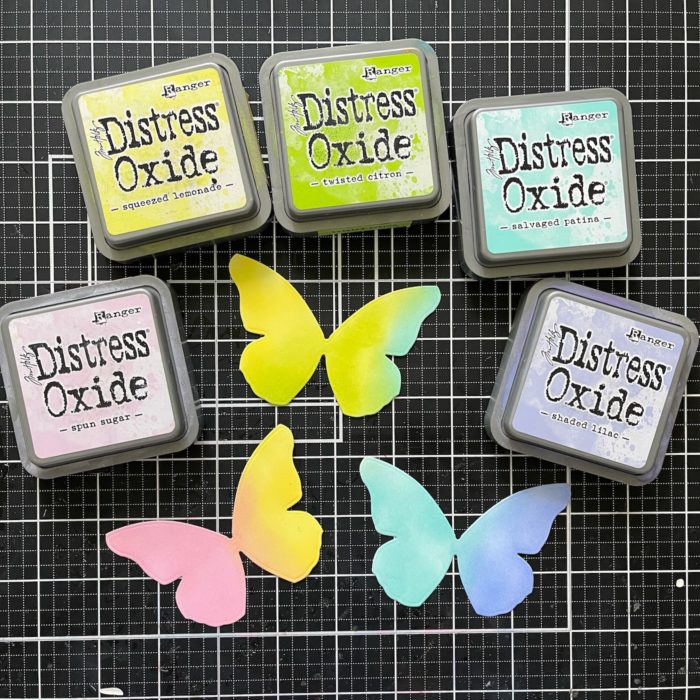
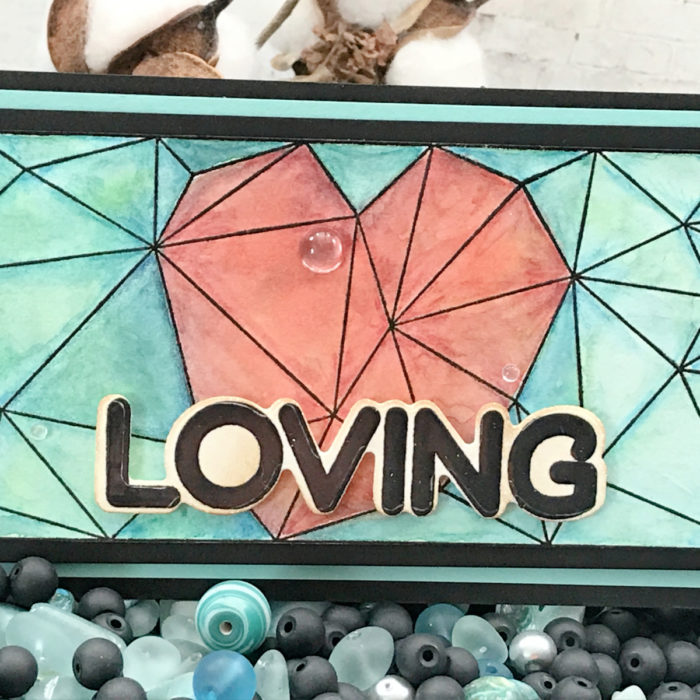
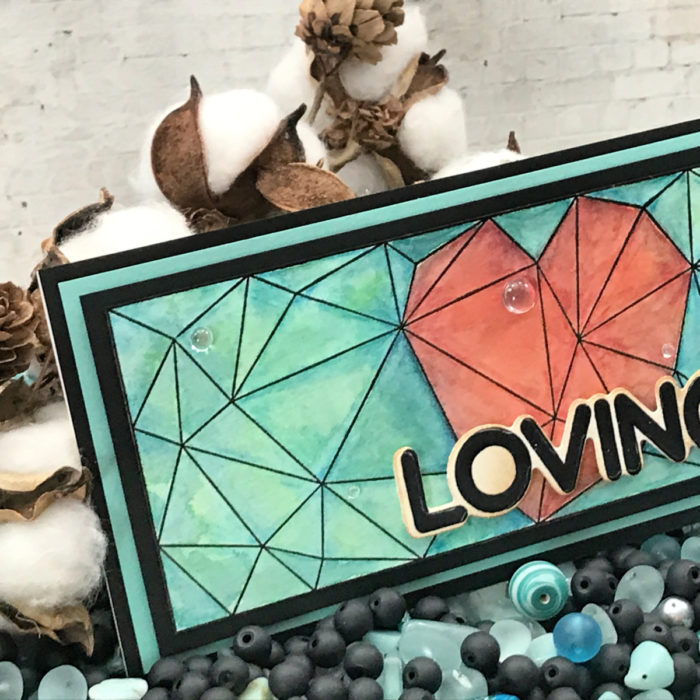
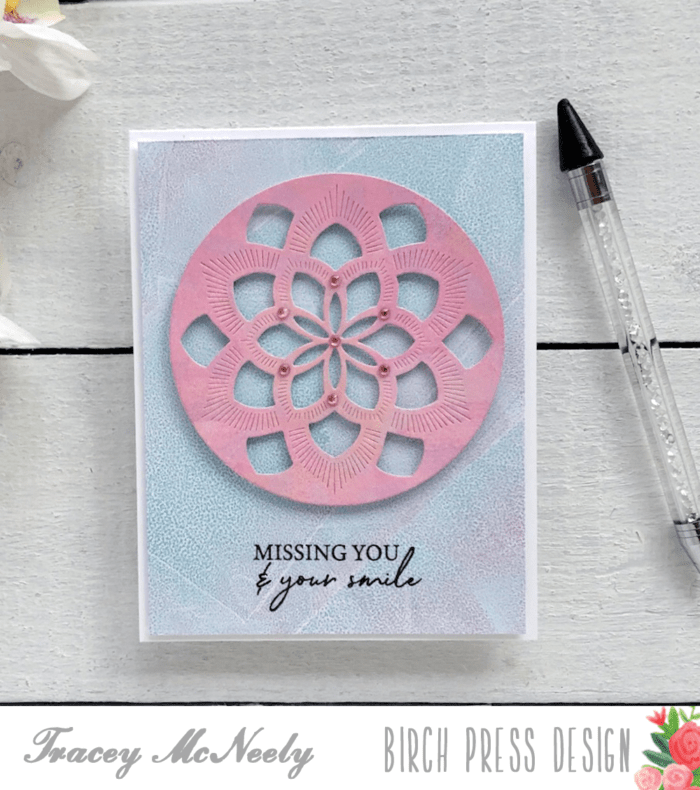
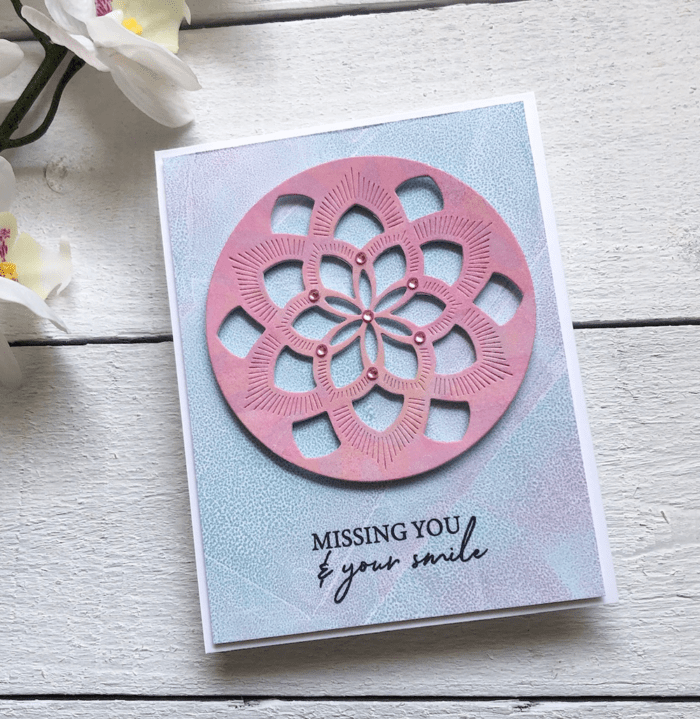
I used using Kitsch Flamingo and Salvaged Patina Distress Oxide inks to create the background panel. The fun with using the gel press is that every single print you make will be 100% unique. I set the panel aside to work on the focal die cut.
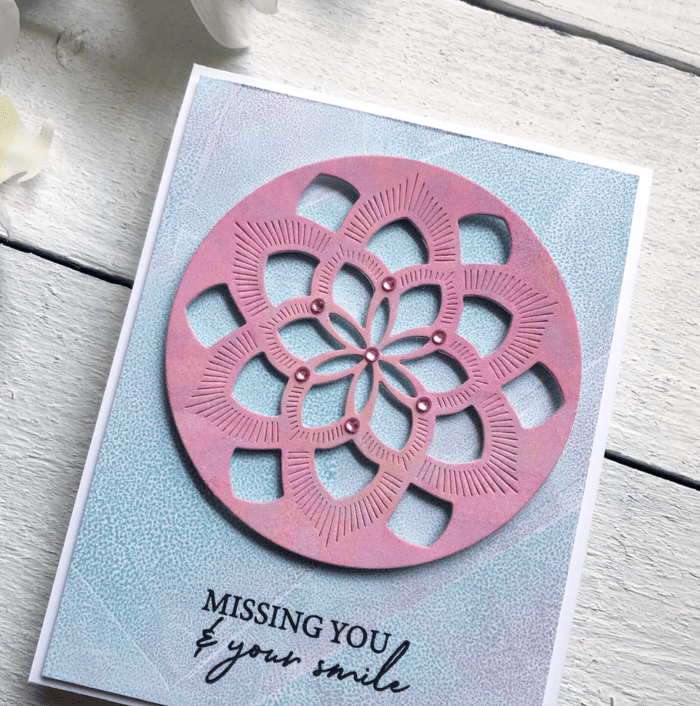
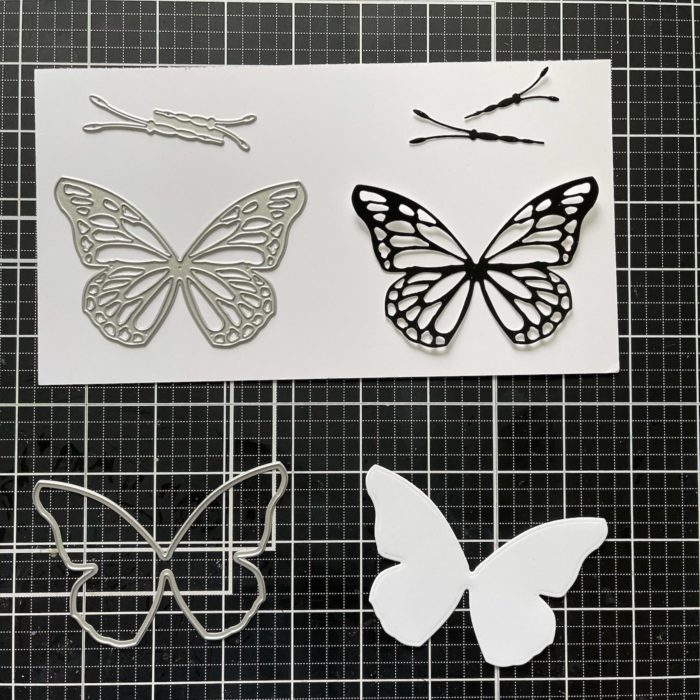
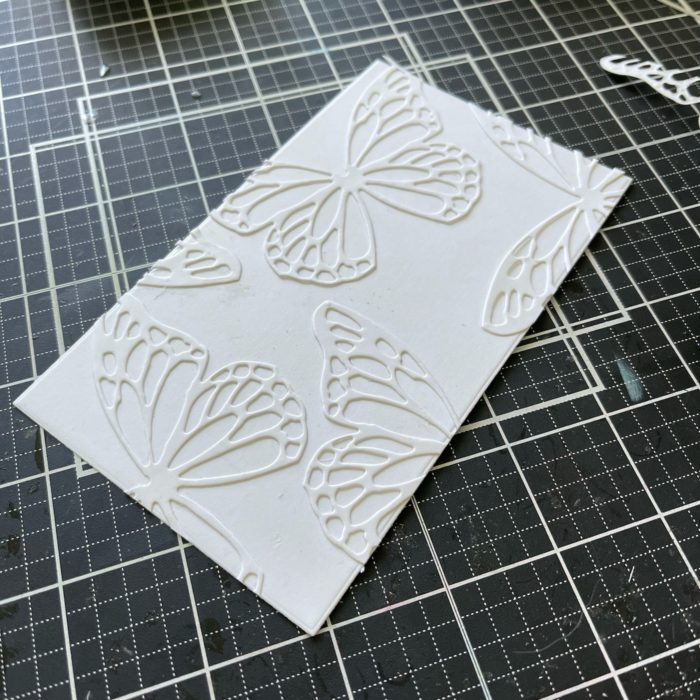
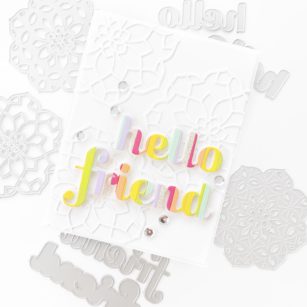
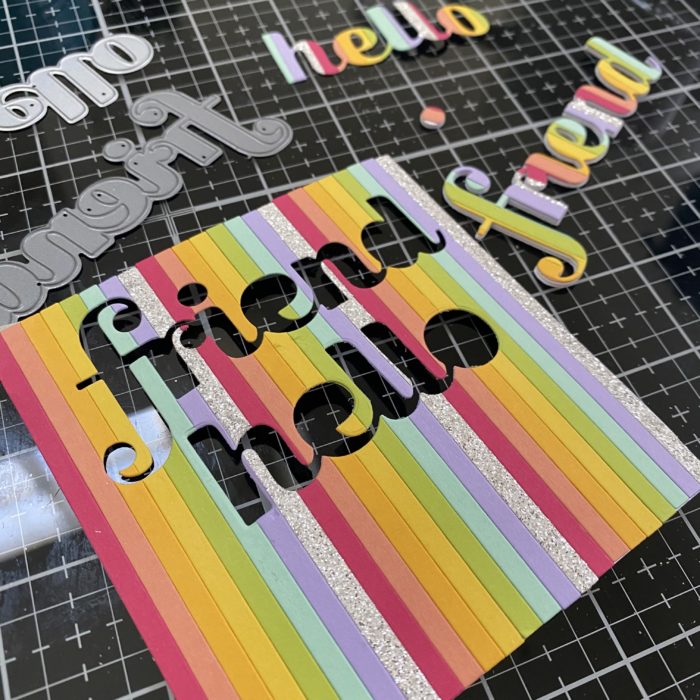
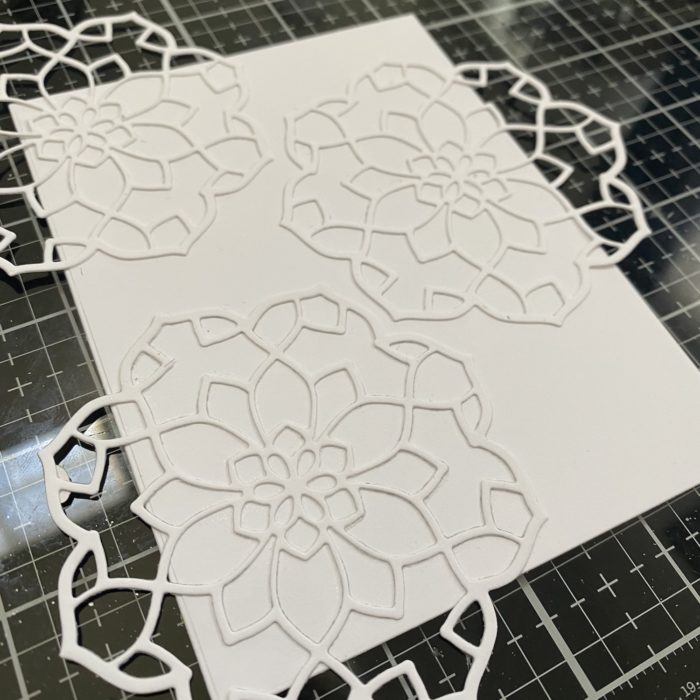
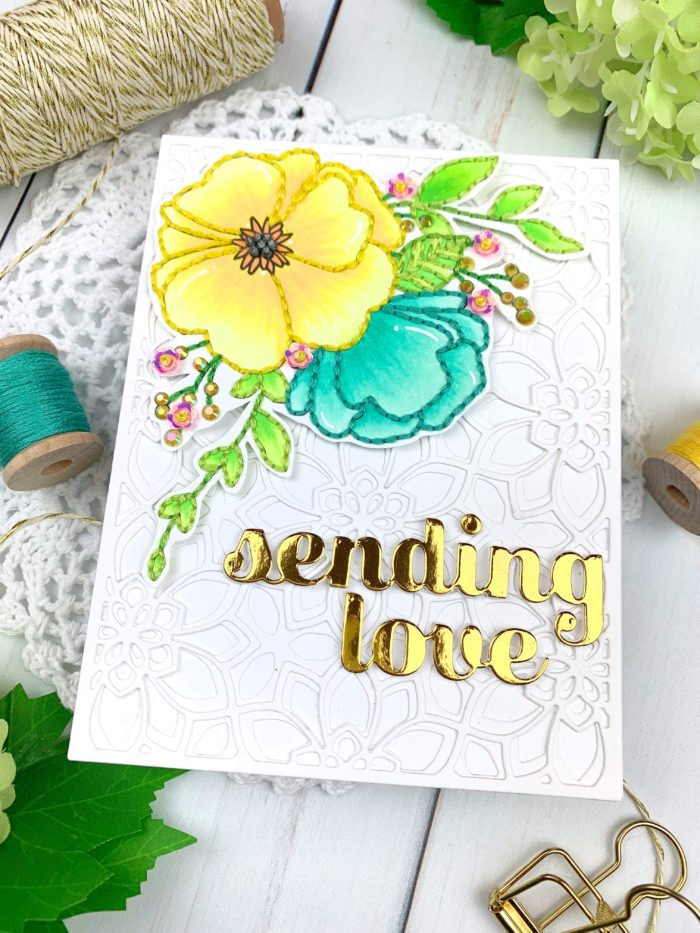
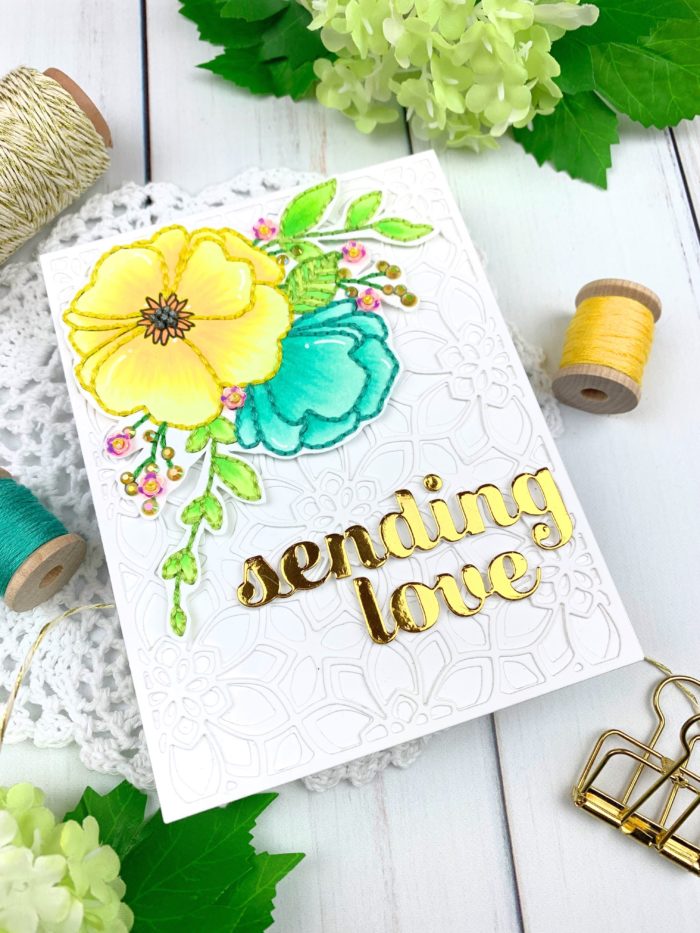
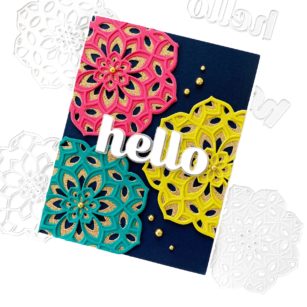
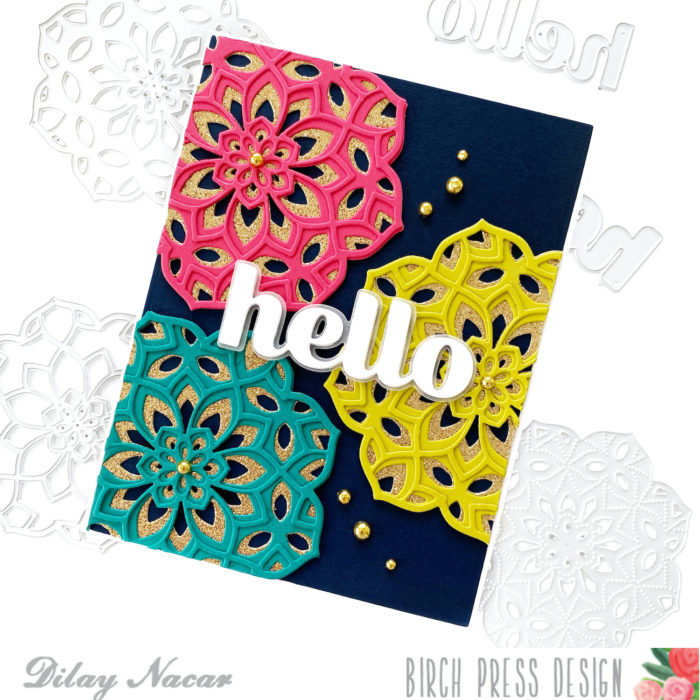
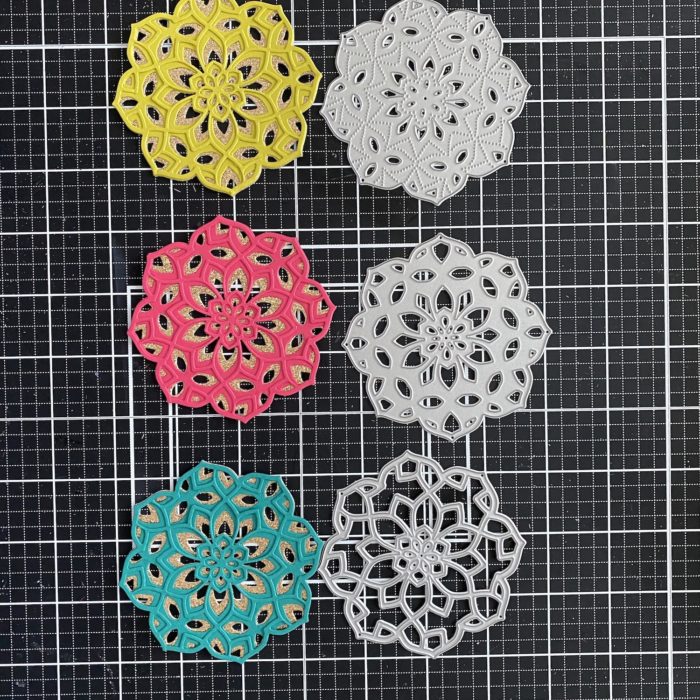
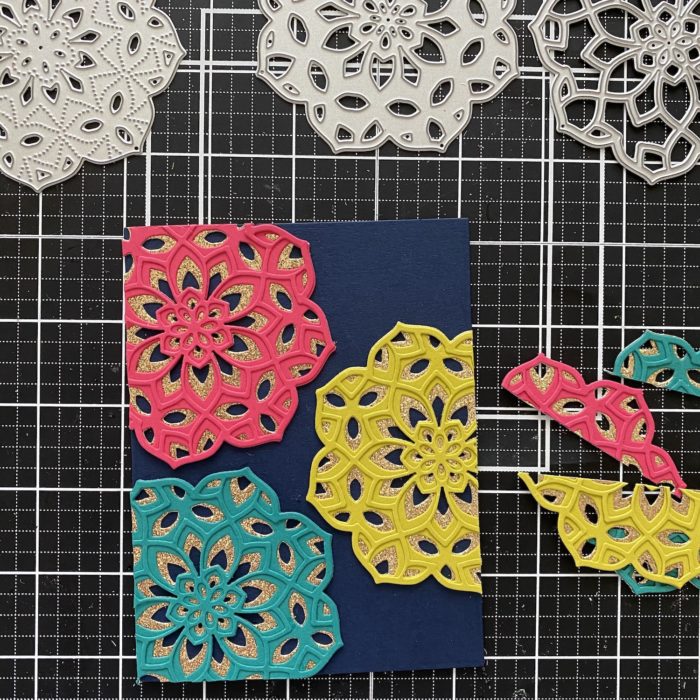
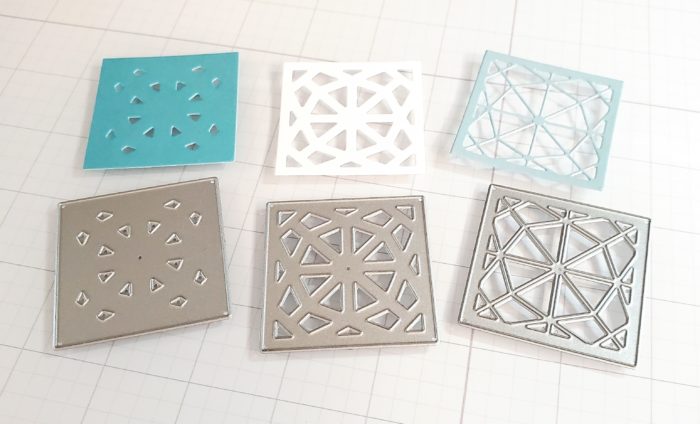
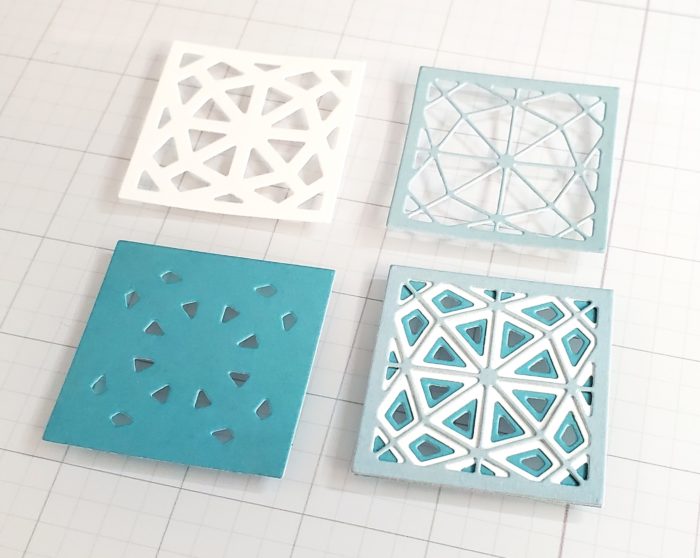
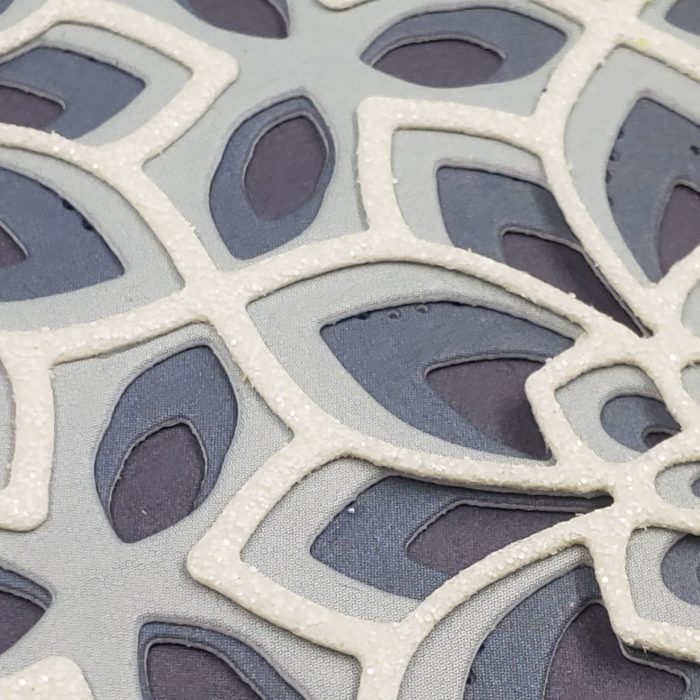
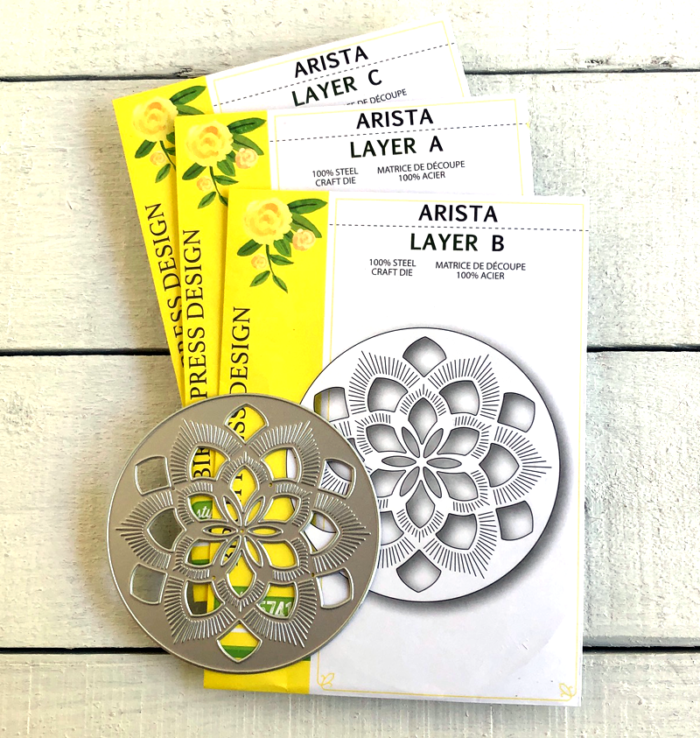
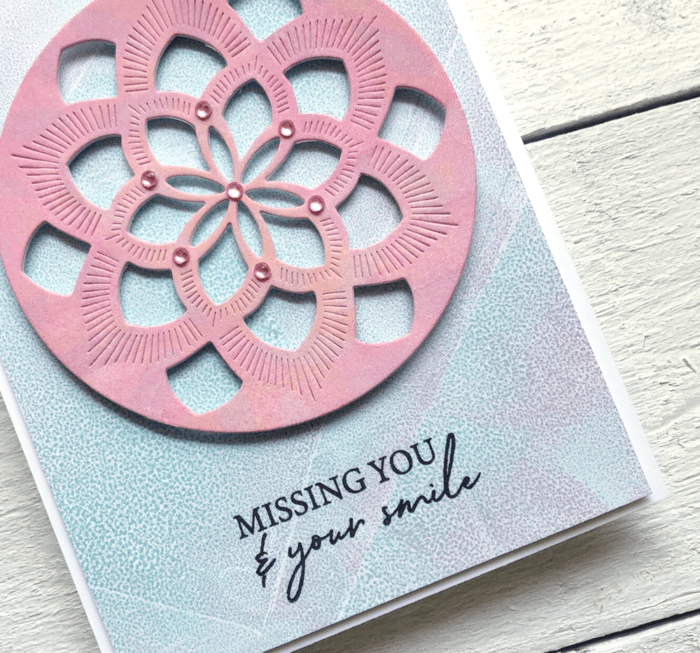
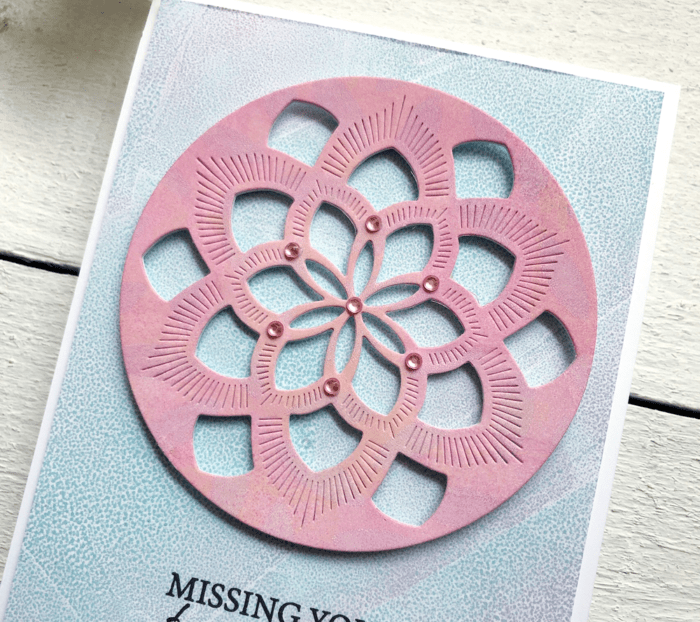
I had already made a panel using pink and yellow Distress Oxide inks–Kitsch Flamingo and Scattered Straw . I cut the Arista medallion, using only Layer B to showcase the amazing embossed detail on the die. I die cut it once from the pink/yellow panel and then two more times in white. I glued the three layers together to give it a bit of dimension.
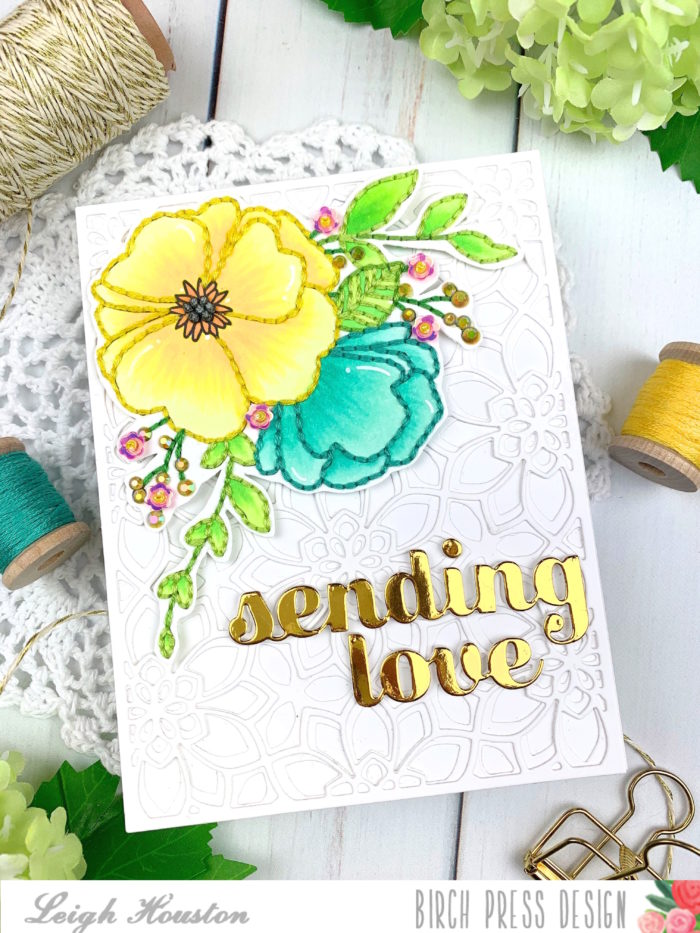
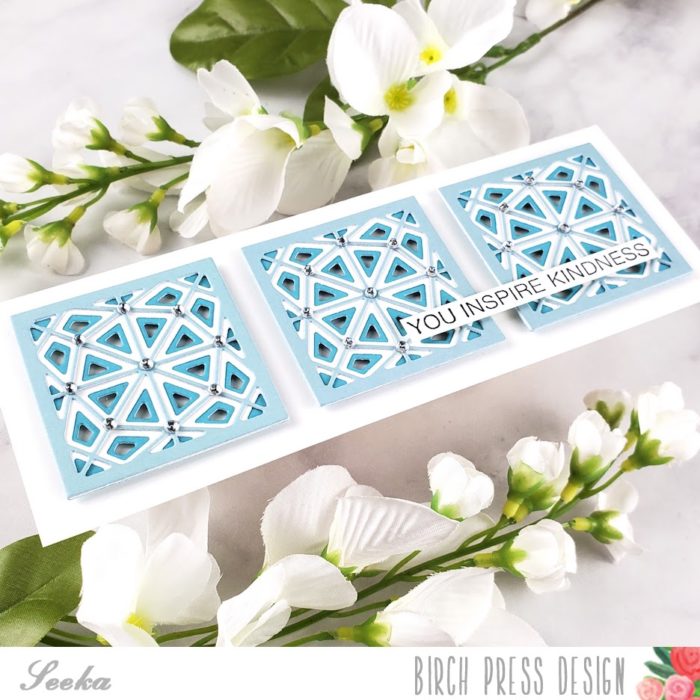
The background was trimmed down to 5 1/4″ x 4″ and adhered to a white top folding card base for foam tape for even more dimension. Trimming the panel down leaves a nice 1/8″ border around it. A simple detail that really steps up your overall clean and simple card design.
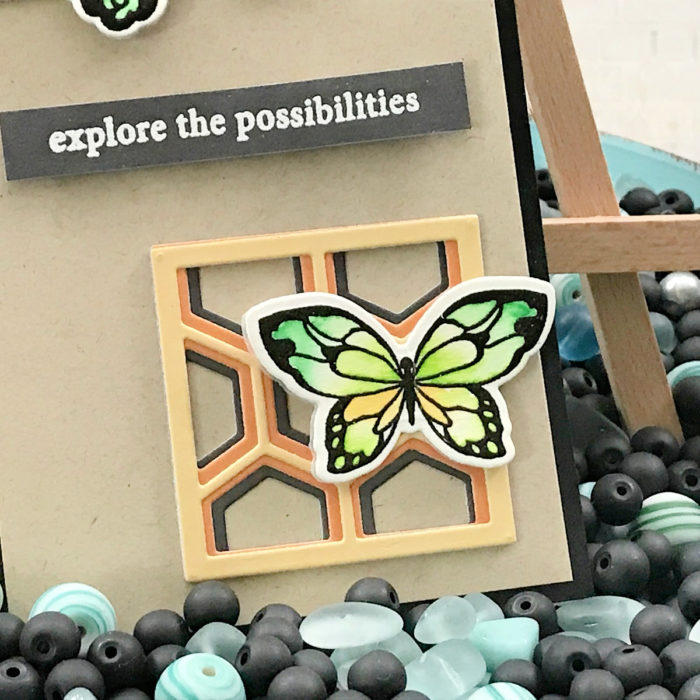
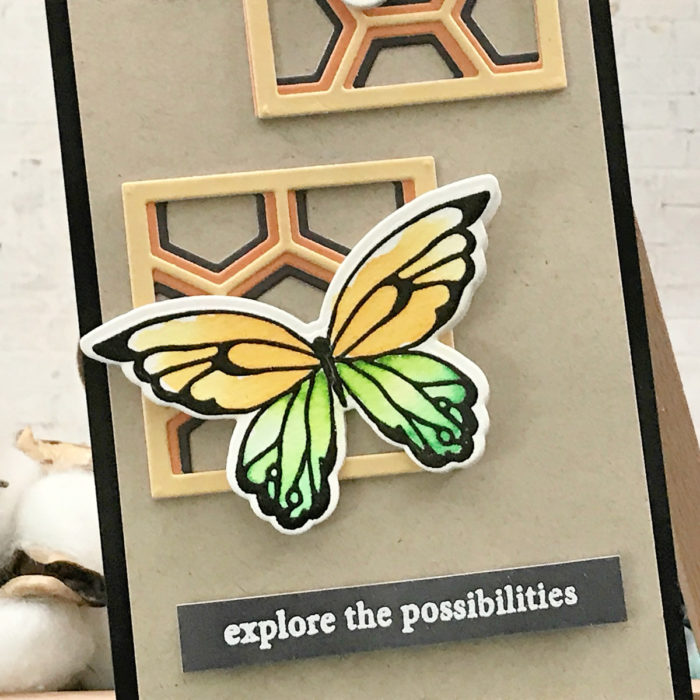
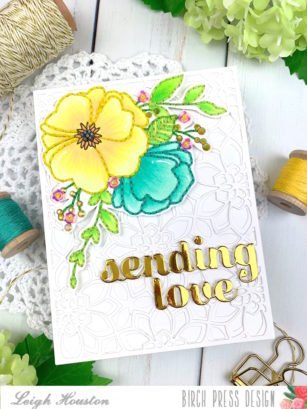
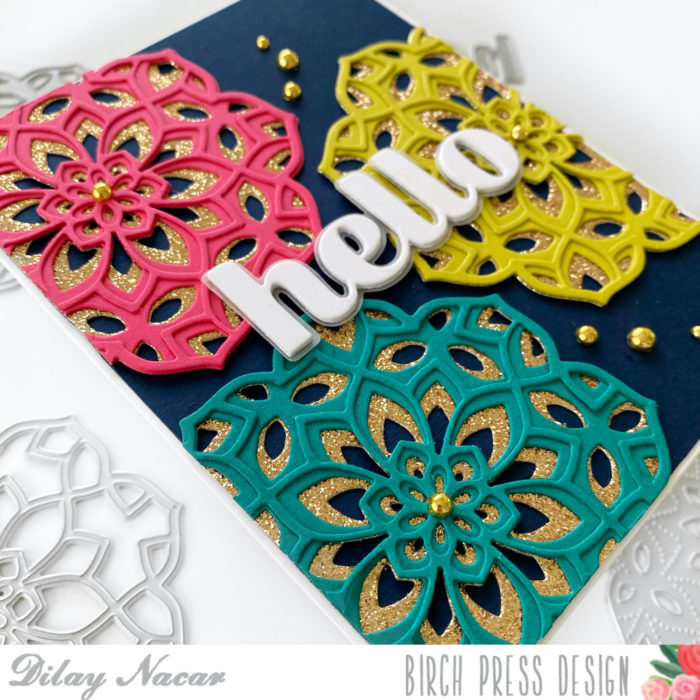
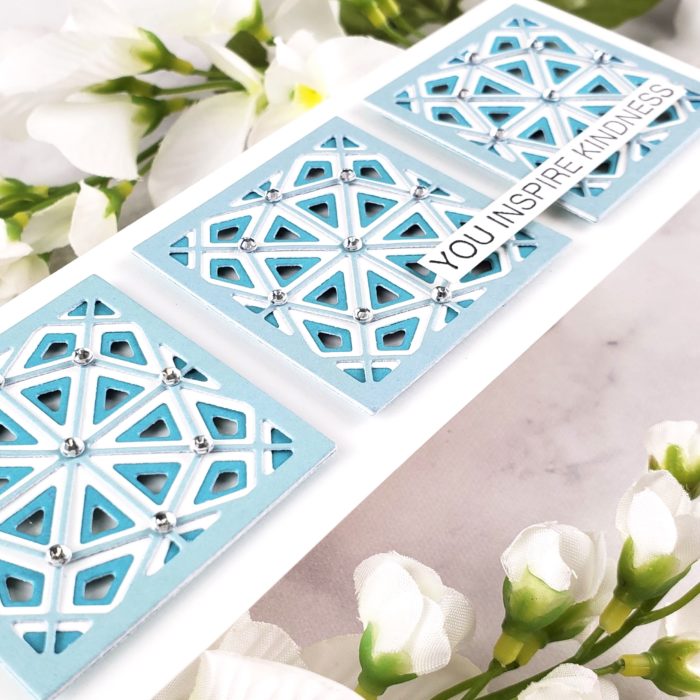
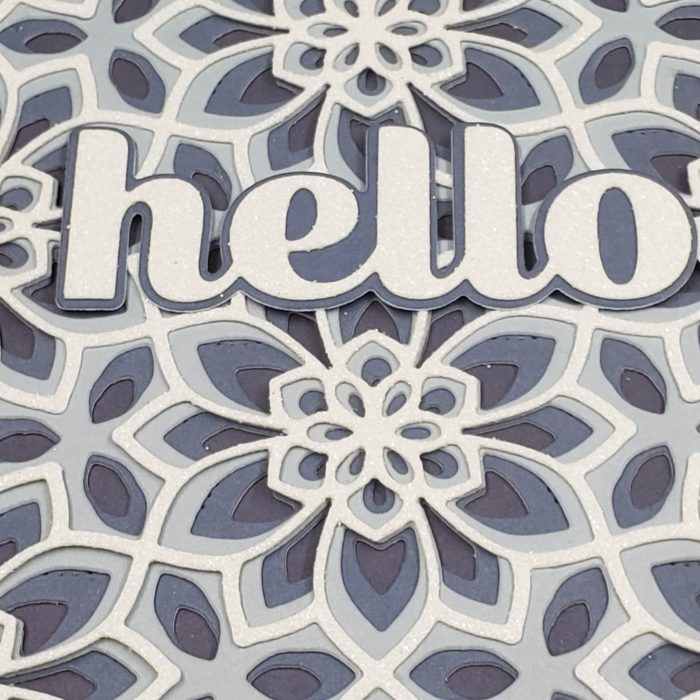
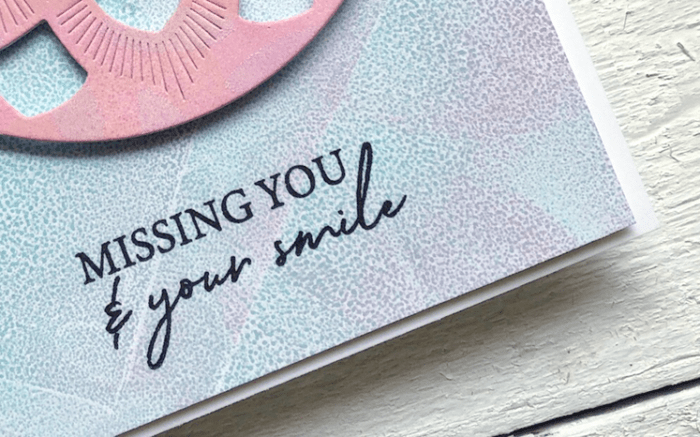
A sentiment from the new Classic Sentimental Wreath stamp set was stamped on the front of the card, leaving room above for the Arista medallion.
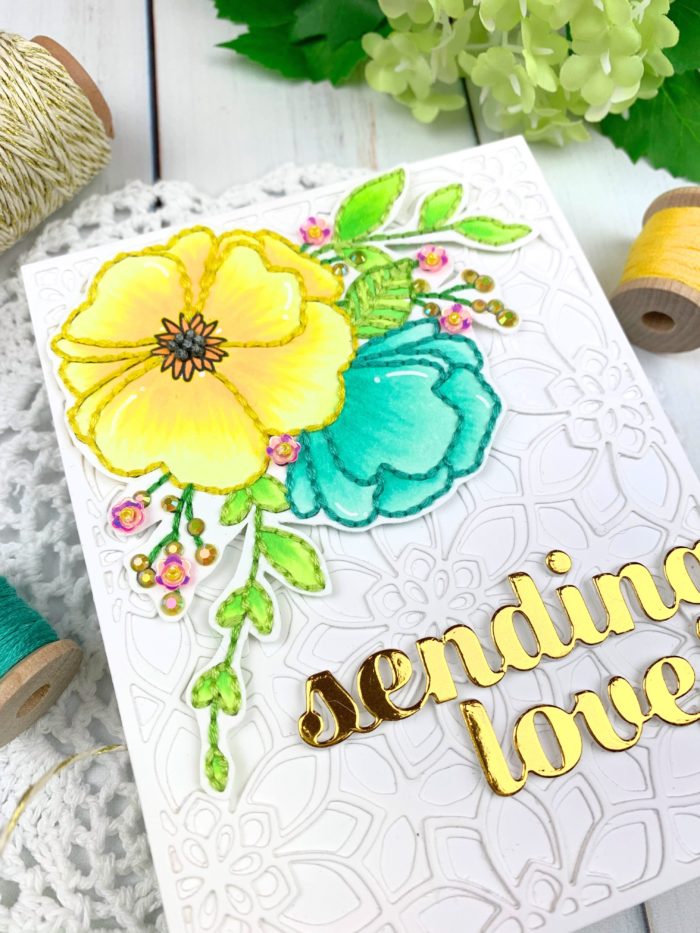
The medallion was attached using foam tape which gives it even more fabulous dimension. I added a few of the pink Open Studio Fairy Jewels to the medallion for just a bit of sparkle! These self adhesive jewels are a great addition to your craft supplies.
Thank you so much for crafting with me today and I hope I’ve inspired you to make something pretty!

Supplies