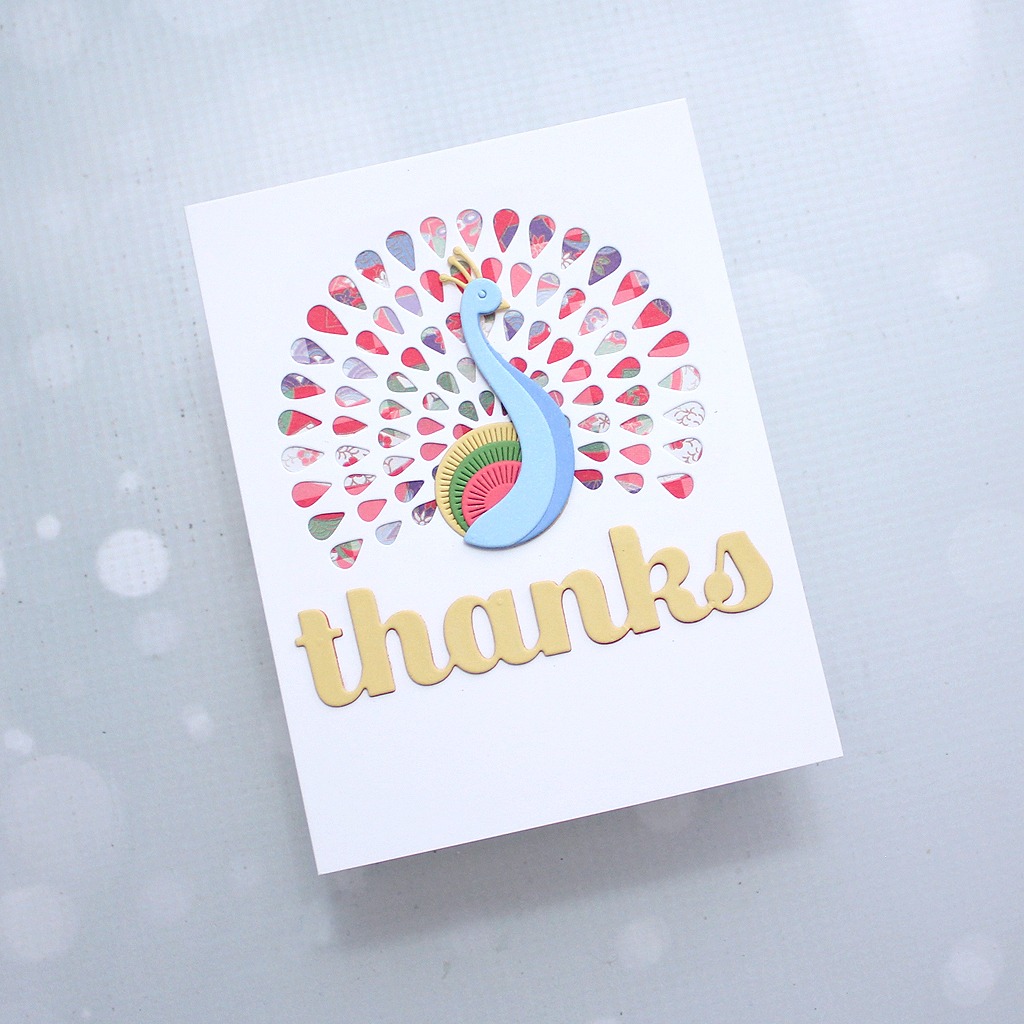
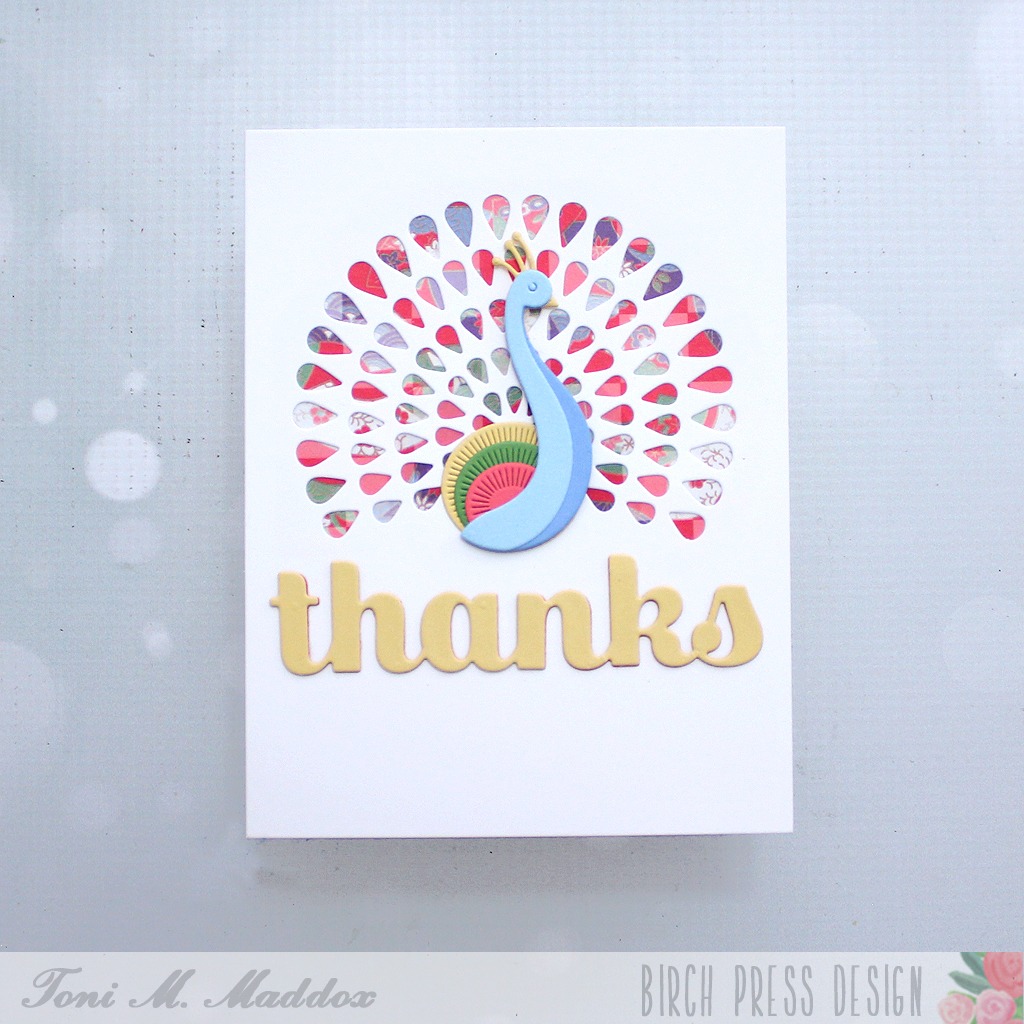
Hello, friends! Toni here with you today with a couple of thank you cards using the Block Print Pretty Peacock from the latest release.
I used an “ugly” origami paper behind the tail fan. It’s just one I didn’t prefer but looks amazing through those feathers.
I chose the colors of the Block Print Pretty Peacock from it, using Memory Box 6×6 cardstocks.
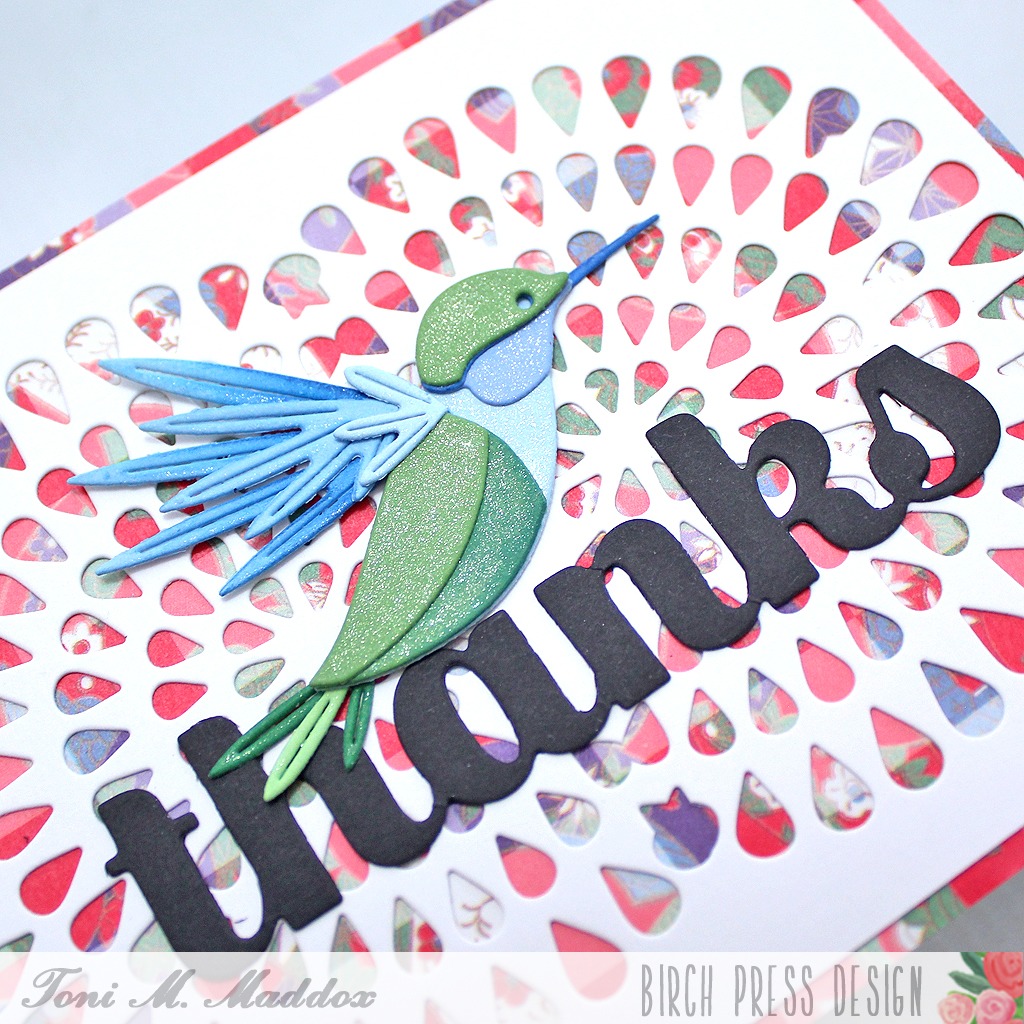
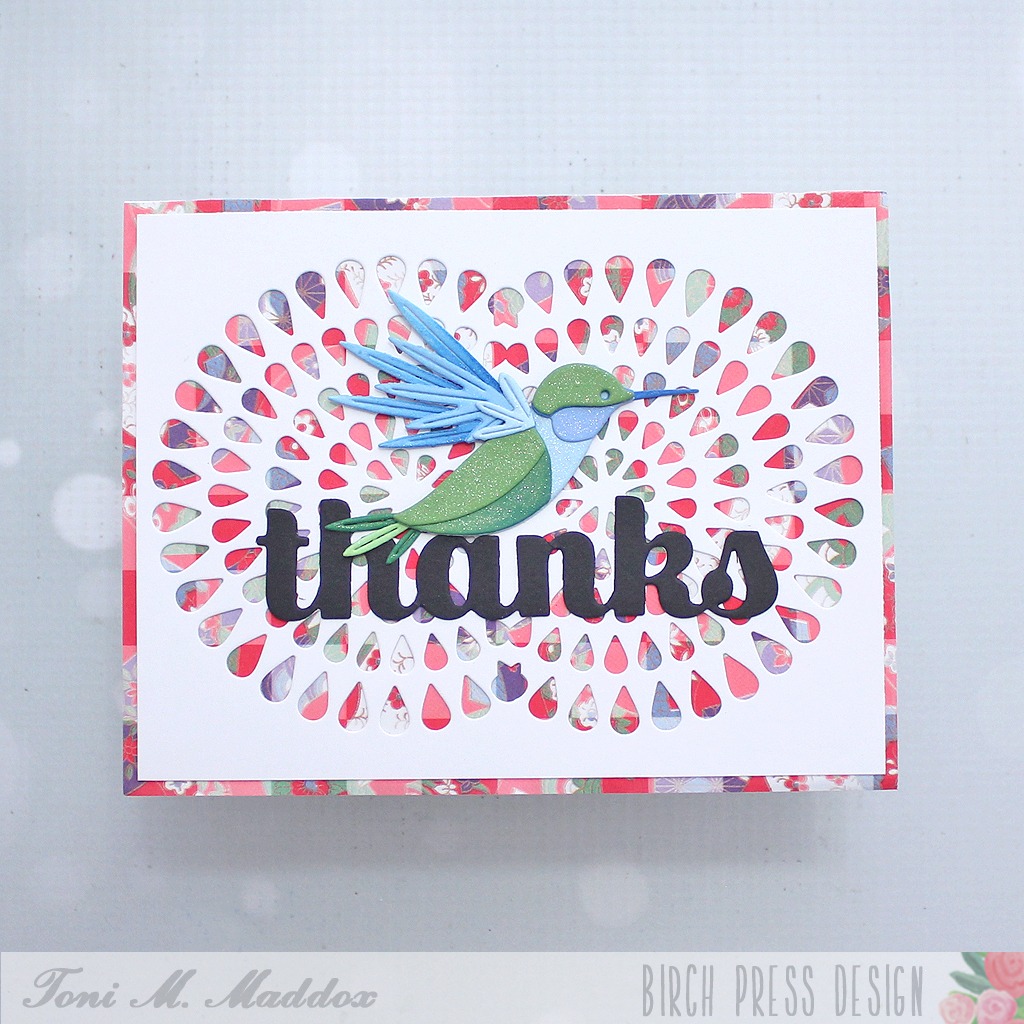
It occurred to me that the tail fan could be used twice to create a cool symetrical background. I decided they looked like mums that the Block Print Soaring Hummingbird is exploring.
For both cards, I used the Sugar Script Big Thanks die which is one of my favorites–such a great size and font!
I hope you enjoyed today’s cards and have a great rest of your week!
Feel free to visit my blog, Frankie Helps Craft, for a full list of supplies used and to check out my other creations.
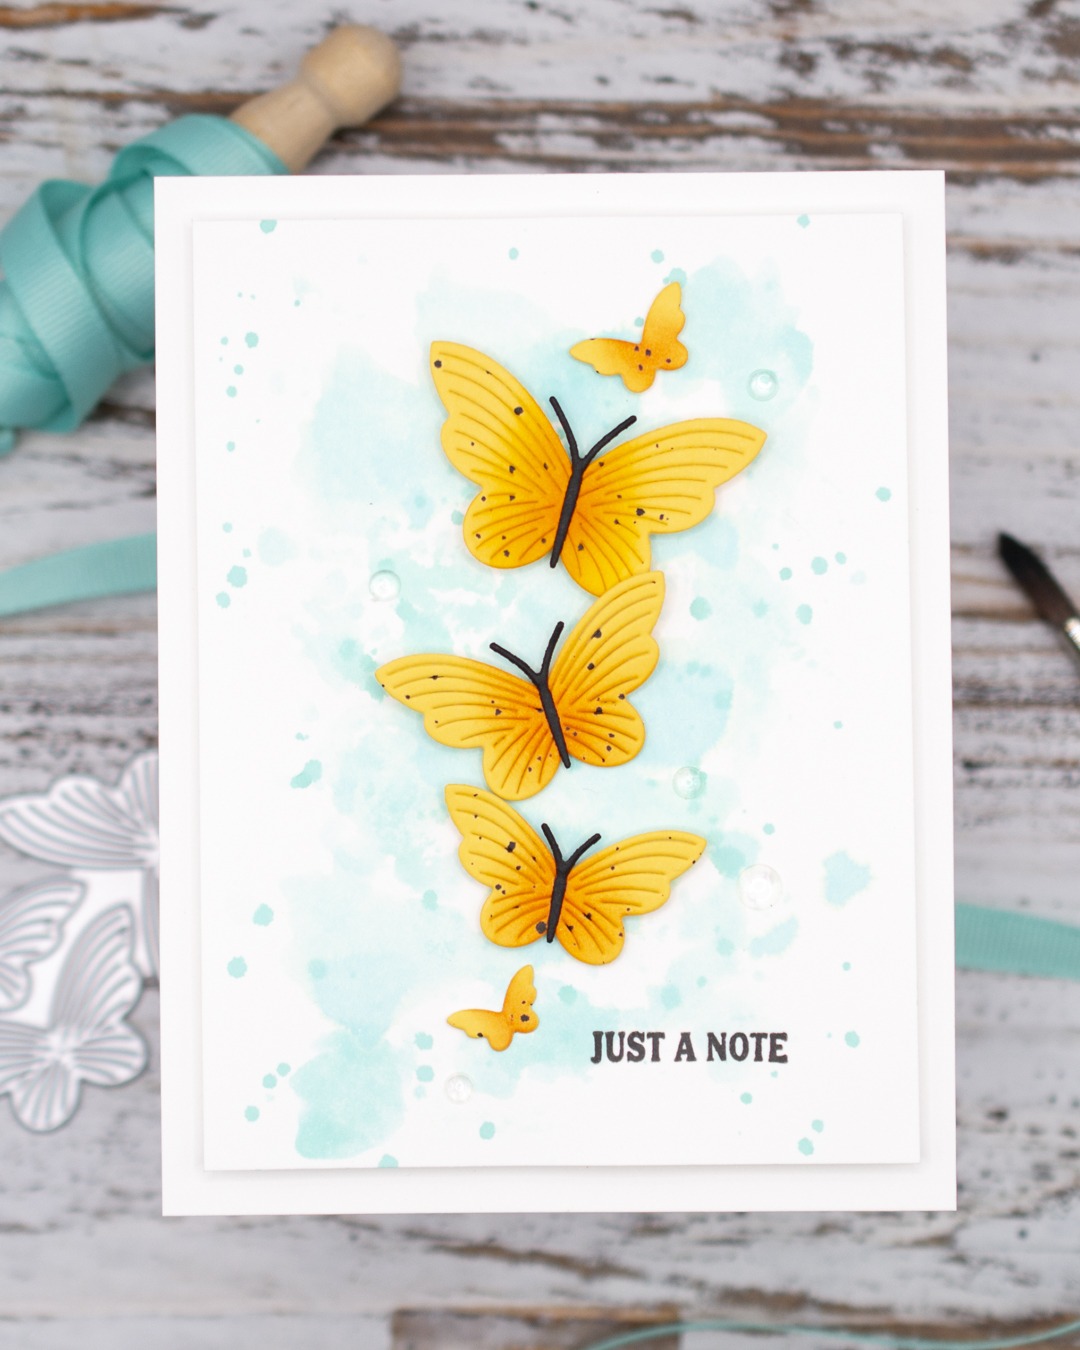
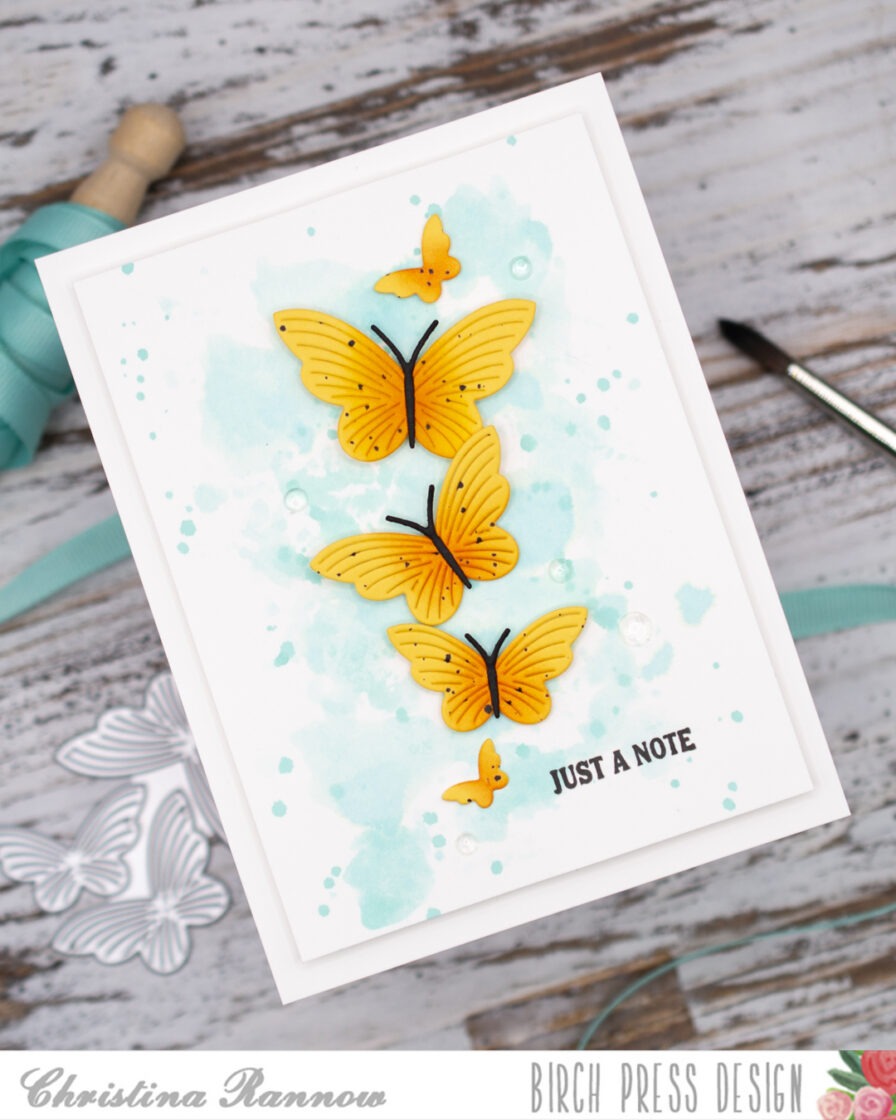
Hello! Christina here. Did you know that a grouping of butterflies is commonly called a kaleidoscope? I always thought they were referred to as a swarm, which is another common word to describe these fluttering beauties, but I think “kaleidoscope” is a better description. Don’t you?
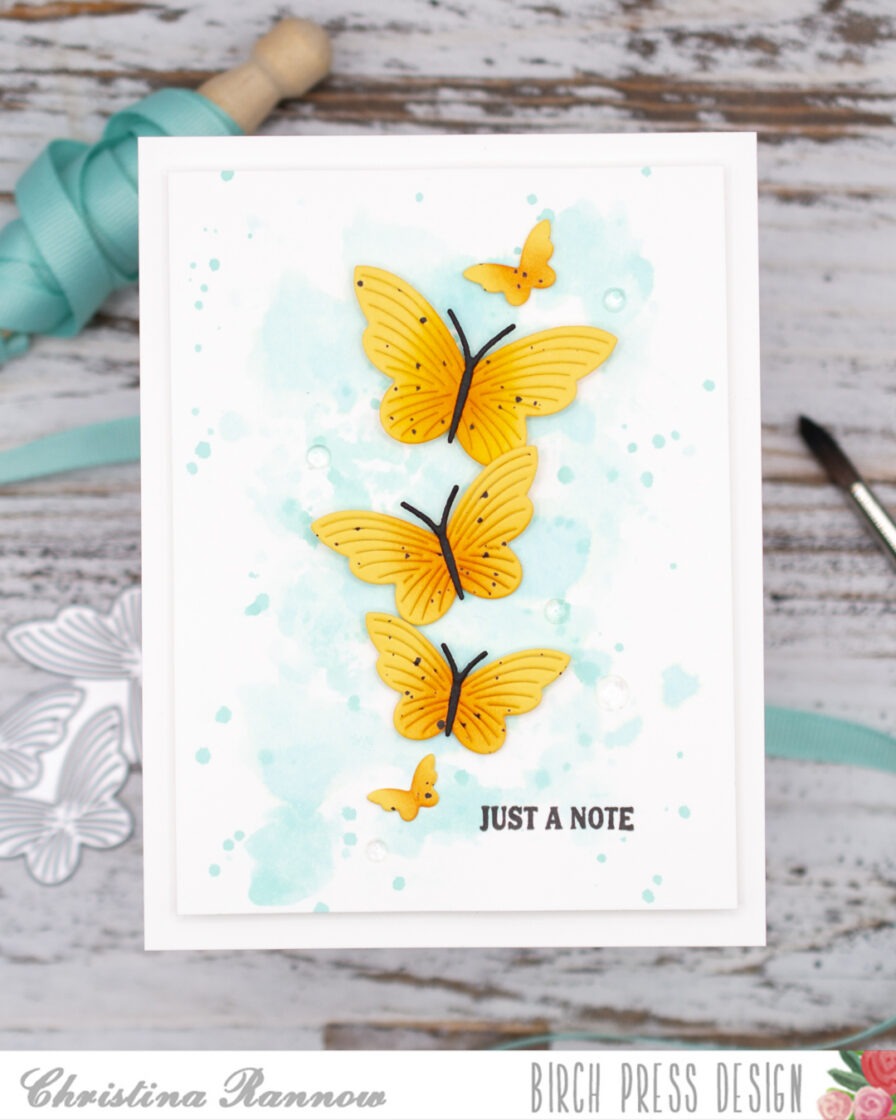
So today I’m sharing with you a card featuring a kaleidoscope of the Linear Boho Butterflies. I love these simple yet intricate die-cuts, and they look beautiful on a soft faux watercolor background. Let’s take a look at how this card came together.
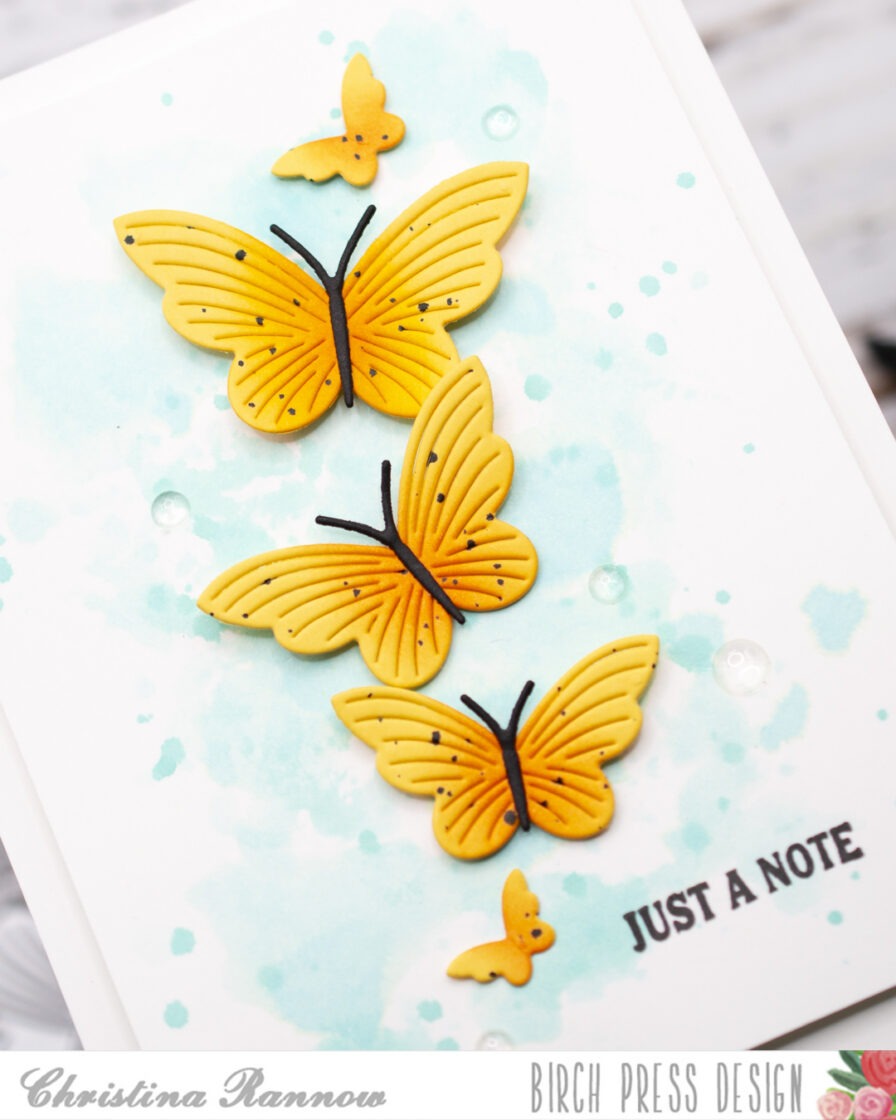
First I die-cut the butterflies from white cardstock and then inked them with a buttery yellow and a muted orange to create a soft gradient color blend. Then I applied a light spatter of black ink to the butterflies before attaching the body pieces that I die-cut from black cardstock.
For the background panel, I used a faux watercolor technique to create a soft, dreamy backdrop for the butterflies. I started with a piece of heavyweight white cardstock, larger than I needed so when I was finished with the faux watercolor technique, I could choose the part of the panel I liked the best. This technique is simple, and there really is no right or wrong way to do it. After choosing an ink color (I chose Salvaged Patina Distress Ink this time), I dabbed the ink pad on my glass mat a few times and then lightly spritzed the ink with water.
From this point, you have some options. You can lightly press parts of your cardstock panel into the ink, turning the panel different ways each time, or you can use a piece of plastic wrapping to pick up the ink and dab it across the panel, twisting and turning the plastic each time, or, lastly, you can use a sea sponge to pick up the ink and then apply it to your panel, which adds a little more texture than the other methods. All methods work well and will give you beautiful results. For this card, I picked up some ink with my cardstock panel and used a piece of plastic wrapping to achieve the results I was looking for. I also added some ink spatter to the panel for a little more interest.
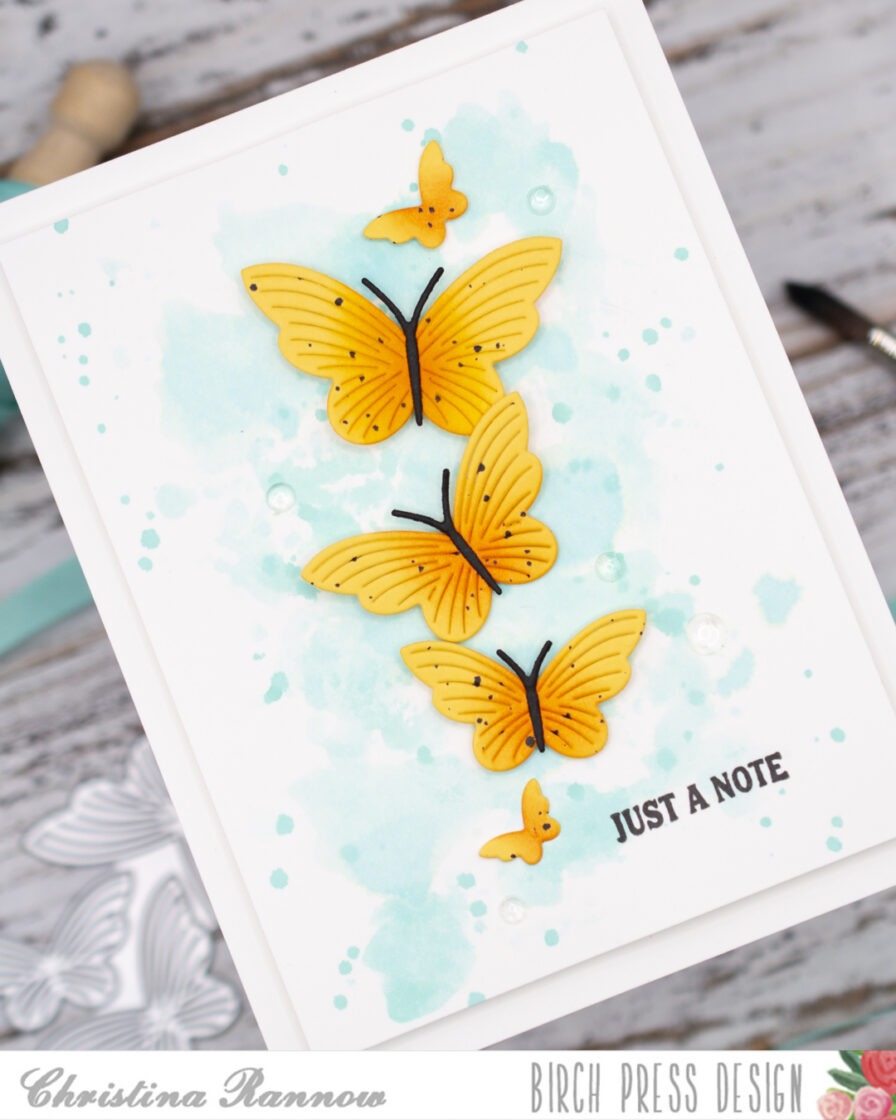
I let the ink dry for a few minutes and then trimmed the panel down to 3.75 x 5 inches. Then I arranged the butterflies on the panel, and before attaching them with foam squares for some lift off the panel, I stamped a sentiment in the bottom right corner. The finishing touch was to add a few clear drops for embellishment.
Thank you so much for checking out my card featuring a kaleidoscope of the Linear Boho Butterflies on a dreamy background I create using a faux watercolor technique. See you again soon!
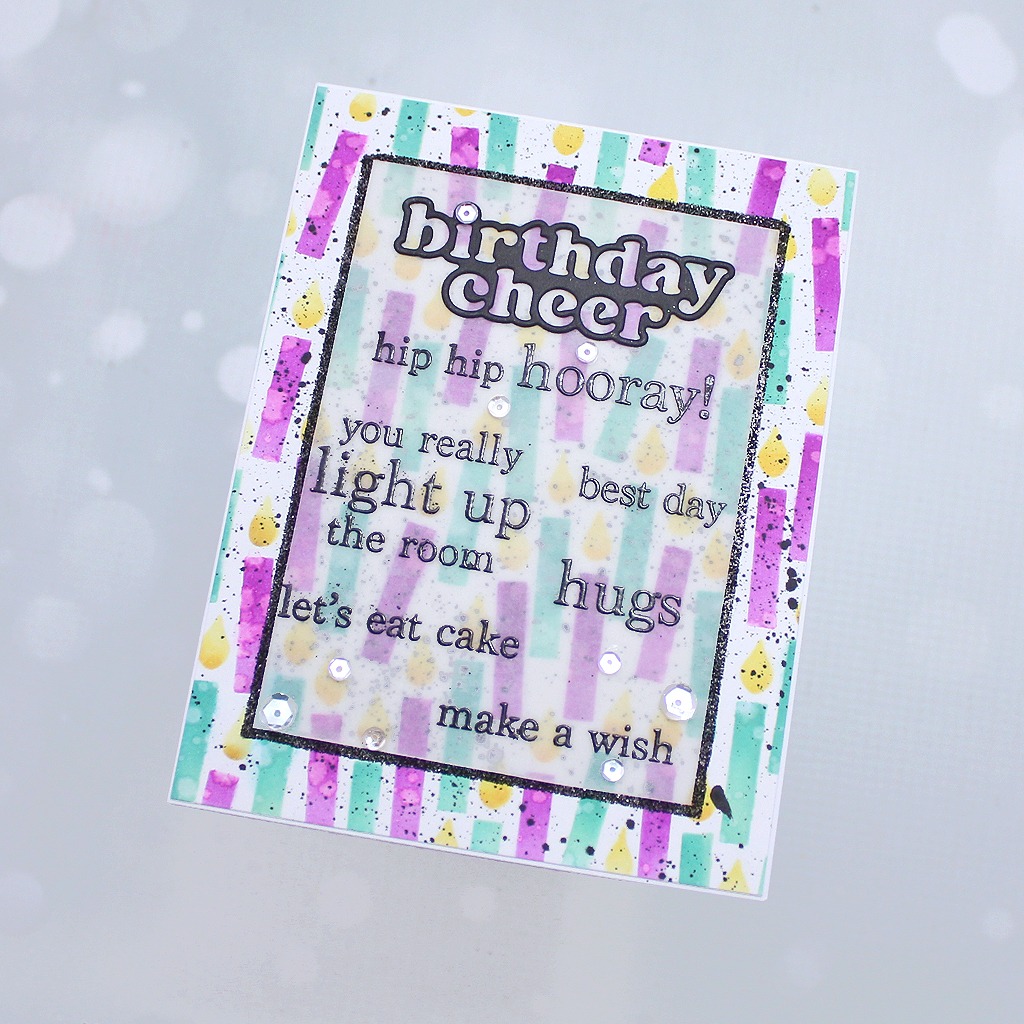
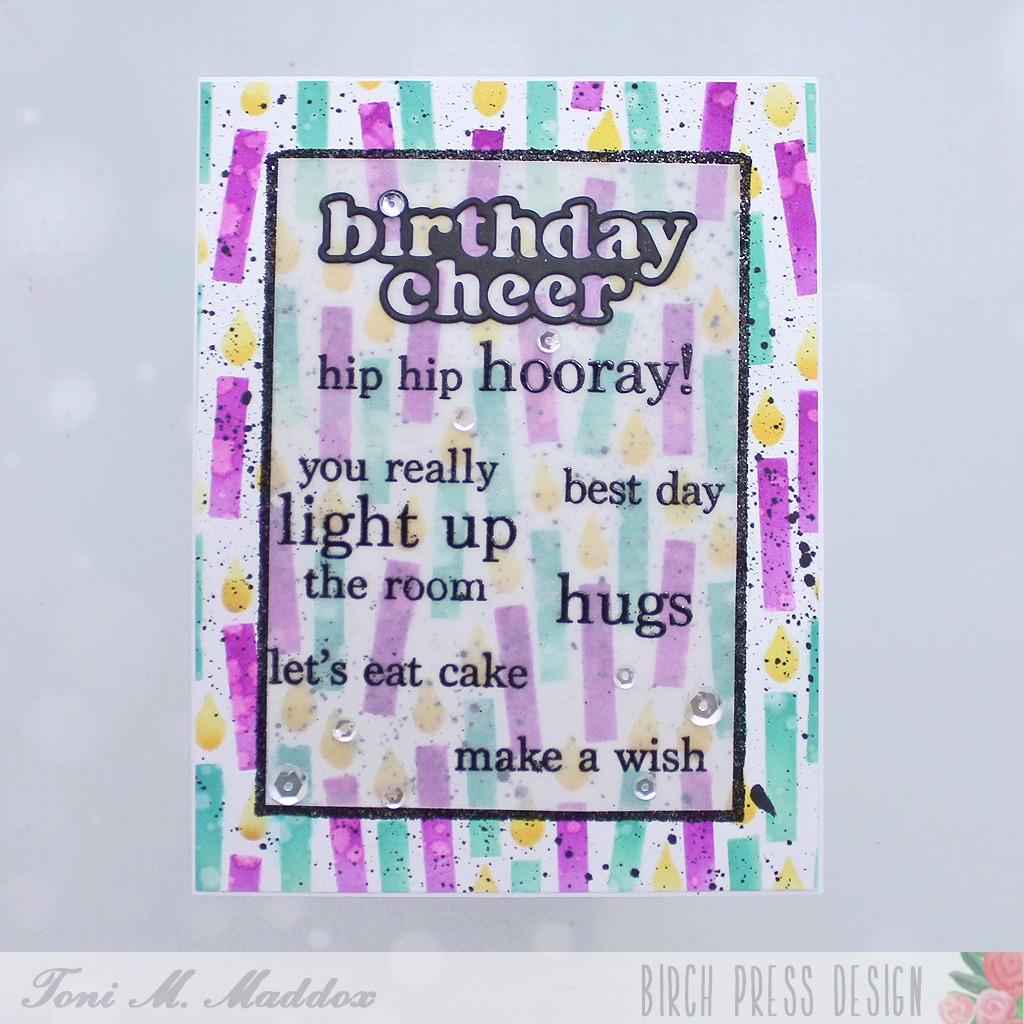
Greetings, friends! We can never have too many birthday cards on hand, right? Toni here sharing two birthday cards, one quite feminine and the other cheerfully unisex.
I created the background of my first card using the Birthday Candle Blowout Stencils. I spattered that with ink for a funky vibe.
Next, I arrange some of the Plain & Simple Birthday Greetings on my MISTI and embossed them on sturdy vellum. I left a space at the top to add the Plain & Simple Birthday Greetings sentiment diecut.
I covered the back of the vellum panel with double-sided tape, leaving a small margin that I burnished with black glitter.
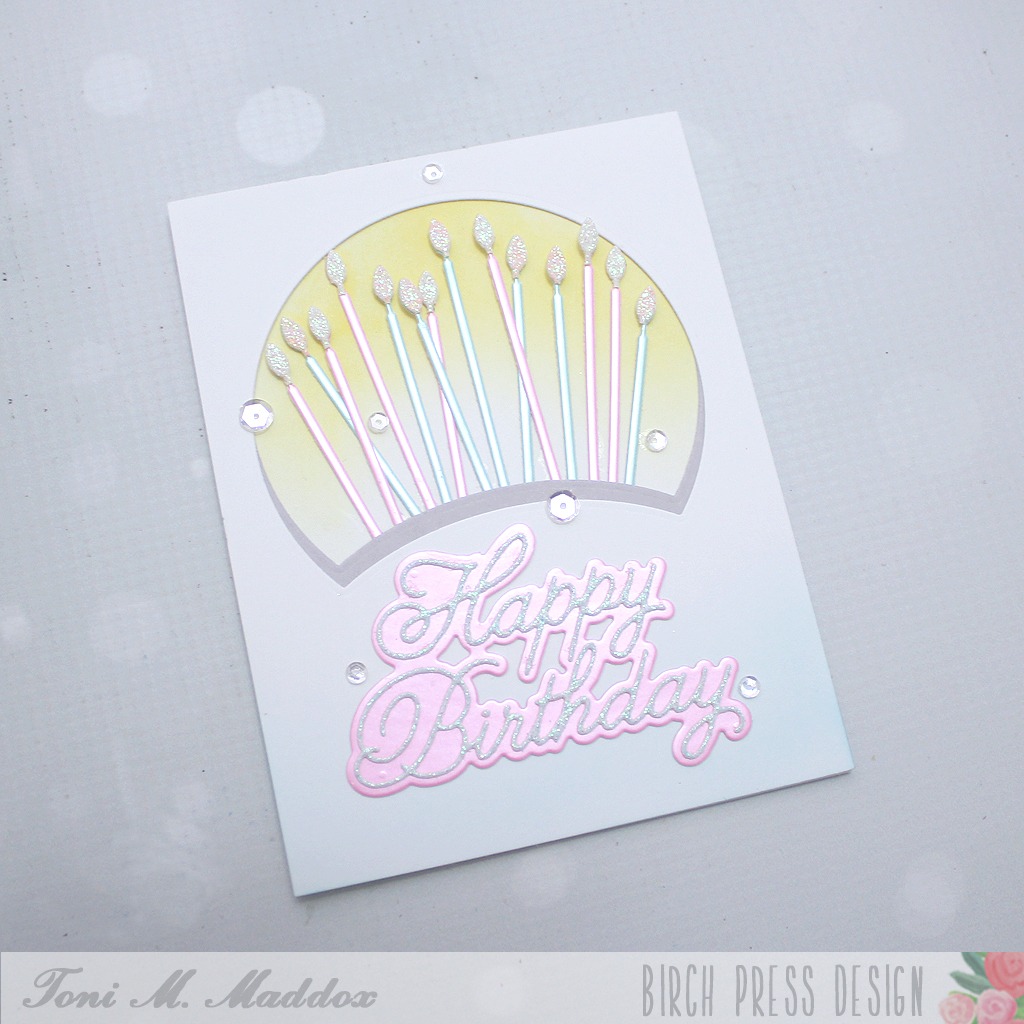
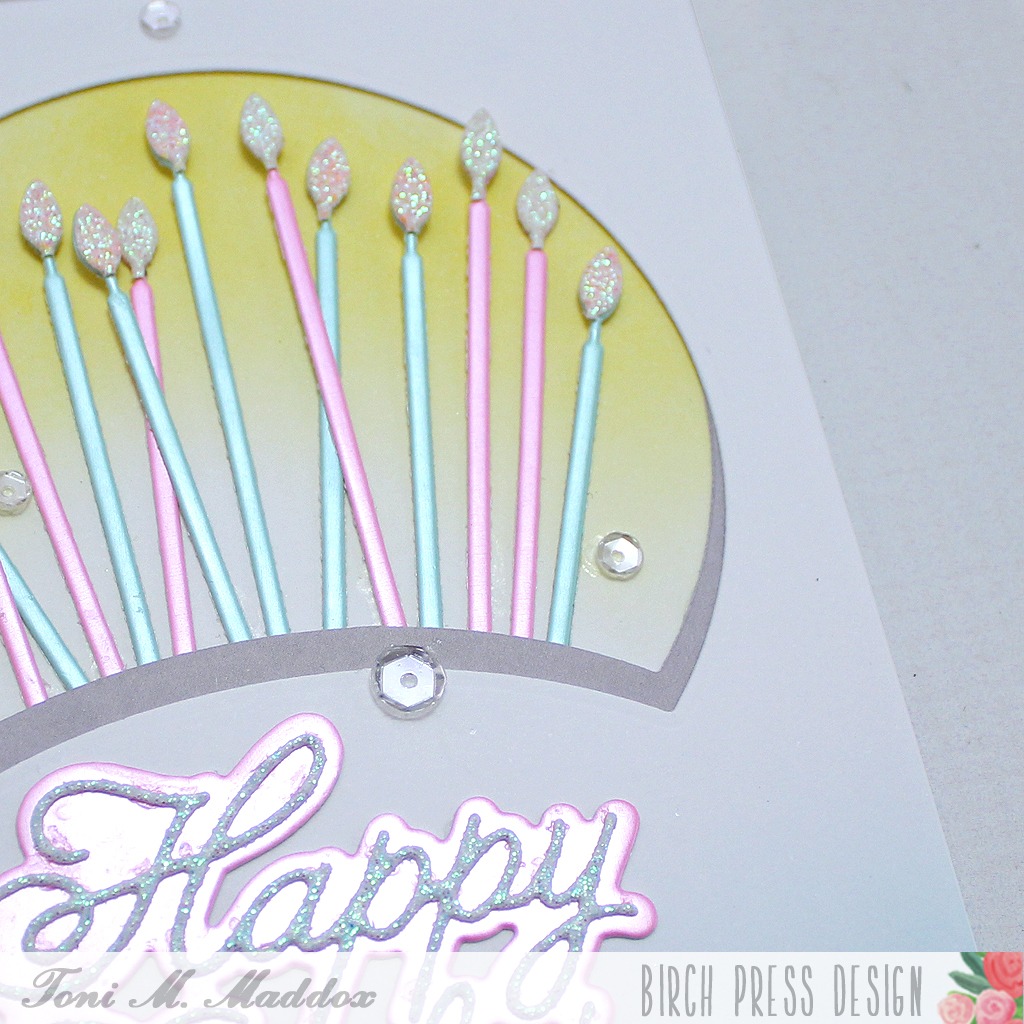
My second card definitely has a more feminine feel to it, don’t you agree?
I created an aperture and shadow with the Block Print Forest Scene die. A random assortment of Tall Party Candles cut from mirror and glitter cardstocks fill the space.
Finally, I sponged a bit of blue at the bottom of the card front before adding the Handwritten Happy Birthday & Outline. Pretty!
I hope you enjoyed today’s card and have a great rest of your week!
Feel free to visit my blog, Frankie Helps Craft, for a full list of supplies used and to check out my other creations.
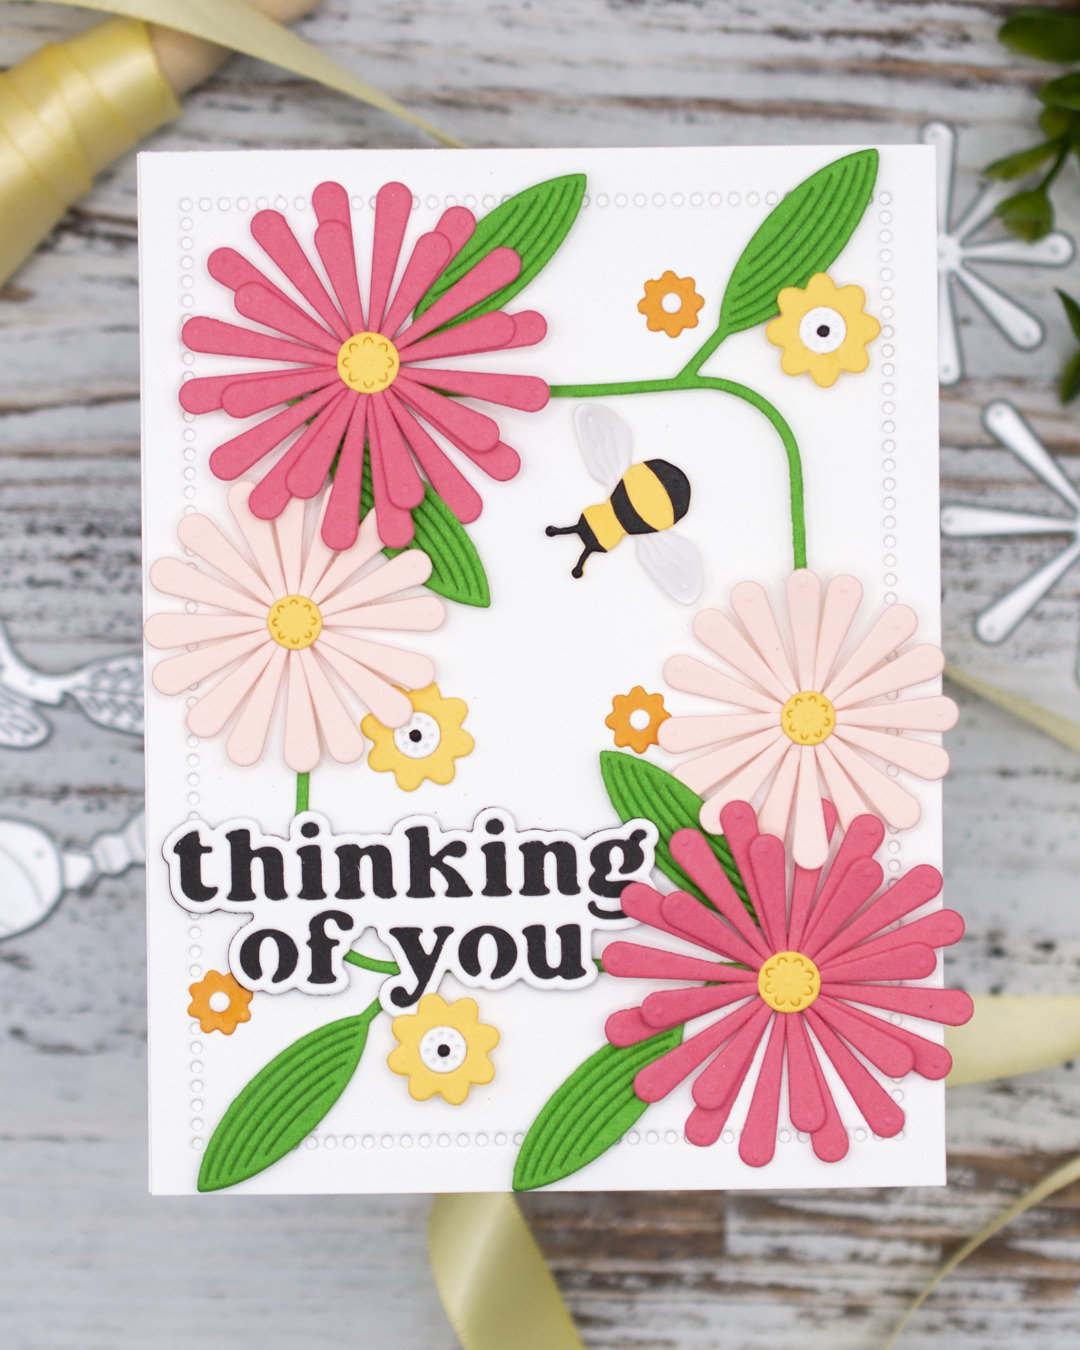
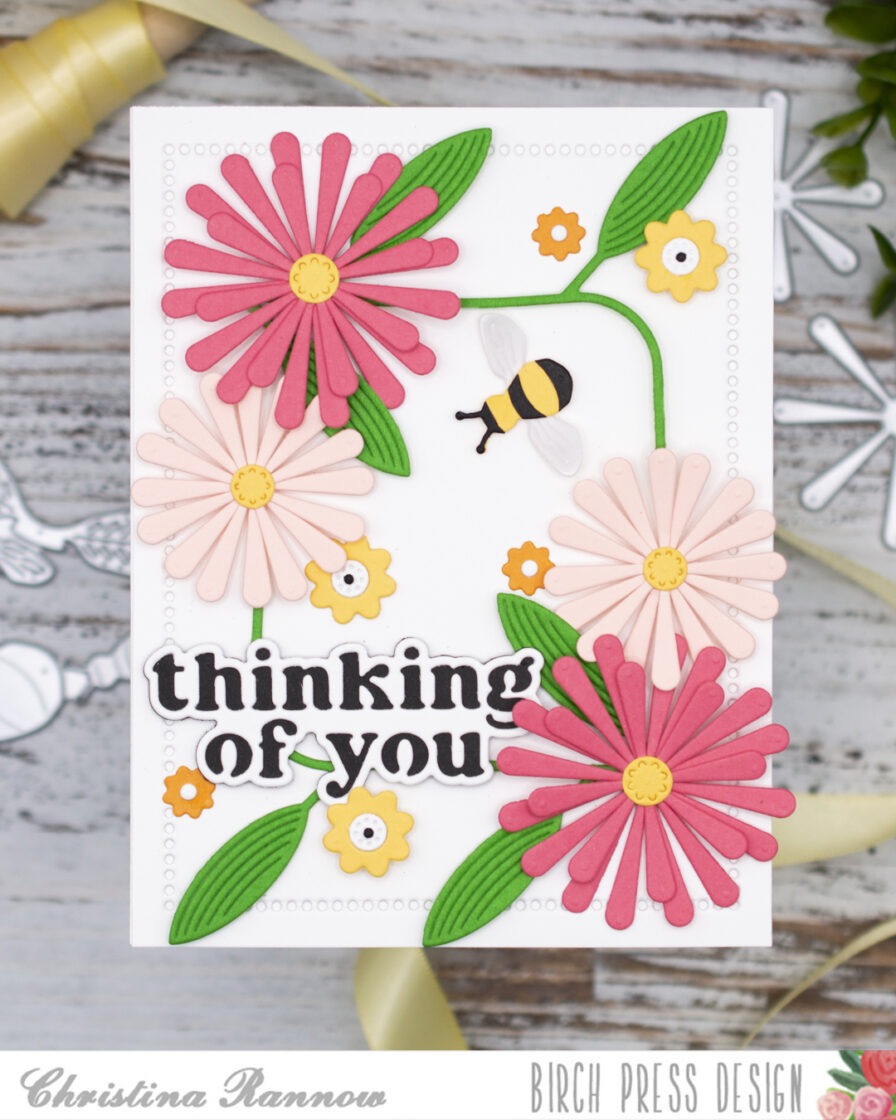
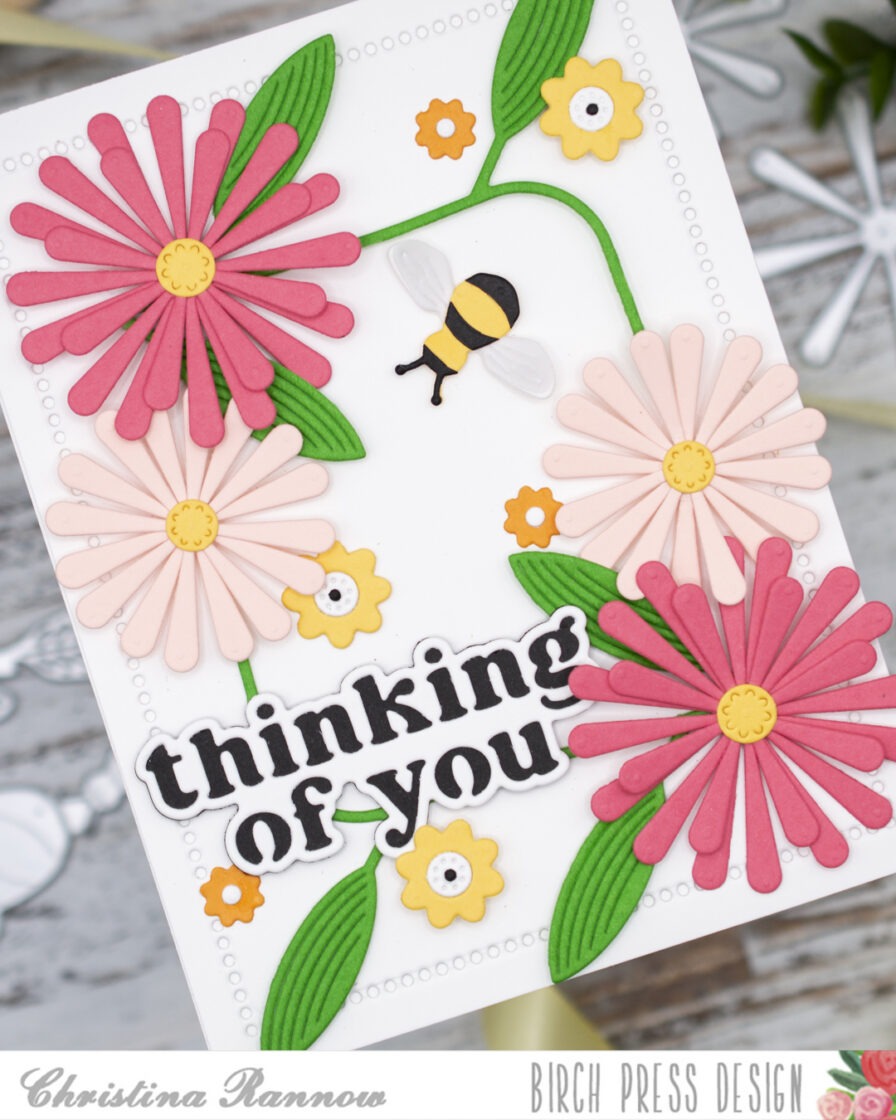
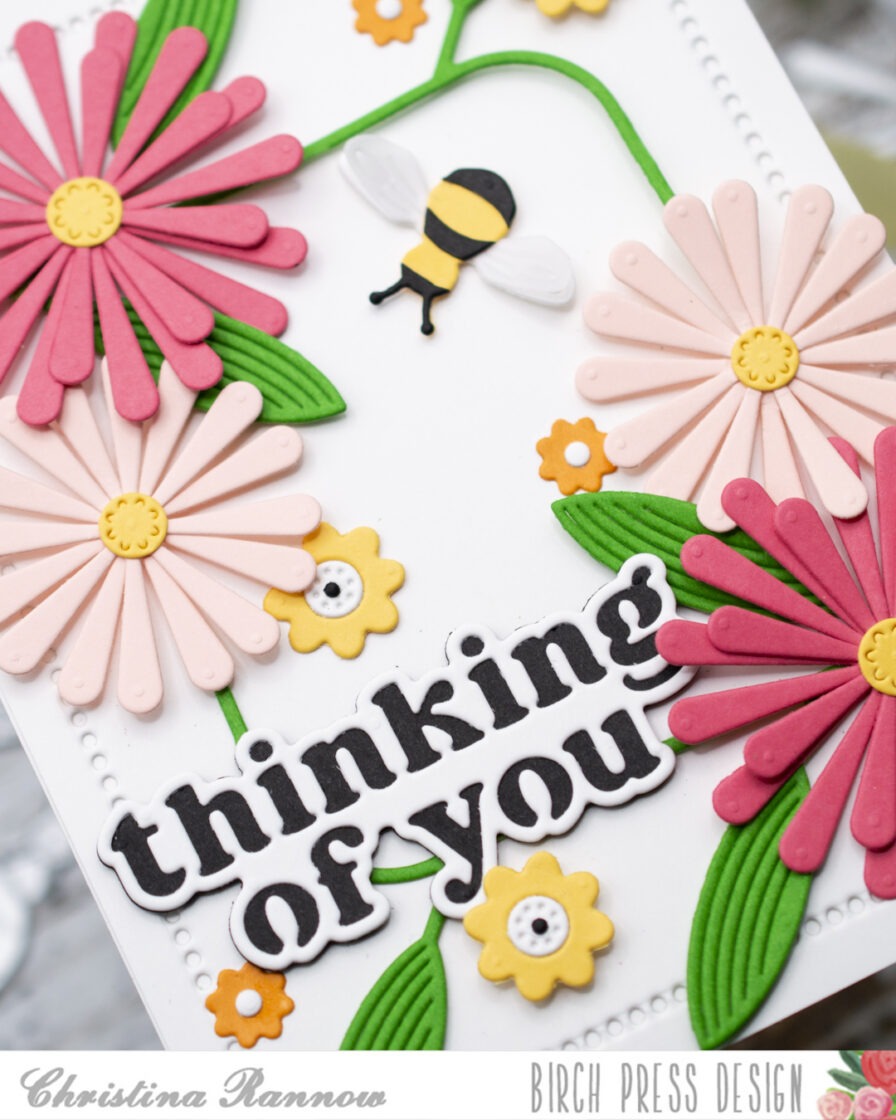
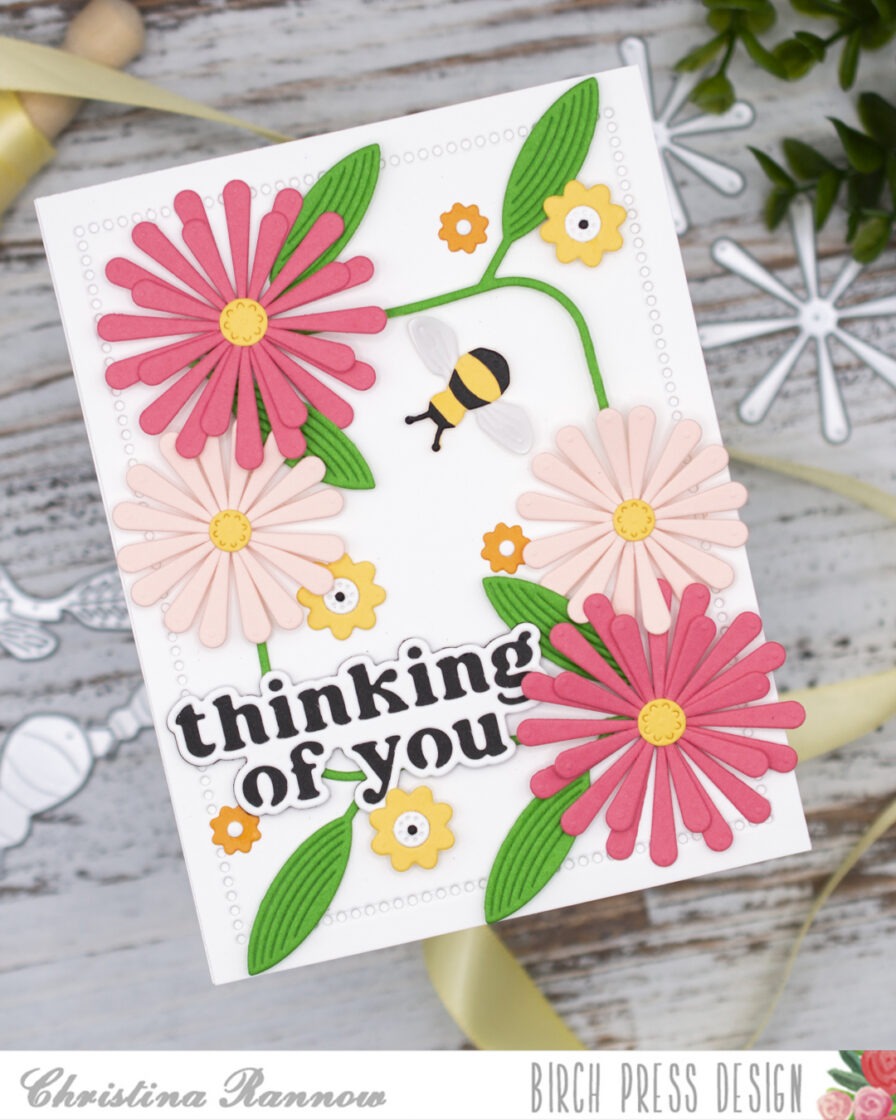
Hello, it’s Christina! Spring has sprung, and I have a bright and happy card to share with you featuring the new Block Print Daisy Flower craft dies. I love that you can layer up the daisy petals to get full, beautiful blooms with plenty of depth and dimension. I combined the daisies with some more new goodies, the Mod Branches and Thinking of You Vintage Sentiment craft dies. And to round out this bright and happy card design, I added a small Buzzing Bumblebee and a few smaller flowers to complement the daisies. Grab your favorite cardstock colors and we’ll get started!
I started by die-cutting all the components for the different elements of my design and then assembled them, securing everything with glue. I chose a pale pink and a salmon-colored cardstock for the daisy petals and a buttery yellow and an orange for the smaller flowers. For the Mod Branches, I chose a bright cilantro green cardstock, and after die-cutting two of them, I snipped a few leaves and berries from the branches, leaving me with just a few leaves on each one to accent the daisies. I decided on black cardstock for the sentiment because it coordinated with the bumblebee, tying everything together.
With all the die-cutting and assembling done, it was time to put everything together. I kept the background panel simple and used plain white cardstock that I die-cut to give it a dotted detail around the edges. Then I placed the Mod Branches on the panel so they formed a natural frame and added the big beautiful daisies to fill in the corners. I placed the sentiment along the bottom and then embellished my design with the smaller flowers, scattering them throughout, and the sweet bumblebee buzzing into the scene. The final step was to attach the card front to a side-fold card base.
Thank you so much for checking out my bright and happy card design featuring the new Block Print Daisy Flower craft dies! Happy crafting!
Hello and happy March everyone! Rosemary here on the blog today with a sweet birthday card that I think just says “spring”! I used the new Block Print Bird Duo, Block Print Mod Branches and Elegant Birthday Sentiments for my card. Let’s have a look at what I made.
This card is similar to the card I posted at the end of February in that I die cut white cardstock and then blended on the ink. But this time I decided to use Memory Box white woodgrain cardstock for all my die cutting to give the the birds and branch a little bit more interest.
To do the blending on these small pieces I love to use my Waffle Flower 0+ blending brushes. You can see them in the photo. Inking tiny pieces with them is a breeze!
I decided to keep a relatively cohesive color scheme to keep things simple and allow me to complete the card rather quickly. I used two shades of green ink for the leaves, stem and parts of the bird. Then I threw blue, yellow and a little bit of red for the berries into the mix.
Here I have the branch mostly completed. Below are all the pieces of the birds inked up and ready to be assembled.
I love dimension on my cards, but with the cost of postage being so high now days I often refrain from using foam squares. In order to obtain some dimension without adding thickness I will often not completely glue down pieces. For example, the leaves are only glued down at the base of the stem and the wings of the birds at the top. That way I can lift up the pieces and give the illusion of dimension.
Once everything was assembled I die cut another piece of white woodgrain cardstock with a medium sized rectangle and adhered that to a bright green cardstock base with double sided tape. I then adhered the branch (which was a little tricky, lol) and the birds using glue. I finished with the sentiment that was stamped and die cut with the matching die.
I hope you enjoyed today’s card. Thanks for stopping by and have a lovely day!
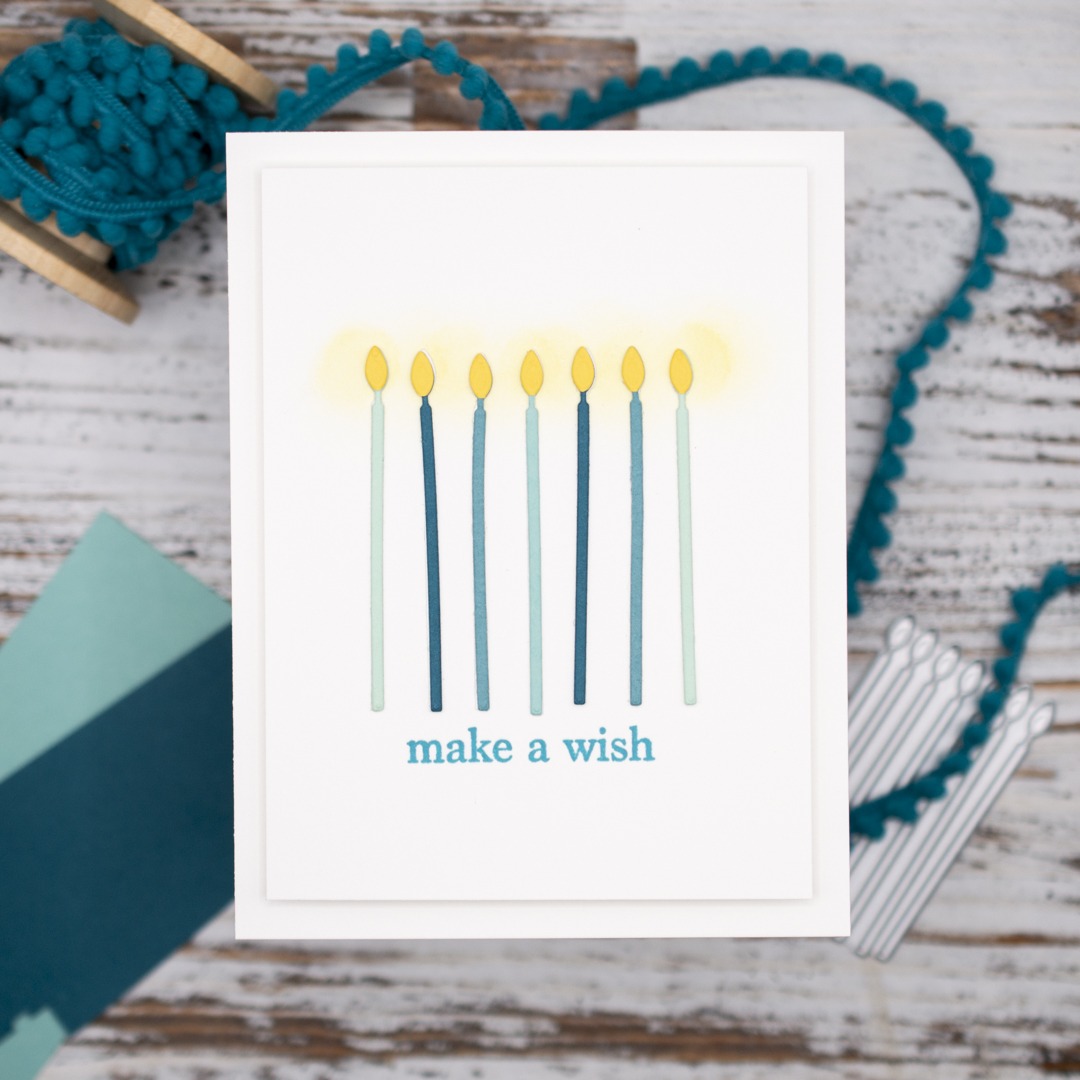
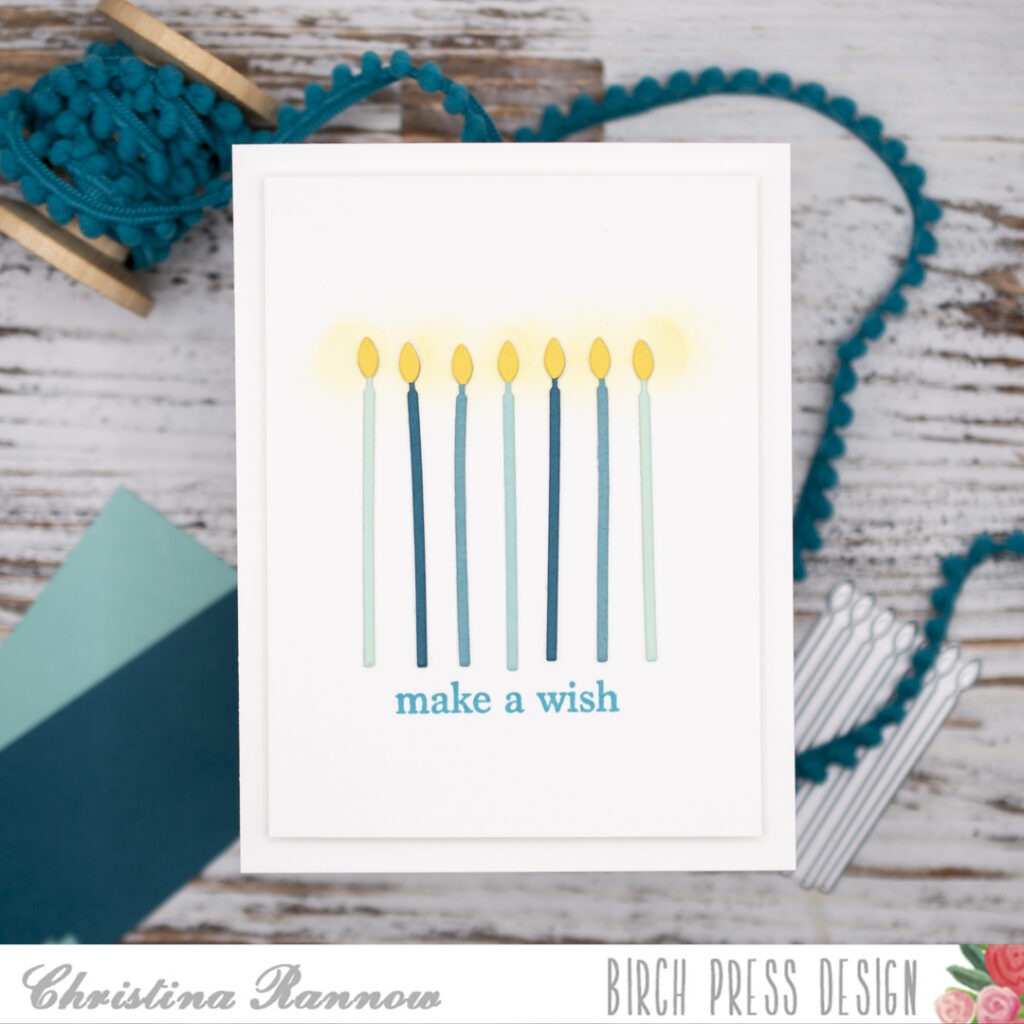
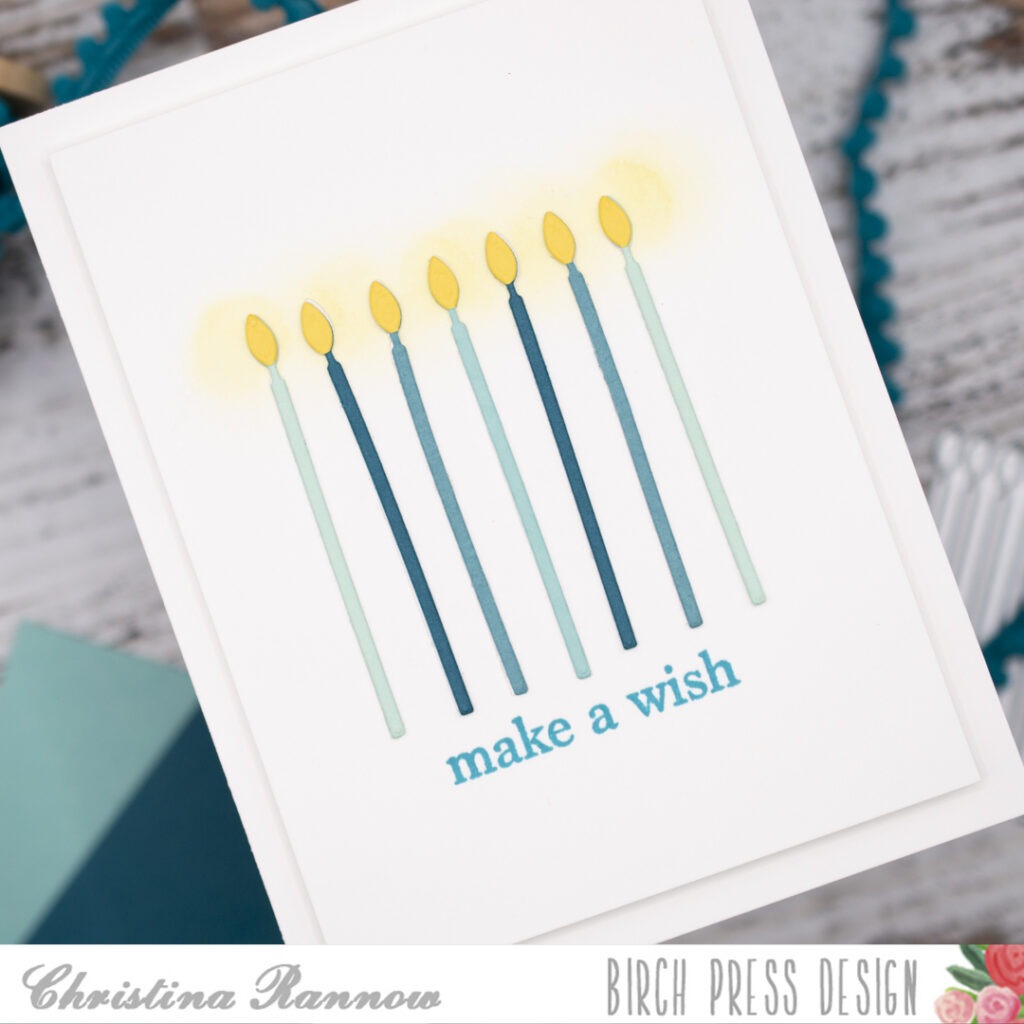
Hello! Christina here to share a quick and easy birthday card featuring the Tall Party Candles craft dies. I’m always in need of more birthday cards, and this design is perfect for mass-producing. This card would work for just about anyone, plus you can customize it by changing up the candle colors. Let’s take a look at how this card came together!
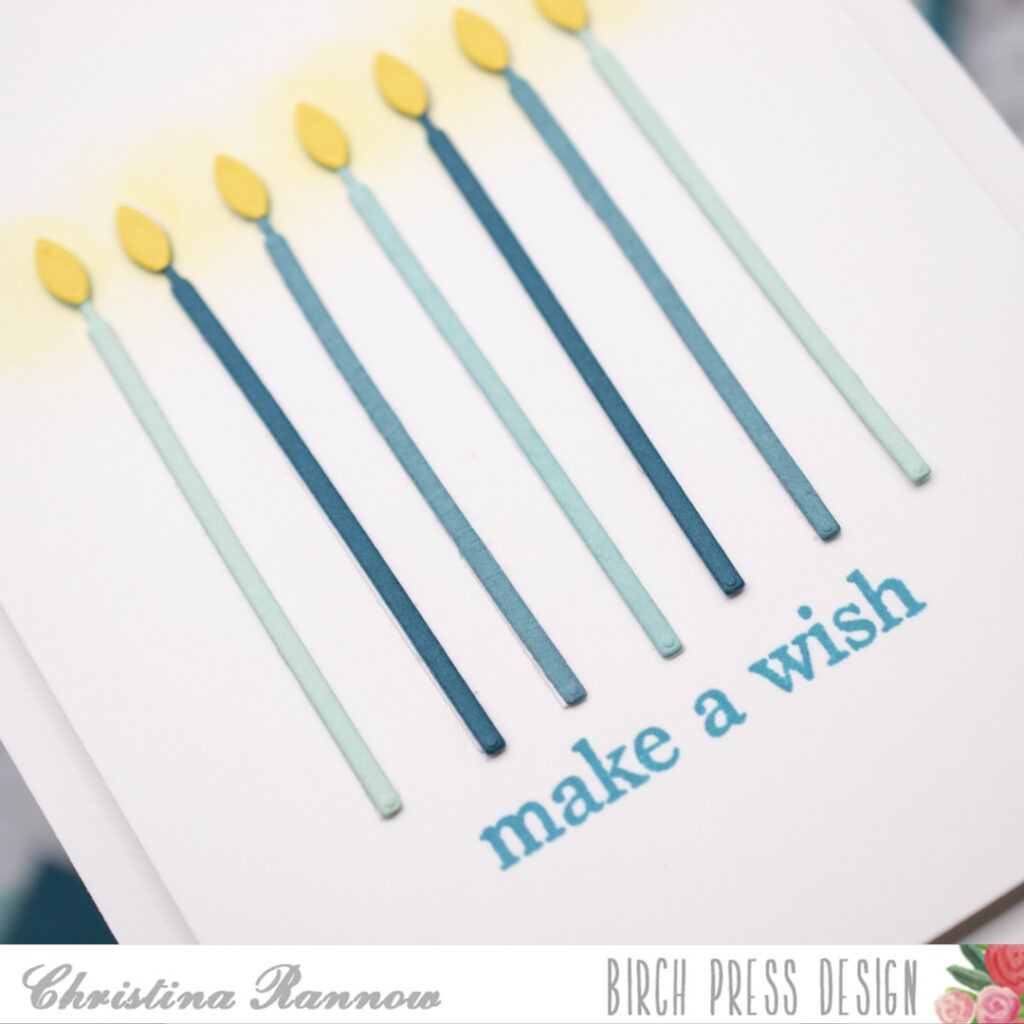
Like I said, this card is quick and easy. I started by die-cutting the candles from four different shades of blue cardstock. I think shades of pink or even a rainbow of colors would be pretty too. I wanted the flames to be yellow, so I die-cut the candles again, but from yellow cardstock. I snipped the flame pieces off the candles and attached them to the blue candles.
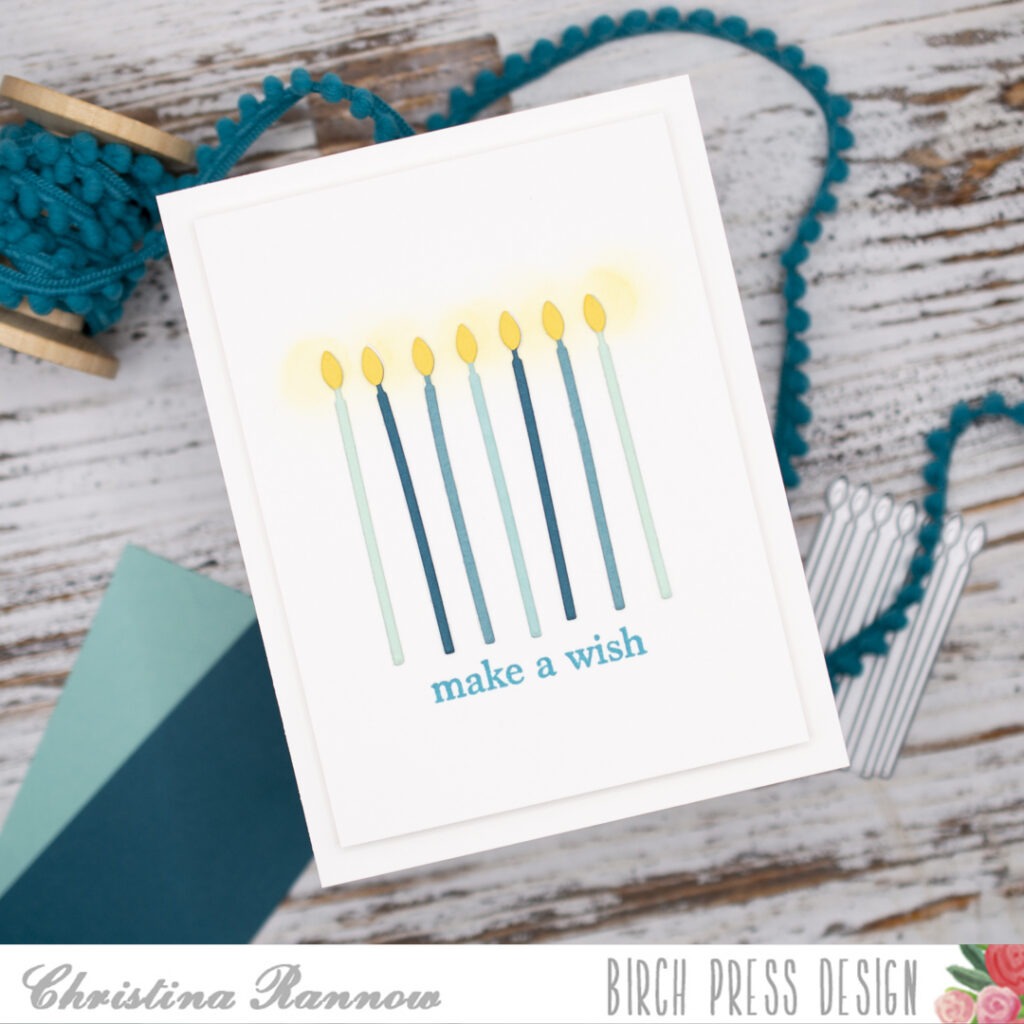
Next, I trimmed a piece of white cardstock to approximately 3.75 x 5 inches and arranged the candles in the center. Before attaching them to the panel, I lightly blended yellow ink where the candle flames would be so they would have a bit of a glow. Then I attached the candles with glue and stamped a sentiment from the Plain and Simple Birthday Greetings stamp set just underneath them.
My final step was to attach the panel to an A2 side-fold card base. I used foam tape so the panel would pop off the card base for a little dimension to the design. And that’s all there is for this quick and easy birthday card. Thank you so much for checking it out!
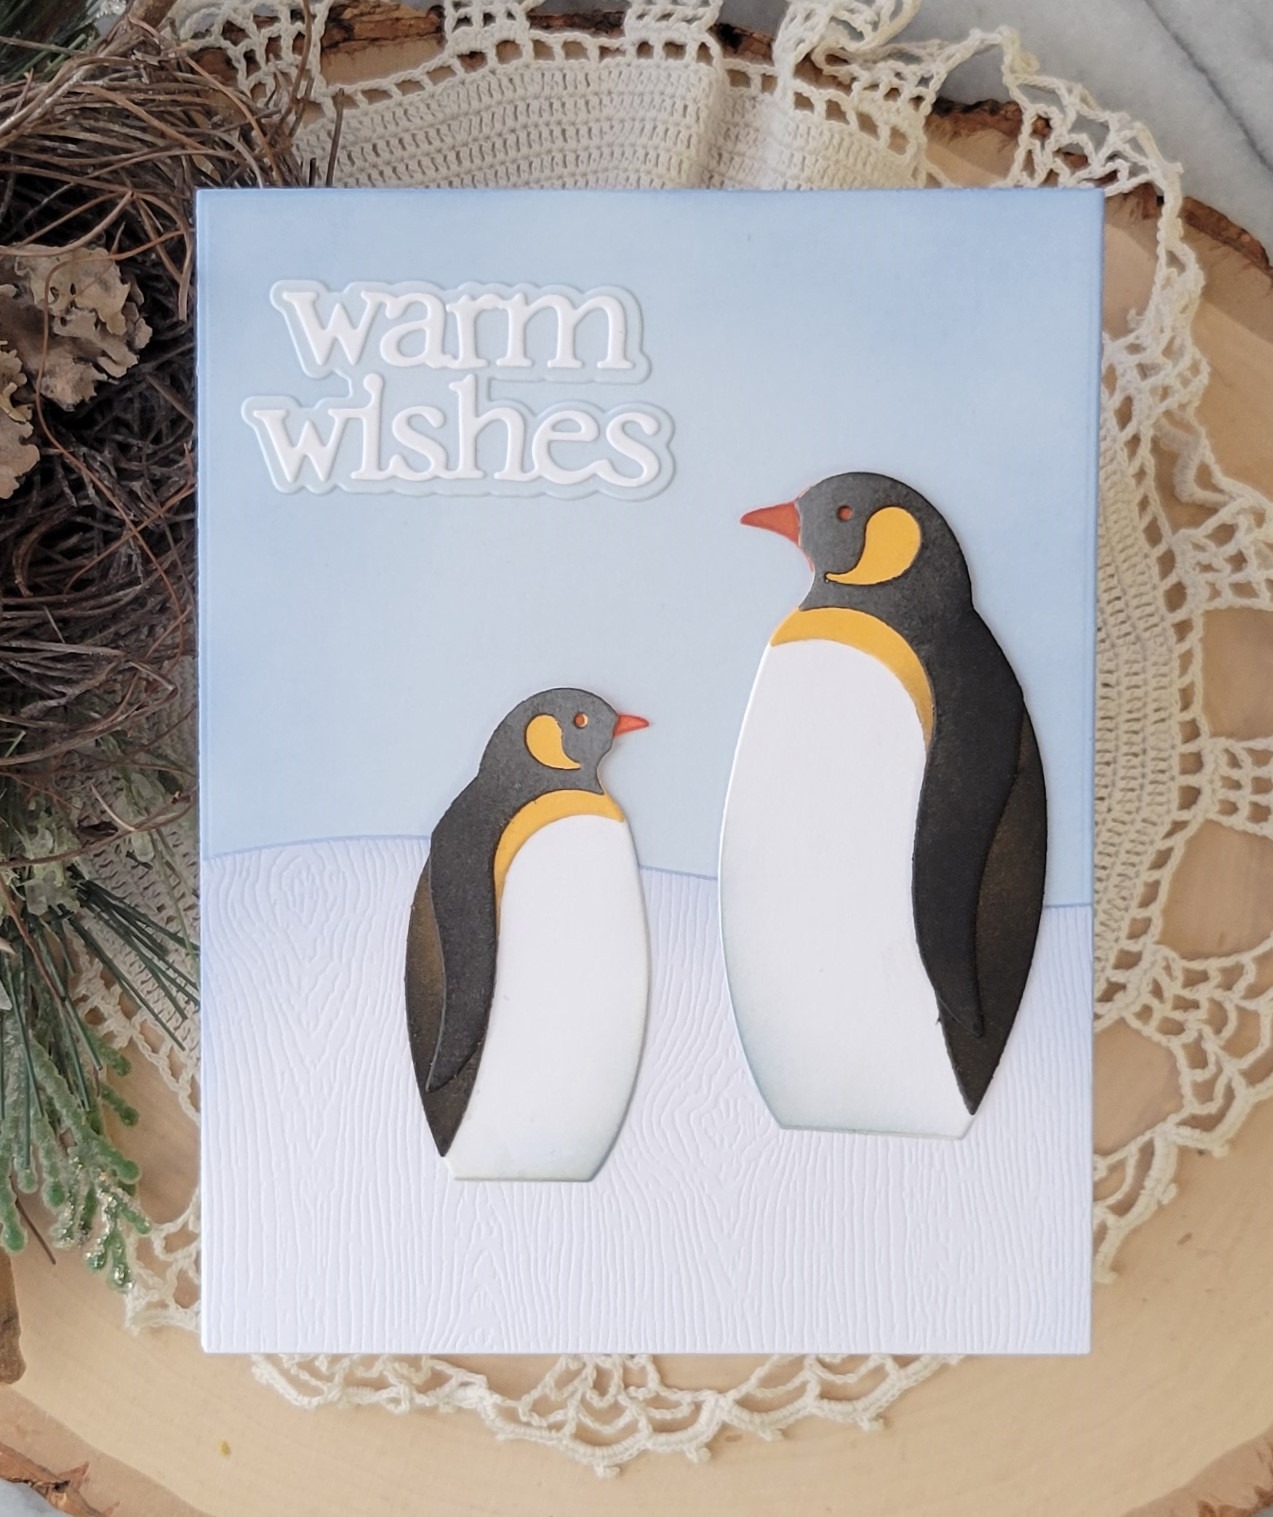
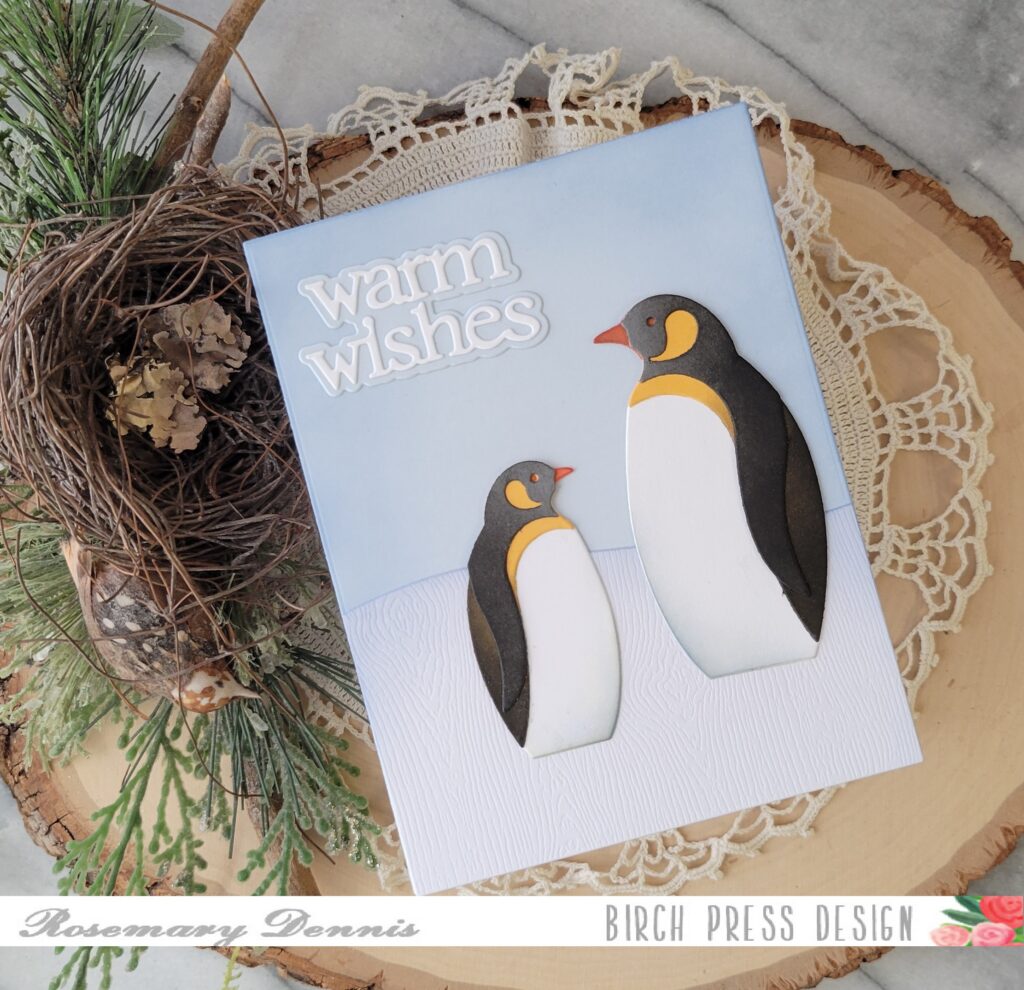
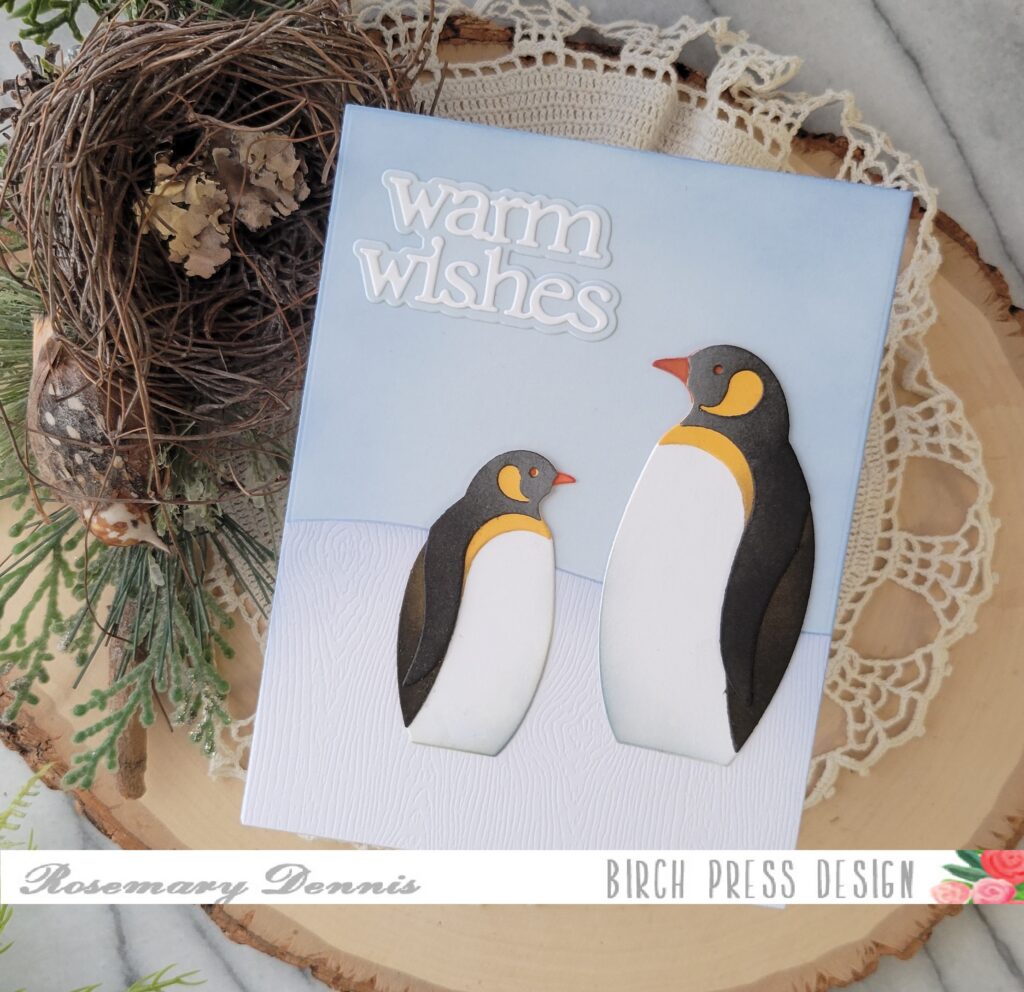
Hello everyone! Rosemary here on the blog today with a card that could be used for a winter birthday or a friendship card. Let’s look at what I made.
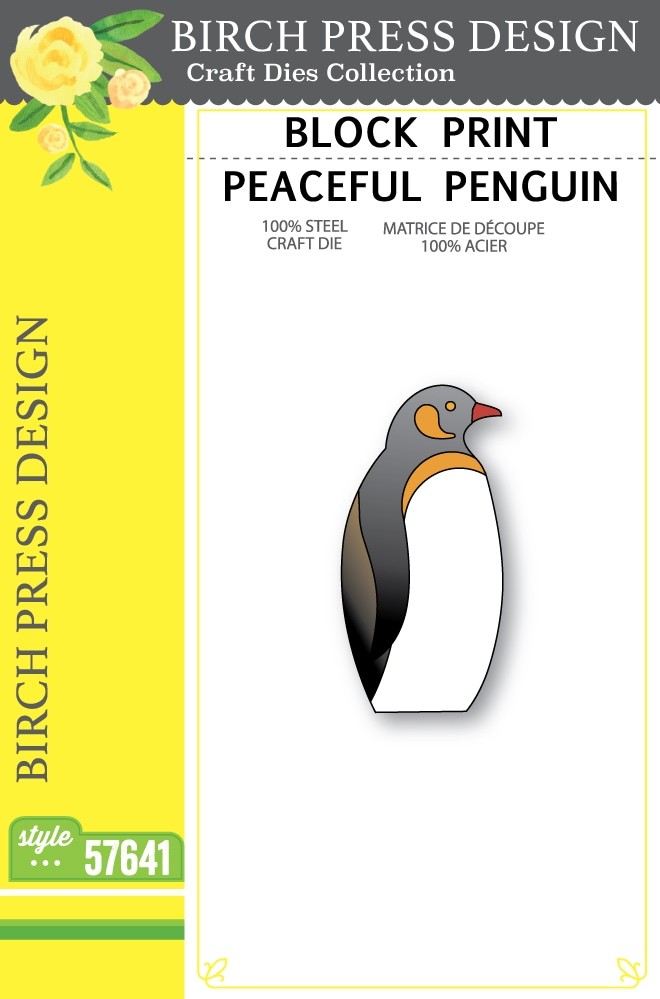
For my card today I used the Block Print Peaceful Penguin and Superb Penguin dies, as well as the Warm Wishes Dapper Script die set. These dies are from the winter release. I also used my favorite Wavy Hillside dies for the card. I started out by diecutting the pieces of my penguins.
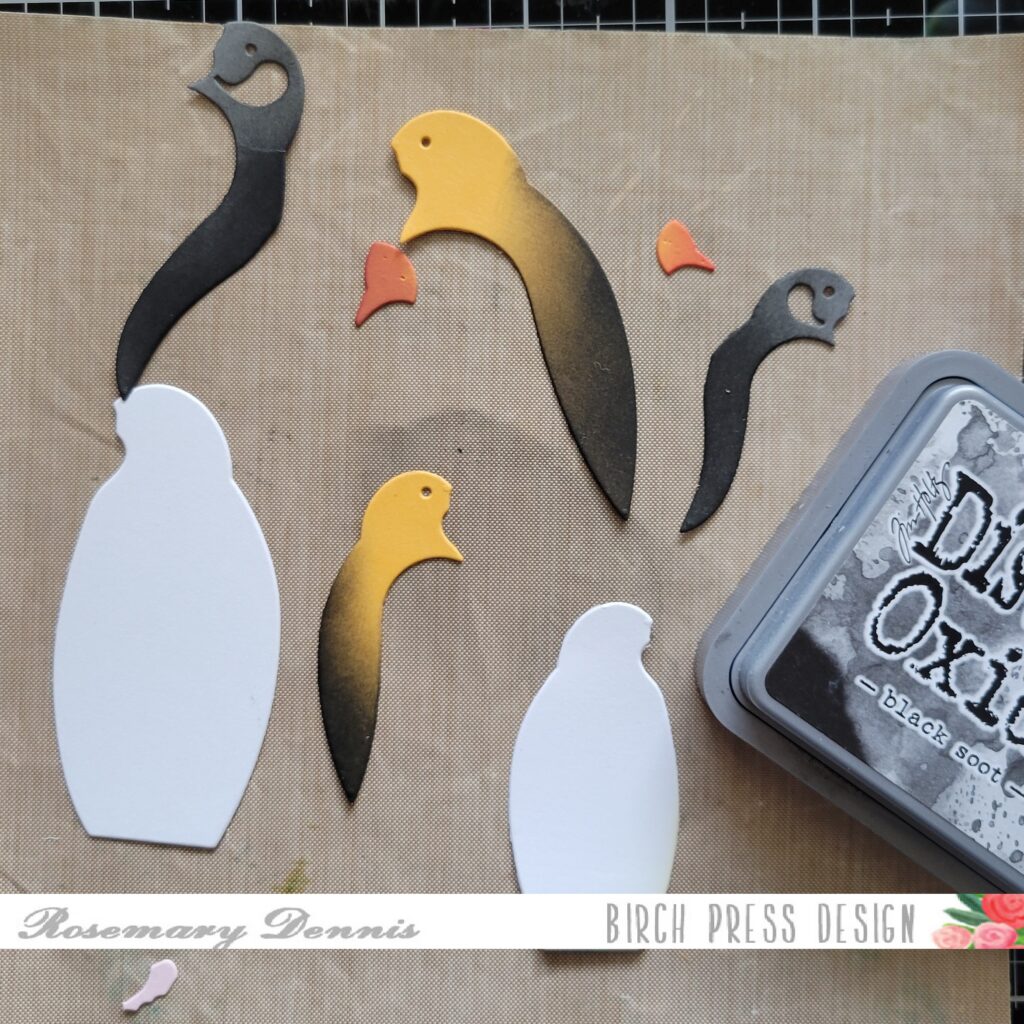
I die cut the bodies from white, the beaks and second layer from a medium yellow (from the Memory Box Sunset 6×6 pad) and then a gray cardstock from my stash. I used Black Soot distress oxide ink on the yellow second layer and the gray top layer to darken them up, but still have some of the yellow and gray in each penguin. I used Fired Brick distress oxide ink on the beaks.
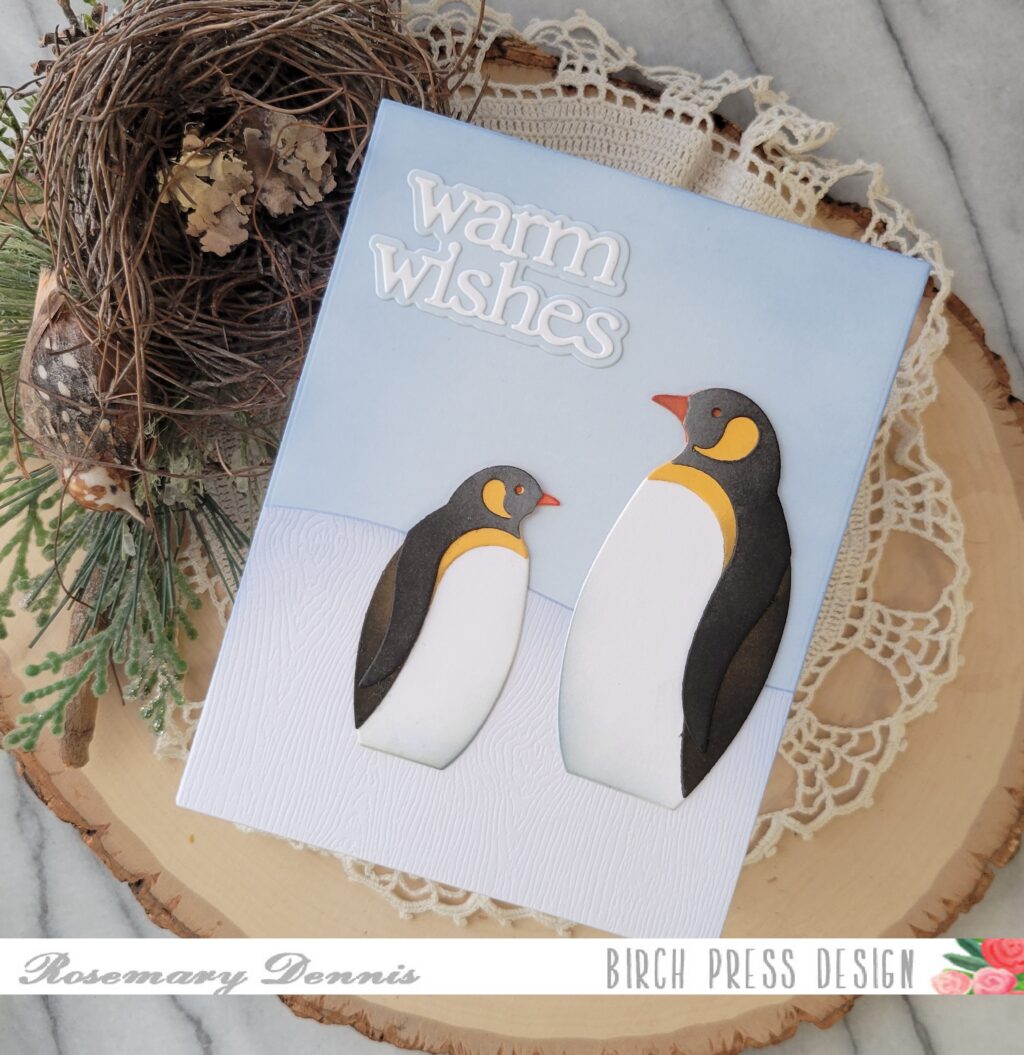
I let everything dry before adhering all the pieces with liquid adhesive. While the penguins were drying I die cut the wavy hill from Memory Box white woodgrain cardstock for some texture. A piece of light blue cardstock was die cut and then I did some light ink blending of a blue distress oxide ink around the edges. I don’t know what blue it is because I just used the residual ink on my blending brush for a soft look.
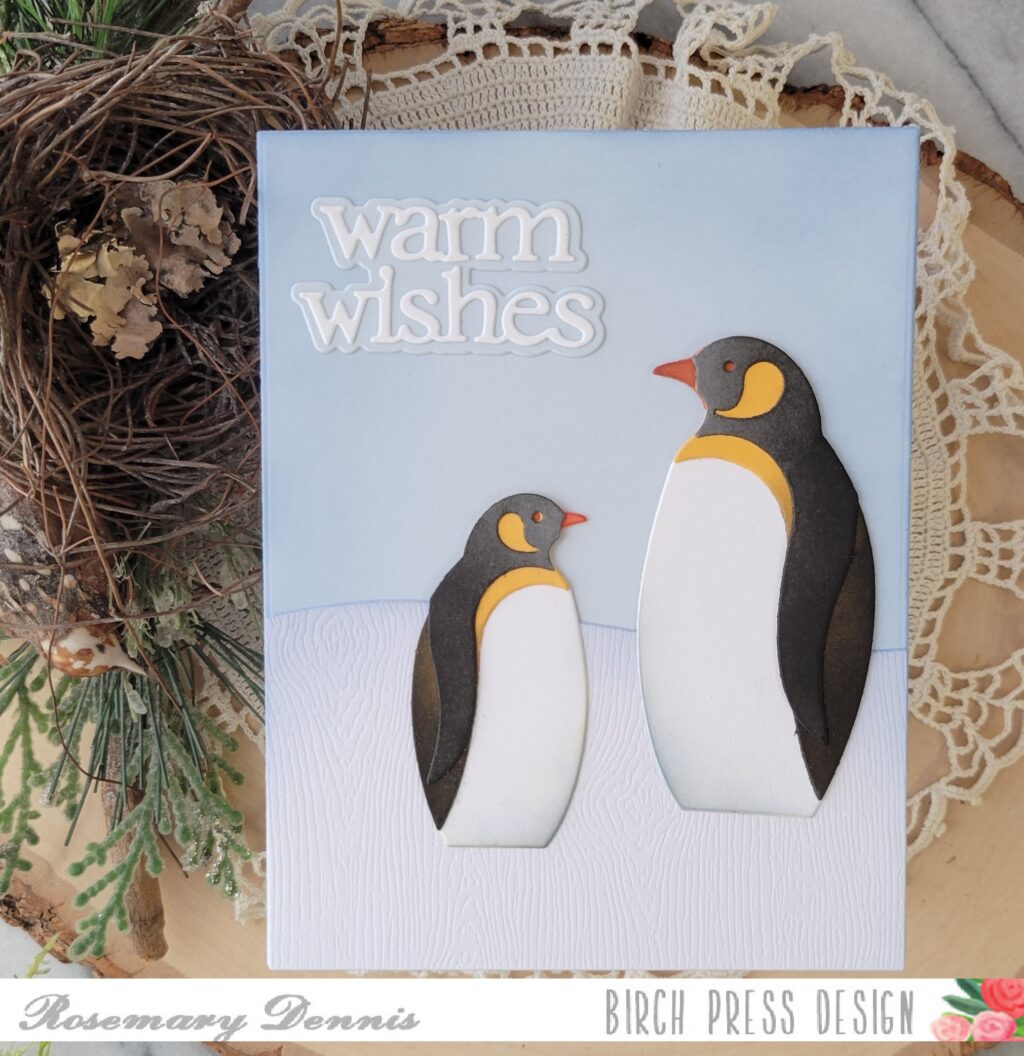
I added a little bit to the Wavy Hillside, as well. For the penguins I added a little bit of Pumice Stone distress oxide and then used the blue, again, over that. I layered the hillside onto the light blue panel with glue and then added my penguins, also with glue.
I finished off the card with the sentiment. I die cut the shadow layer from the same light blue cardstock as the background and the word layer from white cardstock. I adhered the words to the shadow layer with liquid adhesive and then adhere the sentiment to my card with liquid adhesive.
I hope you enjoyed today’s card. Have a wonderful day!
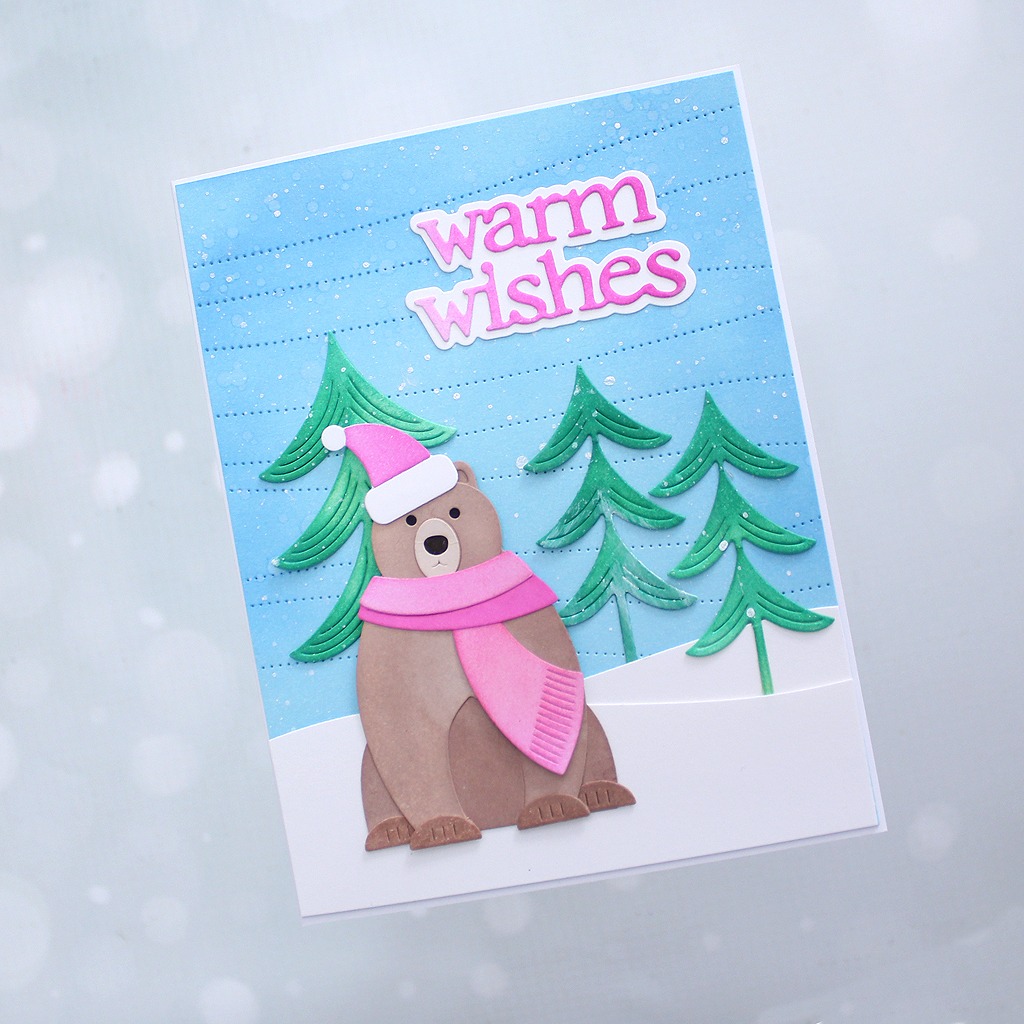
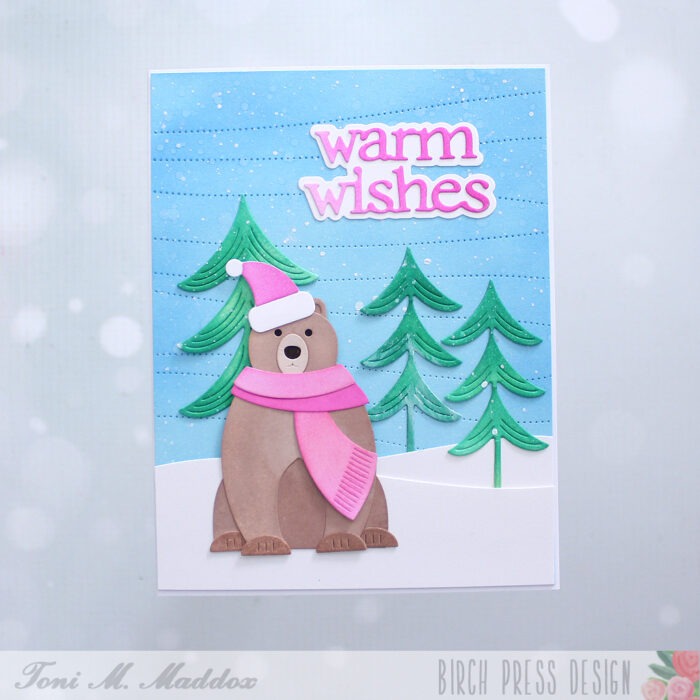
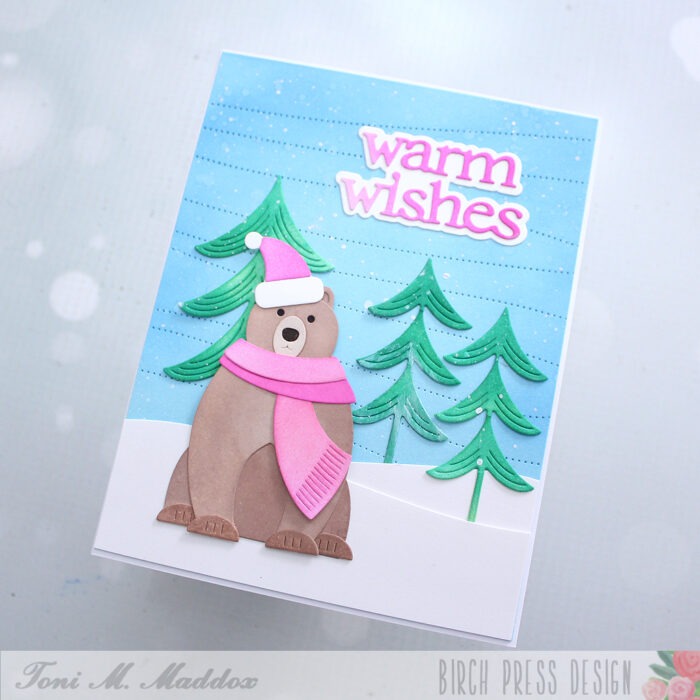
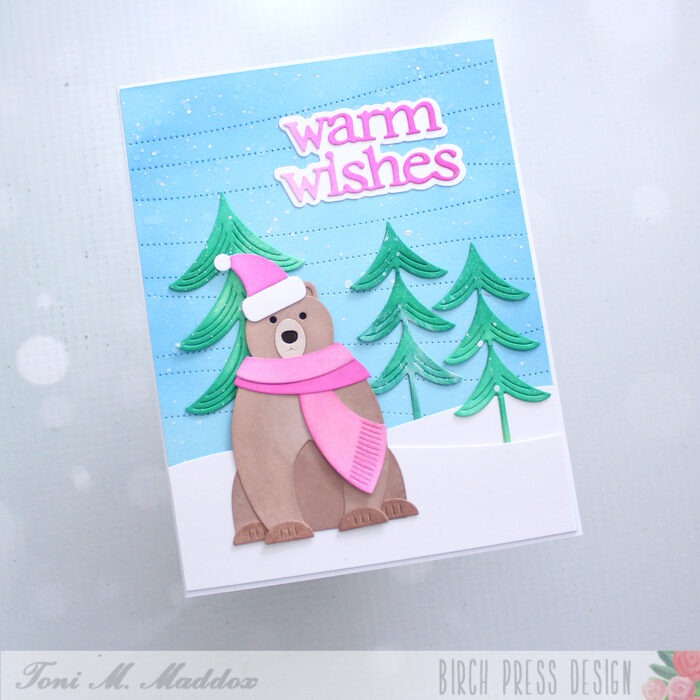
Are you staying cozy this season, my friends? Toni here and I’m loving the cold weather (from inside by the fire cuddling with my cat, of course). For today’s card, we have a winter scene.
First, the Pinpoint Contour Plate sponged in blue and spattered with water and Copic Opaque White reminds me of a blustery day.
On top of that I added a couple of Wavy Hillsides and Block Print Evergreen Trees.
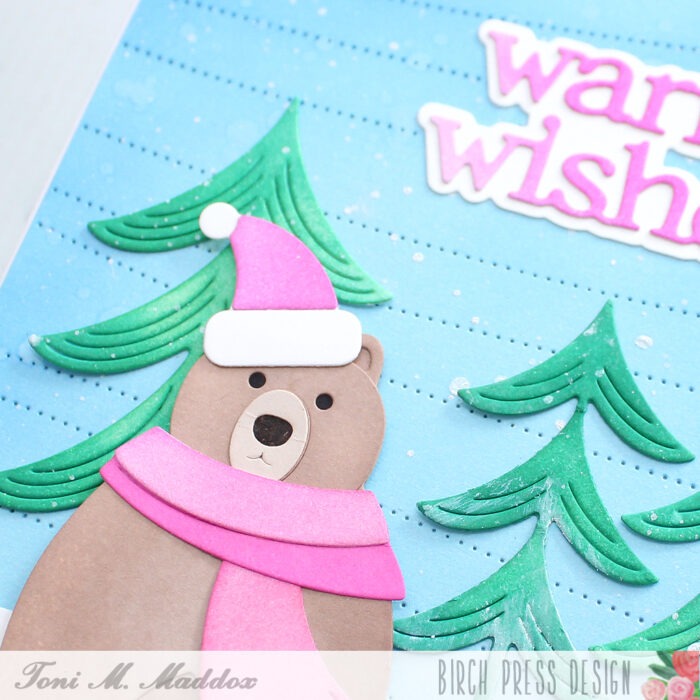
But, the Block Print Polar Bear, disguised as a brown bear, is all ready for winter dressed warmly in his Block Print Hats and Scarves.
You know my love of pink so I had to match his winter accessories to the Warm Wishes Dapper Script sentiment.
Feel free to visit my blog, Frankie Helps Craft, for a full list of supplies used and to check out my other creations.
I hope you enjoyed today’s card and have a great rest of your week!
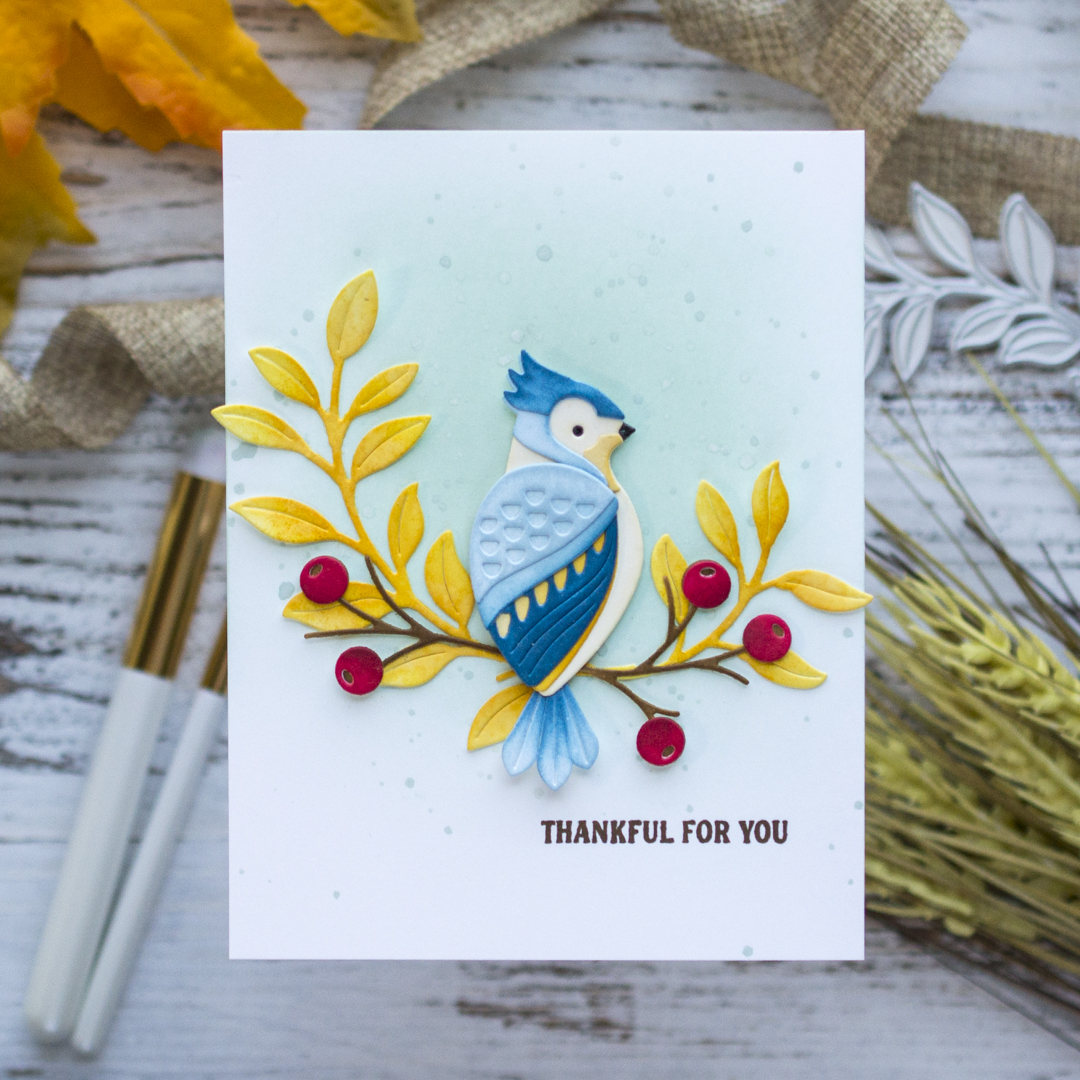
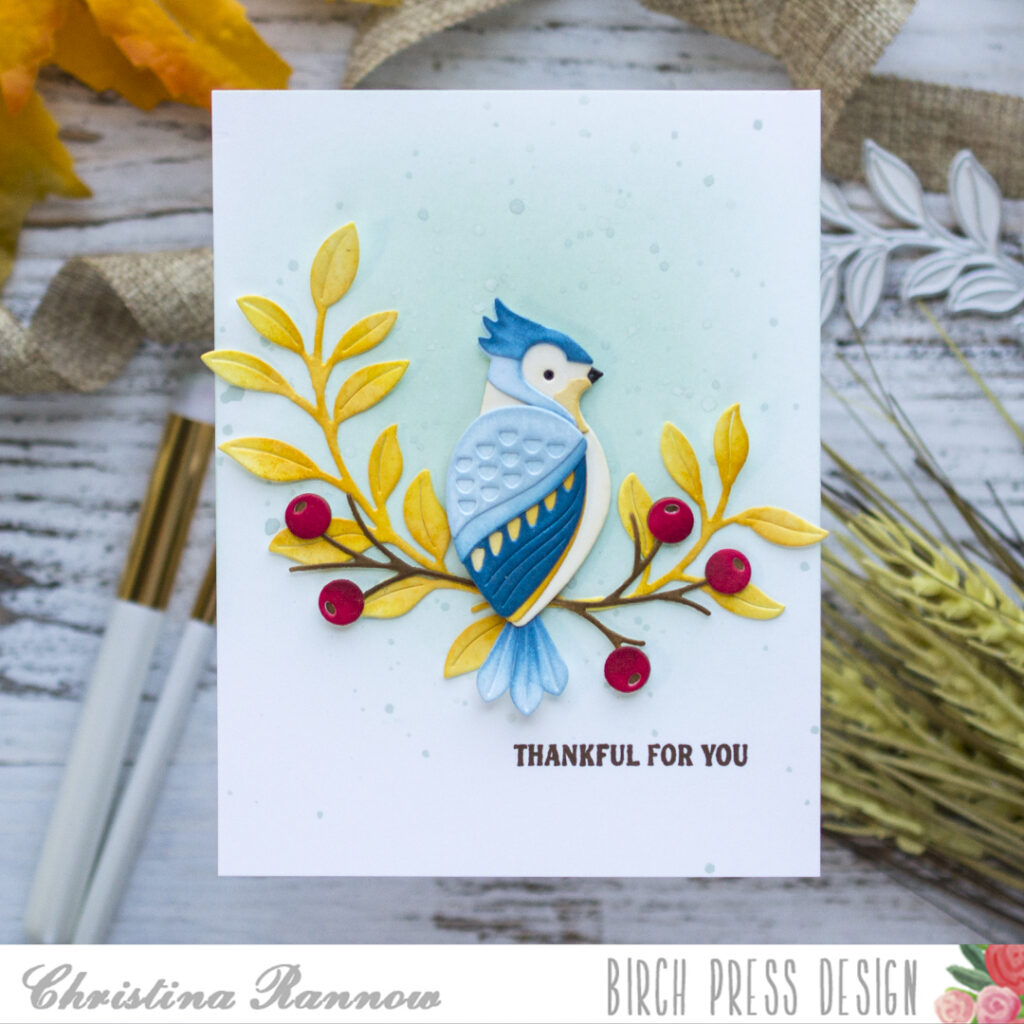
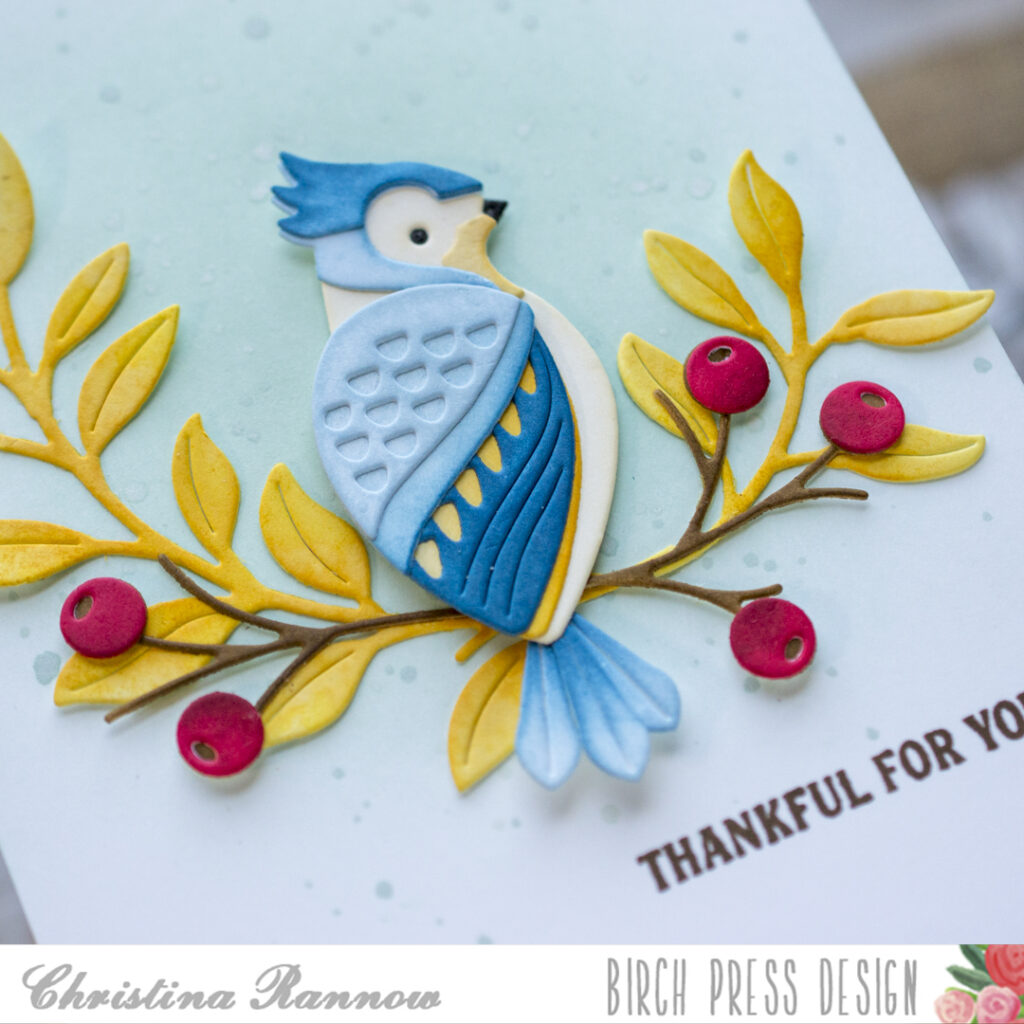
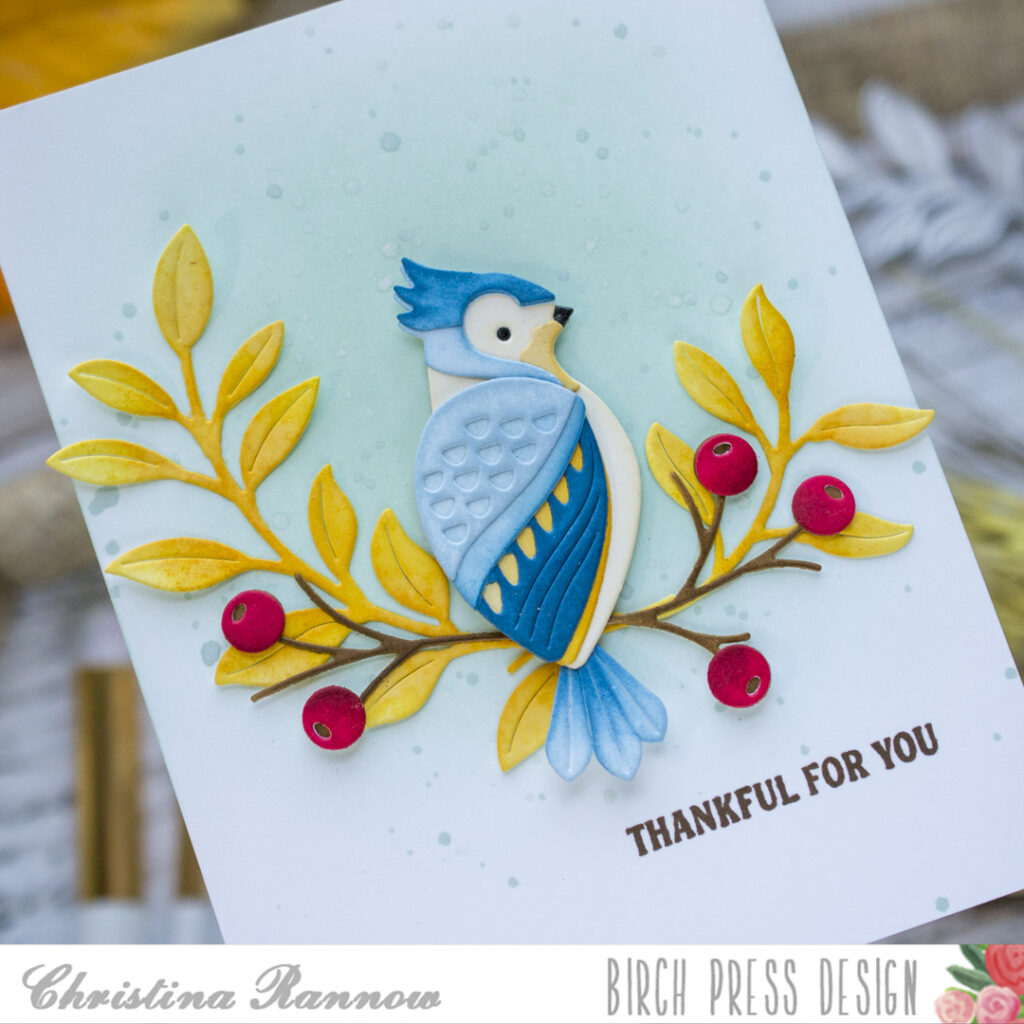
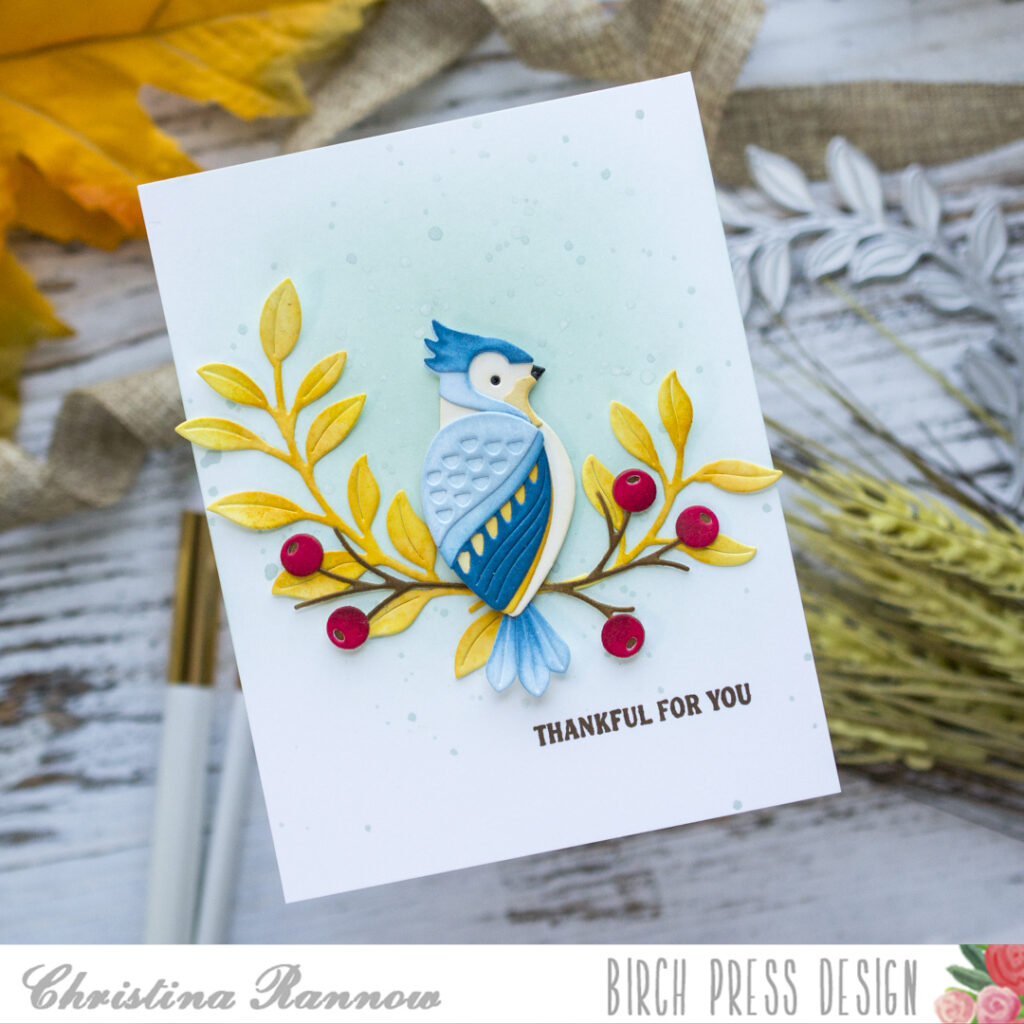
Hello! Christina here to share an autumn-themed card that I designed by combining an unexpected trio of die sets. I chose the Tufted Bird from the Block Print collection and nestled him in some fall foliage that I created with the Rosebud Arch and Mixed Berry Contour Layers die sets. These very different sets combined beautifully and make for a lovely autumn card. Let’s take a look at how it came together.
I started by die-cutting the elements for the Tufted Bird from white cardstock. I used a variety of Distress Inks and small blending brushes to ink up the diecut pieces and then assembled them, securing them with glue.
Next, I die-cut the elements from the Rosebud Arch and Mixed Berry die sets from more white cardstock. I used the same process for these diecuts as I did for the Tufted Bird. I inked all the pieces with Distress Inks and then assembled the Mixed Berries components.
For the background panel, I inked a pale jade color in the center of an A2 card panel with a very light hand and let the edges softly blend out. Then I lightly spattered the panel with the same ink color for a little texture and interest.
Lastly, I arranged the foliage and berries on the background panel and added the tufted bird nestled in the center. The final detail was to stamp a simple sentiment from the Sentimental Banners set from Poppy Stamps using a chocolate brown ink.
Thank you so much for checking out my autumn-themed card that I created by mixing and matching some unexpected die sets. See you again soon!